The frequency separation is an essential technique in image editing, especially when it comes to retouching portraits and details. With the high-pass variant of this method, you can achieve impressive results without losing the textures and details of your image. In this guide, you will learn step by step how to apply the high-pass method in Photoshop.
Key insights:
- Frequency separation is performed in two variants: with the Gaussian blur and the high-pass filter.
- For the effectiveness of this method, you should ensure that your image is converted to 8-bit.
- Duplicate the layers and work on pixel levels to achieve optimal results.
- To preserve the structures, specific filter settings are essential.
Step-by-Step Guide
First, open your image in Photoshop. It is important to pay attention to the color mode of your image. It is best to convert your image to 8-bit to effectively apply the high-pass method. If your image is opened in 16-bit, go to "Image" and select "Mode," then convert it to 8-bit.
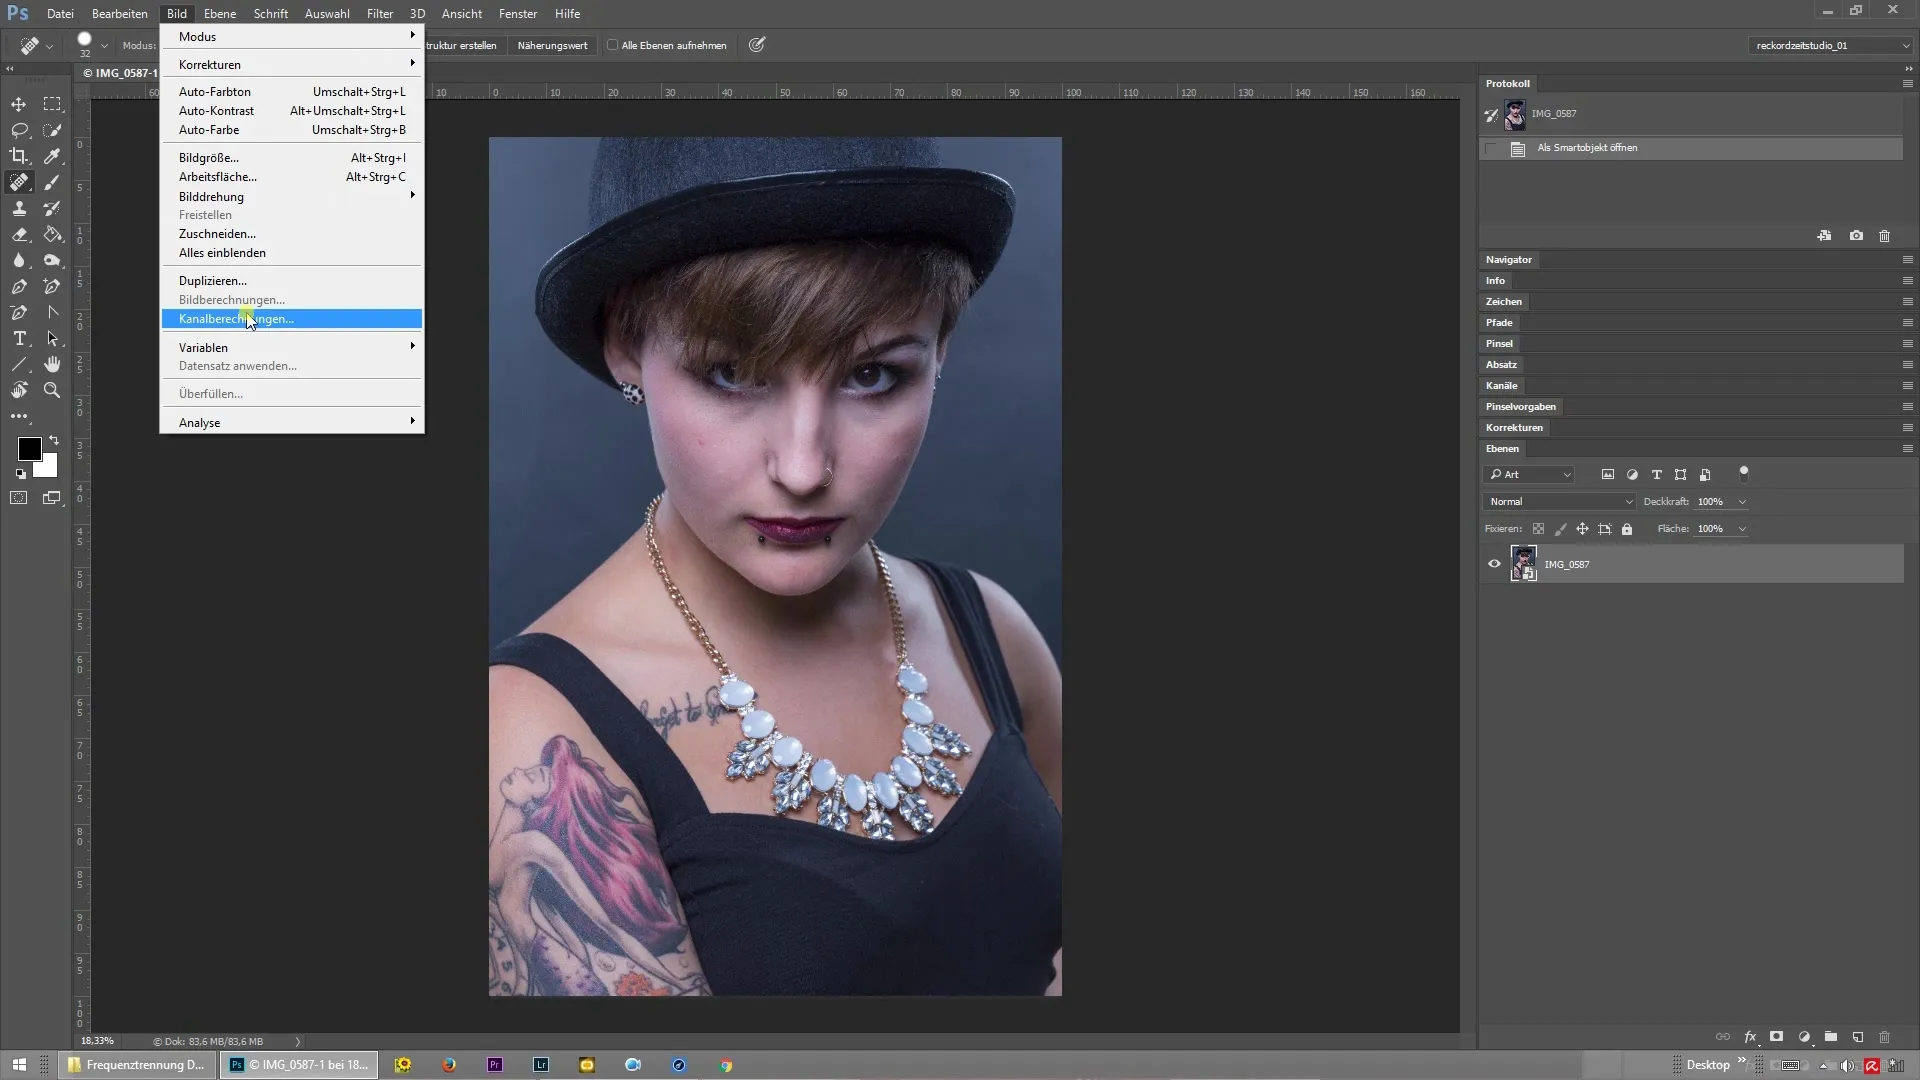
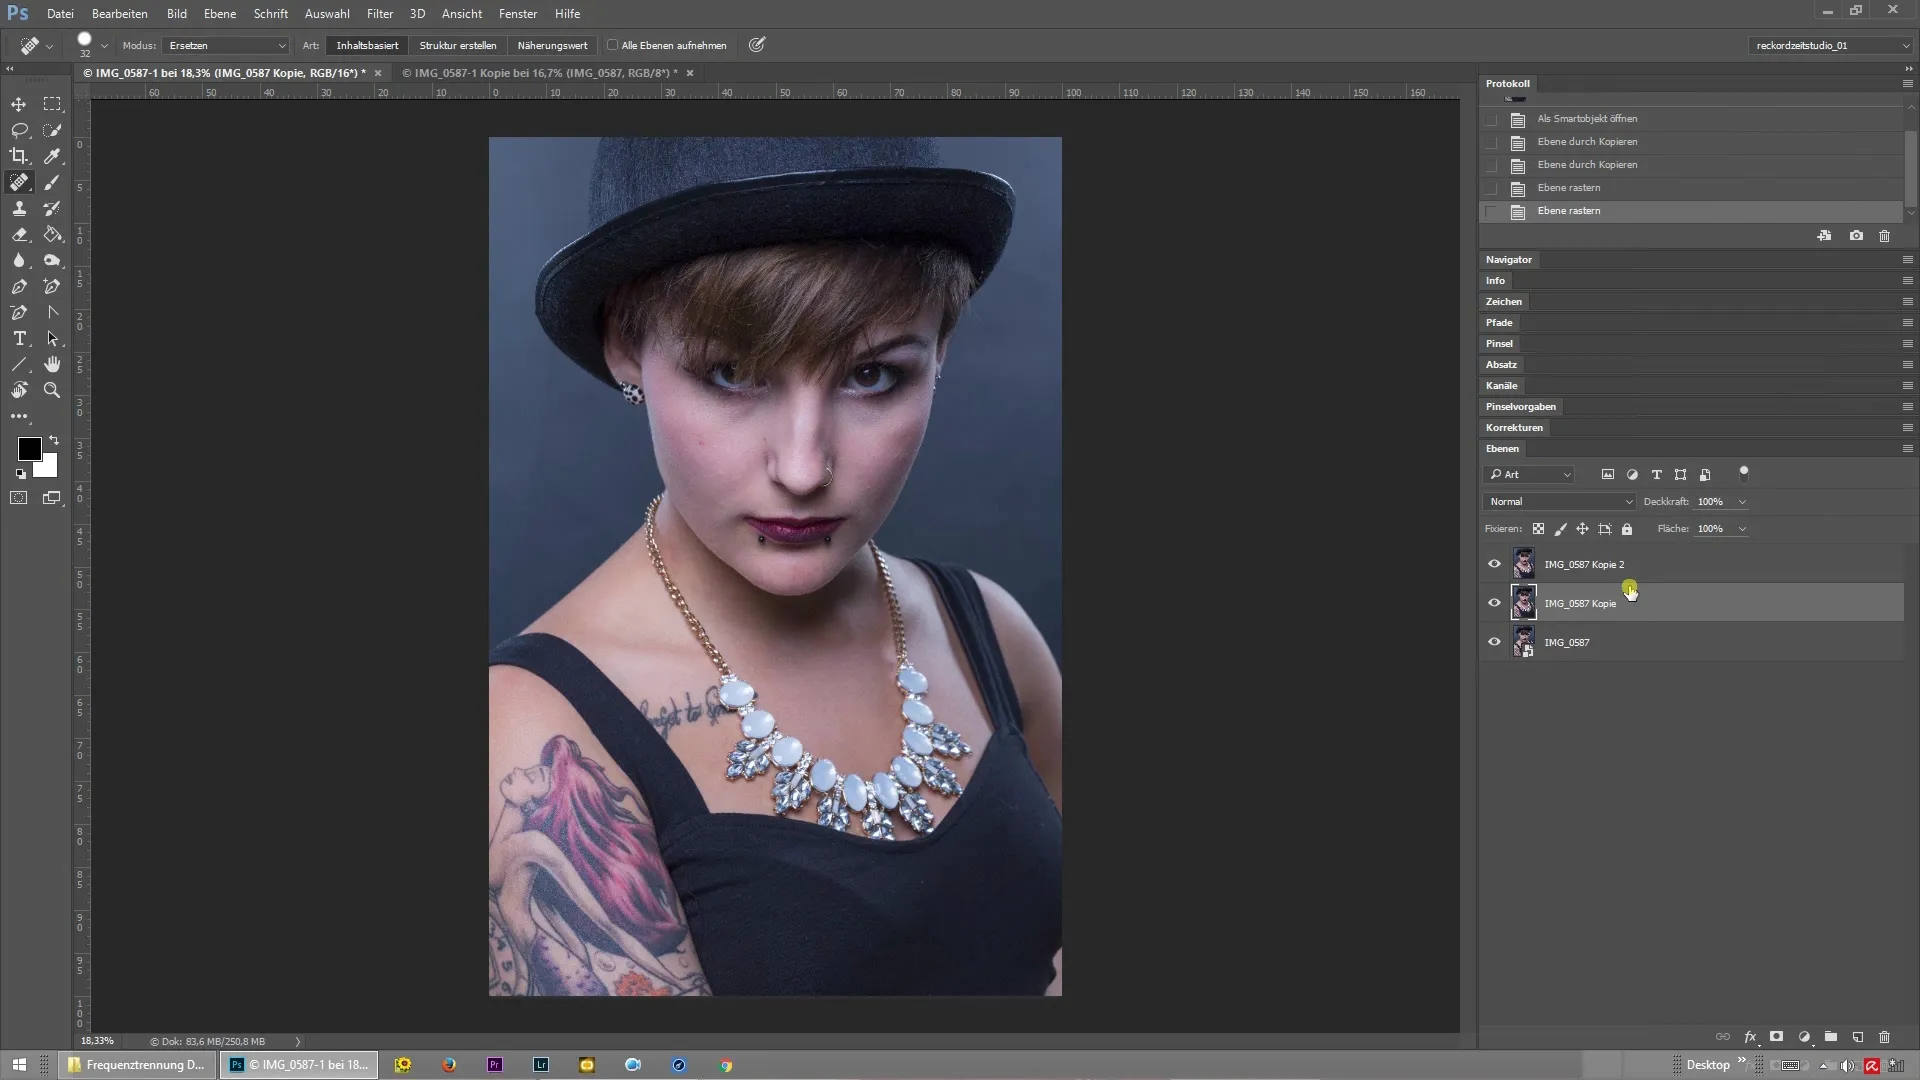
Once you have the image in 8-bit, duplicate the background layer. Right-click on the layer and select the option "Duplicate Layer." You will need two duplicates of this layer to perform the frequency separation.
Rename the top of the two duplicates to "Colors" and the bottom one to "Structure." You can make this renaming in the layers panel. It helps you keep track of which layer is used when.
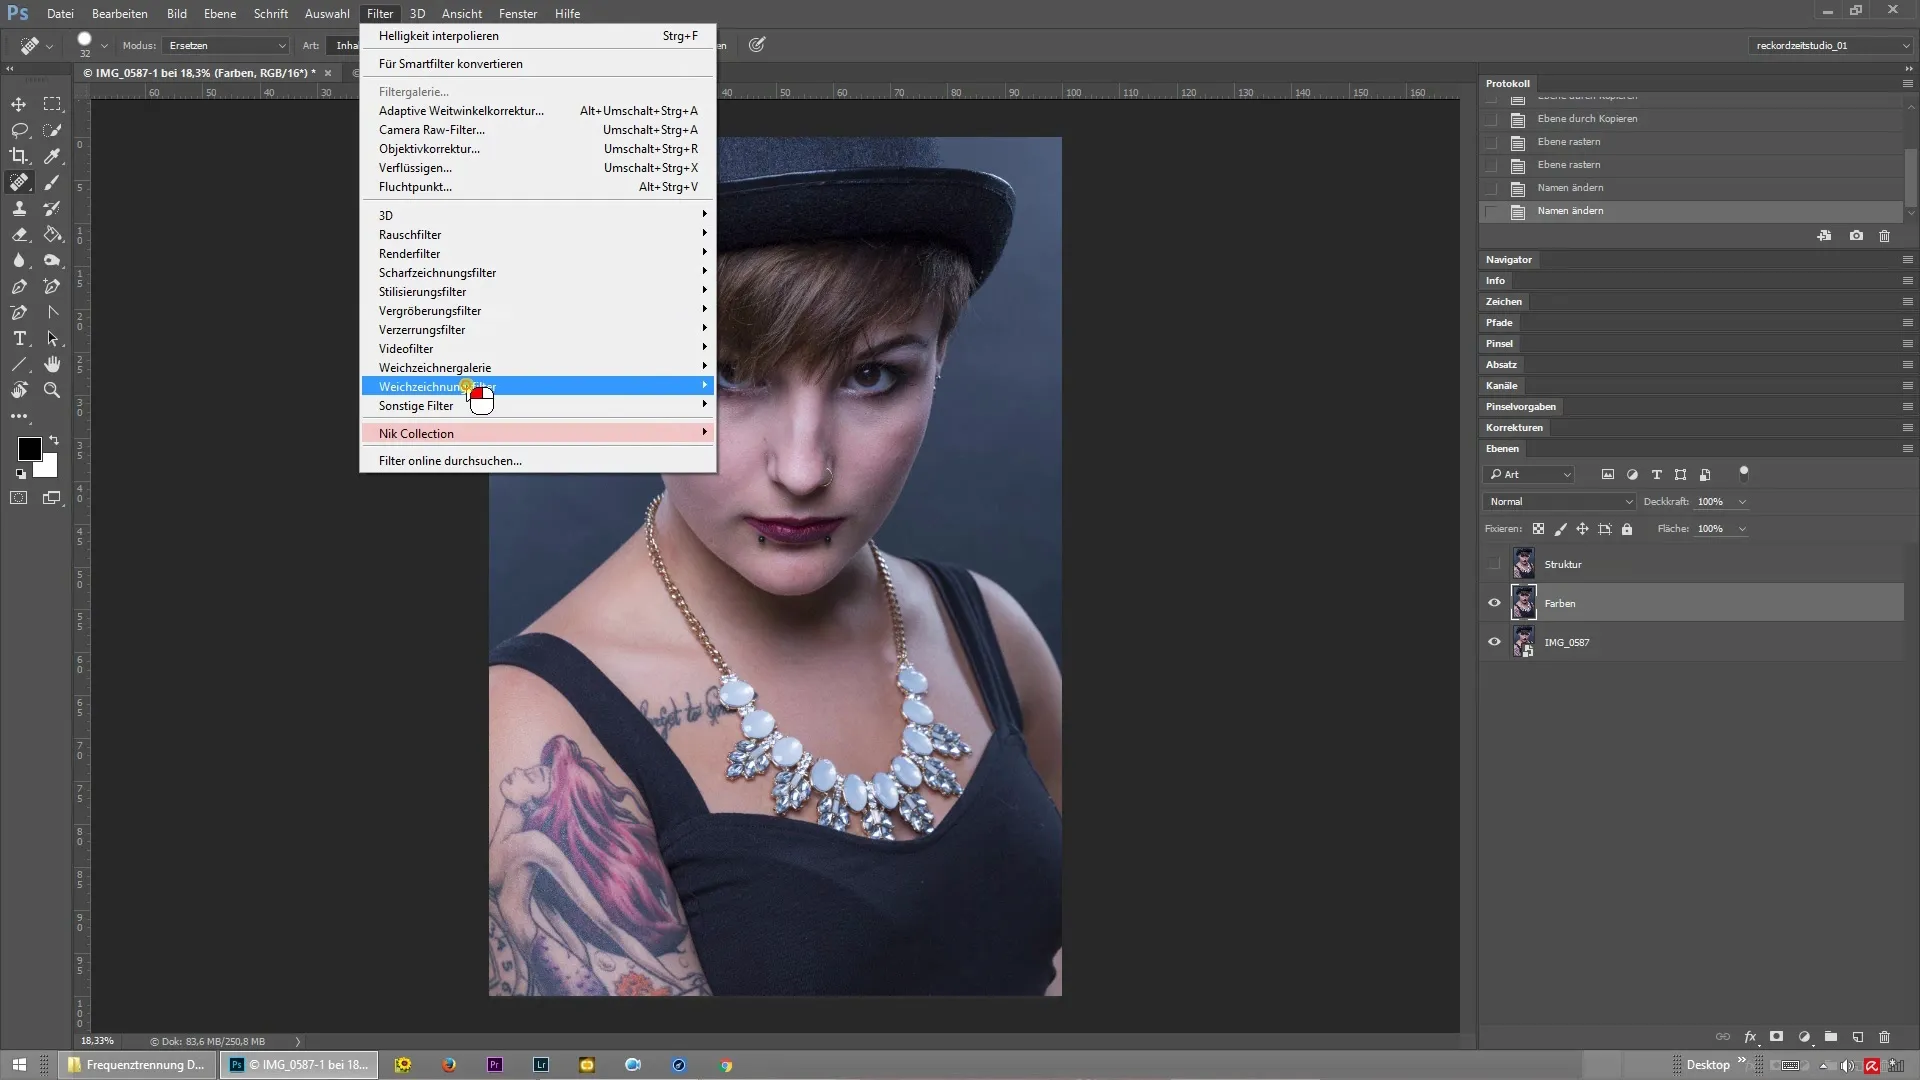
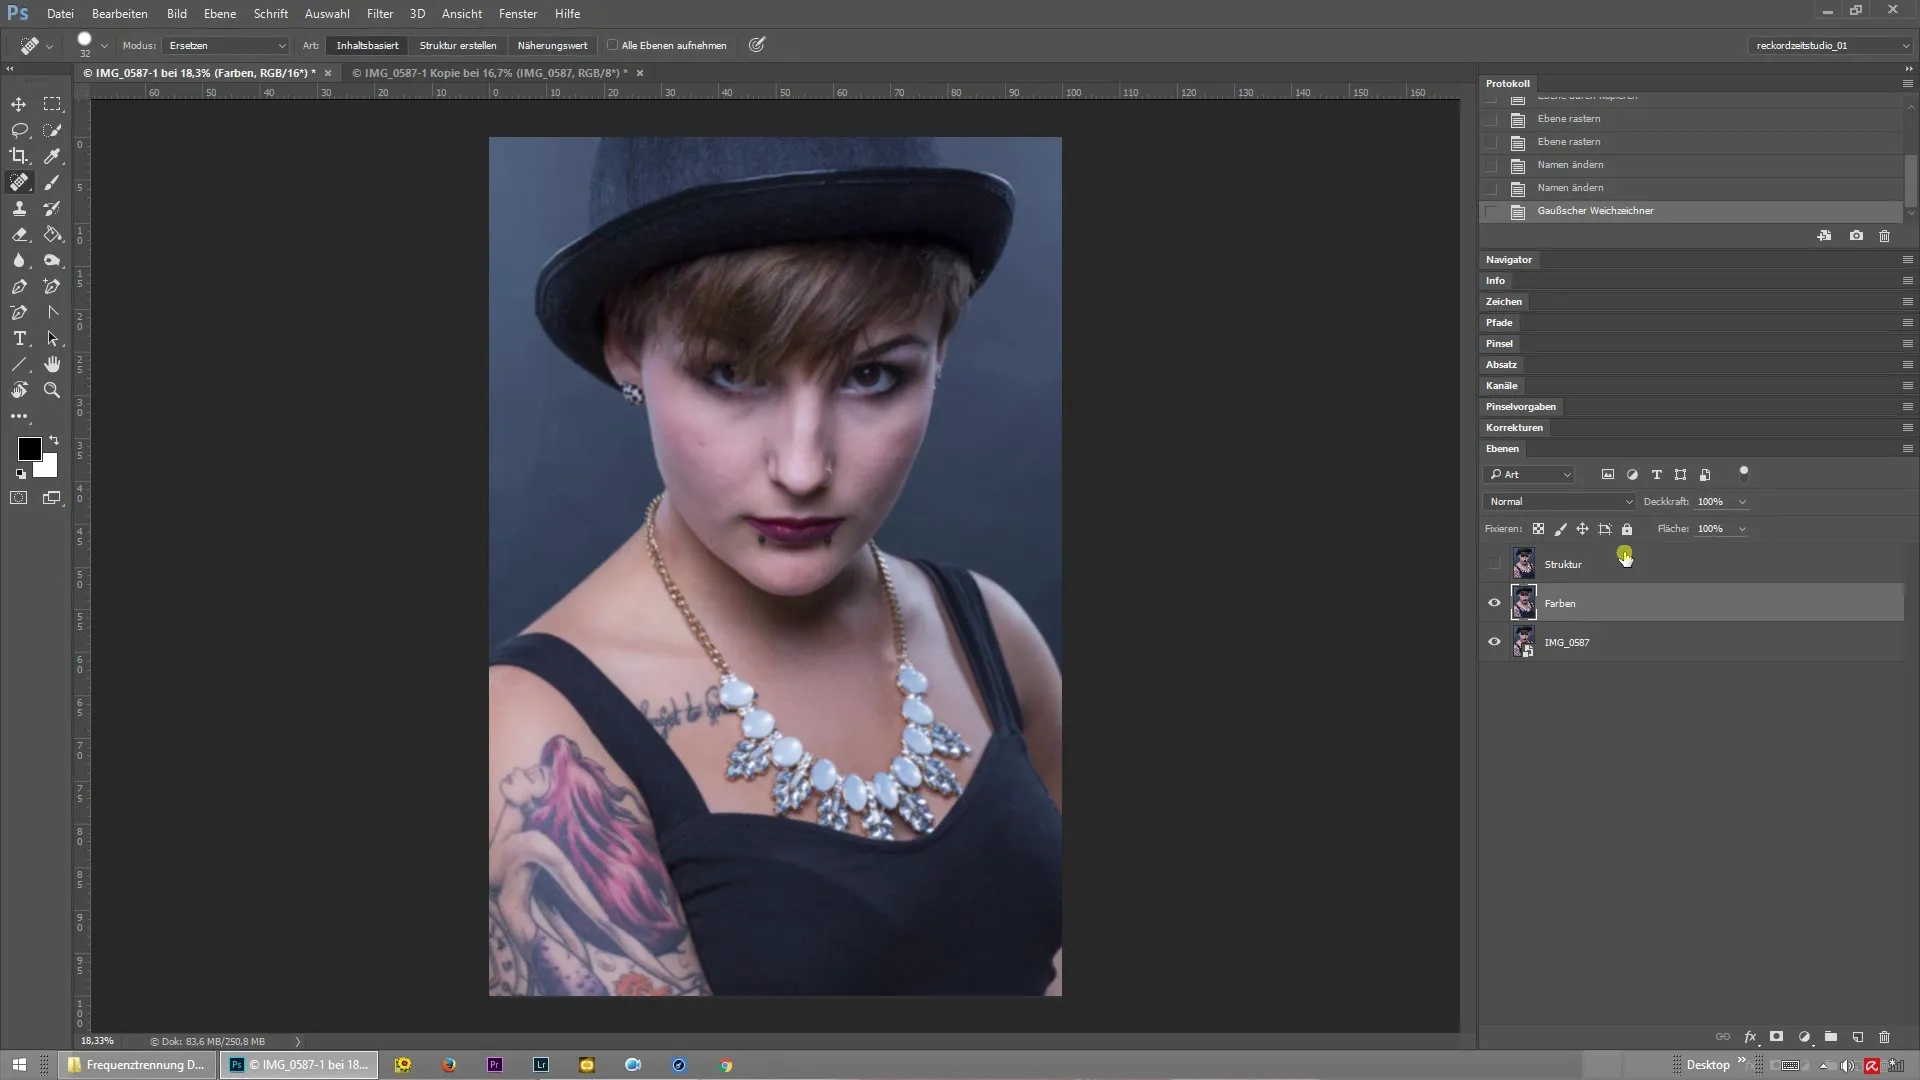
Now, make the top layer ("Colors") invisible. The bottom layer ("Structure") will remain visible. On this layer, you will now apply the blur filter. Go to "Filter," then "Blur," and select "Gaussian Blur." Here you can set a radius; I recommend a value of 5 pixels. Make sure that the structures you want to edit later are not visible. Confirm by clicking "OK."
Now it's time to sharpen the structure layer using the high-pass filter. Again, go to "Filter," then "Other Filters," and select "High Pass." Use the same value that you used for the Gaussian Blur. In this case, that would be 5 pixels. Confirm again with "OK."
To ensure a natural look, you need to set the blending mode of the structure layer to "Linear Light." This ensures that the two layers are harmoniously combined. You can select the blending mode in the layers panel.
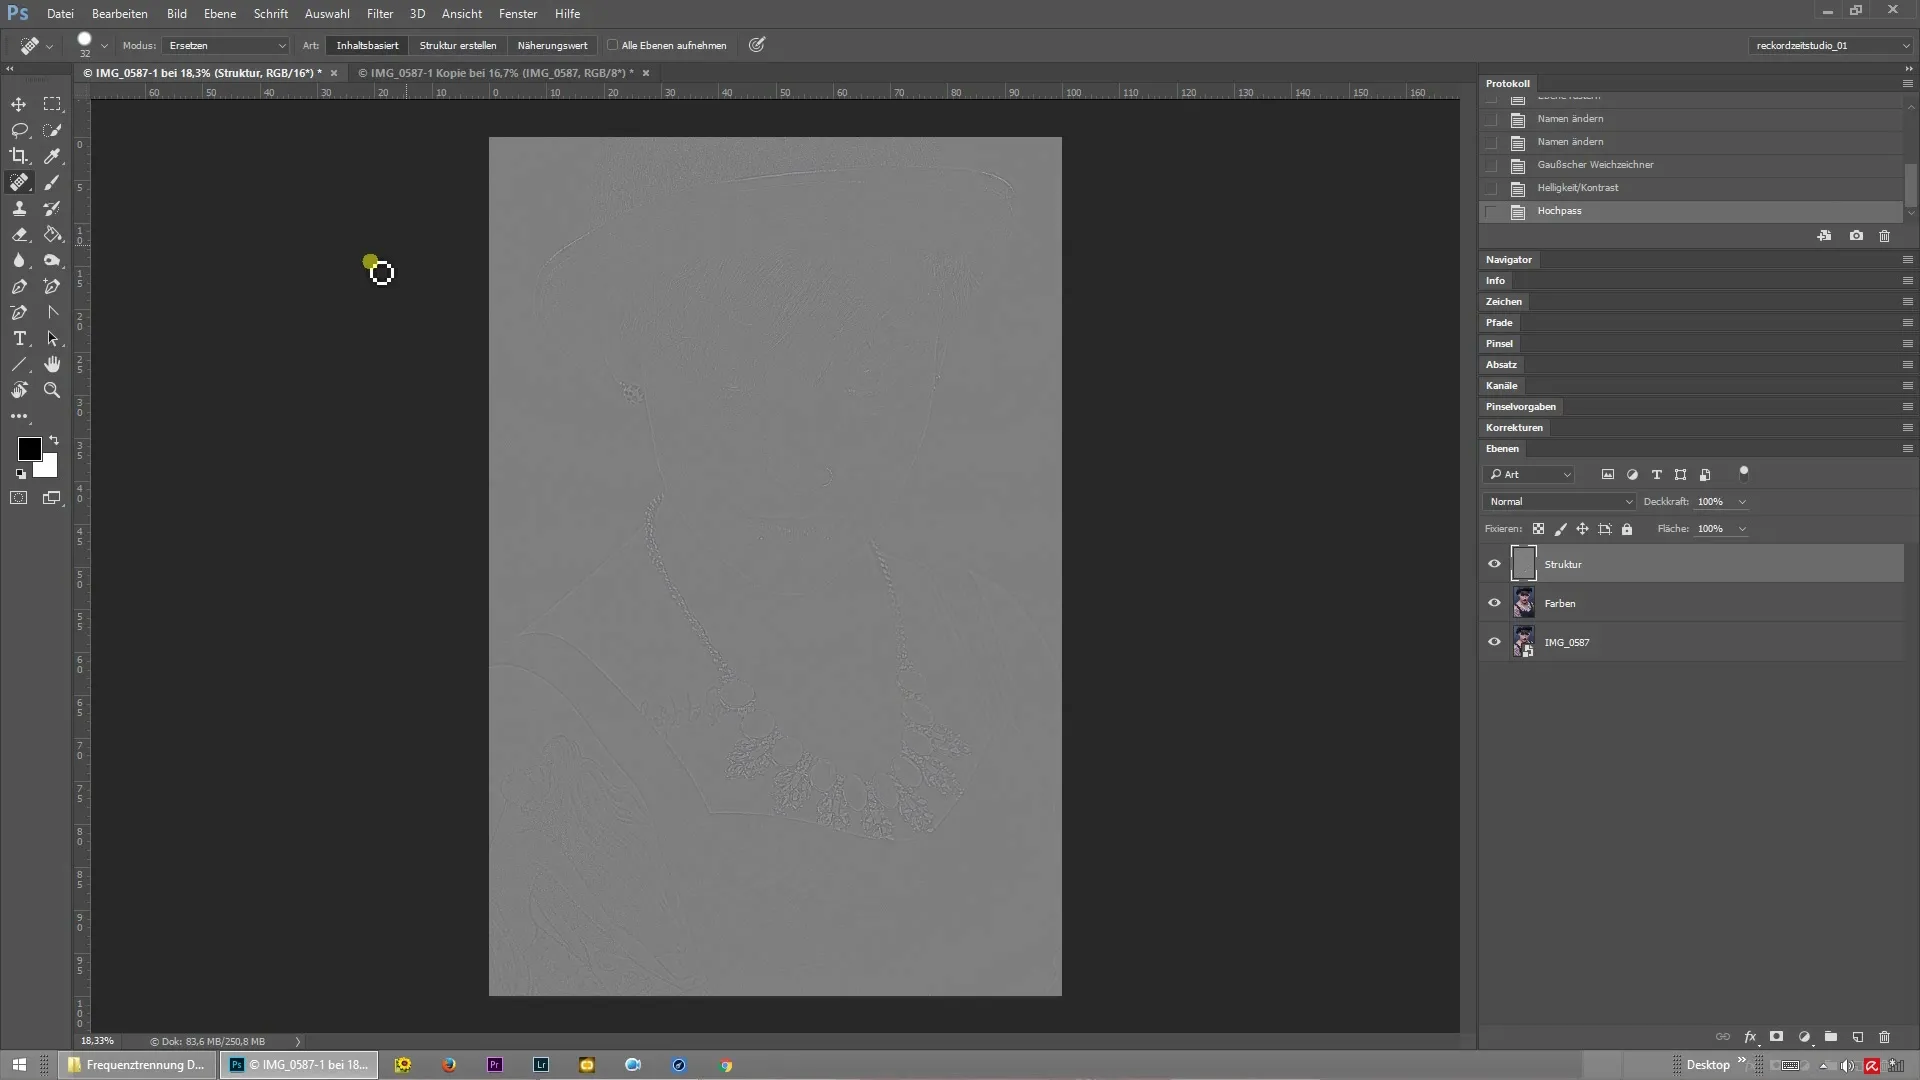
To check if everything has been done correctly, hold down the "Alt" key and click on the eye icon of the top "Colors" layer. If you have done everything correctly, you should not see any visible difference between the two views.
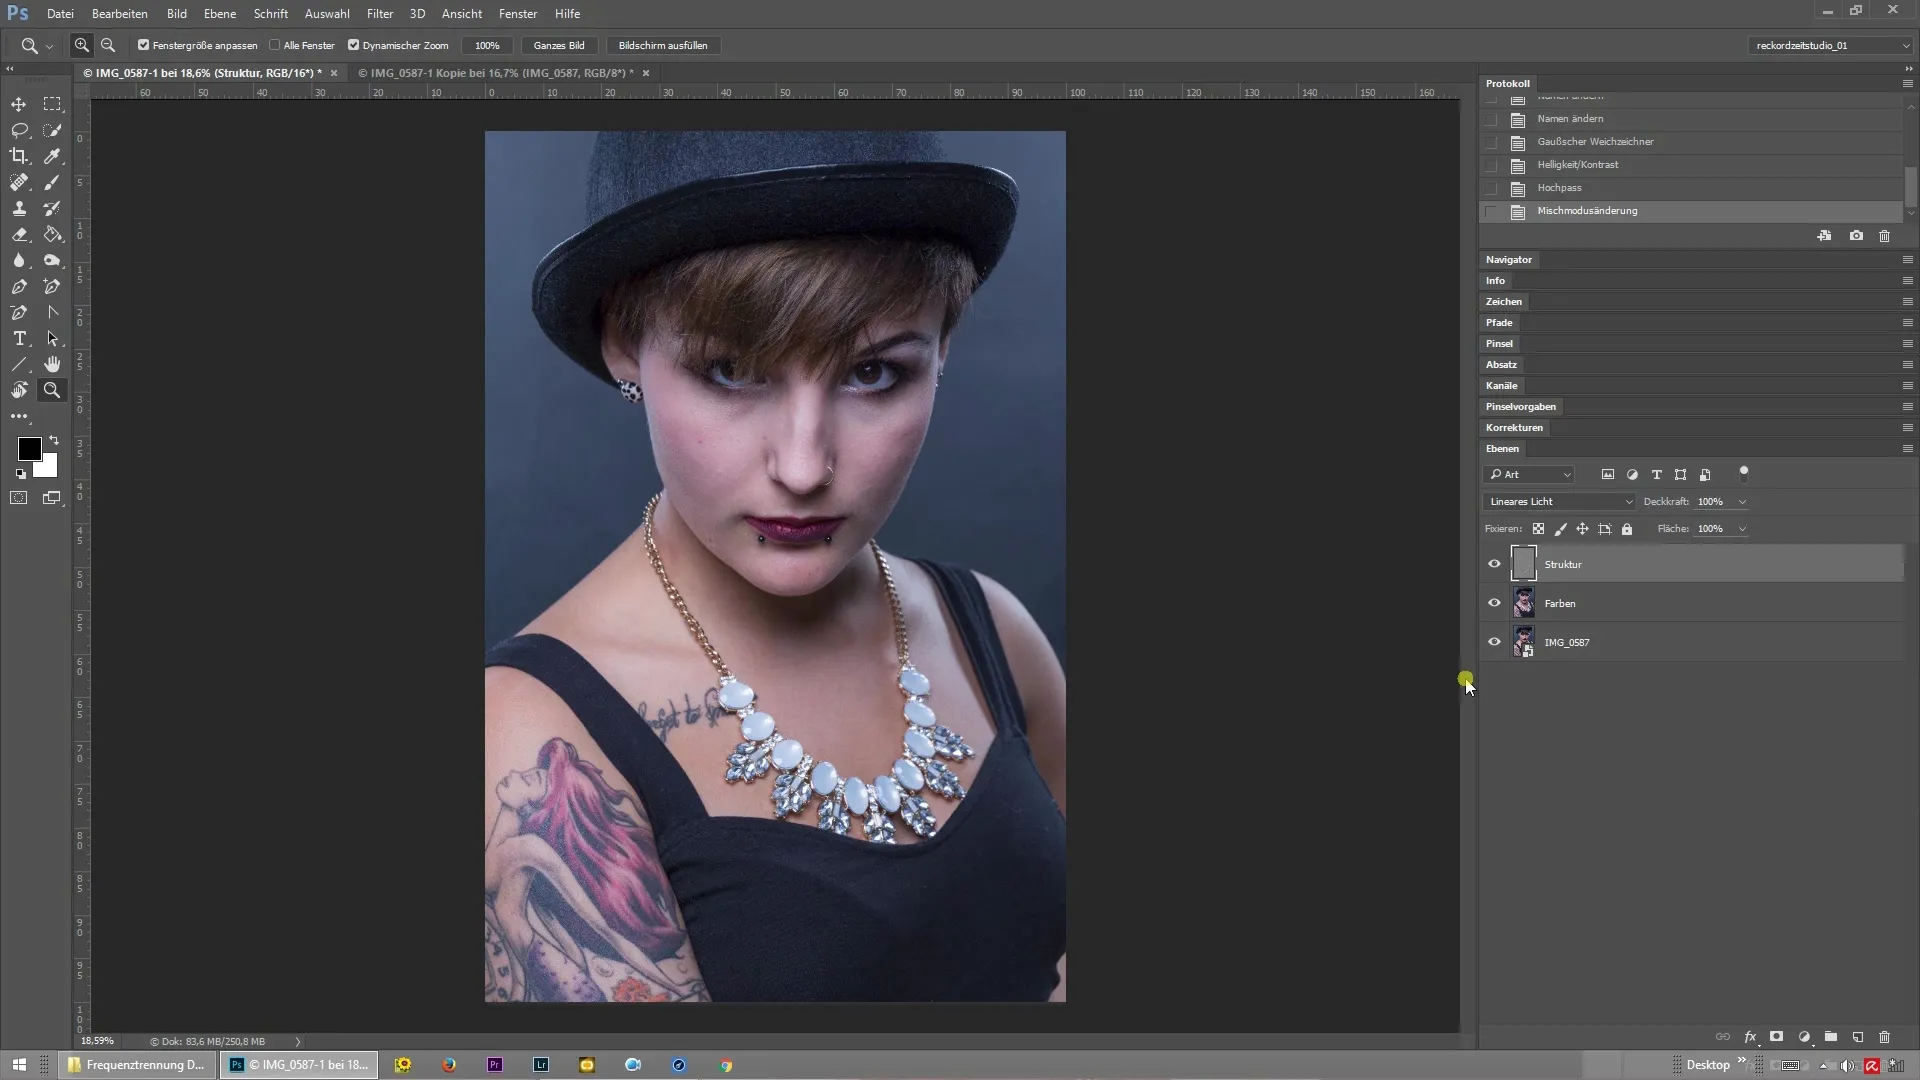
Now you have successfully applied the high-pass method of frequency separation. With this, you can edit your portraits and images more effectively by separating the colors from the structures.
Summary – High-Pass Filter for Perfect Frequency Separation
The application of frequency separation in Photoshop using the high-pass filter allows for precise retouching without losing the integral details of your image. This process can be completed with just a few clear steps and delivers excellent results.
Frequently Asked Questions
How does frequency separation work in Photoshop?Frequency separation in Photoshop separates the color and structure of an image, allowing you to edit each component independently.
Which versions of Photoshop support the high-pass method?The high-pass method for frequency separation works with all modern versions of Photoshop.
Why should I convert my image to 8-bit?The 8-bit conversion allows for a more effective handling of the high-pass technique and avoids potential problems with color depth.
How do I optimally adjust the filter settings?Adjusting the filter settings depends on the complexity of the respective image; a value around 5 pixels is often a good starting point.
Can I use this technique for other image types as well?Yes, the high-pass method is not only useful for portraits but can also be applied to other types of image editing.


