The retouching of skin blemishes is an art in itself that requires a lot of sensitivity. With the technique of frequency separation, you can improve skin texture in Photoshop without losing the natural texture. In this guide, I will show you how to apply this method step by step to achieve a harmonious and professional result. Let's get started with the application.
Key Insights
- Frequency separation allows for targeted editing of skin tones and structures.
- The healing brush effectively removes skin blemishes without damaging the texture.
- The proper use of helper layers ensures a better result in retouching.
Step 1: RAW Development and Preparations
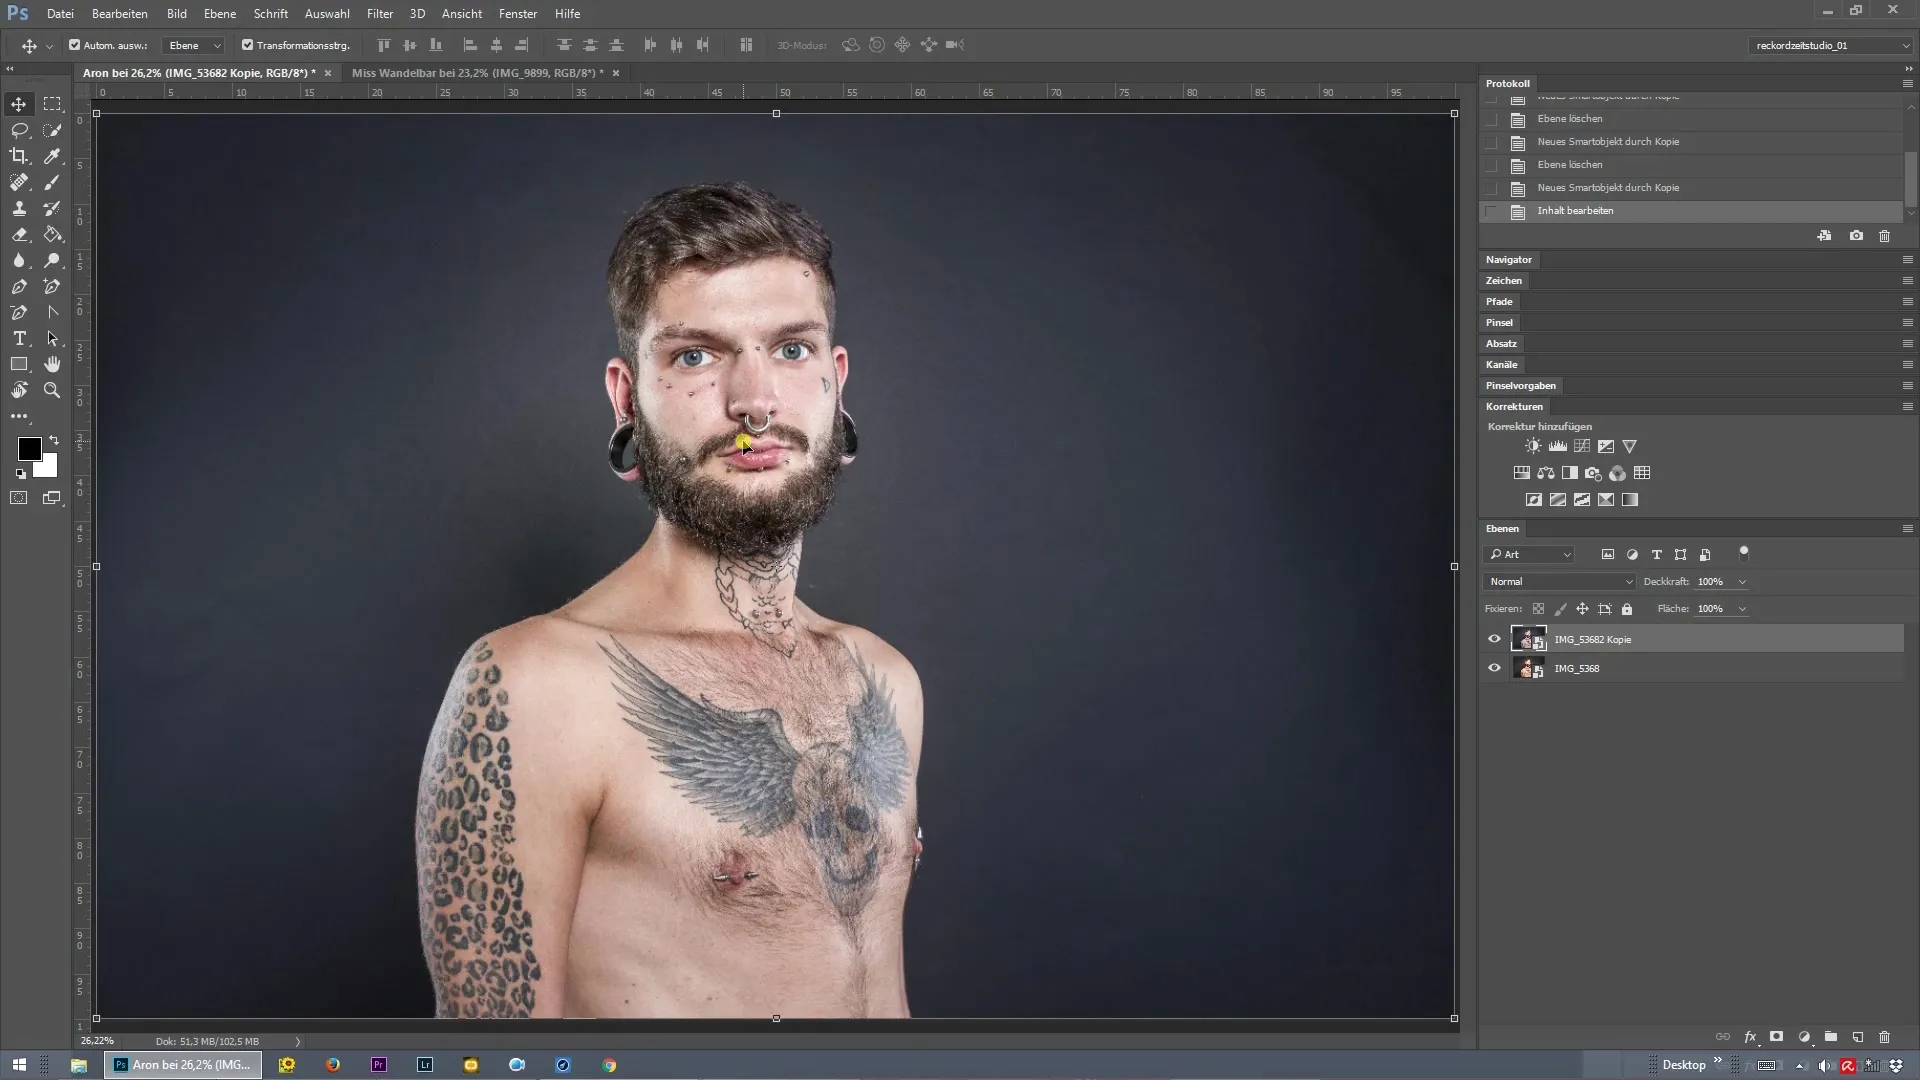
Start with the RAW development of your image to lay the groundwork for editing. Make sure to open the image in 8 Bit. This is important for correctly applying frequency separation. Use the function key to play back the previous actions and prepare the image for retouching.
Step 2: Make Frequency Separation Settings
Activate frequency separation to address the pores in the model's face, Aron. Choose a radius value that makes the pores no longer visible. A value of 8 pixels has proven effective in this case. Confirm your selection with "OK" and then start editing.
Step 3: Set Up Healing Brush
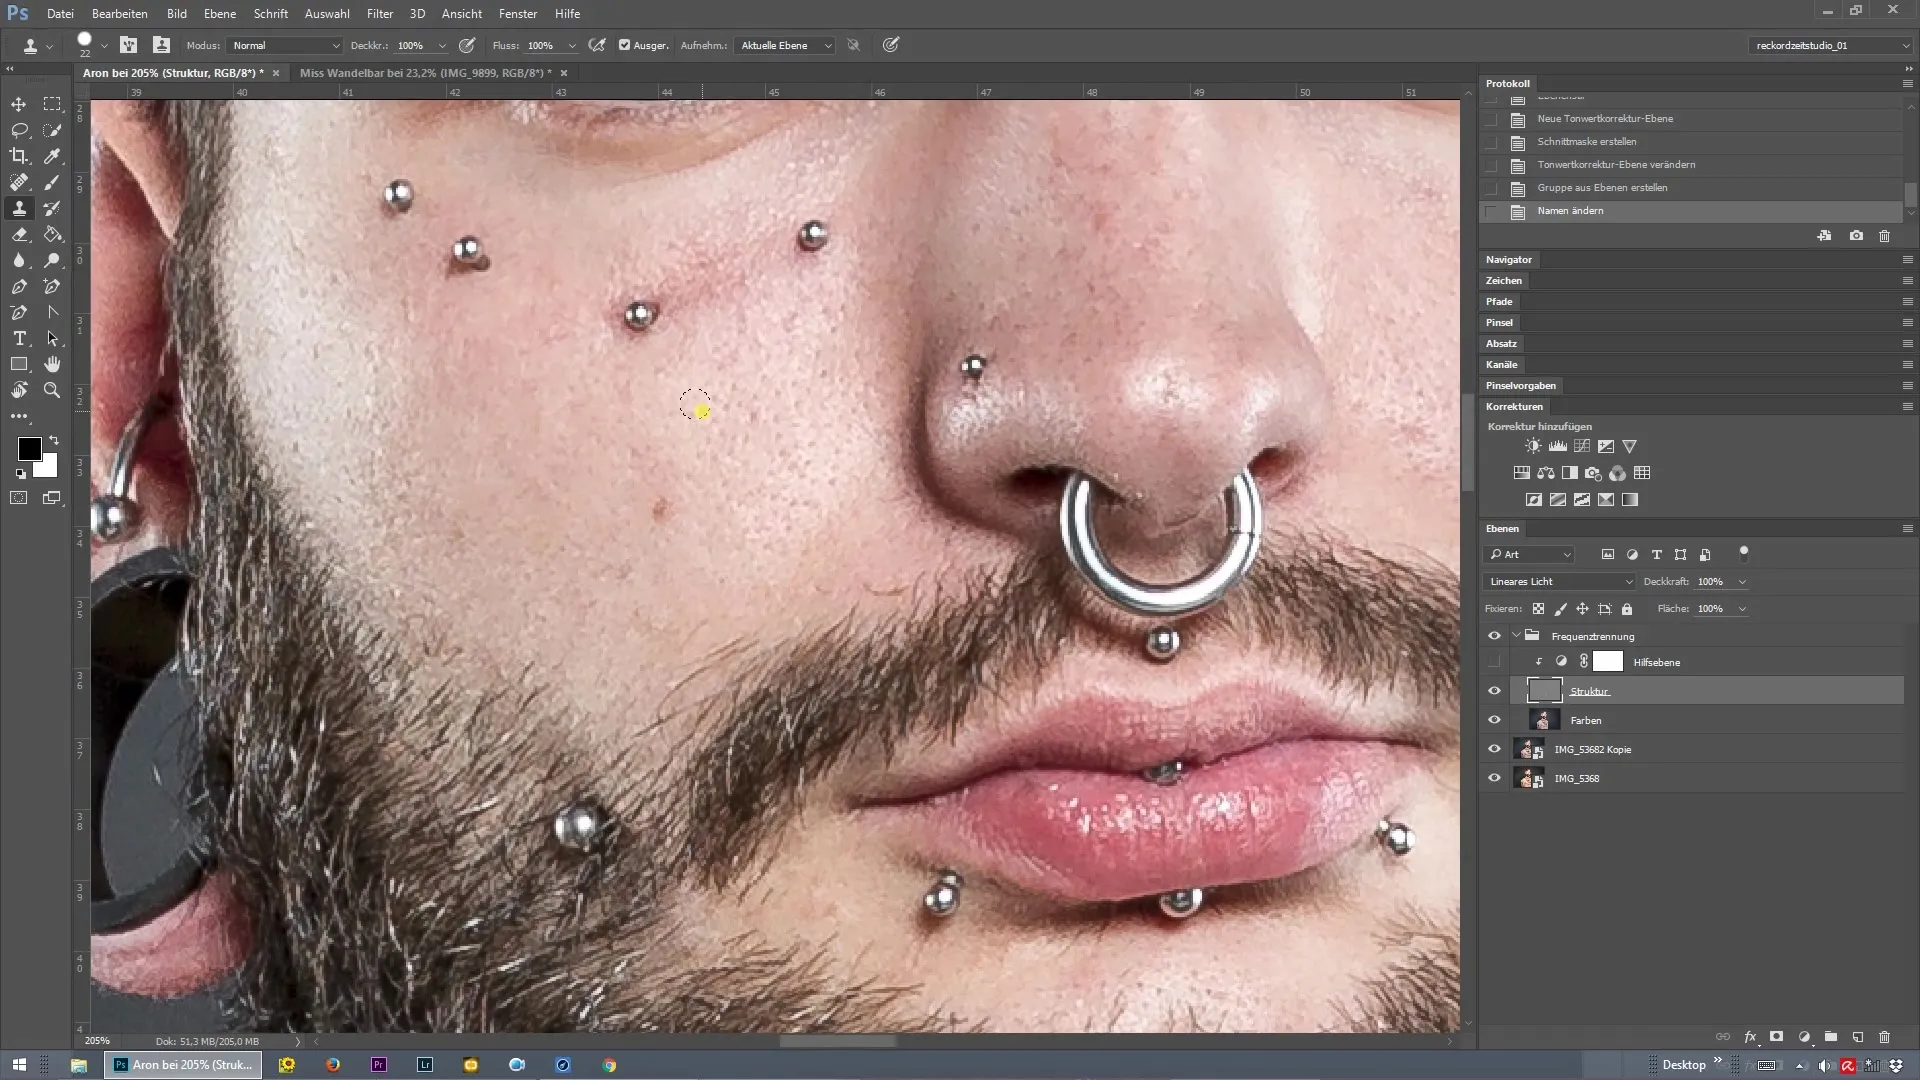
Select the healing brush now. Make sure the opacity is set to 100%. With the Alt key pressed, you can sample a clean structure that you then apply over the skin blemishes. It is important to choose a hardness of 100% to avoid unsightly transitions.
Step 4: Remove Skin Blemishes
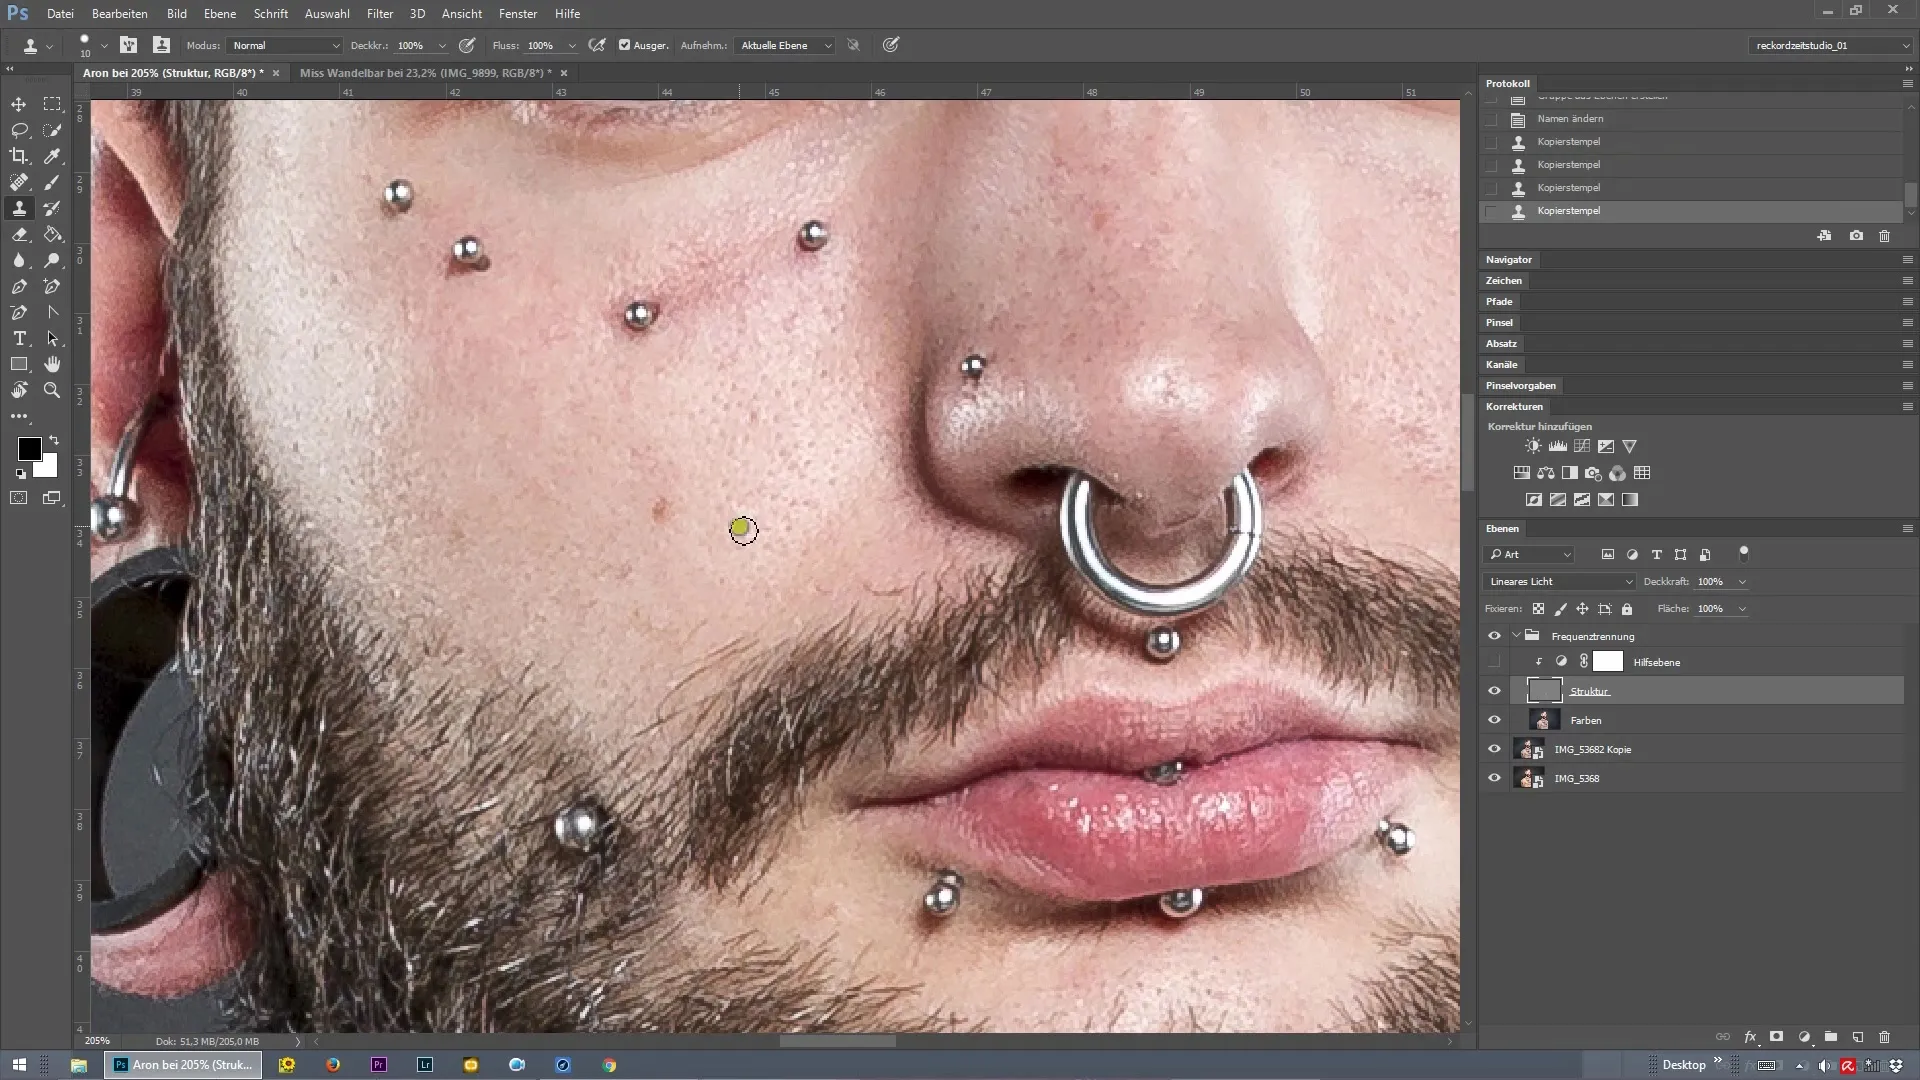
Start with the retouching and go through the entire image step by step. Reduce the visibility of the pores without losing the natural skin texture. While retouching, be careful not to create duplications in the texture. You can avoid this by always sampling from the correct spot.
Step 5: Review the Retouching
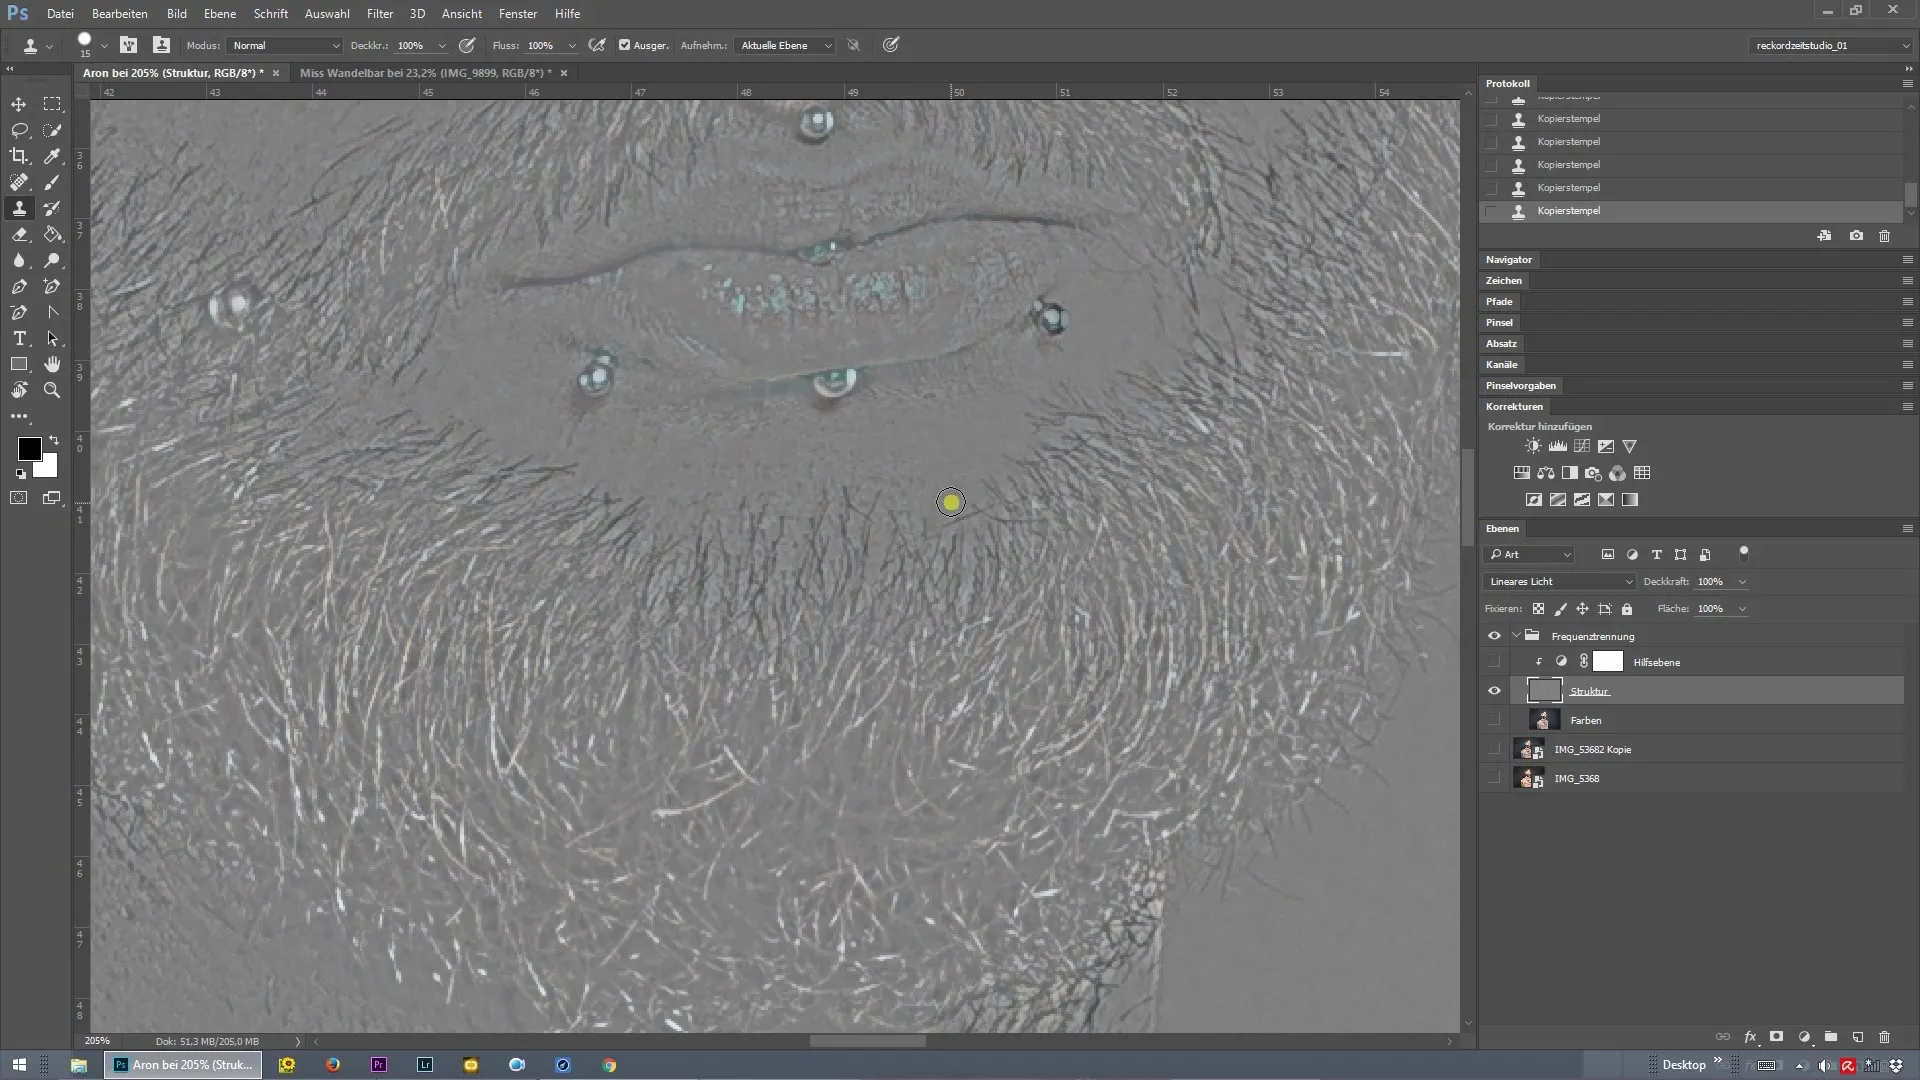
Take time to regularly review your progress. Switch to the helper layer to better see the structure. If you notice that some colors are off or there are distortions, you can identify this more clearly. Make sure you are working on the correct layer to avoid unwanted effects.
Step 6: Detail Retouching
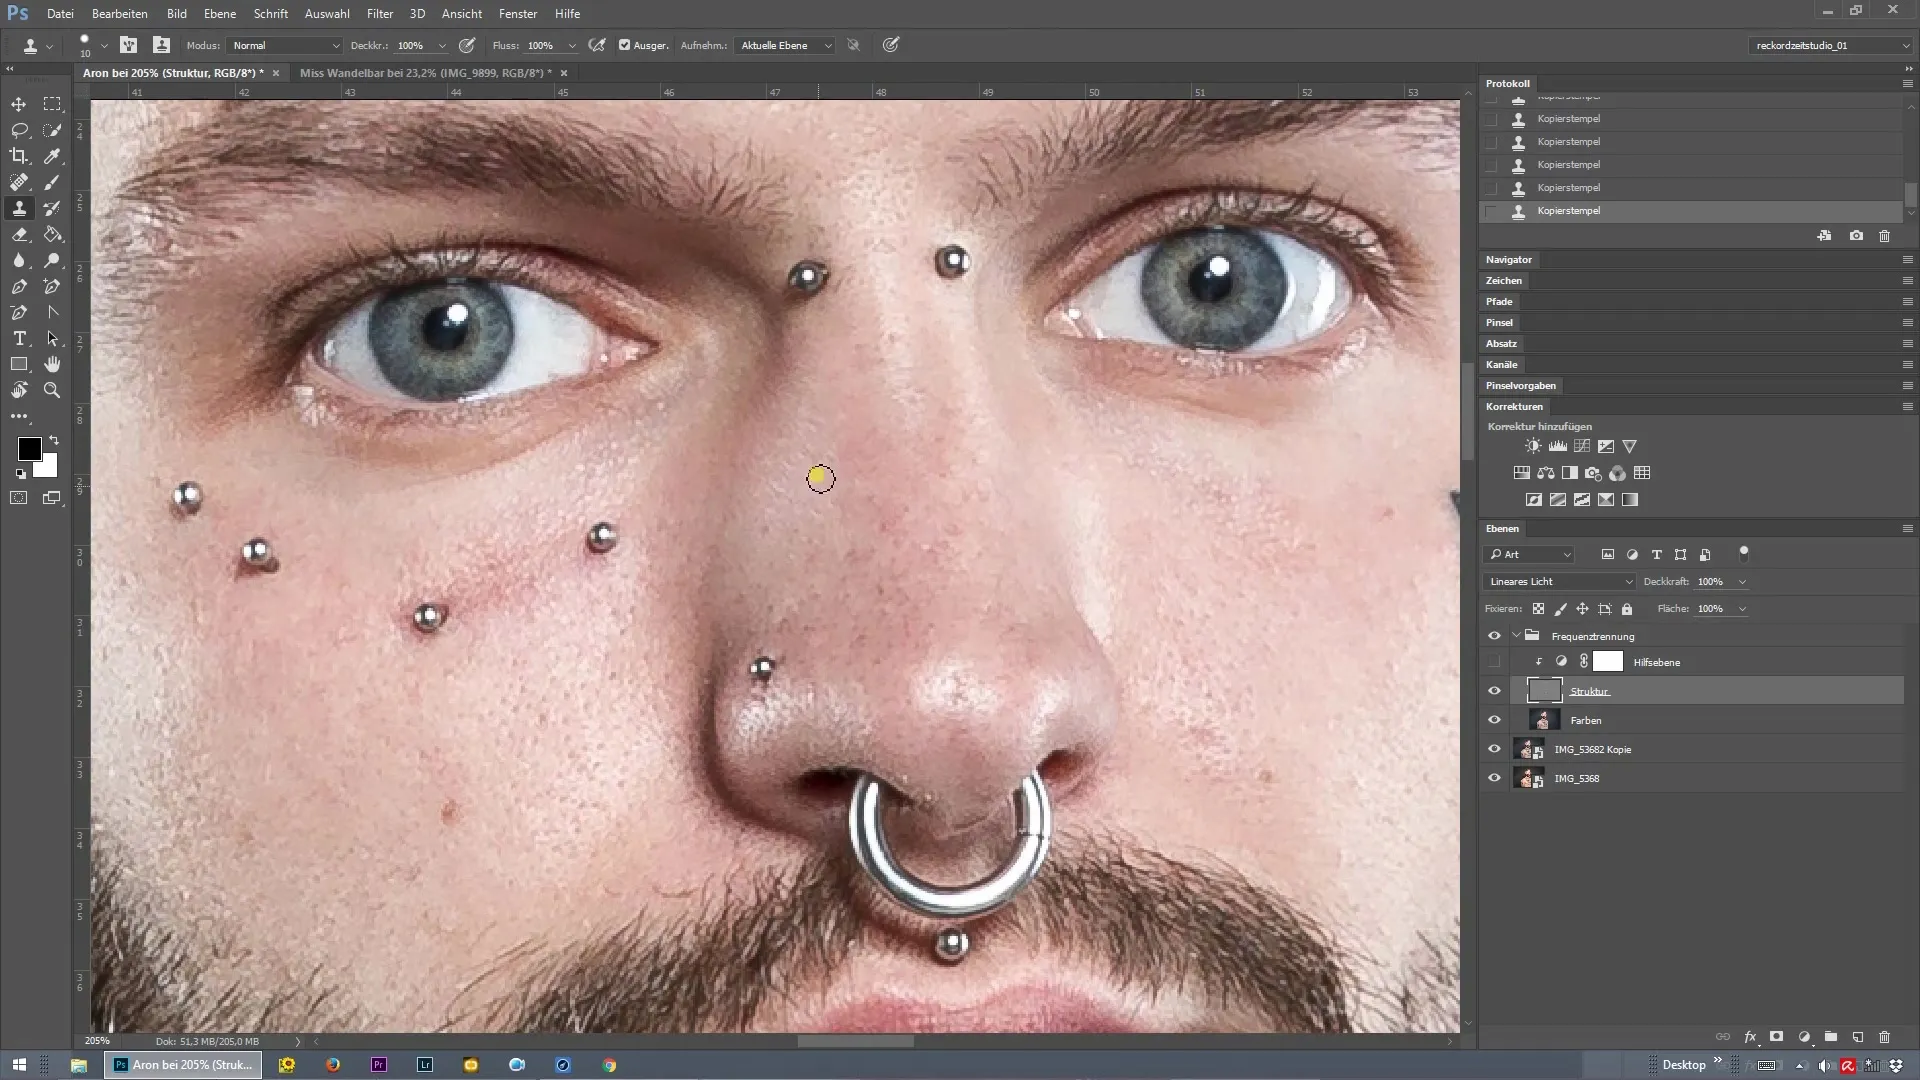
Once you have addressed the larger blemishes, focus on the smaller details like fine hairs. Use the same technique of the healing brush to remove unwanted hairs around the mouth or in other areas. Precision is required here to achieve a clean result.
Step 7: Final Review and Fine-Tuning
After you have edited the entire image, take a final look at the retouching. If you are satisfied with the results, you can turn on the helper layer again to ensure everything looks harmonious. If necessary, you can make further corrections here to achieve an ideal result.
Summary – Frequency Separation in Photoshop: A Structured Guide to Skin Retouching
Frequency separation is a powerful tool for anyone working with skin retouching in Photoshop. With this guide, you have all the steps to smoothly progress from RAW development to final review without complications. Good practice and the use of this technique will help you work faster and more precisely.
Frequently Asked Questions
What is frequency separation in Photoshop?Frequency separation is a technique that allows you to edit color and texture in an image separately.
When should I use frequency separation?Use frequency separation when you want to edit skin blemishes without losing the natural texture.
How can I ensure that I don't create duplications in retouching?Make sure you always sample from the correct spot and regularly review your retouching.
What is the benefit of using helper layers?Helper layers enhance the visibility of the structure and help you make your retouching more effective.


