The use of interactive elements in web applications can be an exciting challenge. In this guide, you will learn how to implement drag & drop functionality using jQuery UI. The principle is simple and allows you to move elements within your web pages, thus creating a dynamic user experience. Let's dive in and explore the benefits of the drag & drop mechanism step by step.
Main insights You will understand how to create draggables with jQuery UI and how to manage various events, from basic drag functions to callback mechanisms that give you more control over interactive elements.
Step-by-Step Guide
Basics of Drag & Drop Functionality
Start by integrating the jQuery UI library into your project. You can either host it locally or include it via a content delivery network (CDN). Make sure the basic structure of your HTML file is set up, and insert a div container that you want to use as a draggable element.
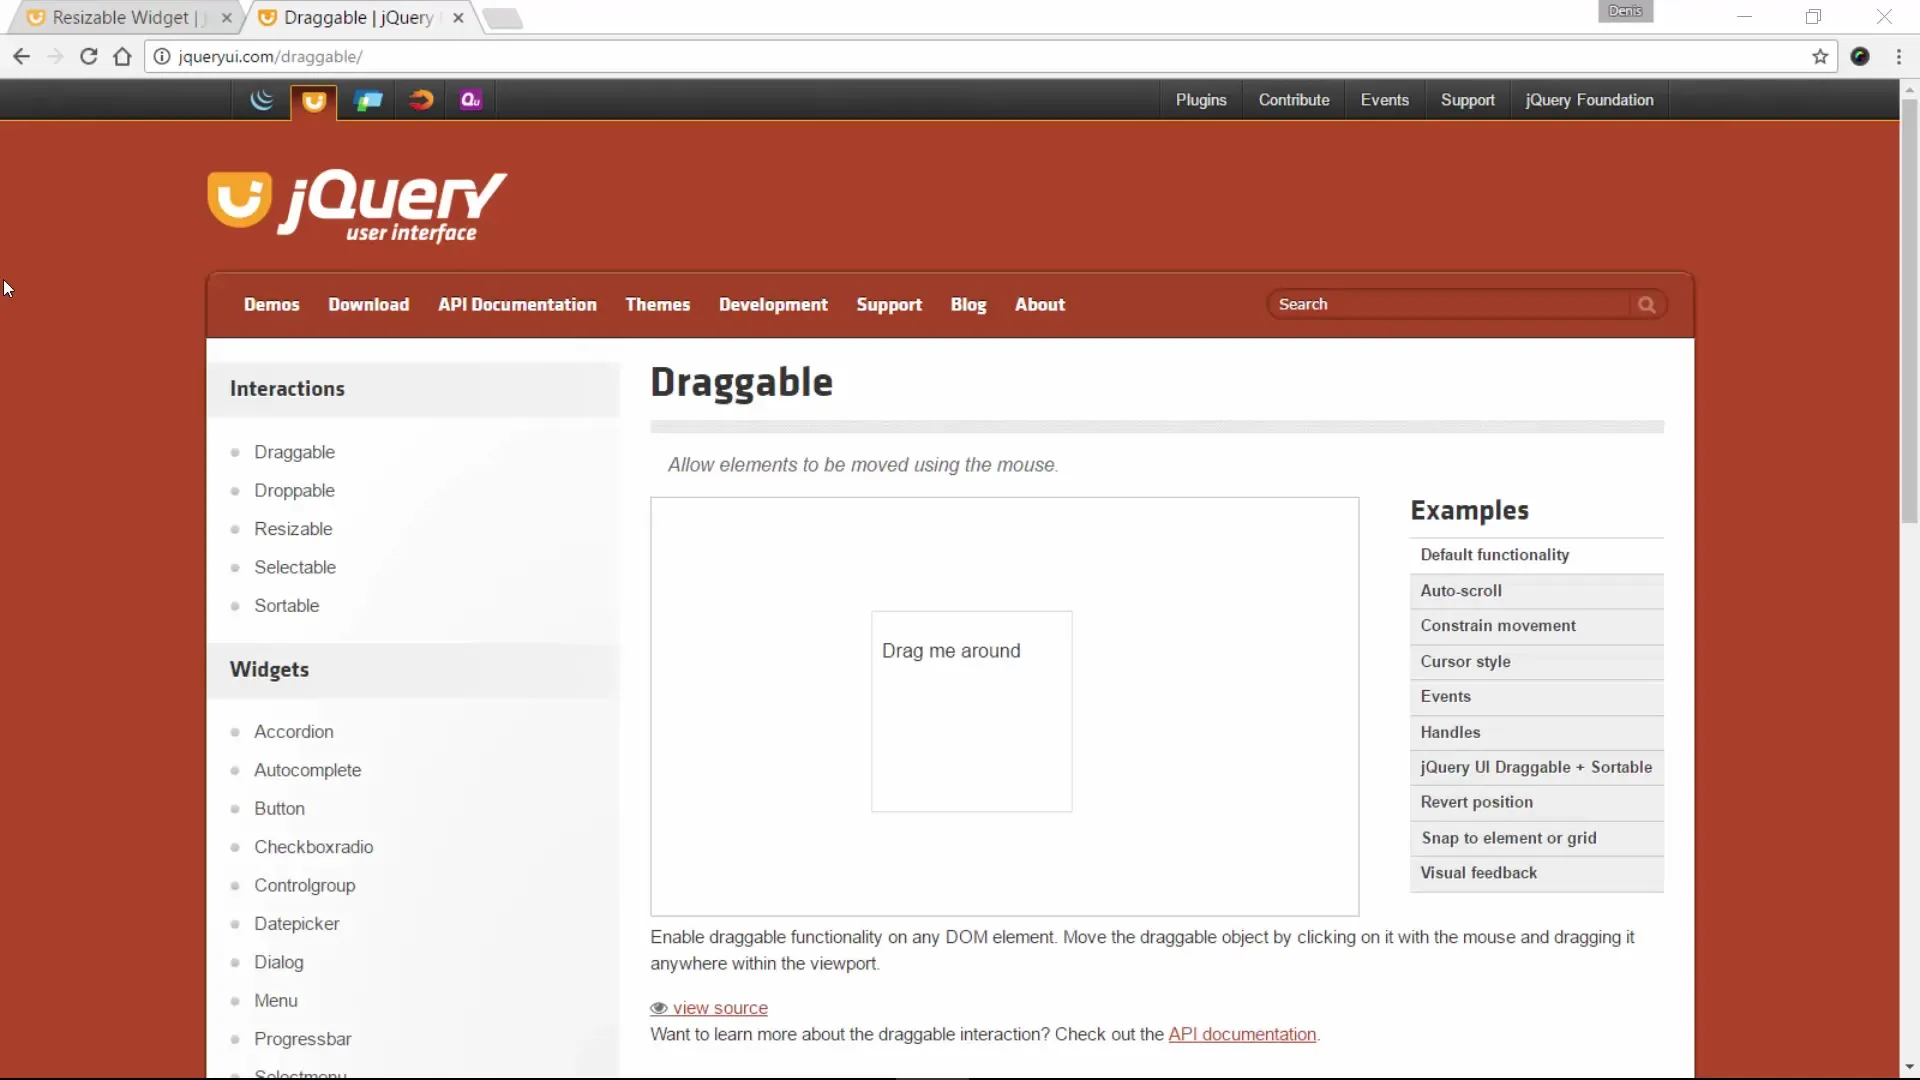
Now we will create a simple draggable element. In this example, we will use the standard widget "Drag me around".
Remember to also include jQuery and jQuery UI in your project.
Setting Up jQuery UI and Activating the Drag Function
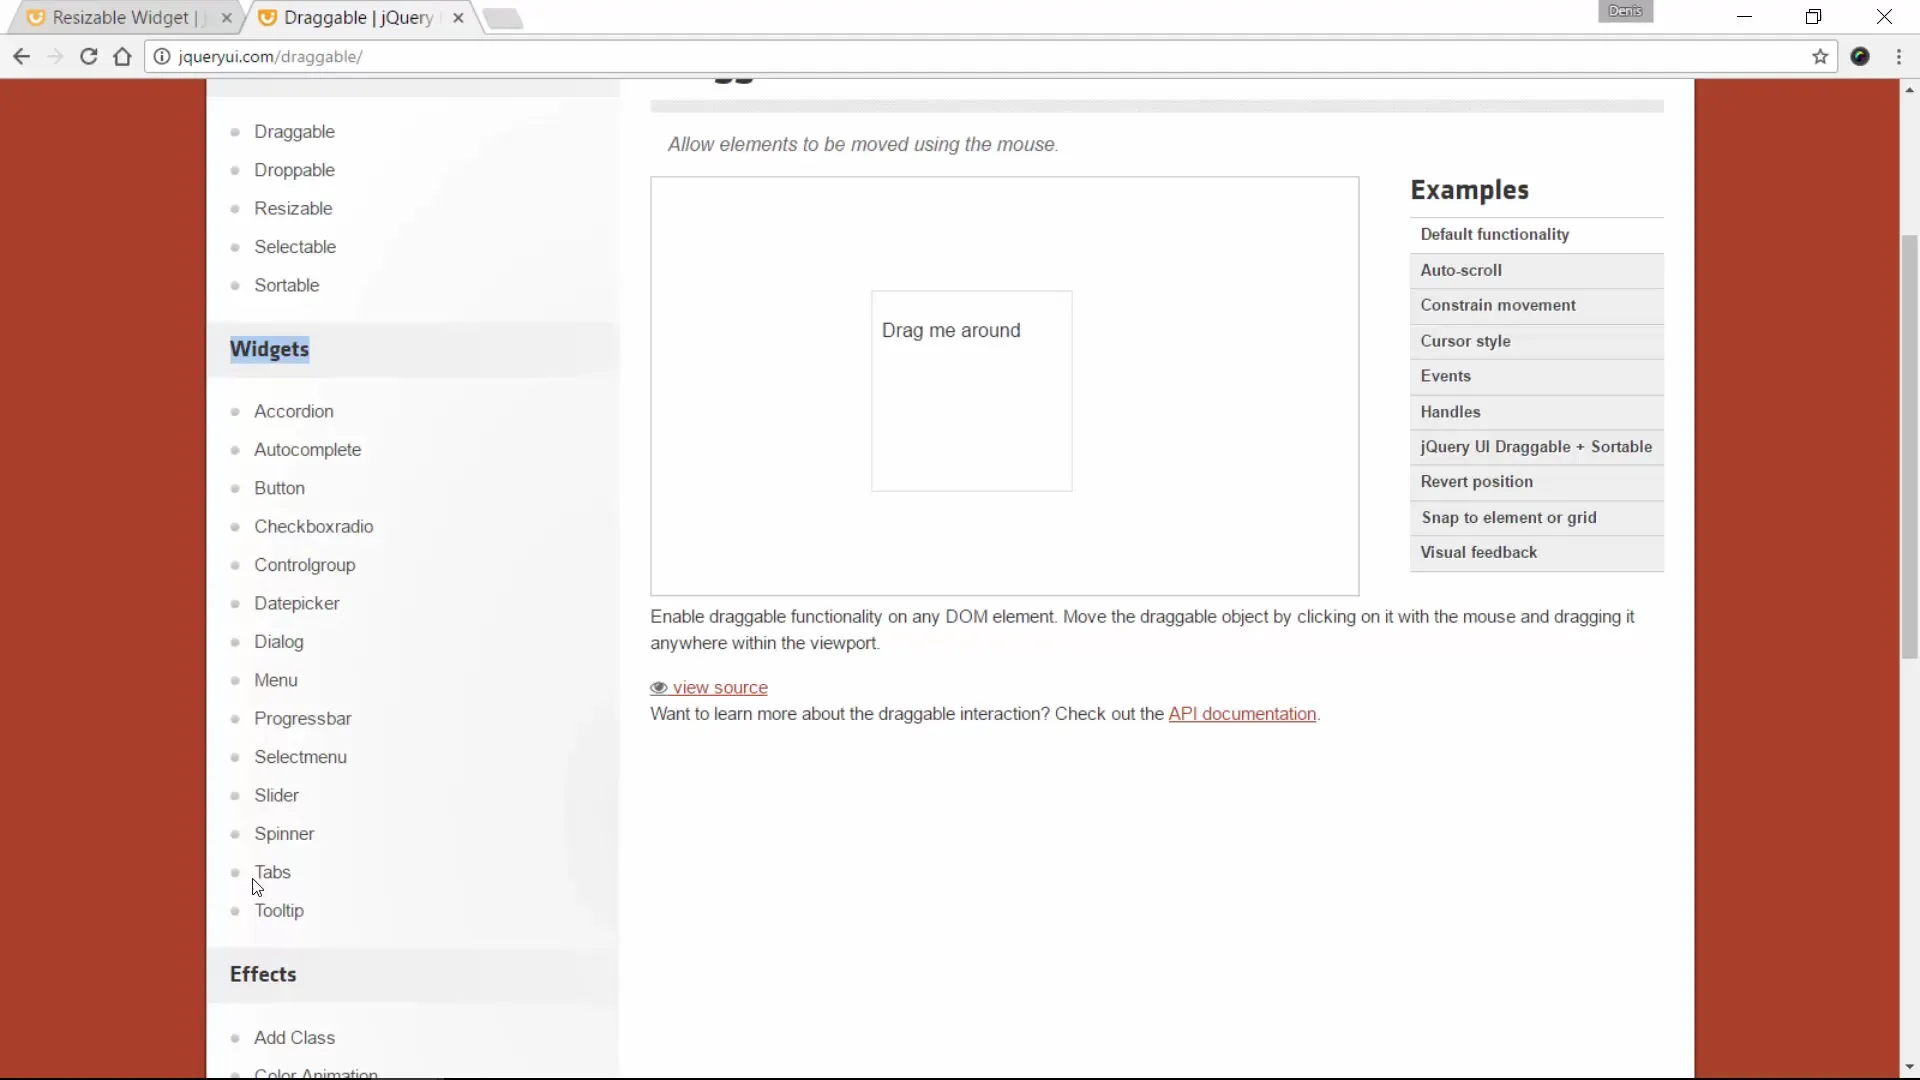
After you have created the HTML element, it is time to activate the drag functionality. You can achieve this by simply applying jQuery UI to your element.
Update your page and check whether your element can now actually be moved.
Events for More Interactivity
Now is the right time to add some interactivity. jQuery UI offers various events that can help you control user behavior accordingly.
When you drag an element with the mouse, different events such as drag, start, and stop can be useful. You can use these, for example, to update the status or trigger a function with each drag.
With this code, you can track the position of the element while it is being dragged.

Countdown for Dragging Interactions
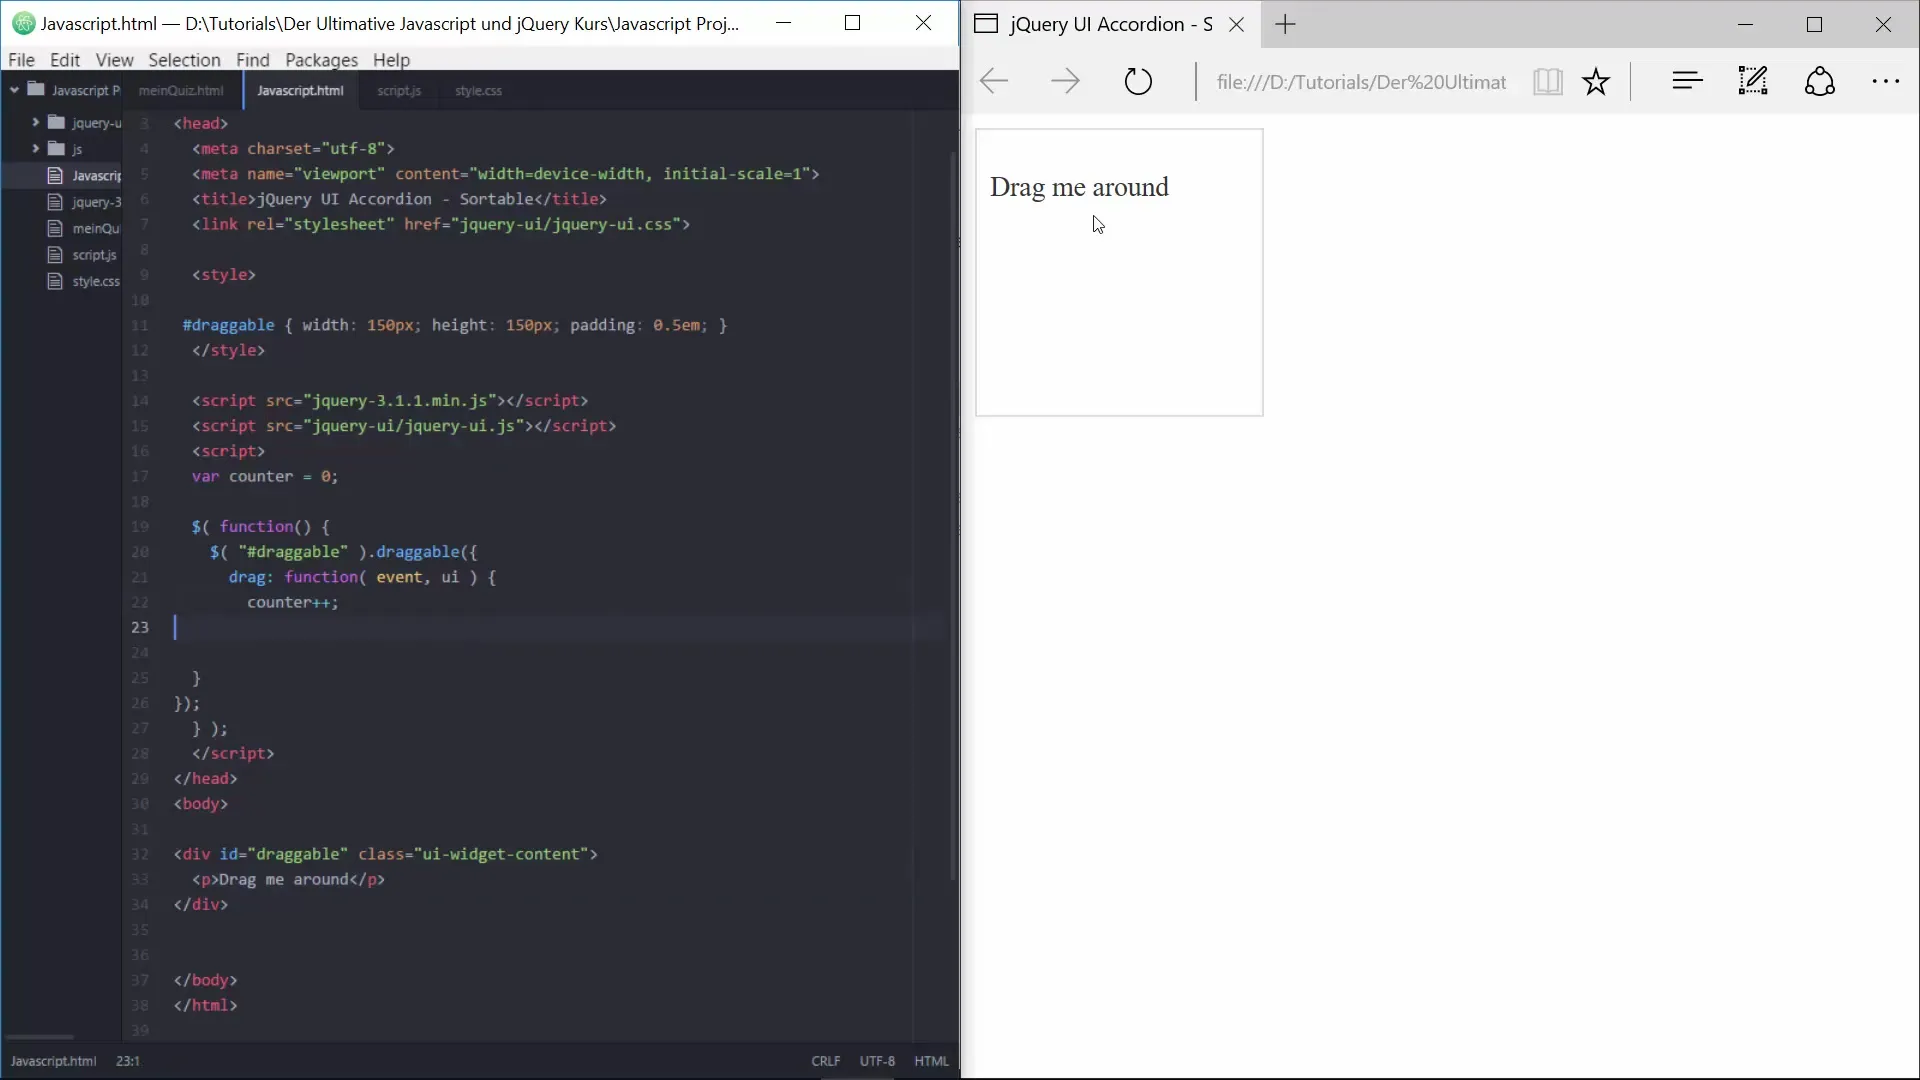
To further increase interactivity, you could implement a counter that counts the number of drag operations.
Specific Conditions with the Start Event
If you want to make the trigger conditions for dragging even more specific, you can use the "start" event. Here you can check, for example, whether a certain number of drag operations have already occurred.
The script mentioned above issues a warning after the element has been moved five times.
Disabling the Drag Element
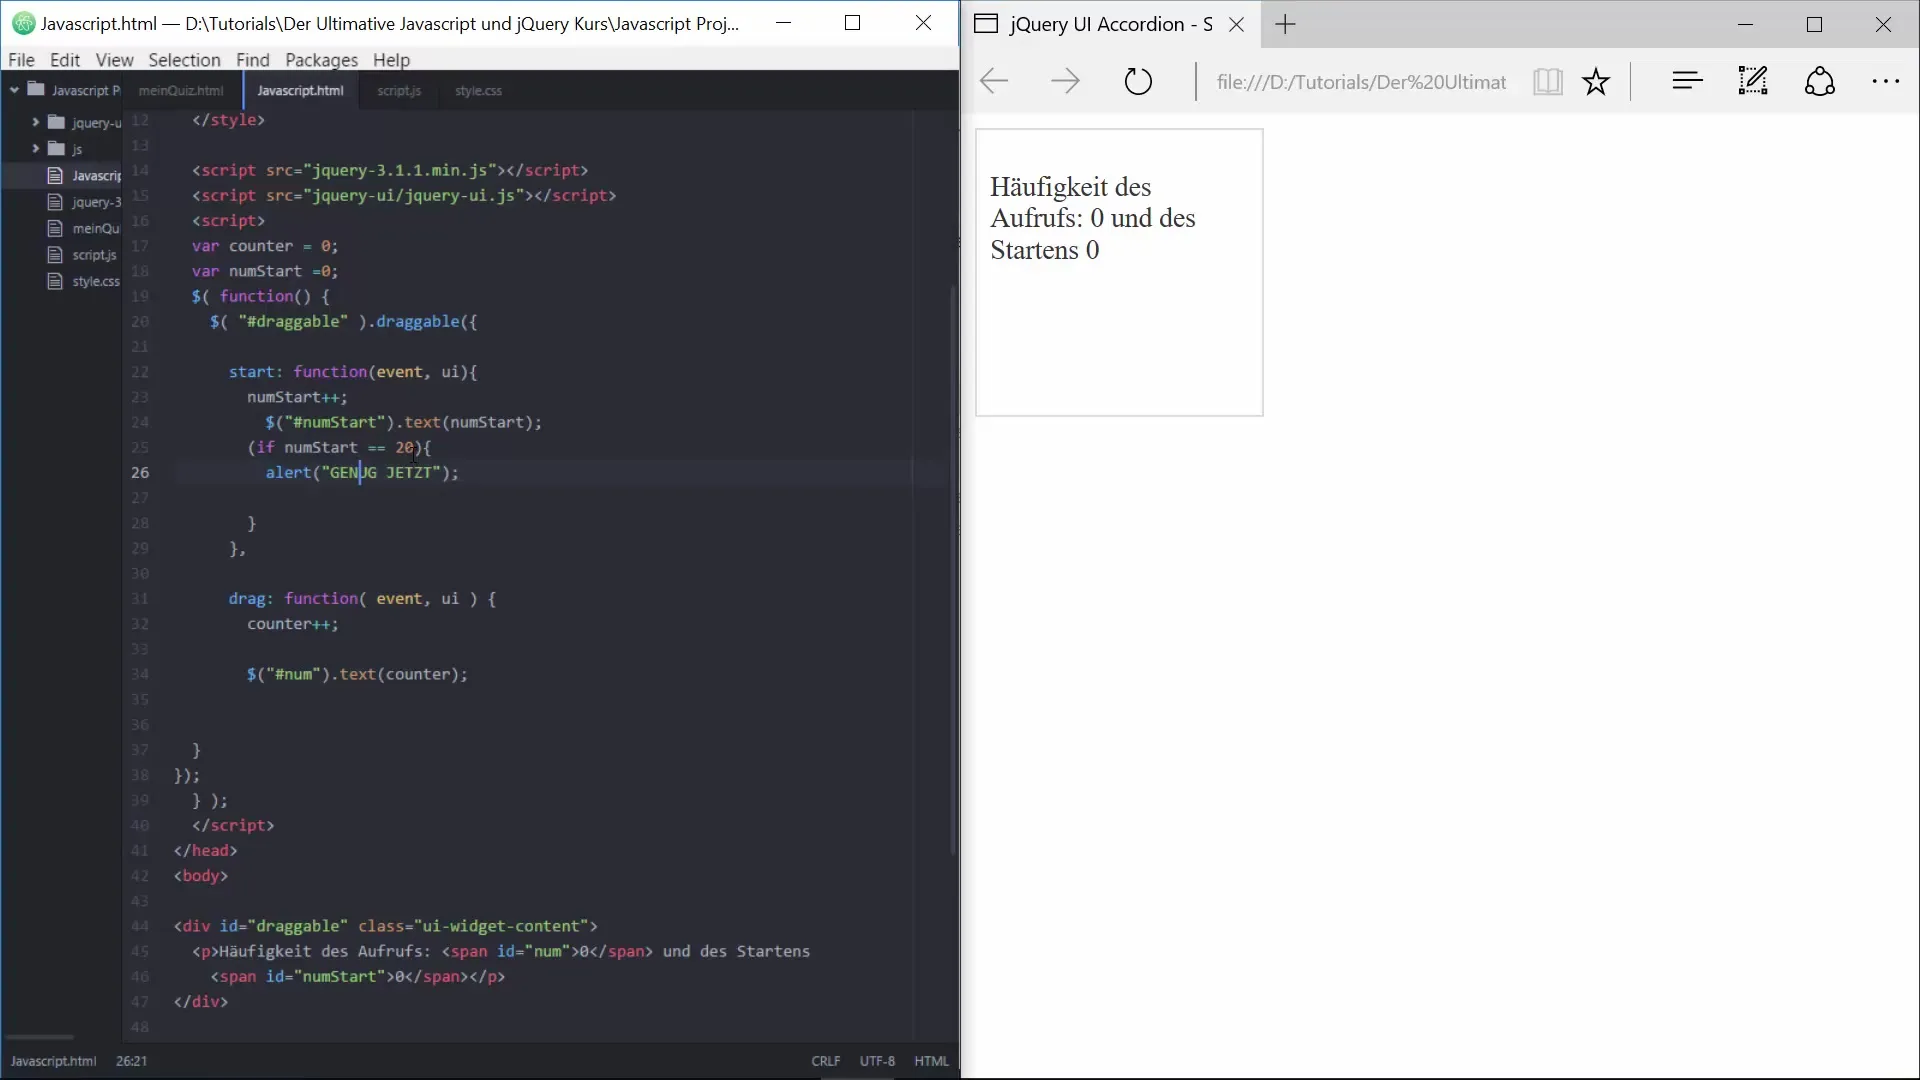
If you wish to completely stop dragging, this is also simple with jQuery UI. You can use the "disable" method to deactivate the draggable element after a certain number of drag operations have been reached.
This ensures that the element can no longer be dragged after the counter exceeds a certain value.
Conclusion on Drag & Drop Implementation
The drag & drop functionality is an excellent means to promote user interaction and create a dynamic web application. With the tools provided by jQuery UI, you have the opportunity to make your elements interactive with a variety of events and callback functions.
Summary - Learning Drag & Drop for Interactive Elements in JavaScript with jQuery
In your efforts to create interactive web applications, you have now learned how to implement drag & drop functionality using jQuery UI. By utilizing events and callback functions, you can control and enhance user interactions.
Frequently Asked Questions
How do I integrate jQuery UI into my project?You can host jQuery UI locally or include it via a CDN.
How do I activate the drag functionality?Use the.draggable() method on your jQuery element.
Is there a way to count drag operations?Yes, by implementing a counter in the drag event.
Can I disable drag & drop after a certain number?Yes, with the.draggable("disable") method, you can deactivate the element.
Could I add animations during dragging?Yes, you can trigger CSS animations or jQuery animations during the drag and drop events.


