Do you want to implement an interactive clock on your website? Don’t worry, it’s easier than it seems! In this guide, we will show you how to create a clock with just a few lines of code that updates every second. This way, you get not only a useful tool but also an effective project to improve your JavaScript and jQuery skills. Let’s get started!
Key insights
- Using JavaScript to create a dynamic clock.
- Using setTimeout to regularly update the time.
- Formatting the time so that it displays in an appealing format.
Step-by-Step Guide
Step 1: Set the Basics
First, we begin by setting up the foundation for our project. The first step is to delete any previous code that we no longer need. You want to create a clean start.

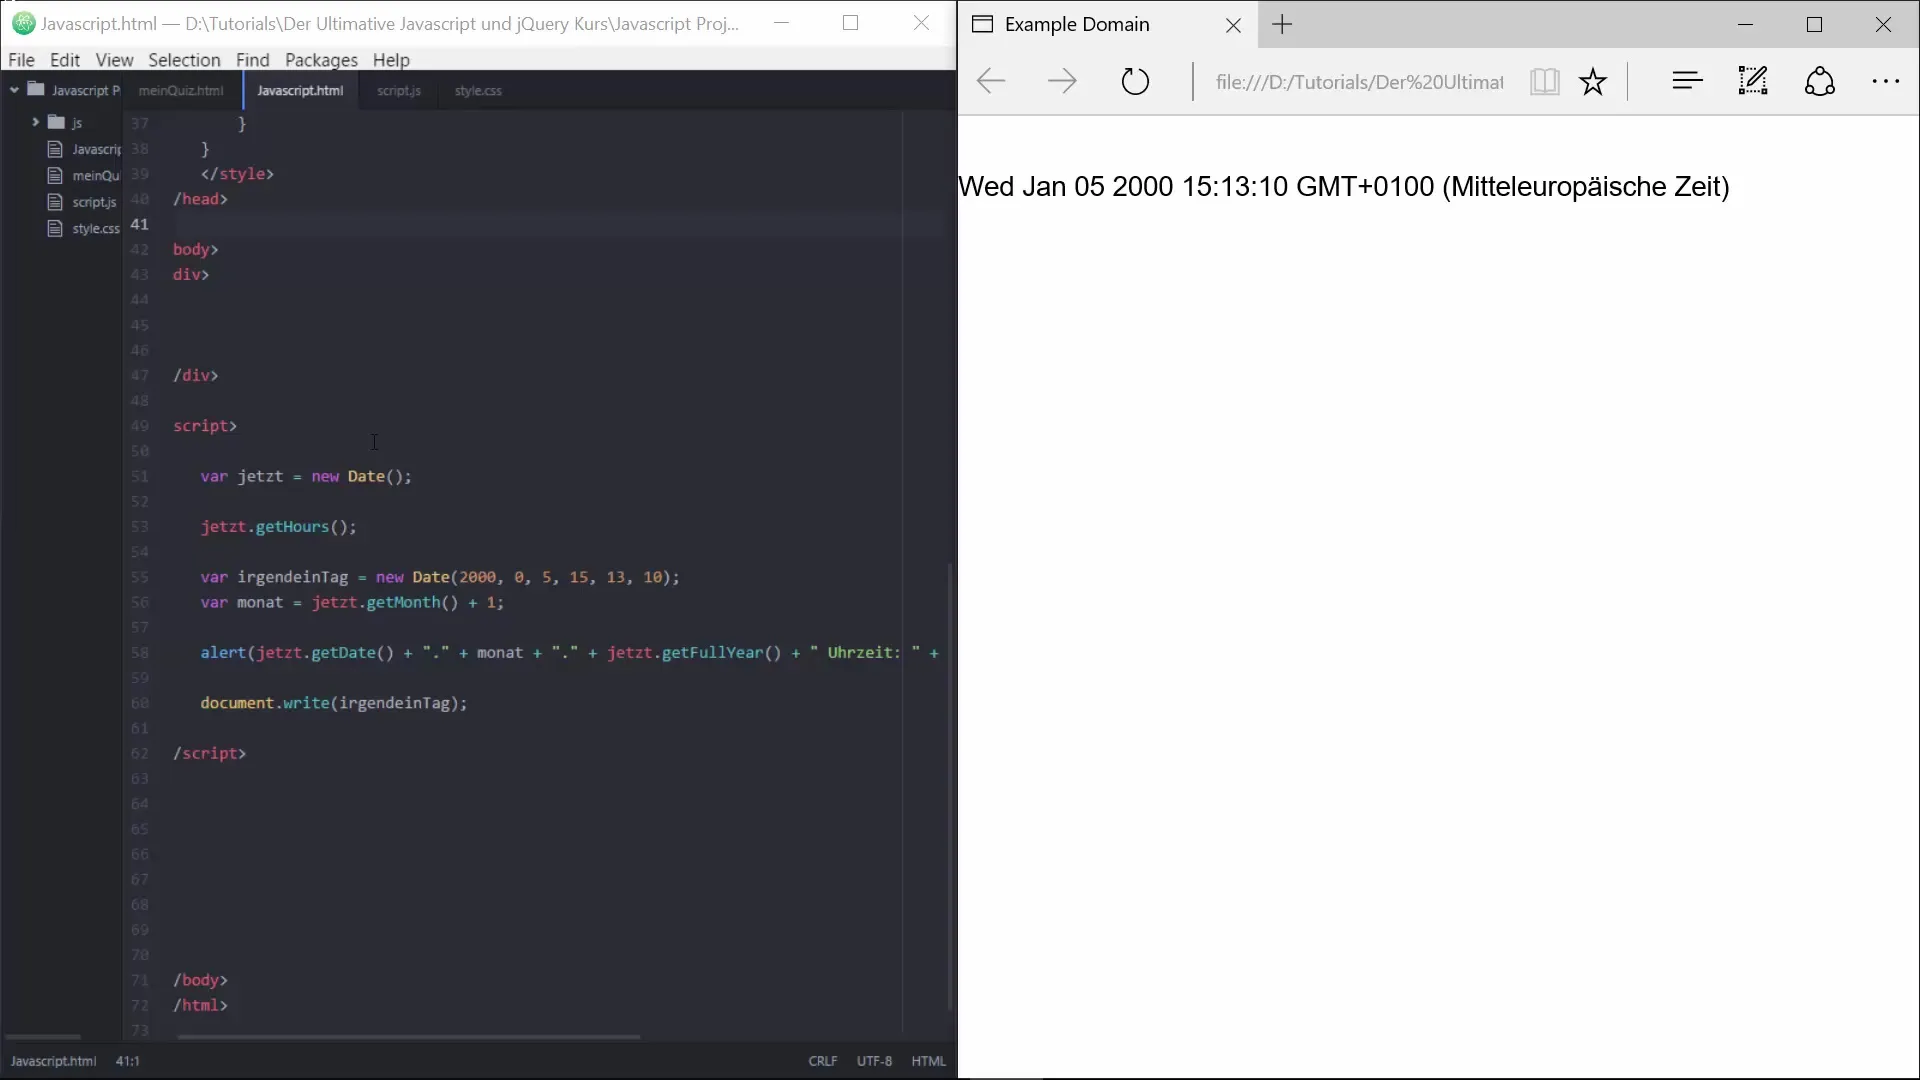
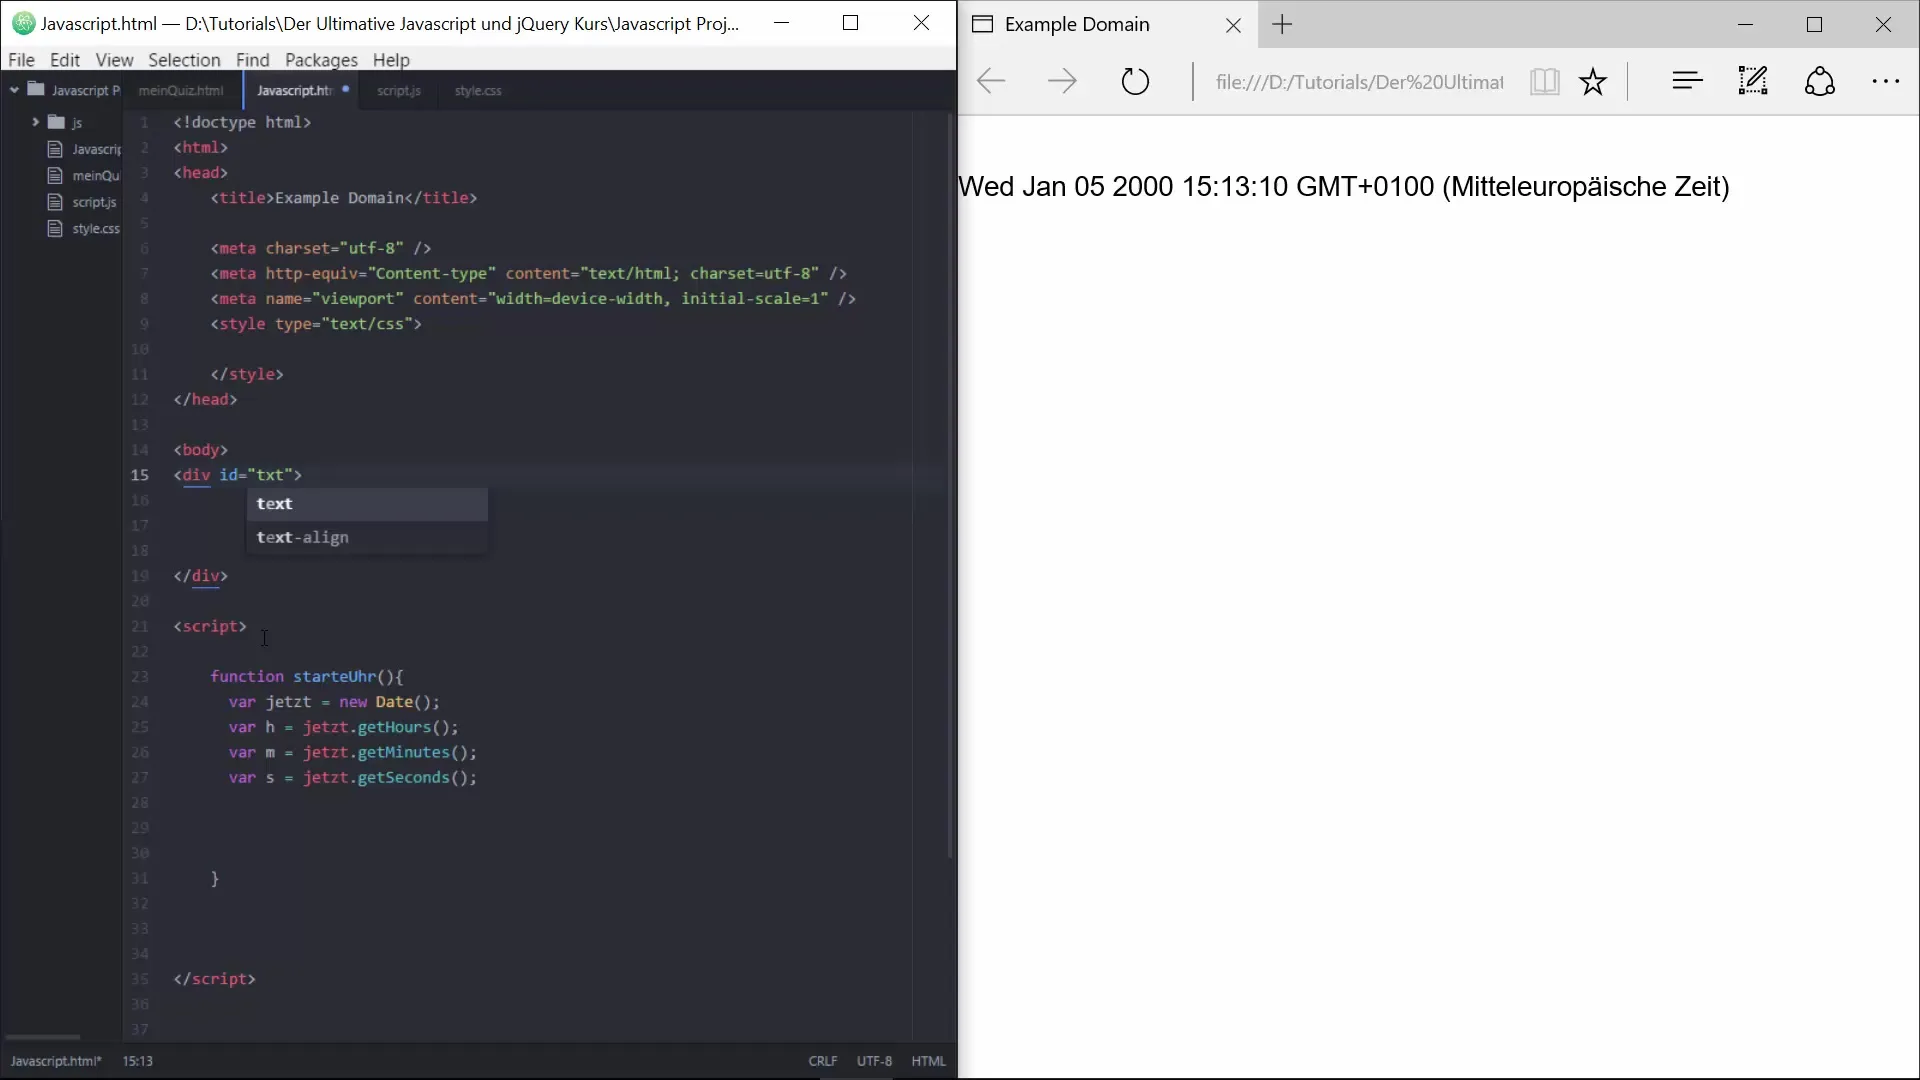
Now, we add a function responsible for starting the clock. Name this function “startUhr”. To use the current time, we will use the new Date object.
Step 2: Capture Time
Within the startUhr function, you need to first capture the hours, minutes, and seconds. You can easily achieve this through the methods getHours(), getMinutes(), and getSeconds().
Step 3: Create Clock Element in HTML
Next, you’ll need an HTML element where the time will be displayed. Assign the ID “uhr” to this element. This is important because later you will reference the element using this ID.
Step 4: Set Clock Content
Now that the time has been captured, it’s time to update the HTML content of the clock. You can do this by setting the innerHTML of the “uhr” element to the formatted time. The time should be displayed in the form “HH:MM:SS”.
Step 5: Regularly Update the Time
To update the time regularly, you can use the setTimeout function. This function executes the startUhr function every 500 milliseconds.
Step 6: Add “onload” Event
To ensure that the clock function starts when the webpage is loaded, you need to set the “onload” event in the HTML area. Write: onload="startUhr()".
Step 7: Time Formatting
Now you need to ensure that the display of the time also looks uniform. If the hours, minutes, or seconds are less than 10, they should be prefixed with a leading zero. To do this, create a function called kleiner10 that checks this.
Step 8: Apply Formatting
You need to apply this new function to the hours, minutes, and seconds before you insert them into the HTML content. This makes the clock look significantly more appealing.

Step 9: Improve the Layout
You can enhance the clock further by adding CSS styles. Think about how the clock could look: centered alignment, large fonts, eye-catching background colors. This will make the clock not only functional but also visually appealing.
Summary – Build an Interactive Clock with JavaScript
You have now learned how to create an interactive clock using JavaScript that continuously updates every second. The project is not only easy to implement but also offers you the opportunity to deepen and expand your JavaScript skills.
Frequently Asked Questions
How can I adjust the speed of the clock?By changing the value in setTimeout(), you can adjust the update rate, for example from 500 milliseconds to 1000 milliseconds for one update per second.
How can I integrate the clock into a website?Integrate the JavaScript code in the -tag of your HTML page and add the corresponding HTML element with the ID “uhr”.
Can I customize the design of the clock?Yes, you can adjust the styling of the clock with CSS to change its appearance and positioning to your liking.
Does the clock support 12-hour format?Yes, you can adjust the hours with a condition to implement the 12-hour format. This requires a small change to the hour formatting.


