Embedding images is an essential part of creating websites. Although HTML serves as the structure of your site, images make the content visually appealing and engaging. In this tutorial, I’ll show you how to efficiently integrate images into your HTML projects so that your websites come to life.
Key Takeaways
- Study the proper use of the <img> tag.
- Consider image sizes for better loading speed.
- Adhere to the legal requirements for image usage.
Step-by-Step Guide to Image Integration
1. Prepare Your Image File
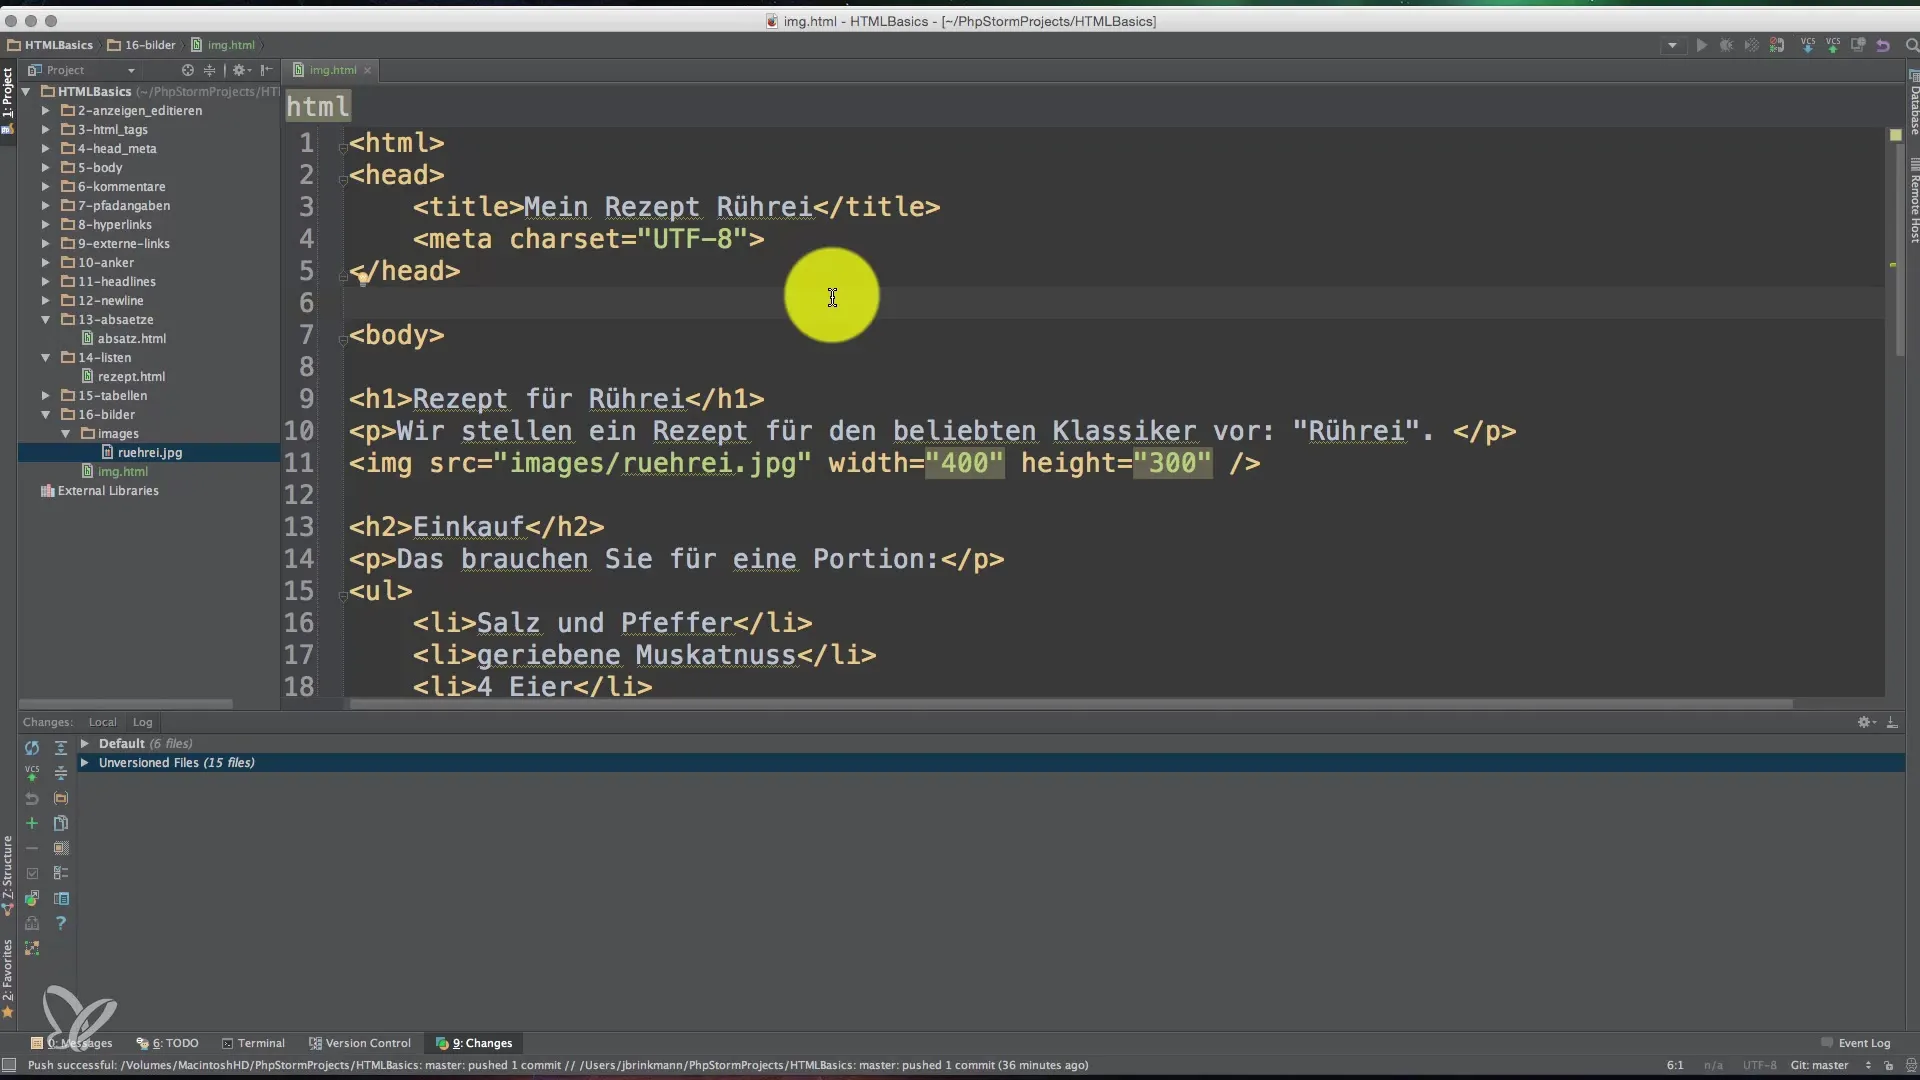
To insert an image into your project, you need the corresponding image file. In this example, we use a file named rührei.jpg. This file should be stored in the same directory as your HTML file. However, if the image is not available or stored elsewhere, you need to adjust the path accordingly.
2. The <img> Tag
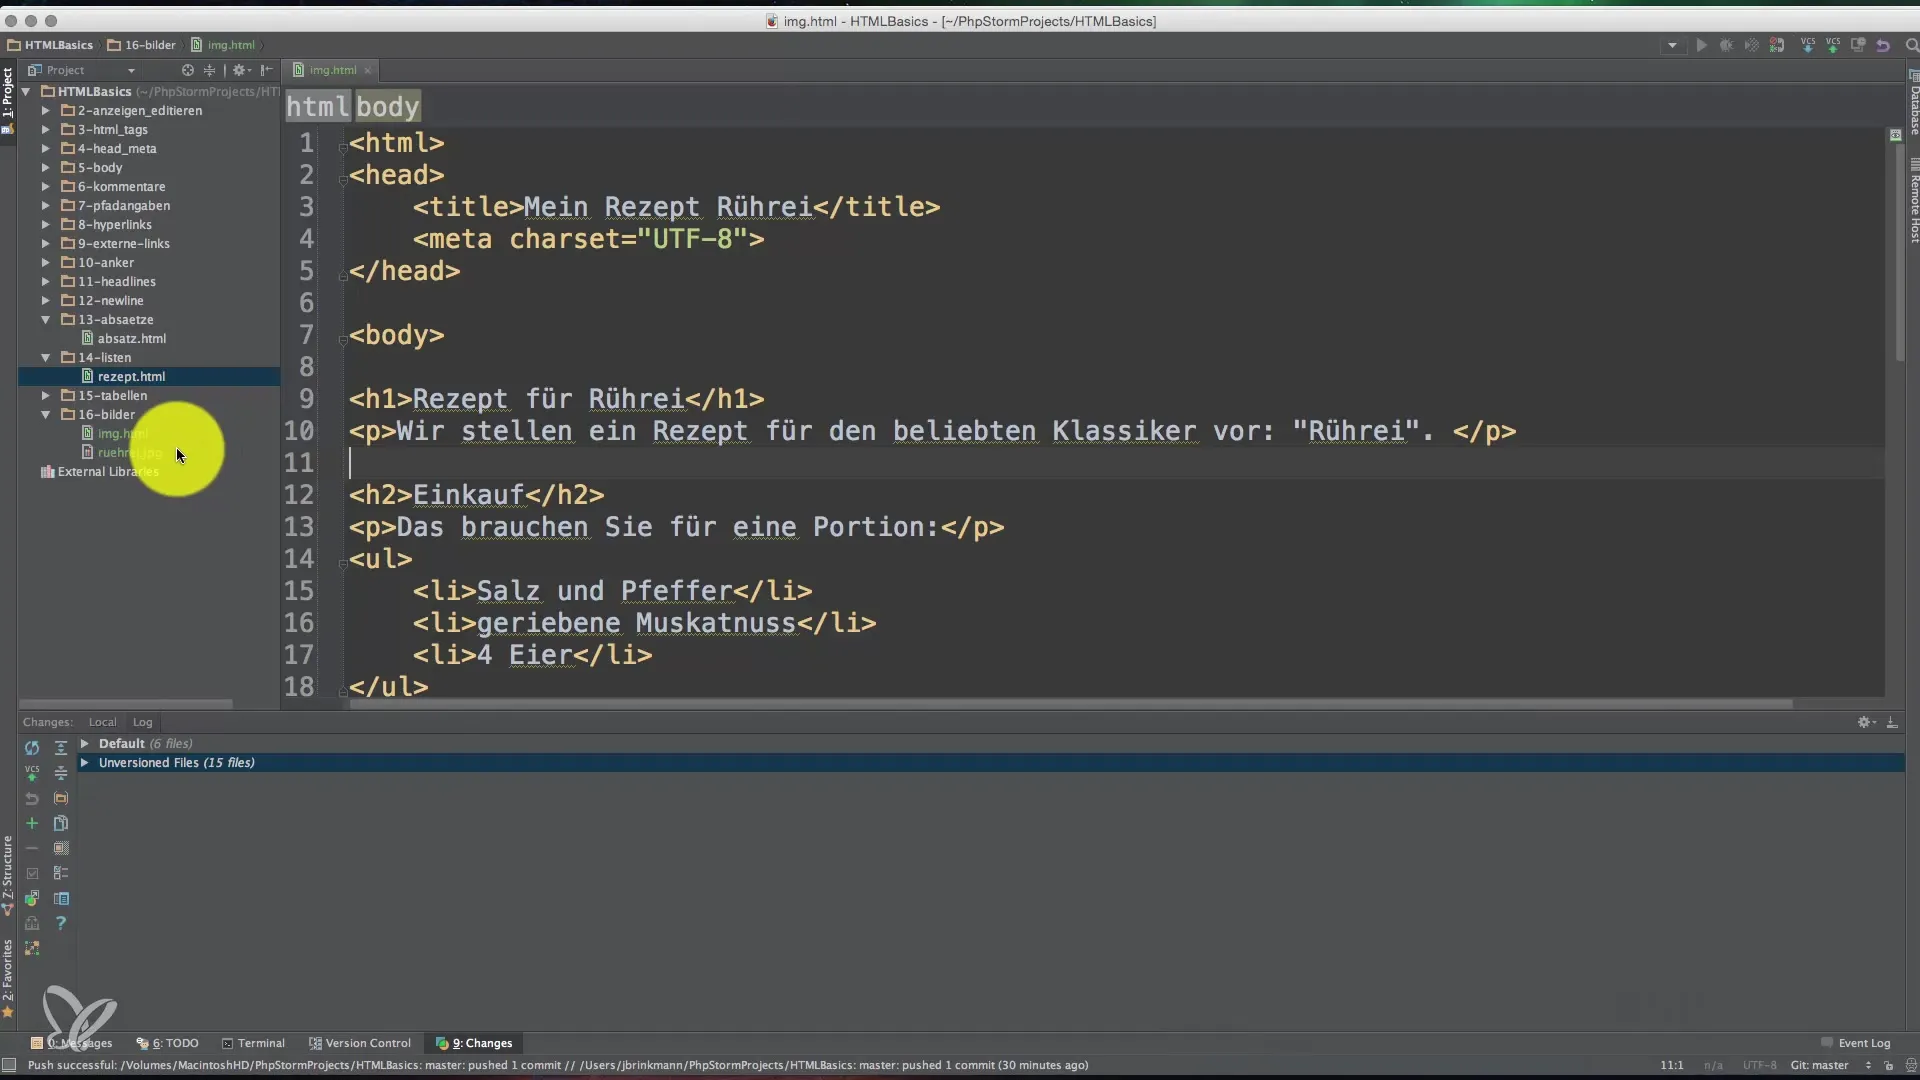
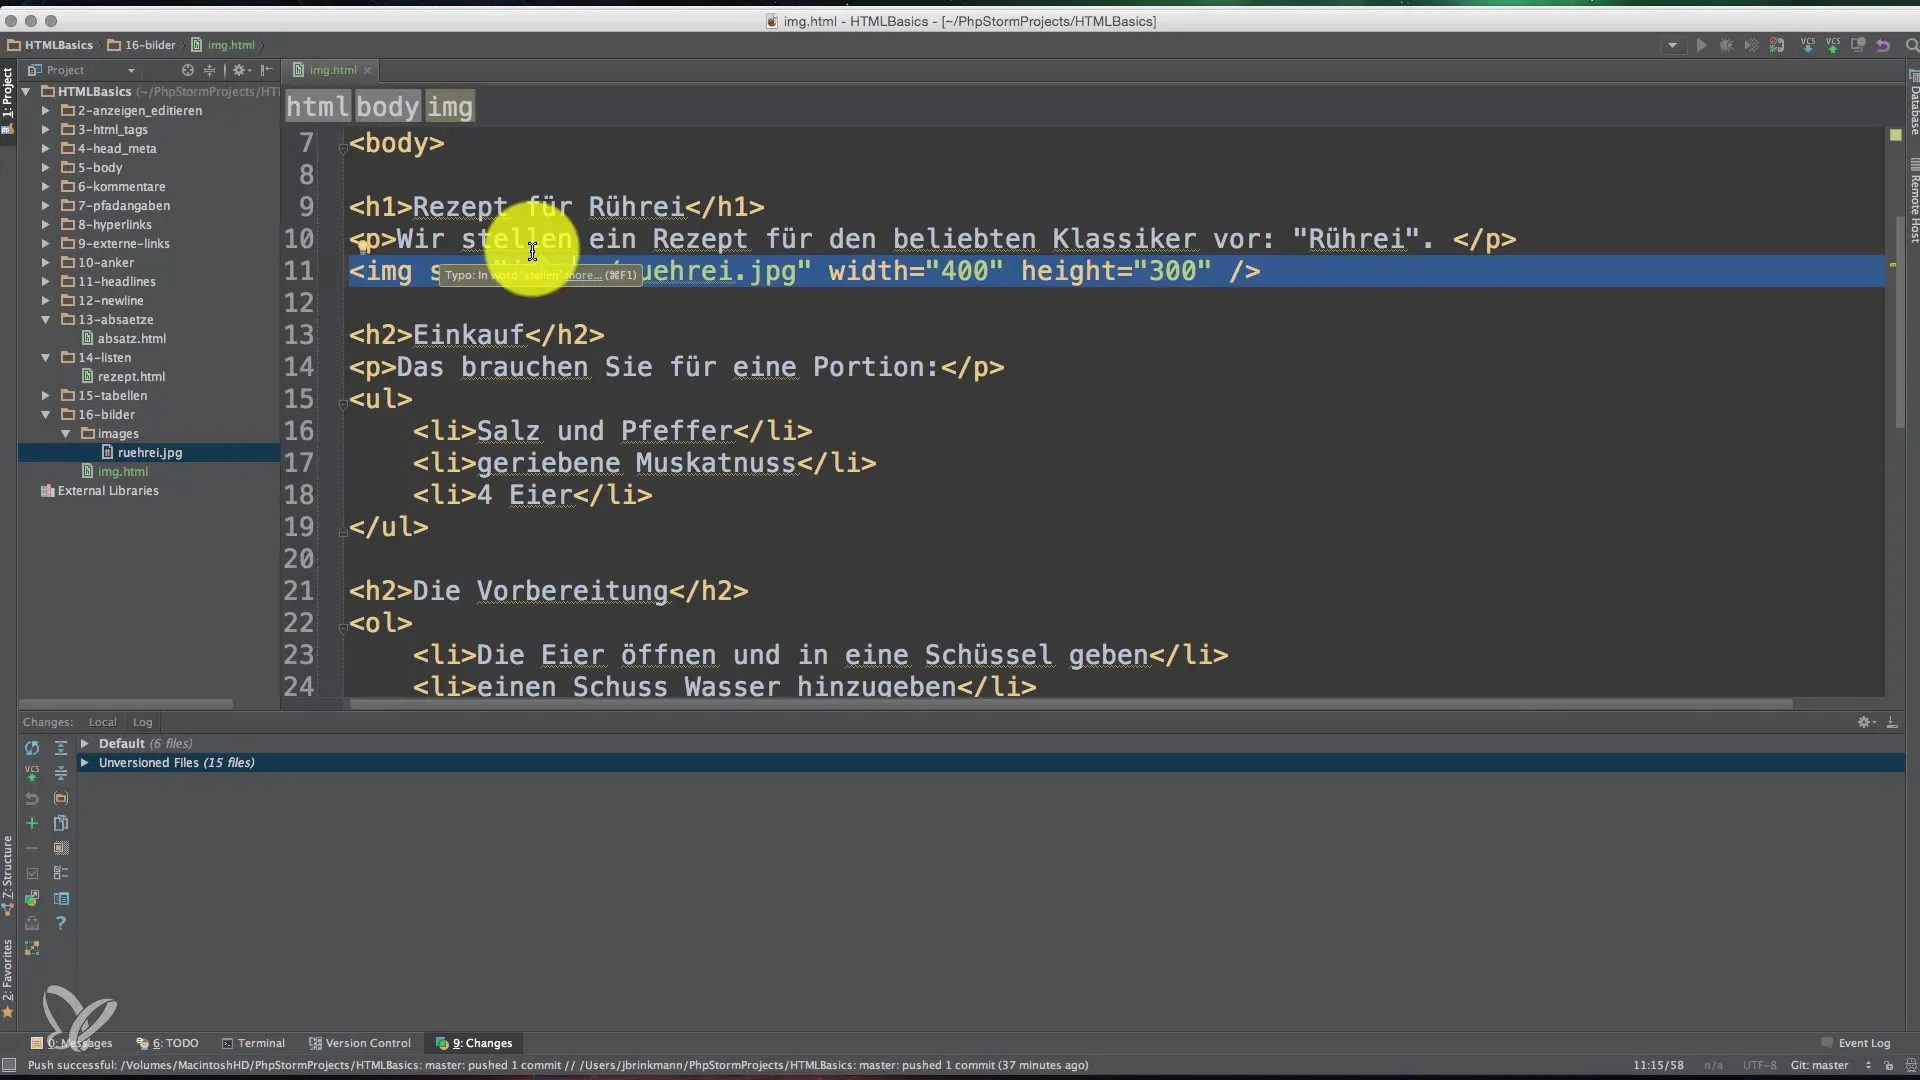
The basic HTML tag you need to embed images is the <img> tag. The tag is declared like this: <img src="file-path" alt="image-description">. The src attribute value points to the URL or path of your image file. The alt attribute describes the image, which is not only important for SEO but also beneficial to users who rely on screen readers.
3. Adjust Image Size
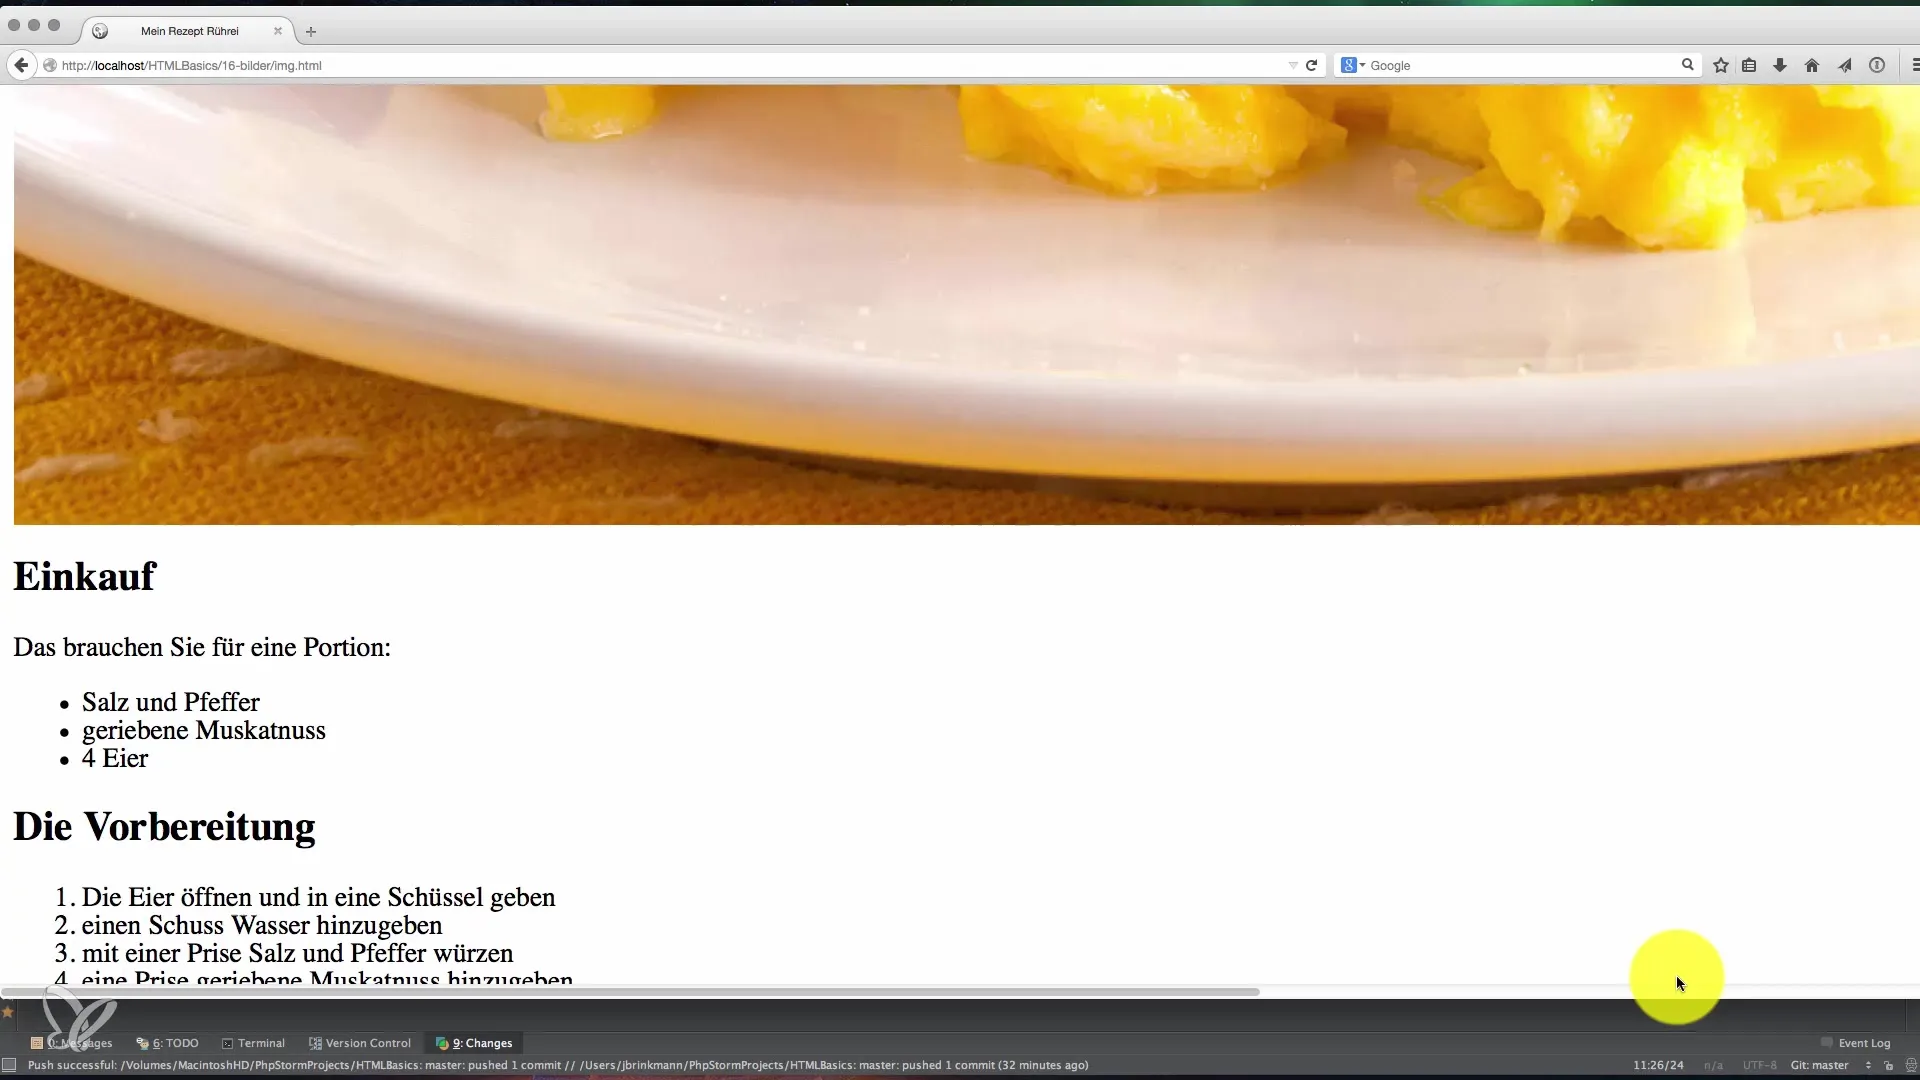
The image you want to insert is probably larger than the target size on the website. To adjust the size of the image, you can use the width and height attributes.
When resizing the image, make sure that the file size is also reduced so that the website’s loading time is not unnecessarily prolonged.

4. Reload the File
After embedding your image and adjusting the attributes, you should refresh the website to see if the image is displayed correctly. Often you can see the image, but its appearance might not be optimal. Therefore, check the dimensions of the image and adjust them further if necessary.
5. Inspect the Element
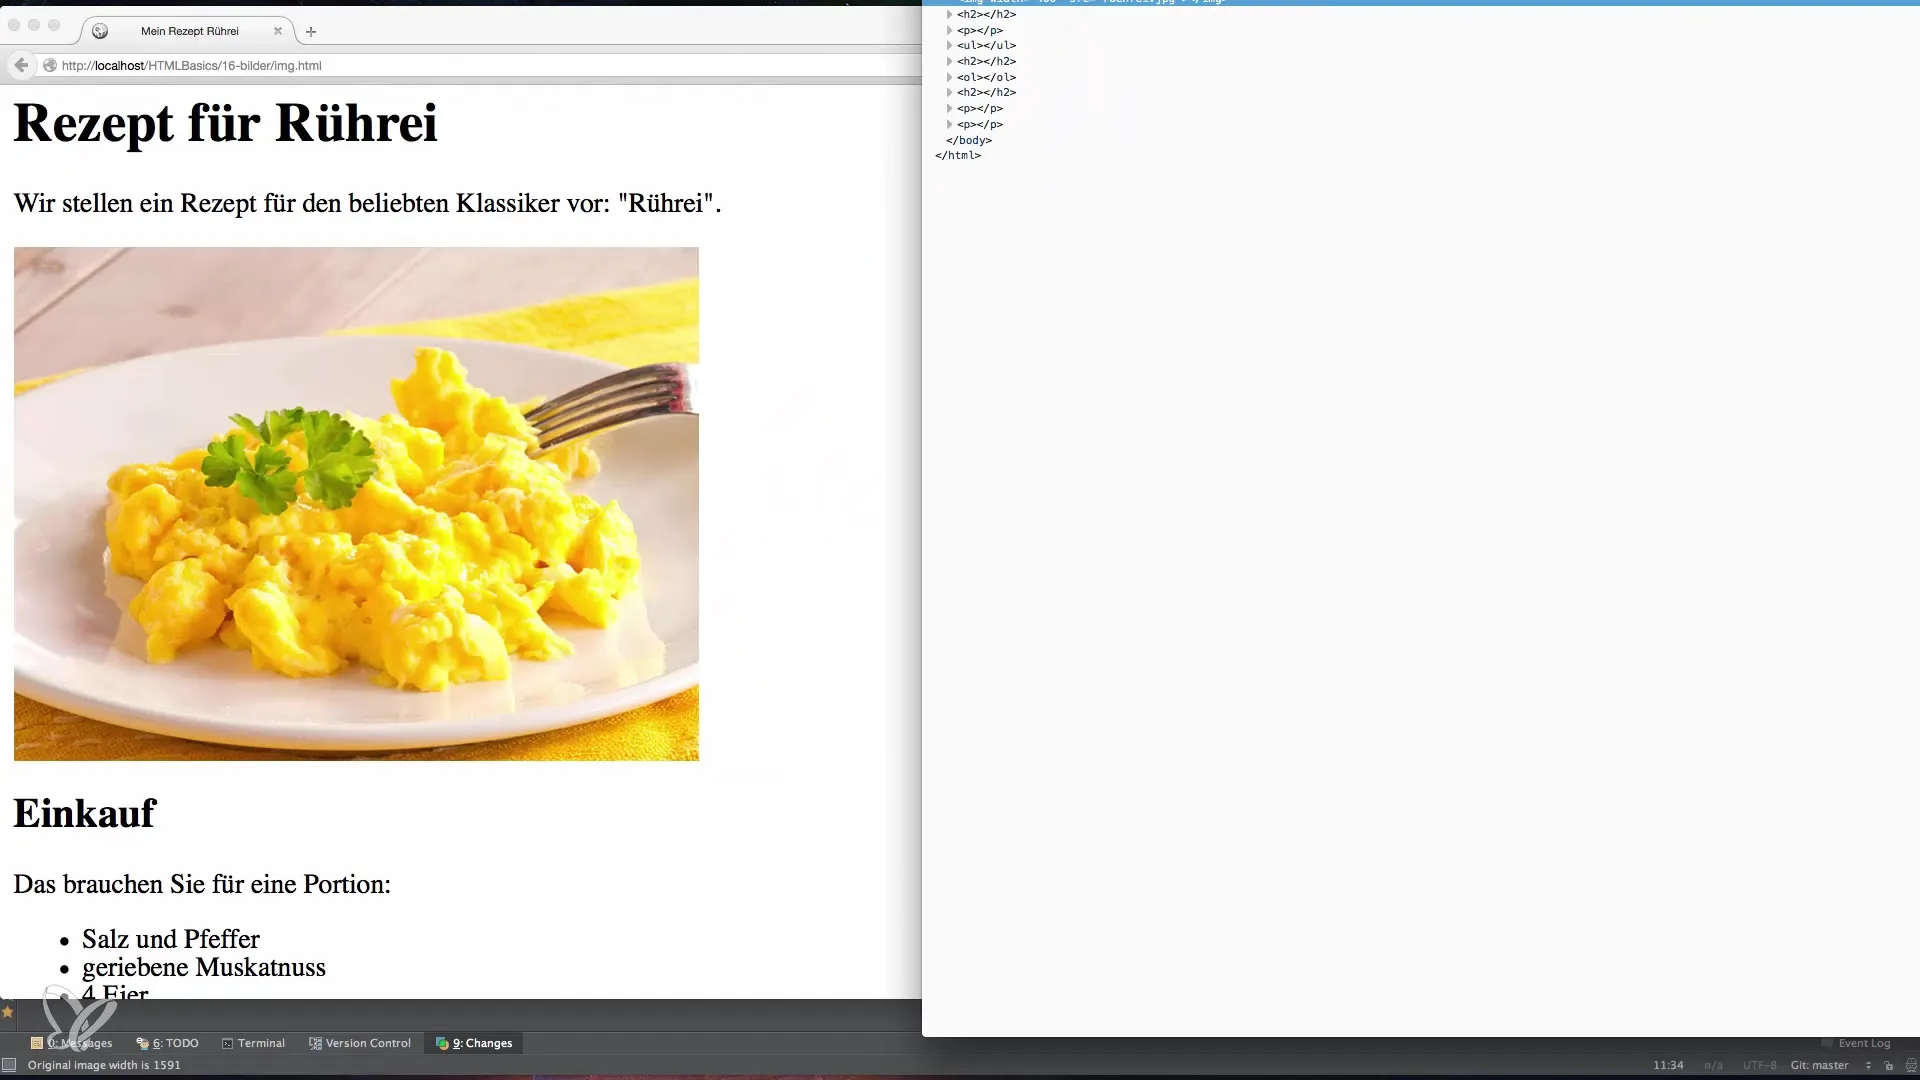
Use your browser’s developer tools to inspect the element more closely. Right-click on the image on your website and select “Inspect Element.” This way you can ensure that the width and height are correctly displayed and that the properties of your tag have been applied by the set attributes.
6. Consider Directory Structure
If you want, you can also implement a directory structure. For example, you can create a subfolder named Images for your images. In this case, the path in the src attribute should be adjusted accordingly.
Maintaining a logical folder structure not only helps you organize your project better but also improves loading times, as relevant files can be found more quickly.
7. Consider Legal Requirements
The last important point to consider is the legal aspect of image usage. Make sure that you actually have the right to use the image, and, if necessary, provide the source and copyright. This ensures that you do not infringe on any copyrights and avoid possible legal consequences.
8. CSS Integration for a Stylish Design
If you want to integrate the images into your design, you can use CSS. This allows you to style images and control their layout, such as wrapping text around the image. This is an advanced technique that helps you create an aesthetically pleasing website.
Summary
The guide on integrating images into HTML has shown you how to efficiently use the <img> tag, adjust image sizes, and observe legal requirements. Proper use of these techniques improves both your website’s user experience and SEO performance.
Frequently Asked Questions
How do I insert an image into HTML?Use the img tag with the src attribute to link to the image.
Why is it important to adjust the size of images?Optimized image sizes improve the page’s loading speed and enhance user experience.
What does the alt attribute mean?The alt attribute describes the image and is important for SEO and accessibility.
Can I use images from other websites?Yes, but make sure to correctly indicate the copyrights and the source.
How can CSS help with image integration?CSS allows you to style images and control text arrangement around images.


