
The crash course is complete, and now comes the part that determines your learning success: practicing on your own. Many techniques look easy in the video until you apply them to one of your own photos for the first time. This guide summarizes the course's closing advice and shows you step by step how to put what you've learned into practice without overworking your images until they look artificial.
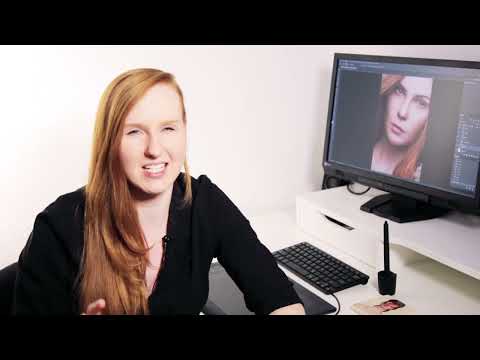
The video is only loaded from YouTube when you play it – data (including your IP address) is then transmitted to YouTube/Google. More in the privacy policy
Key Takeaways
Practice with your own images, because that is the only way to learn how skin, light, and sharpness respond to editing. For each photo, choose the technique that solves the specific problem at hand. Don't apply all techniques at the same time, otherwise the image quickly looks overly smooth and unnatural. The goal is a subtle, clean retouch in which naturalness comes first. Regular practice brings quick progress and is fun, too.
Step-by-Step Guide
Step 1: Use Your Own Images as Practice Material
Start with photos that belong to you or that you are free to edit. The course explicitly recommends trying out the techniques on your own images. The reason is simple: with sample images you lack a personal connection, whereas with your own subjects you immediately recognize whether a result looks right. You also learn how differently skin tones and lighting situations respond to the same method.

Step 2: Find the Right Technique for Each Image
Not every image needs the same treatment. First look at the photo calmly and ask yourself what actually bothers you. Is it small skin blemishes, uneven color tones, or individual details that distract the eye? Only once you can clearly name the problem do you pick the technique intended for exactly that. Choosing correctly is more important than the number of tools you have mastered.

Step 3: Don't Apply All Techniques at Once
This is the most common trap for beginners. If you apply every method you've learned to one image, you end up overworking it so much that it looks fake. Instead, work with one or two techniques per photo. Take a short break in between, look at the image from a little distance, and then decide whether you want to continue. Often less really is more.

Step 4: Make Naturalness Your Standard
The goal of any retouching is an image where no one notices that it was edited. Make sure the skin texture is preserved and contours don't blur. If pores disappear completely or faces look like wax, you've gone too far. Compare your result with the original regularly to keep the right perspective.

Step 5: Retouch Subtly and Cleanly
Well retouched does not mean maximally retouched. Clean editing is characterized by smooth transitions and no edges, color jumps, or unsightly patches. Work in small steps and make several gentle corrections rather than a single drastic one. That way you stay in control of the final result.

Step 6: Practice Regularly and Track Your Progress
Experience shows that learning success comes quickly as long as you stick with it. So plan short, regular practice sessions instead of working a whole afternoon in one go. Save an early edit and compare it after a few weeks with newer results. This comparison often shows your progress more clearly than you notice in everyday life. And enjoy experimenting, because that is exactly what the practice process is for.

Step 7: Finish the Course and Keep Learning
With these thoughts, the crash course ends. Use the time after the training to deepen the techniques further and improve your own images step by step. You can also look forward to the next lessons.

Summary – Practicing Beauty Retouching: How to Achieve Natural Image Editing
The course ends with a clear message: Theory only becomes truly useful through your own experimentation. Practice on your own photos, choose the technique that suits each image, and avoid using all methods at once. Keep naturalness in mind, retouch subtly and neatly, and stay on the ball. Then learning successes will come quickly, and the work will be more enjoyable for you.
FAQ
Which images are best suited for practice?Your own photos are best suited because you can judge the result from a personal perspective and directly understand every edit.
Why shouldn't you apply all techniques at the same time?If all methods are applied to one image, it quickly looks overly smooth and unnatural. A targeted selection leads to better results.
How do I know if the retouching is too strong?Compare the result with the original. If skin or contours look artificial or details disappear completely, you should take a step back.
How quickly do the first learning successes appear?First progress is usually visible quickly if you practice regularly and with your own images.

