A query is a fundamental tool for efficiently extracting, analyzing, and presenting data from a database. In this guide, you will learn how to create your first query in Microsoft Access and present your data clearly.
Key Insights
- You can create queries using both the query wizard and the design mode.
- It is important to select the right fields in order to present the desired data.
- Queries allow you to dynamically link and present data from a table.
- Sorting functions help to visually analyze and interpret the data.
Step 1: Start Access and Navigate to Query
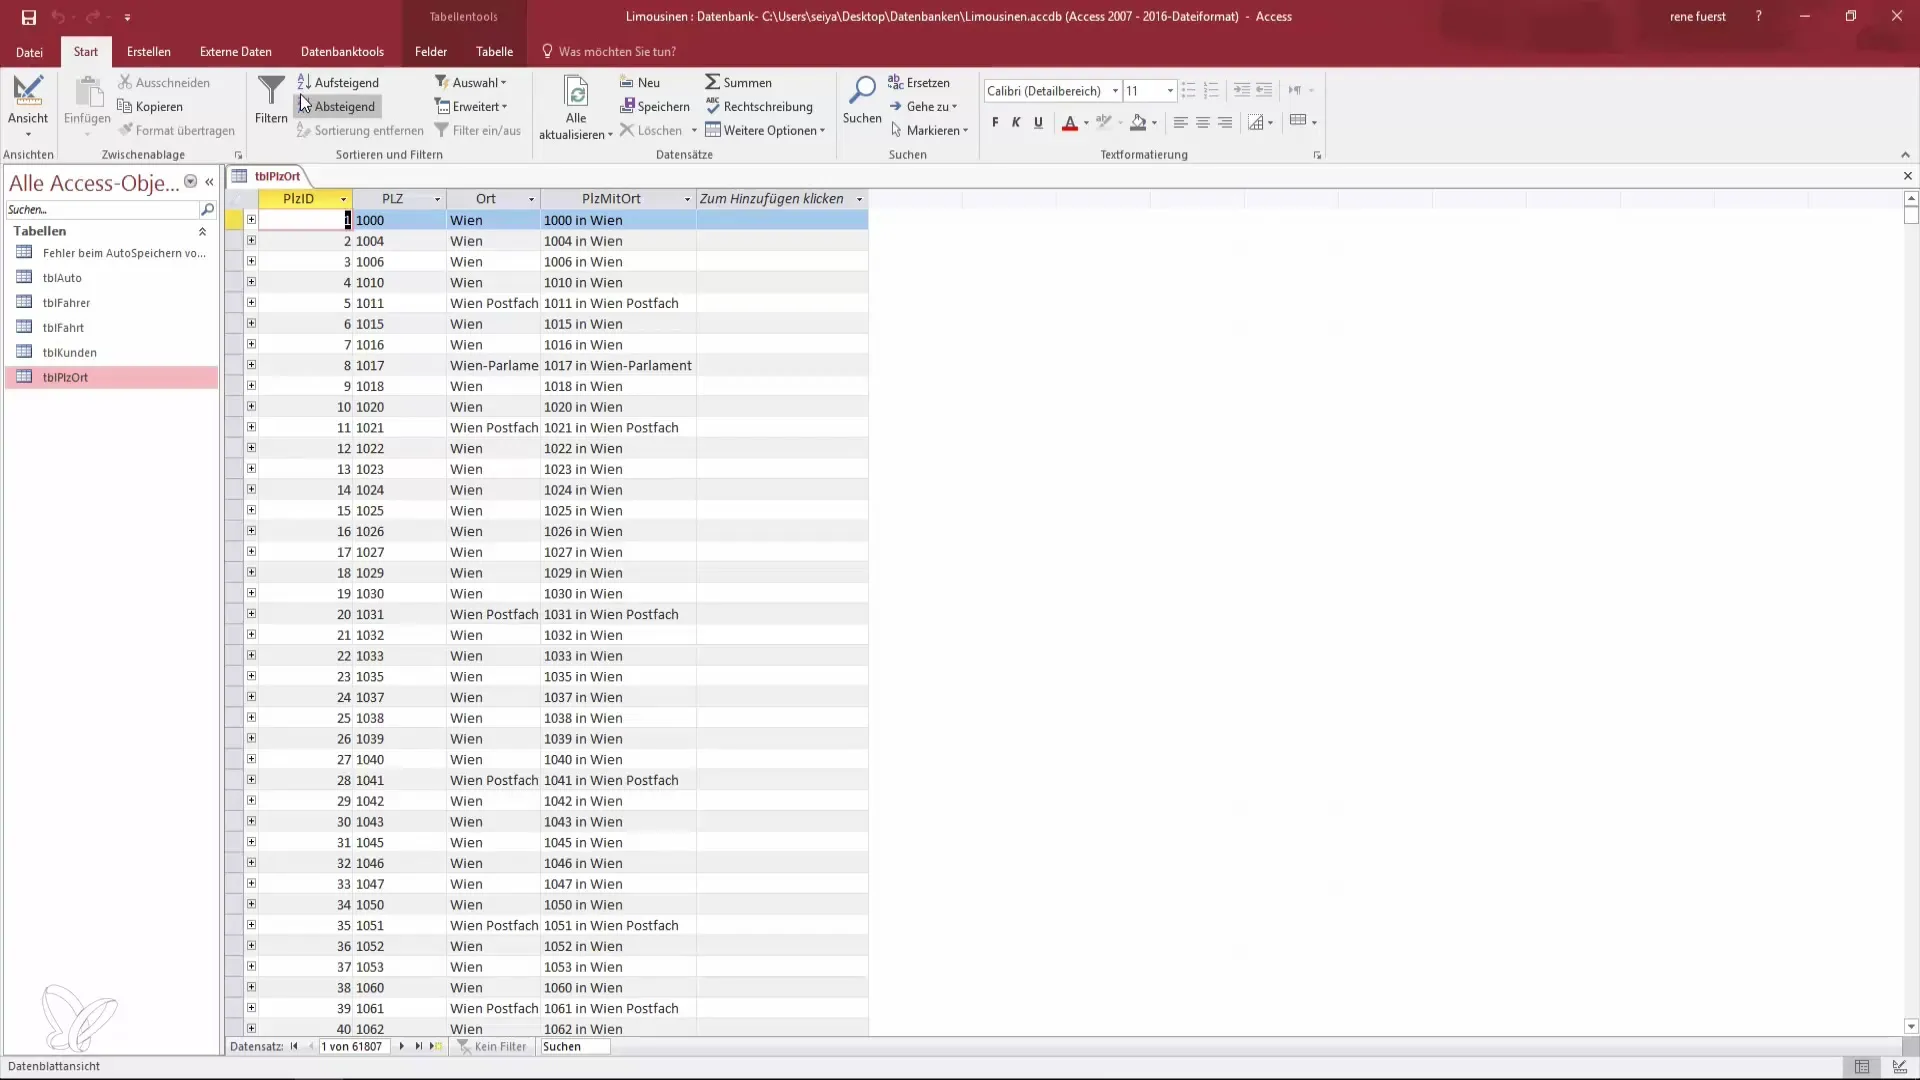
Open Microsoft Access and start your project. Now you want to create a query to present your data. Navigate to the "Create" tab and click on "Query" to use the query wizard or directly create a design. In this tutorial, we will use the design.
Step 2: Open Design View
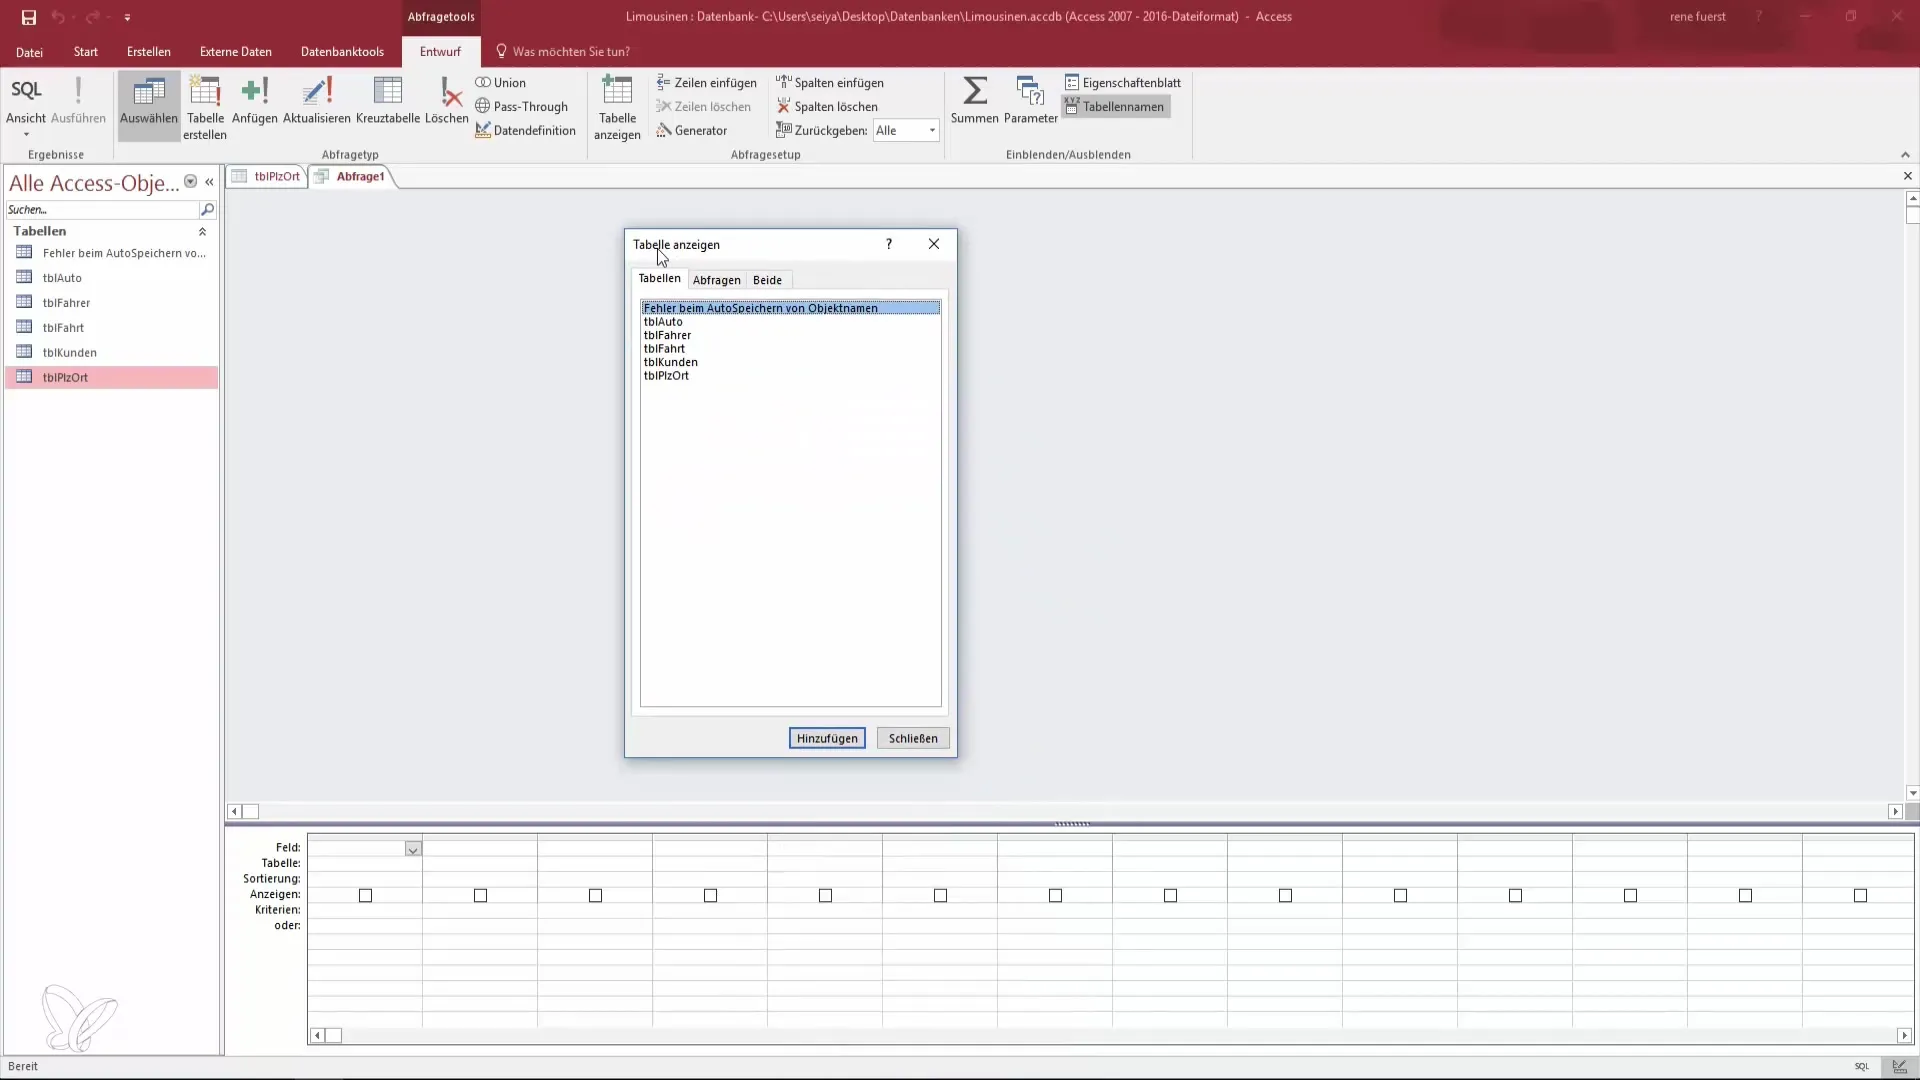
In design mode, a new window opens where you can see the available tables. Select the table you want to work with. In this case, it is the table with postal codes, which contains several thousand records. Click on the table to add it to the query.
Step 3: Add Fields to the Query
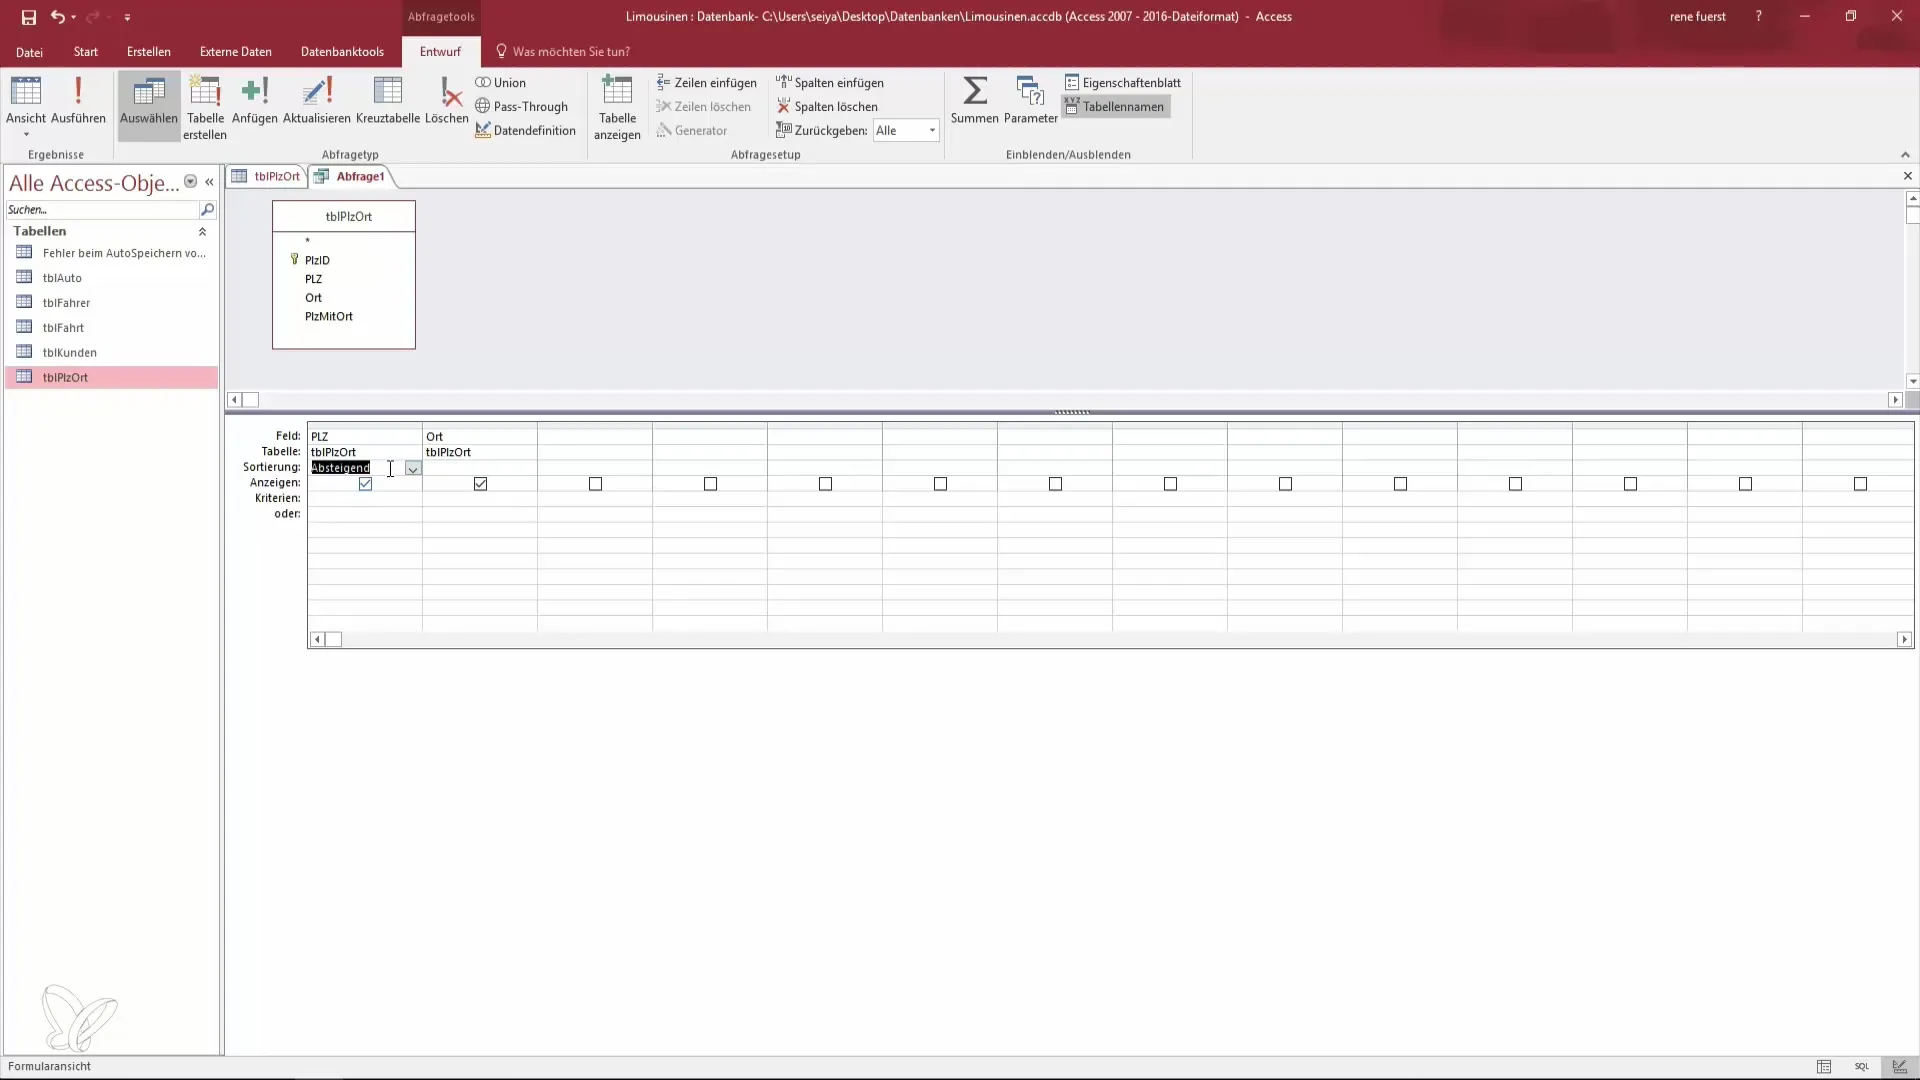
You now have the opportunity to select the fields you want to display in your query. Add the postal code by either double-clicking the field or clicking "Add." Repeat this step for the "Location" field so that you can display both pieces of information in your query.
Step 4: View the Query
To view the query, switch to the query view. You need to be careful not to "run" the query when closing, as this is only needed for action queries. In the view, you will see the postal code and the corresponding location. Changes to the data in the table will immediately reflect in the query, as it only represents a view of the data.

Step 5: Sort Data
You can now sort your data. If you want to edit the query, return to design view and add sorting. You could first sort by postal code and then by location to get a clear overview of your records. Select the corresponding fields for sorting and specify whether the sort should be ascending or descending.
Step 6: Sort by IDs
Sometimes it makes sense to sort by the ID even if you do not want to display the ID. You can add the ID to the query and perform the sort without showing it at the end. This helps you keep the queries clear and organized while still maintaining the sort.
Step 7: Change Field Order
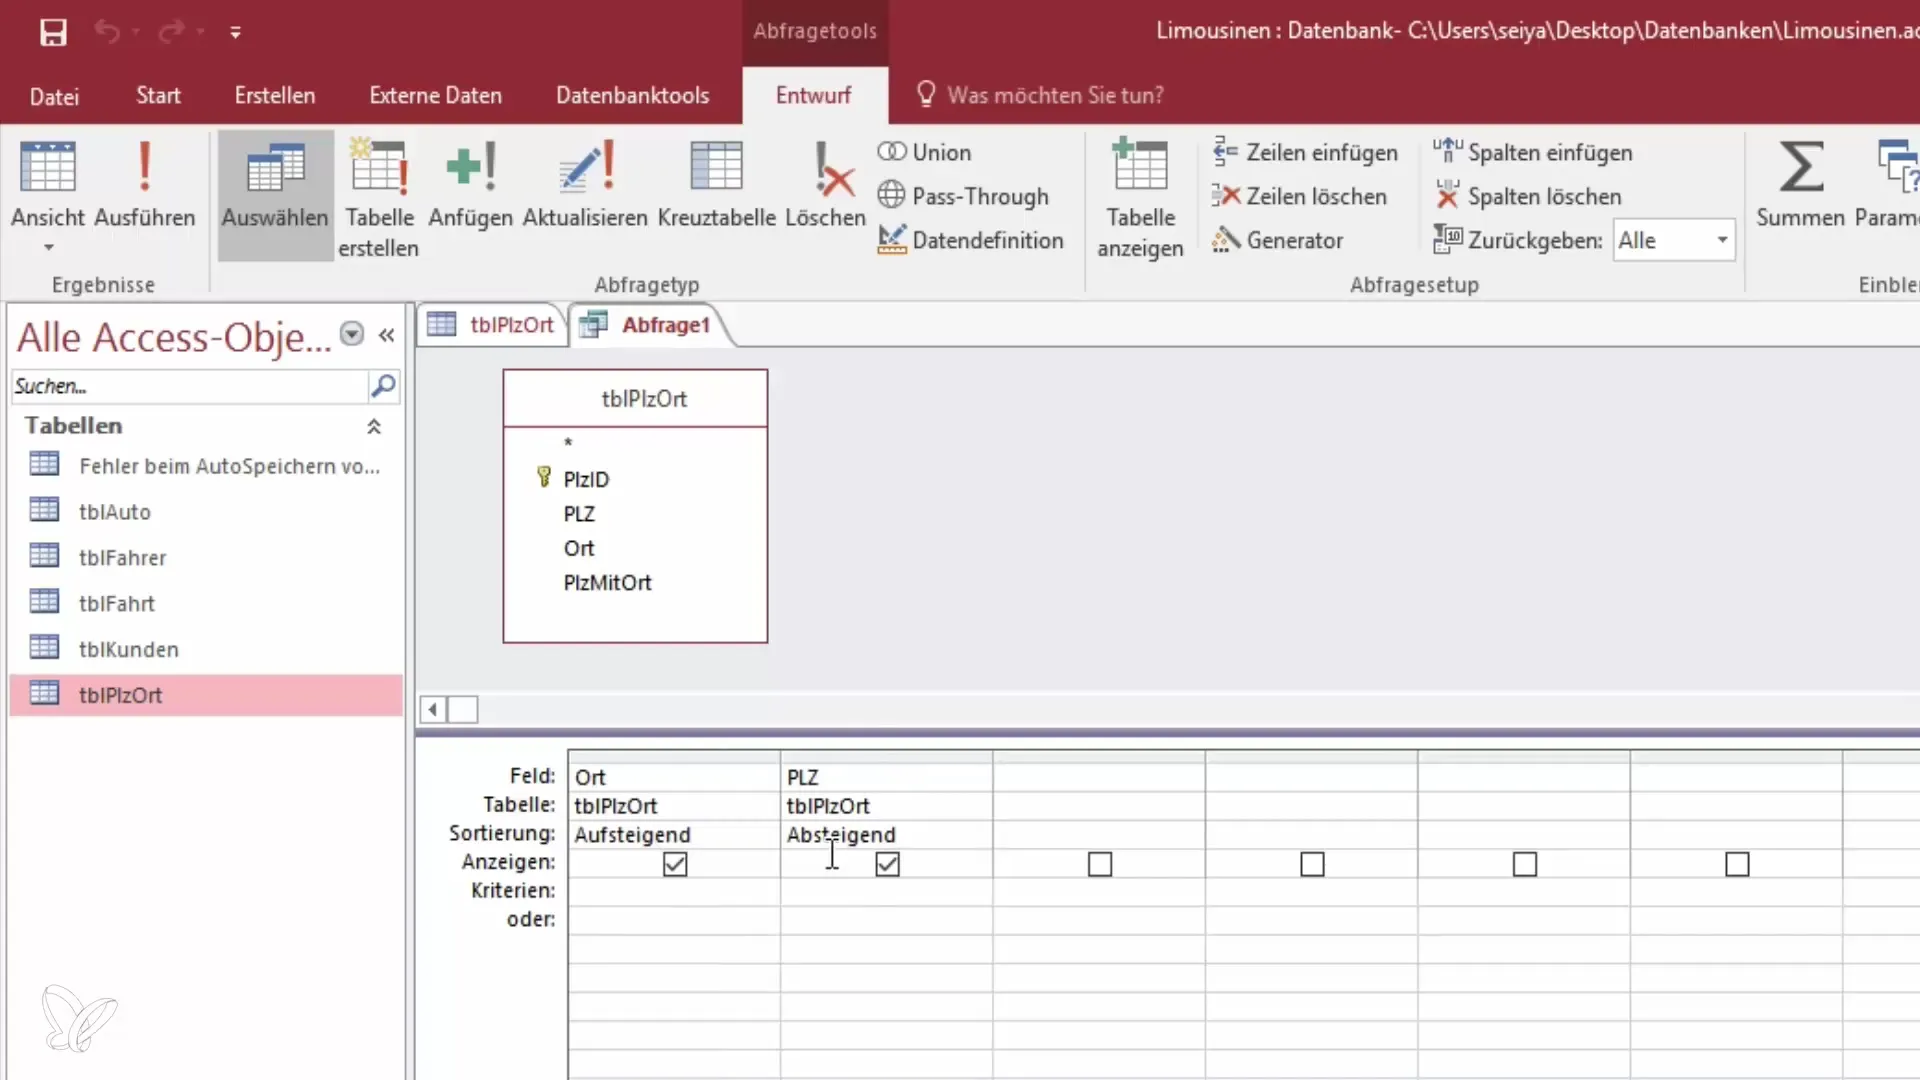
If you want to change the order of fields in the query, select the field you want to move and drag it to the desired position. Once the fields are reordered (for example, "Location" before "Postal Code"), you can switch to the view to check the new sortings.
Step 8: Save Query
After you have created your query and made the desired sortings, you need to save it. Click on "Save" and give your query a meaningful name that relates to the saved content. A sensible name might be "Query for Location and Postal Code." This will make it easier for you later when working on extensive projects.
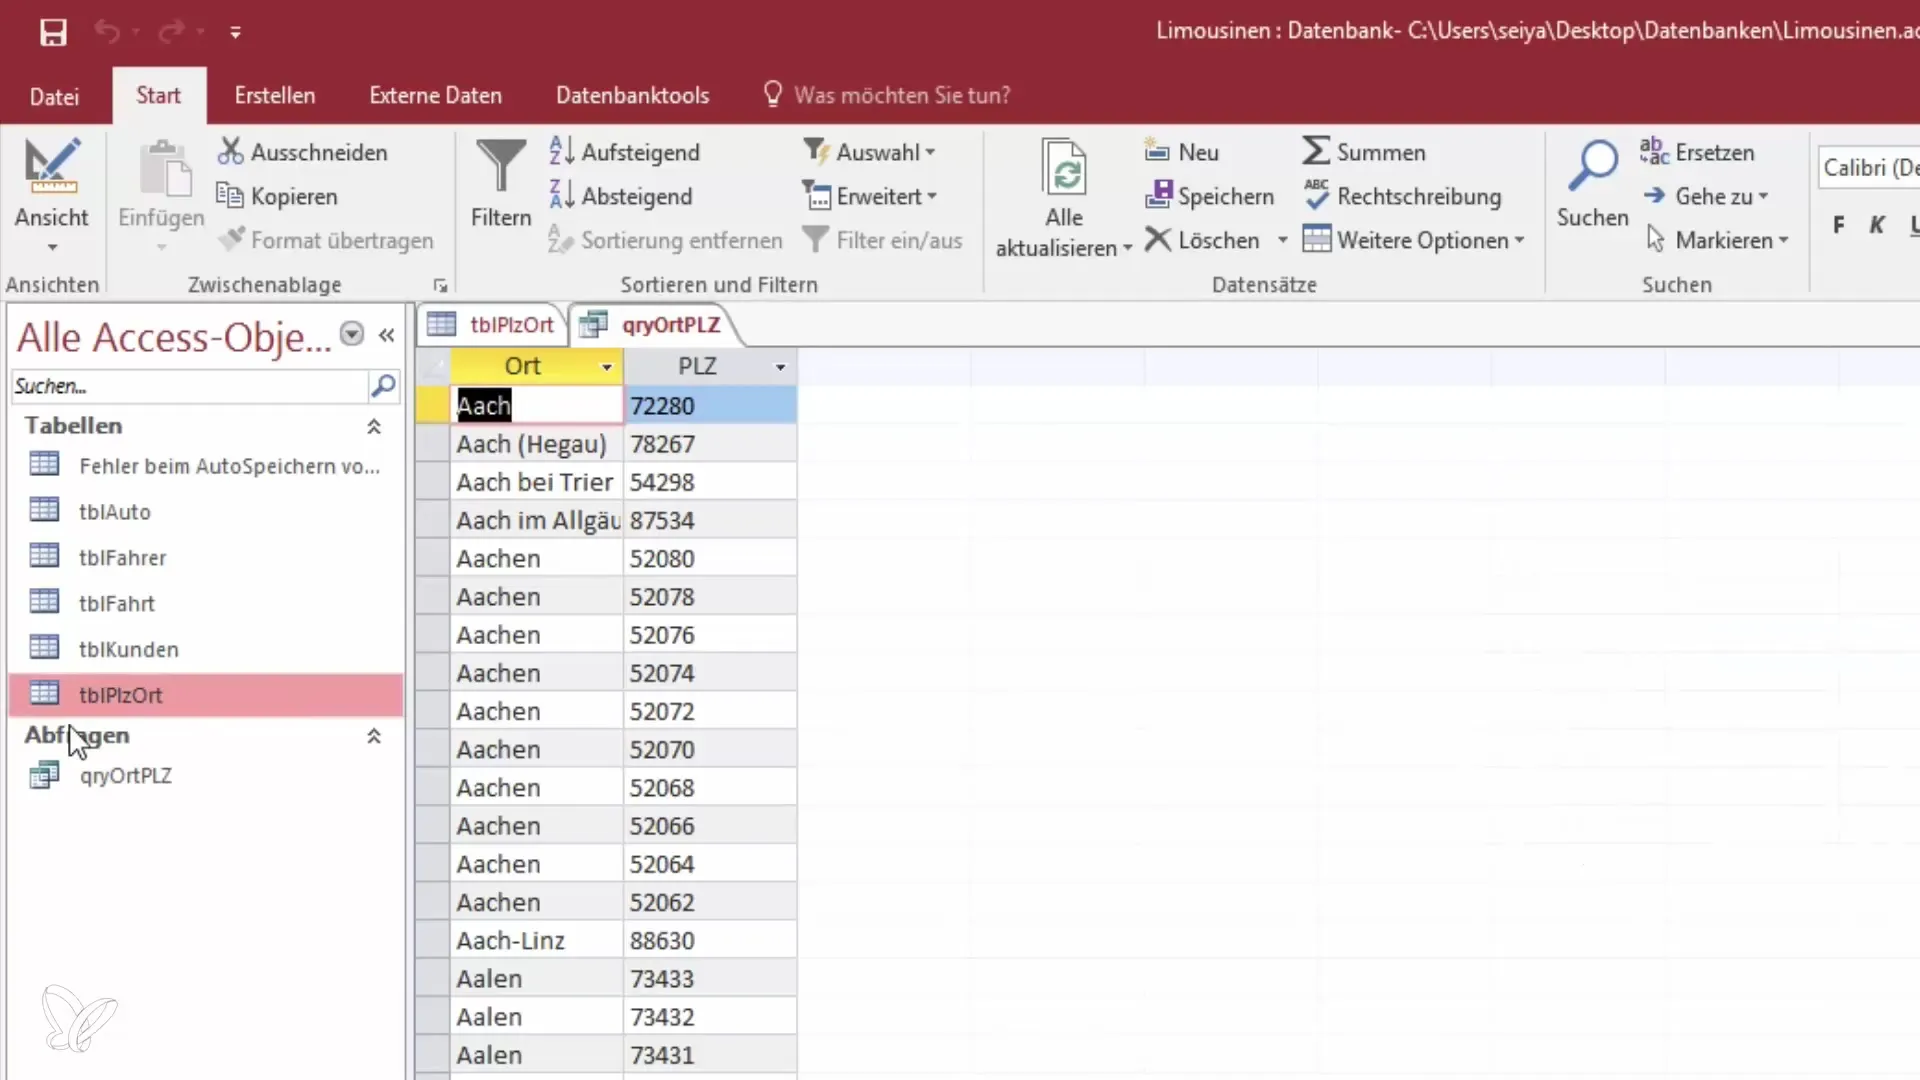
Step 9: Overview of Access Objects
Finally, you can customize the overview of Access objects. To get a better overview, you can hide specific objects or enable filters for queries, tables, or reports only. This alleviates the graphics in Access, making them clearer and more efficient.
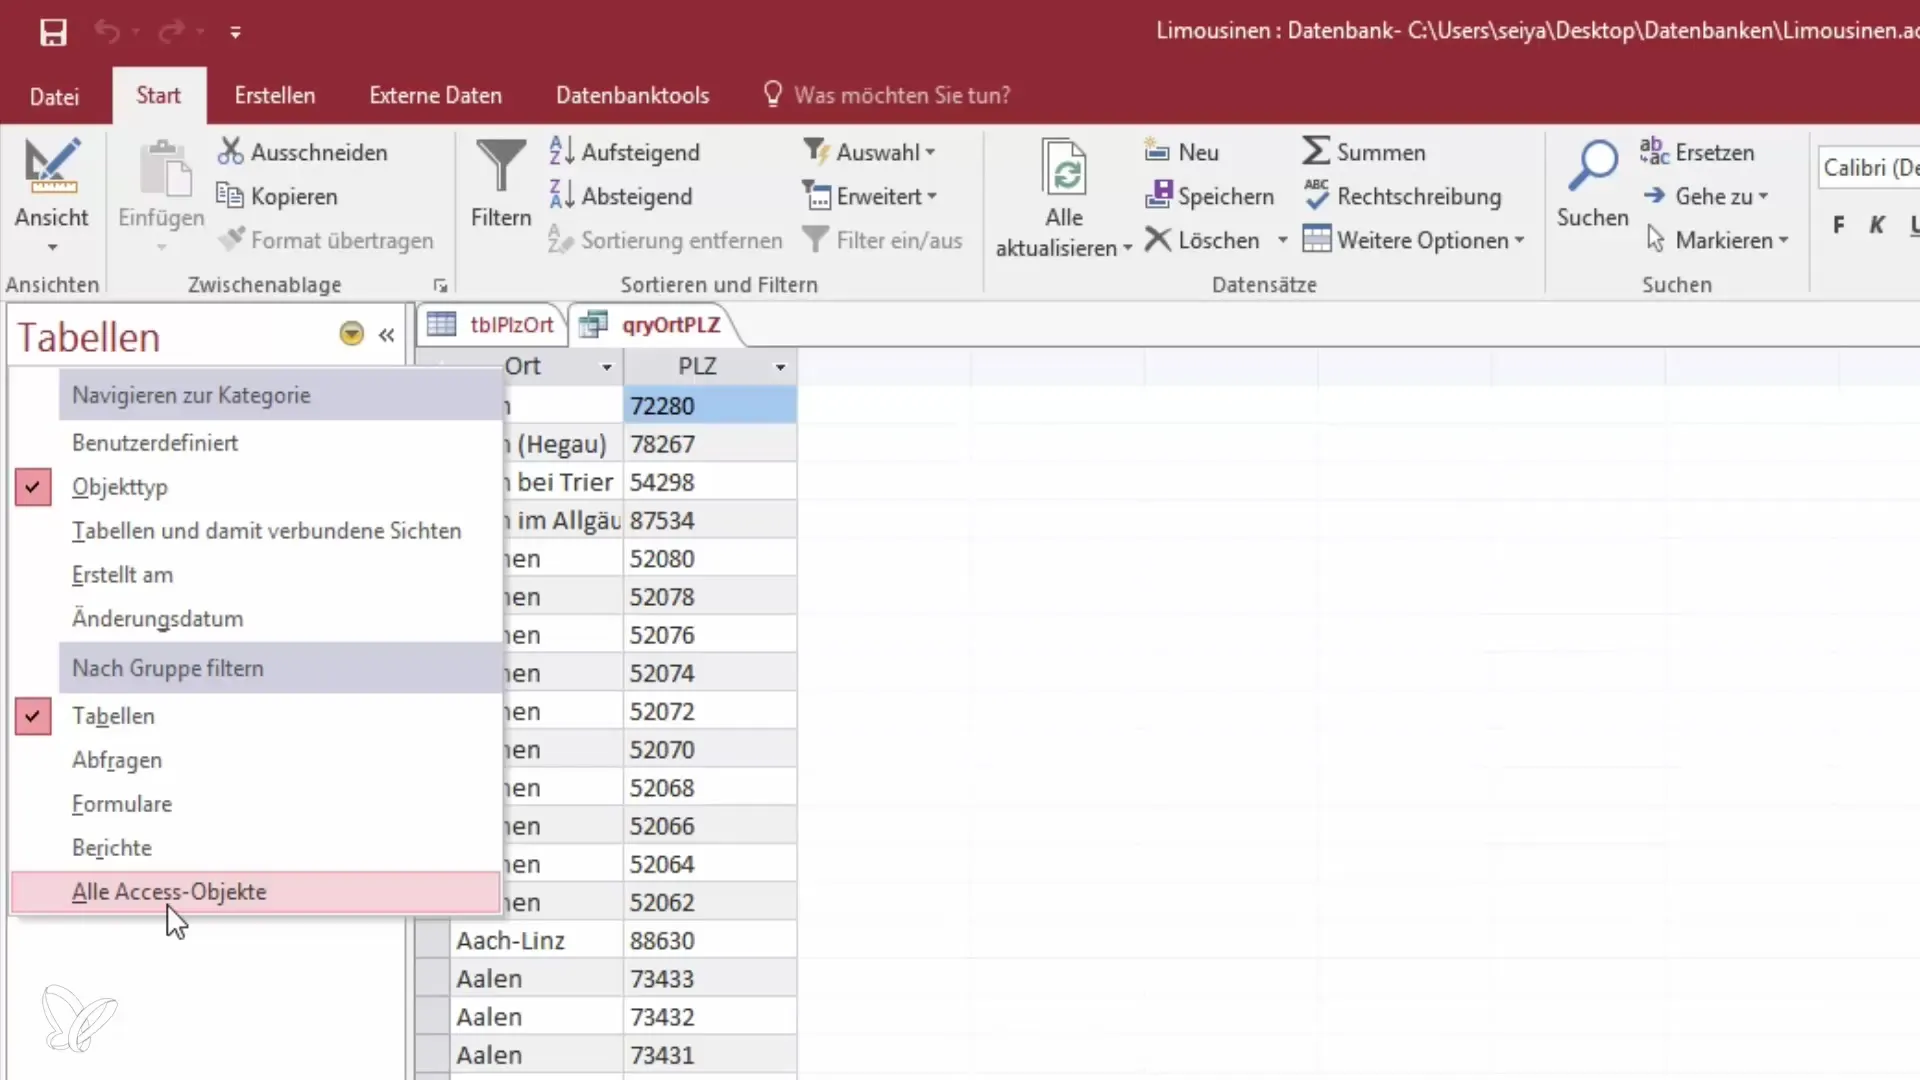
Summary – Creating Your First Query in Access
Creating queries in Microsoft Access is a simple, effective process that helps you organize and analyze the information in your databases. There are many ways to customize and use your queries to get the best data for your needs.
Frequently Asked Questions
How do I create a query in Access?You can create a query in design mode by selecting the desired fields and then switching to the view.
What is the difference between design view and the query wizard?Design view allows for a more detailed customization, while the query wizard provides a guided way to quickly create a simple query.
Can I display multiple fields in a query?Yes, you can display as many fields as you like by adding them to the query.
How can I change the order of fields in a query?You can select the fields in design view and drag them to the desired position.
What happens to the data when I save the query?The query does not contain its own data; it only represents a view of the data from the table.


