In the world of databases, it can easily happen that incorrect data is entered or accidentally created. This often occurs when, for example, customers are entered into an employee database without actually receiving a salary. In this tutorial, you will learn how to apply delete queries in Microsoft Access to effectively remove unwanted entries.
Key Insights
- You will learn how to create delete queries to target specific records for removal.
- By creating copies of the tables, you can ensure that you can always revert to the original data in case of an error.
- The query will only be executed when you specifically click "Run," allowing you to control the deletion process.
Step-by-Step Guide
Let’s begin the process to safely and effectively execute delete queries in Access.
Step 1: Copy the Table
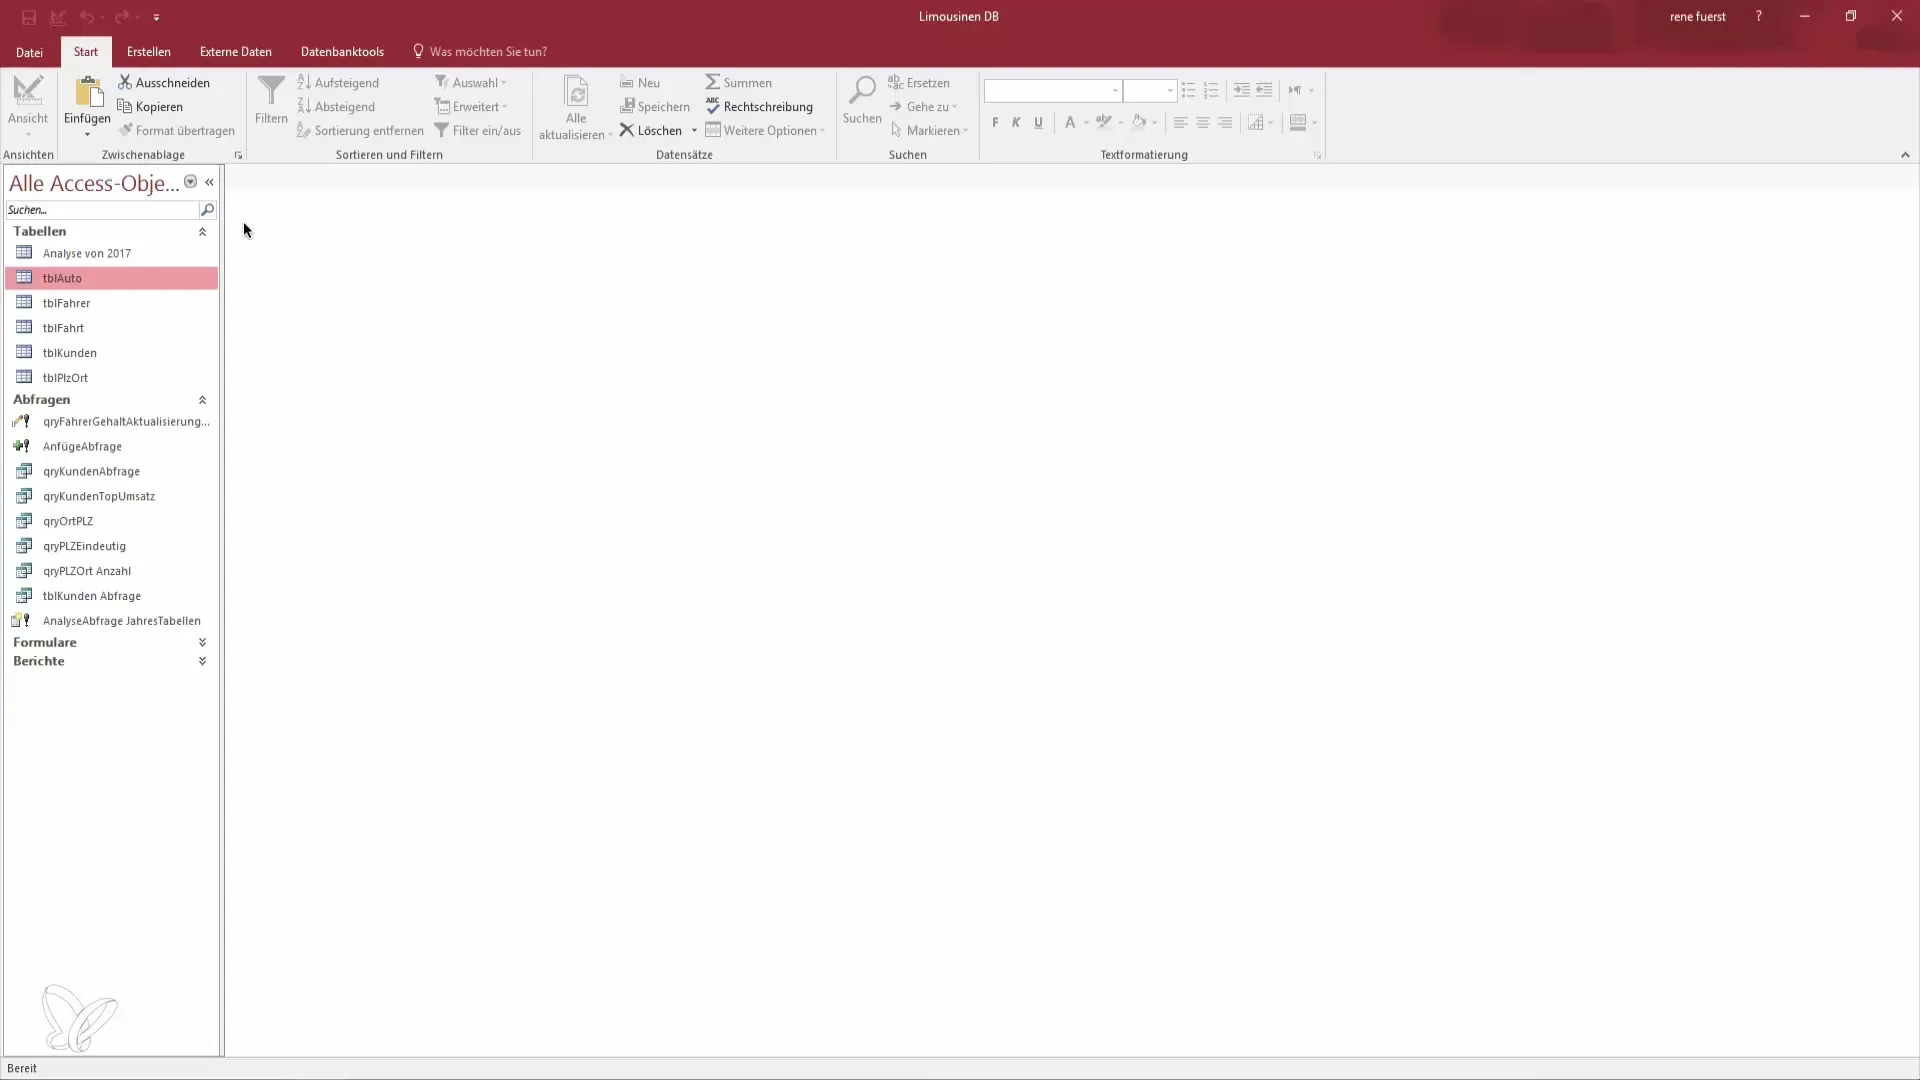
Before working with delete queries, you should create a copy of your table. This gives you the option to restore data in case of an error. Open your table and copy it using Ctrl + C. Then paste the copy using Ctrl + V at your desired location.
Step 2: Create a New Query in Design View
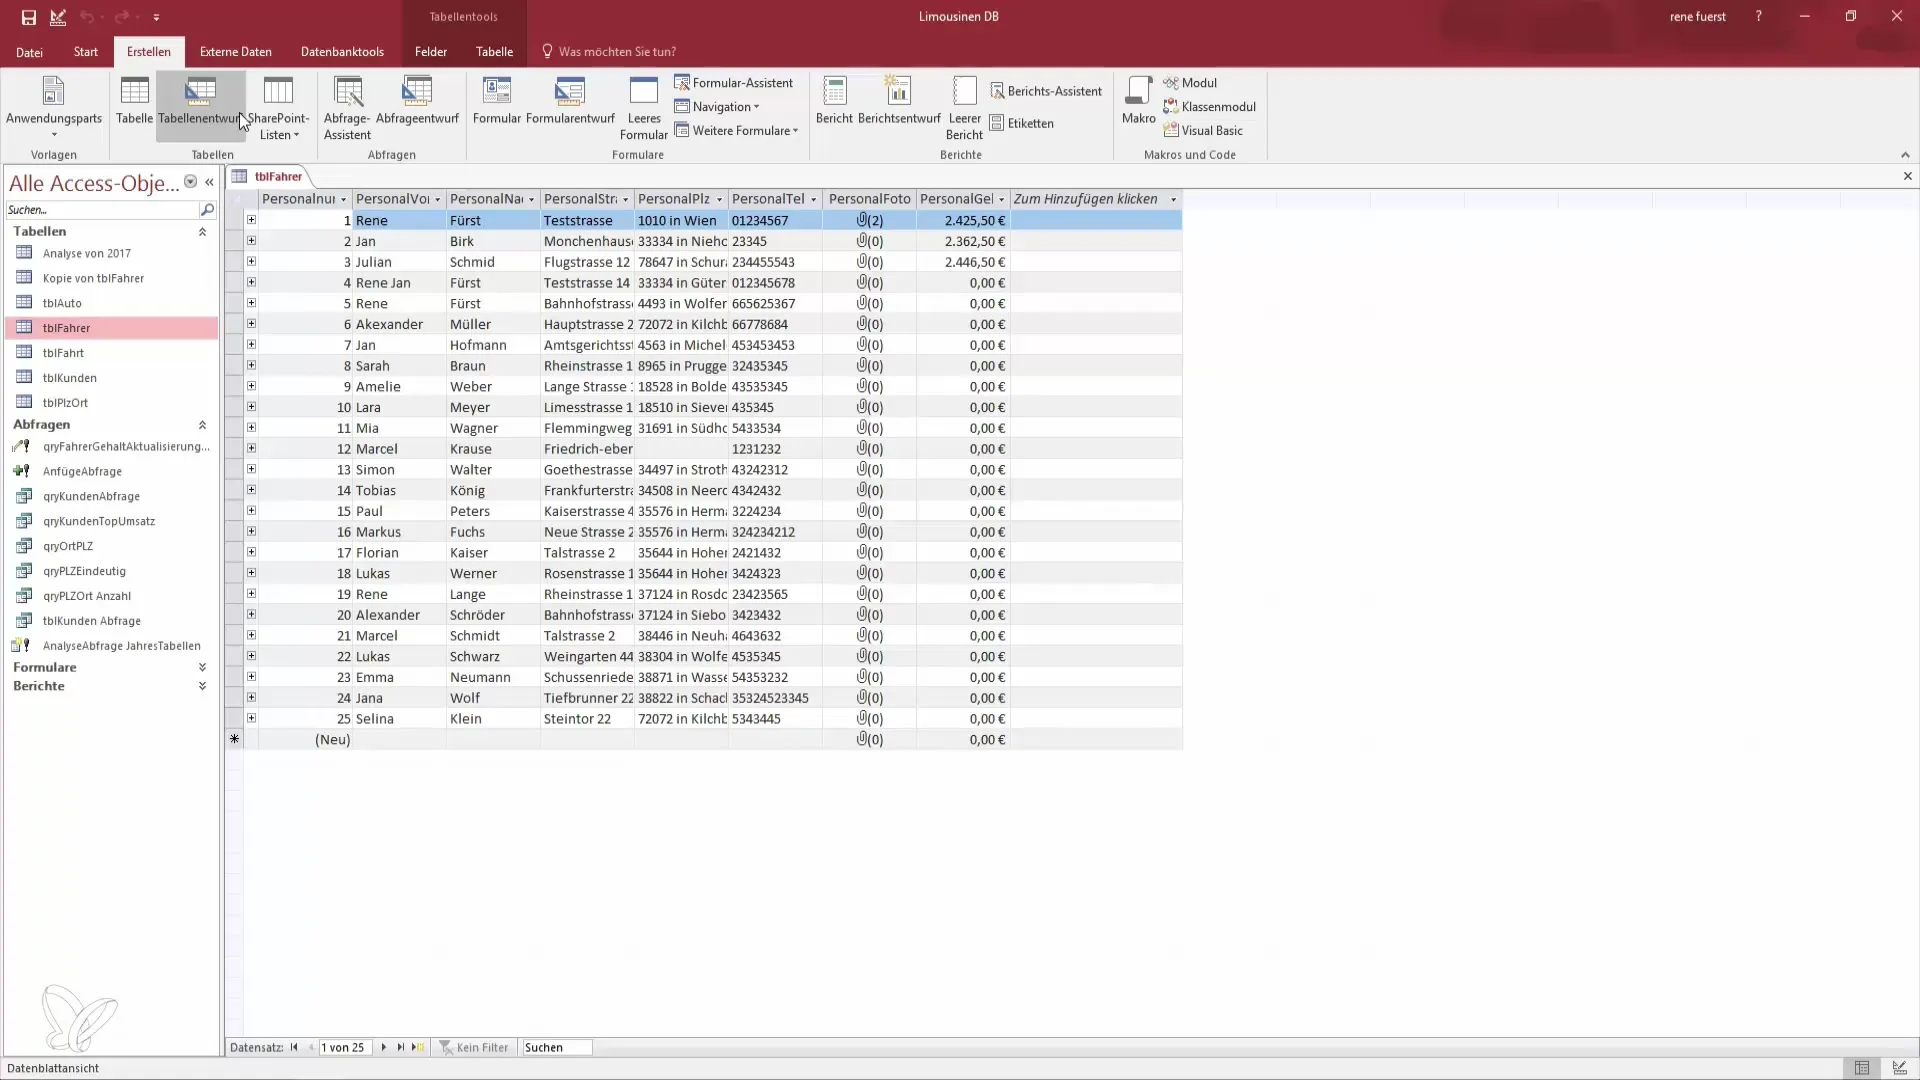
Open the copy of your table. Click on "Create" and select "Query Design." Now select the copied bike table for your query. This way, you can test how the delete query works before applying it to the original table.
Step 3: Add Fields and Set Criteria
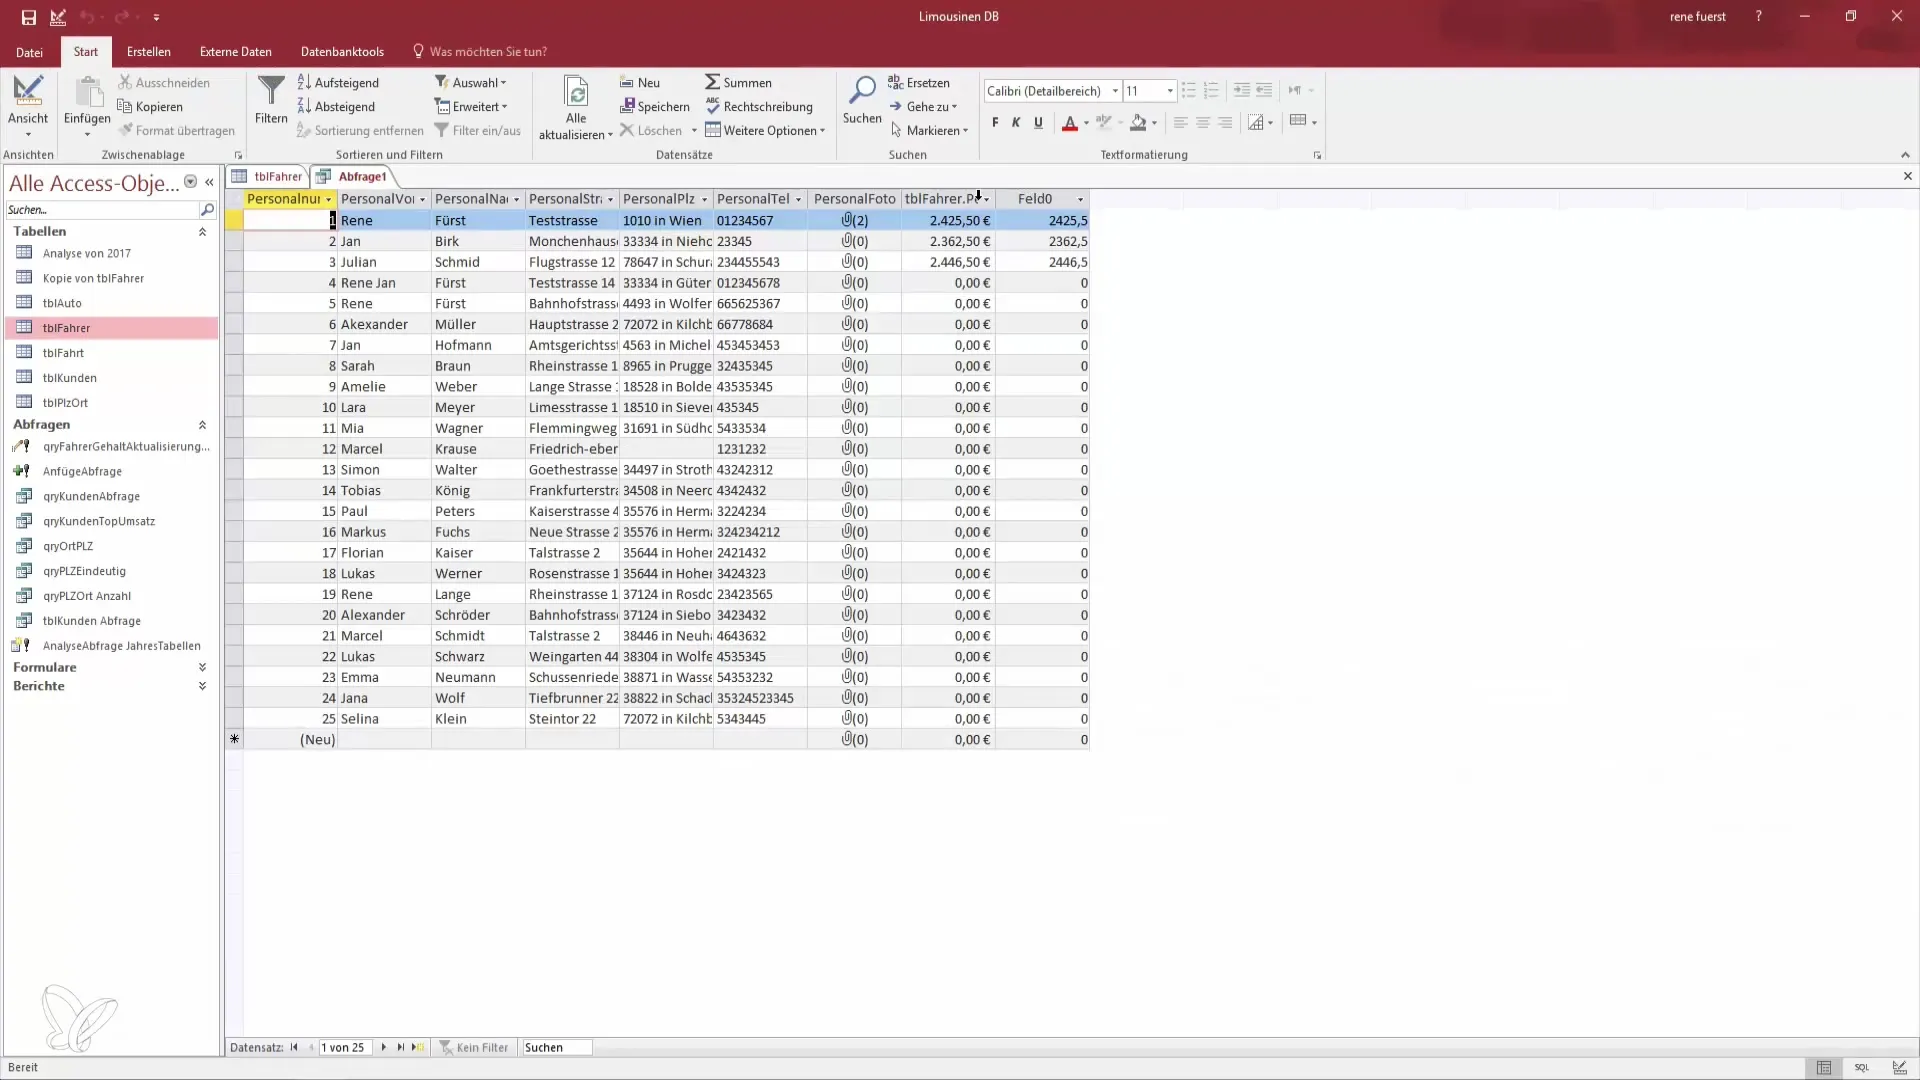
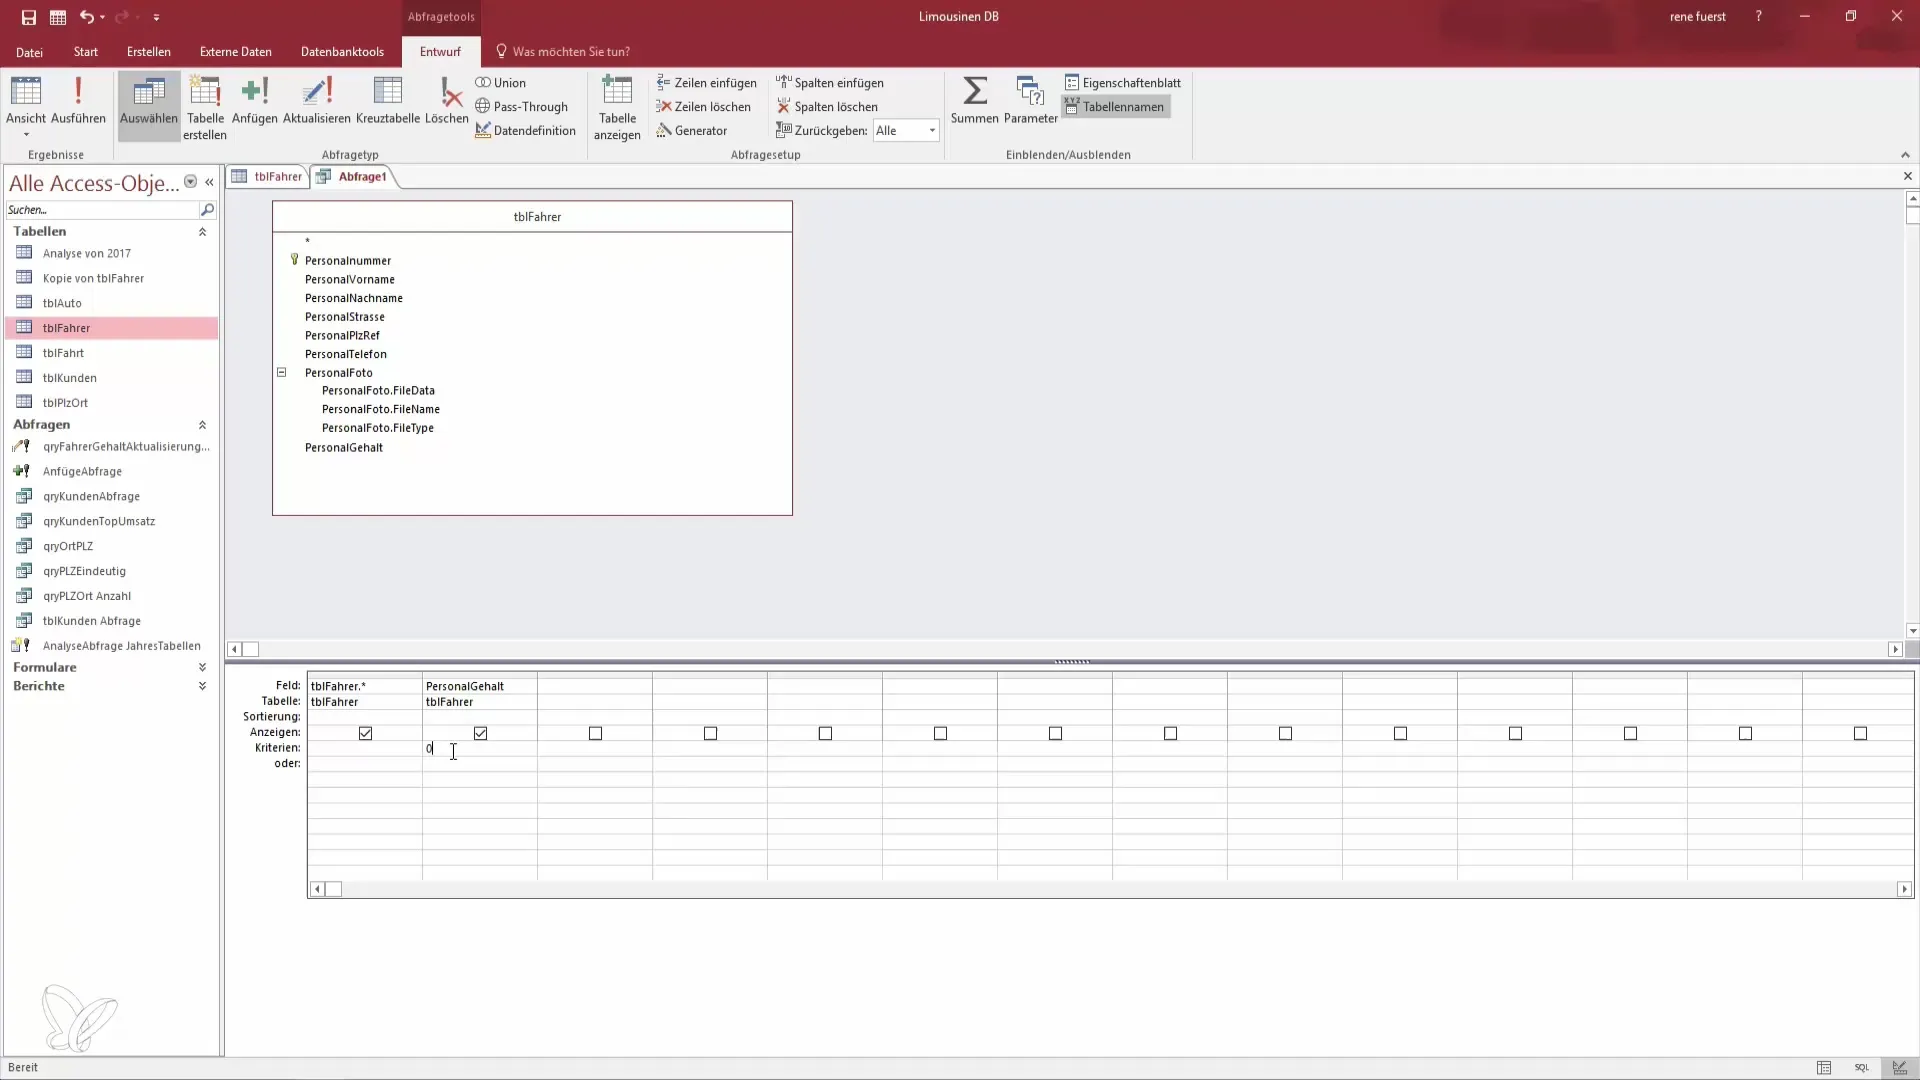
In the query design, you can now add the fields you want to delete. Don't forget to include the "Salary" field since you want to remove employees without a salary. Switch to the view to ensure that the records you want to delete are indeed displayed. Set the criterion "Is Null" for the salary field.
Step 4: Review the Query
Now you should review the query to ensure that only the desired records are displayed. If you set the criteria correctly, only employees without a salary should be visible. If an error occurs, you can switch back to the query design view and adjust the criteria.
Step 5: Save the Query and Convert to a Delete Query
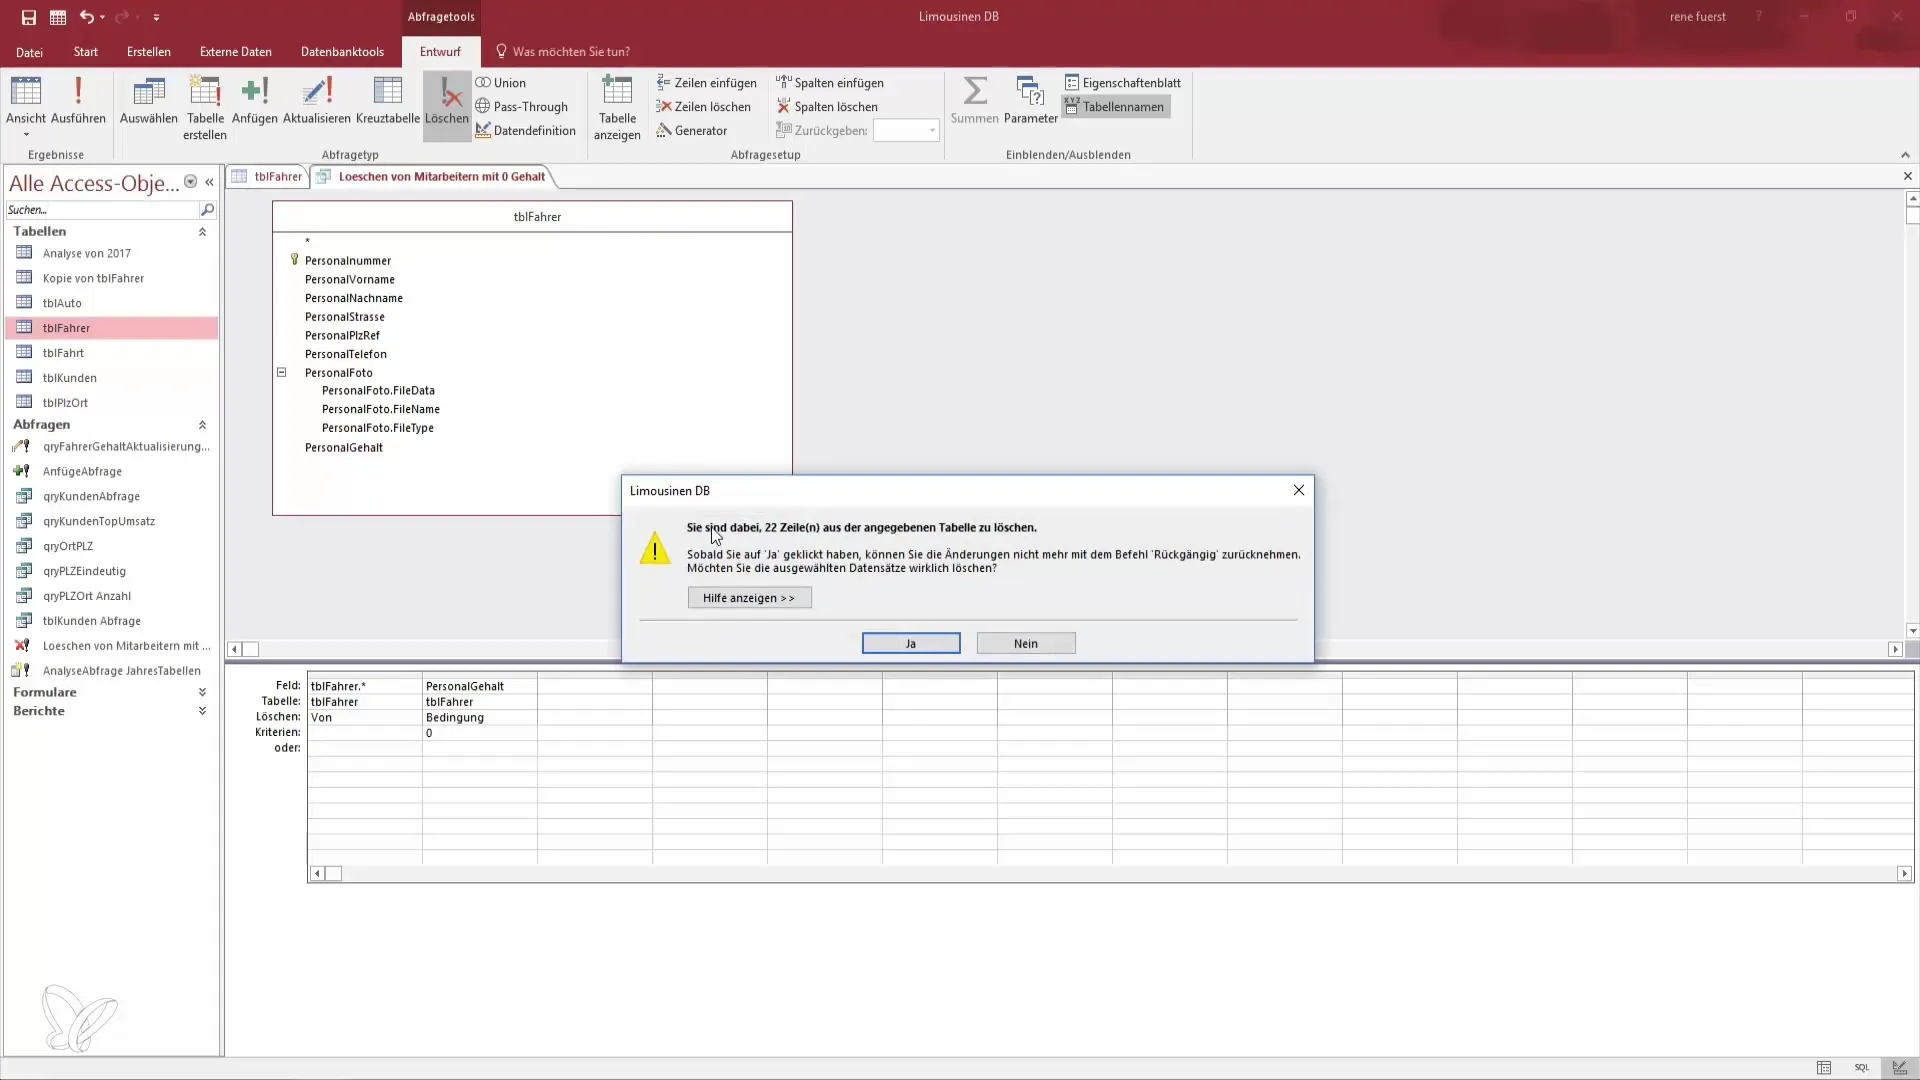
To use the query as a delete query, go to "Query Tools" and select the option "Delete Query." Access will automatically set the condition that salary equals zero. Now save the query under an appropriate name, for example, "Delete Employees with Zero Salary."
Step 6: Execute the Delete Query
Before executing the delete query, double-check all conditions and records. Then click "Run." You will receive a confirmation of how many records are to be deleted from the table. This gives you the opportunity to review the process again before you finalize the deletion.
Step 7: Check Results
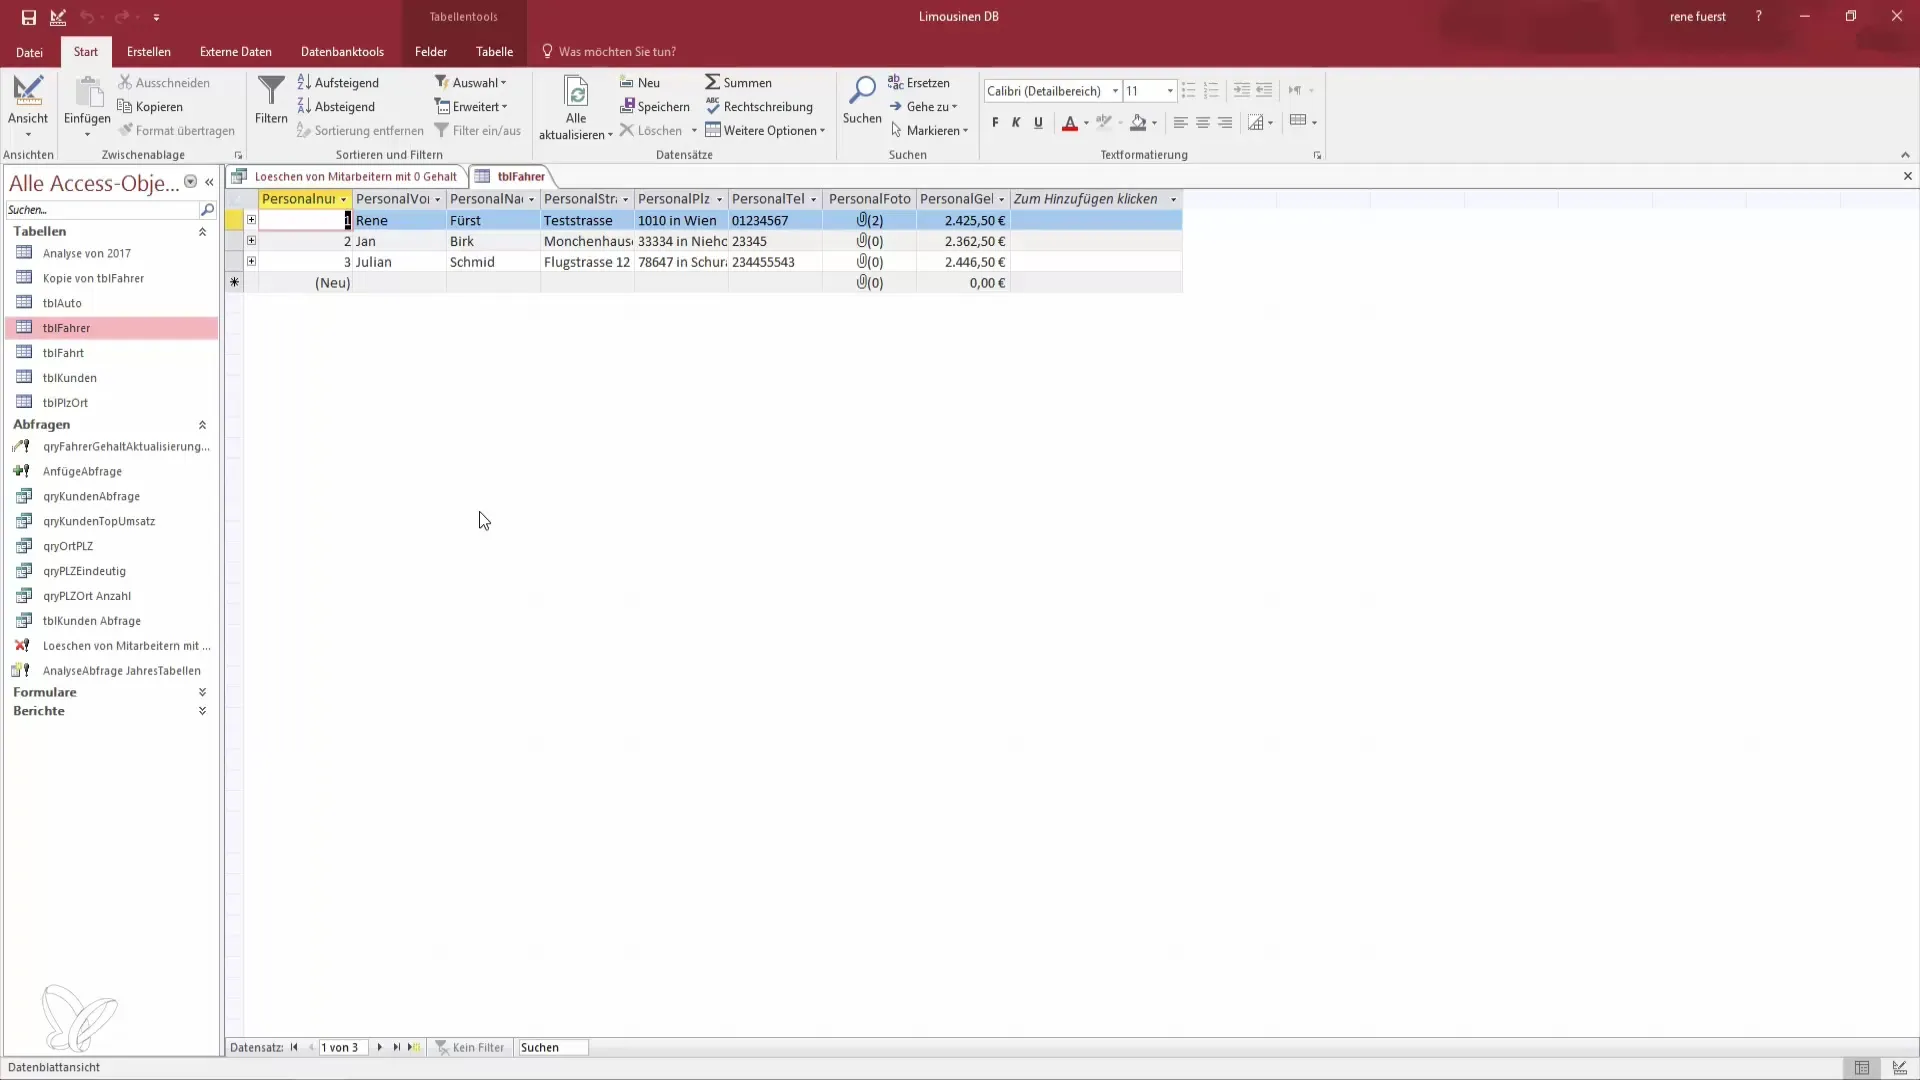
After executing the delete query, open the original table to verify that only the desired entries have been deleted. All employees without a salary should no longer appear in the table.
These steps give you a clear idea of how to create and manage delete queries in Access. Always remember that creating backups of the data is essential before performing deletion operations.
Summary - Working Safely with Delete Queries in Access
If you now follow the steps outlined above, you will be able to remove unwanted data from your Access database while ensuring that nothing important is lost.
Frequently Asked Questions
How do I create a copy of my table in Access?You can create a copy of your table by copying it with Ctrl + C and then pasting it with Ctrl + V.
What happens if I make a mistake?If you make a mistake, you can use the copy of your table to restore the original data.
How can I ensure that only the correct data is deleted?Review your query in design view before executing it by switching to design view and showing only the desired criteria.
When is the delete query actually executed?The delete query is only executed when you click "Run" and confirm the process, allowing you control over the deletion process.
What do I do if I accidentally deleted the wrong data?You can use the backup copy of your table to restore the deleted data.


