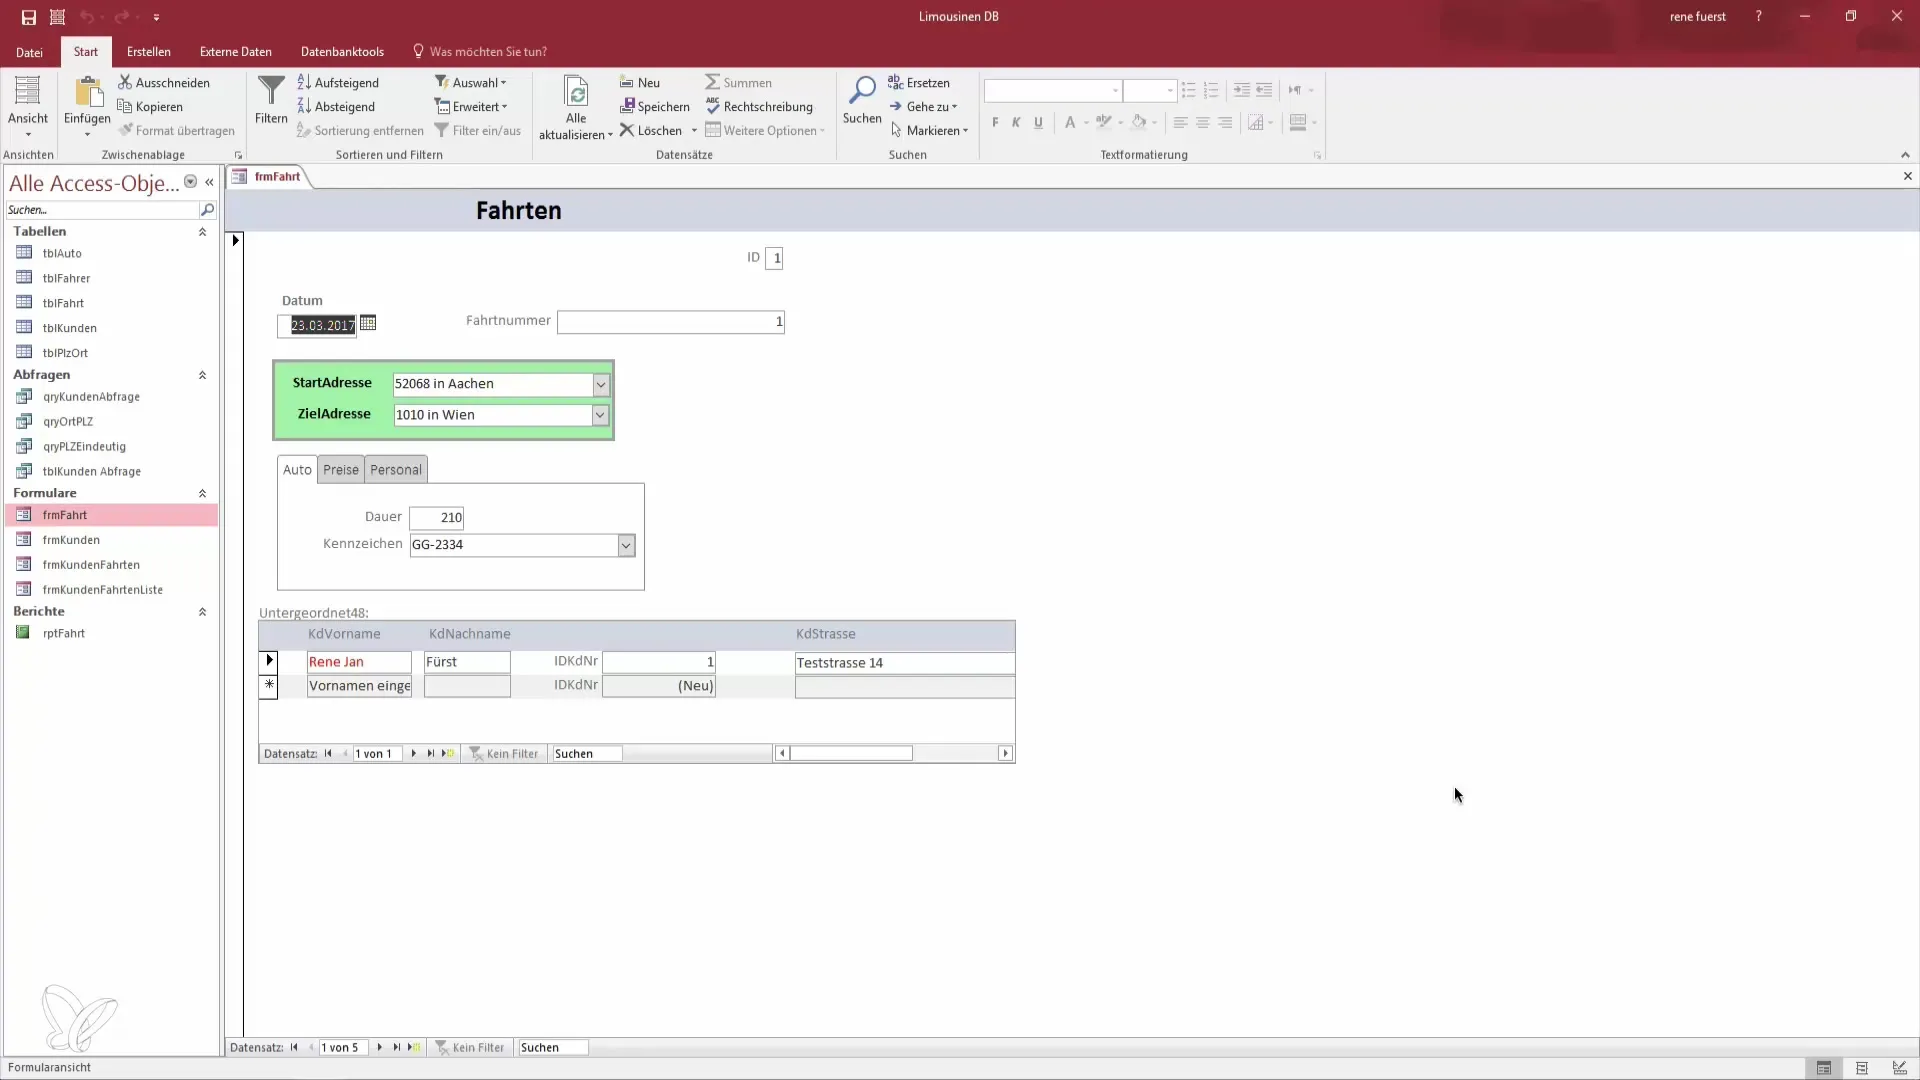
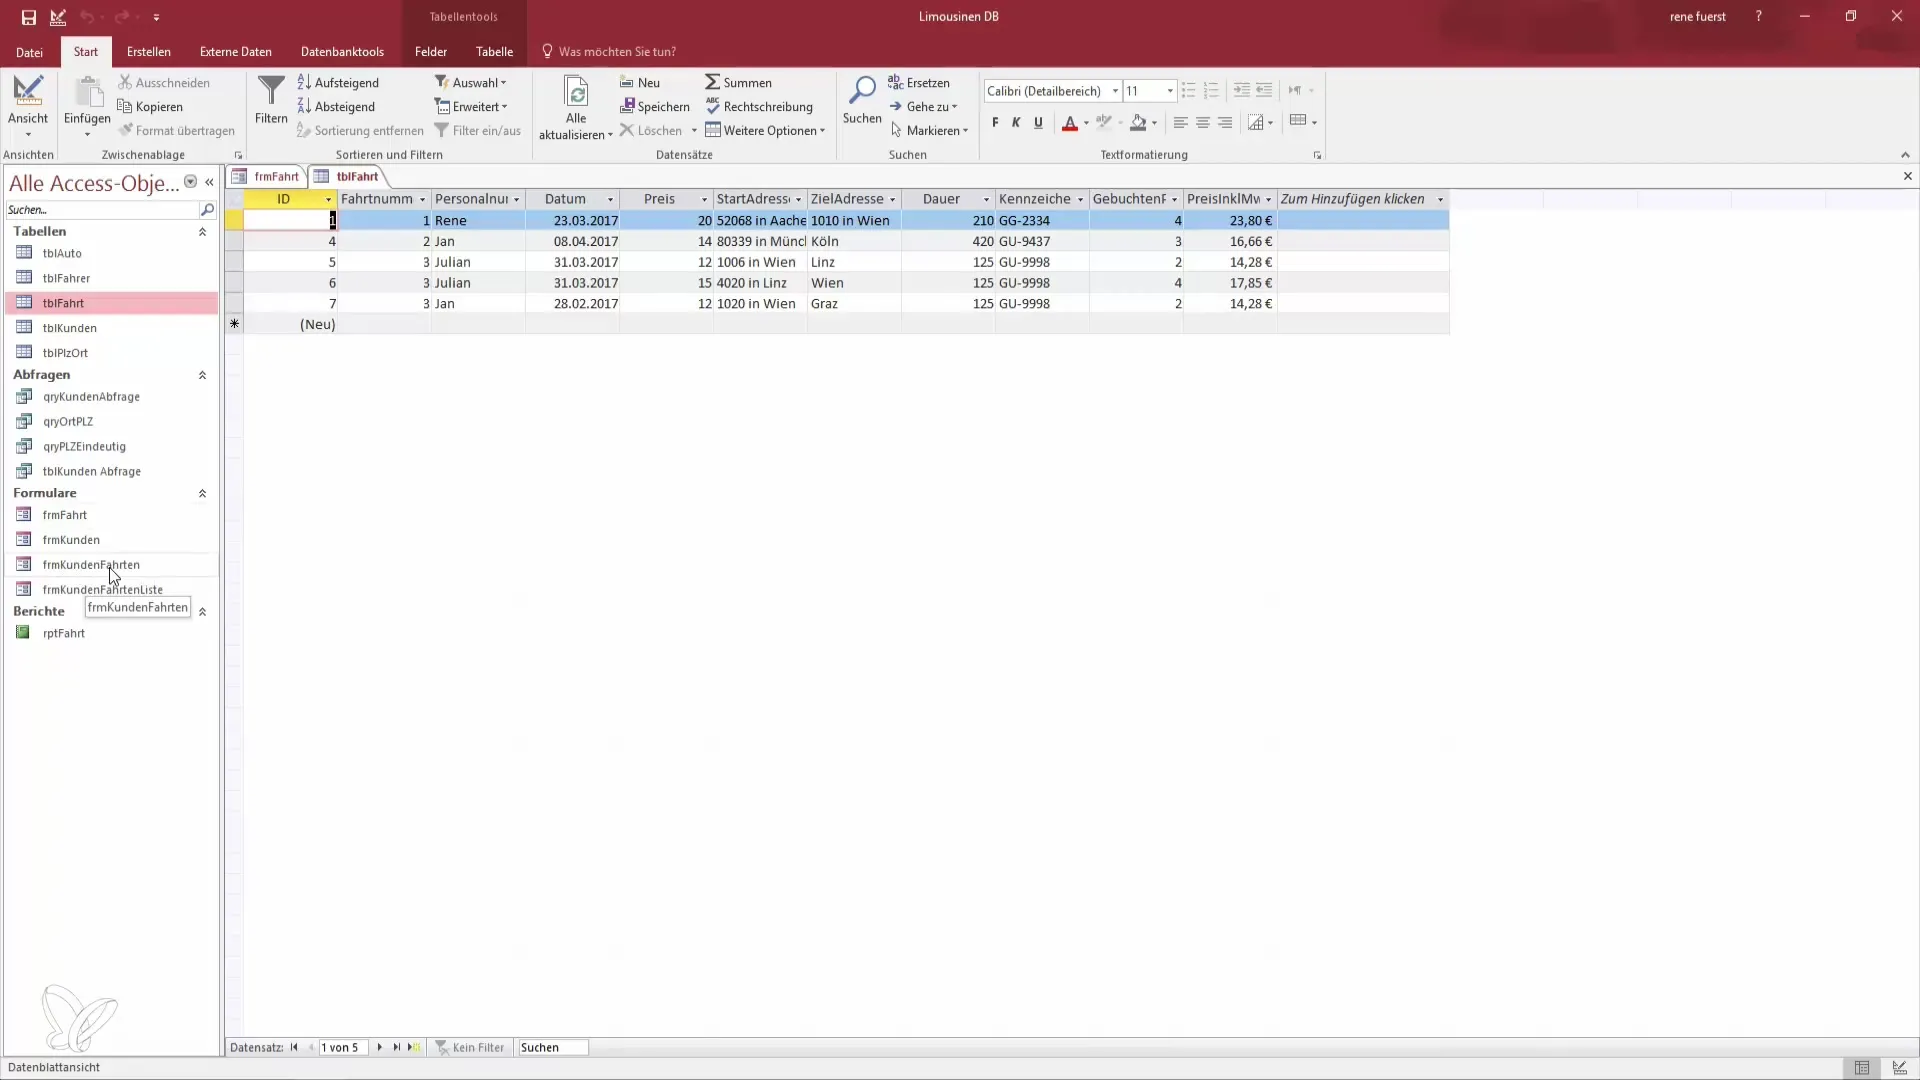
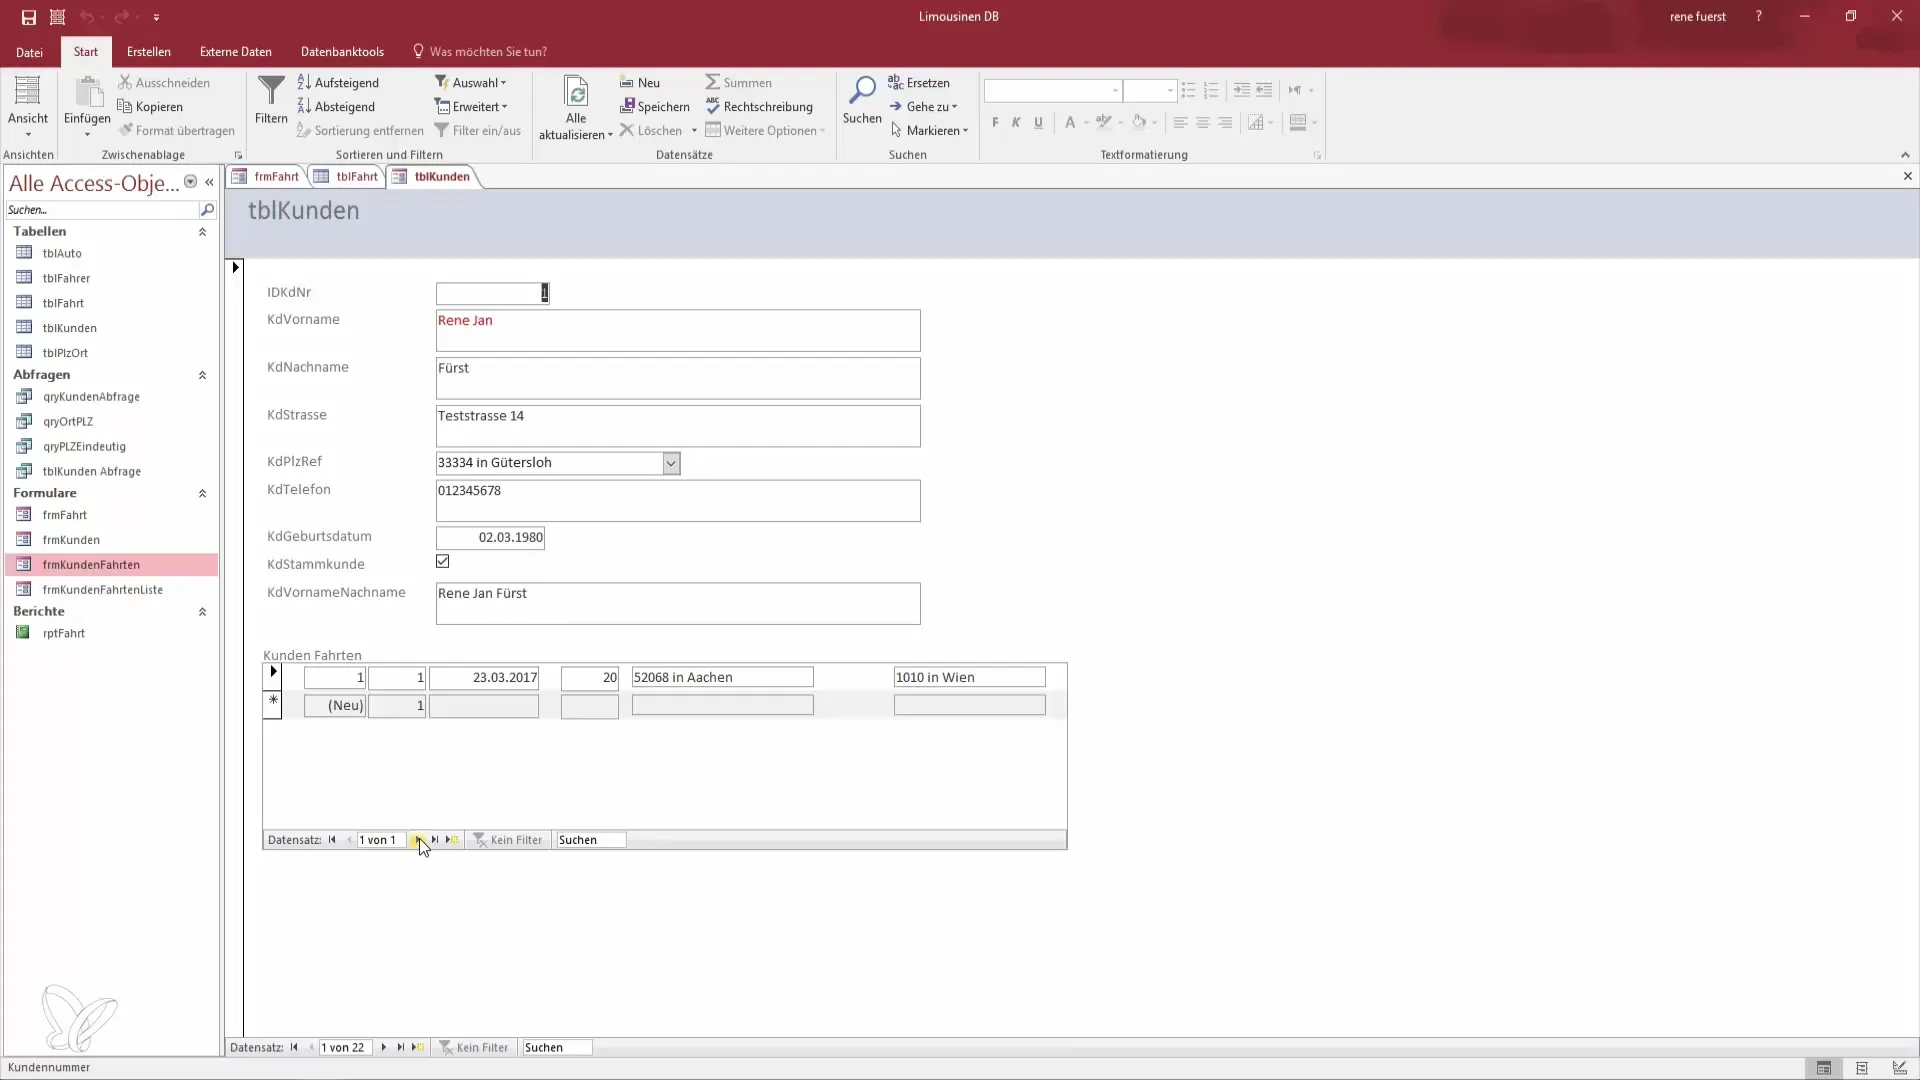
You are ready to take your skills in Microsoft Access to the next level. In this lesson, you will master the exciting challenge of creating a customer list that also shows the booked spots of the customers. Through the previous lessons, you are well-prepared to solve this task independently. Let’s go through the steps to create the requested customer trip list.
Key Insights
- To display customer trips, the structure of your database needs to be reversed.
- Create a new form database that effectively represents the customers and their booked trips.
- Follow the preceding lessons to apply concepts already learned.
Step-by-Step Guide
To create the customer list with the booked spots, follow these steps:
Step 1: Create New Form Database
The first step is to create a new form database. Give it an appropriate name like "Customer Trips". This will be the starting point for the structure that you will build afterwards. This database will provide the foundation for your customer list.

Step 2: Create Form for Customer Trip List
Once the database is created, continue by creating a new form. Name this form "Customer Trip List". Here, you will visualize the data you need for the customers and their trips. The form is crucial to displaying the information in a well-structured manner.

Step 3: Insert Customer Data
In this step, you will integrate customer data into your form. You should ensure that all relevant data such as name, address, and customer number are correctly displayed in the list. This information is essential for users to know which customer is involved.

Step 4: Insert Customer Trips
Now it's about making the trips for each customer visible. You will create an overview that shows which trips a particular customer has booked. It’s important that the structure of the trips is clearly recognizable, ideally in the form of a list. This may include multiple entries per customer.
Step 5: Review and Test Records
After you have created all forms and entered the data, you should review the records. Test whether all entries are loaded correctly and if the display of trips for each customer works. Pay attention to whether the number of trips per customer is displayed accurately and if the forms are user-friendly.
Step 6: Finalization and Adjustment
Now it's time to make the final adjustments. Look at the overall picture and consider if you want to add additional features to improve the user experience. You can also make style changes to better adapt the layout to the needs of the users.
Summary – Creating a Customer List in Access: Become a Data Hero
You have now learned how to create a customer list that clearly presents the booked spots. By following the steps to create a new form database and integrate customer data, you are now capable of independently conducting effective data management tasks in Access.
Frequently Asked Questions
How do I create a new form database in Access?You go to "Create Database" and assign a name for the database.
How do I add a form in Access?Select the database object and click on "Create Form".
Can I display multiple trips per customer?Yes, you should create a table that lists the trips per customer.
What do I do if I have problems during creation?Just follow the instructions in the previous lessons and use them as a reference.


