With Reports in Microsoft Access, you can present data professionally and appealingly. Reports are not just simple extracts from your database, but allow for effective visualization and formatting of information commonly needed for evaluations or presentations. This guide will help you create your first report and understand the basic functionalities of reports in Access.
Key Insights
- Reports structure data and enable a professional presentation.
- You can selectively choose and format information.
- The creation of your first report occurs in several simple steps.
Step-by-step Guide
1. Accessing the Report Functions
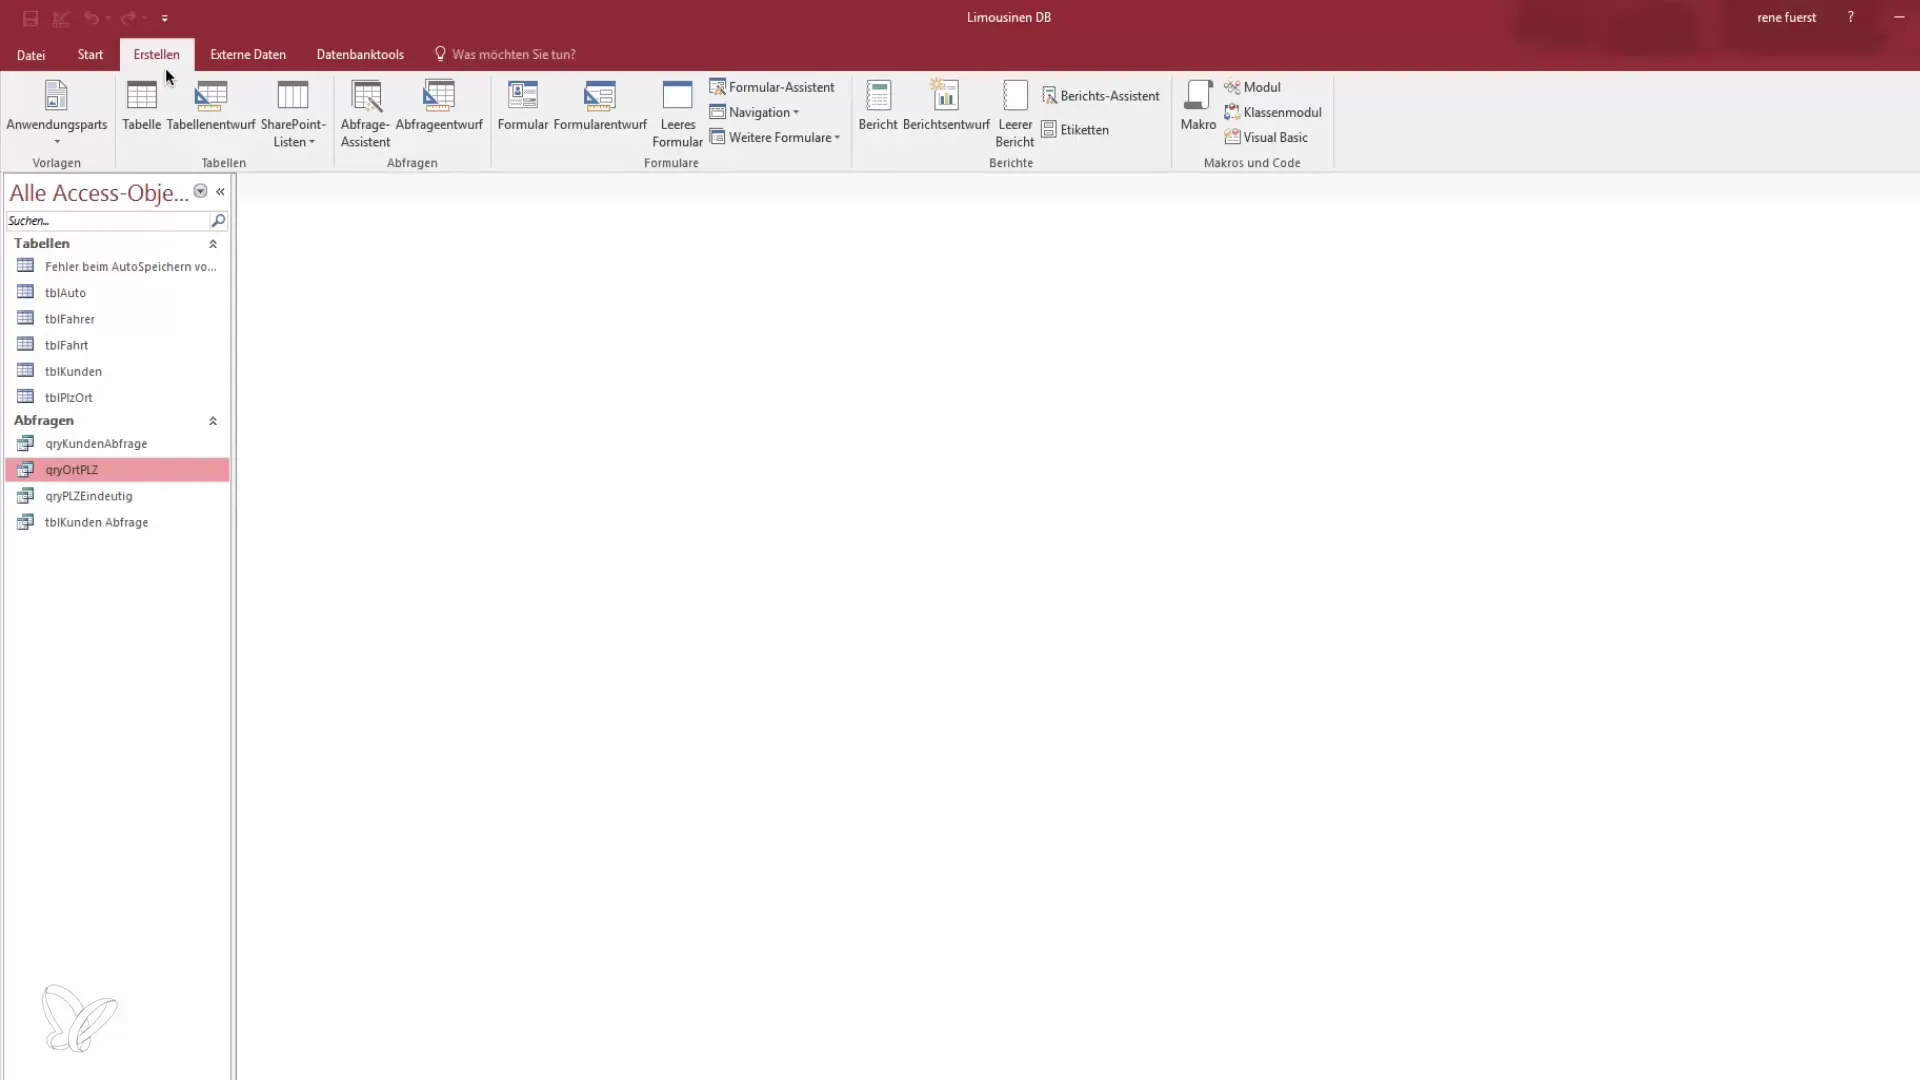
First, you need to get an overview of the reporting functions in Access. You will find your tables and queries in a selection, but no reports yet. To create a report, go to "Create" in the menu.

2. Select Report Wizard
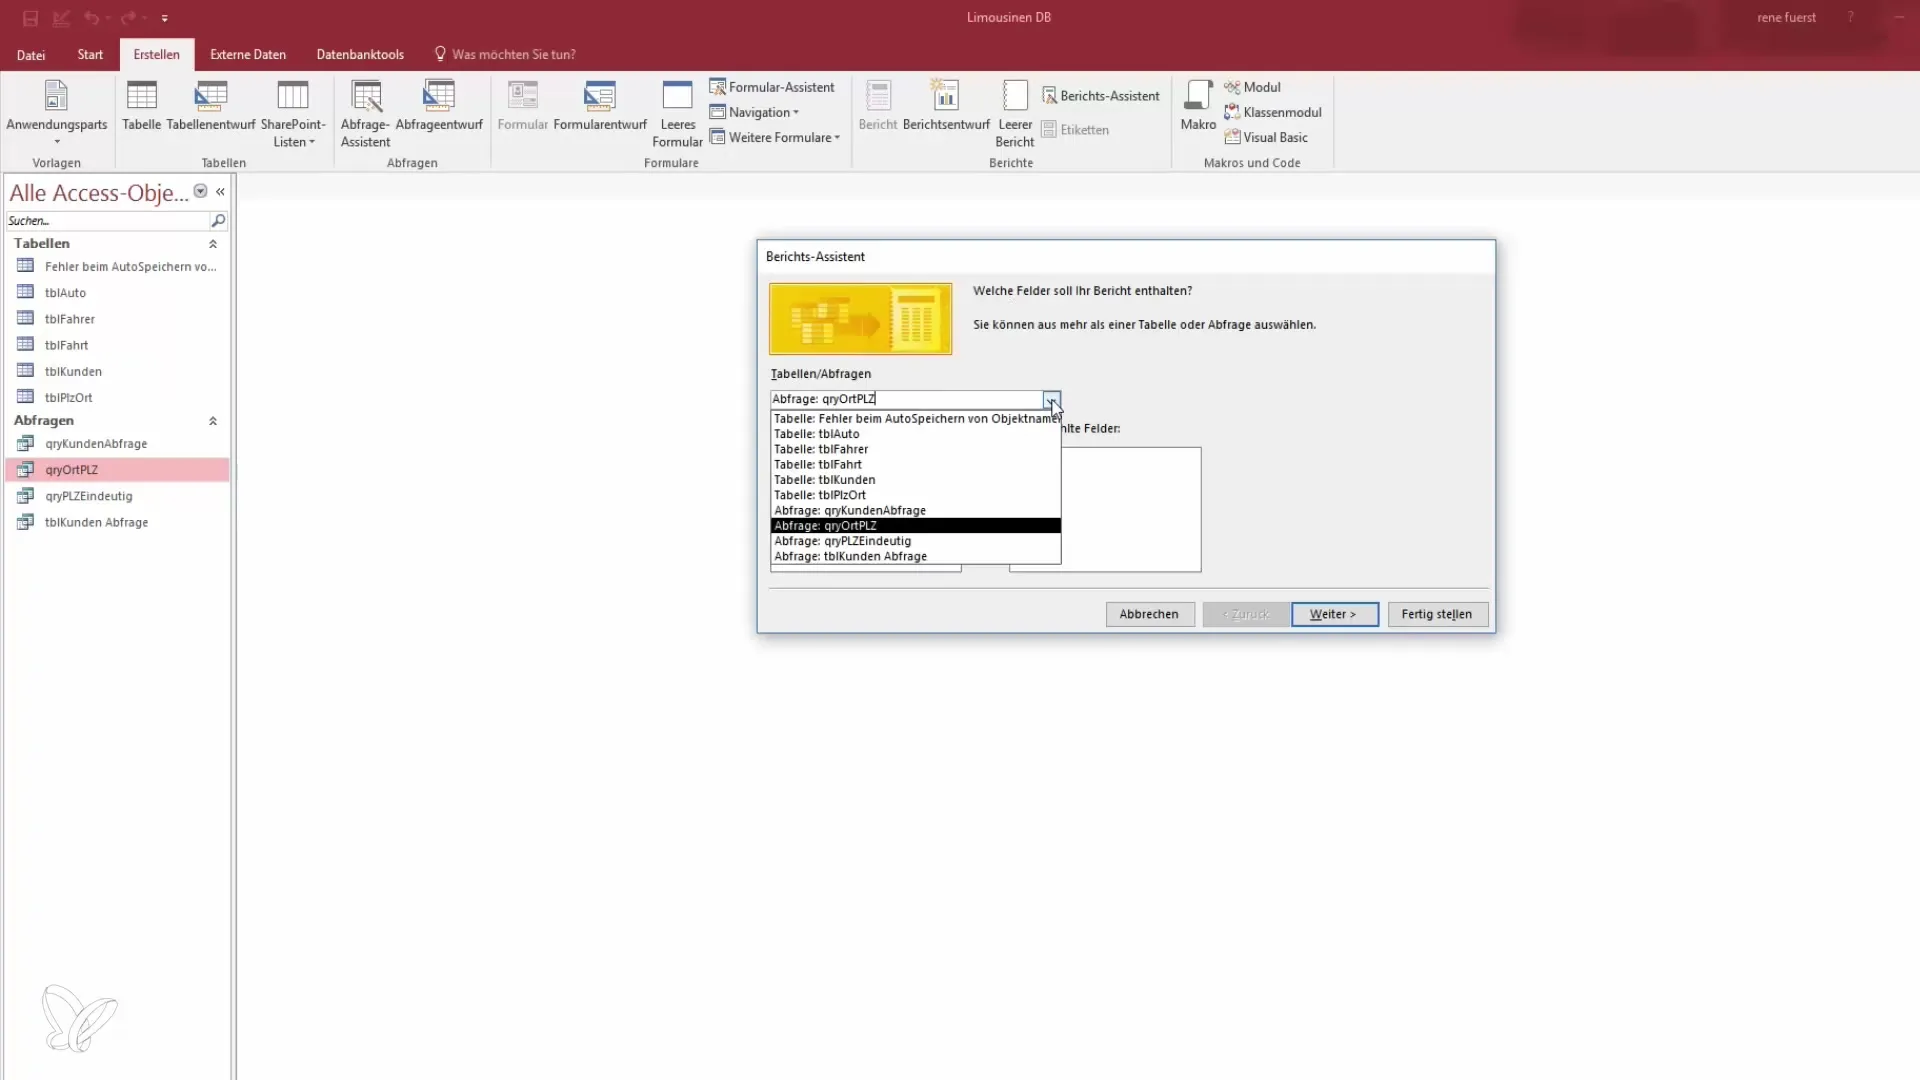
Select the Report Wizard to begin a guided creation of your report. The wizard will help you choose the right data sources and design the report according to your preferences.
3. Choose Data Source
In the next step, you will be asked from which data source you want to create a report. You can choose between a query or a table. For our example, we will use the table "Trips".

4. Select Fields for the Report
Now you have the opportunity to select the fields that should appear in your report. It is important to only choose the necessary information to keep the report clear. Example fields that you might select include trip number, date, price, and the addresses.
5. Set Grouping and Sorting Options
You have the option to group and sort data by specific criteria. However, you can explore these options in more detail in later lessons. For this step, focus only on the basic selection of the information to be displayed.
6. Choose Report Layout
Select the layout for your report. A common layout is the "Block" layout, which allows a structured and tabular view of the data. You can also select the page format (portrait or landscape) depending on how you want to print the report.
7. Set Report Title
Set a title for your report. A meaningful name could be "Report RPT for Trip". You also have the option to decide whether you want to display the report immediately or edit it in draft mode.
8. View and Review the Report
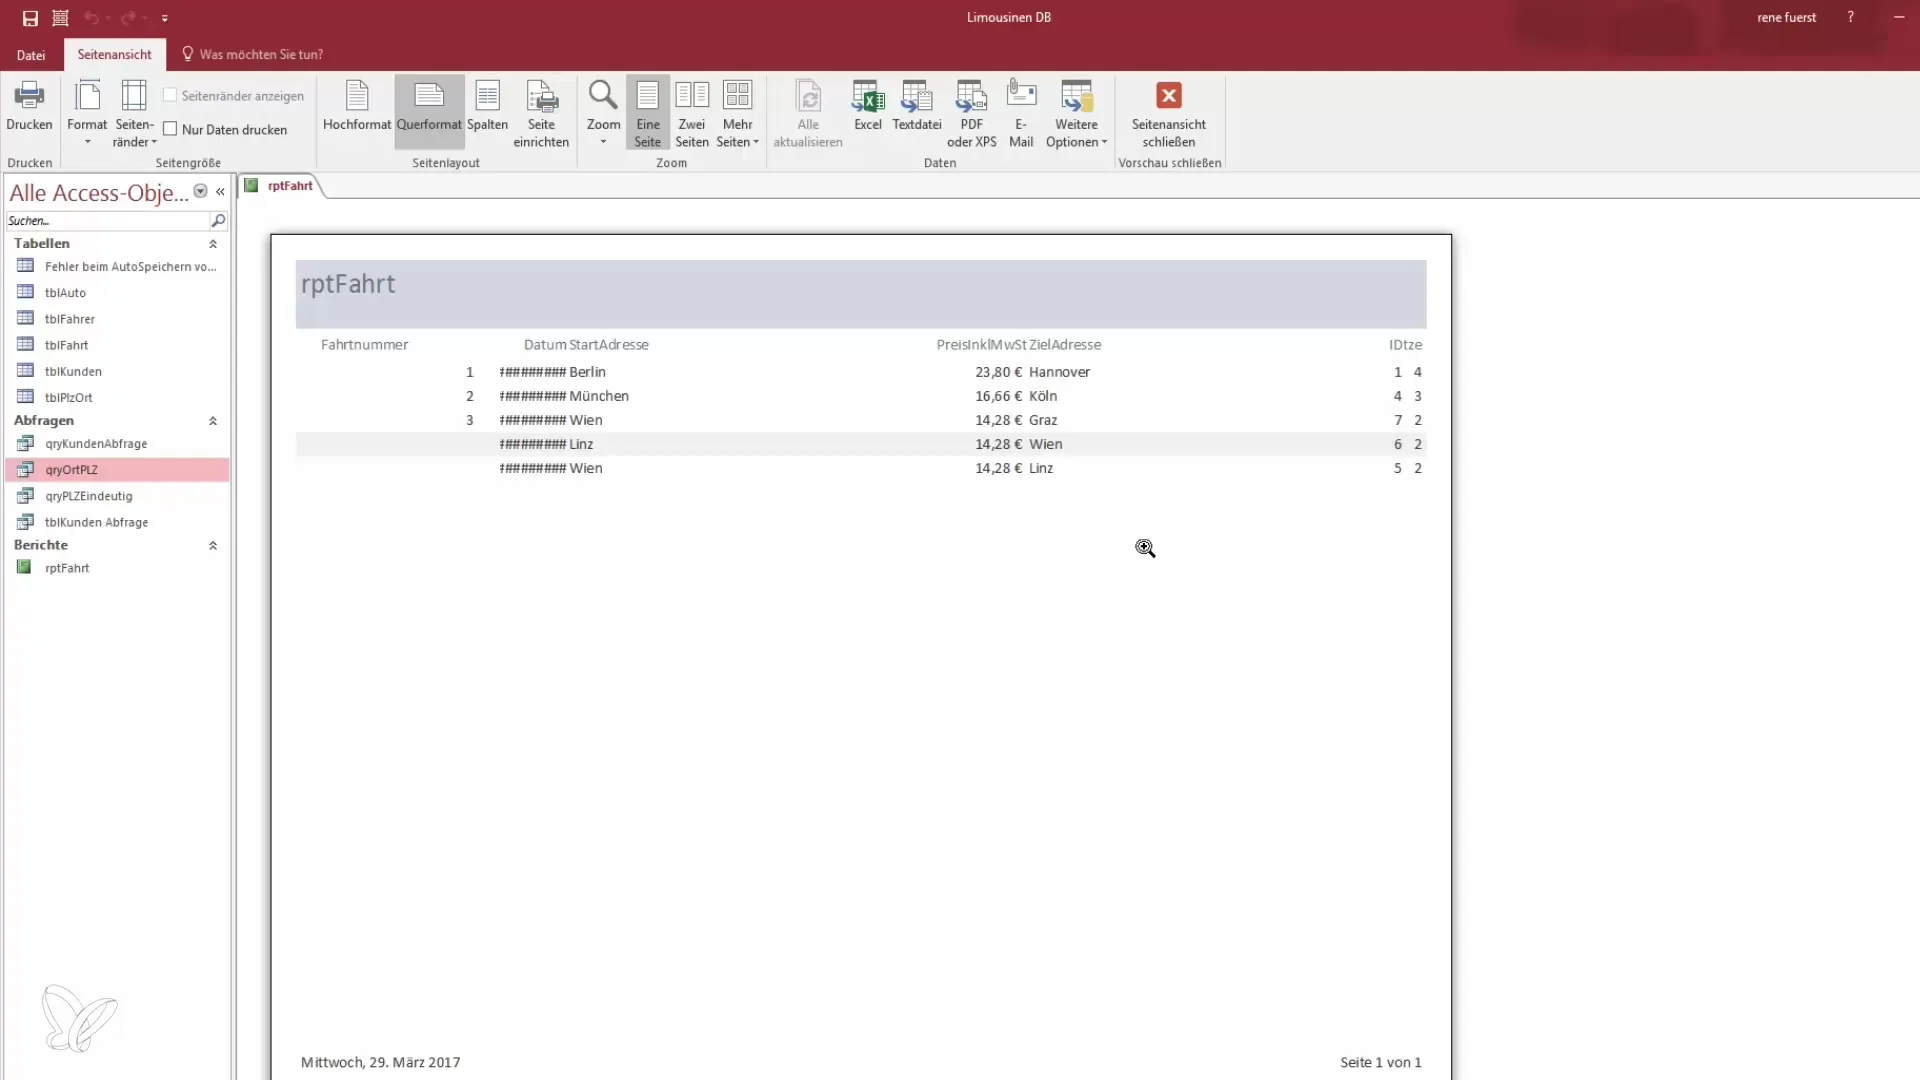
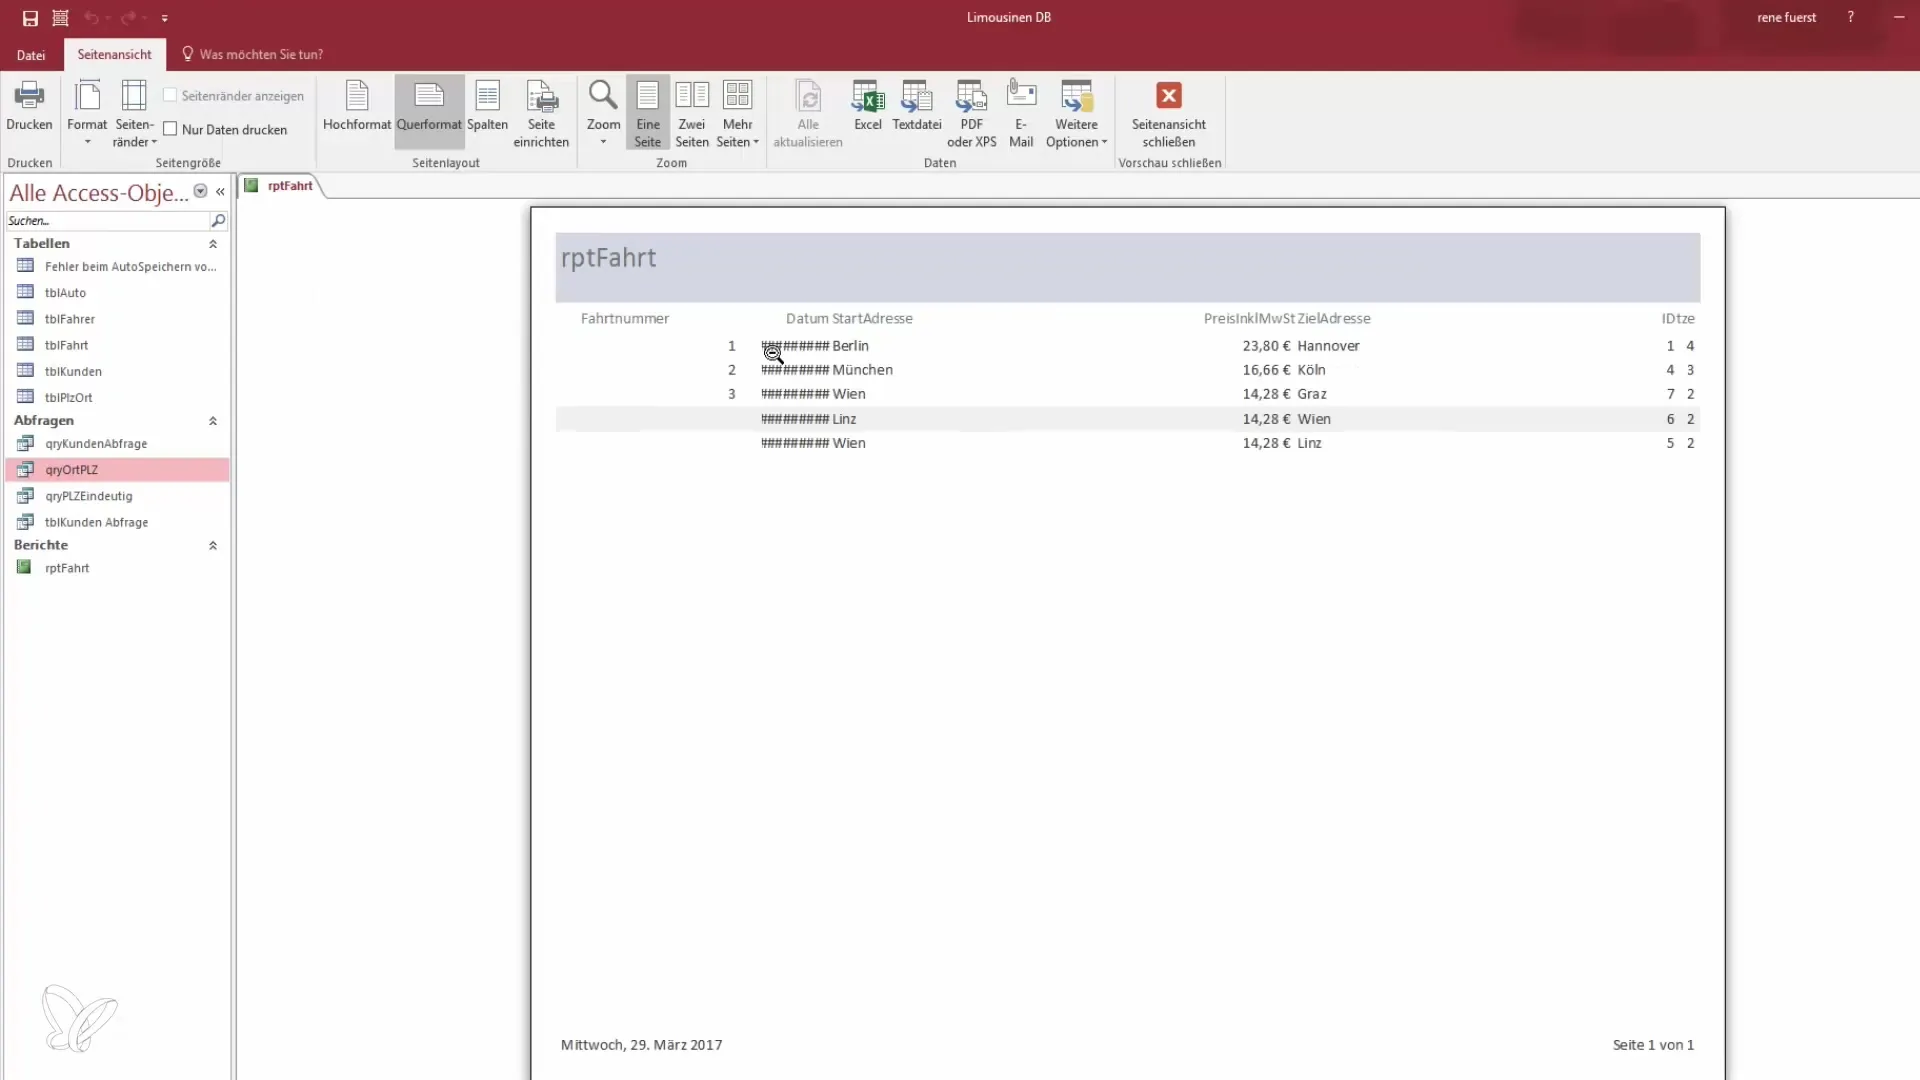
Now you can create the report and see how it looks. Click on "Finish" and you will see your first report with the selected data. It is important to carefully check now whether all information is displayed correctly and attractively.

9. Customize the Report
After getting an initial impression of the report, it is time to fine-tune the formatting. In this step, you will adjust the representation of fonts, lines, and columns to ensure that the report is print-ready and looks good.

Summary - Reports in Access: How to Create Your First Report
You have now learned how to create your first report in Microsoft Access. The various steps help you to organize, present, and prepare the data for future evaluations. With further practice, you will be able to create more complex reports and present detailed information.
Frequently Asked Questions
What is a report in Access?A report in Access is a structured representation of data from tables or queries that is used for output, presentation, or analysis.
How do I create a report in Access?Select the report wizard, choose the data source, define the desired fields, and customize the layout.
Can I format reports in Access?Yes, you can customize the presentation of reports to make them clearer and more professional.


