A well-structured form is the heart of every database application in Microsoft Access. It not only ensures better clarity but also facilitates working with the entered data. In this tutorial, I will show you how to customize and optimize the header and details of a form. You will be able to effectively and attractively present essential information.
Key Insights
- The central alignment of elements in the form improves usability.
- Adjusting the size of the header and detail area helps use space efficiently.
- Overlapping windows allow for productive data entry without constant switching to tabs.
Step-by-Step Guide
1. Open Design View and Select Elements
First, open the form in design view. Here, you can make changes to the layout of the elements. To fine-tune the elements in the form, first select the area you want to adjust.
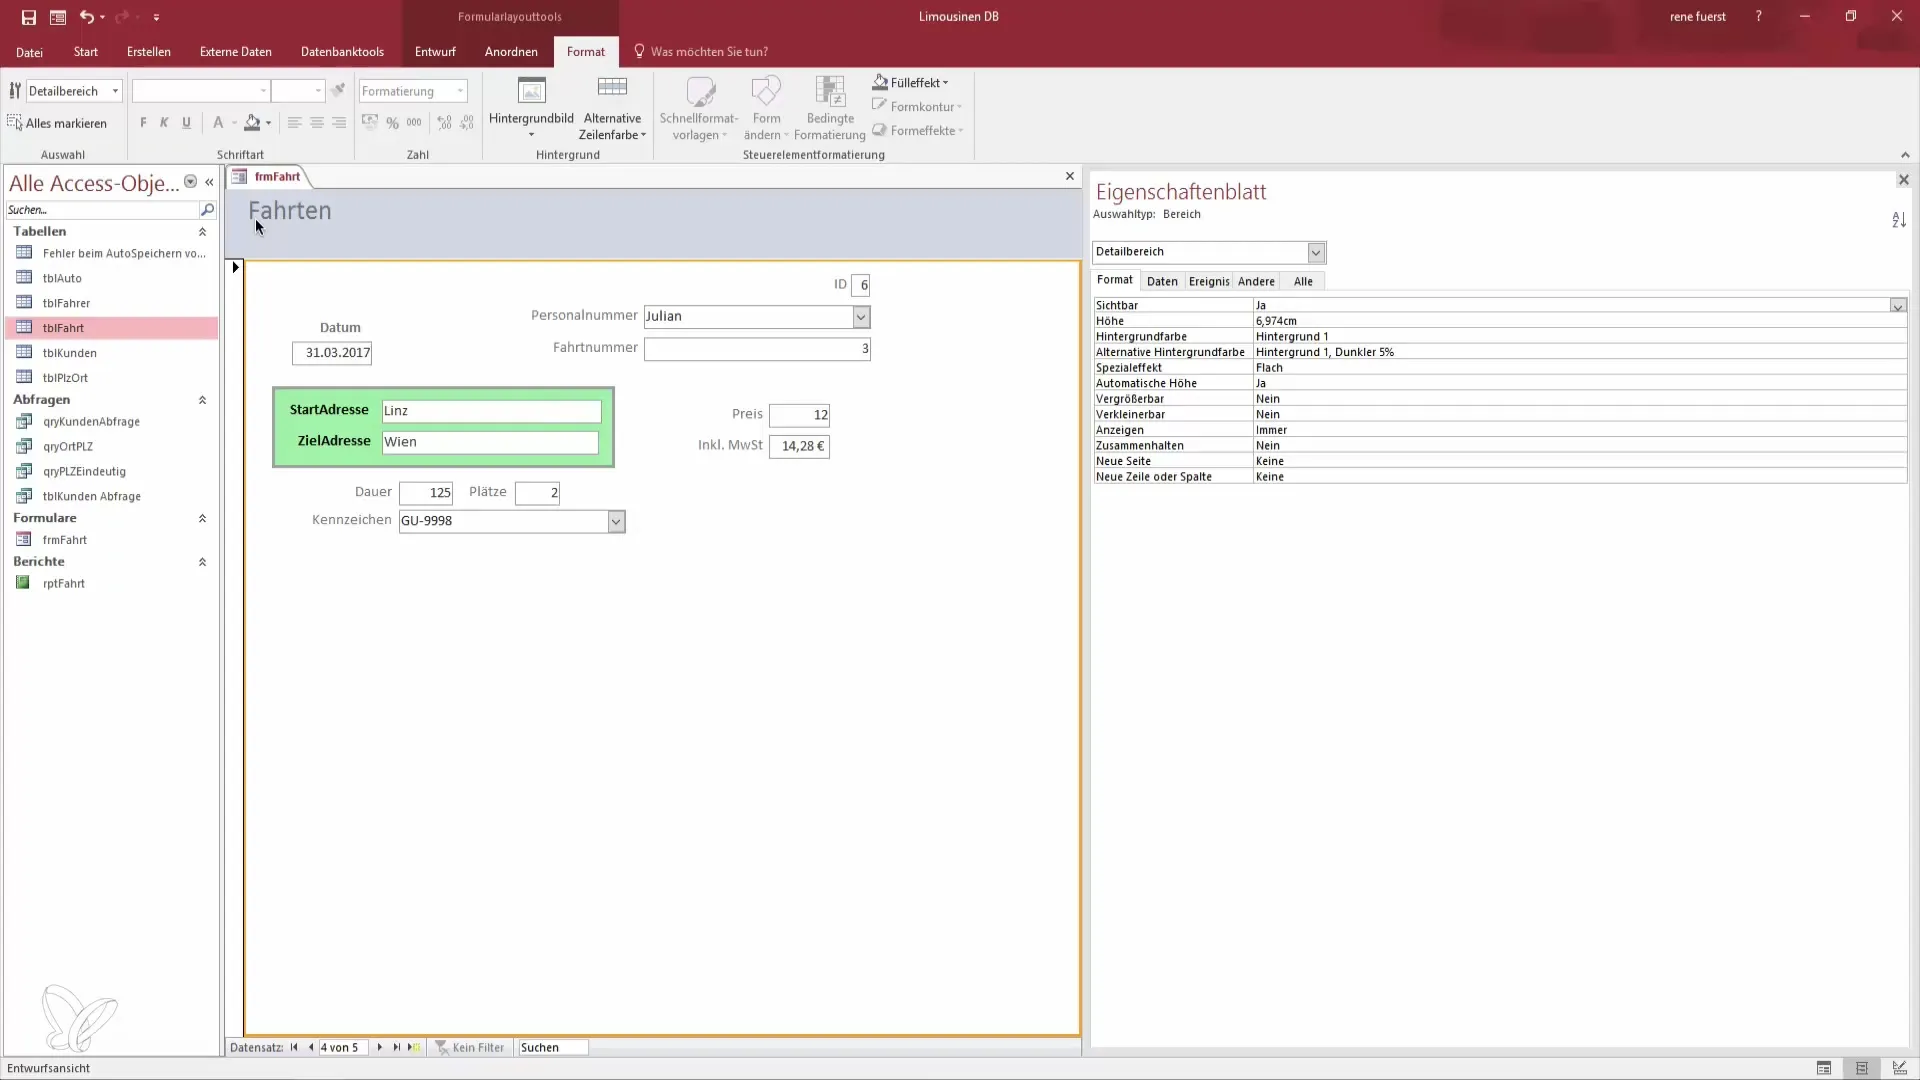
2. Move and Center Elements
To create an appealing layout, you should move the selected elements slightly inward. Pull them closer to the center of the form. This not only helps save space but also contributes to the appearance of the form.
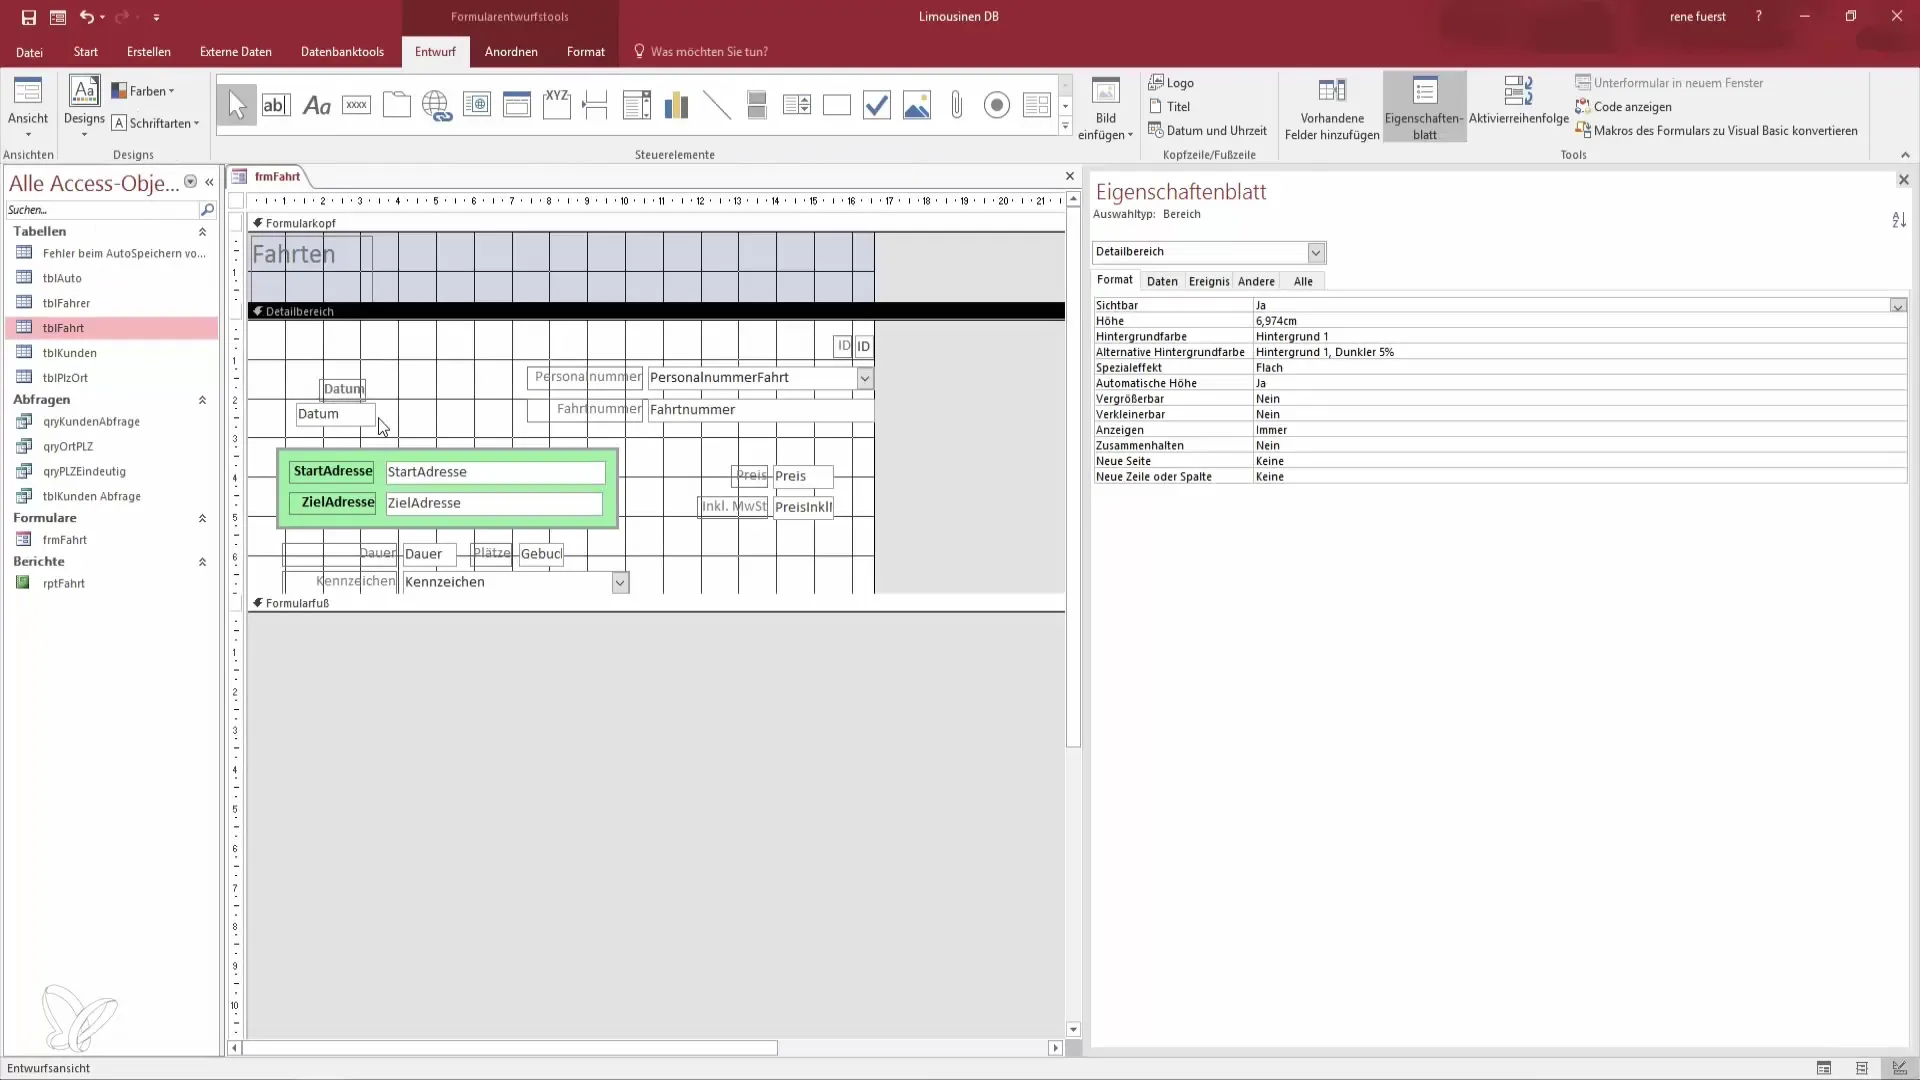
3. Adjust Header
Now you have the opportunity to design the header of your form according to your preferences. Make the header larger by pulling the bottom edge down. This creates space for centering the titles and other relevant information you wish to add.
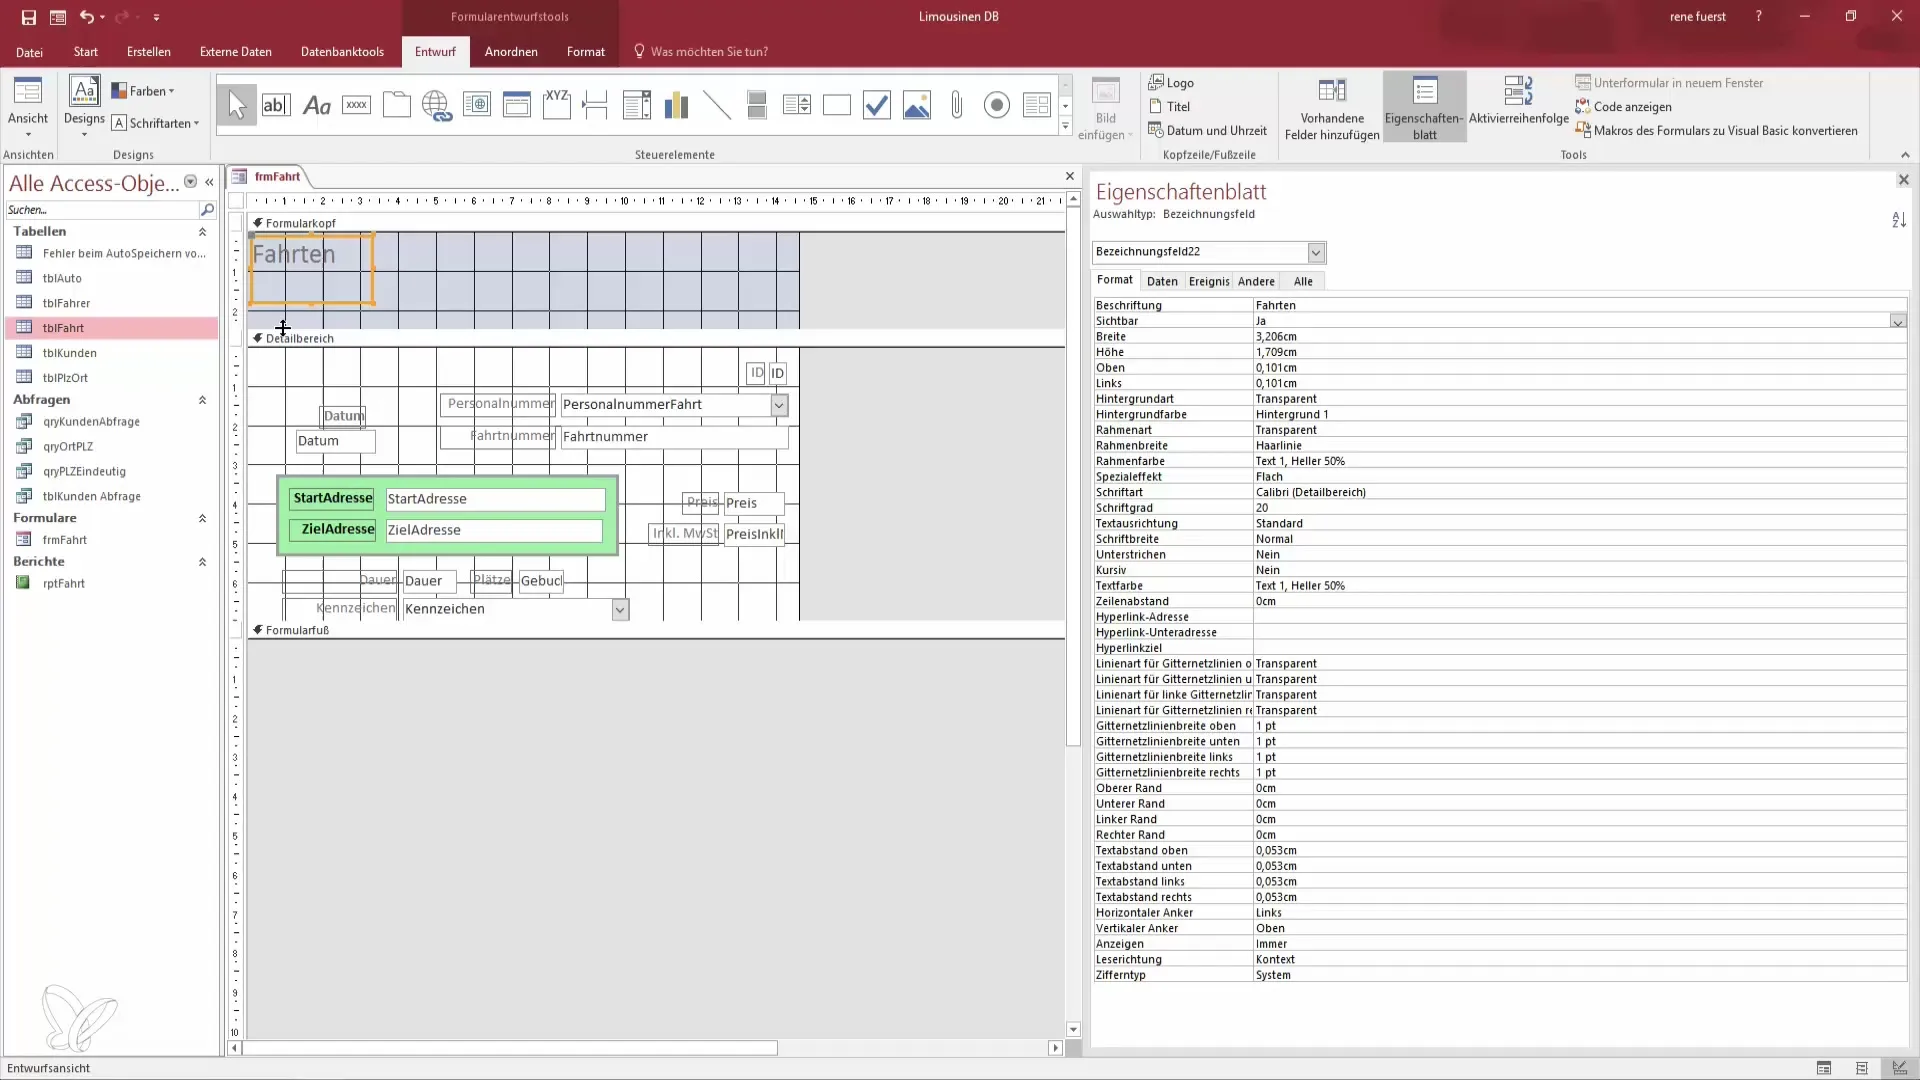
4. Edit Elements in Detail Area
Go across the entire width of the form to ensure that the trips are visually appealing and well-placed. Then select the formatting options to set the font to "center" and "bold". This highlights important elements and provides a cohesive appearance.
5. Adjust Colors and Font Size
In addition to centering the view, you can also adjust colors and font sizes to improve readability. Set the font color to black and optimize the height so it does not appear too dominant.
6. Switch Window View
To optimize data entry, you should configure the current database to open in an overlapping window rather than in tab format. Go to the file and option settings for this. Don't forget to restart the database for the changes to take effect.
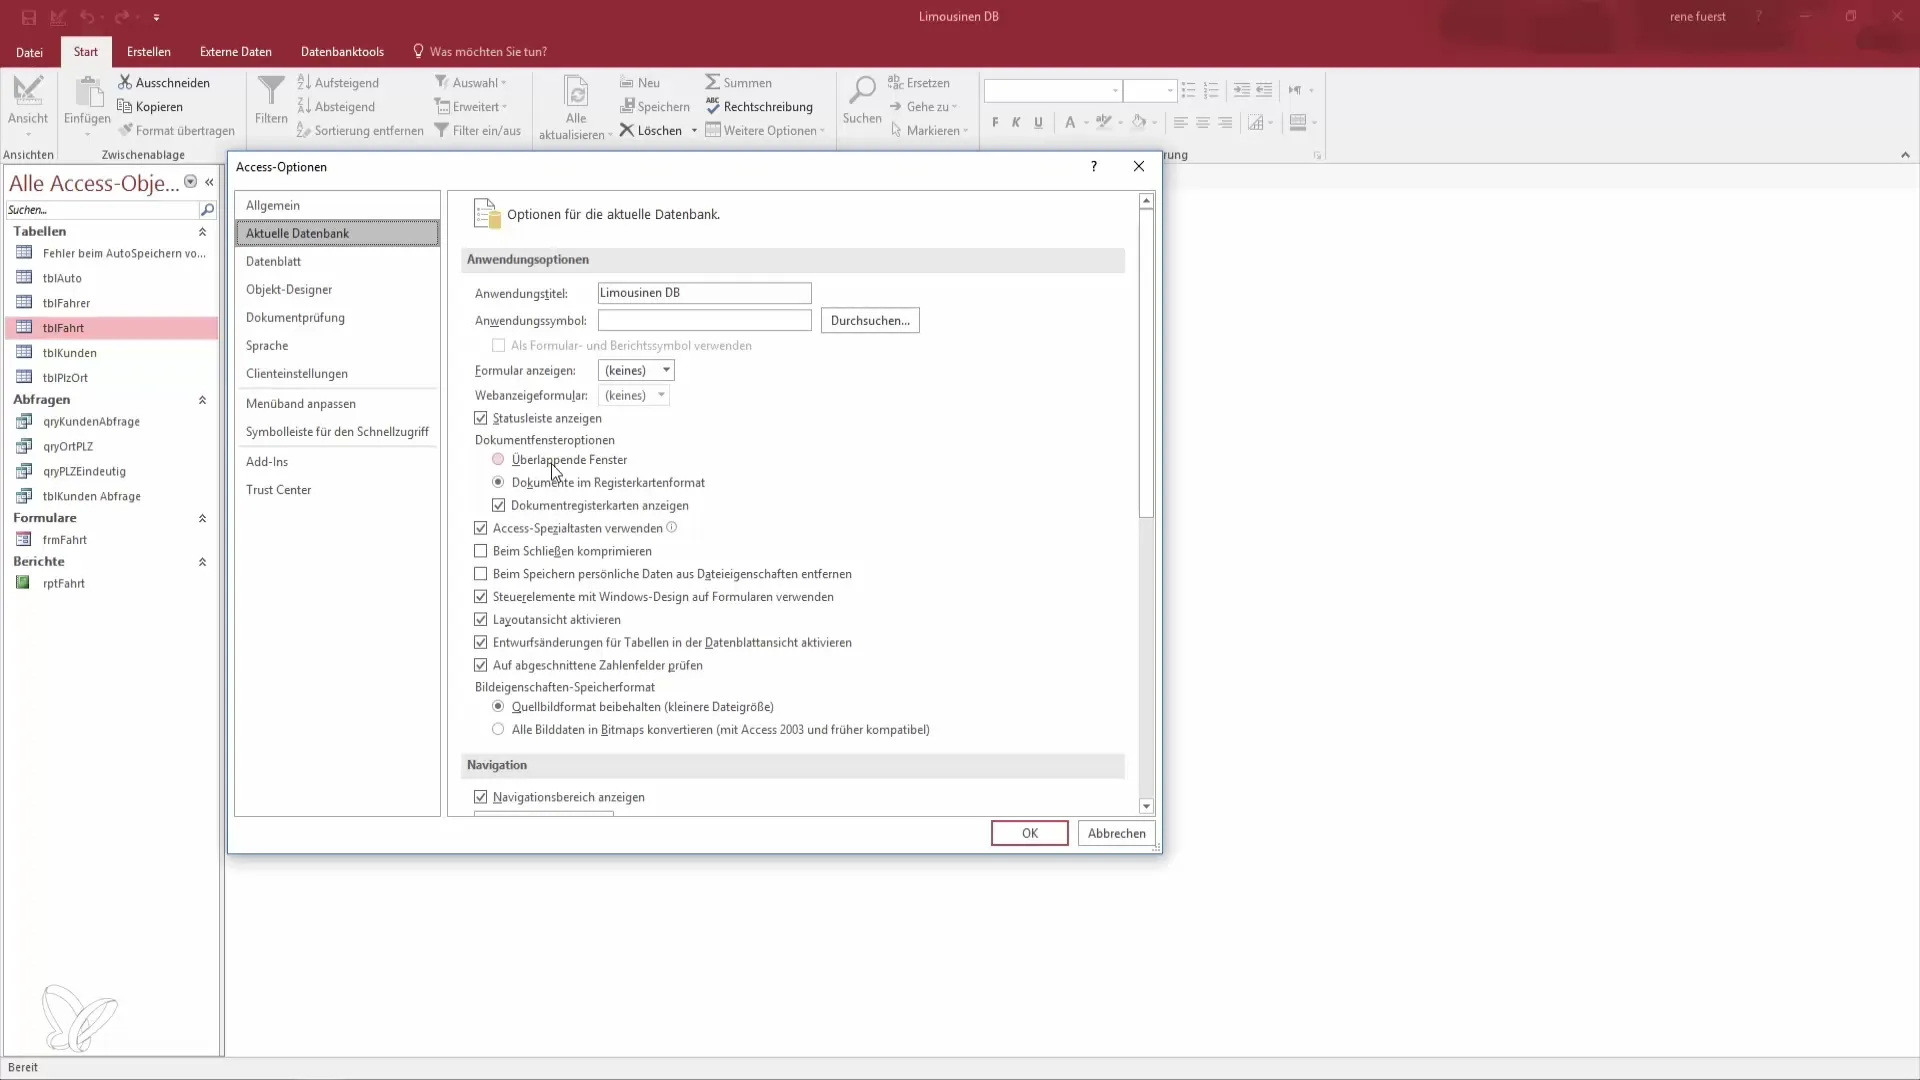
7. Review the New Layout
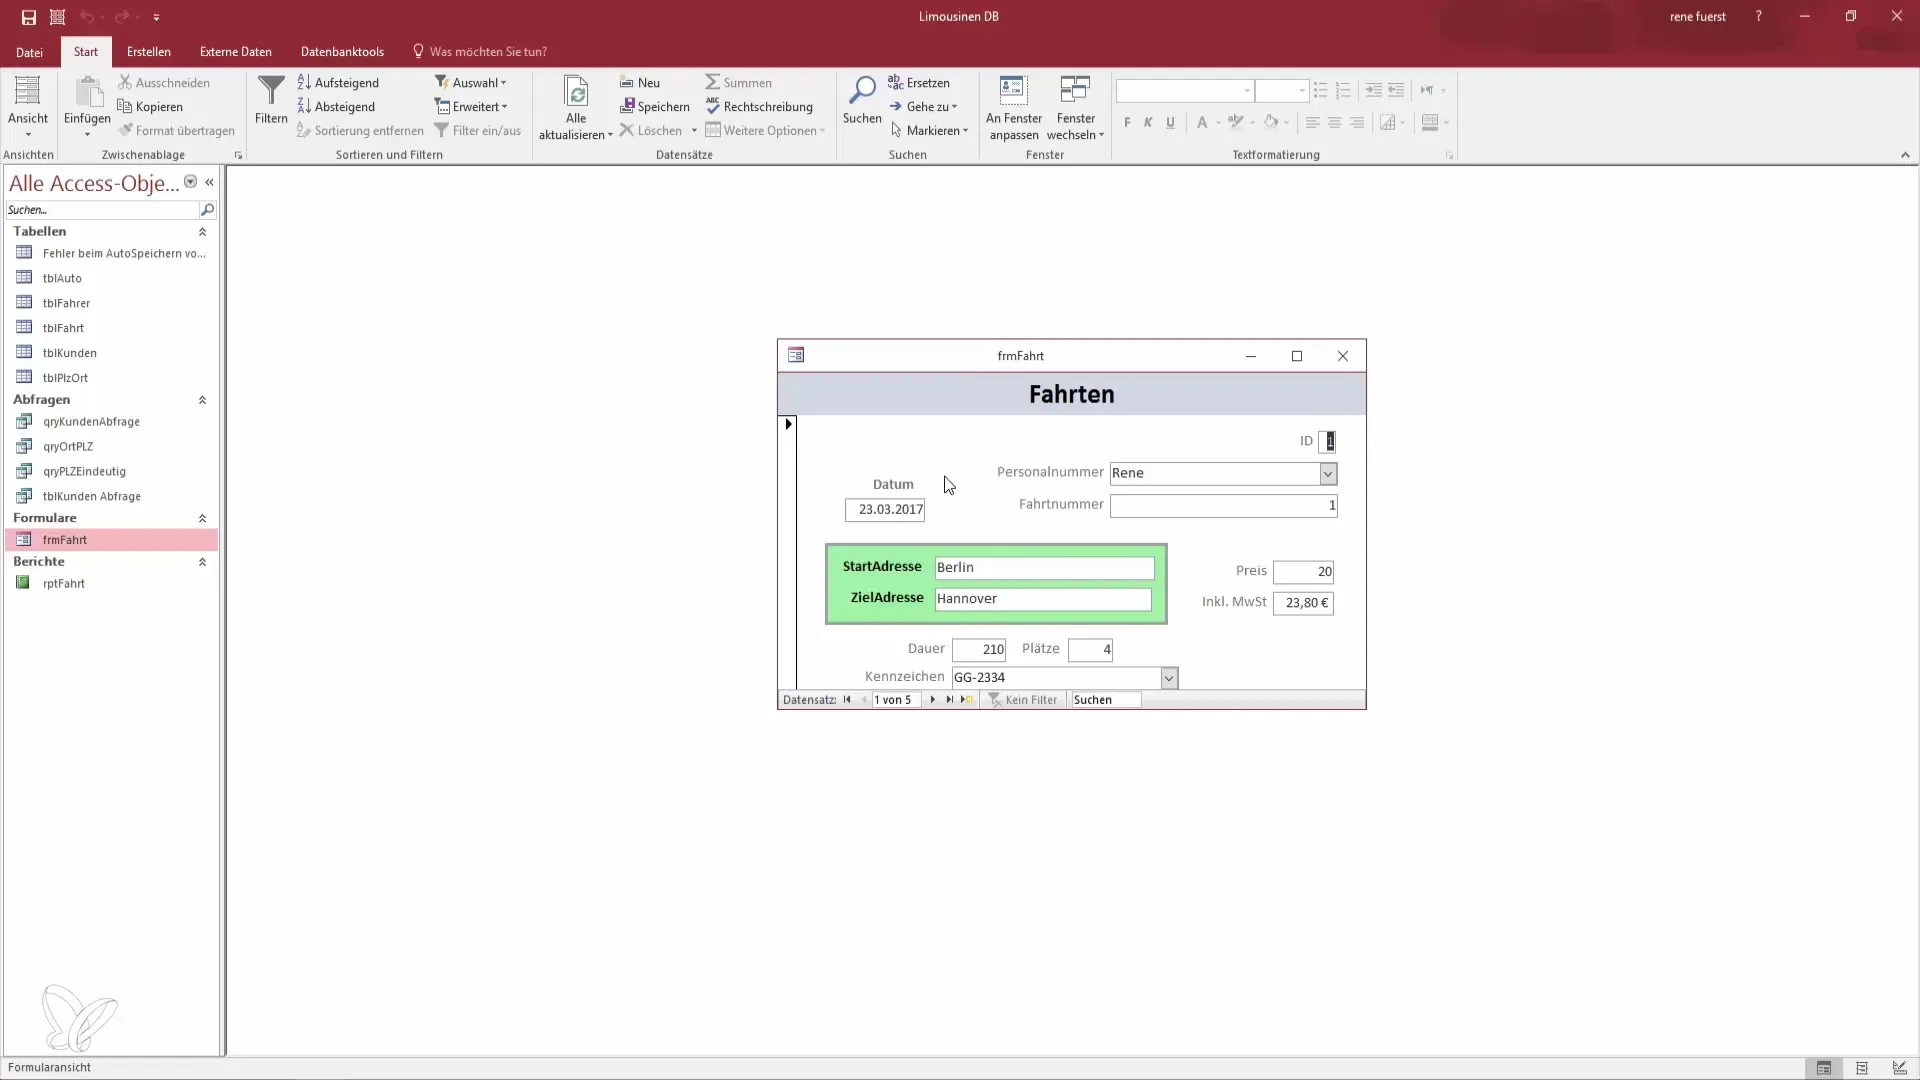
Once the settings have been adjusted and the database restarted, reopen the form. You should now see a window that matches the size of the created form and allows you to enter your data. This significantly increases the efficiency of your data entry.
8. Input and Manage Records
Test how well you can now work with the form. Use the functions to navigate through records and add new ones. This works for both new trips and other data managed in your database.
9. Use the Search Function
Finally, you can use the search functions to quickly access specific records. This saves you time and allows you to work more efficiently. Try it by searching directly by names.
Summary - Better in Access: Become a Data Hero when Editing Header and Details
You have now learned the key techniques to edit the header and detail area of your Access form. Through central design, color and size adjustments, as well as an efficient window option, you have taken valuable steps to make your form more functional.
Frequently Asked Questions
How do I switch to design view?You can access design view by opening the form from normal view and then selecting design view from the menu.
How do I change the font in my form?Select the relevant text fields and go through the formatting menu to adjust font, size, and other settings.
Why should I switch to window view?The window view allows for overlapping work, which increases productivity during data entry.


