The use of images in a graphical user interface (GUI) is an important part of application development in Python. Stunning user interfaces (UIs) that include images are not only visually appealing but can also contribute to better user guidance. In this tutorial, I will show you how to easily integrate images into your Python applications by using the Tkinter module, which facilitates the creation of GUIs in the Python environment.
Key insights
- Using the PhotoImage class to load images.
- Creating panels and labels to display images.
- Structuring the GUI with the grid layout.
Step-by-Step Guide
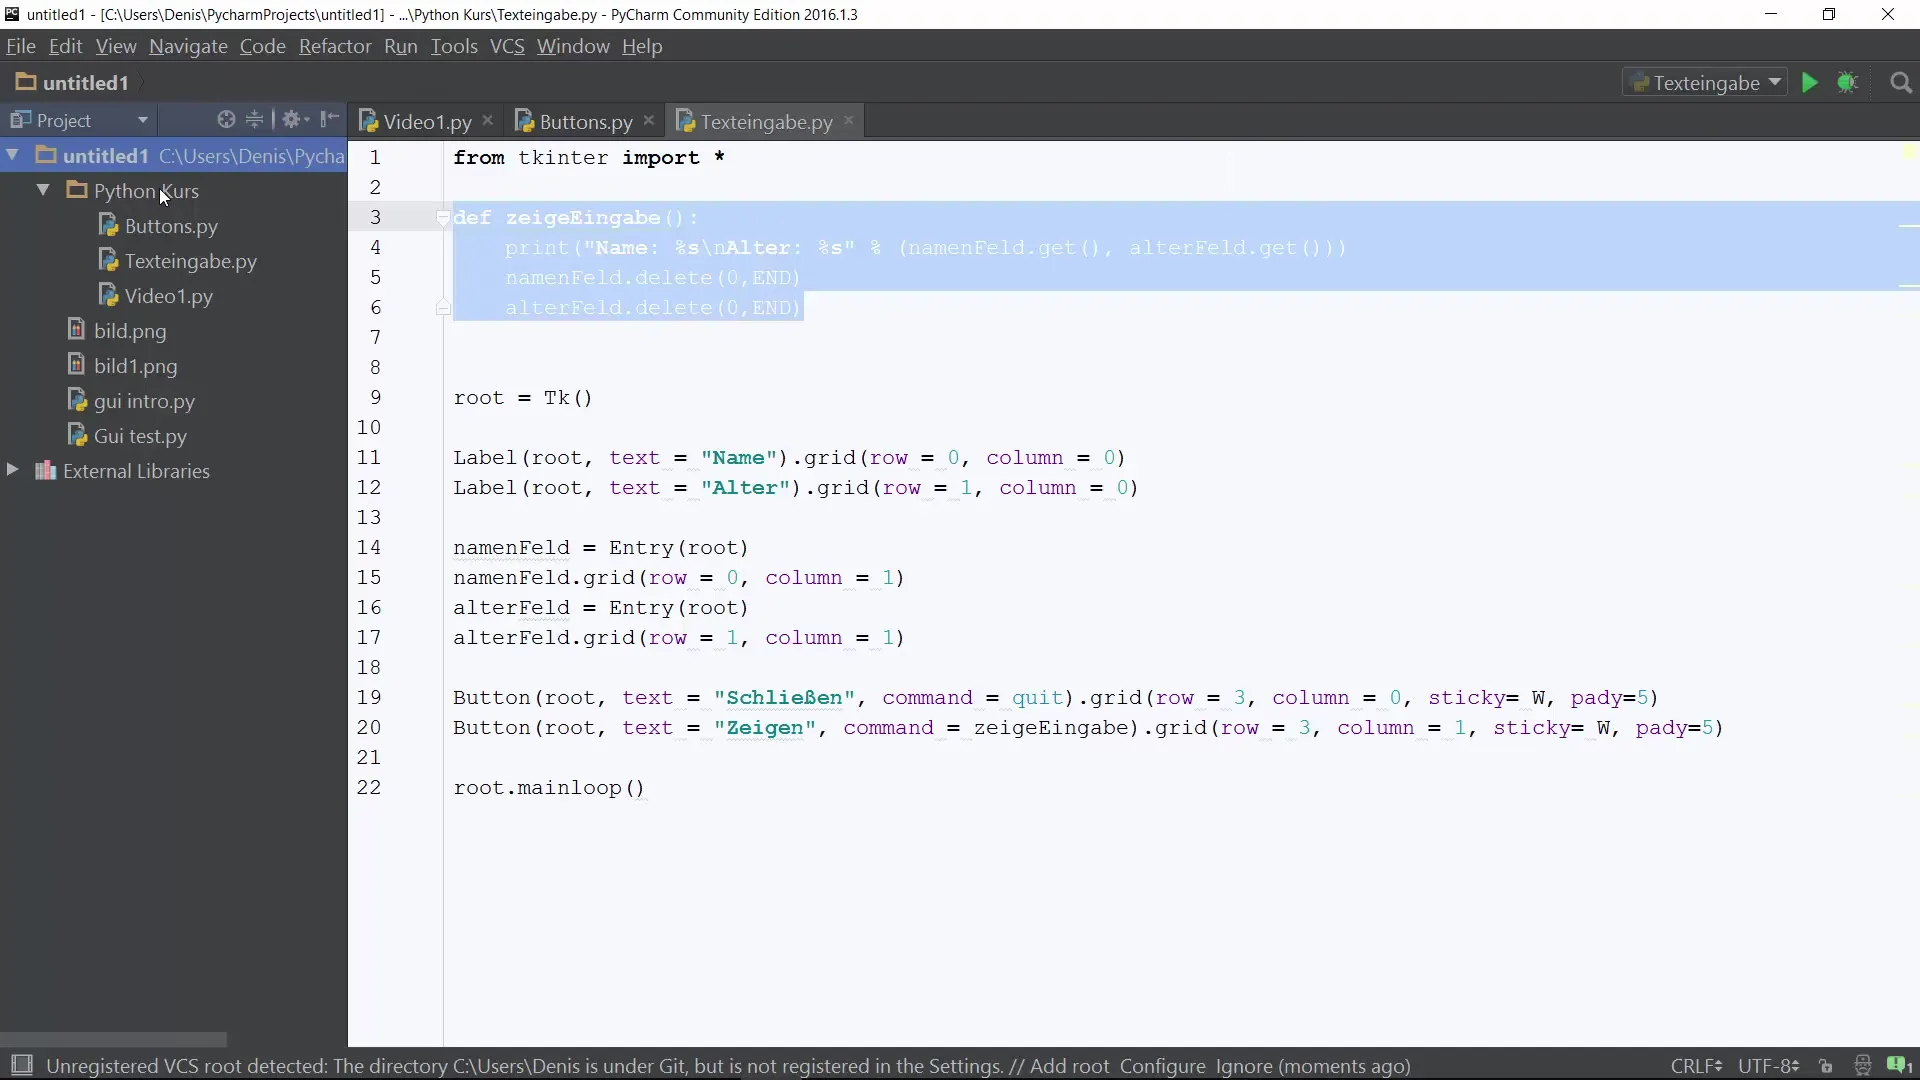
Step 1: Create a new Python file
Start by creating a new Python file. This is the first step in developing your GUI application. You should do this in an appropriate development environment.
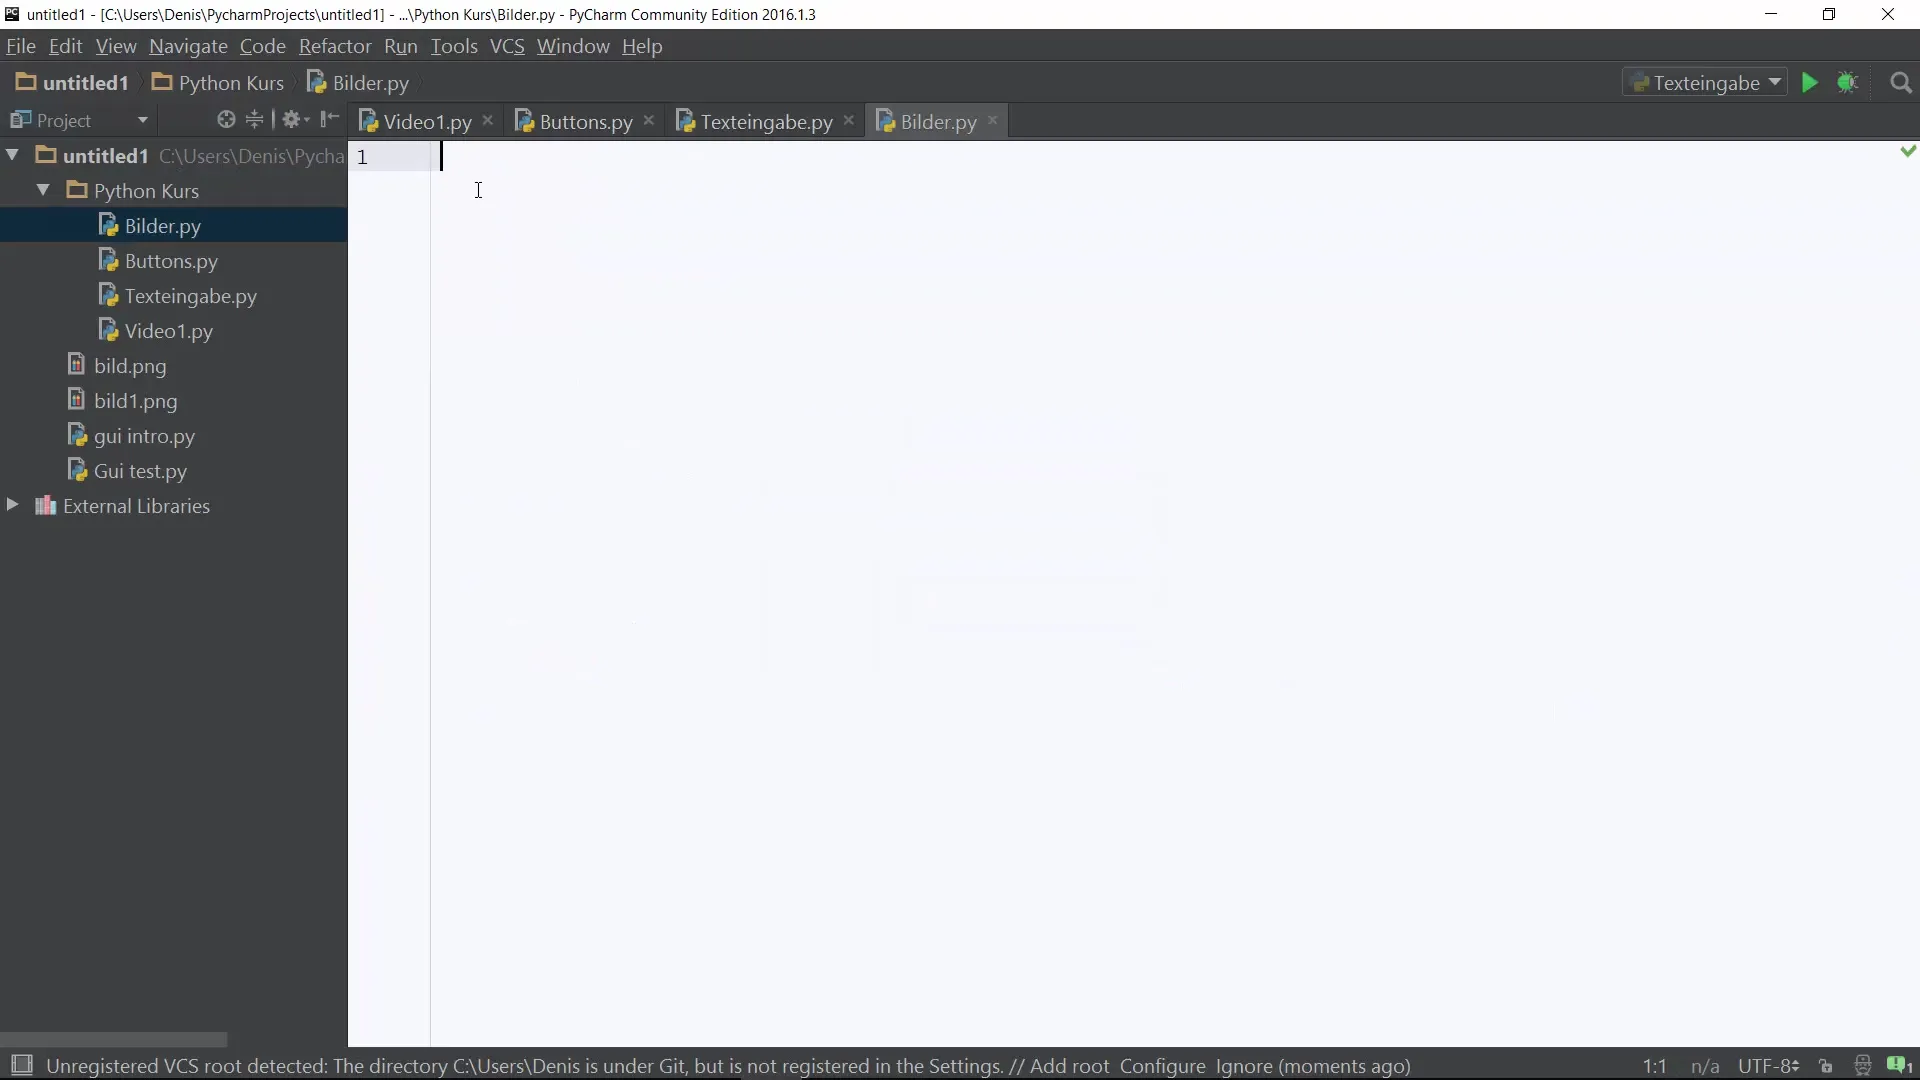
Step 2: Import Tkinter
In your new Python file, import Tkinter to use the necessary functions for creating GUIs. Use the import command from tkinter import *. This gives you access to all classes and functions from Tkinter.
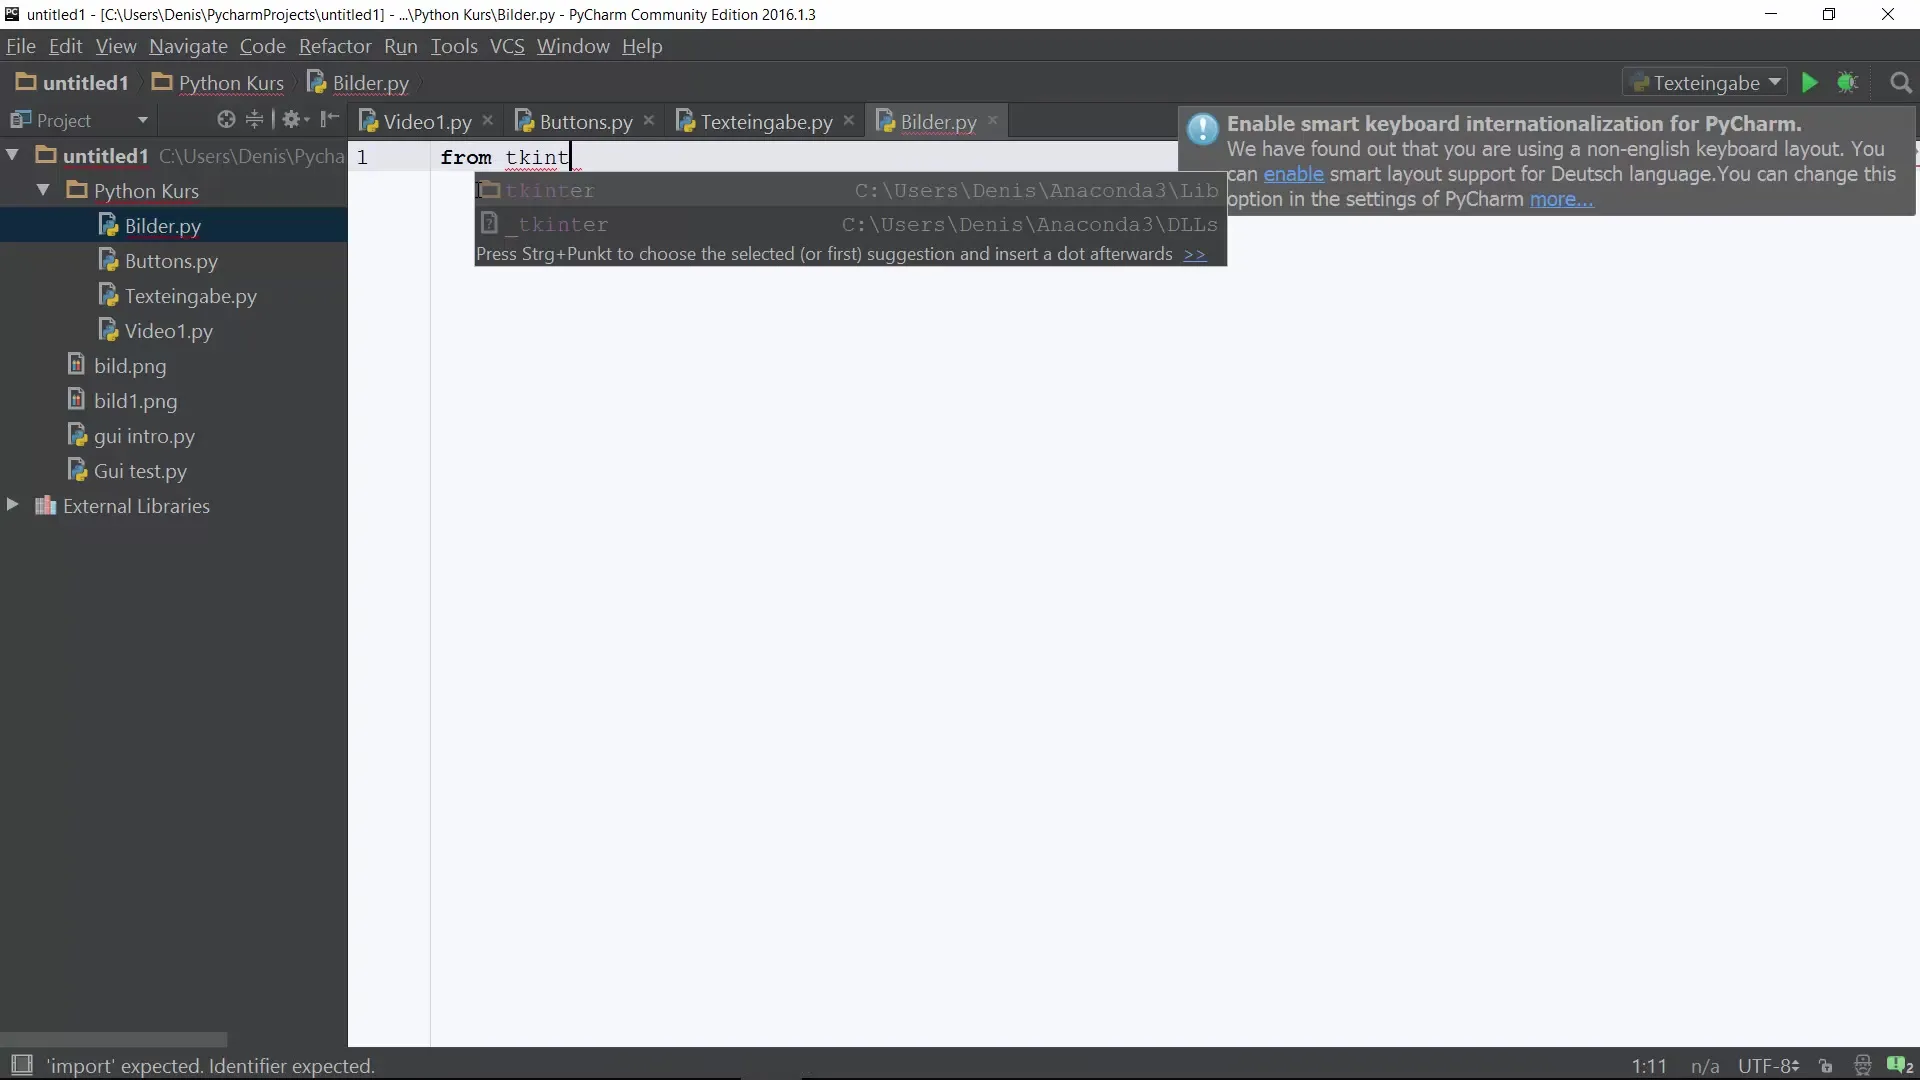
Step 3: Create the main window
Now create your main window. This is done by creating a root object with the Tk() class. This is the central element of your application where all other widgets (controls) will be placed.
Step 4: Start the event loop
Every Tkinter application requires an event loop to keep the GUI active and to process user interactions. You achieve this with root.mainloop().
Step 5: Load an image
Now comes the exciting part – loading an image. Use the PhotoImage class, which allows you to load various types of images. Assign the image to a variable. Here we might use example image1 = PhotoImage(file='image1.png').
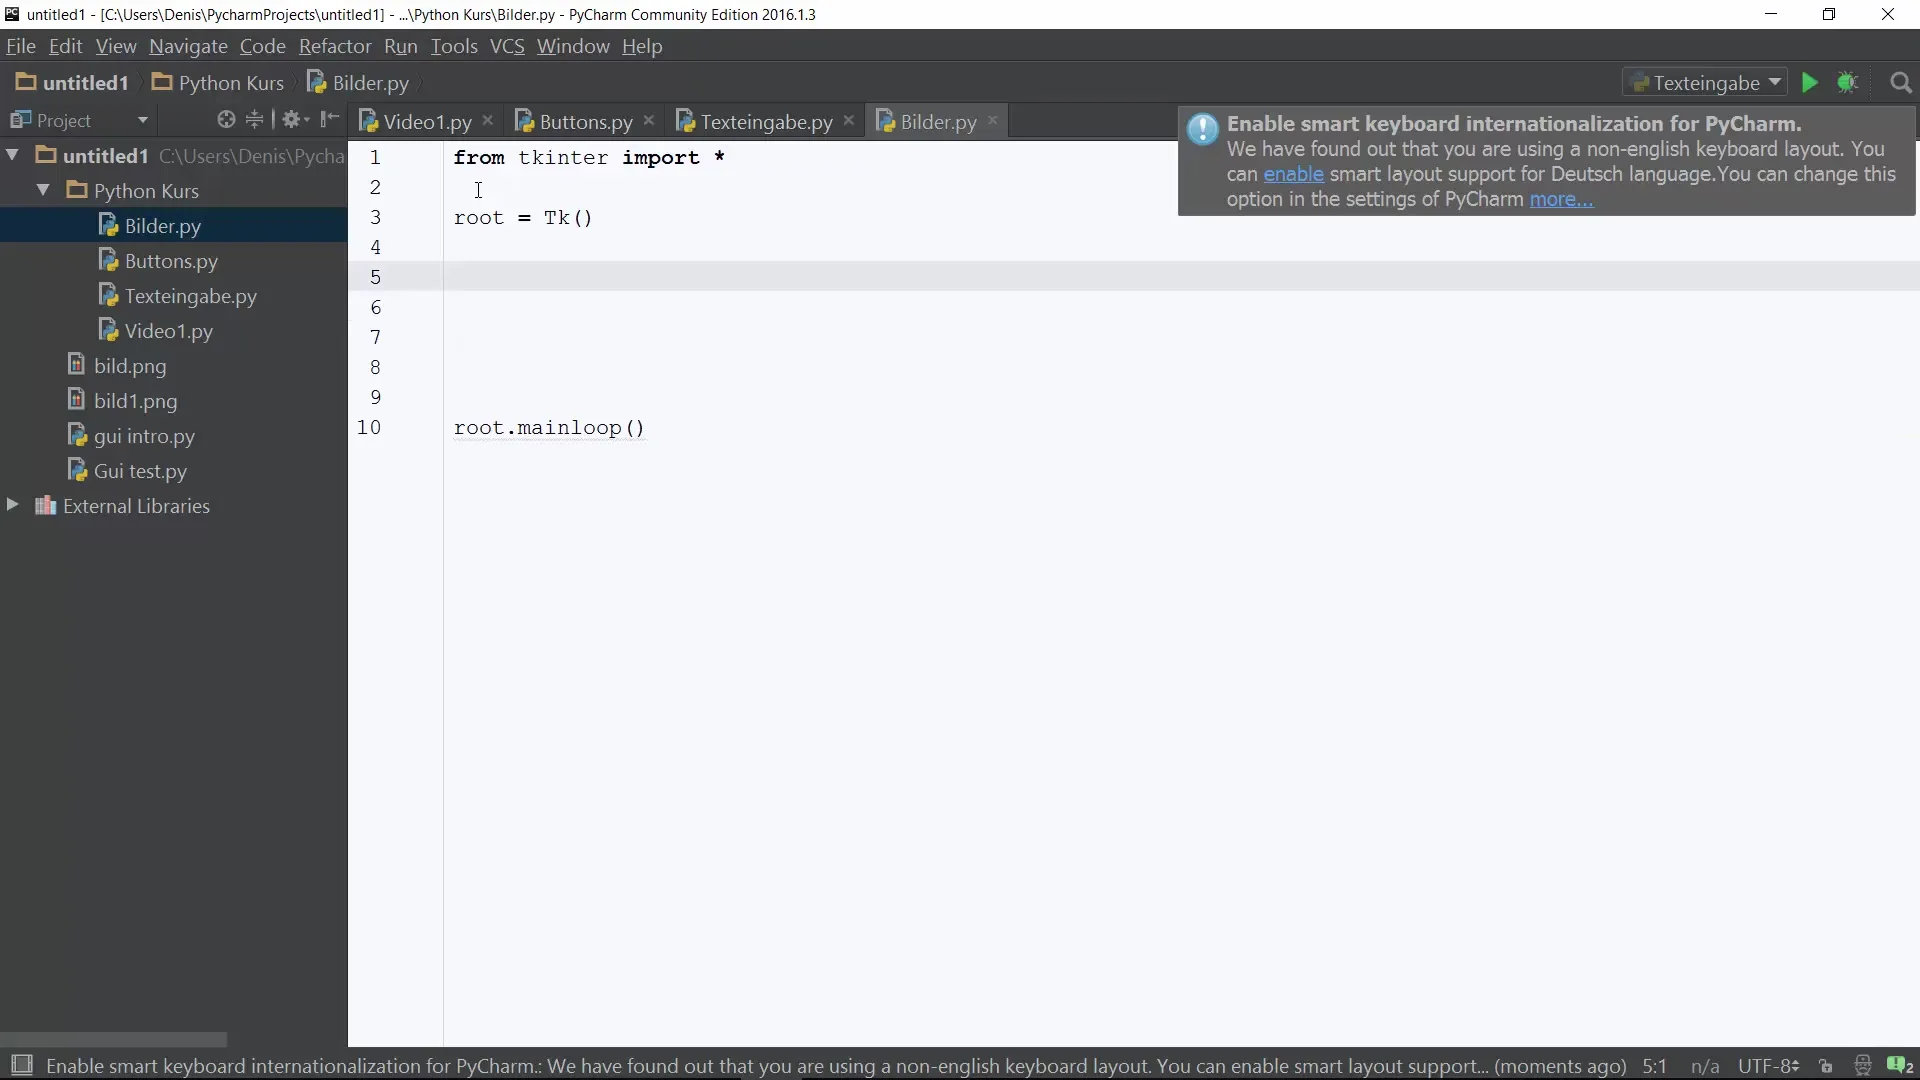
Step 6: Save the image in the appropriate directory
Make sure that the image you want to use is saved in the same folder as your Python file. If you do not have the image in the correct directory, the loading process will fail.
Step 7: Create a panel and label
Create a panel into which the image will be loaded. For this, you will use a label widget to display the image. First, you need to name a panel, e.g. panel = Label(root, image=image1), and then create it.
Step 8: Arrange the image in the grid
Use the grid layout manager from Tkinter to place the label with the image in the GUI. You can arrange it in the first row and the first column, e.g. panel.grid(row=0, column=0).
Step 9: Run the application
If you have set everything up correctly, you can test your Python application. Run the script and check whether the image is displayed correctly in your GUI. It should now be visible, and you can ensure that all parts of the application work as expected.
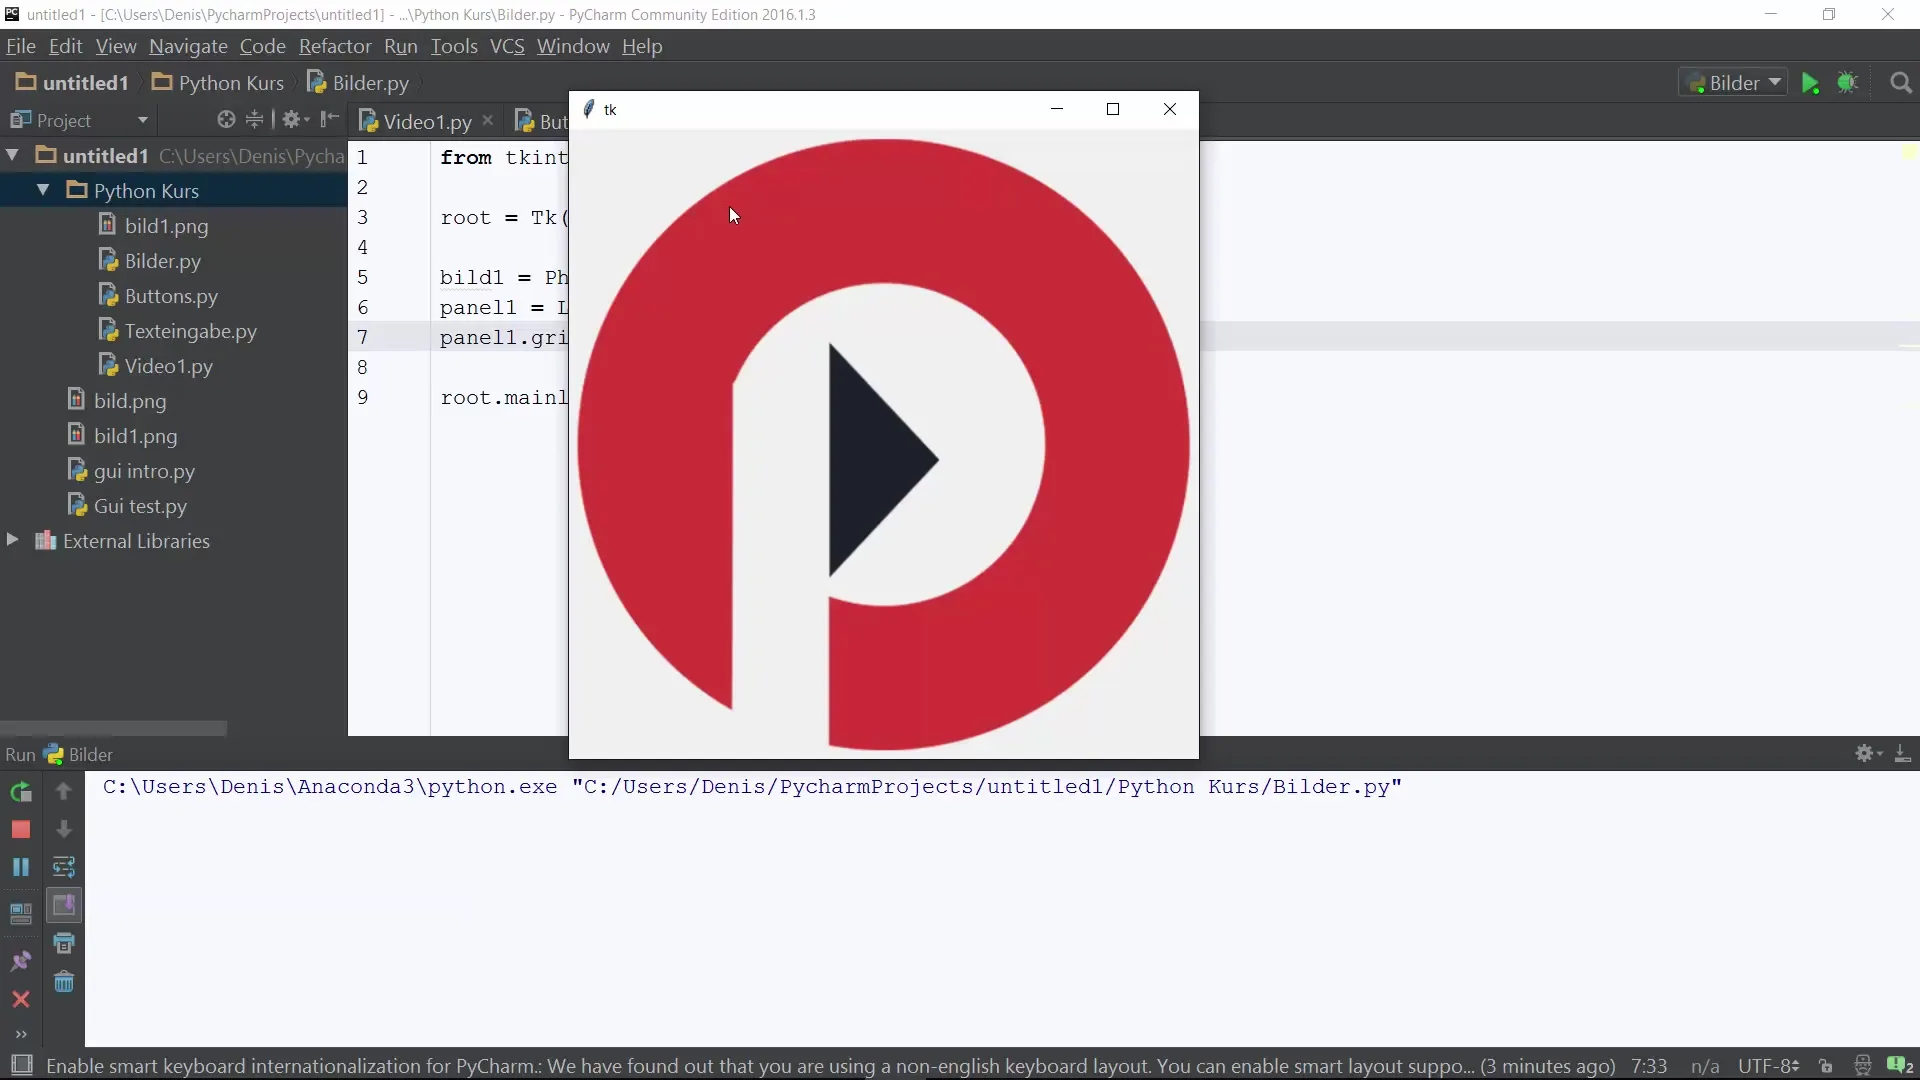
Step 10: Summary of results
To summarize what you have learned: You have successfully inserted an image into a Tkinter application, created the main window, loaded the image, and placed it in the grid layout.
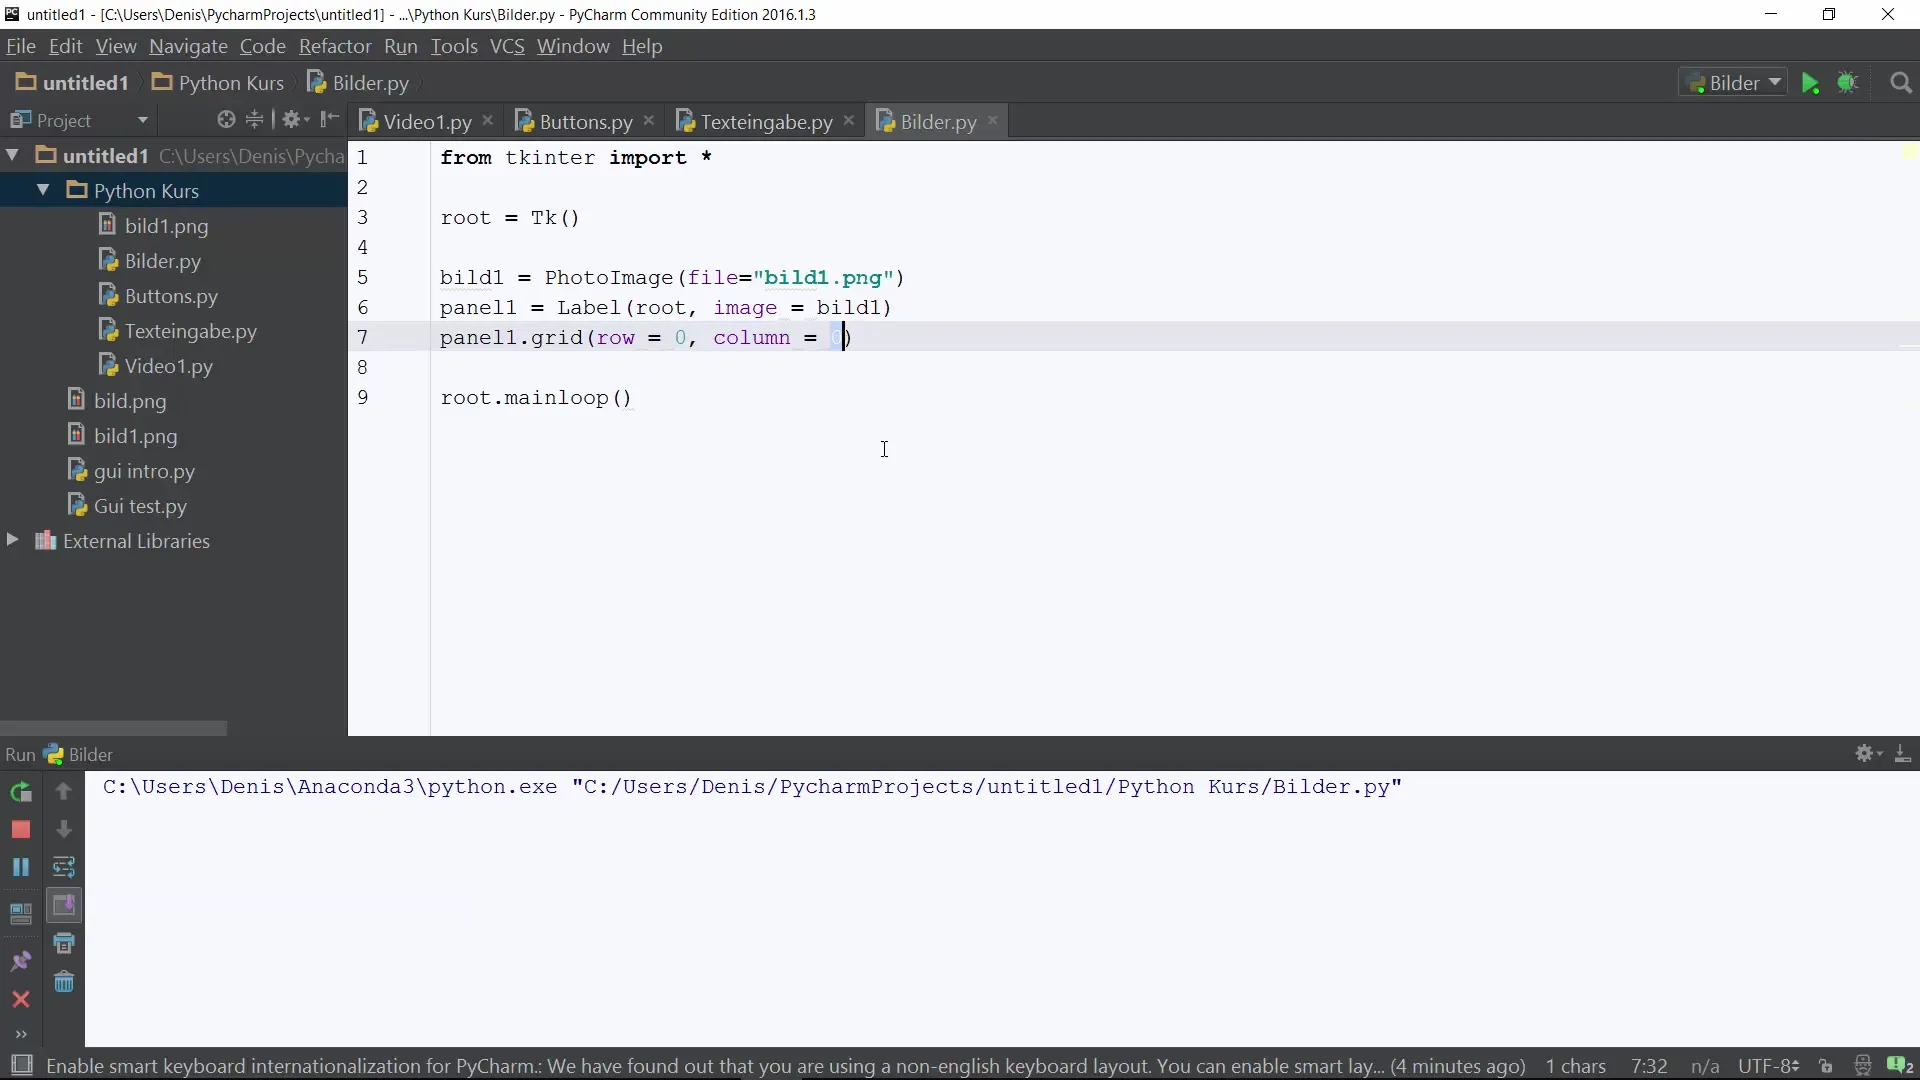
Summary – Inserting Images Into Python GUI
In this guide, you have learned how to integrate images into your Python GUI. You have followed the process from creating the window to placing the image and can now apply these techniques in your own projects.
Frequently Asked Questions
How do I import Tkinter in Python?You can import Tkinter with from tkinter import *.
How do I load an image into my Tkinter application?Use the PhotoImage class and assign the image to a variable, e.g. image1 = PhotoImage(file='image1.png').
What do I do if my image does not display?Make sure the image is saved in the same directory as your Python file.
How can I design the layout of my GUI?Use the grid layout manager function from Tkinter to arrange widgets.


