Creating a menu bar is a fundamental skill in software development, especially when creating graphical user interfaces (GUIs). It allows users to access different functions of your program without having to change the layout of the interface. If you have always wanted to know how to implement such a menu bar in Python, you are in the right place. In this guide, I will show you how to create a simple menu bar with a drop-down menu in Python step by step. Let's get started!
Main insights
- You will learn the basic concepts of creating menu bars and drop-down menus in Python.
- The use of the Menu class to implement the menu structure.
- Attaching commands (functions) to the menu items for interactive applications.
Step 1: Create a new Python project
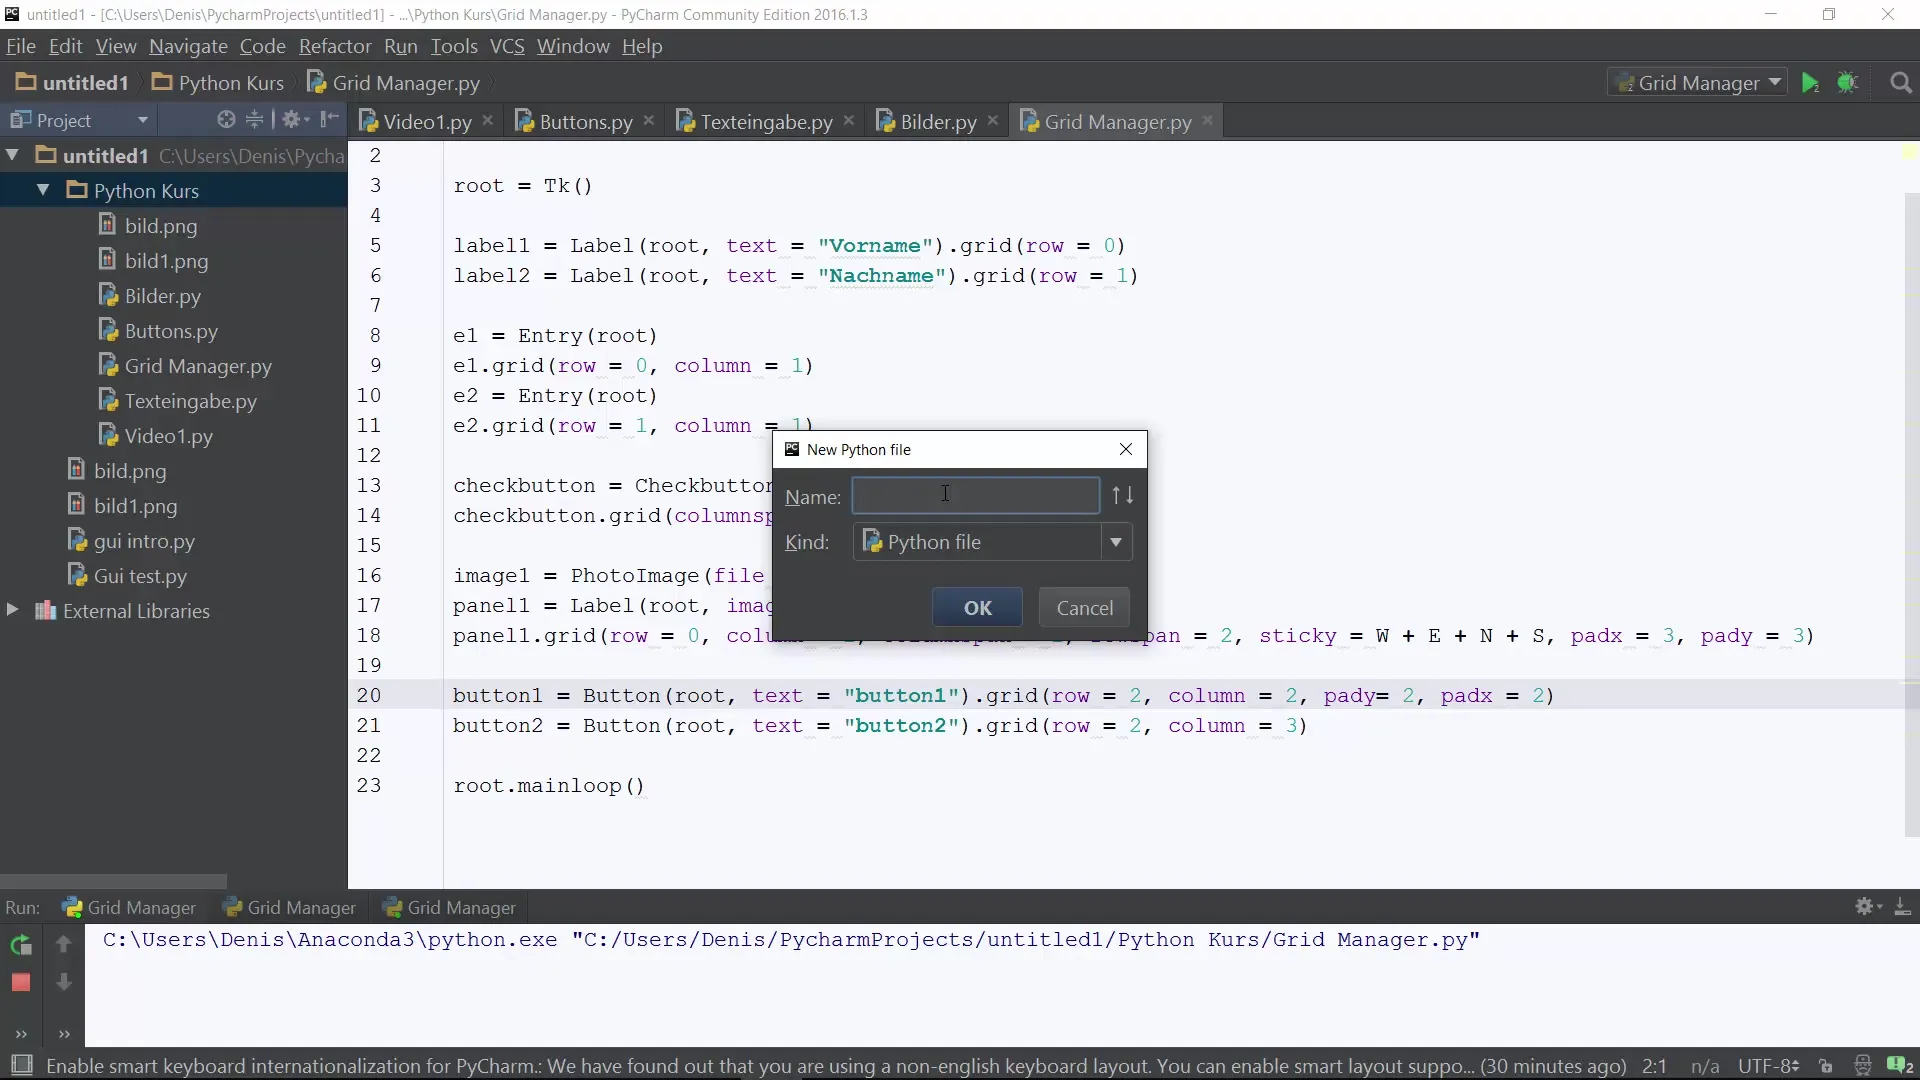
First, create a new file where you will write your menu code. Create a simple Python file that you might name "Menu.py". In this file, you will define your menu bar.

Step 2: Import libraries and initialize window
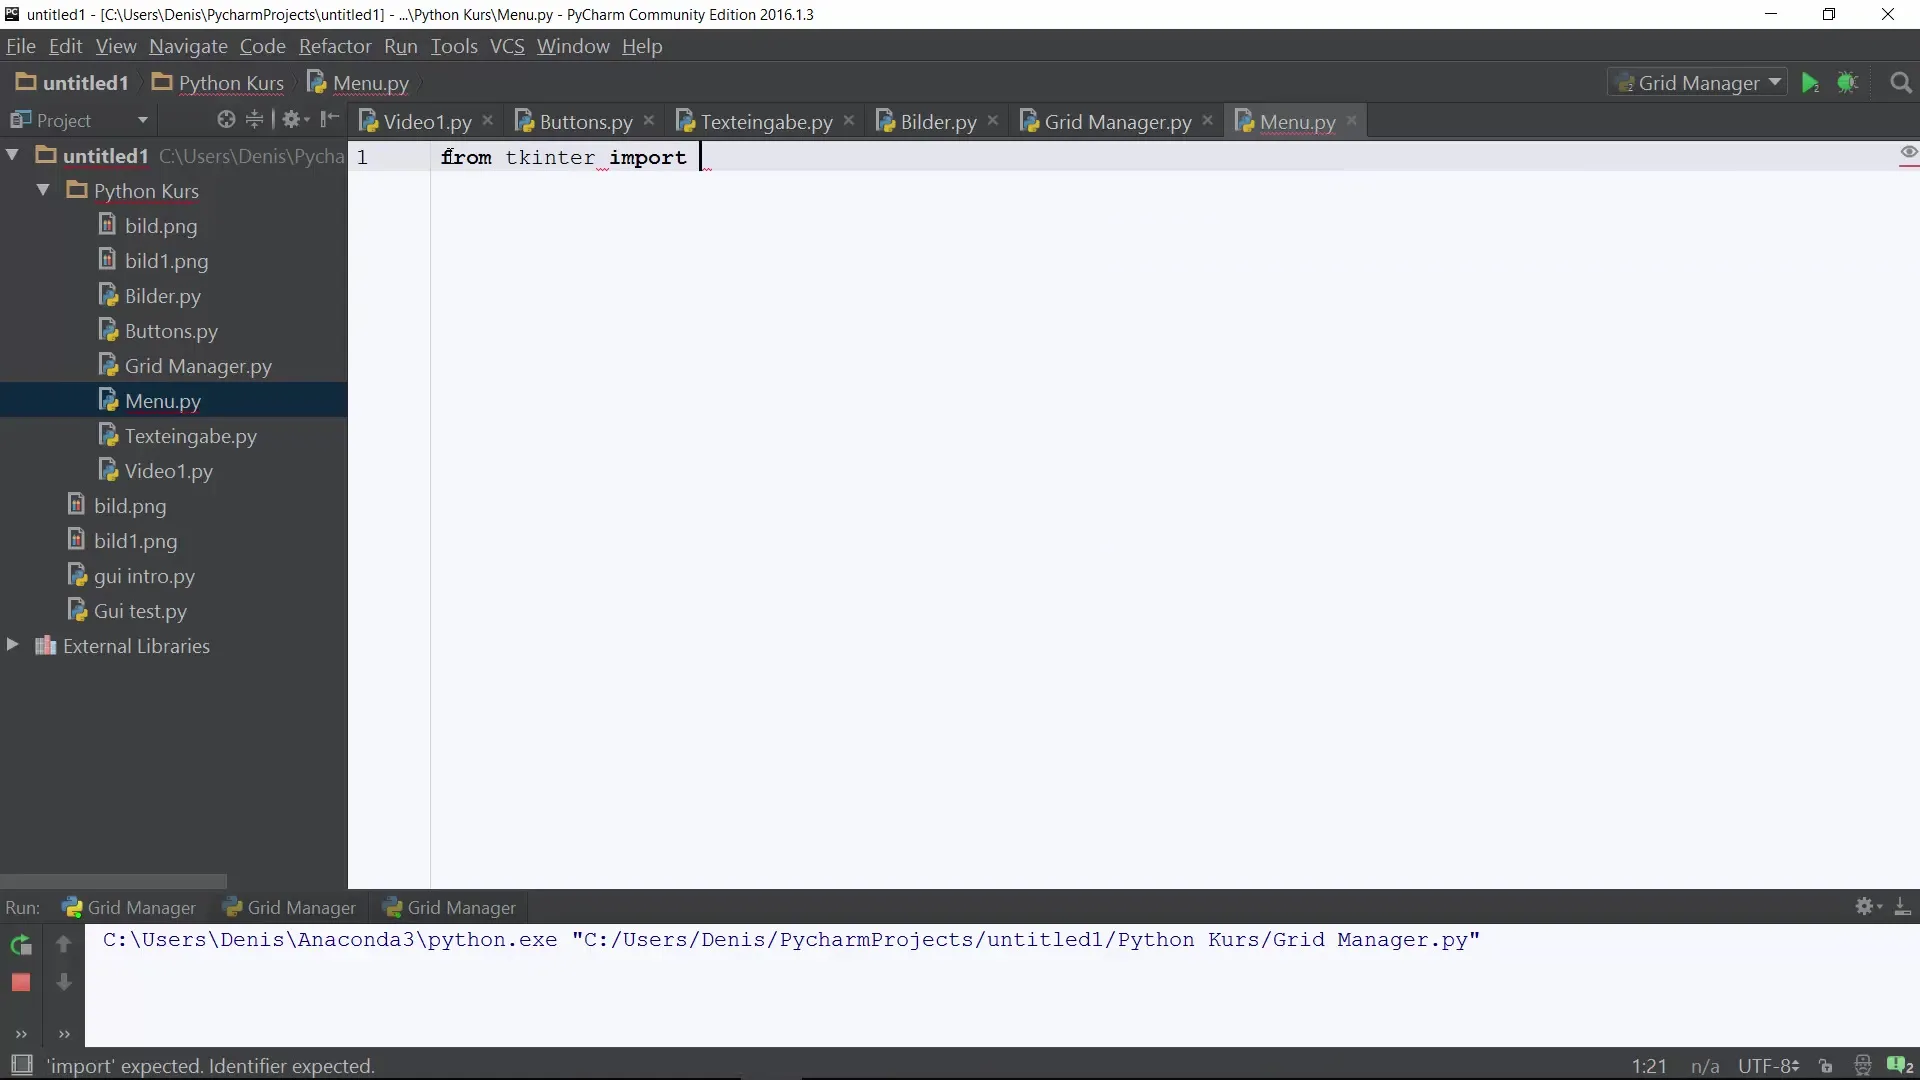
Before you start creating the menu bar, it's important to import the necessary libraries. You will need to use the Tkinter library to create the GUI window. Add the following lines at the beginning of your file to import Tkinter and initialize a main window.

Step 3: Create the menu bar
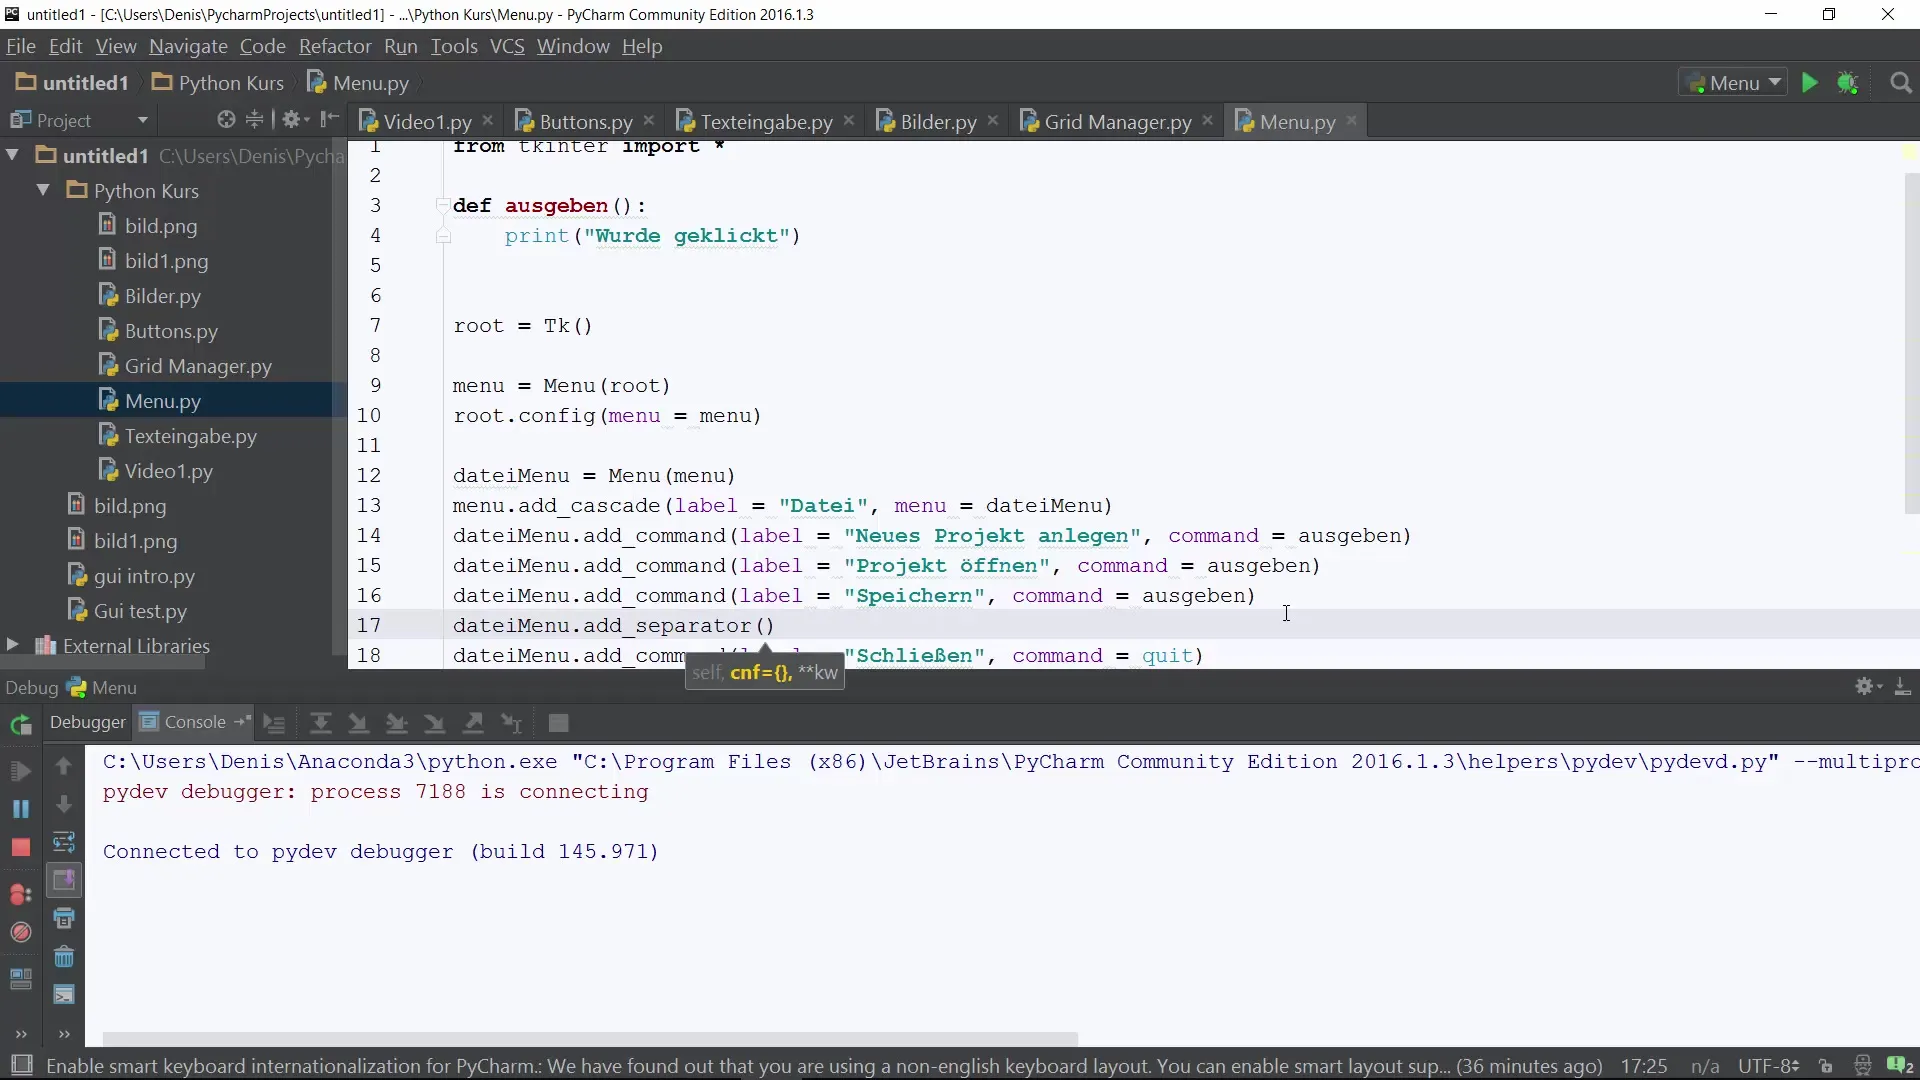
Now you will create the menu bar itself. You will use the Menu class from Tkinter to define the menu structure. Create a Menu object and configure it to be displayed in the main window.
Step 4: Add a submenu
To create a meaningful user interface, you should add a submenu. This is a cascading menu that appears when clicking on a main menu item. Add a file menu that allows users to access different file functions.
Step 5: Add menu items
Now comes the exciting part: adding items to the file menu. You can add each menu item using the add_command method. Don't forget to define a function that is called when a menu item is clicked. To start, you can create a simple function named display that indicates a menu item has been selected.
Step 6: Insert separators
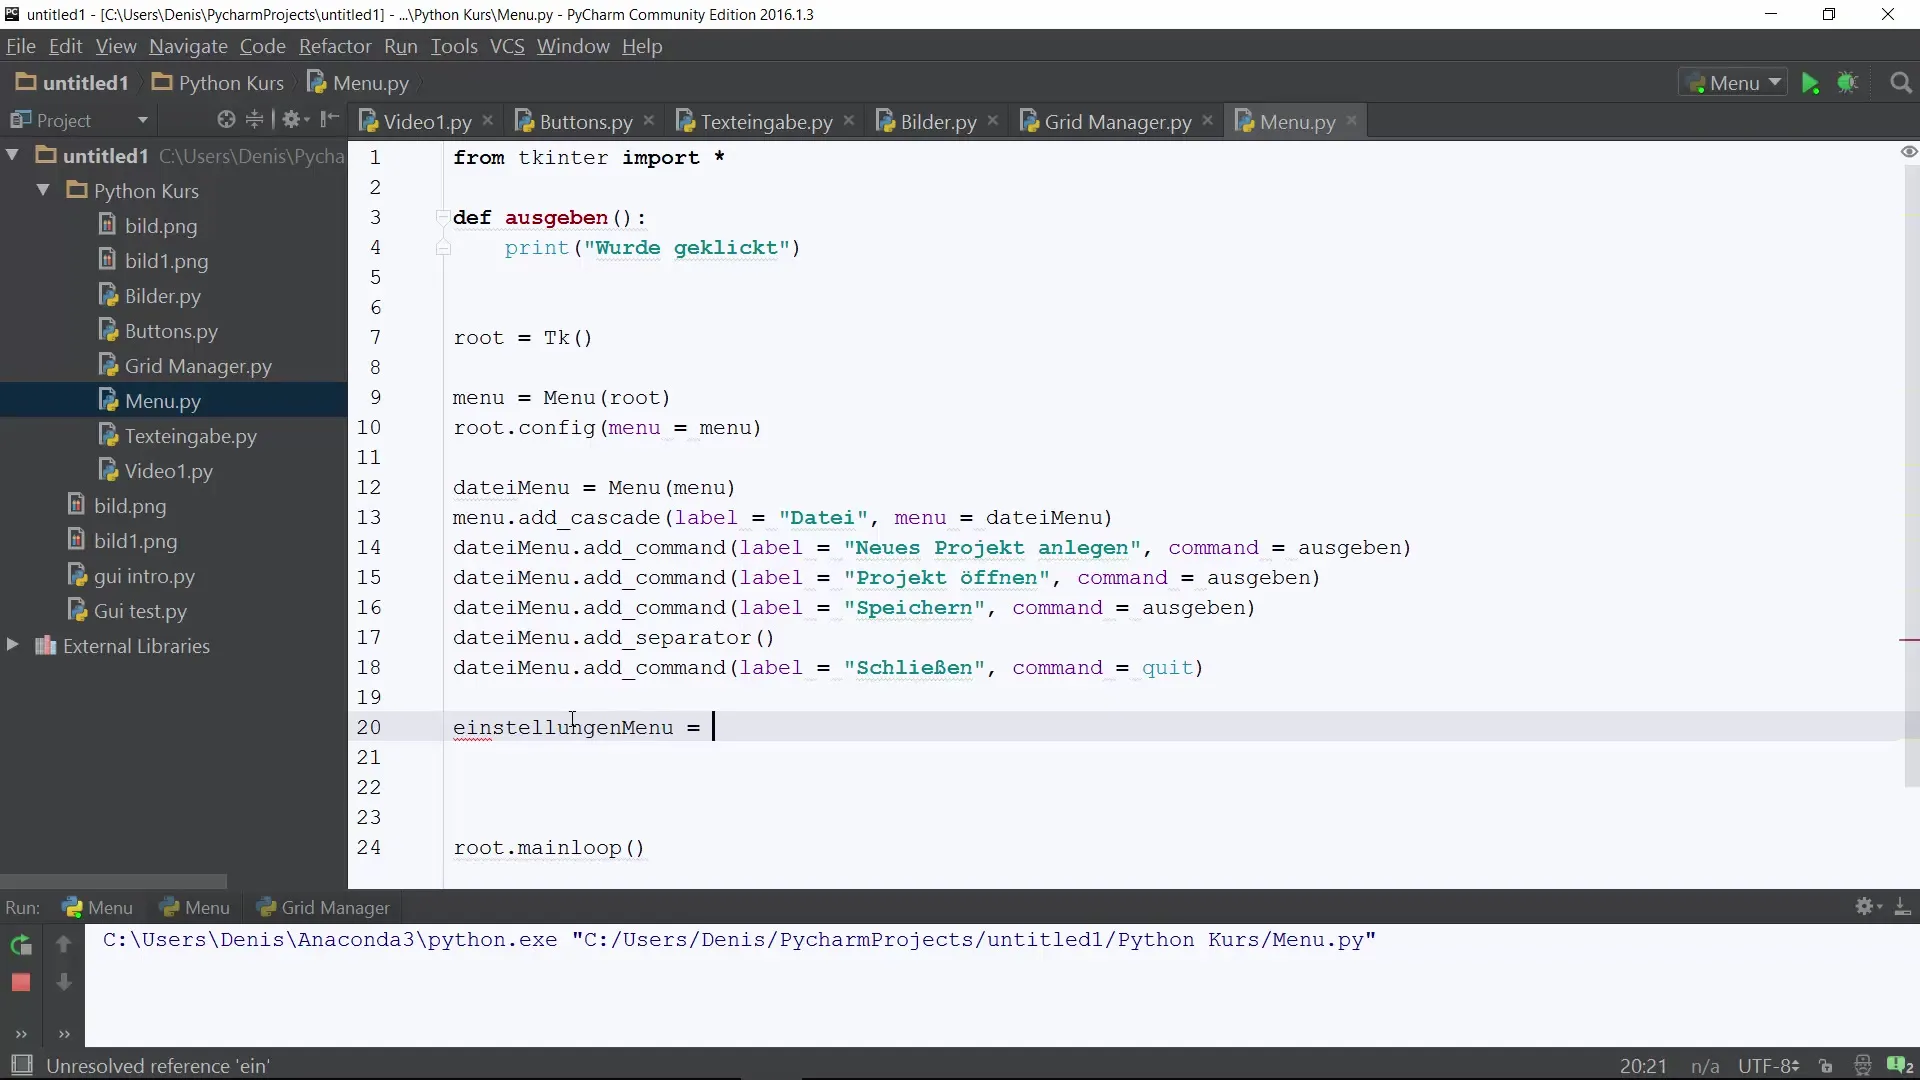
To visually separate the menu items, you can use separators. This makes the user interface look cleaner. Add separators between the different items to improve the structure of your menu bar.

Step 7: Create additional submenus
In addition to your file menu, you can also add other submenus, such as a settings menu. This menu could contain options like "Appearance" and "Basic Settings." Accomplish this by repeating similar steps as with the file menu.

Summary – Create a menu bar and drop-down menu with Python
Today you learned how to create a simple menu bar in Python using Tkinter. From the basic functions for creating menus to adding submenus and separators, you have gained the tools to develop a user-friendly and functional menu navigation. Now you can continue to expand your project and integrate more complex functions.
Frequently Asked Questions
How do I import Tkinter into my project?Use the line from tkinter import * at the beginning of your script.
Can I create more than one submenu?Yes, you can create as many submenus as you like by configuring the Menu object accordingly.
How can I extend the functionality of the menu items?You can expand the function that is bound to the add_command statement in any way to perform complex operations.


