JavaFX offers numerous widgets for developing engaging user interfaces. Two of these widgets are the ProgressBar and the ProgressIndicator, which will be discussed in detail in this guide. These two components help to visually represent the progress of a particular operation, which is especially useful for applications like file downloads or installation processes. Below, you will learn how to implement and connect these elements in an application.
Key insights
- The ProgressBar displays progress as a bar.
- The ProgressIndicator visualizes progress as a circle.
- Both widgets can be dynamically updated using Change Listeners.
Step-by-Step Guide
First, we need to ensure that we choose a suitable layout for our application. We will use a GridPane to allow for an organized arrangement.
Step 1: Initialize the basic elements
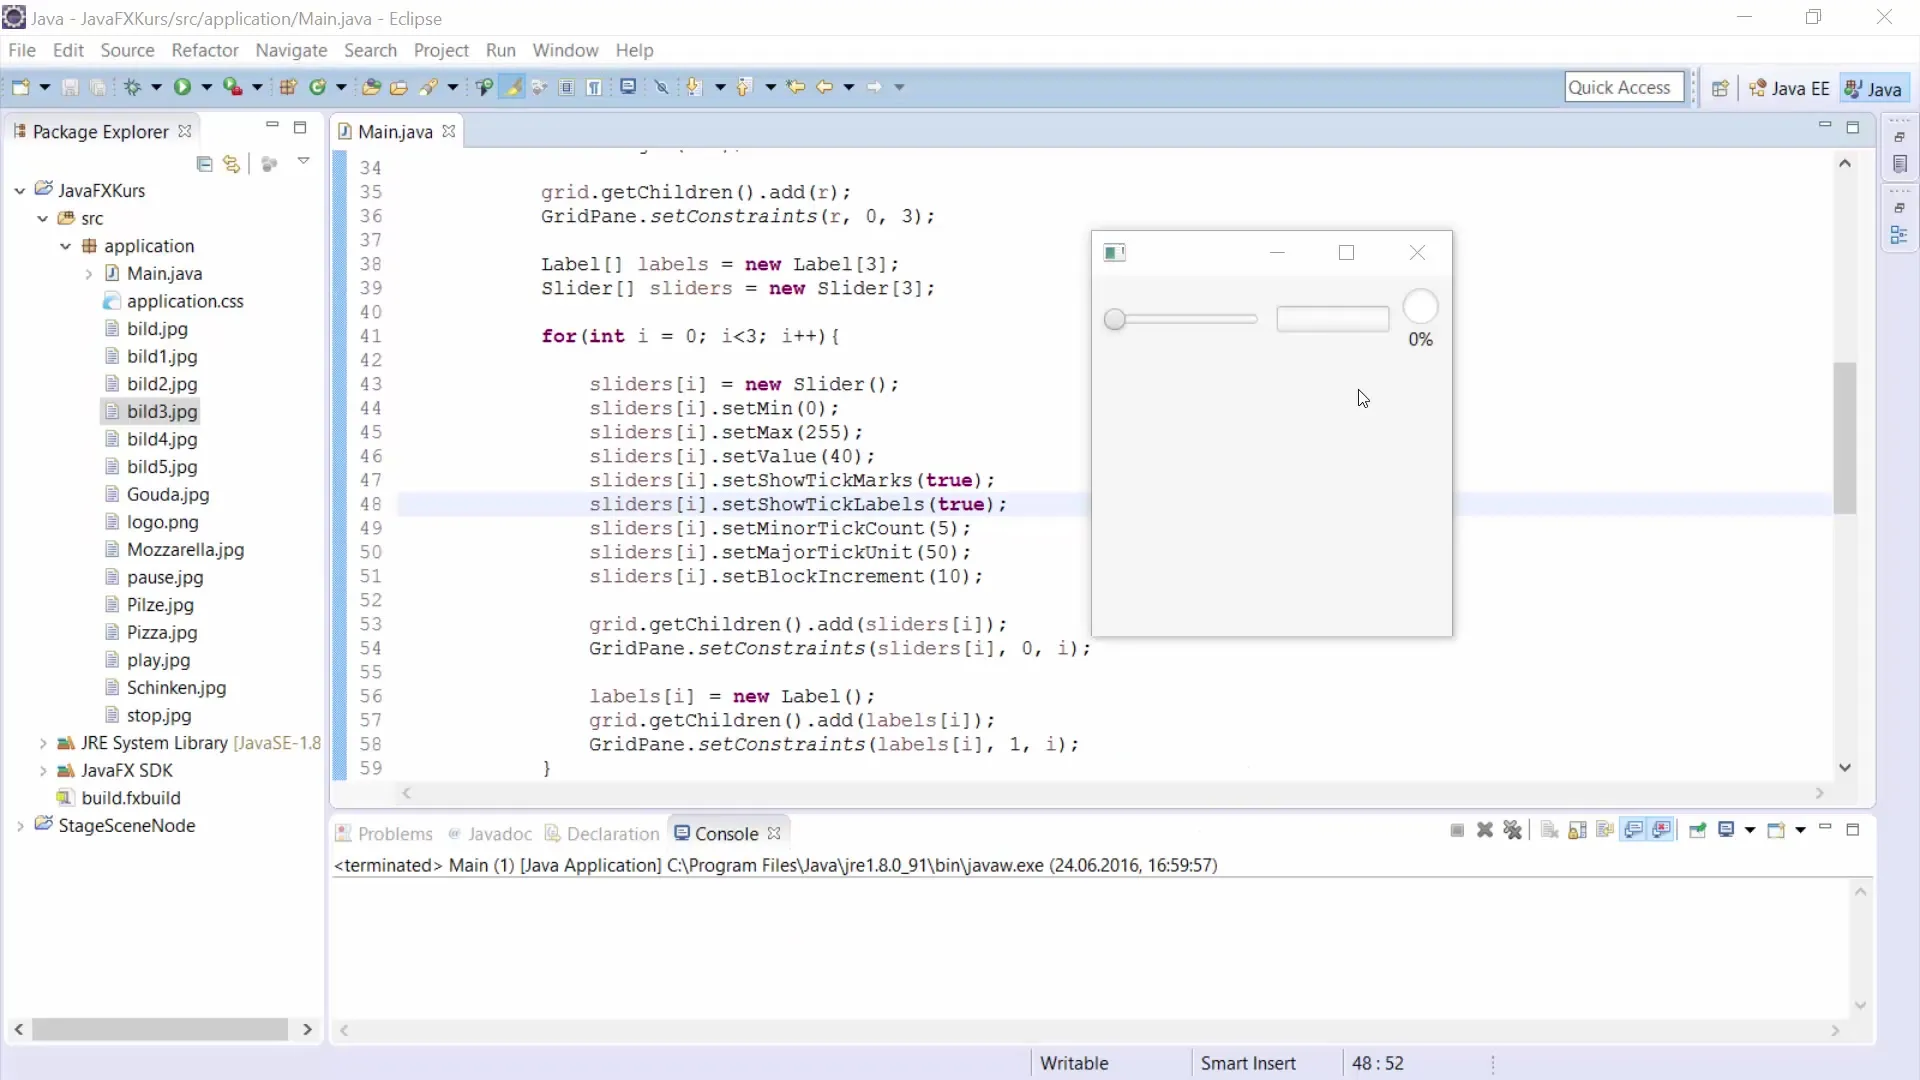
First, you should create the GridPane to set up the structure of your user interface. You only need this component to arrange the ProgressBar, ProgressIndicator, and Slider.
Step 2: Create the Slider
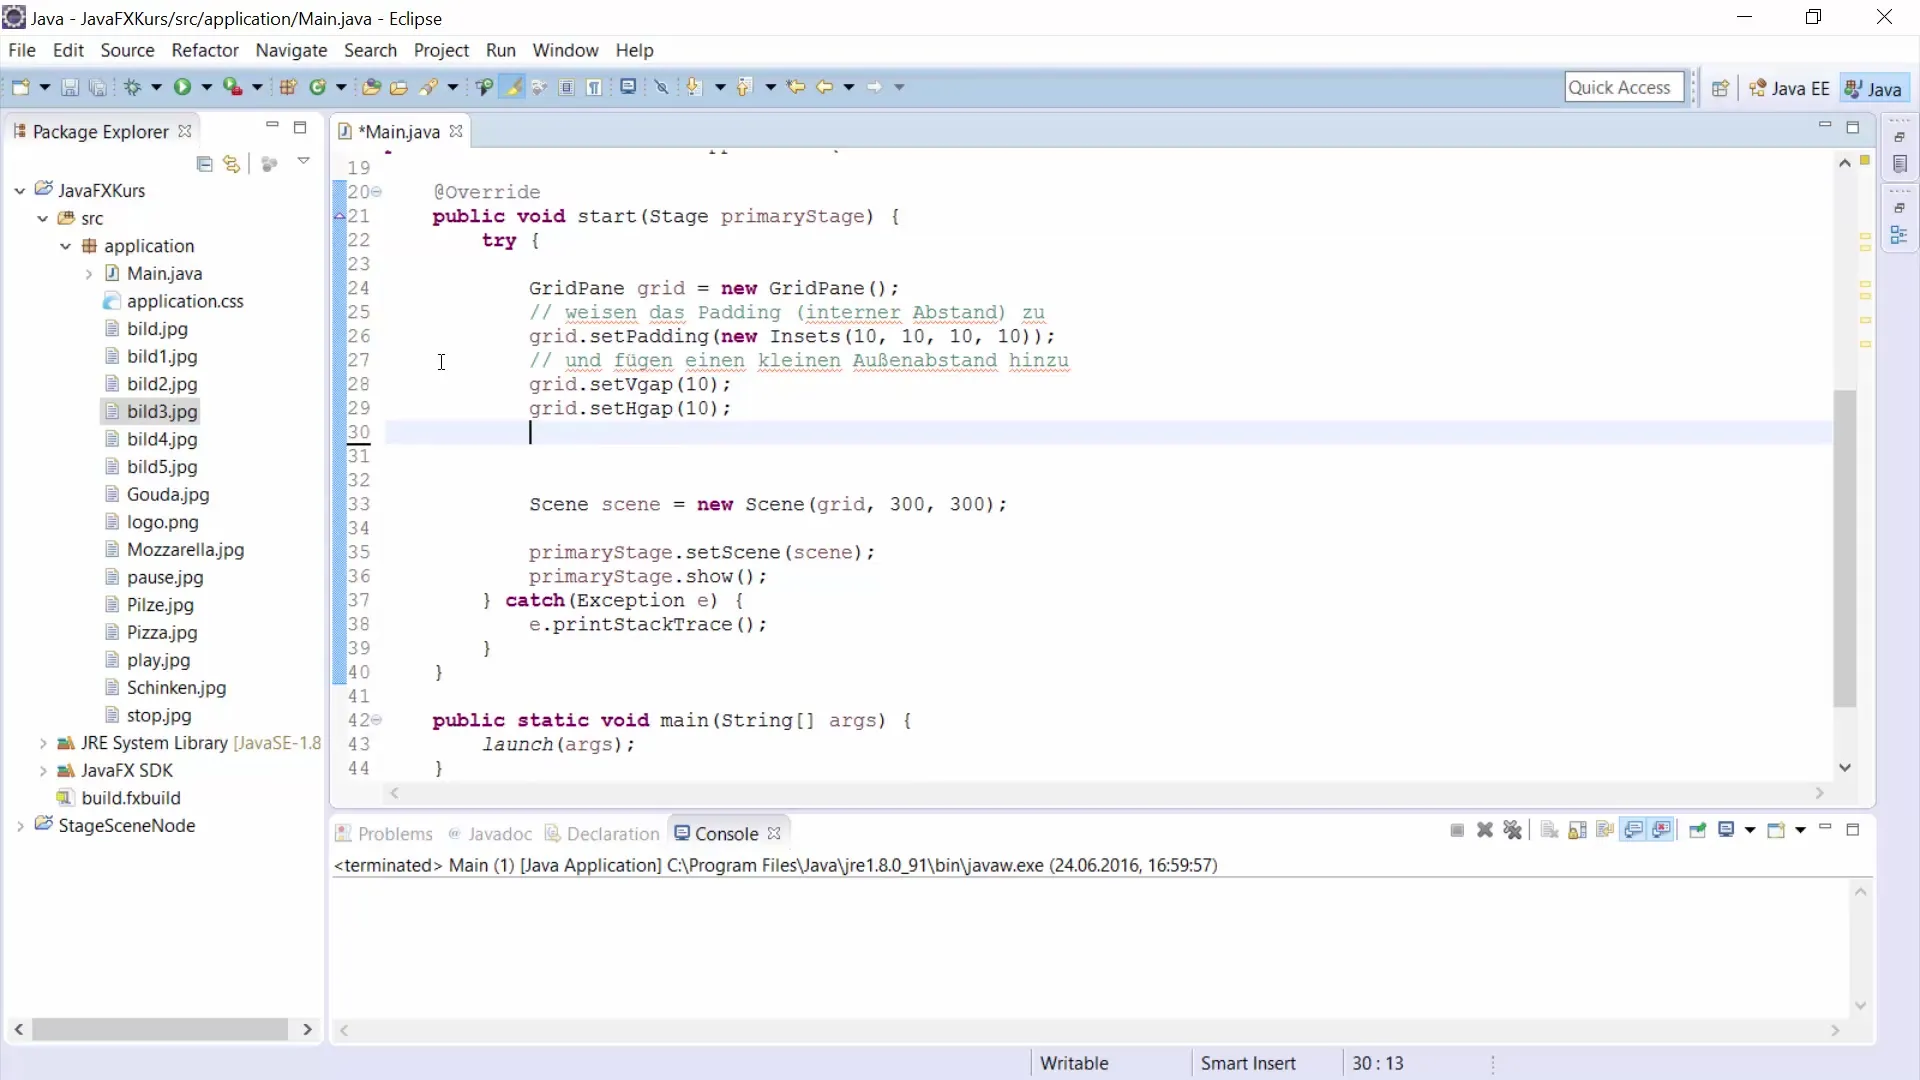
Next, we will add the Slider, which allows you to set the progress value. The Slider will be configured with minimum and maximum values. Set the minimum value to 0 and the maximum value to 100 to create a meaningful range for your application.
Step 3: Implement the ProgressBar
Now comes the next step, where you instantiate the ProgressBar. Set the initial value to 0 so that the ProgressBar starts empty. You can achieve this using the new ProgressBar() method.
Step 4: Add the ProgressIndicator
Similar to the ProgressBar, you also need to create the ProgressIndicator. Make sure this one is configured with a starting value of 0 as well to ensure synchronized starting with the ProgressBar.
Step 5: Connect the Slider with Listeners
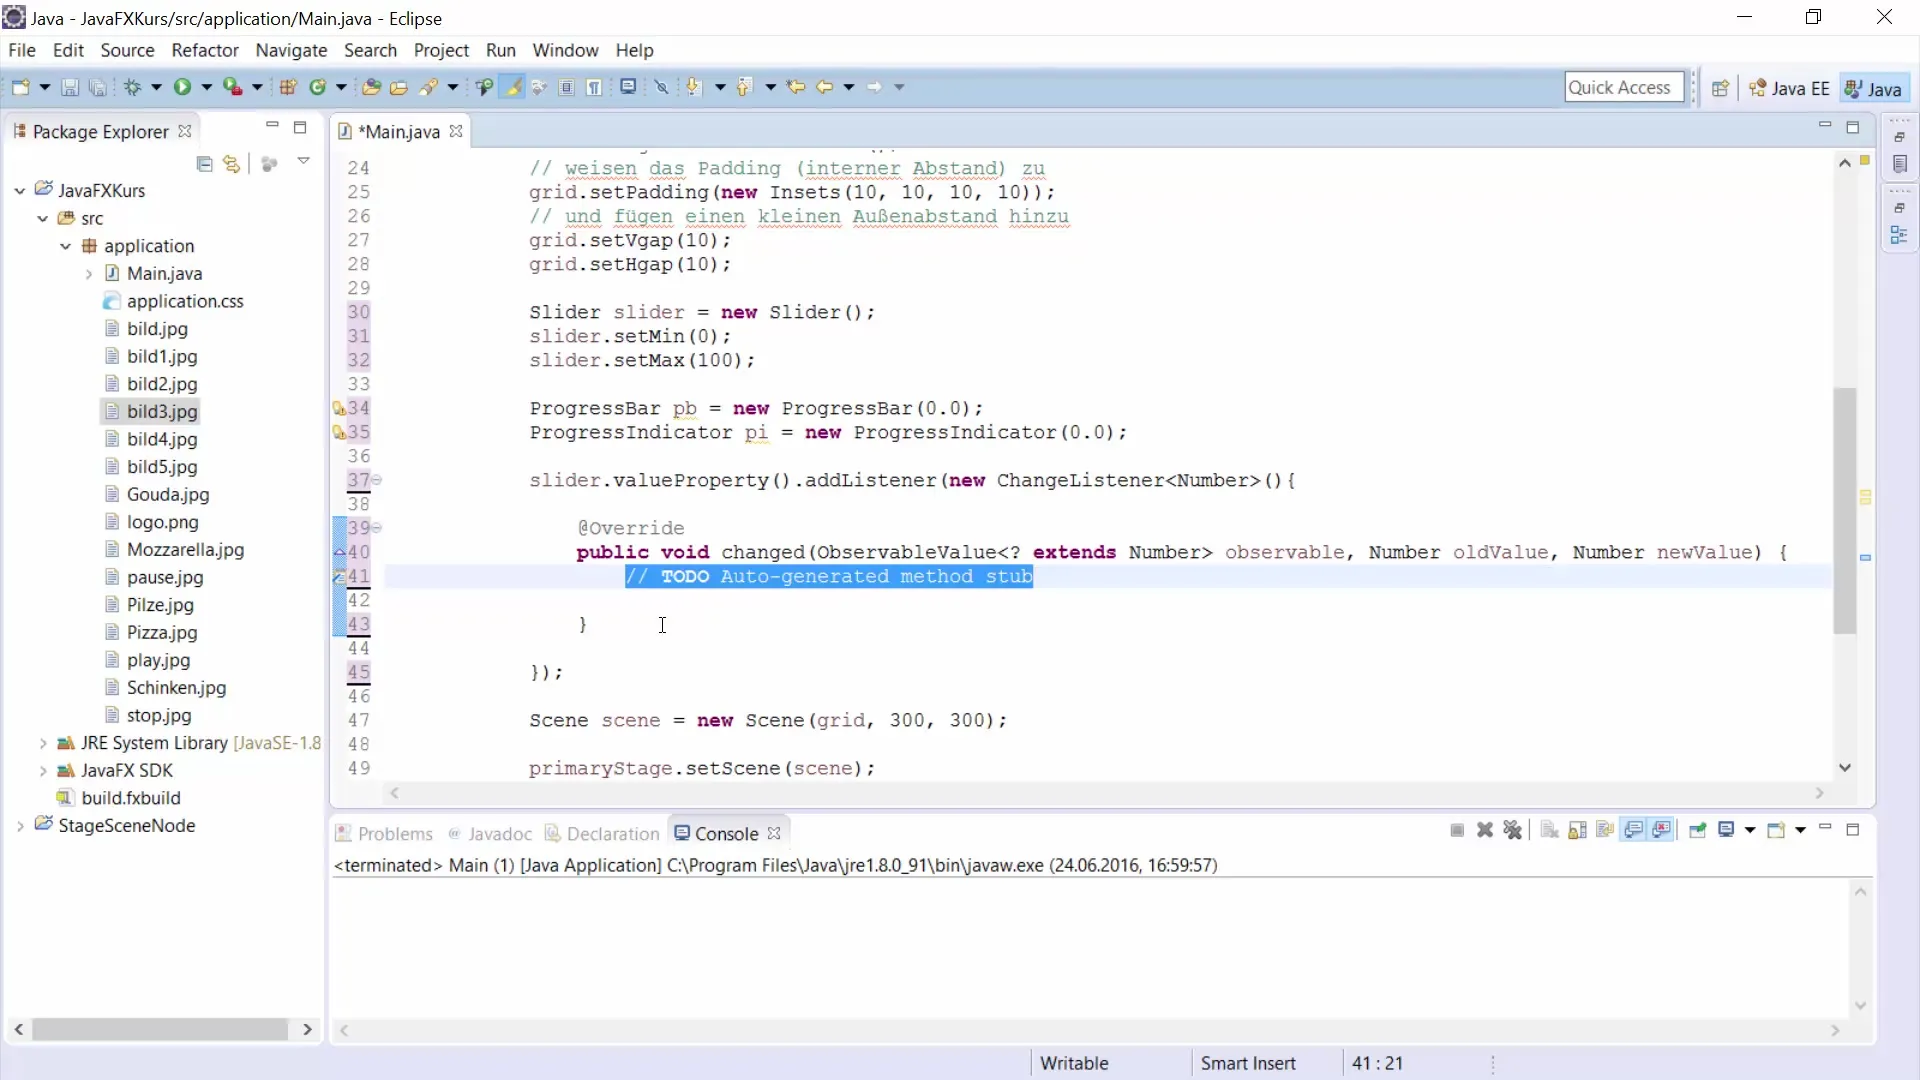
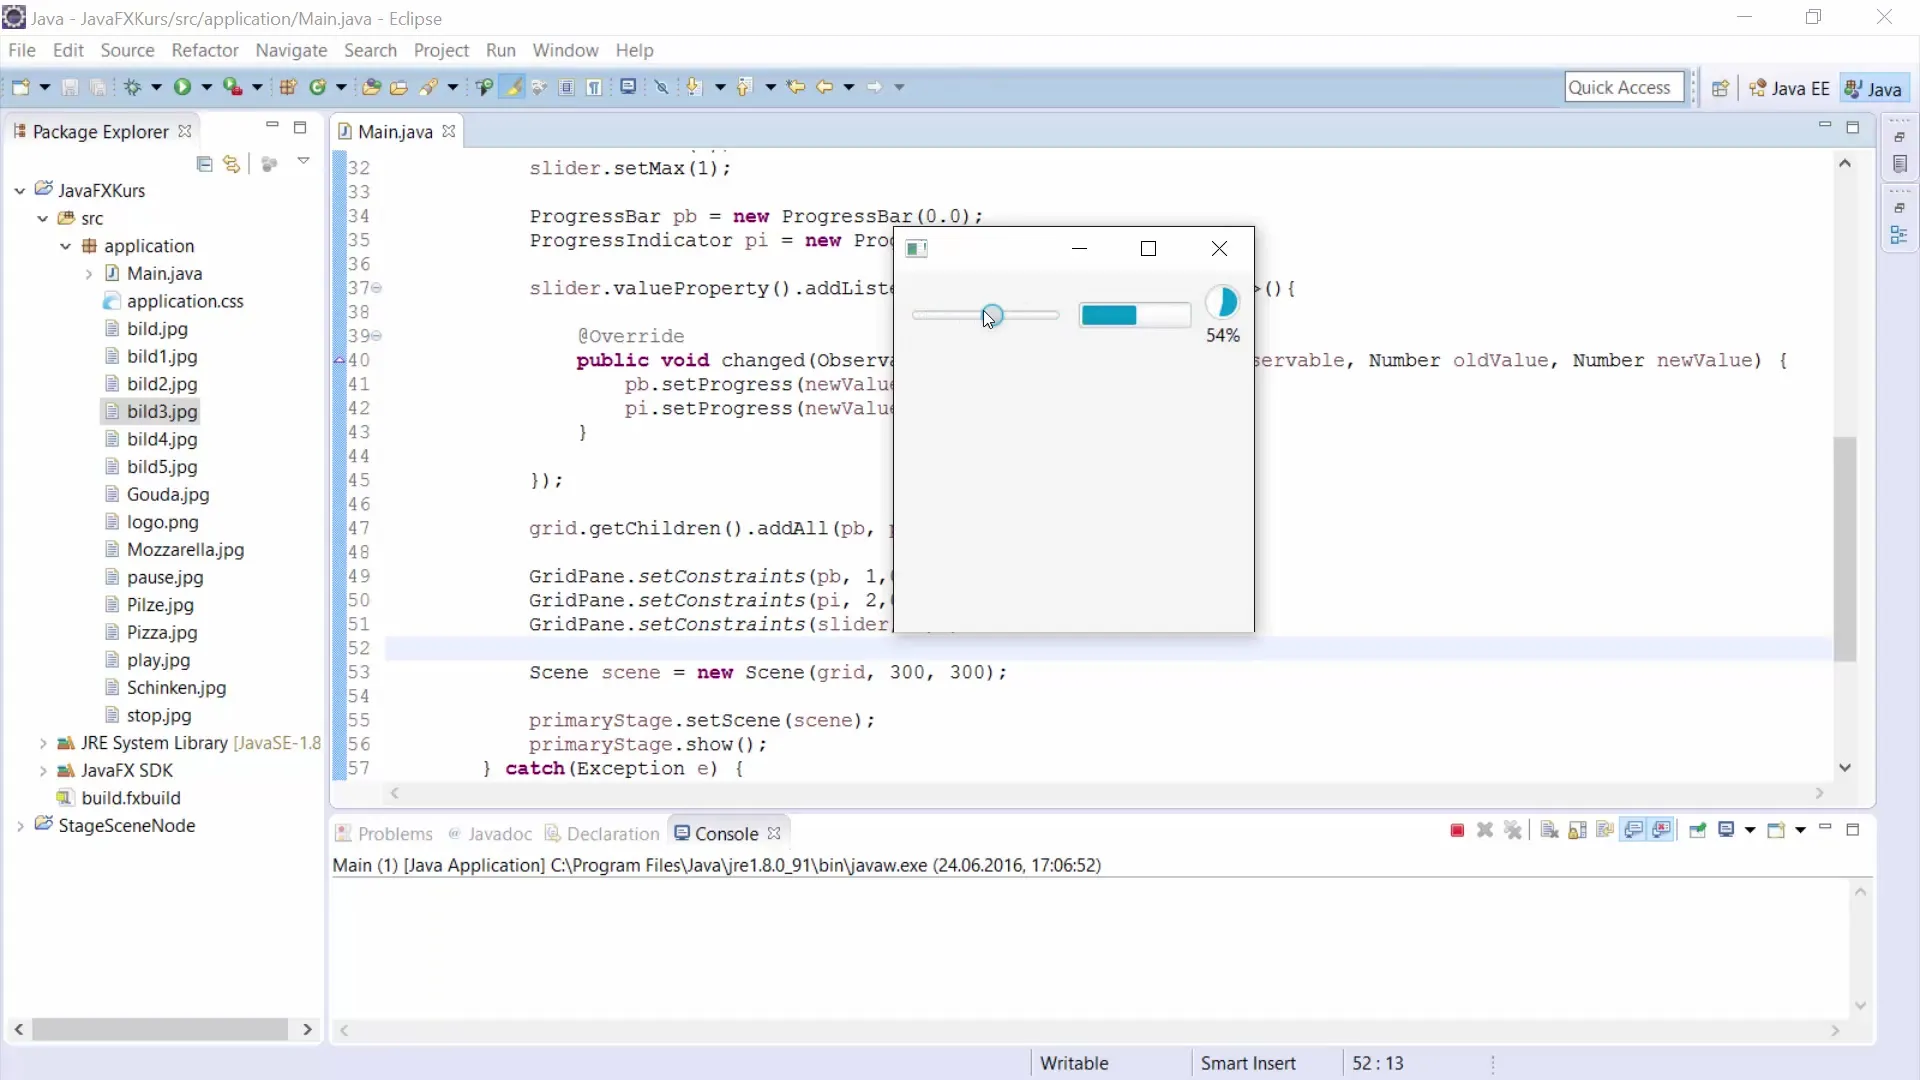
Now it gets exciting because we want the ProgressBar and the ProgressIndicator to be dynamically updated when the Slider is moved. You achieve this by adding a Change Listener that is executed as soon as the value of the Slider changes. Here you can convert the value of the Slider into the range of 0 to 1 for the ProgressBar.
Step 6: Update the ProgressBar and ProgressIndicator
In the Change Listener, now set the new value for the ProgressBar and the ProgressIndicator. Note that the value for the ProgressBar must be between 0 and 1. It is helpful to divide the Slider value by 100 here.
Step 7: Add the elements to the GridPane
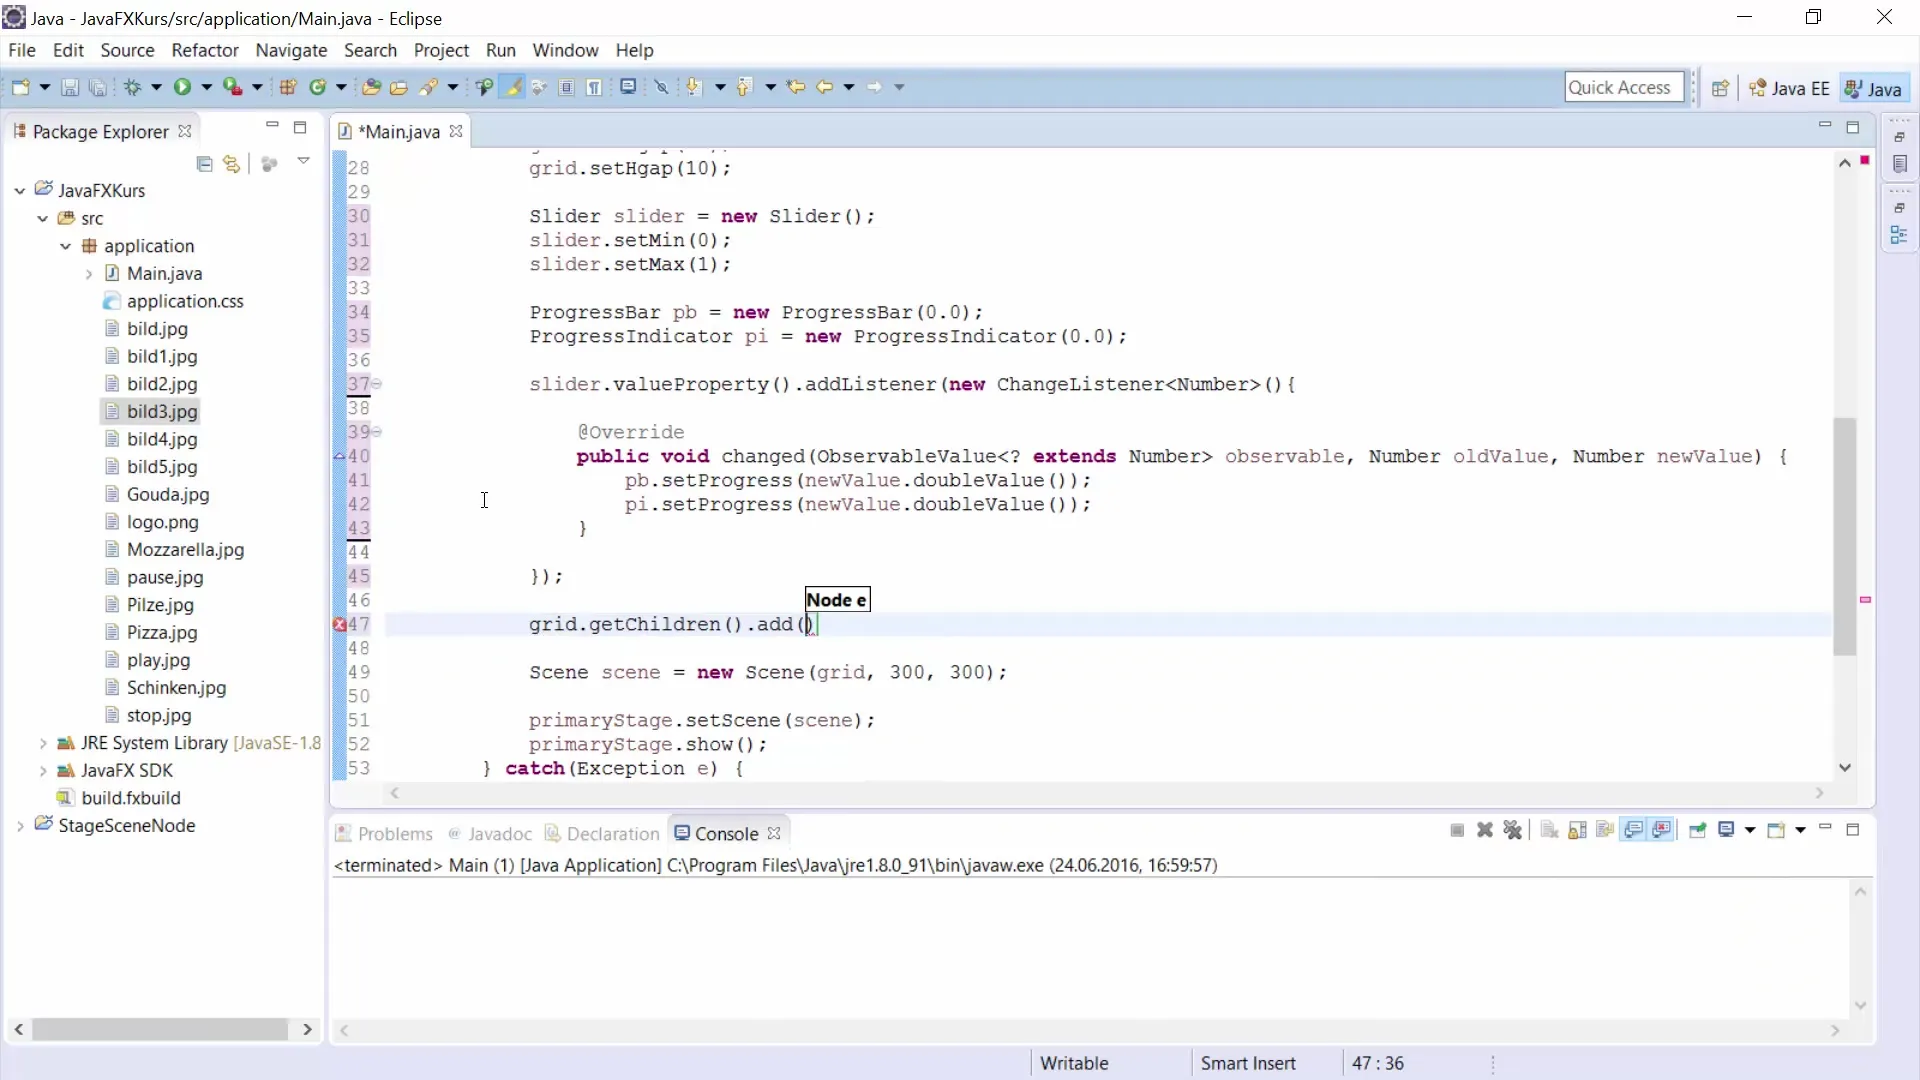
Now you need to add the ProgressBar, ProgressIndicator, and Slider to your GridPane. It is important to specify the correct position (column and row values) for each element so that they are displayed correctly in the layout.
Step 8: Test your application
After all components have been added, it is time to run your program. When you move the Slider, you should clearly see how the ProgressBar and ProgressIndicator are updated accordingly. This gives the user clear feedback about the progress of an operation.
Summary – Understanding and Applying ProgressBar and ProgressIndicator in JavaFX
This guide explained how to effectively implement and connect the ProgressBar and ProgressIndicator in a JavaFX application. You learned how to use a Slider to visually represent the progress and how the two progress indicators can be dynamically updated.
Frequently Asked Questions
How can I style the ProgressBar in my application?You can use the style attributes in JavaFX to customize the appearance of your ProgressBar.
Does the ProgressIndicator also work without the Slider?Yes, the ProgressIndicator can be used independently of the Slider to indicate progress in various operations.
How do I set the progress programmatically?You can change the progress using the setProgress(double) method of the ProgressBar and ProgressIndicator.


