Playing videos in an application can be a challenging but also exciting task. In this guide, I will show you how to create a VideoPlayer in JavaFX with minimal effort. You will learn how to embed videos, create a media player, and adjust the layout to suit your needs.
Key Findings
- Using JavaFX MediaView to play videos.
- Simple integration of a MediaPlayer.
- Adjusting the user interface for different screen sizes.
Step-by-Step Guide
Step 1: Insert MediaView
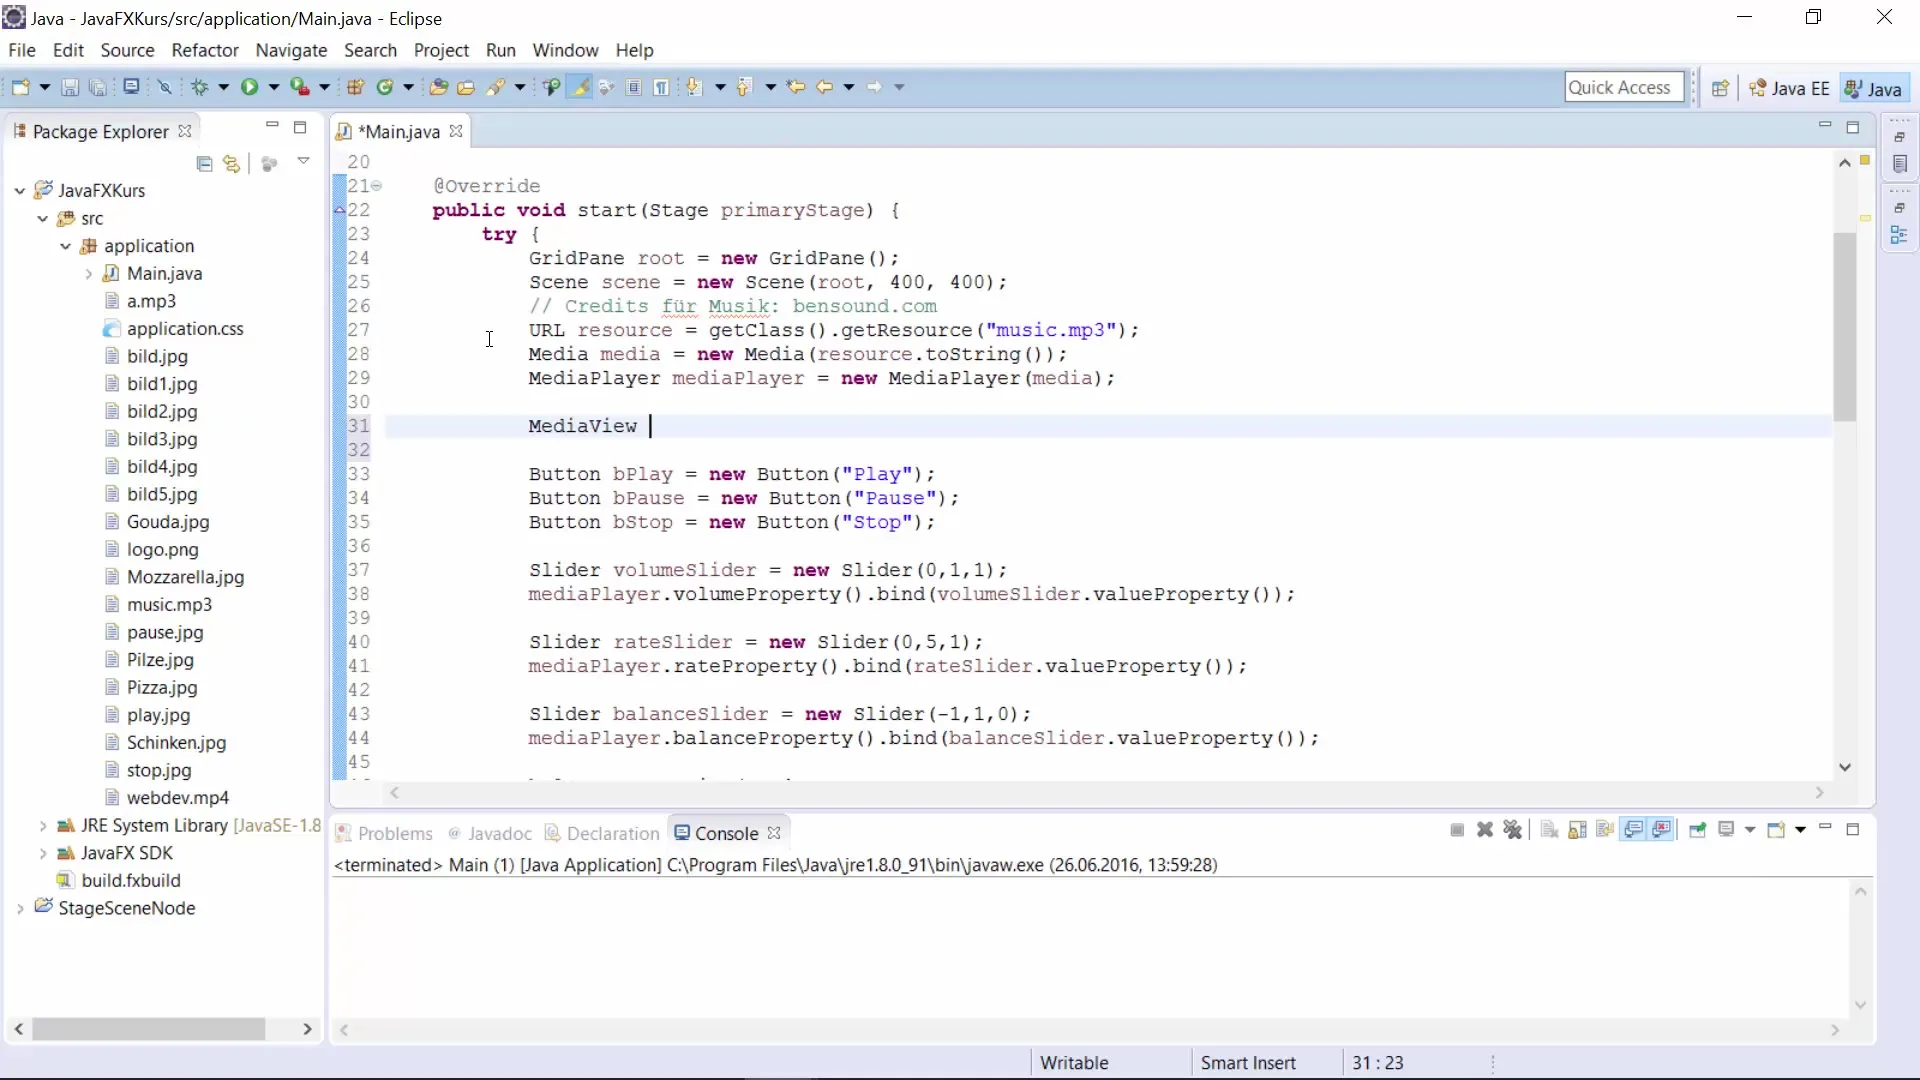
To integrate a video area into your existing JavaFX layout, you will add a MediaView element. For this, it is important to import the MediaView type from the JavaFX package. This is easily done by adding the MediaView class to your code.
The insertion of the MediaView typically occurs directly below your existing media player. Additionally, you will ensure that you add the media player to the constructor of the MediaView class. With this step, you can now reference the MediaView element in your user interface.
Step 2: Prepare Video File
Now you need a video that you want to play. Make sure you have a suitable video file (e.g., MP4 or AVI) available. In this example, we will use an MP4 file that you need to add as a resource to your project.
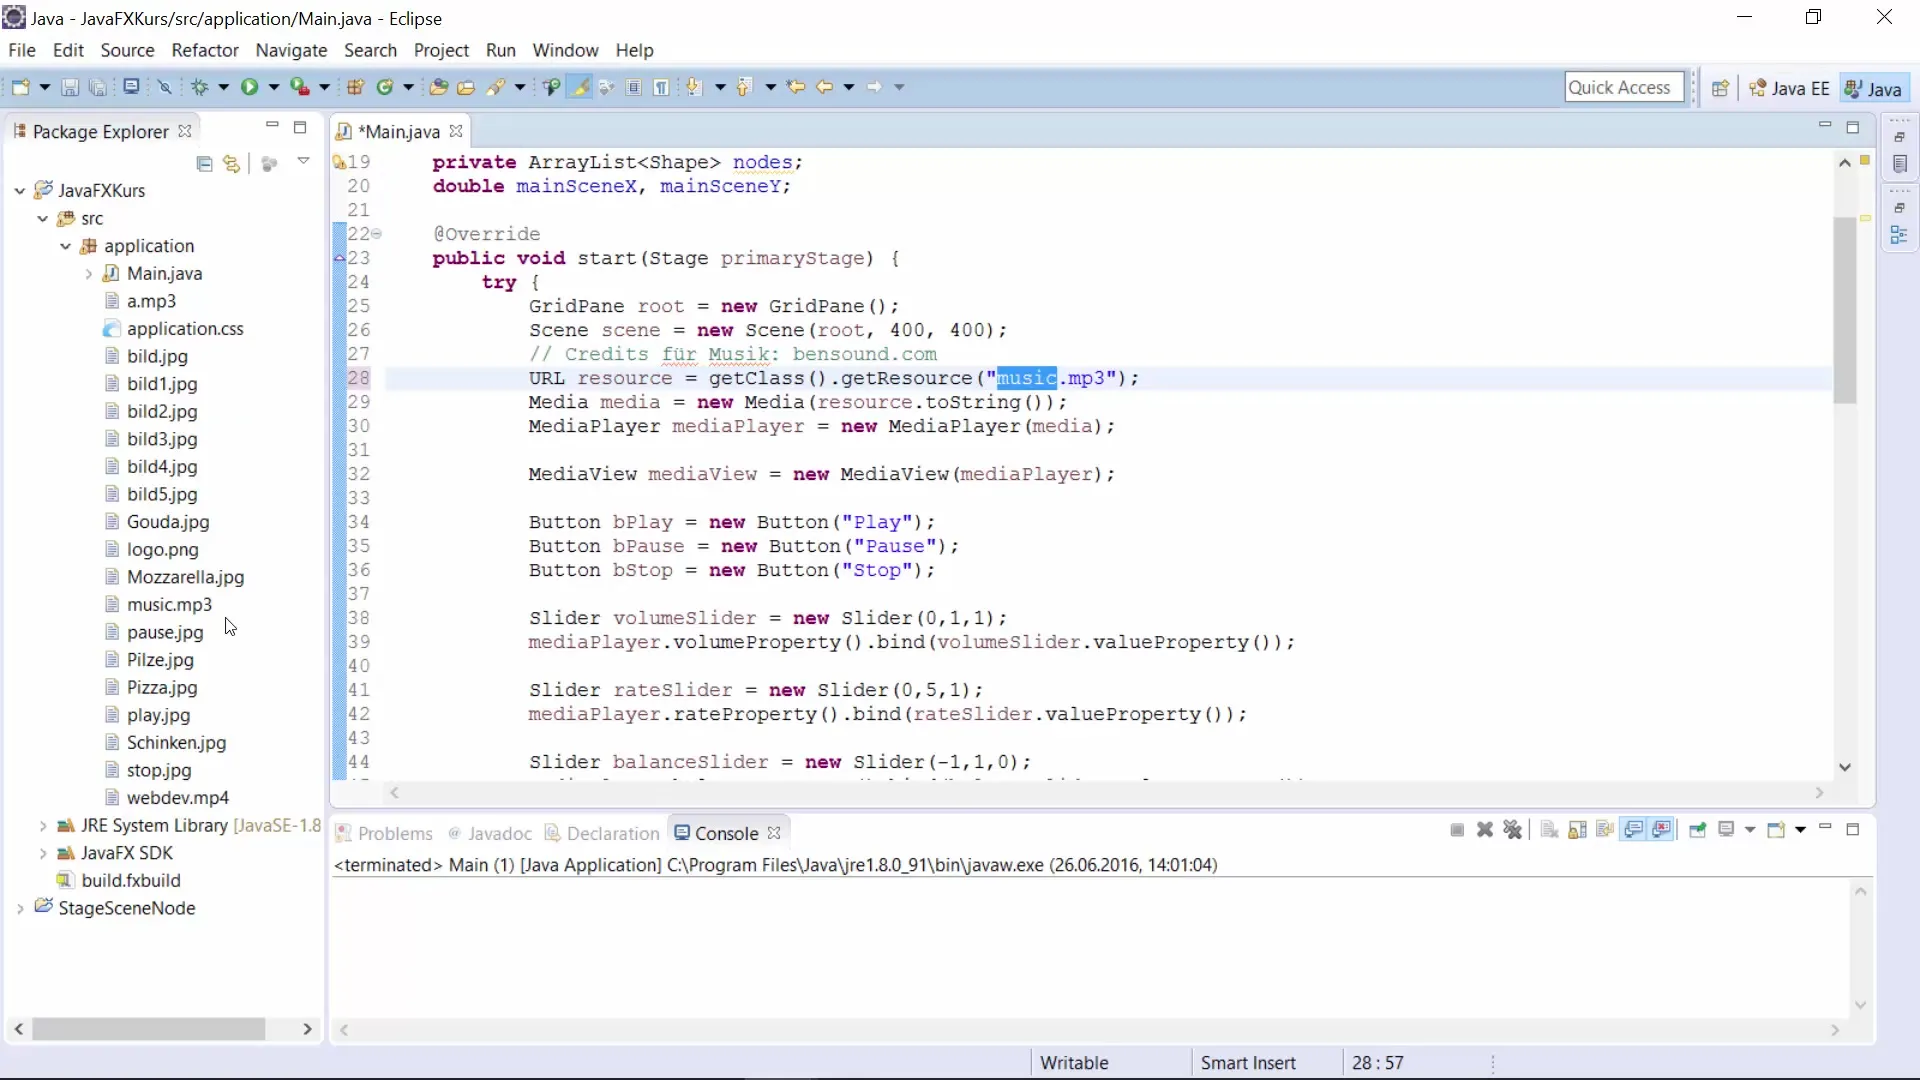
It is important that the path to the video file is correct so that the MediaPlayer can find and play the video. The resource file should be stored in the correct folder so that you can easily load the file later.
Step 3: Initialize MediaPlayer
After configuring the MediaView, you will add the MediaPlayer. The MediaPlayer is responsible for playing the video and should be initialized with the correct video resource.
Make sure that all necessary imports are included in your program to avoid compilation errors. After adding the MediaPlayer, you can start adjusting the user interface.
Step 4: Adjust User Interface
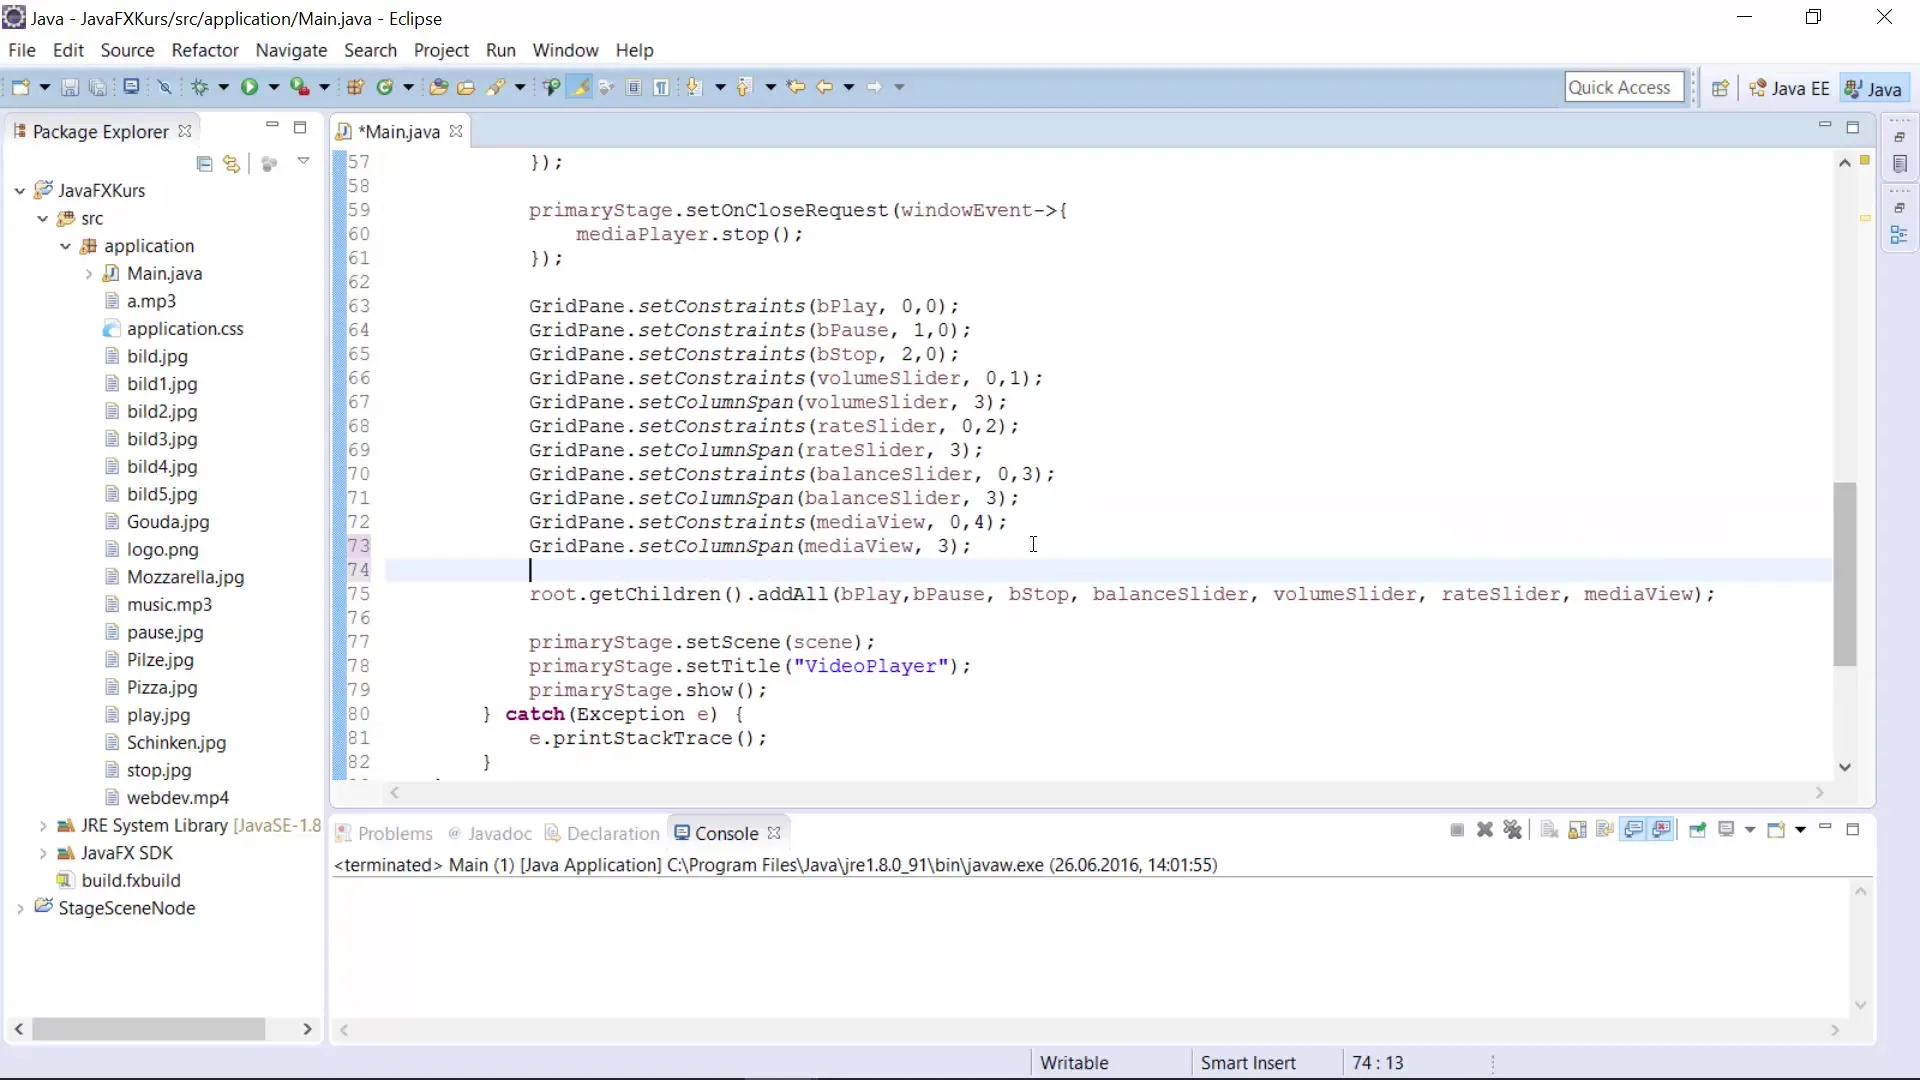
Since some videos may be larger than your display window, it is necessary to adjust the size of the MediaView dynamically. This is done by adding layout properties such as column span. This ensures that the MediaView is positioned correctly within the layout.
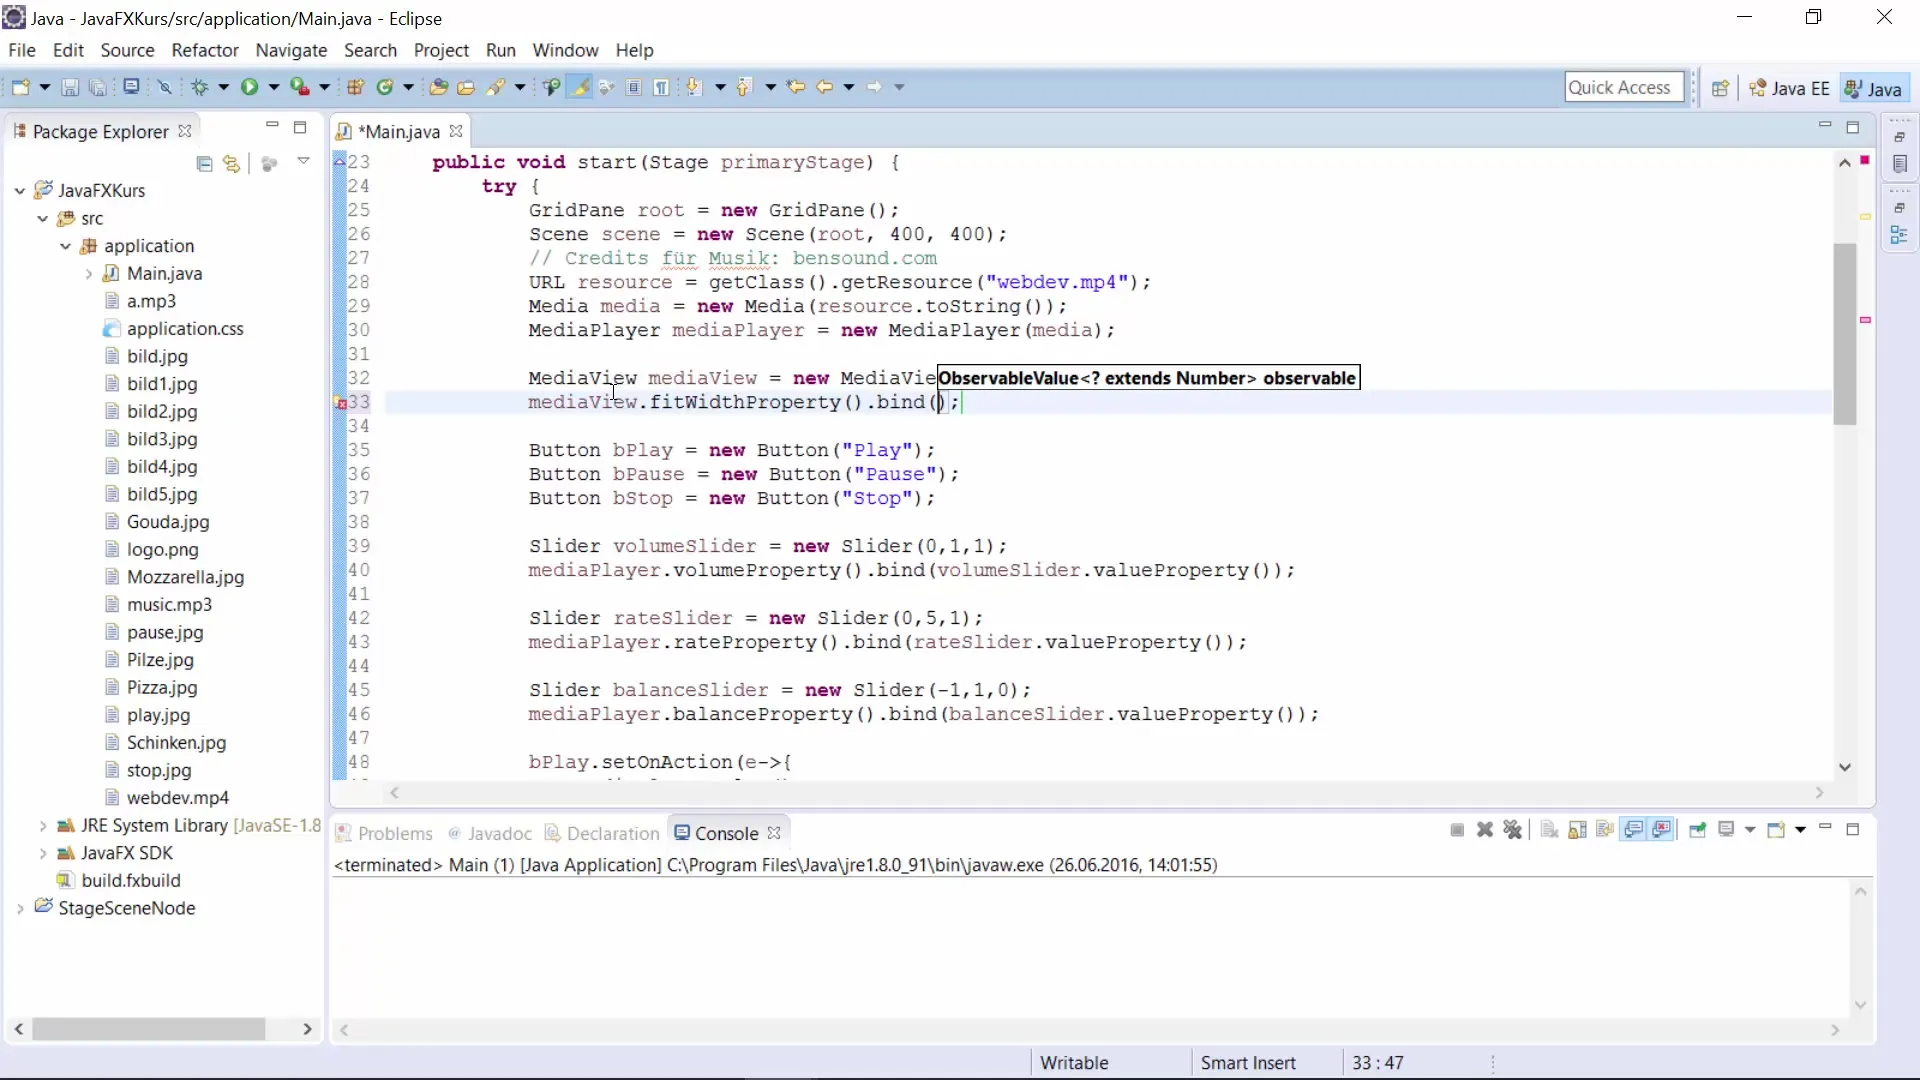
Additionally, it is helpful to configure the fitWidth property of the MediaView so that it automatically adjusts to the width of the window. Here, you bind the width of the MediaView to the width of the stage to allow for seamless resizing.
Step 5: Media Control
You can give the user the ability to control video playback by adding buttons for play, pause, and stop. This control is usually carried out by the MediaPlayer and should be easily implemented with mouse clicks.
Experiment with different layouts and styles to make your user interface appealing. It is also possible to add functionalities that allow users to select other files to potentially switch playback.
Step 6: Finalization and Further Adjustments
Once you have created the basic structure as a functioning VideoPlayer, you can make further adjustments to expand your application. Consider features like volume control, balance, and playback speed.
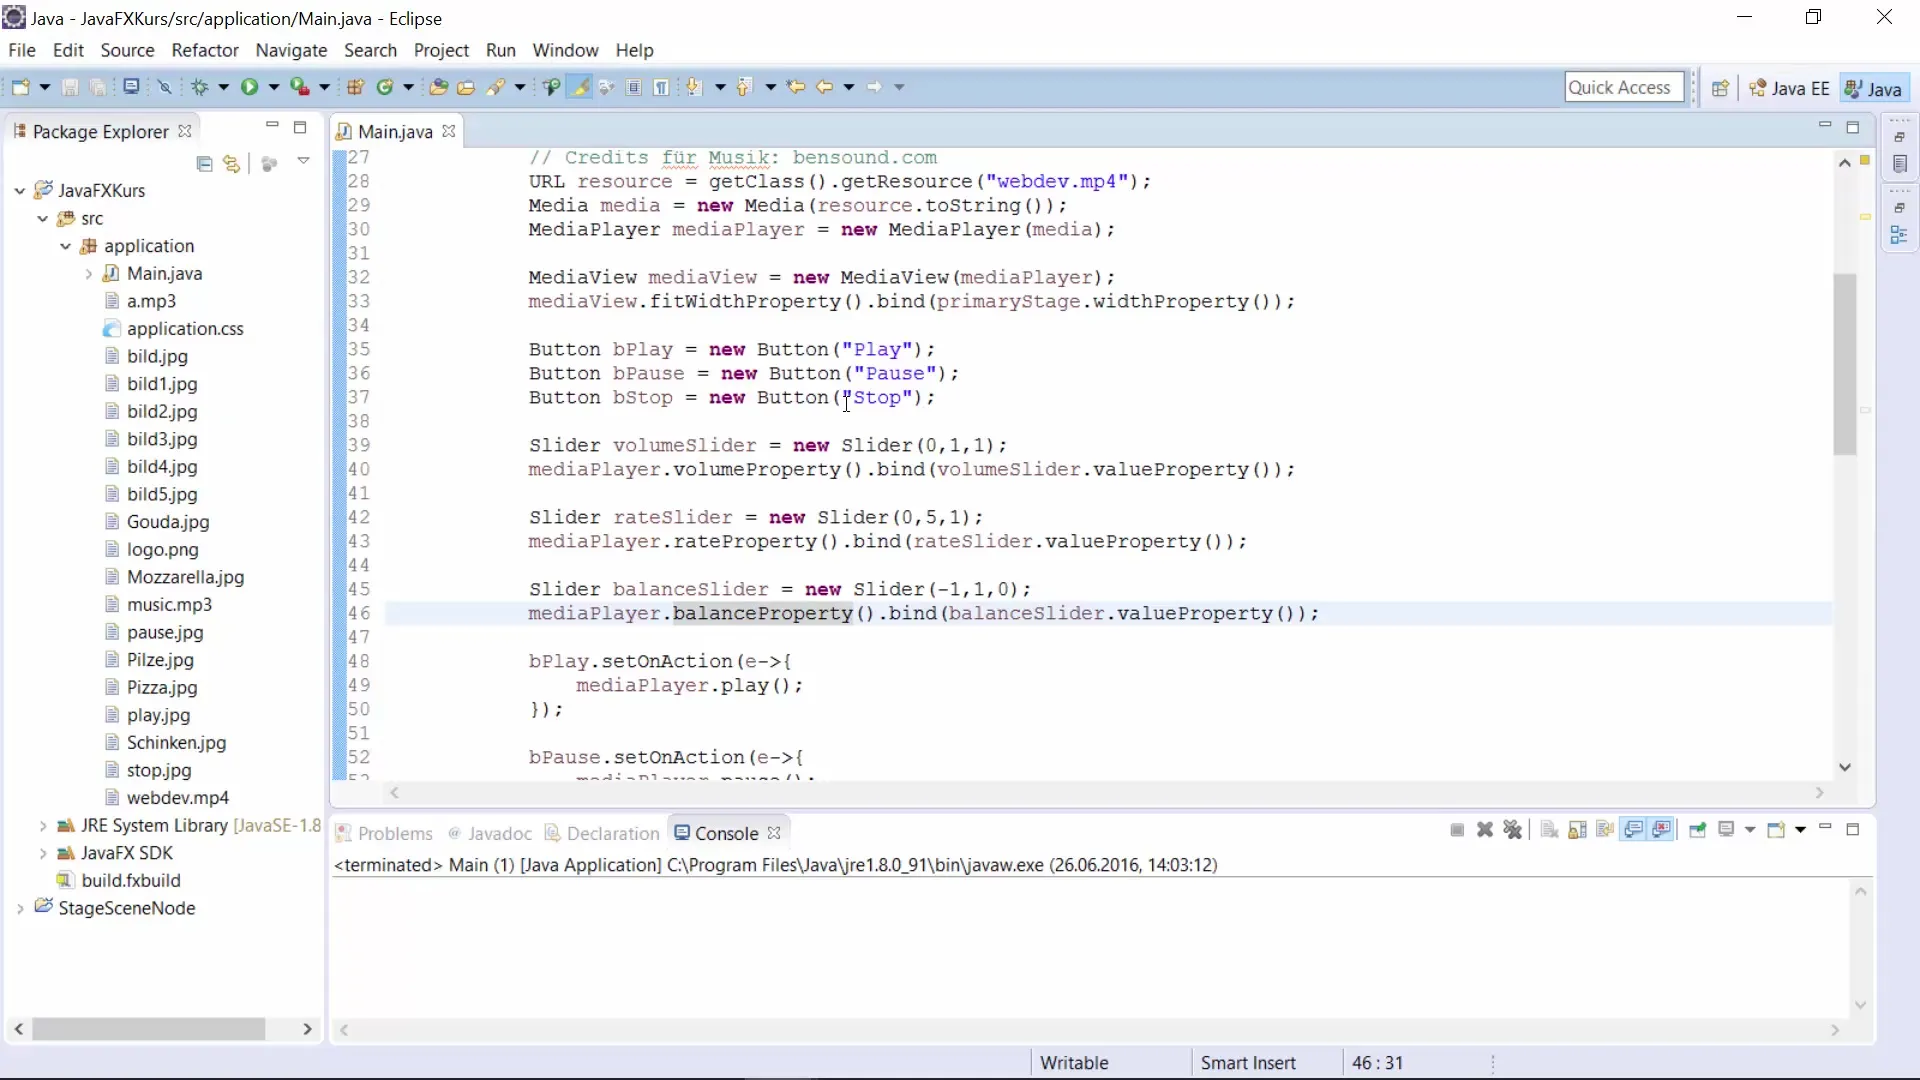
If you wish, you can even add a file selection option to further enhance the user experience. Once you have made all the adjustments, thoroughly test your application to ensure everything works smoothly.
Summary – Creating a VideoPlayer with JavaFX
In this guide, you have learned how to create a VideoPlayer in JavaFX with just a few lines of code. The process involves inserting the MediaView, preparing the video file, and adjusting the user interface to meet the requirements of your application. With this foundation, you have the opportunity to make further customizations and implement your own features.
Frequently Asked Questions
How can I play another video file?Just adjust the path to the desired file in the code.
Can I also integrate the VideoPlayer into an existing application?Yes, you can easily integrate the MediaView and MediaPlayer into your existing JavaFX application.
How can I control the volume of the video?You can configure the volume control through your MediaPlayer's properties and add corresponding control buttons.


