The TreeView in JavaFX allows you to display data in a hierarchical structure, similar to a tree with branches and leaves. This data structure is excellent for clearly presenting complex information. In this guide, you will learn how to create, configure, and extend a TreeView to make your graphical user interfaces (GUIs) more interesting and functional.
Key Insights
- The TreeView consists of TreeItems that represent the individual nodes in the hierarchy.
- You can easily add root elements and their child elements.
- It is possible to expand or collapse the TreeView as needed.
Step-by-Step Guide
Step 1: Create a new TreeView
First, you need to create a TreeView. To do this, you establish a root element. A root element is the main component of your tree and is declared as a TreeItem. The following code shows how to implement this.
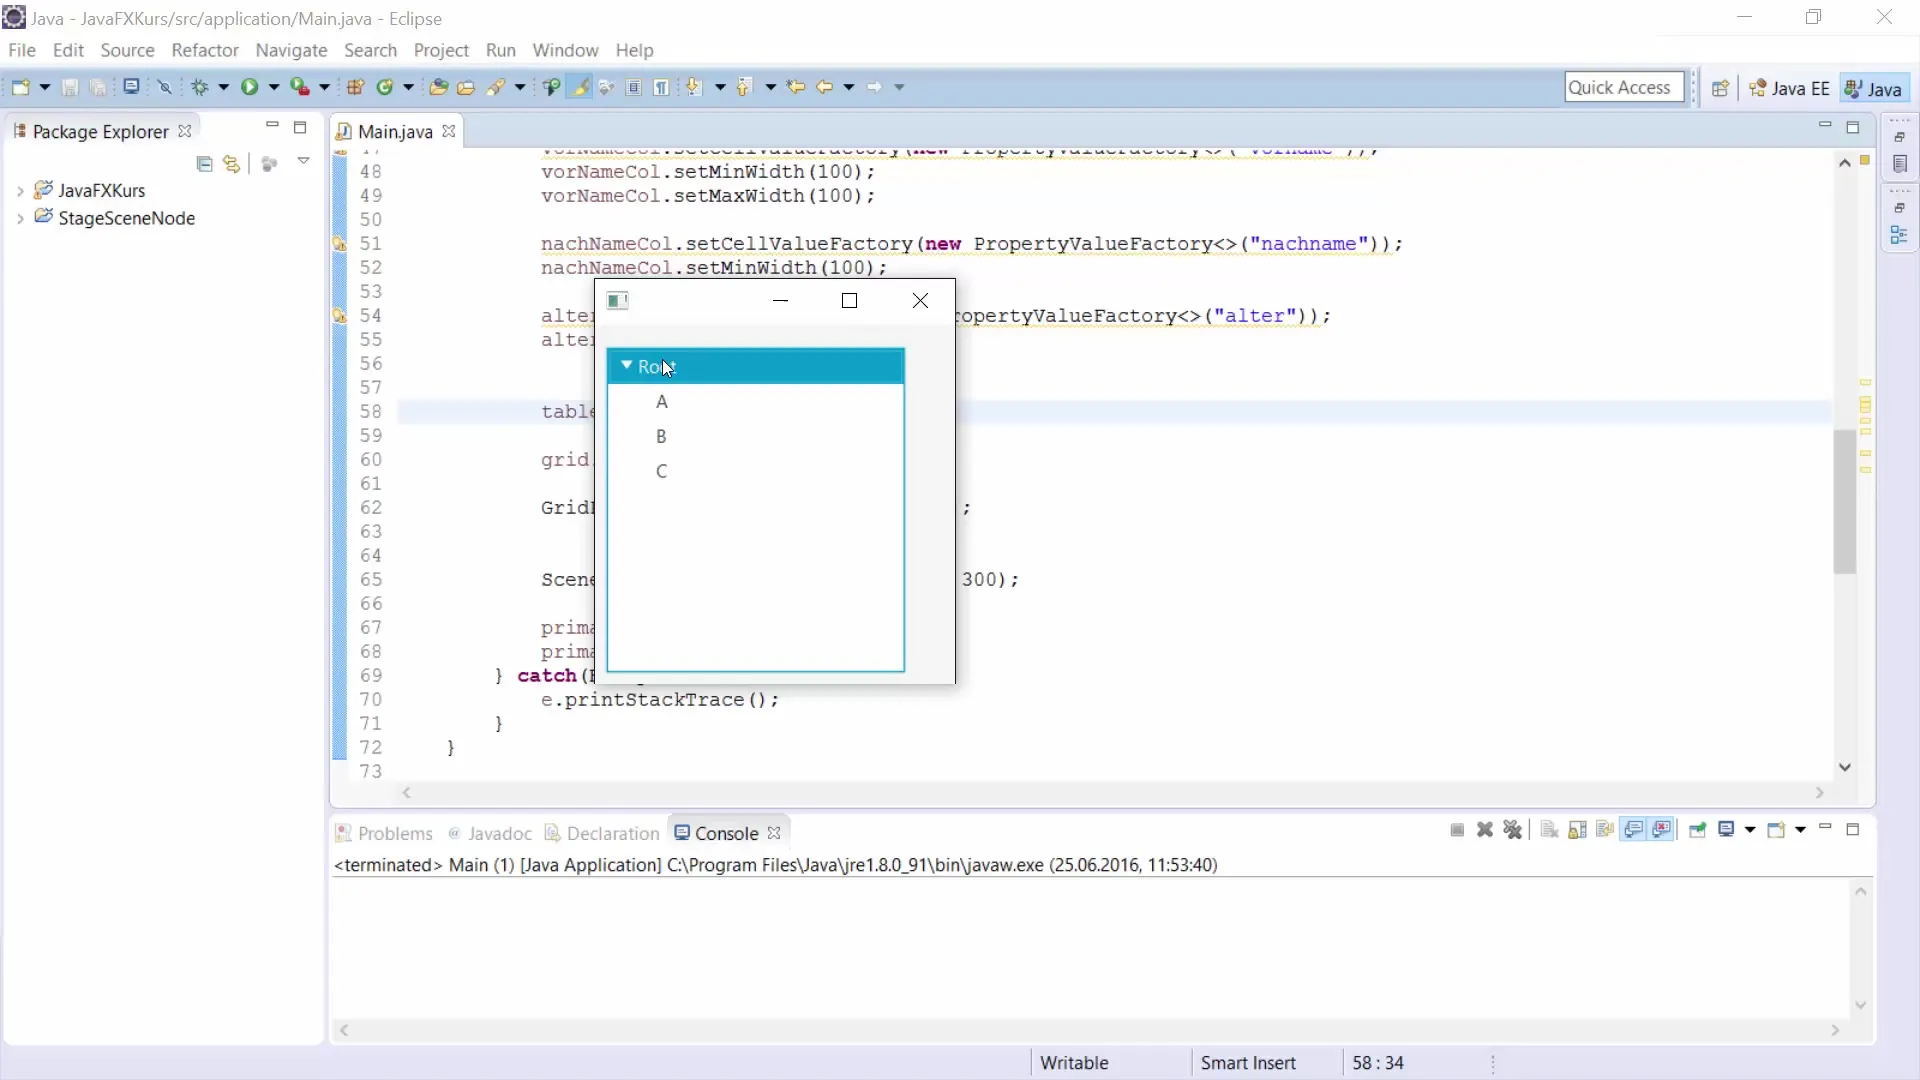
Here you name the root element "rootItem" and use the TreeItem class to create it.
Step 2: Create the Root Element
The root element must be assigned text that will be displayed in the TreeView. You set the text for your root element using the method new TreeItem("root").
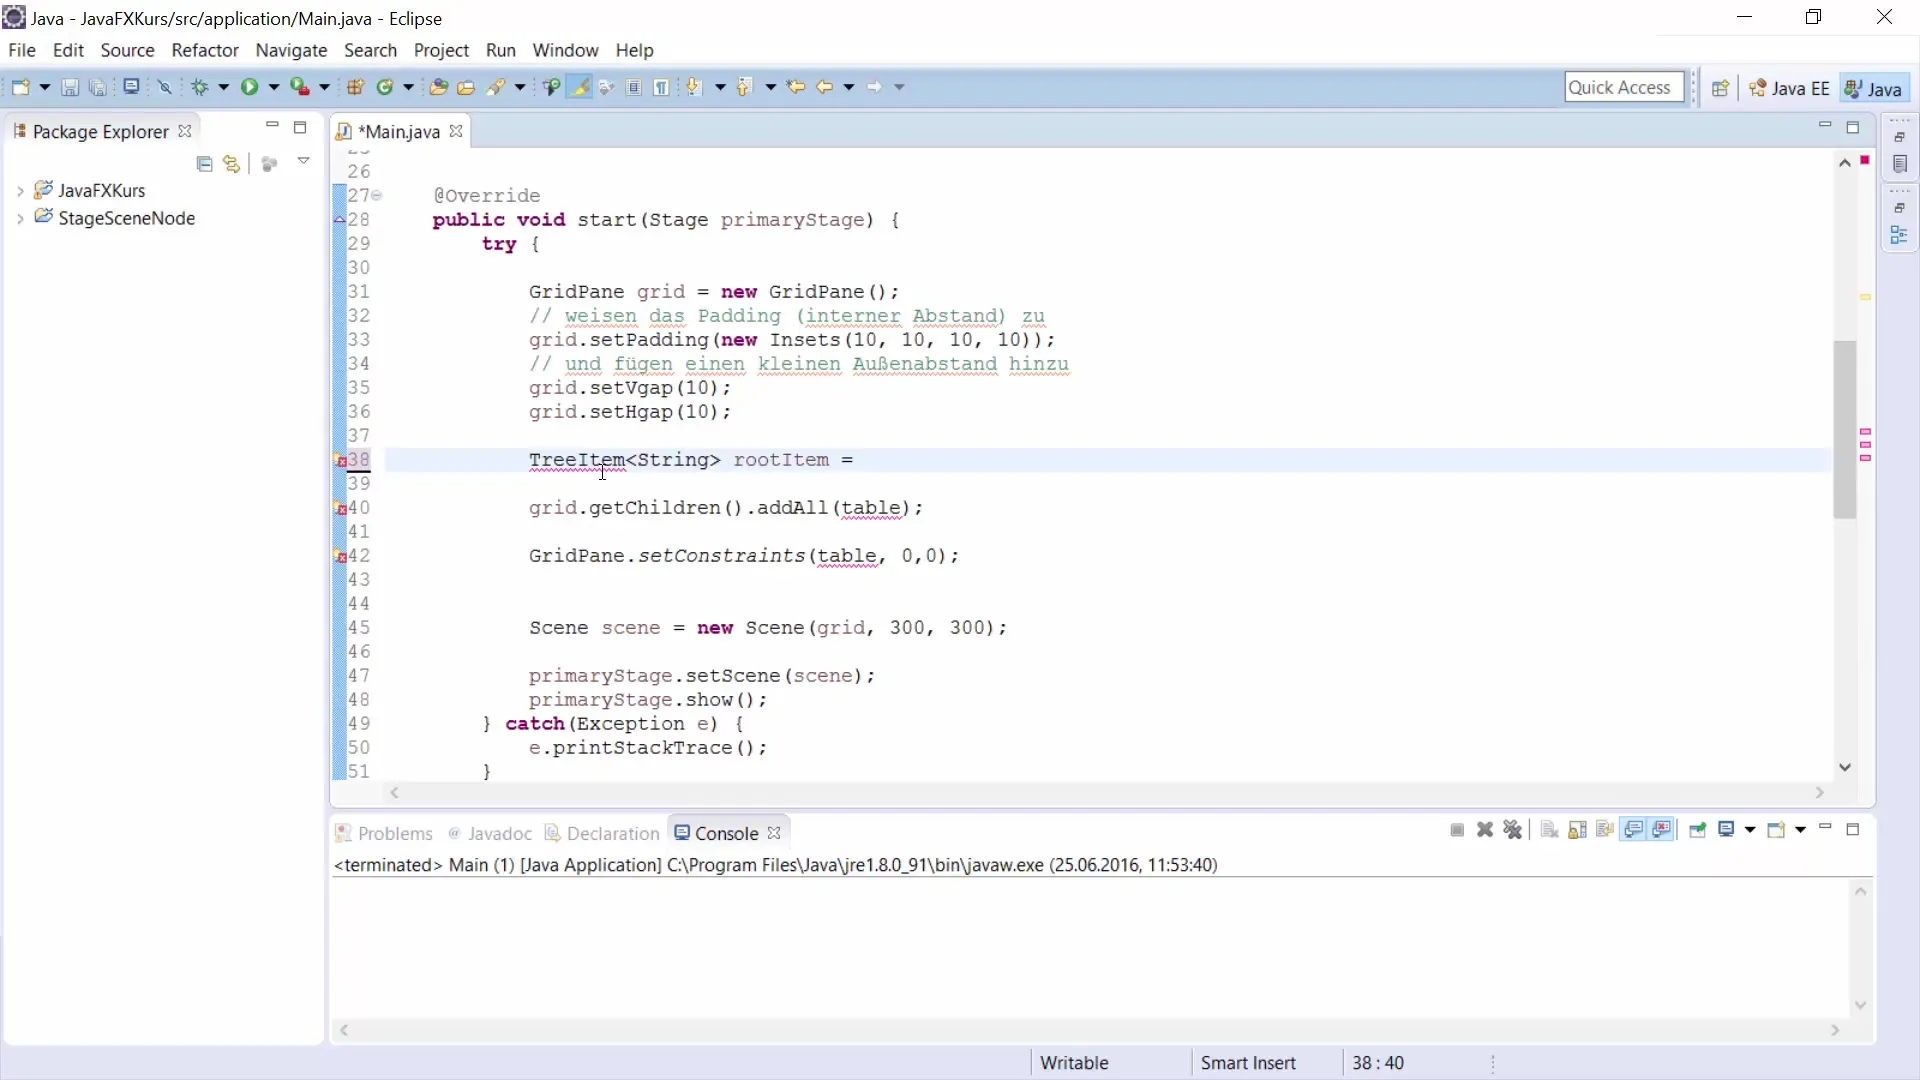
To expand the root element directly, you can use the method setExpanded(true). This ensures that the element is visible from the beginning.
Step 3: Adding Child TreeItems
Once you have created the root element, you can add more TreeItems. You can add a new TreeItem using the method addItem. In this example, we will add an item "A".
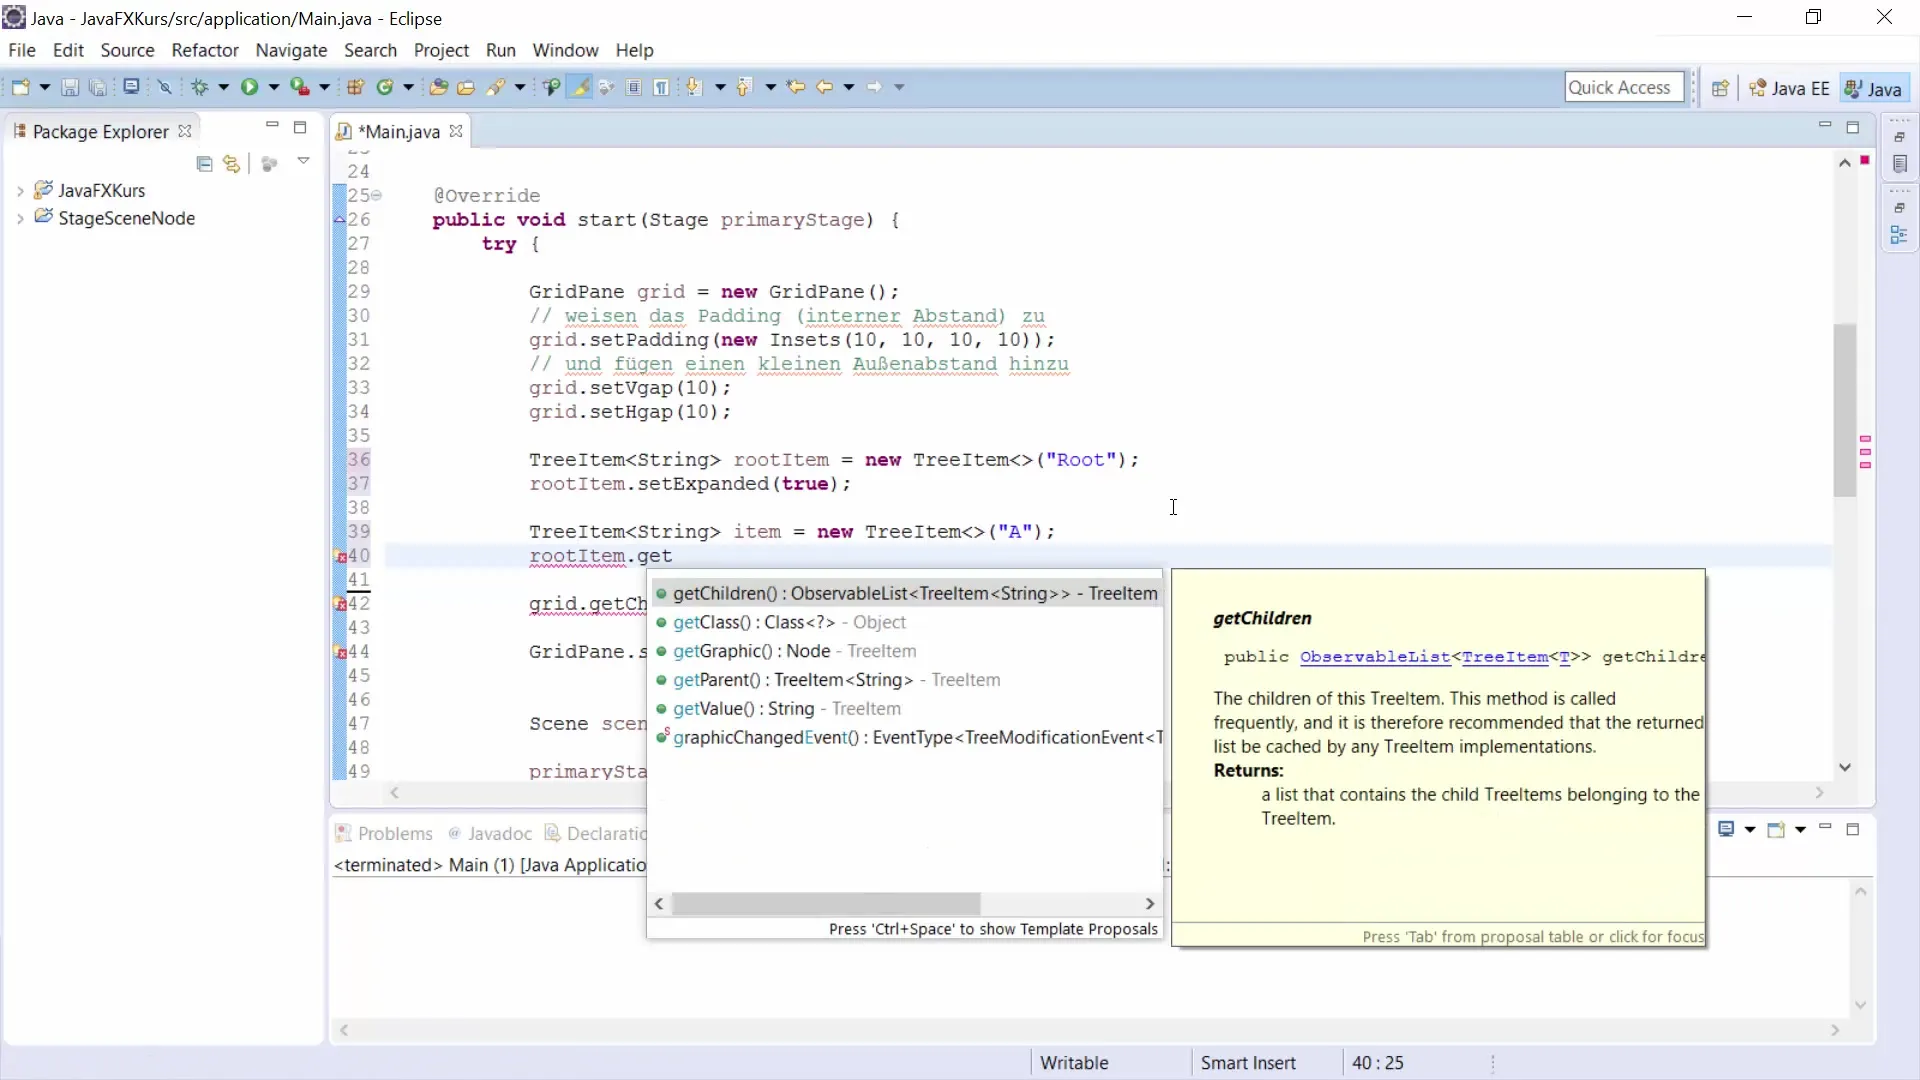
It is sufficient to assign new values to the TreeItem objects and then add them to the root item.
Step 4: Overwriting TreeItems
To overwrite values and TreeItems, you can simply replace the previously existing value. There is no need to recreate the existing TreeItems; just overwrite the object with the new value.
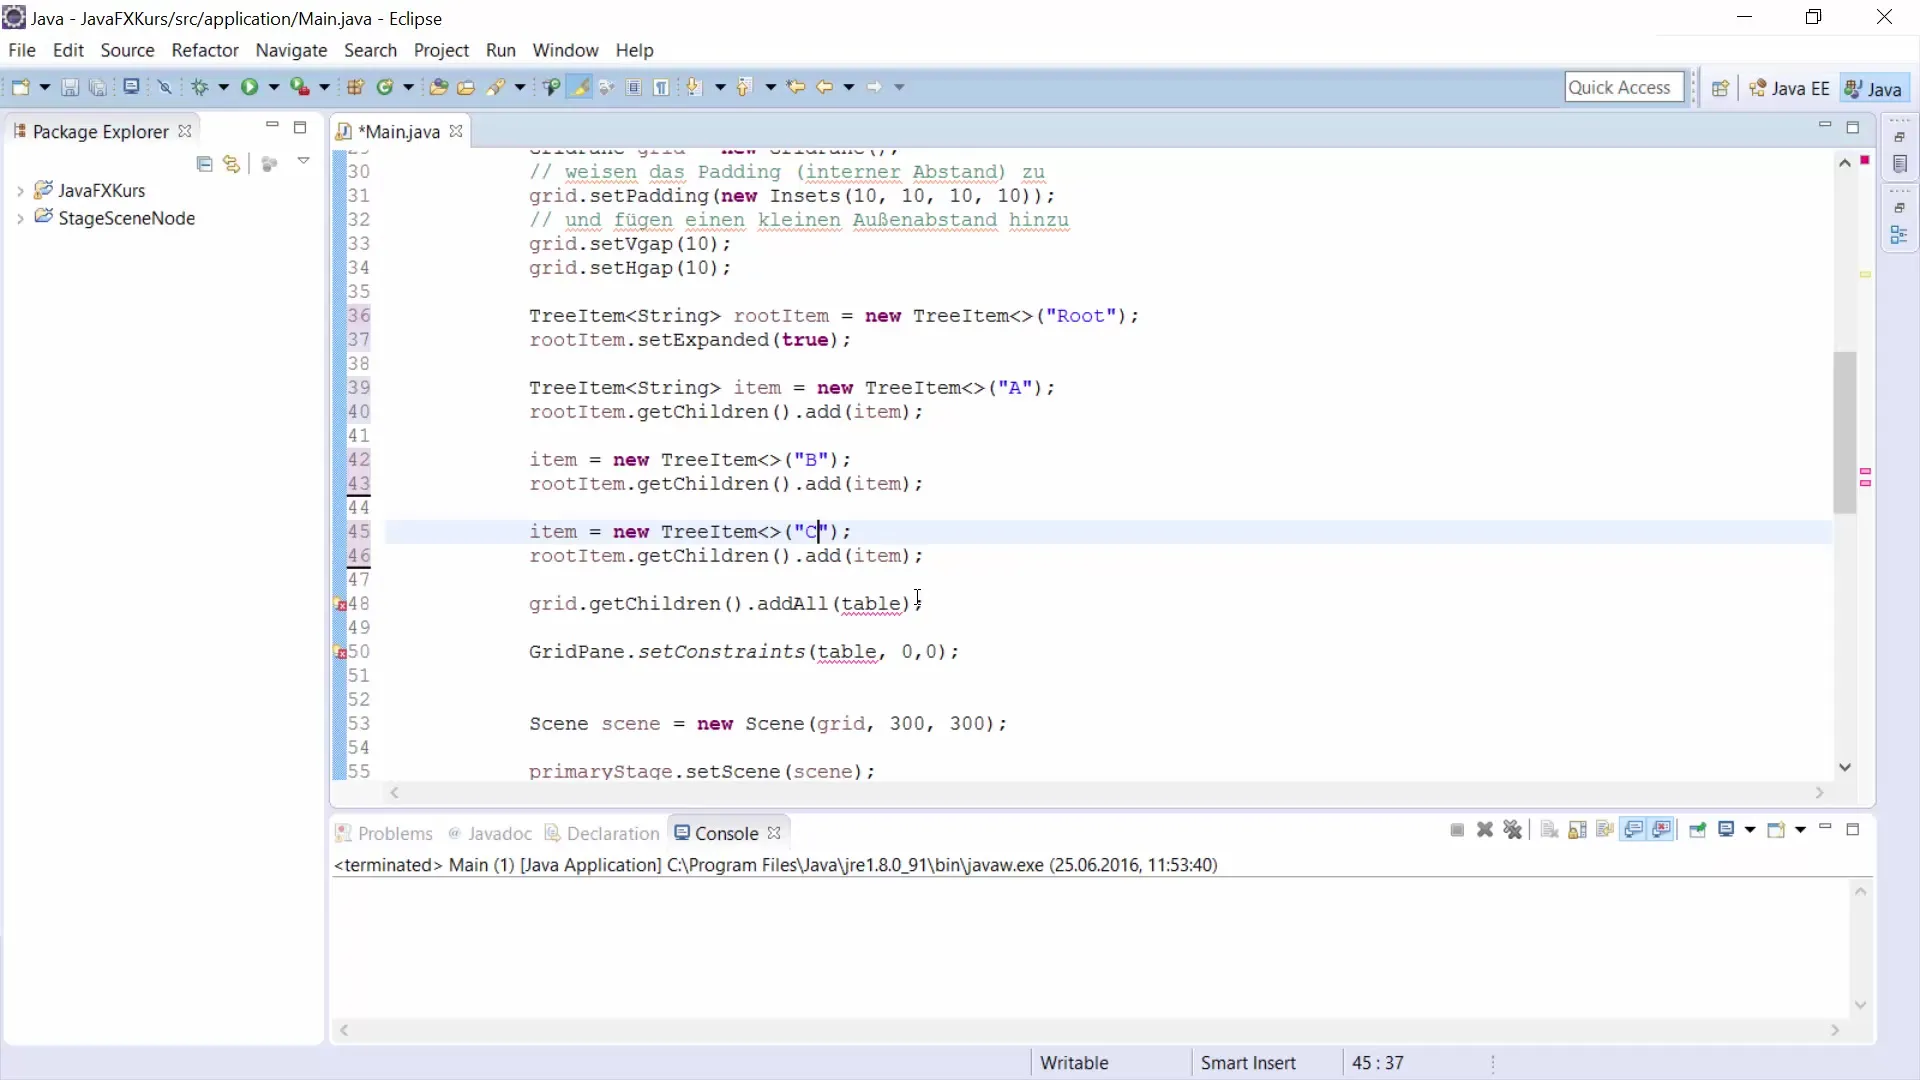
This makes managing your TreeItems much simpler and more efficient.
Step 5: Create TreeView
The next step is to create the TreeView itself. To do this, you use the TreeView class and pass the rootItem that you have already created.
Make sure to import all necessary classes so that your TreeView can appear successfully in the GUI.
Step 6: Insert TreeView into User Interface
Now that you have created a TreeView, you can add it to your user interface. To test, you can start the application and observe what the TreeView looks like.
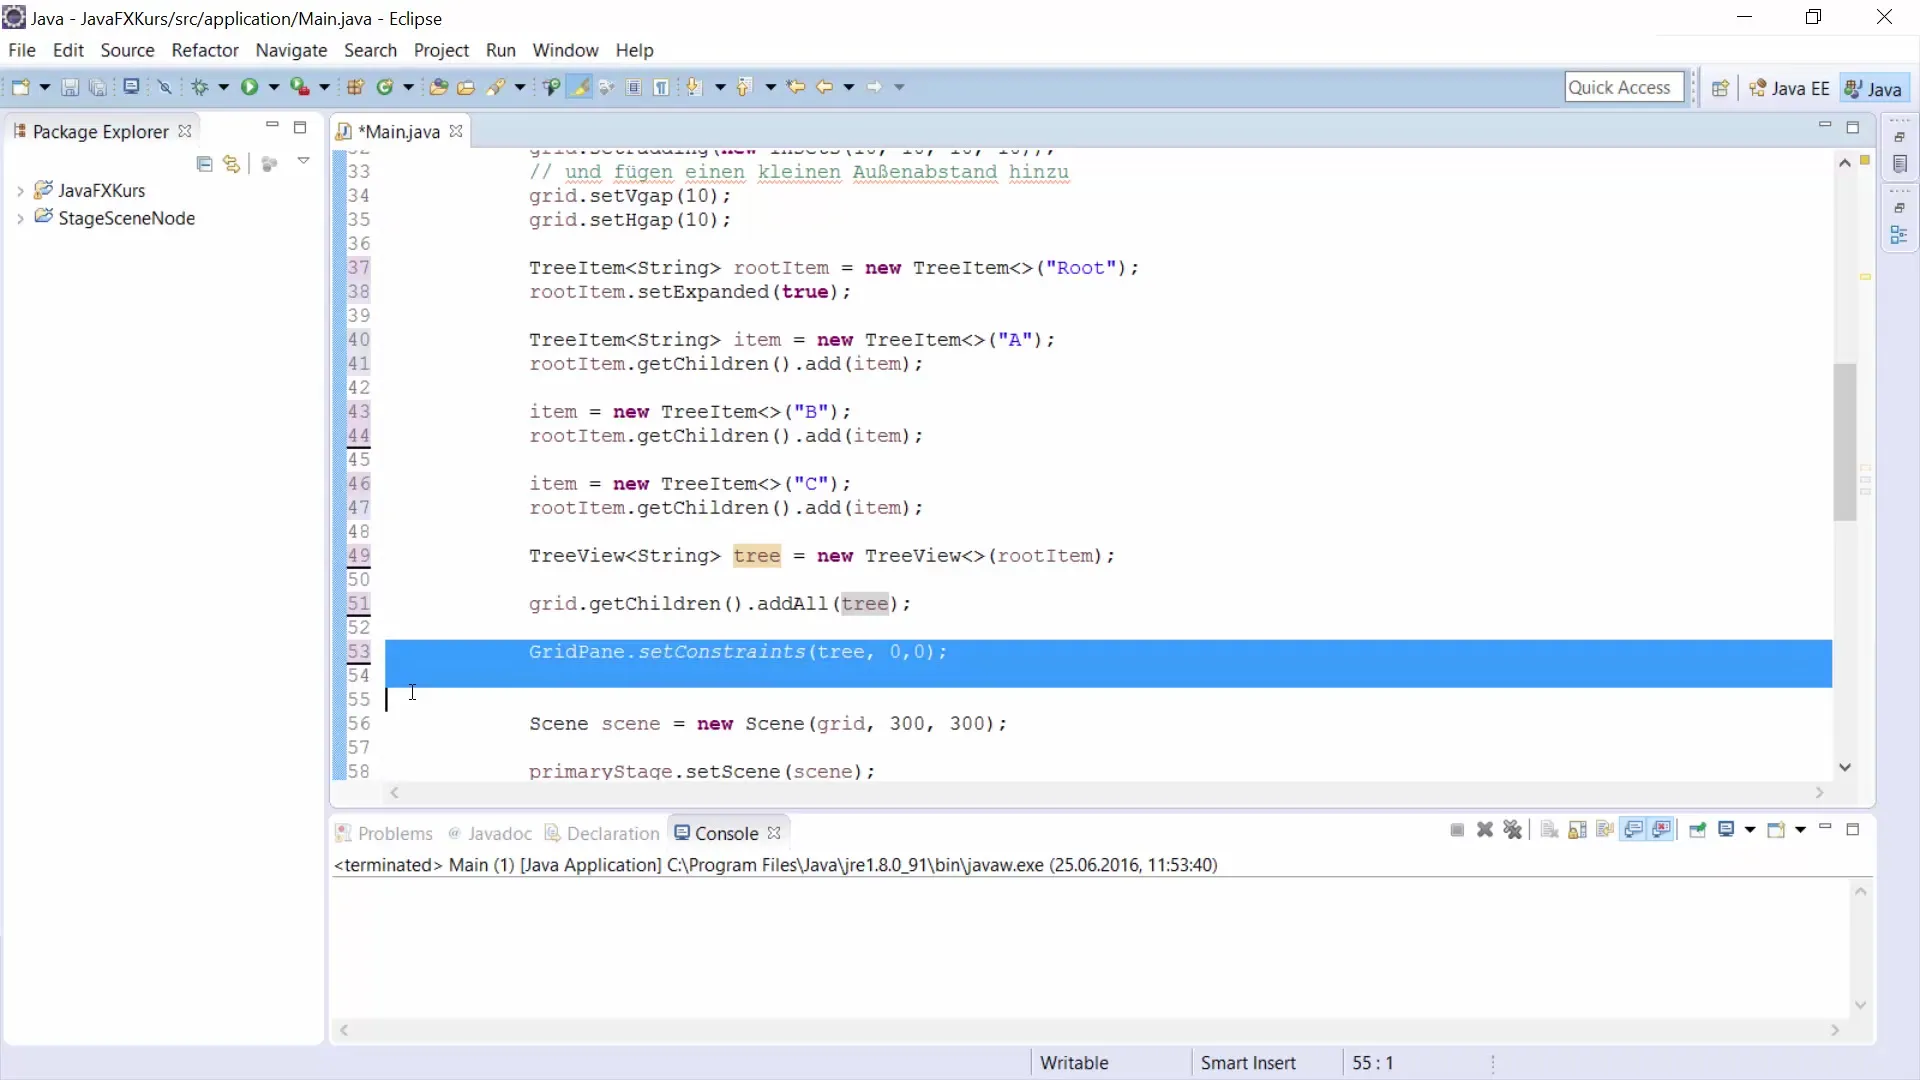
If everything is implemented correctly, you will see your root element with all the added items.
Step 7: Test Interactions
Test if the TreeView works as desired. You can configure it to start closed by using setExpanded(false).
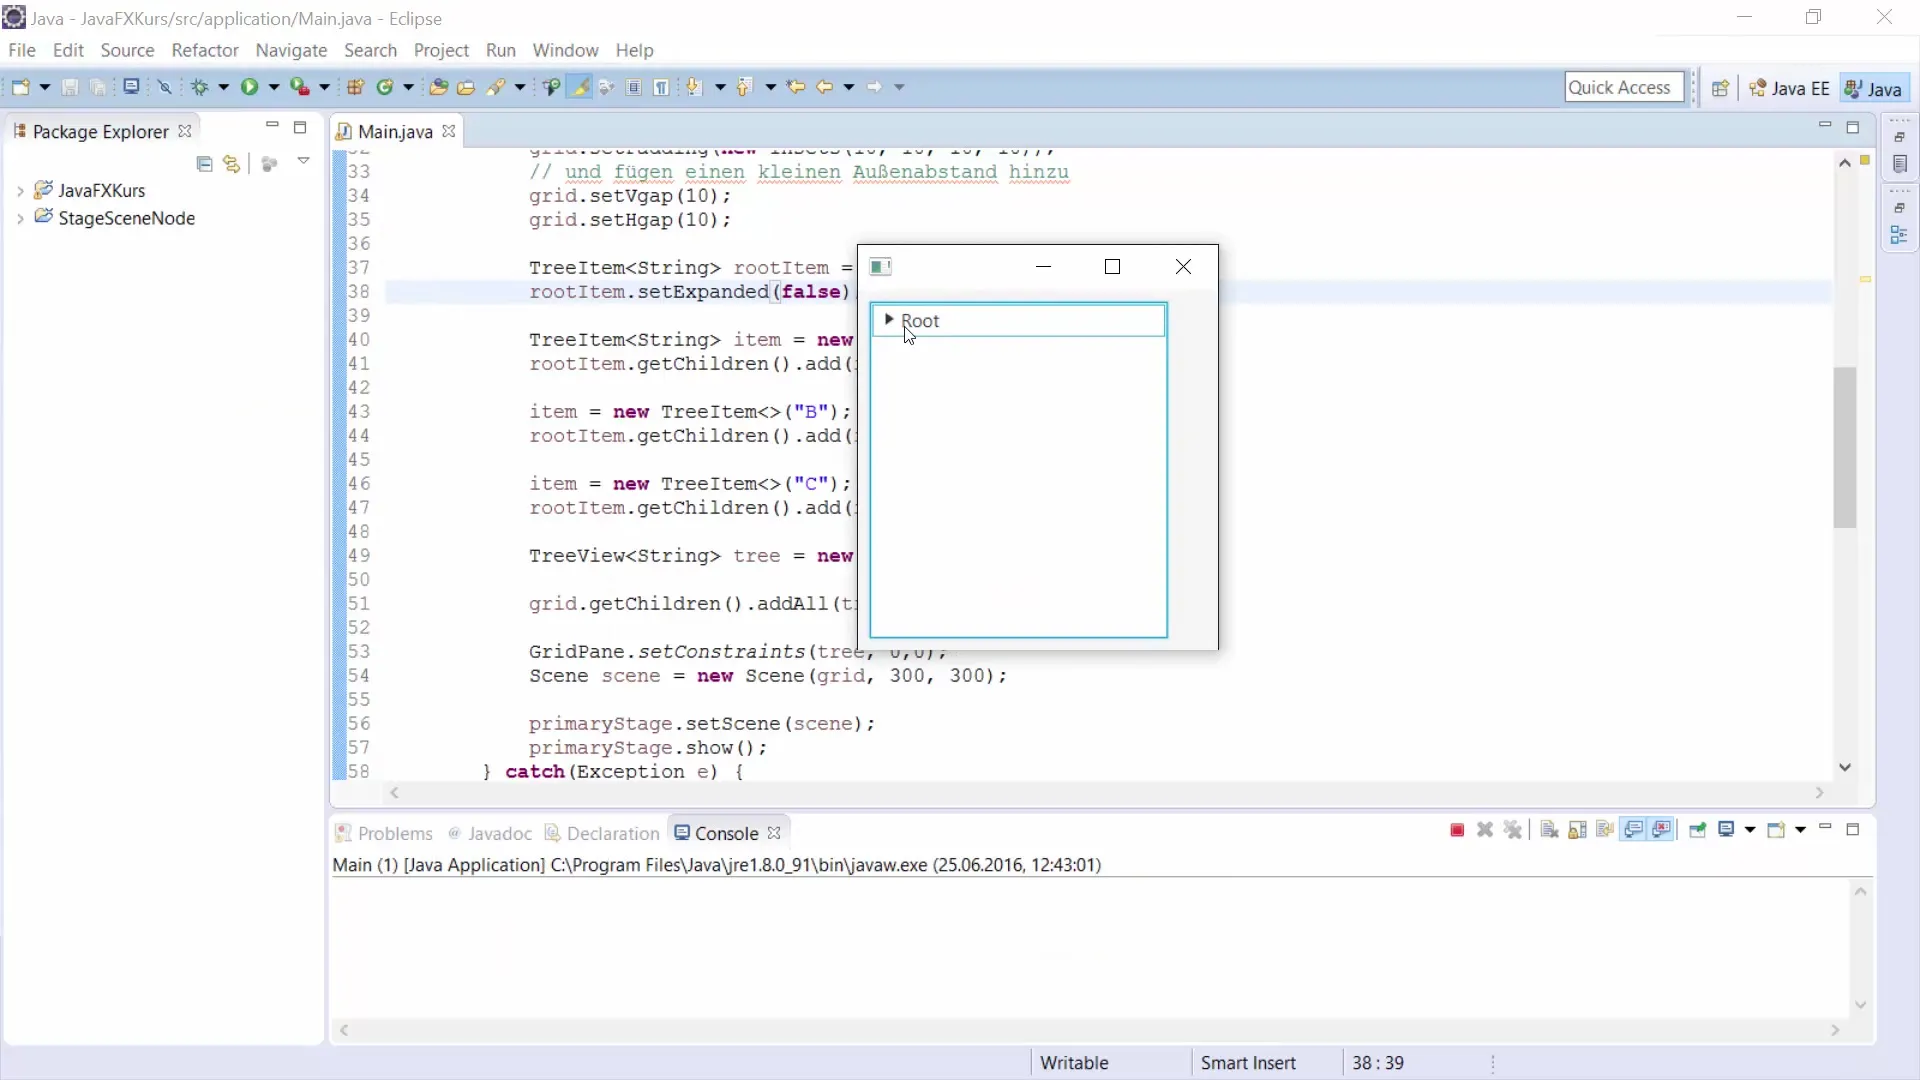
Simply click on the root element to expand it and display the child items.
Step 8: Add More TreeItems
If you want to add more TreeItems to an existing TreeItem, you must ensure that you keep the hierarchy in mind. In our example, we will add another item "AA" under item "A".
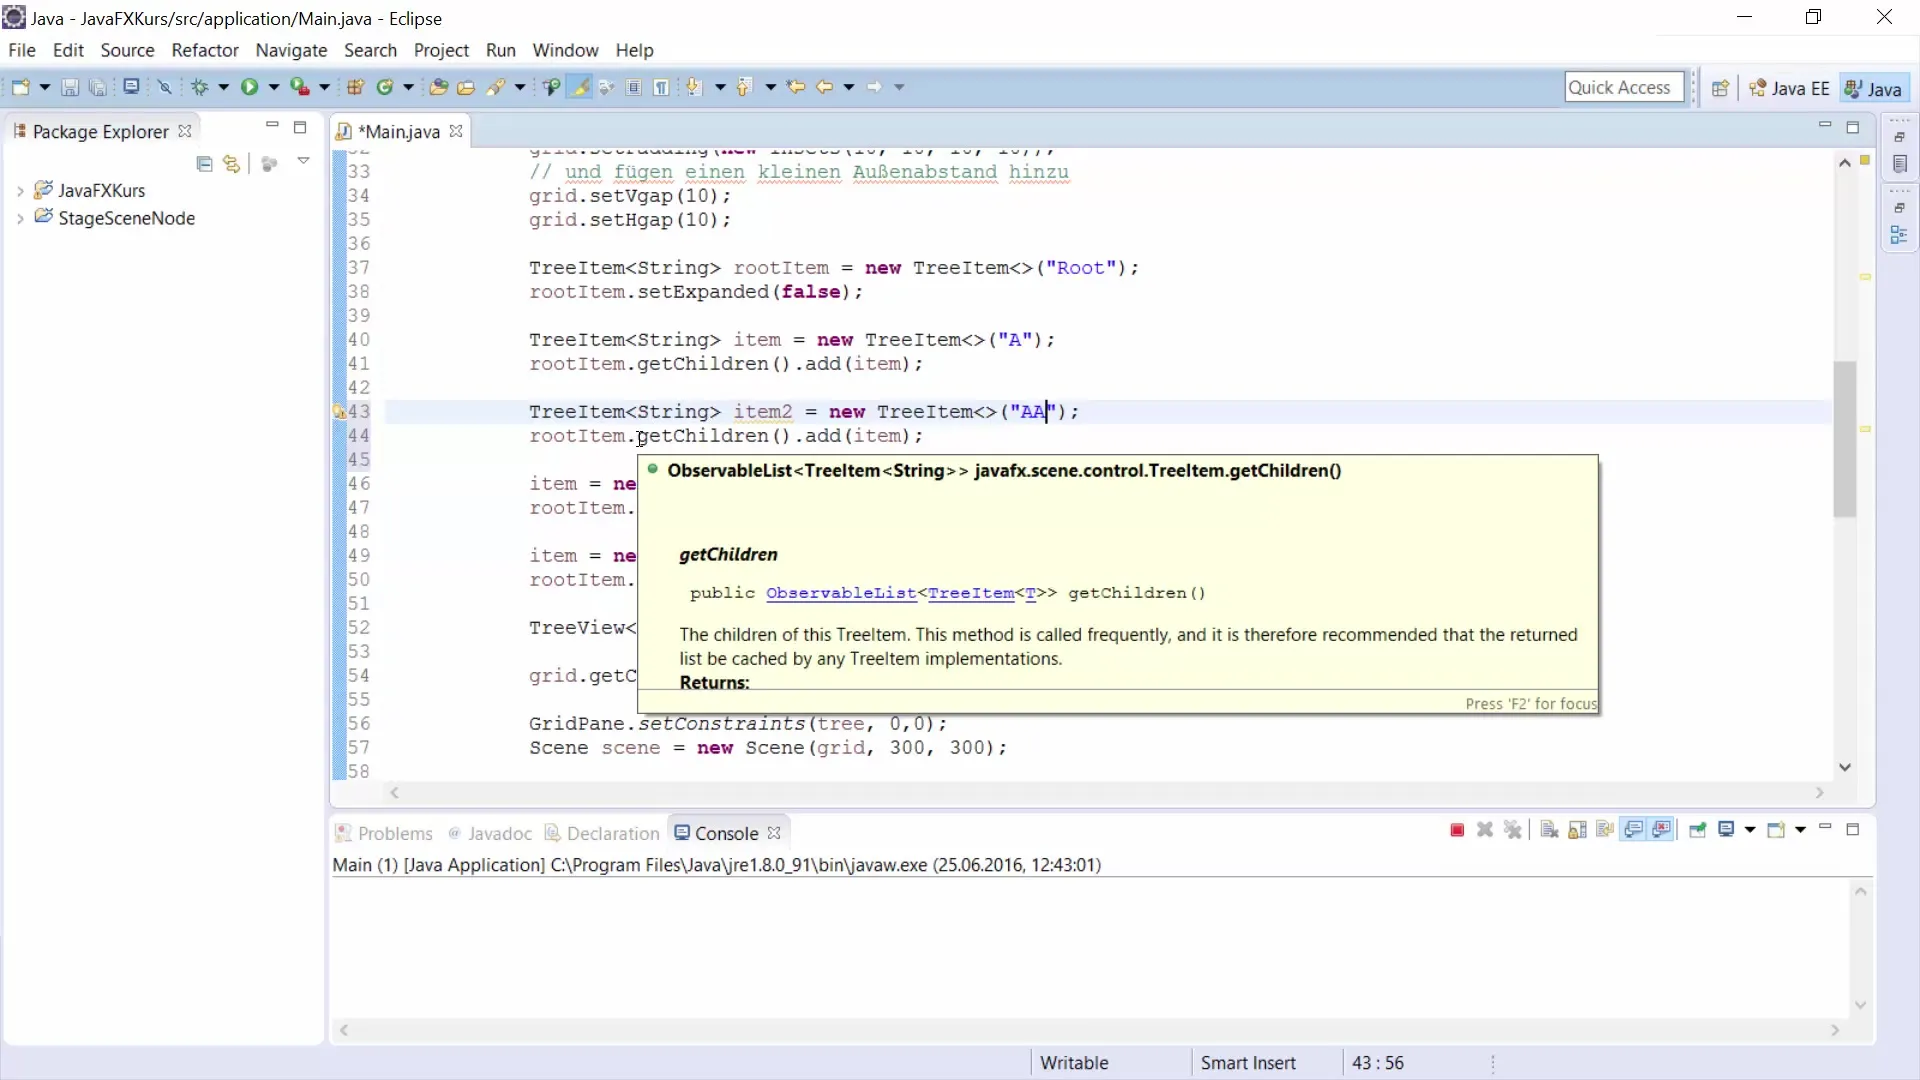
Here, the method add should also be used to add the new TreeItem to the desired parent element.
Summary – JavaFX TreeView for GUI Development
You have learned how to create and configure a TreeView in JavaFX. Through simple methods, you can add any number of child elements and influence the visibility of the tree structure. The TreeView is a powerful tool for displaying hierarchical data in a clear and user-friendly way.
Frequently Asked Questions
What is a TreeView in JavaFX?A TreeView is a visual representation of data in a tree-like structure that supports multiple levels of nodes.
How do I add child elements to a TreeView?Use the add method to add child TreeItems to an existing TreeItem.
Can I dynamically change TreeItems in the TreeView?Yes, you can easily overwrite existing TreeItems without recreating them.
How do I ensure a TreeView is closed at the beginning?Set the property setExpanded(false) for the root element to have it displayed closed at the start.
How can I control the visibility of TreeItems?By setting the method setExpanded(true) or setExpanded(false), you can control the visibility of TreeItems.


