Do you want to create a Media Player? With JavaFX and the Scene Builder, you can achieve this easily and intuitively. The Scene Builder provides you with a graphical user interface to design your layout without having to write much code. In this tutorial, you will be guided step by step through the process of creating a functional Media Player.
Main insights
- Use the Scene Builder for efficient user interface design.
- Understand the hierarchy of elements in the layout.
- Implement the functionality of the buttons and controls in the controller.
Step-by-step guide
First, we open the Scene Builder and prepare our project. You will see how we effectively build the Media Player.
To get started, delete all existing elements from your layout. You can simply select the individual components and press the Delete key. This will give you a clear workspace to begin with your new layout.
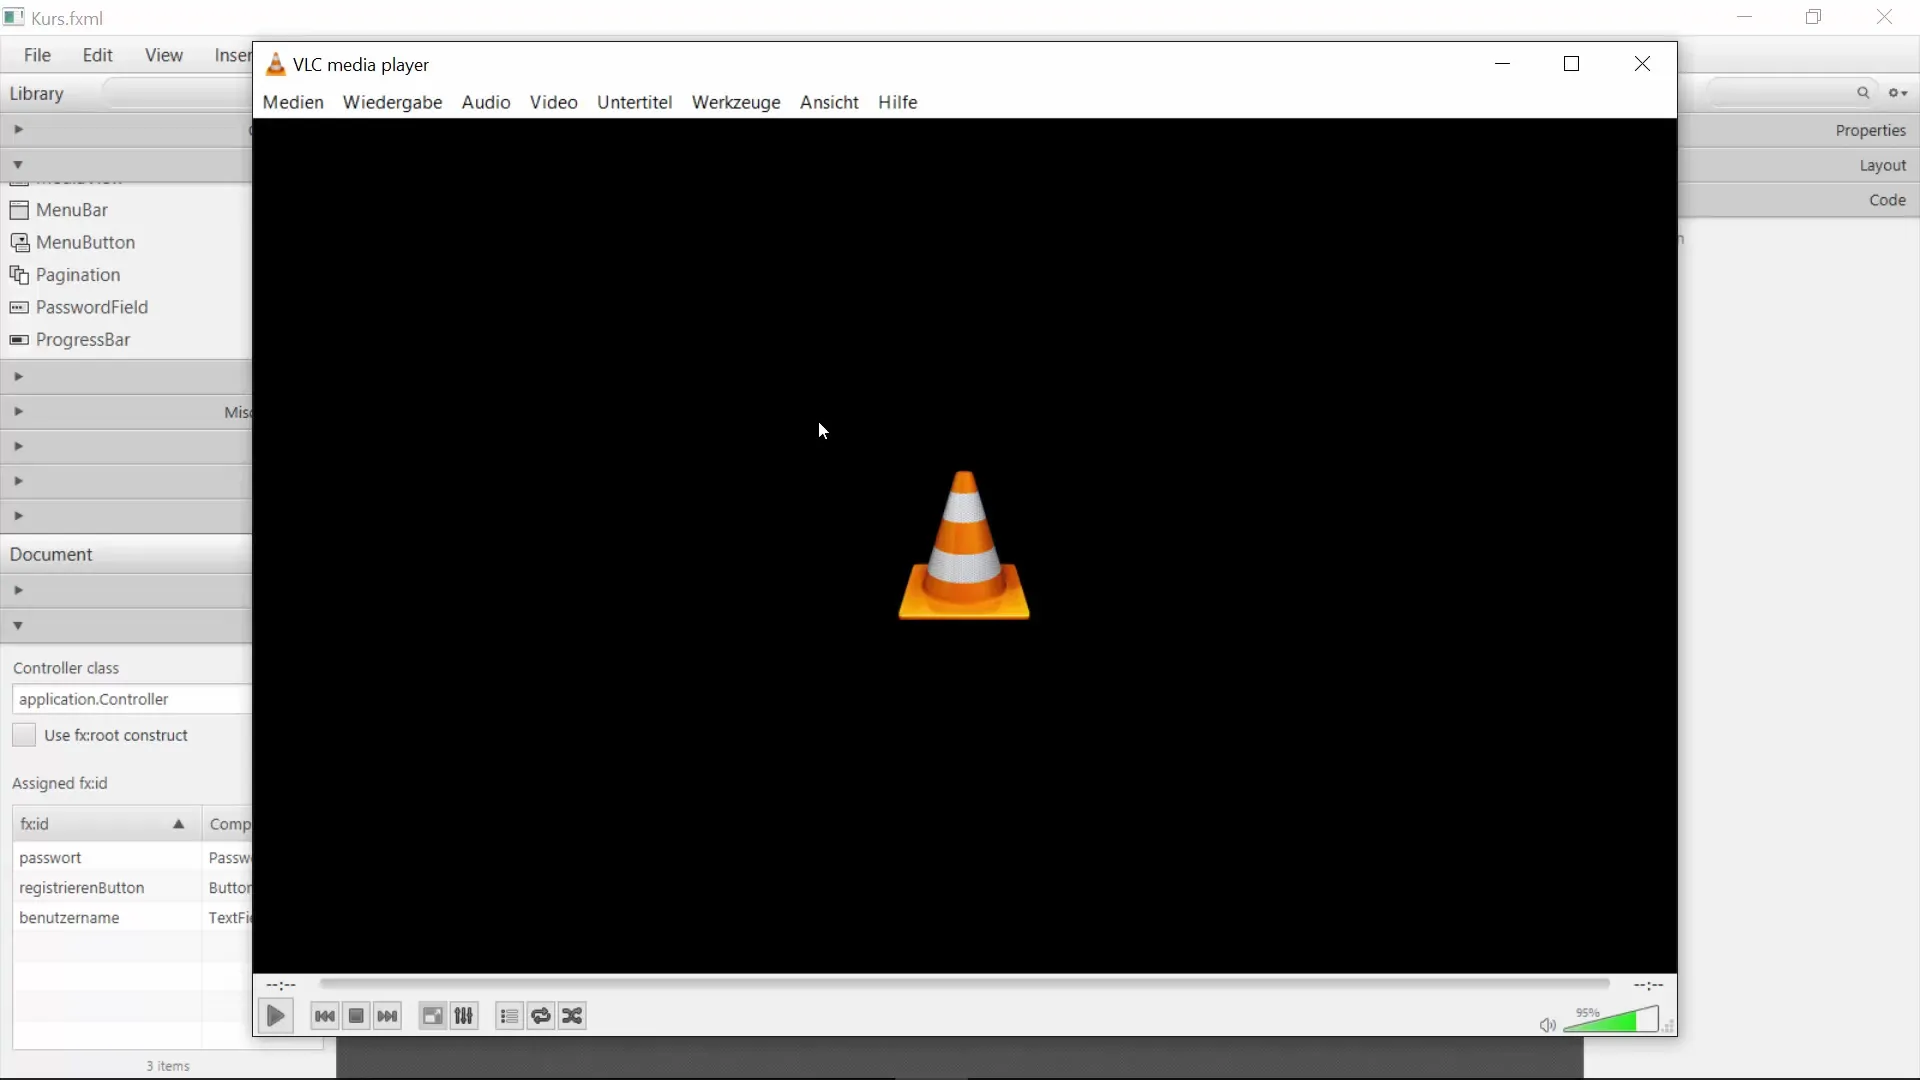
Now we lay our foundation with an AnchorPane. This element serves as the basis for placing your other components. You can position the AnchorPane in the center of the window.
In the next step, we add a BorderPane. The BorderPane will provide the structure to place elements at the top, bottom, left, and right. Place the BorderPane in the center of your AnchorPane.
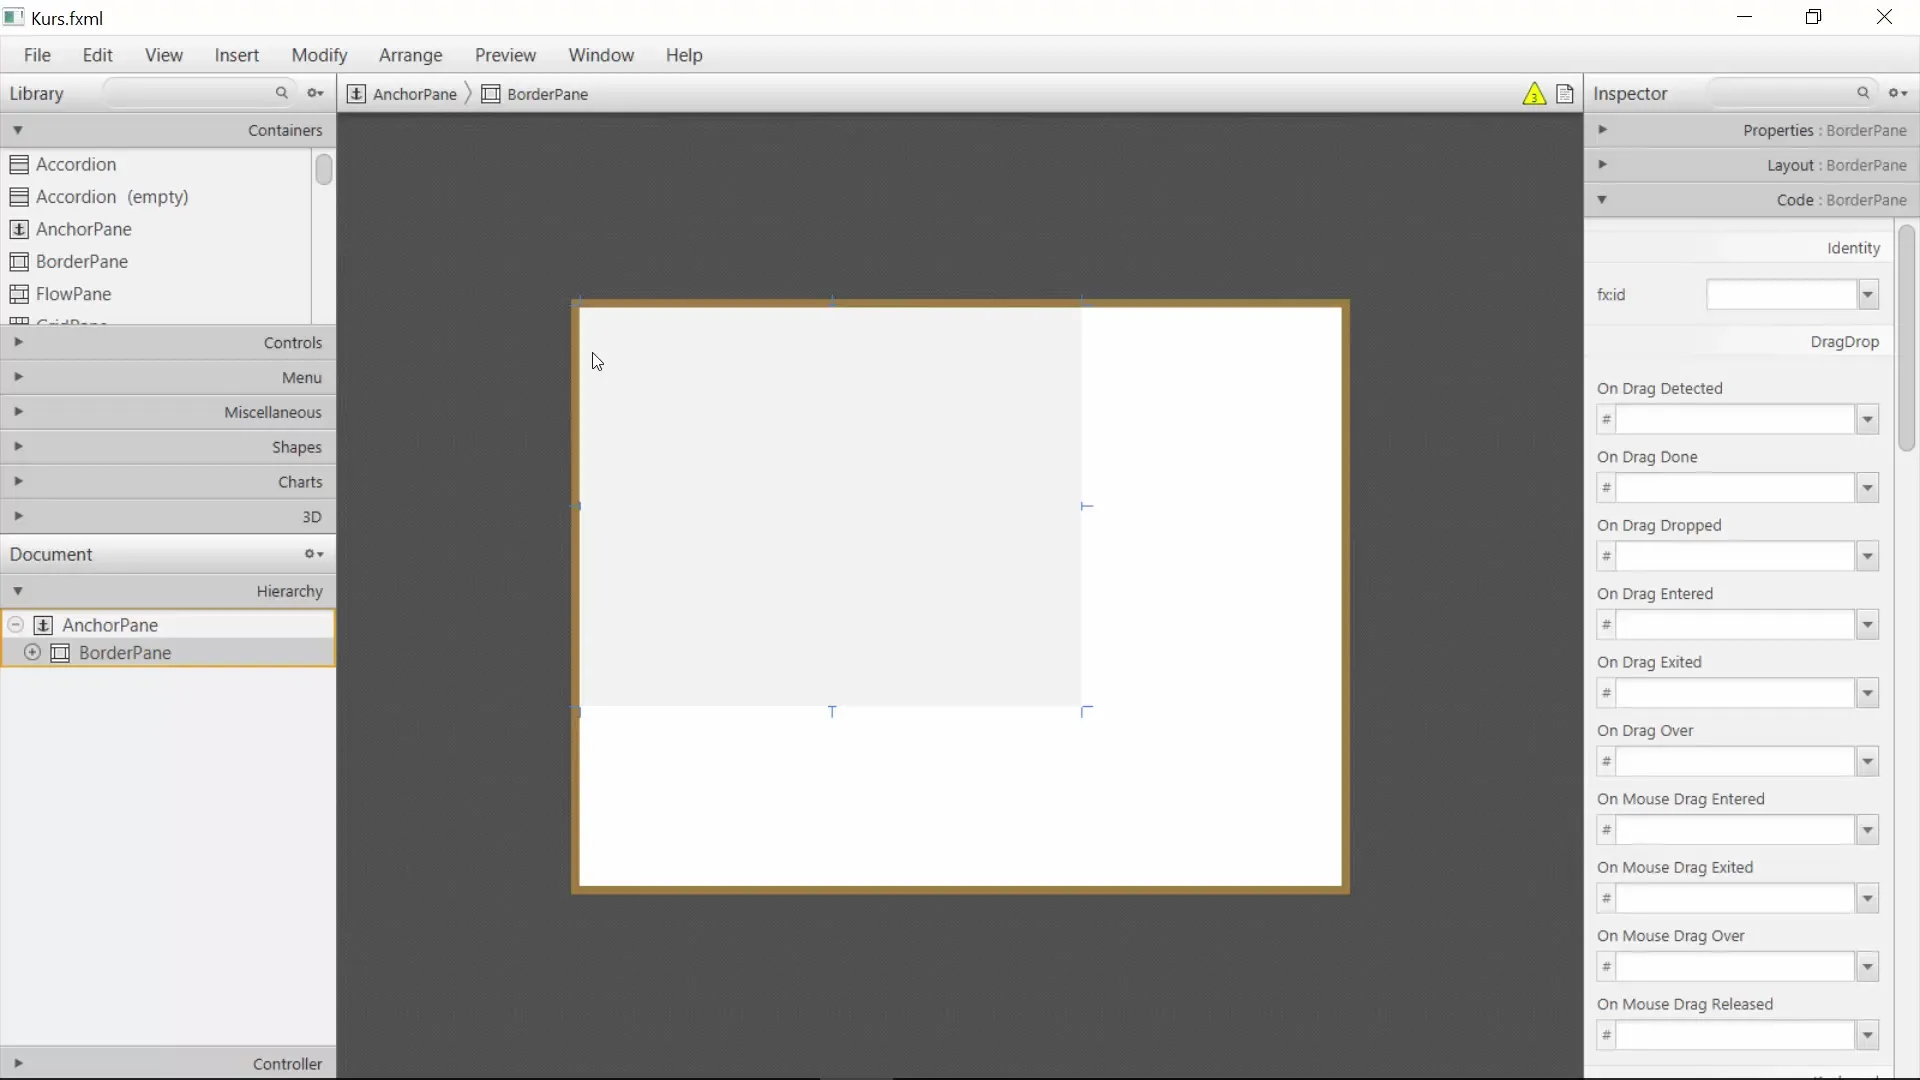
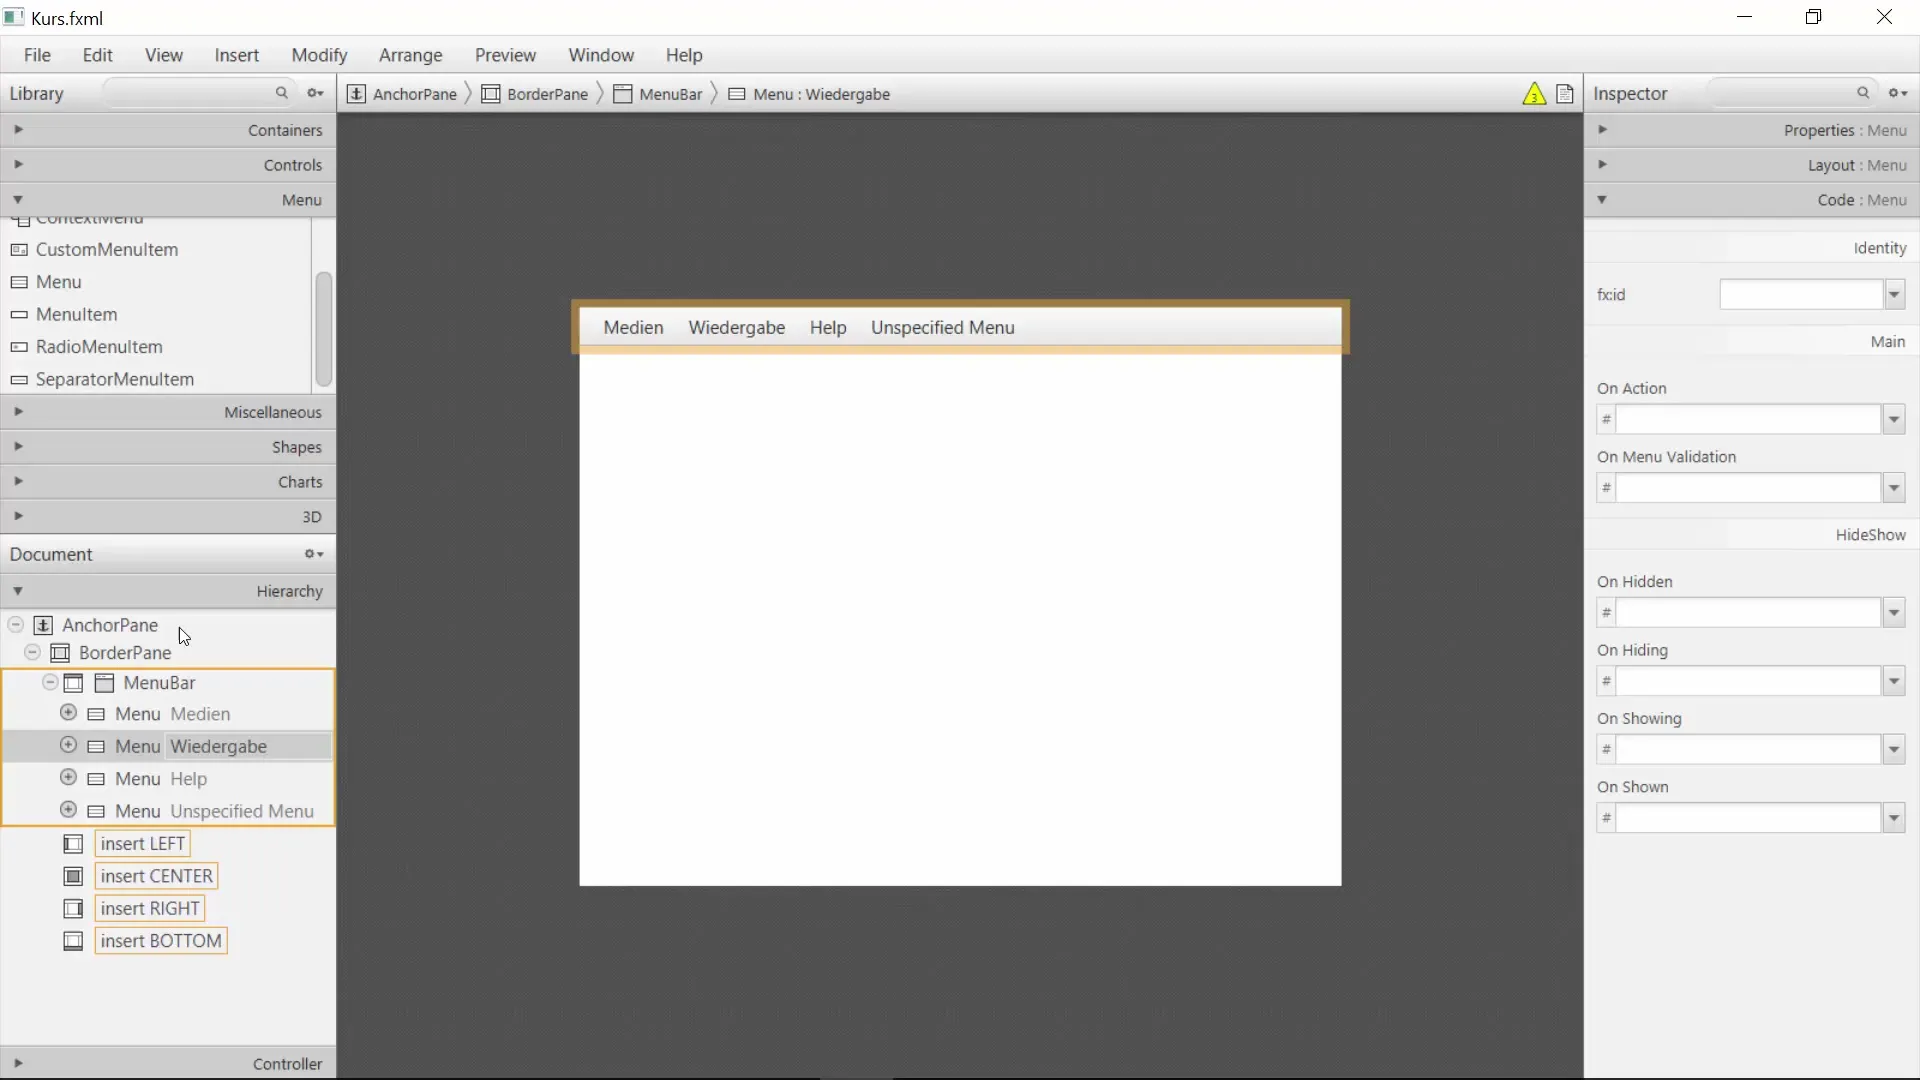
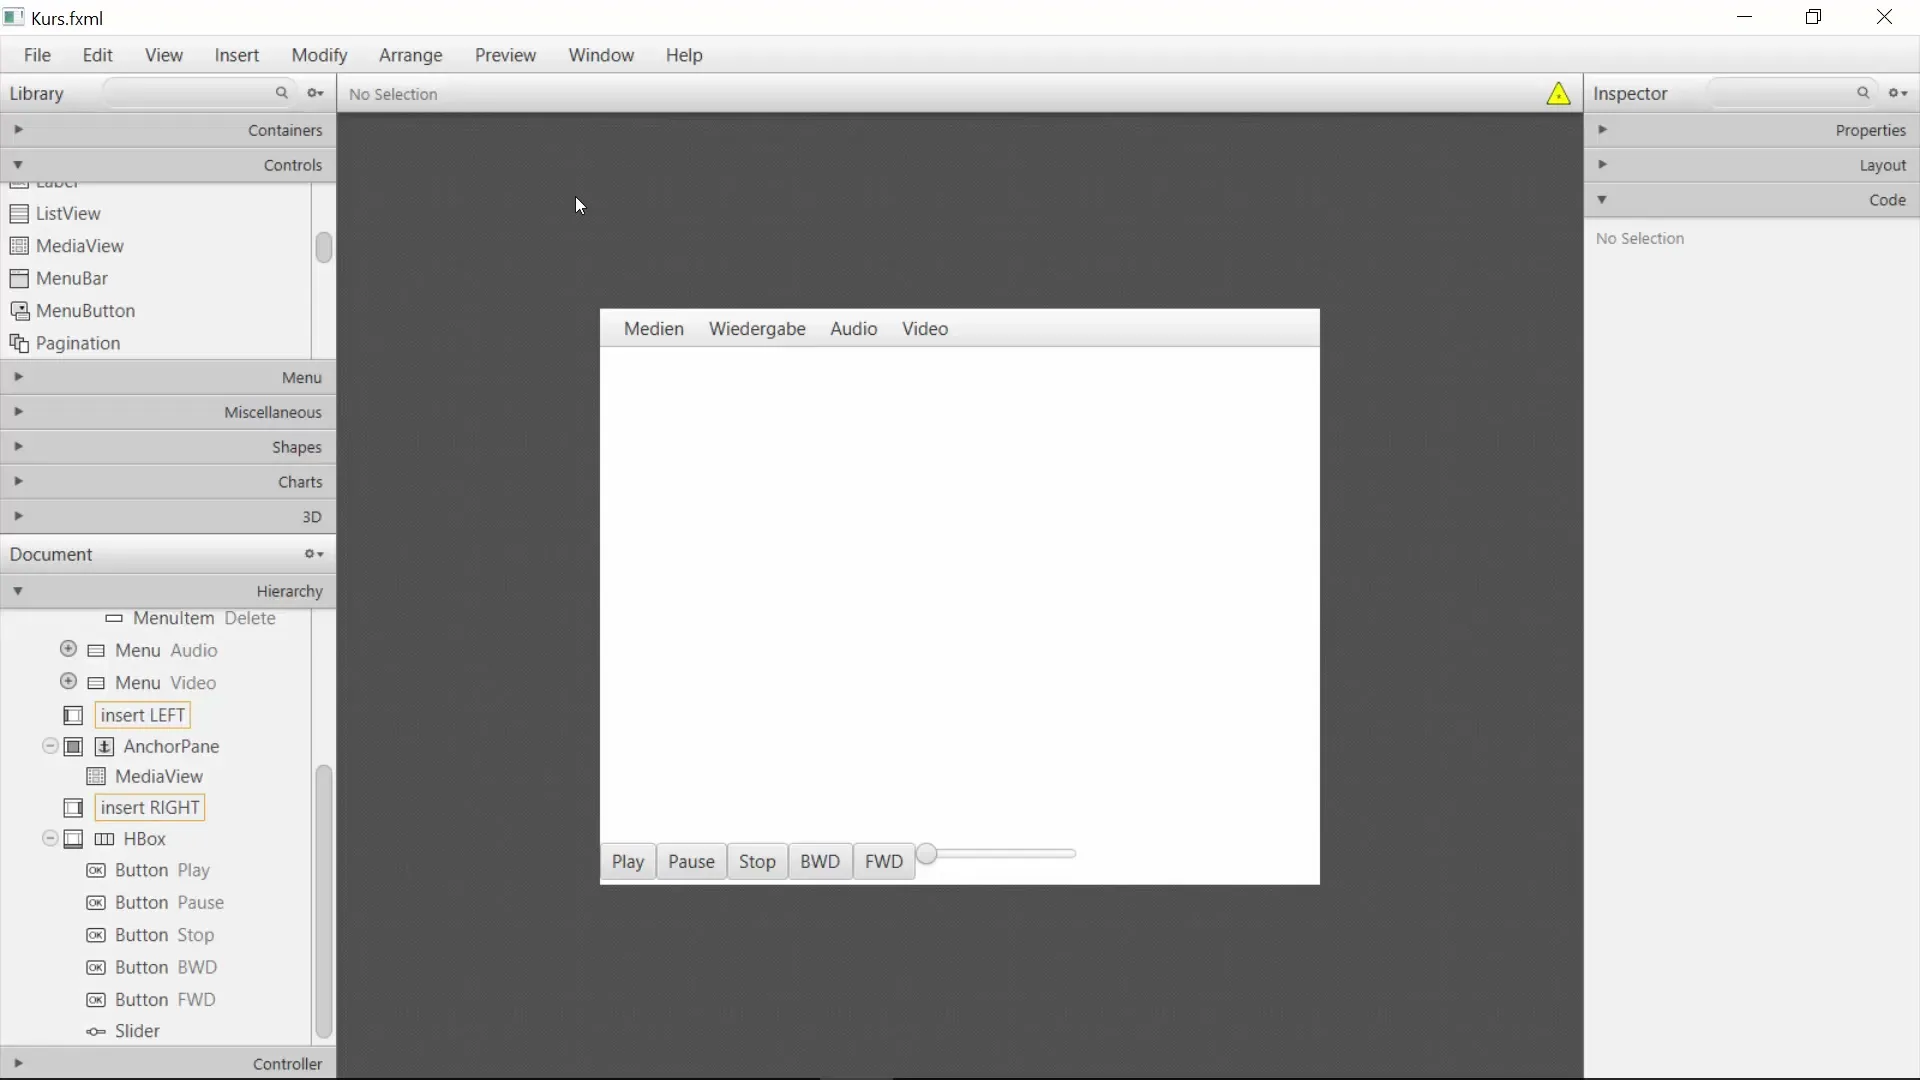
Now it's time to insert a menu. In the BorderPane, select the option for the menu bar and add a MenuBar. This menu bar will enable the control of your Media Player. You can already add menu entries such as “Media,” “Playback,” and “Audio.” Simply name the first menu “File” and add the item “Open.”
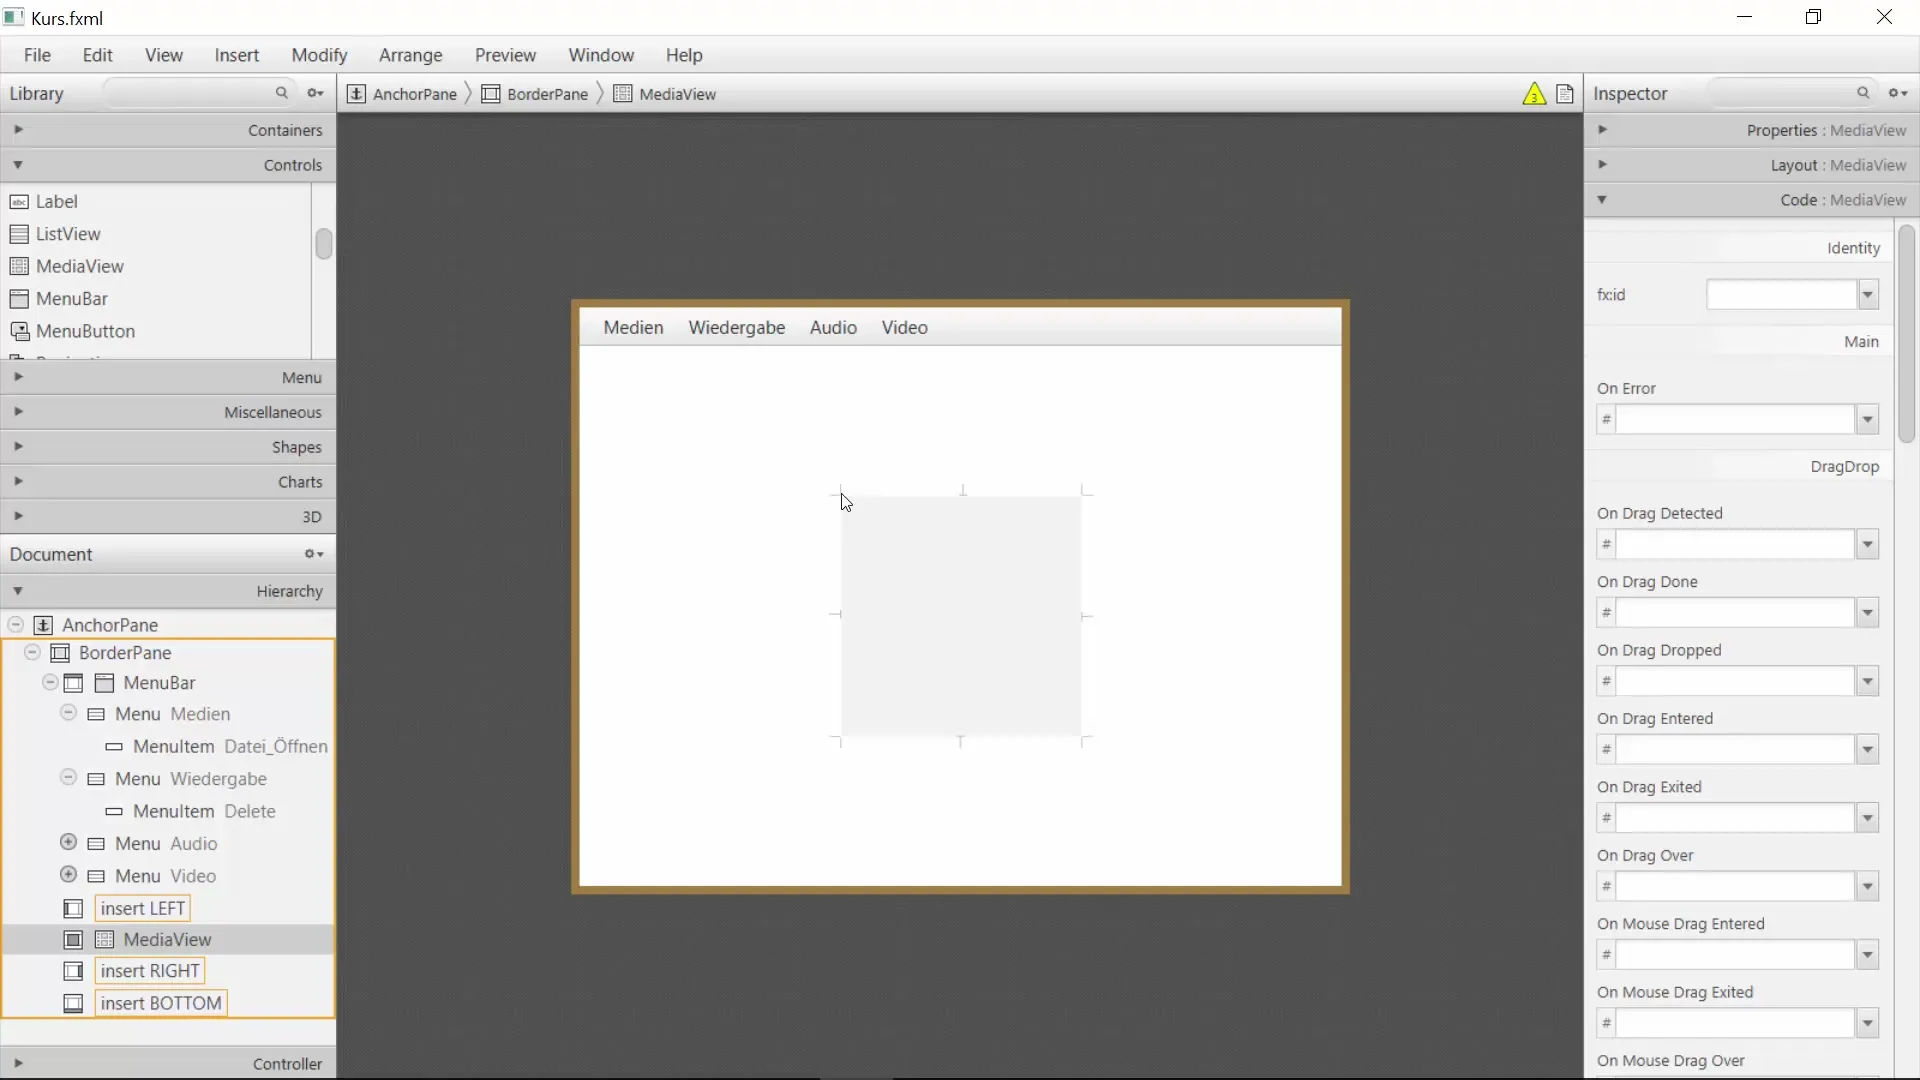
Now you need a MediaView to display the media. Add a MediaView to the center area of the BorderPane. Set the dimensions to 800 pixels wide and 400 pixels tall to provide enough space for the media. Test the layout to ensure that the MediaView looks good.
Under the MediaView, we will place the control buttons. You can add buttons for “Play,” “Pause,” “Stop,” “Rewind,” and “Forward.” Less is often more, so make sure you have a clear and user-friendly overview. Add these buttons in the bottom area of the user interface.
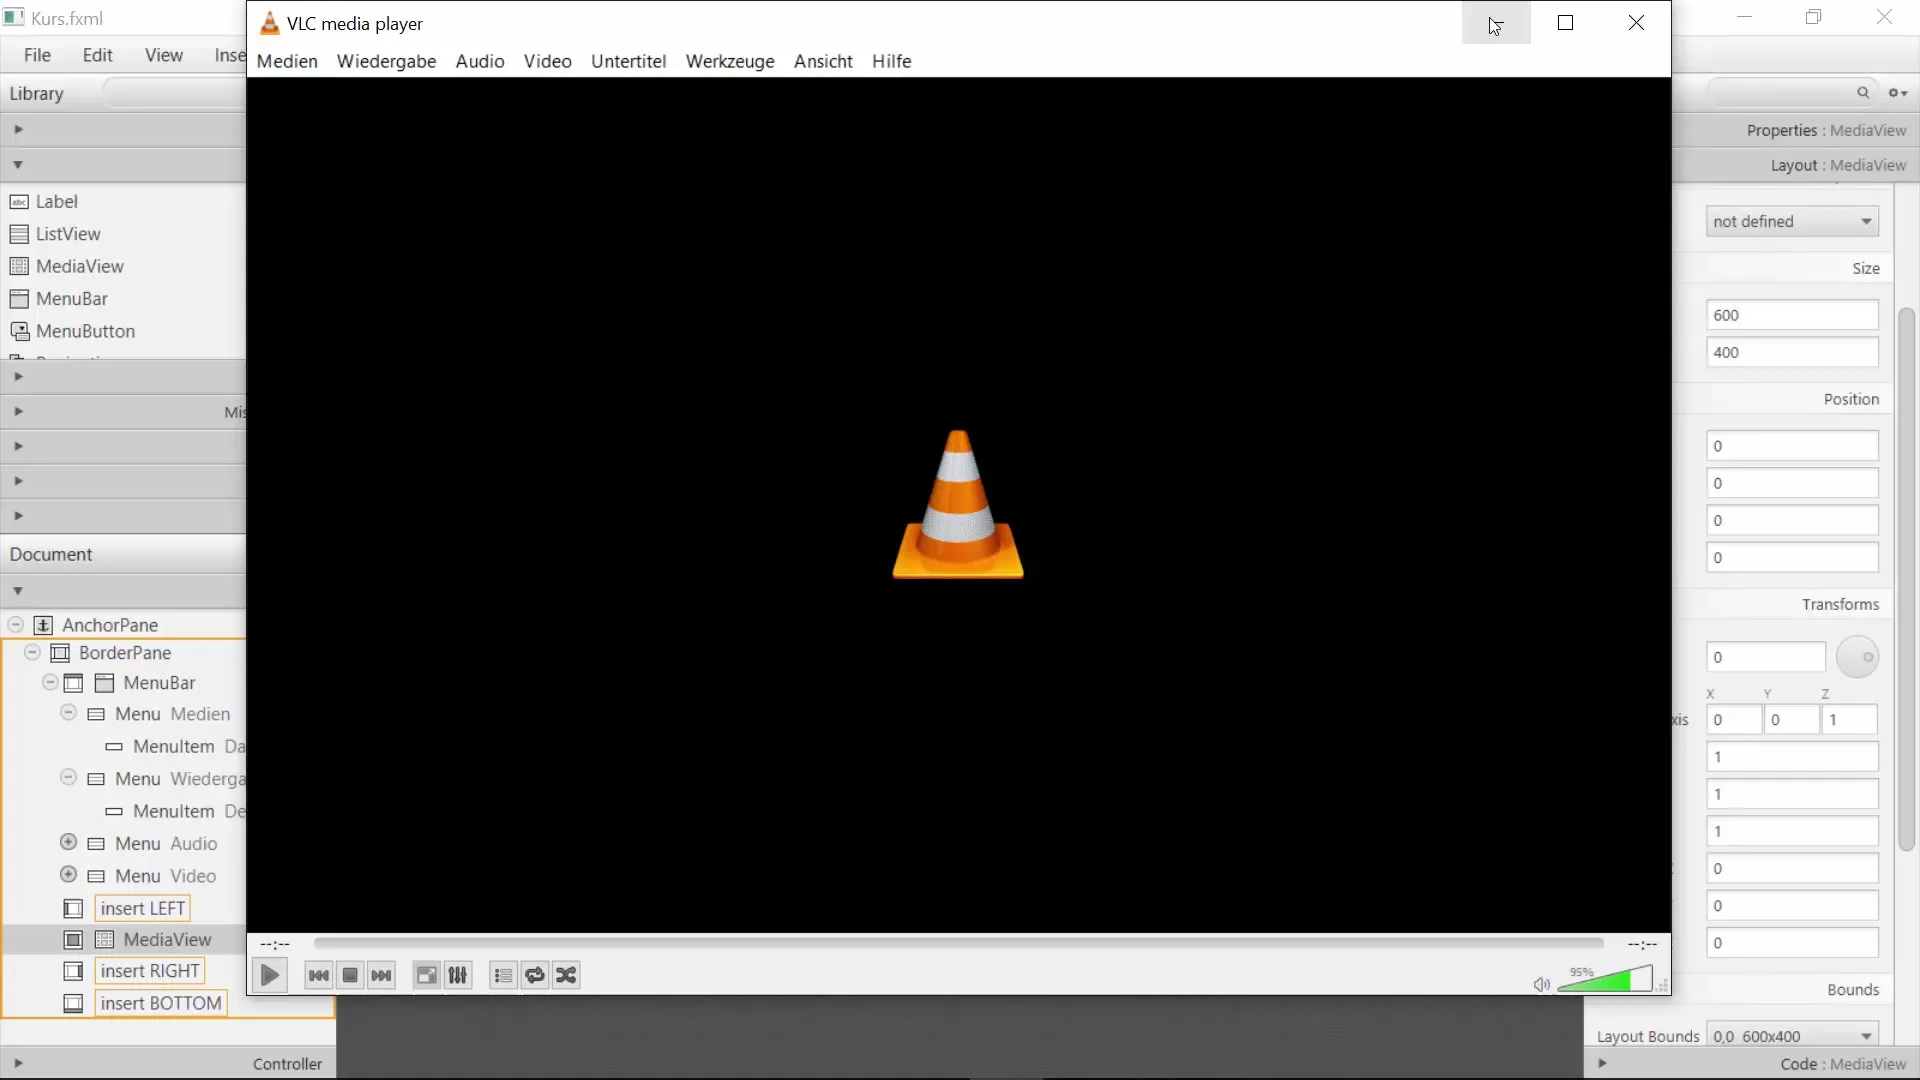
For volume control, we will now integrate a slider. This allows users to easily control the volume. Place the slider also in the bottom area, either next to or below the buttons you created earlier.
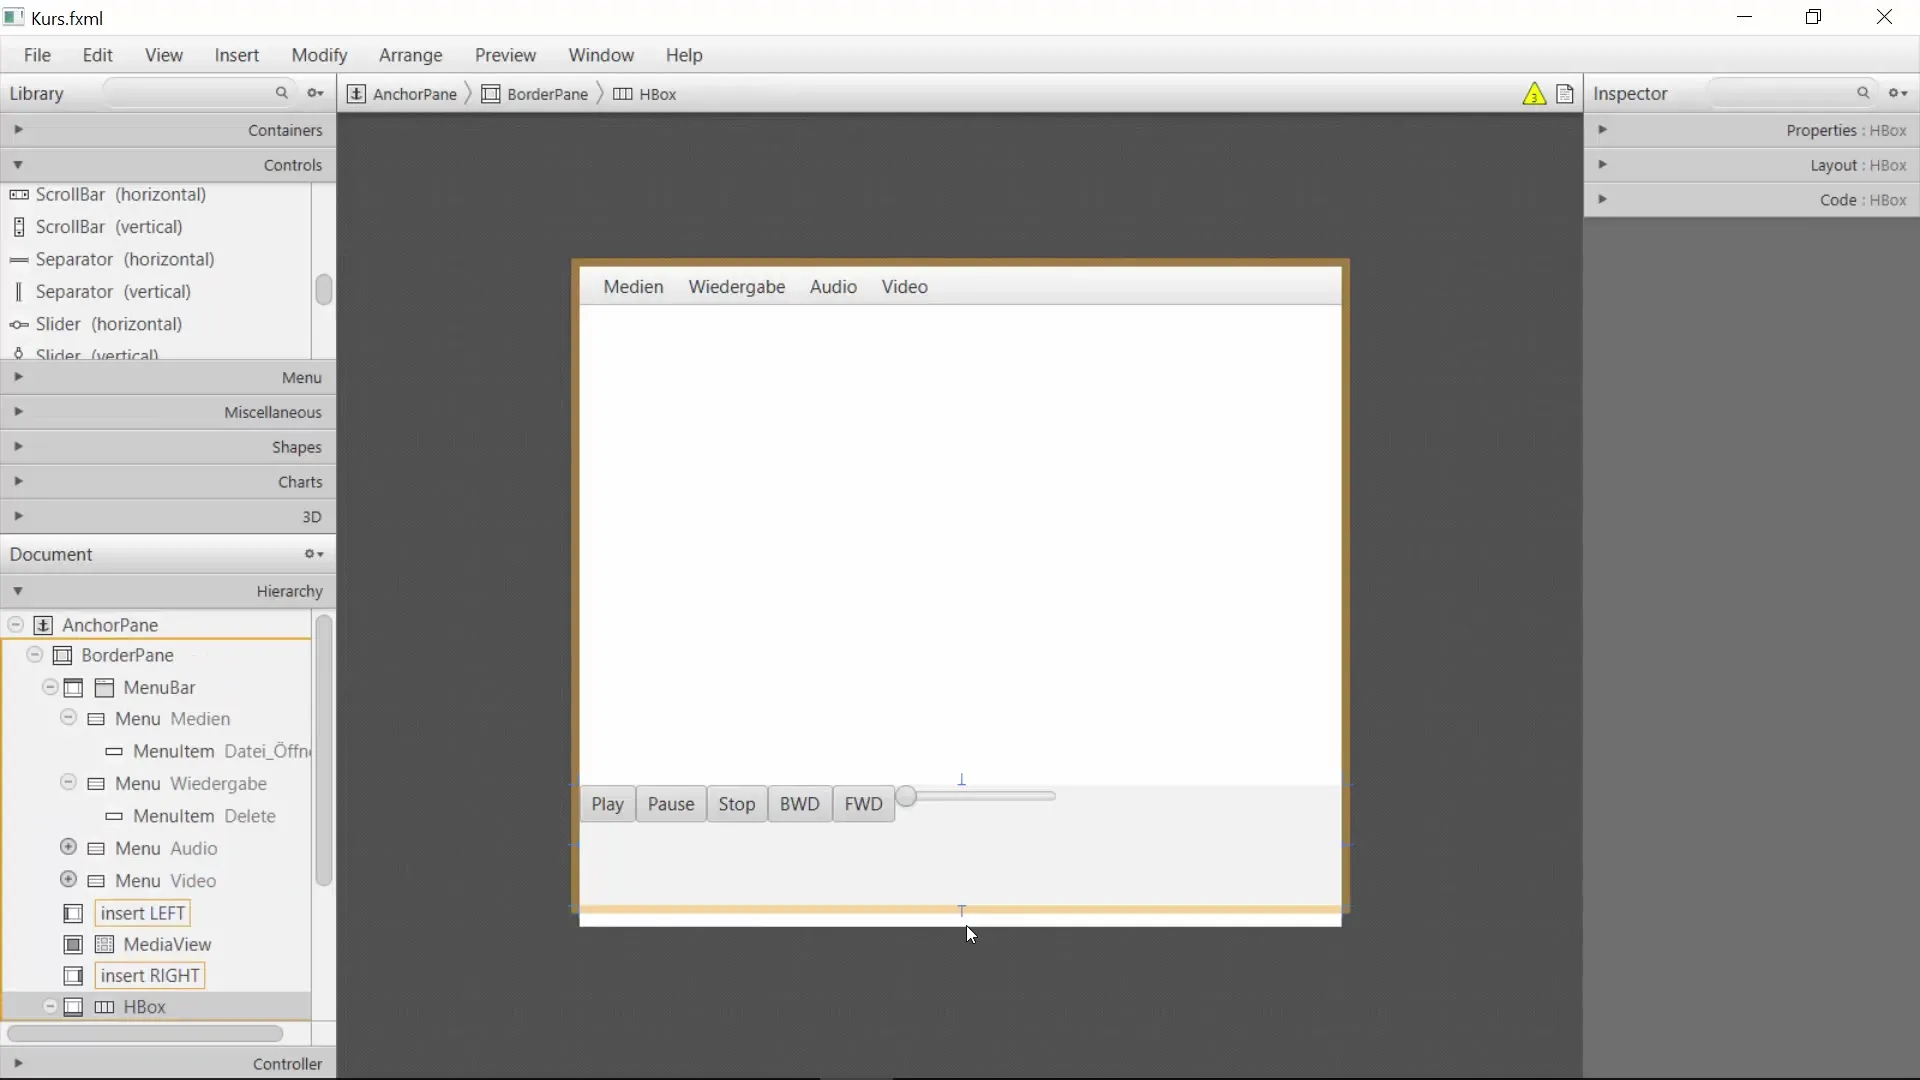
Once the buttons and the slider are in place, it is important to test the arrangement of the elements. Ensure that the buttons behave correctly when resizing the window. You can achieve this by properly setting the layout properties.
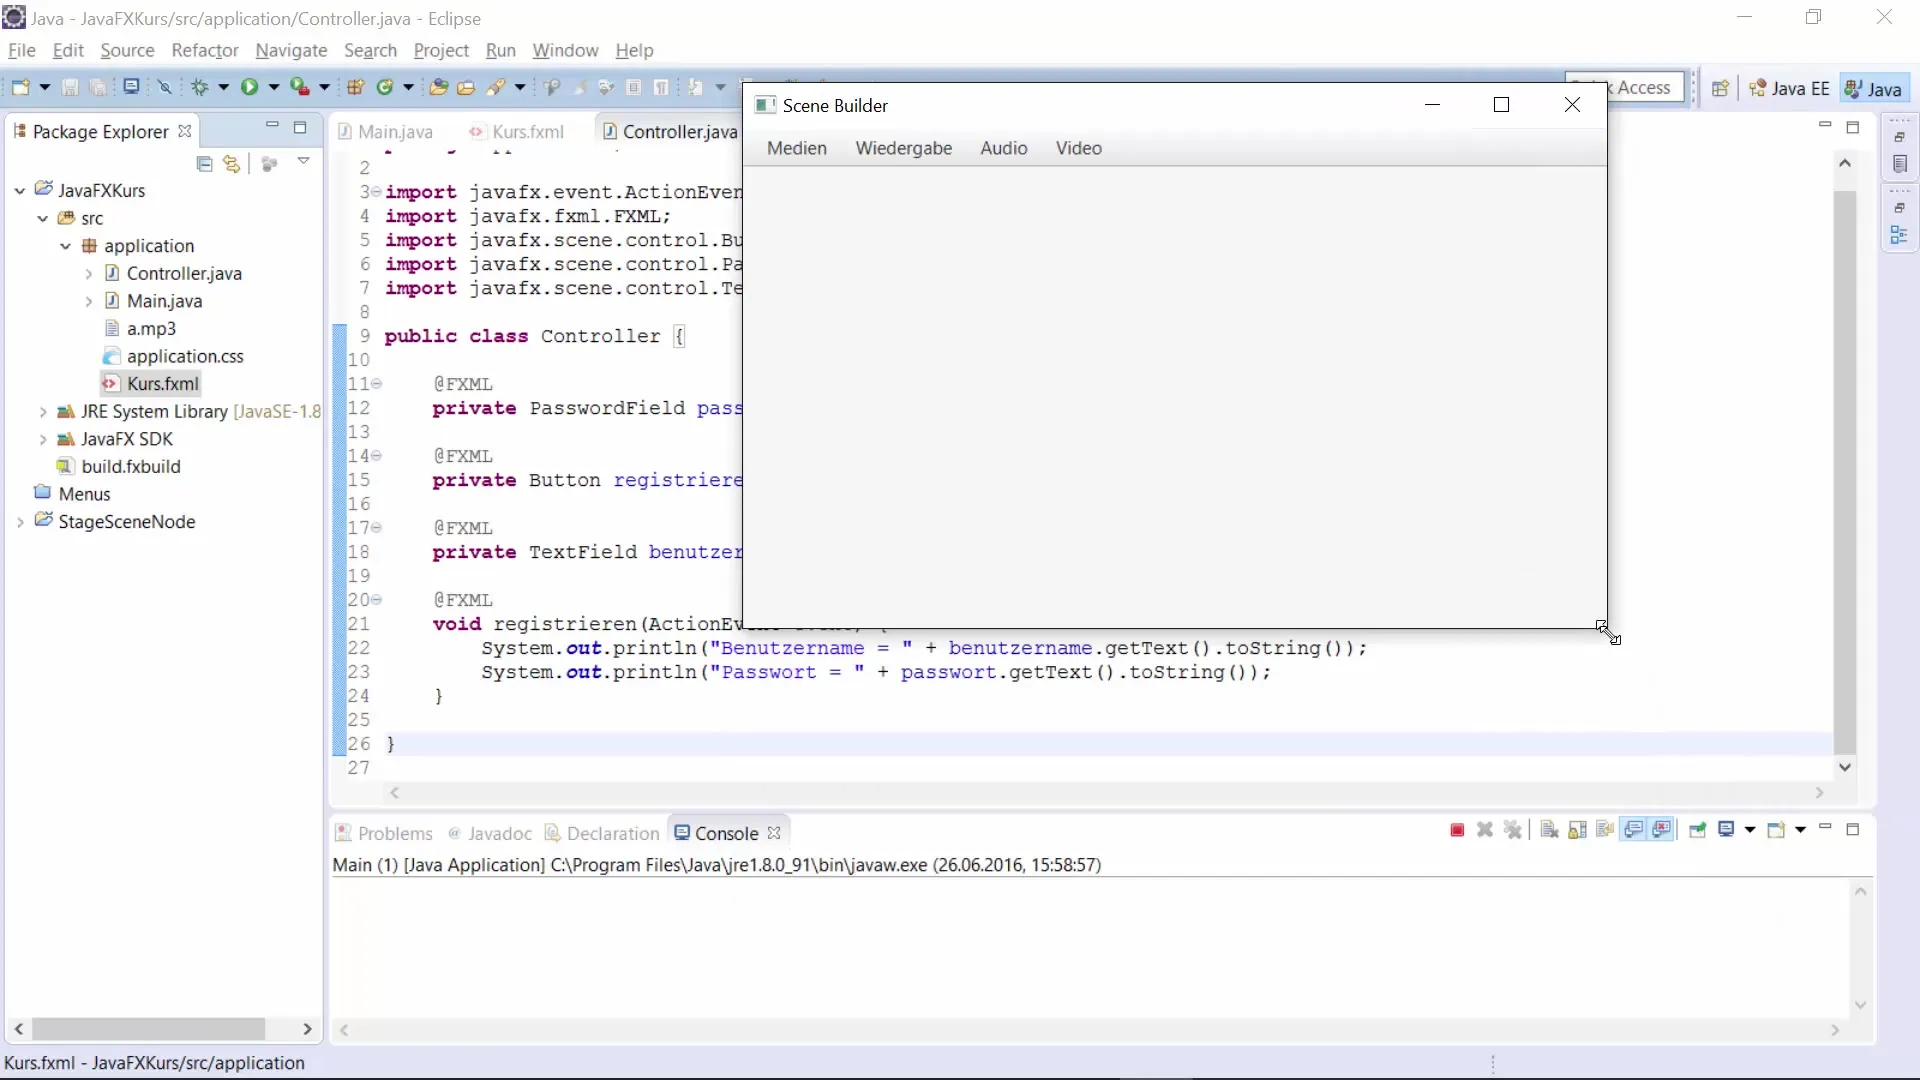
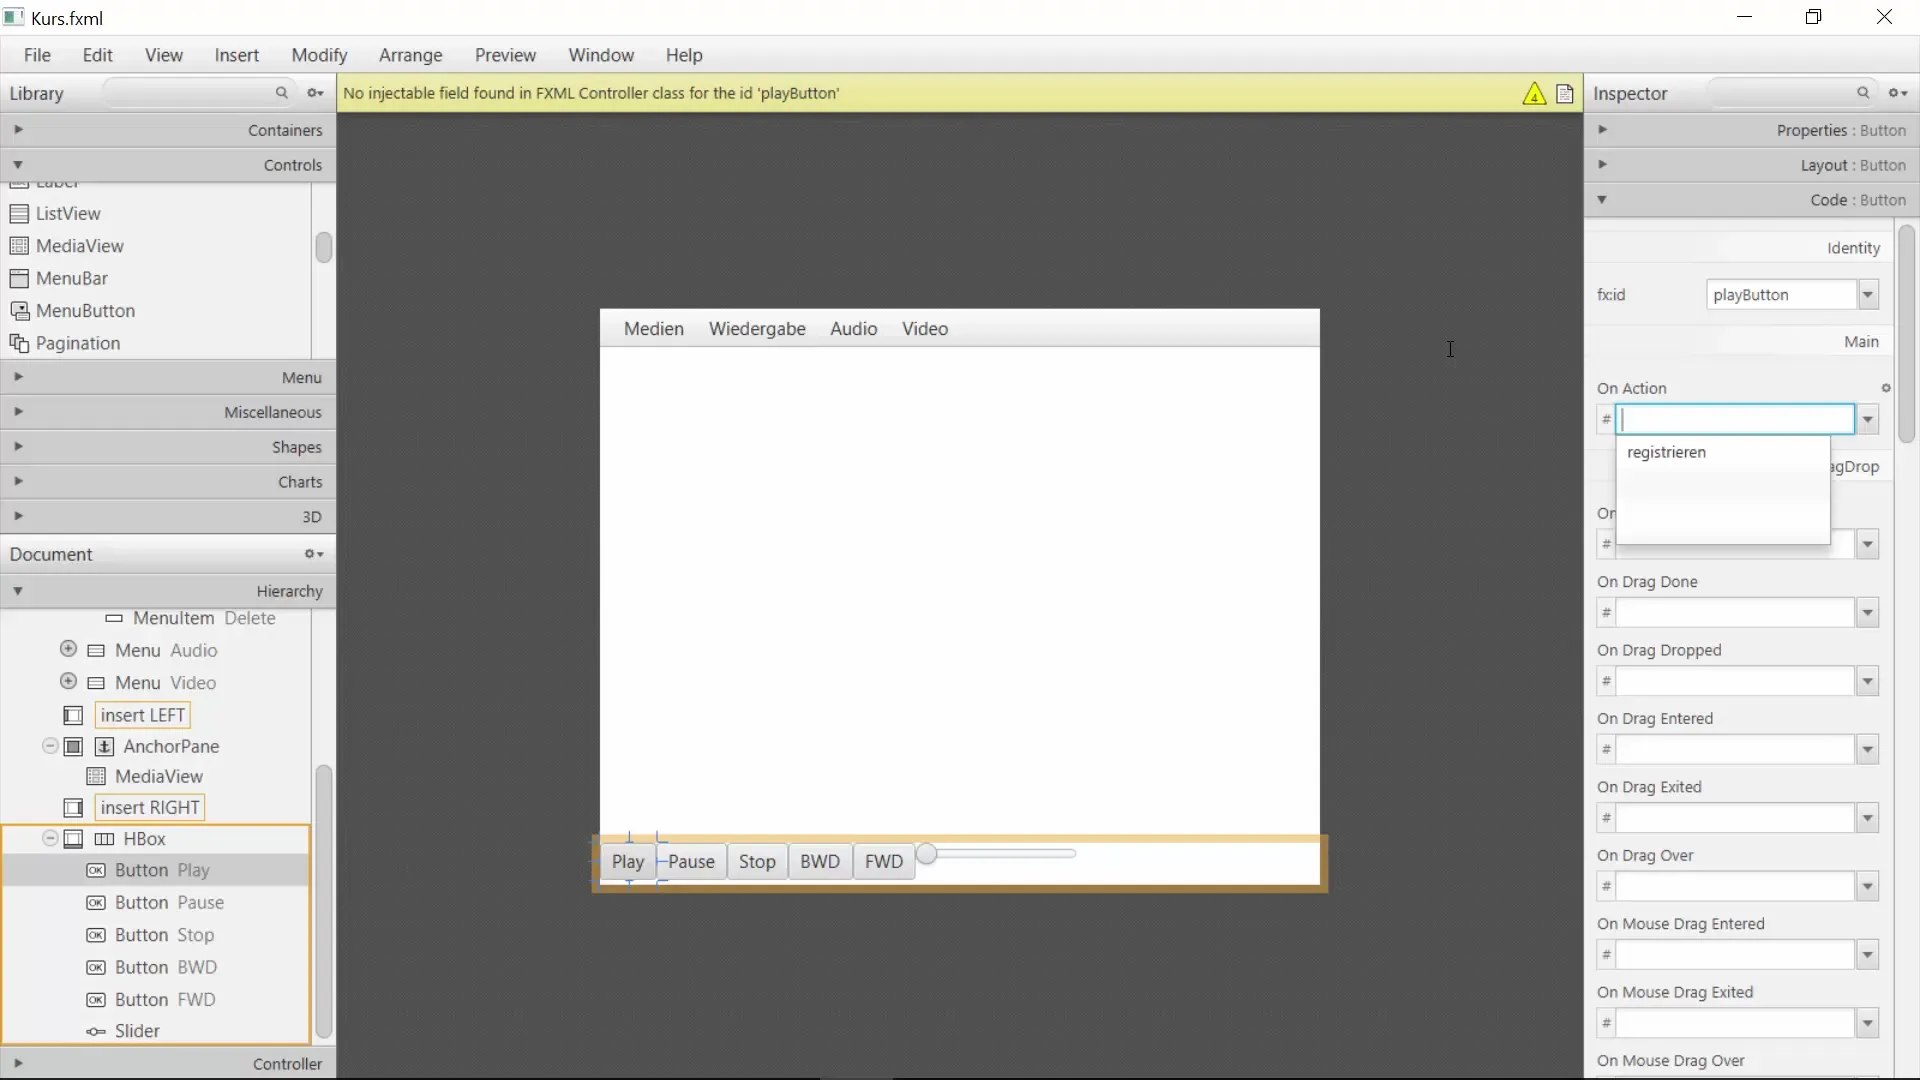
Now that your layout is set, add functionality to the control buttons. First, convert each button into an ActionEvent. Start with the Play button and connect the action to “playVideo.” Implement the methods for Pause, Stop, Rewind, and Forward accordingly.
When all buttons are active, you can implement your MediaPlayer. Insert the MediaPlayer controller into the Main class and control media playback from there using the defined logic.
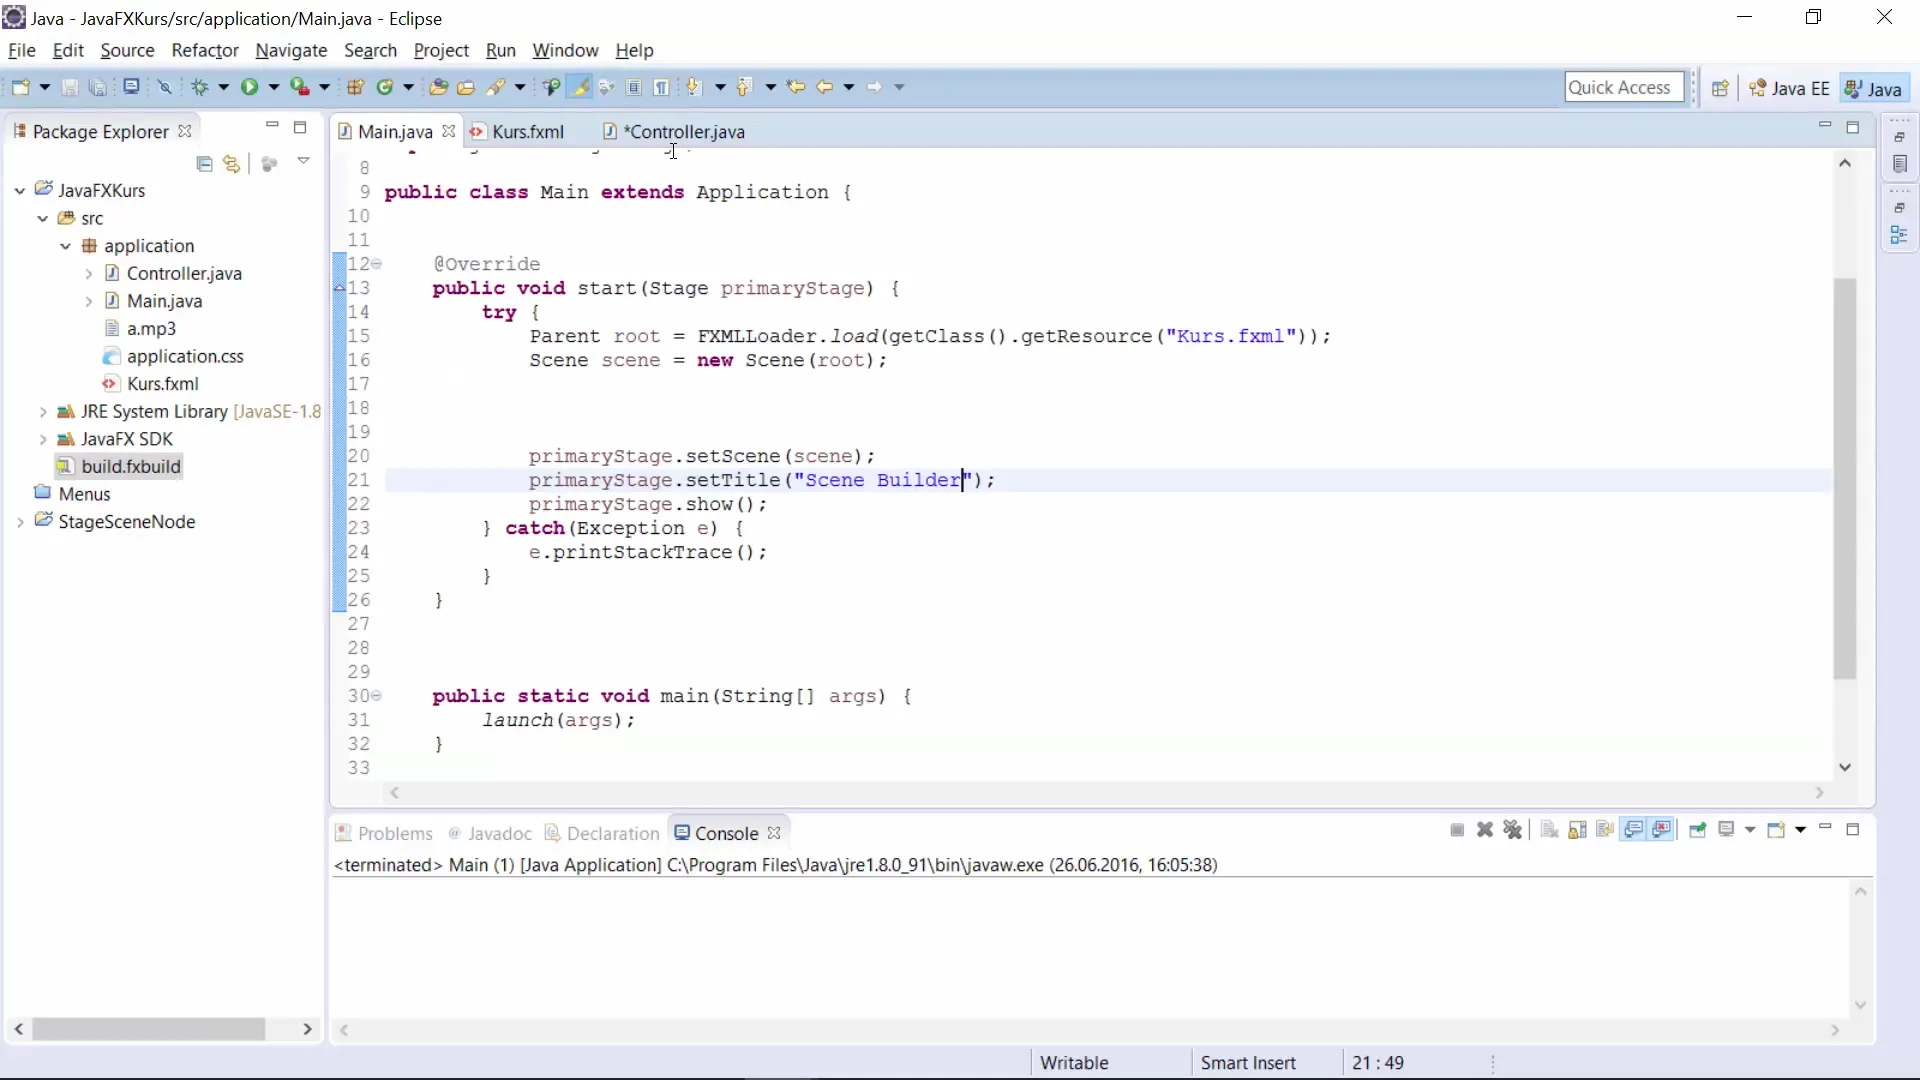
Finally, save your project and test the application. You should now have a fully functional Media Player. Experiment with additional features of the Scene Builder and further develop your design.
Summary – JavaFX GUI with Scene Builder – Building a Media Player
In this tutorial, you learned how to create a functional Media Player with JavaFX and the Scene Builder. From structuring the layout to implementing functionalities, you went through all the steps to create a user-friendly application.
Frequently Asked Questions
How do I add more controls?You can add new controls in the Scene Builder at any time by selecting the desired control from the menu.
What can I do if my layout elements do not respond correctly?Check the arrangement and setting of the layout properties to ensure they are configured correctly.
Do I have to write code manually?You can insert some code elements in the Scene Builder, but for specific actions, you will need to add code manually.
Can I adjust the design later?Yes, you can always return to the Scene Builder to make adjustments to the layout.

