The use of a DatePicker in the user interface of your JavaFX application provides a user-friendly way to select date values. In this guide, I will walk you through the implementation of a DatePicker that not only allows you to choose a start date but also shows the number of days between two dates. Let's get started!
Key Takeaways
- You will learn how to create a DatePicker in JavaFX.
- It will show how to add tooltip functionality that displays the number of days between the selected date and a start date.
- The correct use of layouts and imports will be covered to create a clean user interface.
Step-by-Step Guide
To integrate a DatePicker into your JavaFX application, follow these steps:
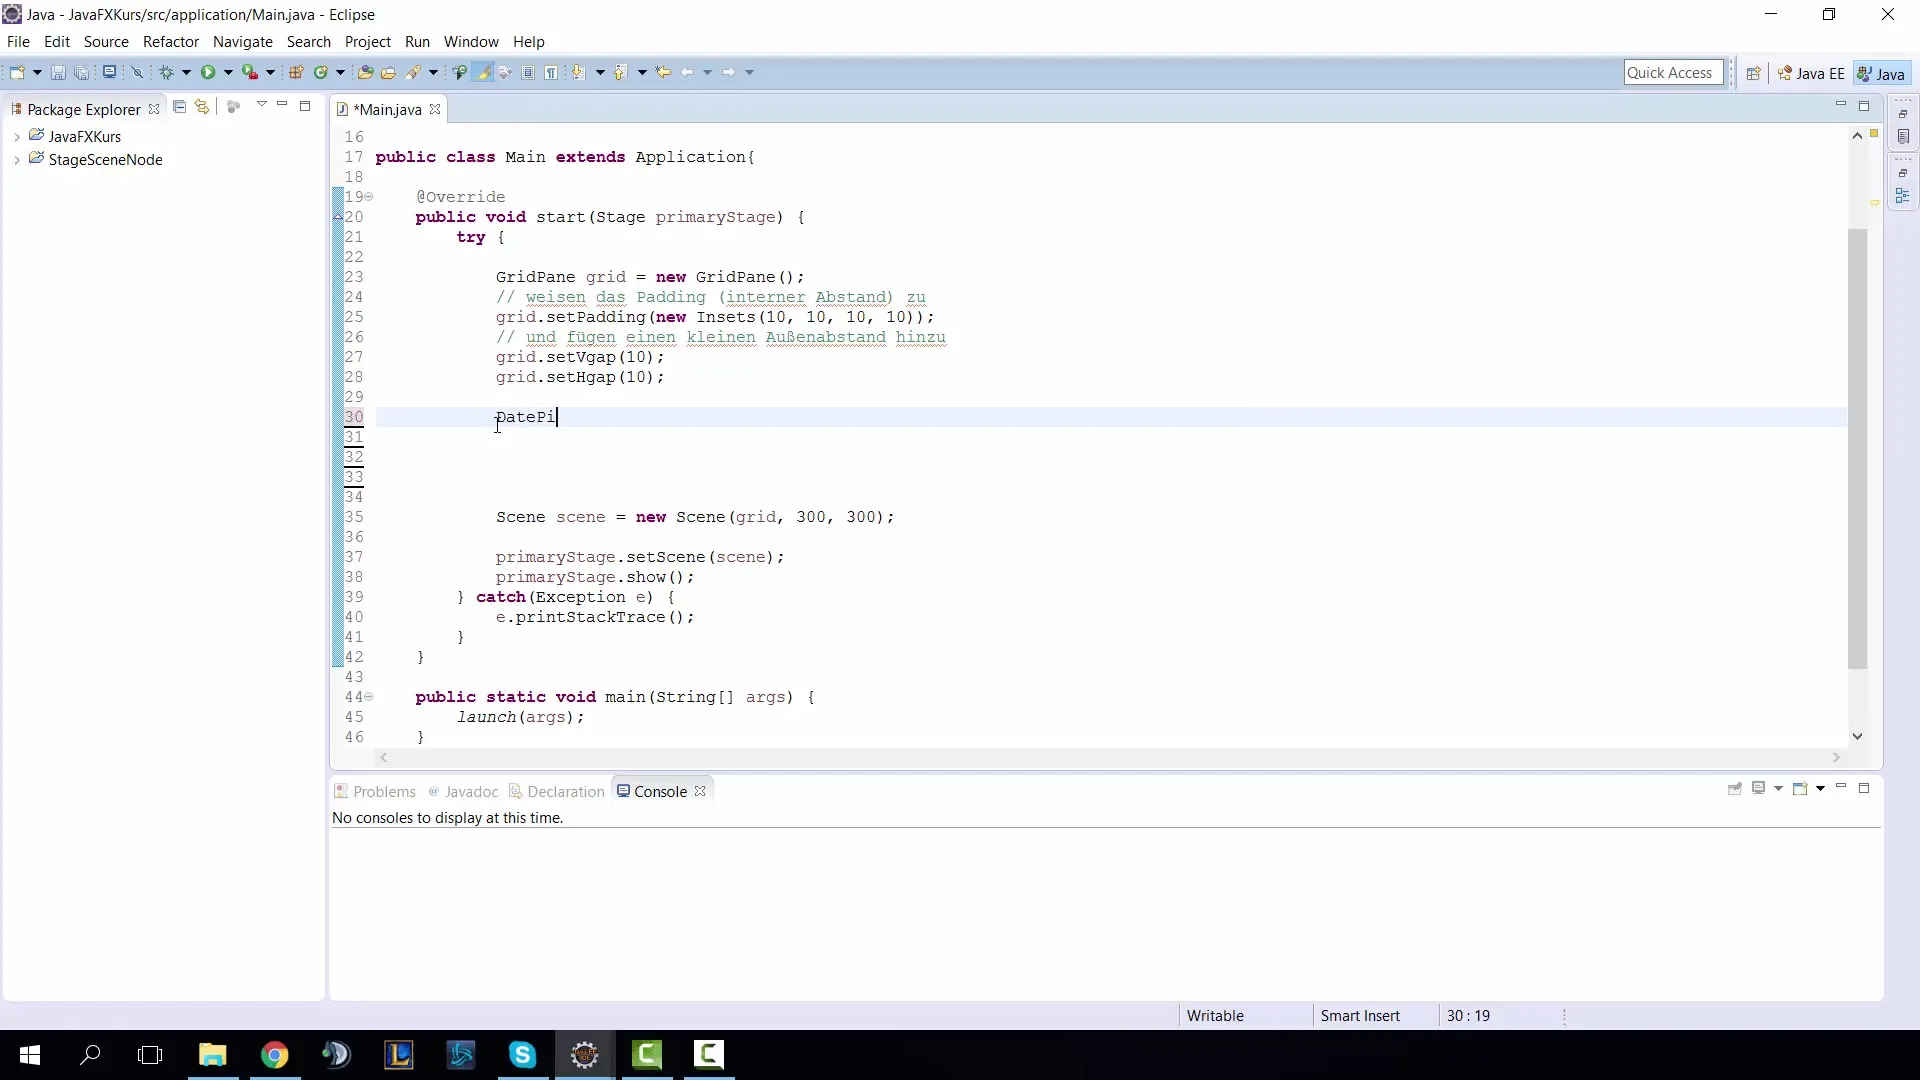
Start by creating a framework for your DatePicker. To do this, create a new DatePicker object. You can work with a start date and an end date, for example. First, we add a DatePicker for the start date.
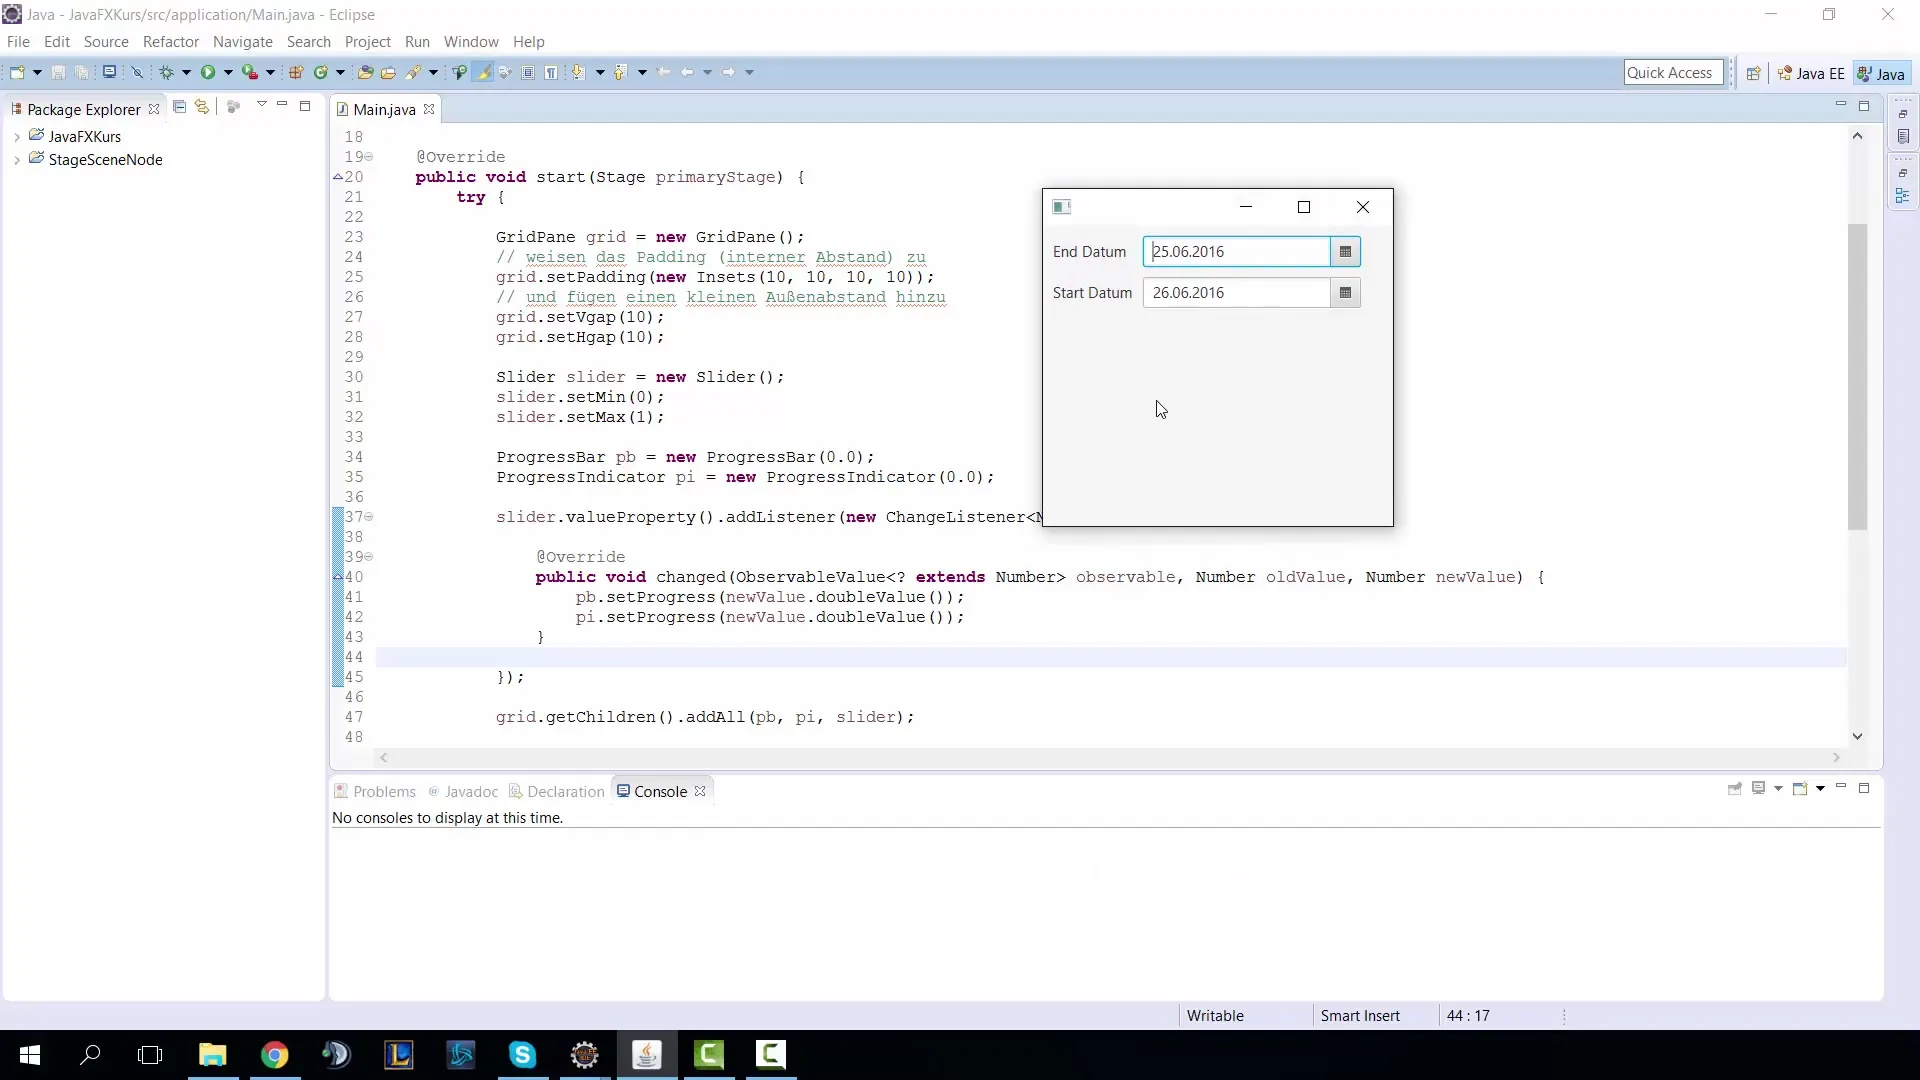
The code for creating a DatePicker looks like this:
Here, you import the necessary class for the DatePicker to ensure everything works. We also want to add a label that clarifies the significance of this DatePicker.
You create the label as follows:
Now we will add everything into a GridPane to display the elements neatly. The GridPane is a useful layout that helps you arrange UI elements in rows and columns.
Use the following code to add the elements to the GridPane and determine their position:
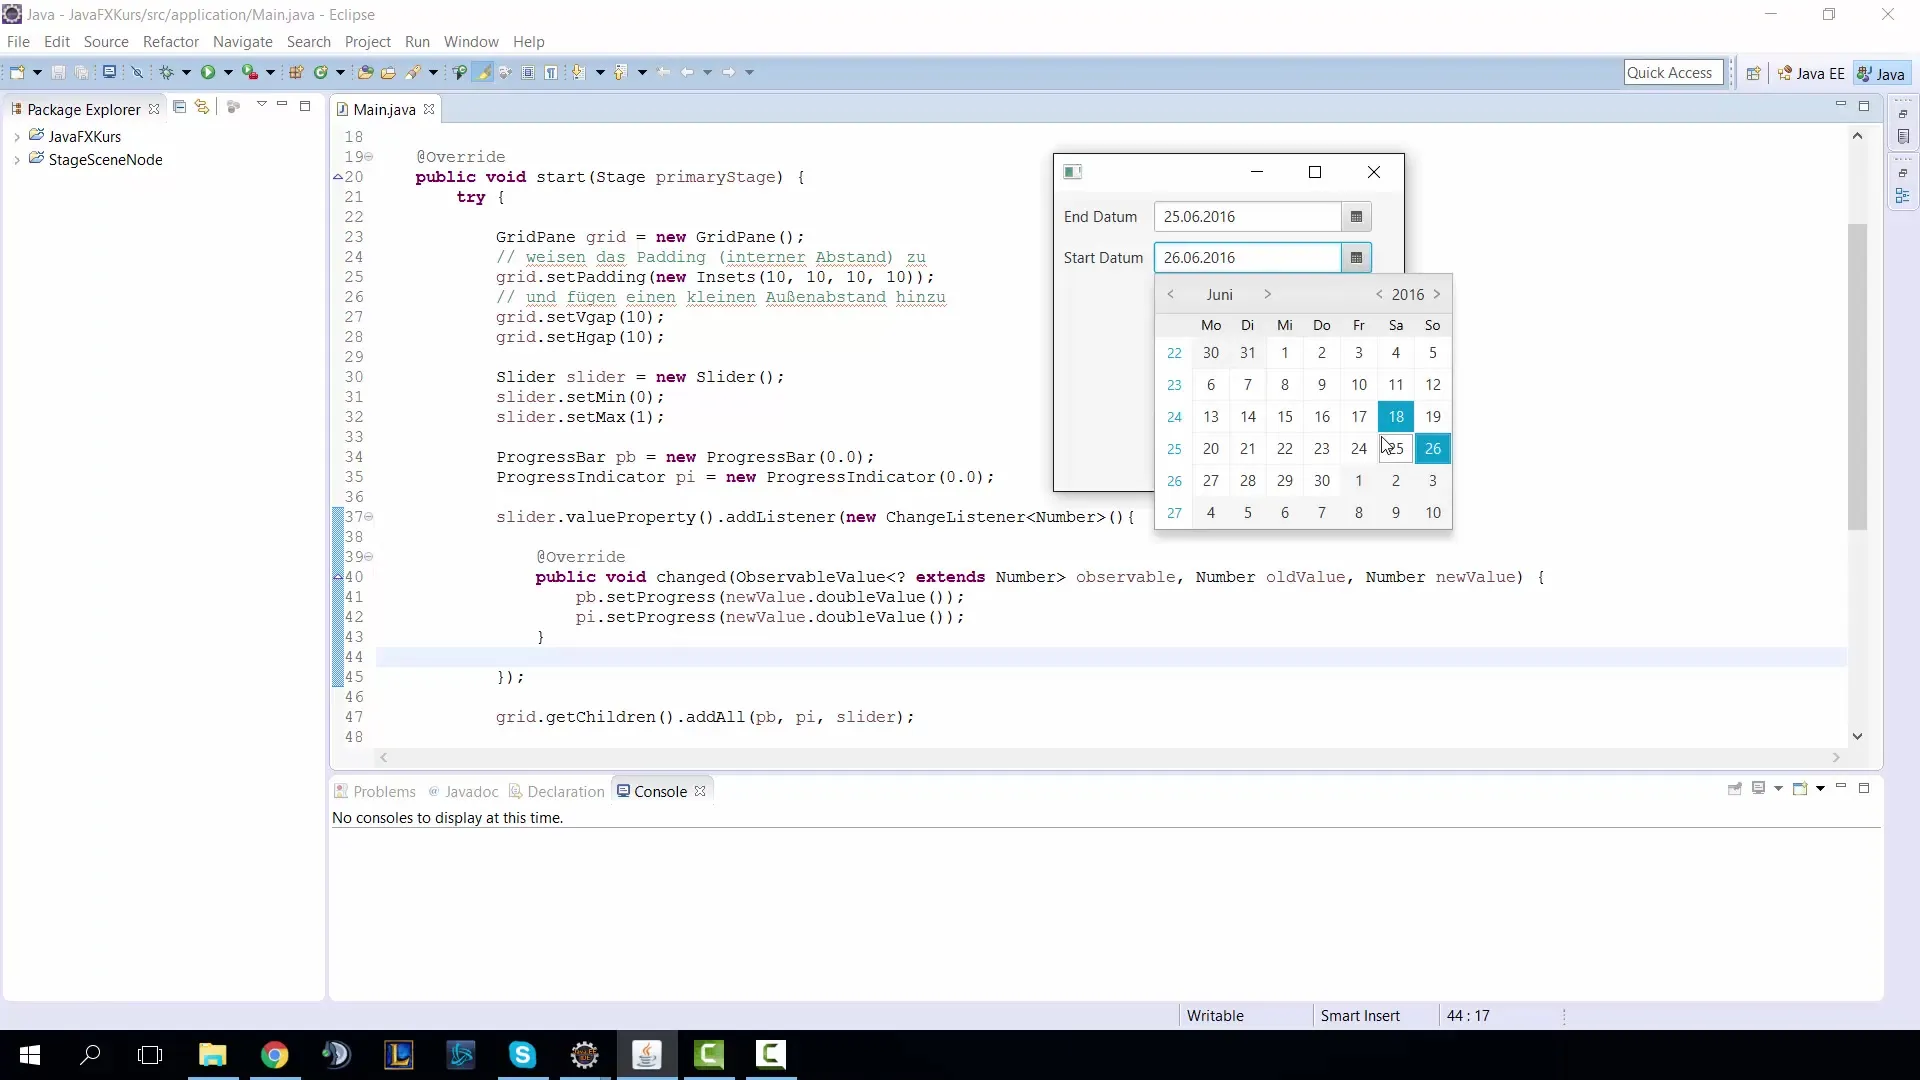
Now that we have laid the foundation for our DatePicker, let's test the visibility in the user interface. You should see the start date now displayed in your application.
If you want to select a specific date now, you can do so by making a selection in the DatePicker. To display the current day, we use LocalDate.now().
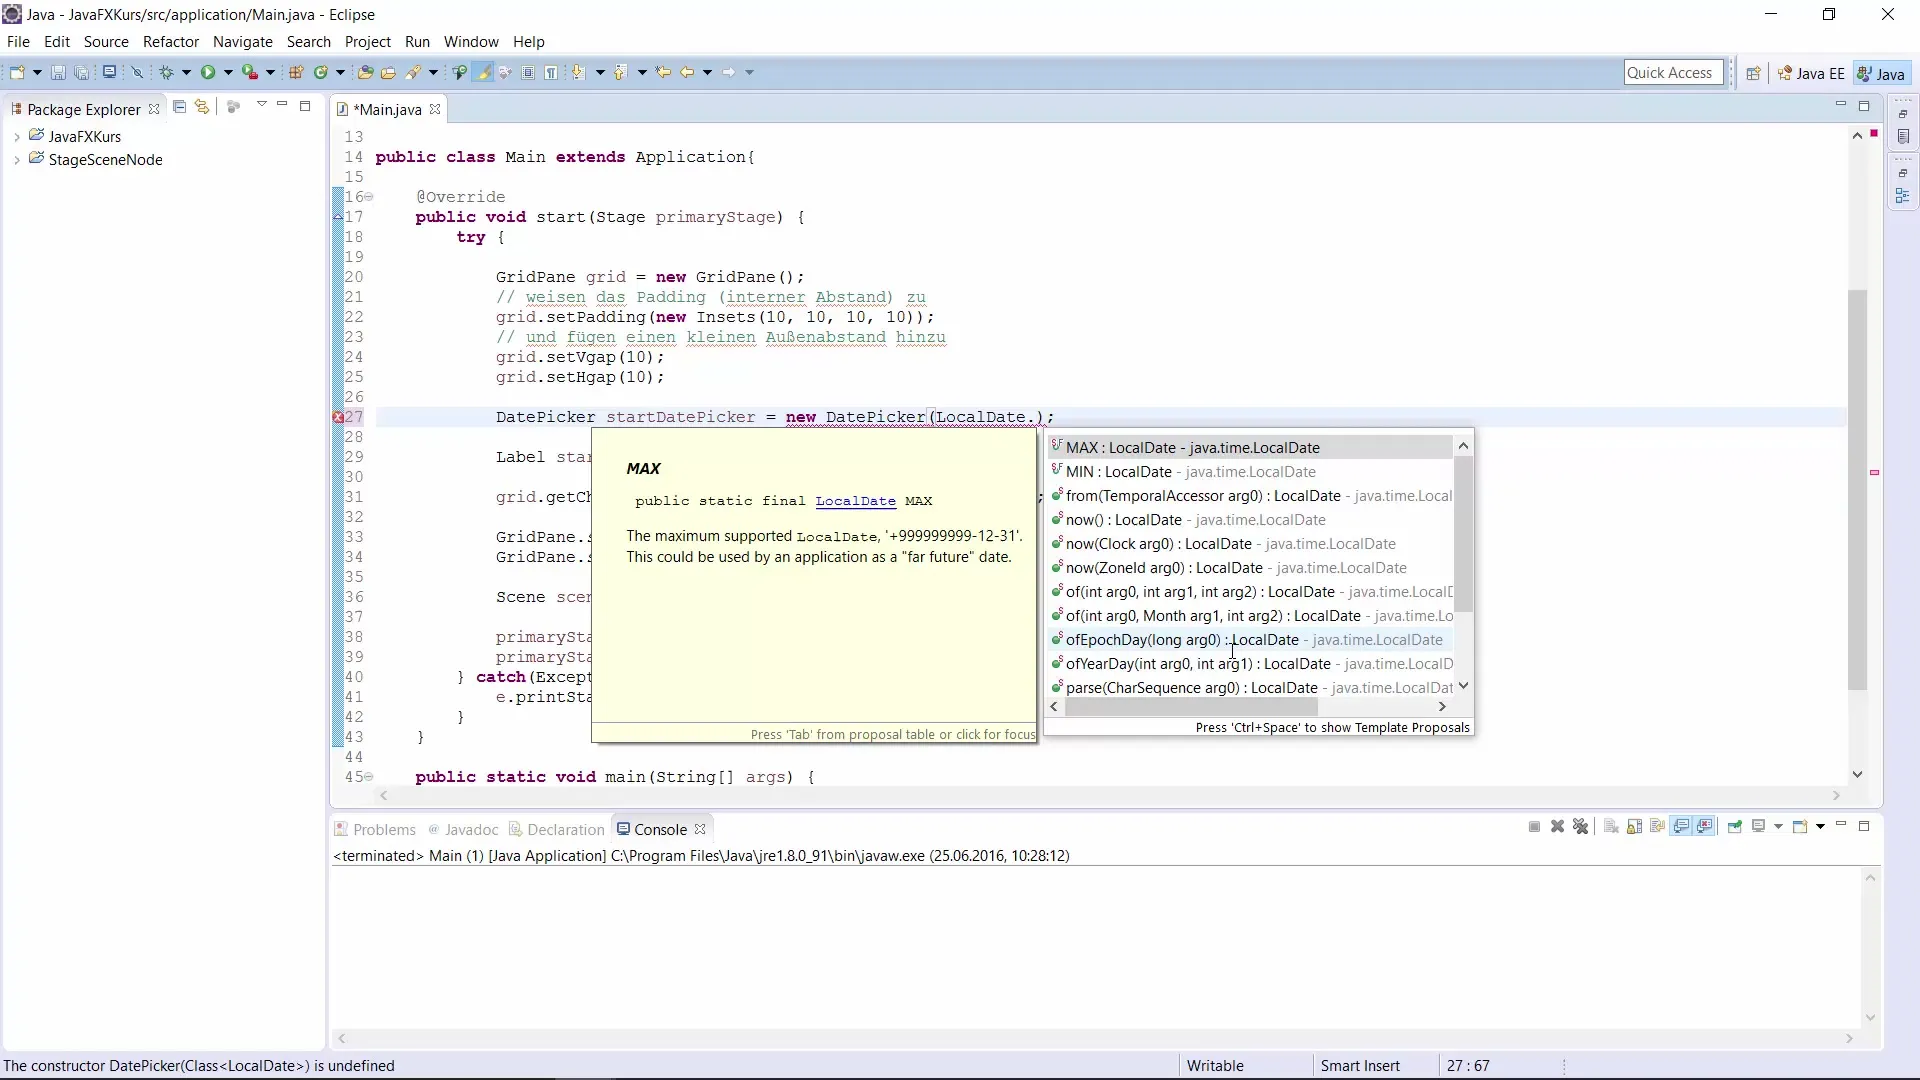
The code to calculate the current date looks like this:
Now that you have a functioning DatePicker, we would like to add the tooltip functionality. This allows displaying the number of days between the selected date and the current date when the user hovers over the date.
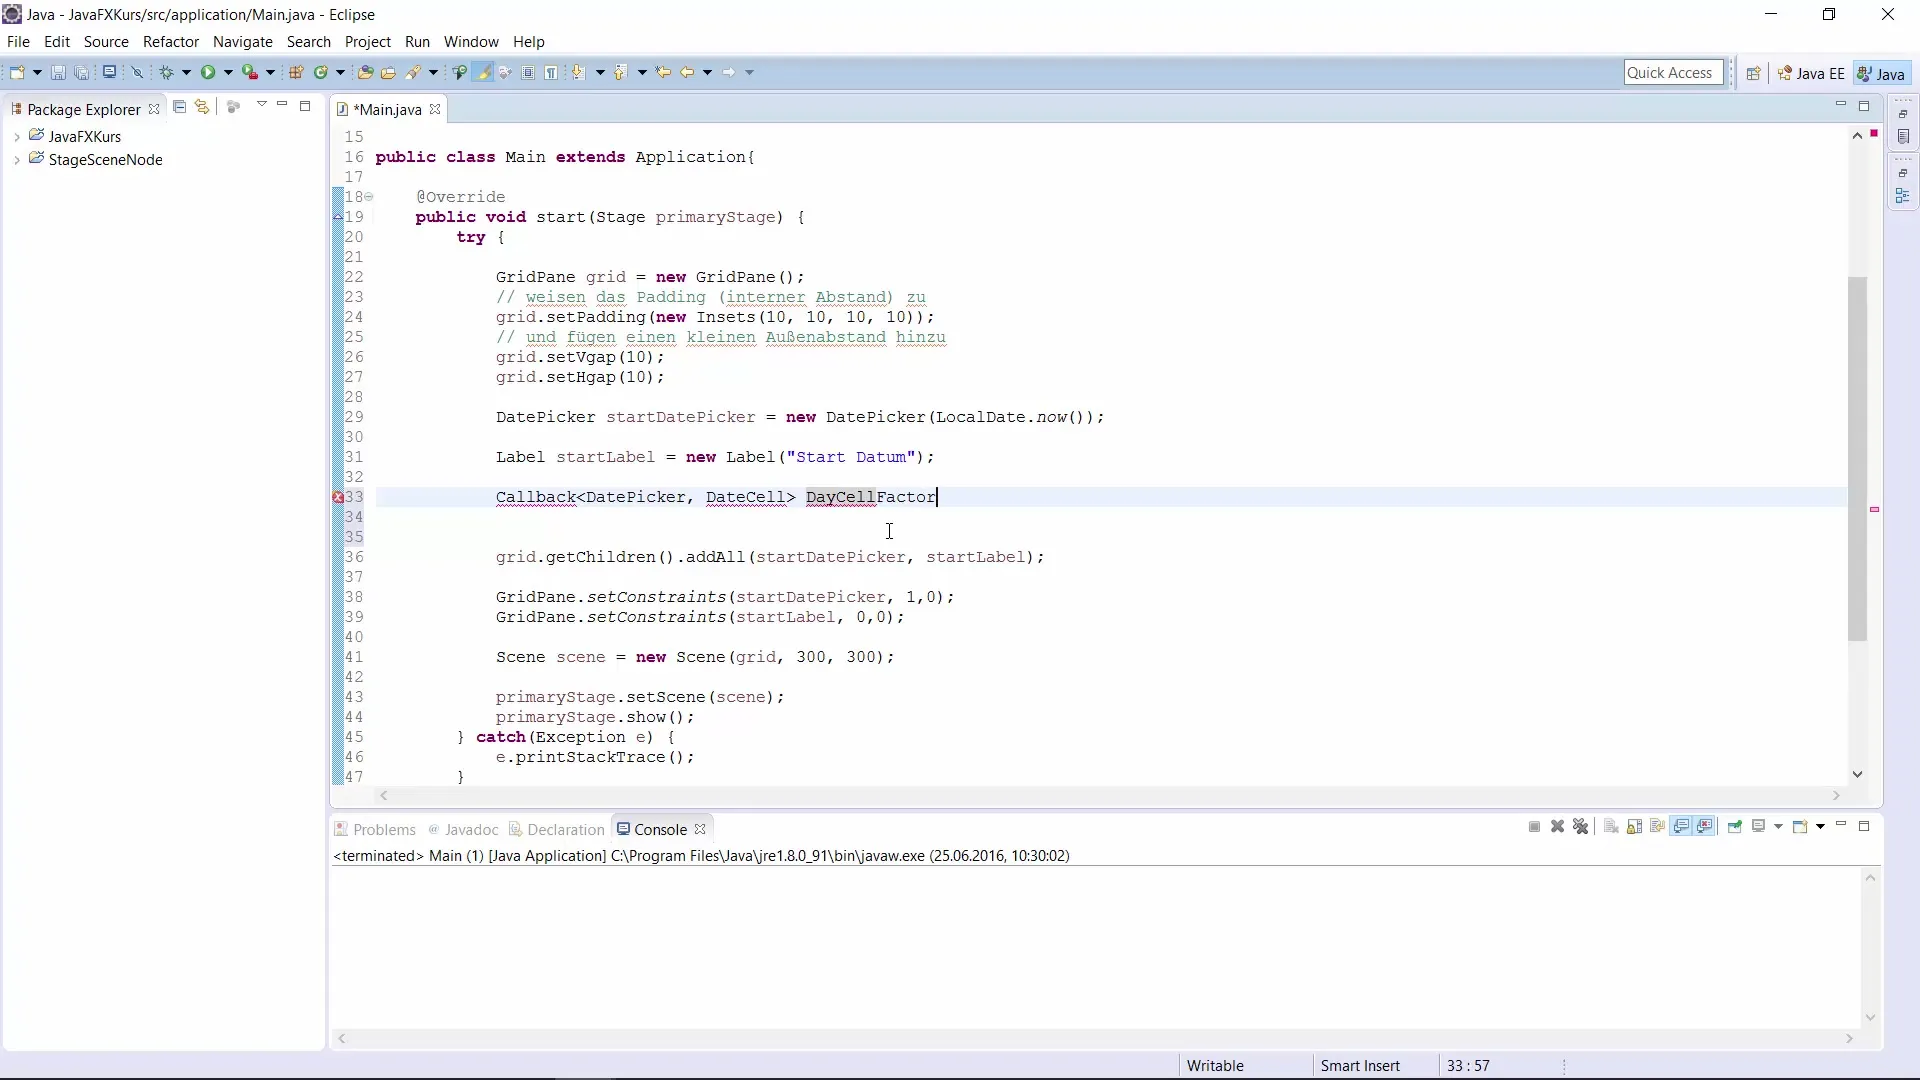
Let's add a callback for the DateCells. This is done via the setDayCellFactory() method, which allows you to customize the behavior of each individual day cell.
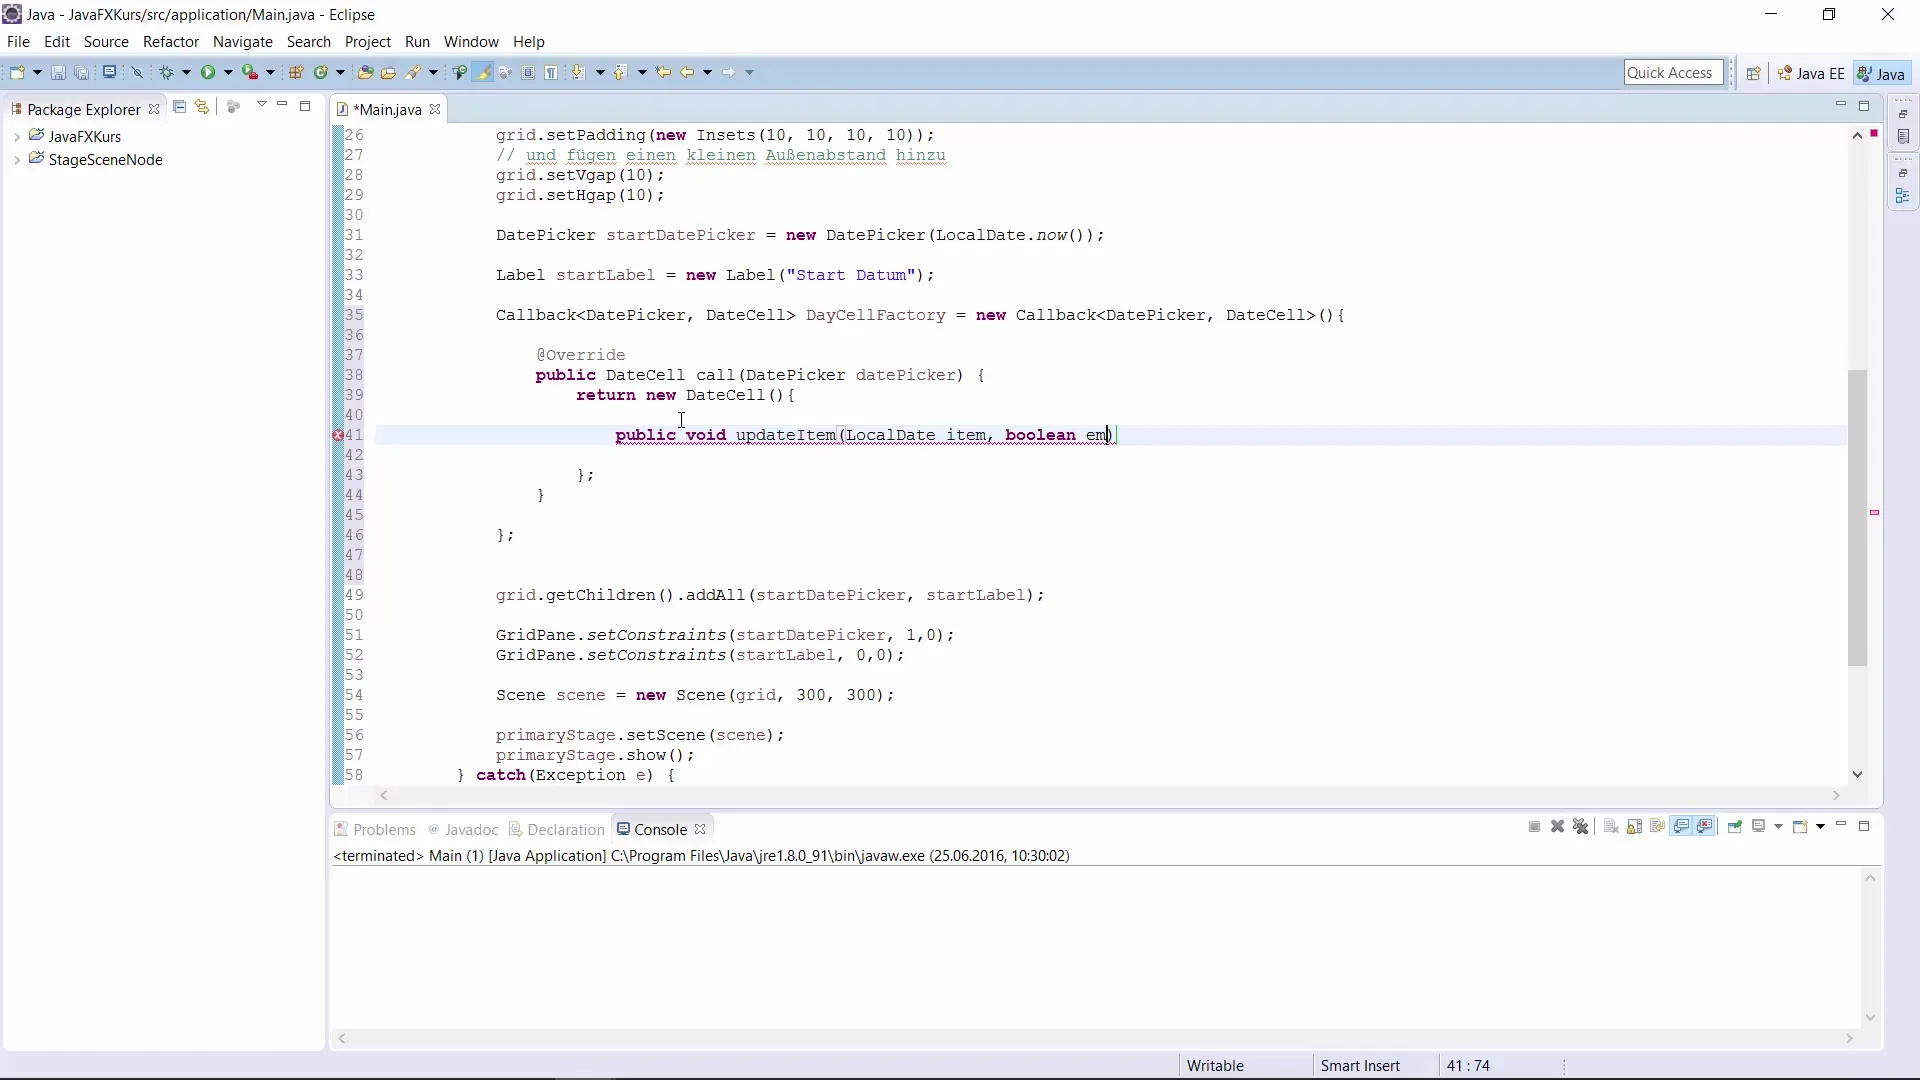
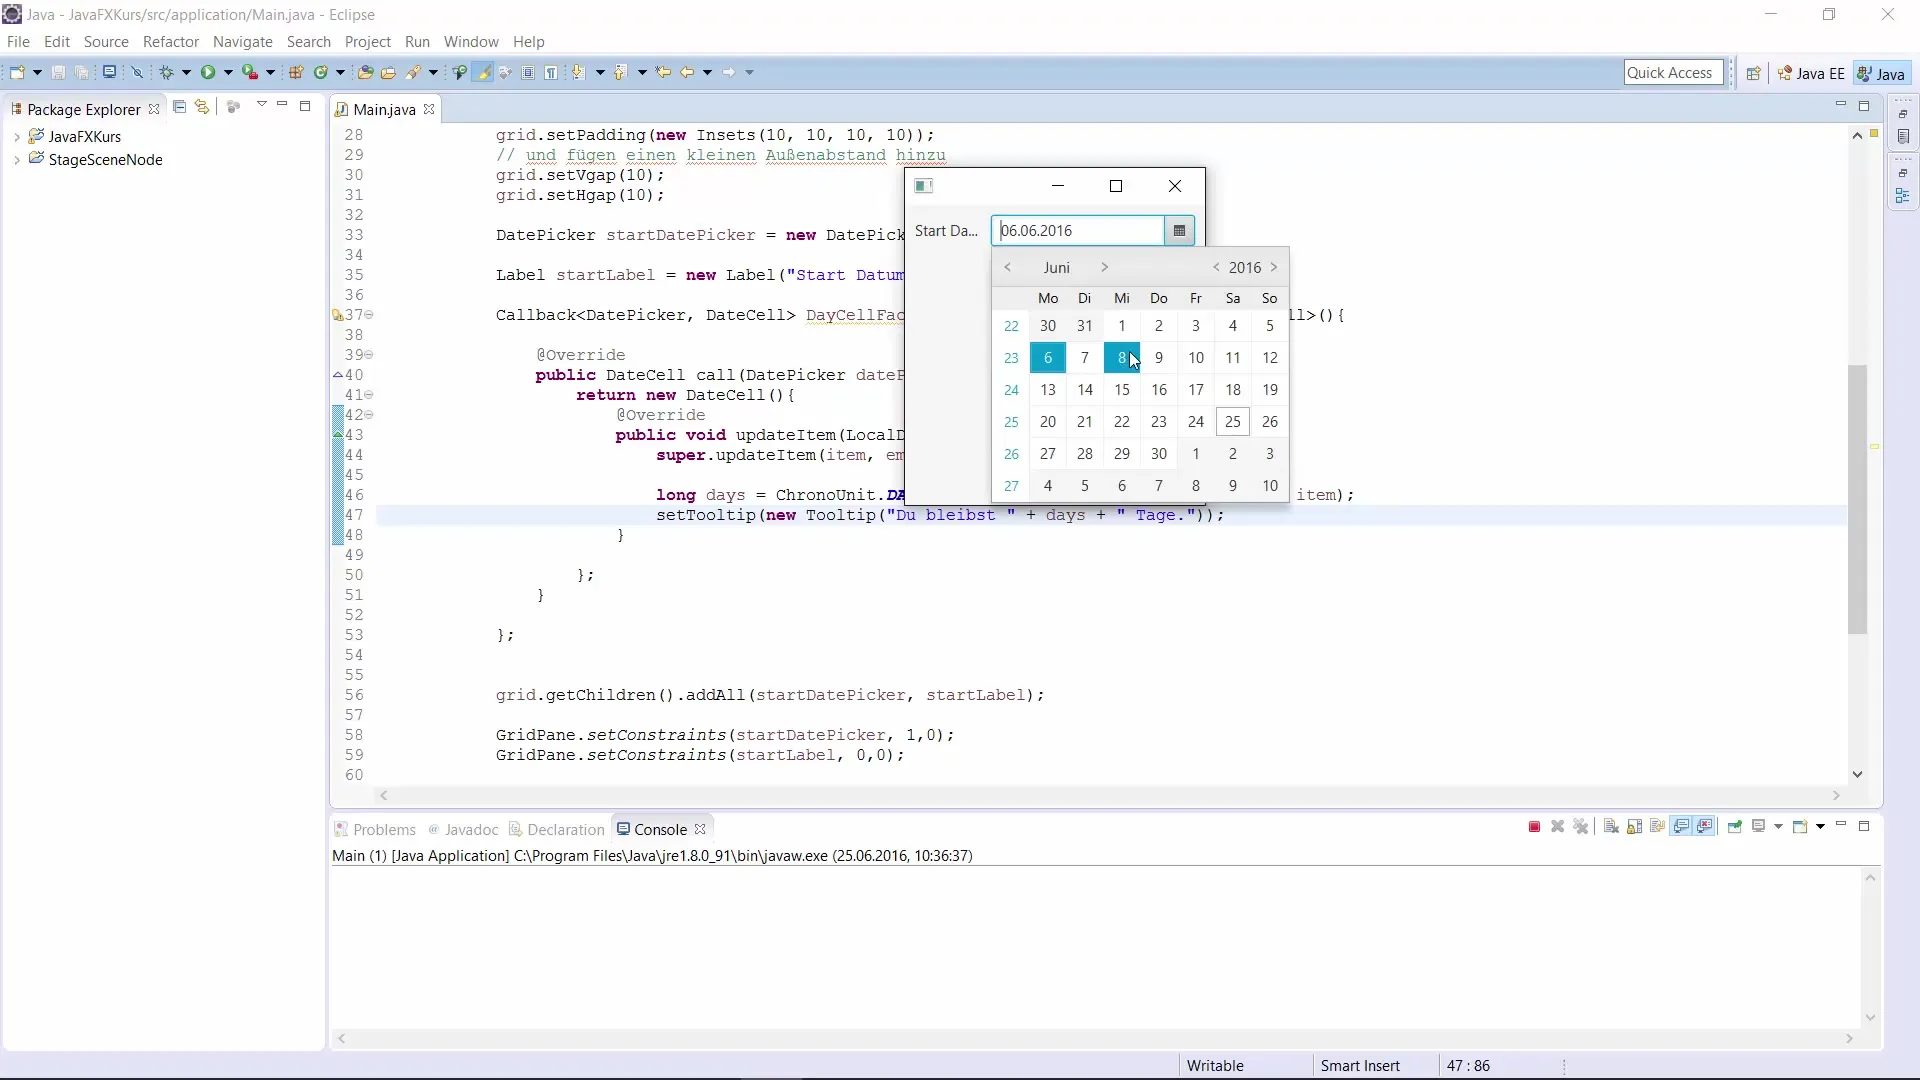
This way, we display the number of days between the currently selected date and the date the user hovers over in a tooltip.
Now it's time to test it all. When you hover over the different days, you should now be able to see the number of remaining days.
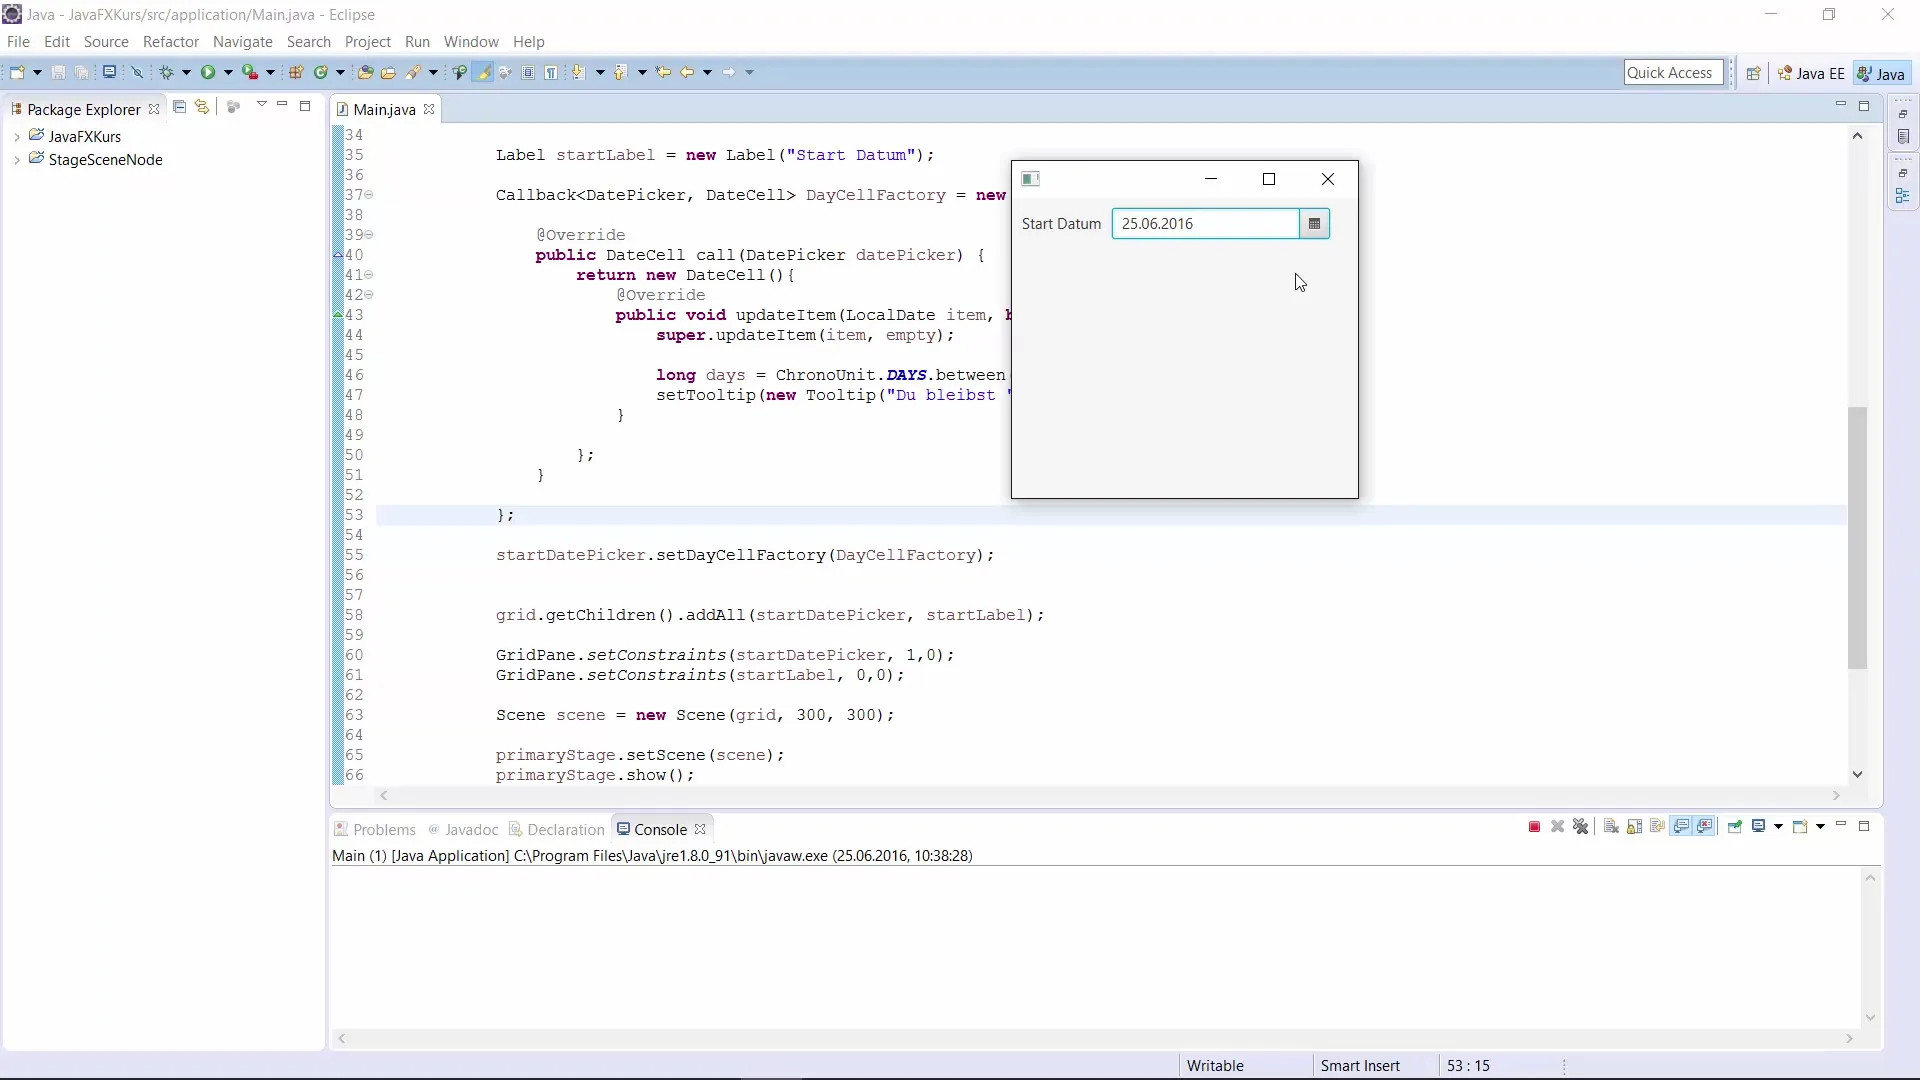
If everything looks good, you can now add another DatePicker for your end date in a similar manner. This can serve as an exercise. Now you have a simple and effective solution to implement a DatePicker in your JavaFX application.
Exciting topics are up next for the next video, including the implementation of a ColorPicker.
Summary – JavaFX DatePicker – Step-by-Step Guide to Date Selection
In this guide, you learned how to implement a DatePicker in JavaFX and enhance it with tooltip functionality. This greatly improves the user experience by providing additional information whenever needed.
Frequently Asked Questions
What is a DatePicker in JavaFX?A DatePicker is a UI element in JavaFX that allows users to select date values.
How do I add a tooltip for the DatePicker?A tooltip can be added by using the setDayCellFactory() method and creating a callback.
How do I set the current date in the DatePicker?You can use startDatePicker.setValue(LocalDate.now()) to set the current date.
Can I use multiple DatePickers in an application?Yes, you can add as many DatePickers as you need by assigning each its own object.
Is there a way to calculate the number of days between two dates?Yes, you can use ChronoUnit.DAYS.between(startDate, endDate) to calculate the number of days between two date values.


