Labels are fundamental graphical elements in any user interface. They not only serve to display text but also to present information to the user. In this guide, you will learn how to create and customize labels in JavaFX and how they differ from the Text class. You will understand how to combine labels with graphics and text and customize the design to your liking.
Main insights
- Labels are graphical elements that represent text and images.
- Labels can use graphical resources like images.
- You can customize the font, size, and color of labels.
- The behavior of labels can be controlled by various functions.
Step-by-step guide
To start working with labels in JavaFX, you first need an image that should be displayed in the GUI. In this example, we will use a logo.
Create a new JavaFX project and add an image to your project directory. To add the image, simply drag it into your application's directory. In this case, we will use the file Logo.PNG.
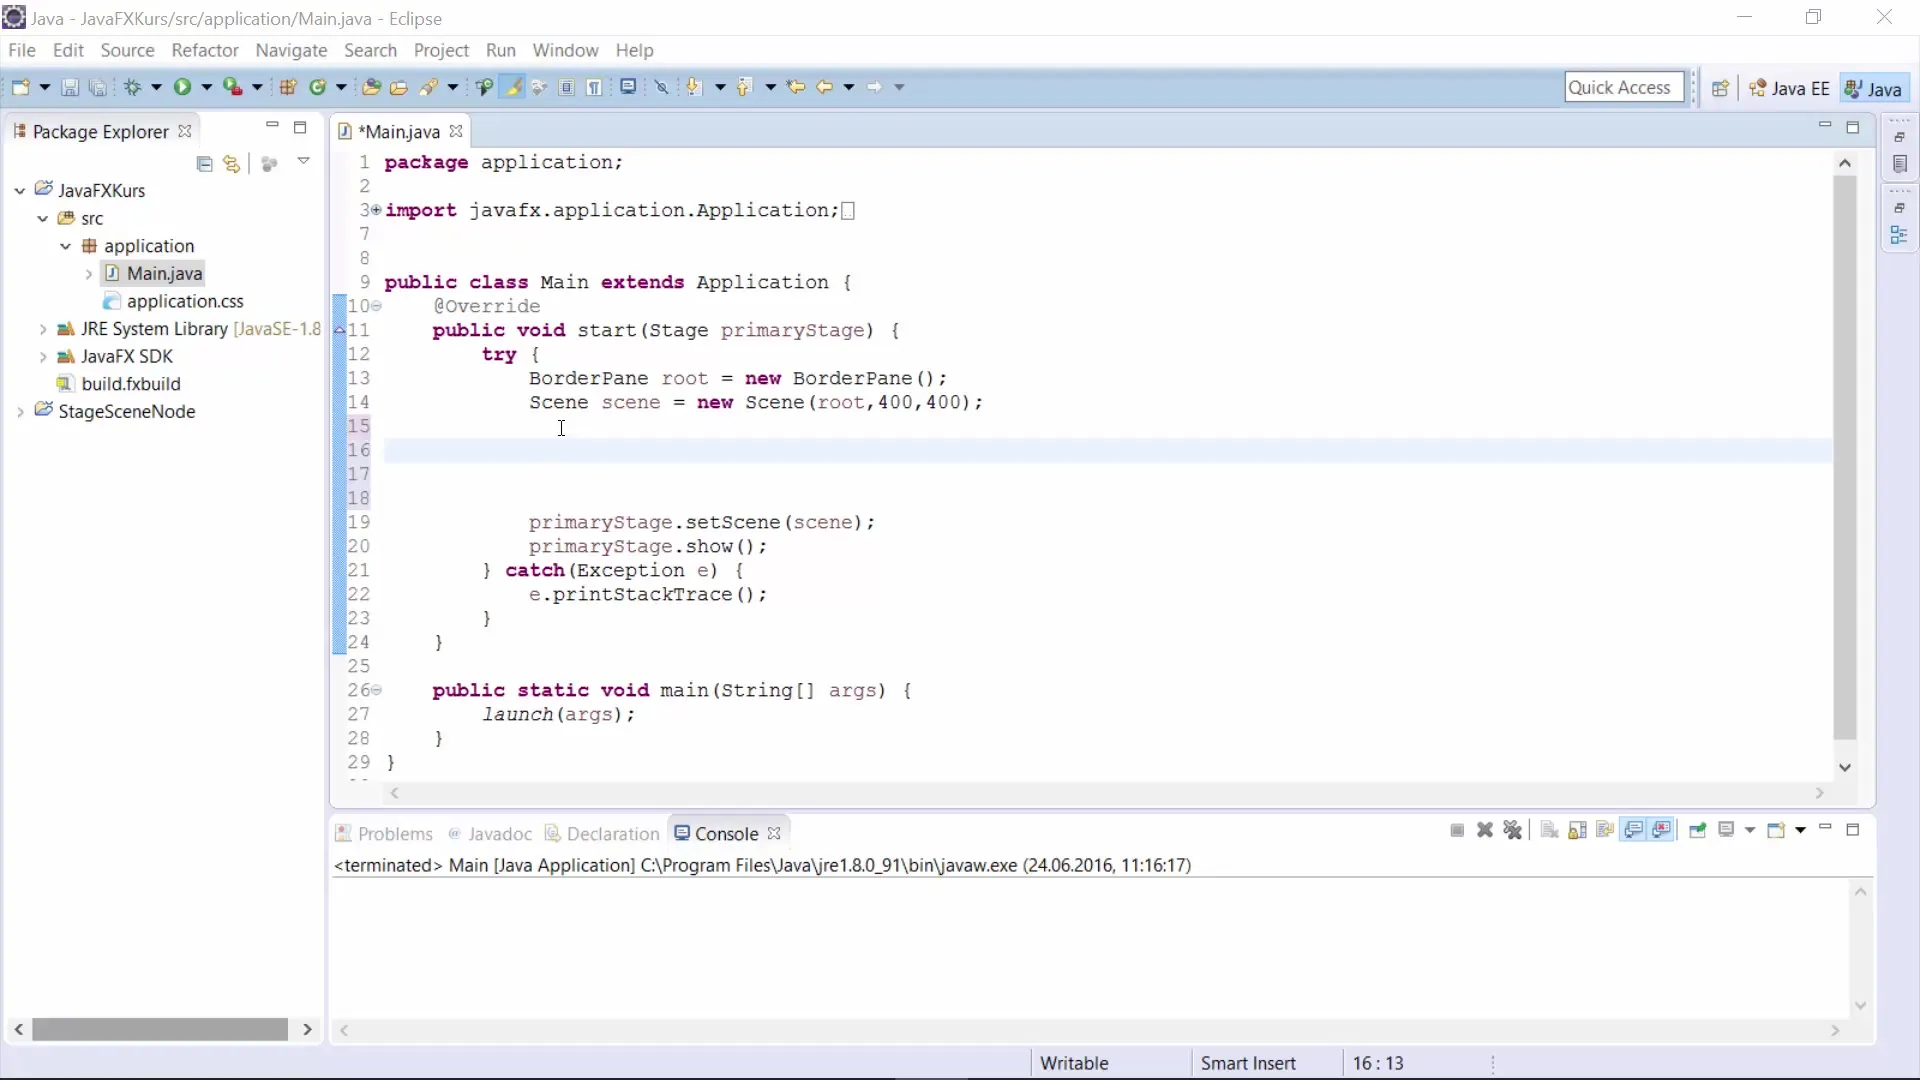
Now you need to insert the image into your program for it to work.
Make sure to specify the name of your image file correctly. Don’t forget to import the Image class to use it.
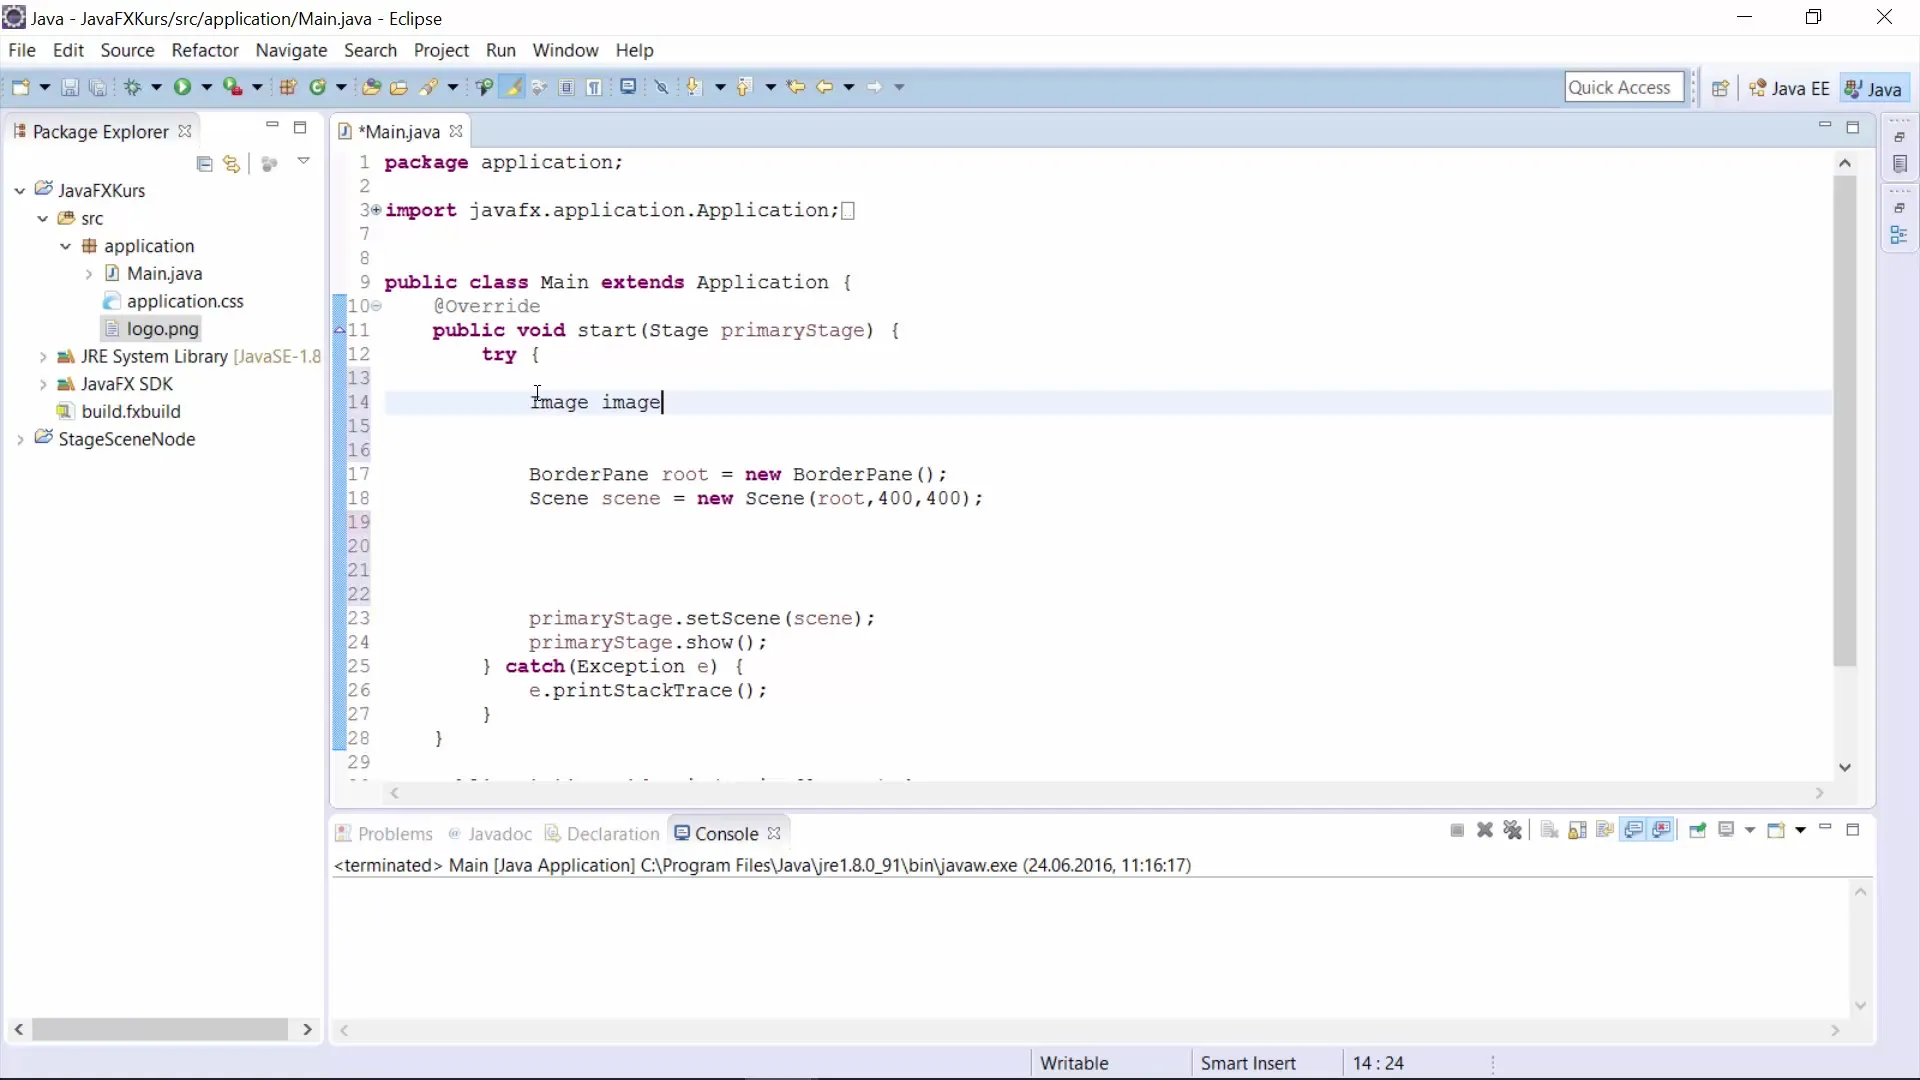
To display the image in the GUI, use the Label class.
This is a simple text displayed in the label. Again, it is important to import the Label class.
To display the image you just created in your label, you need to assign it as a graphic.
For the ImageView, you also need to import the corresponding class.
A label can be organized using the Group class, allowing multiple graphical elements to be combined.
The Group must also be imported.
Once you have everything set up, you can run your program to display the label with the image and text. Your GUI should now look as desired.
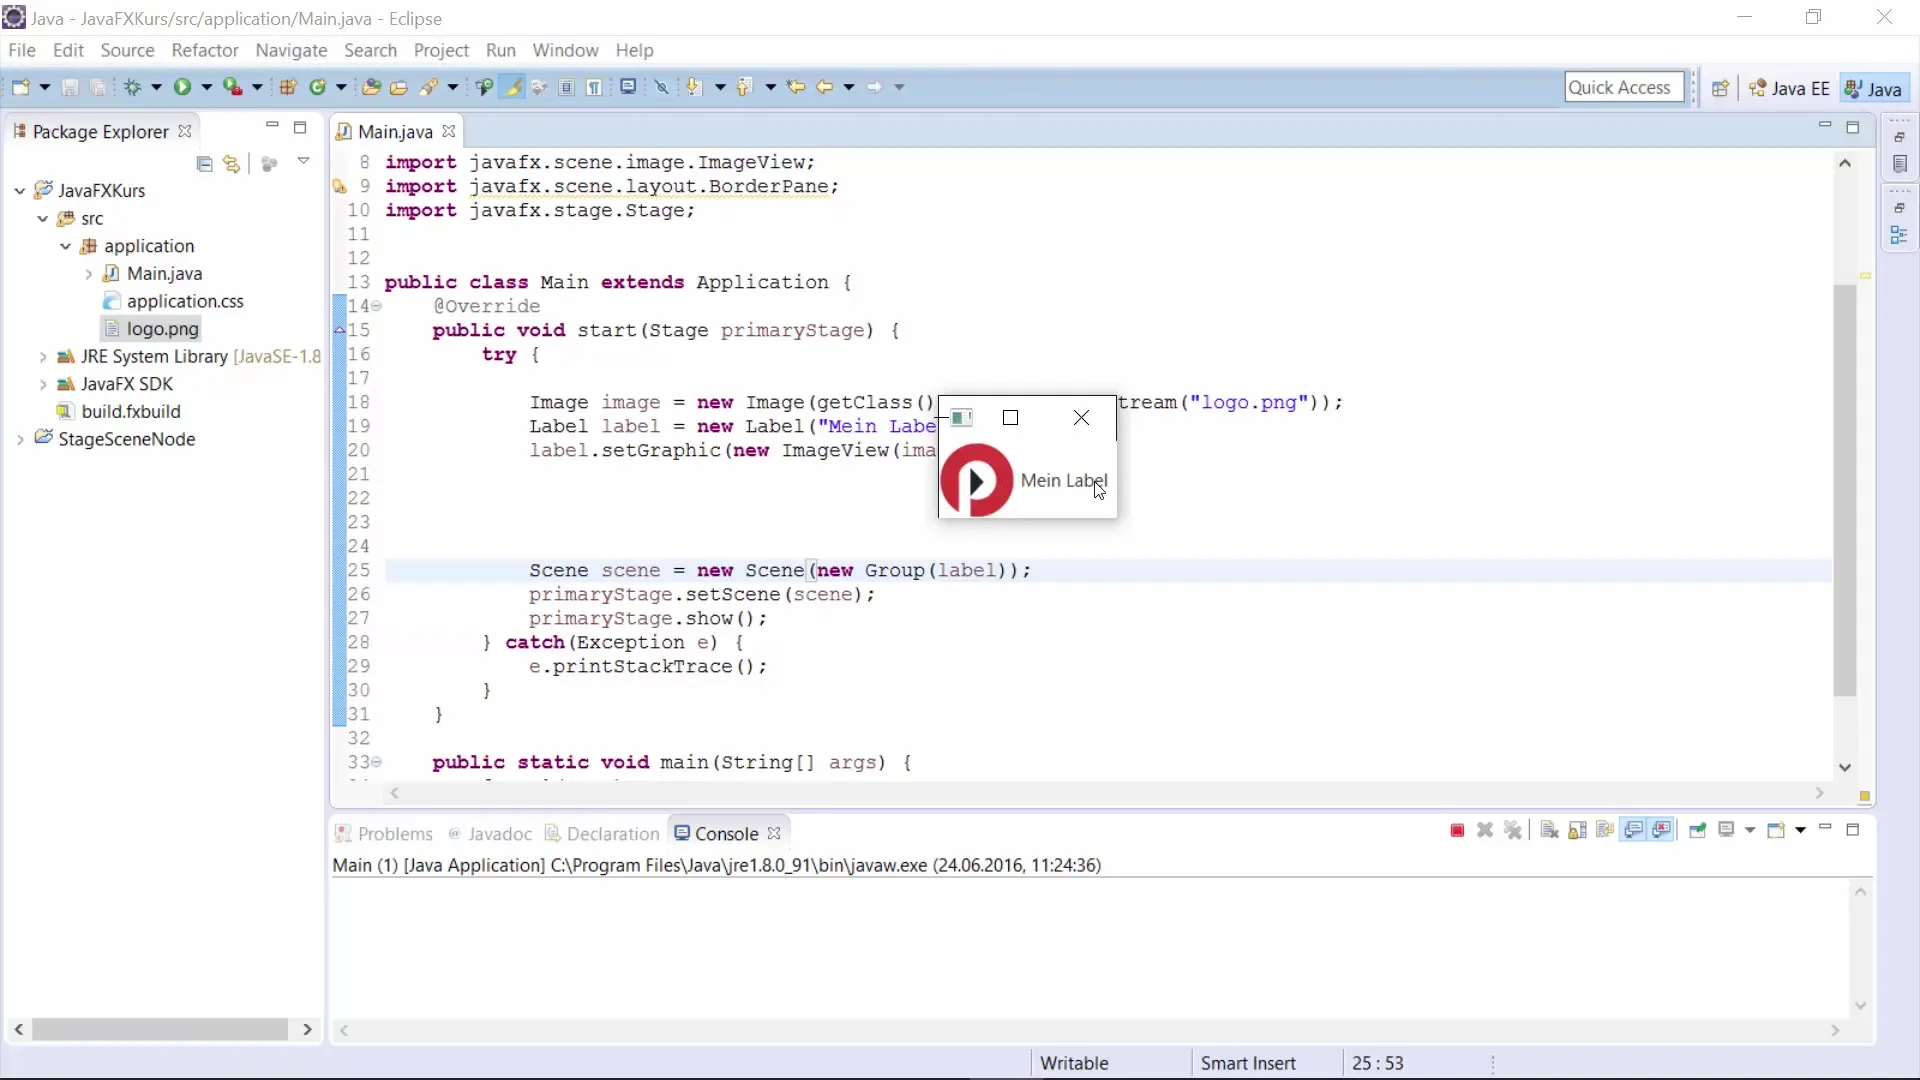
To style the layout to your liking, you can make various adjustments. First of all, you can change the font of the label.
Make sure you import the Font class to make this work.
The size of the window will automatically adjust to the elements used in the GUI.
Here, you specify a hexadecimal value that defines the desired color.
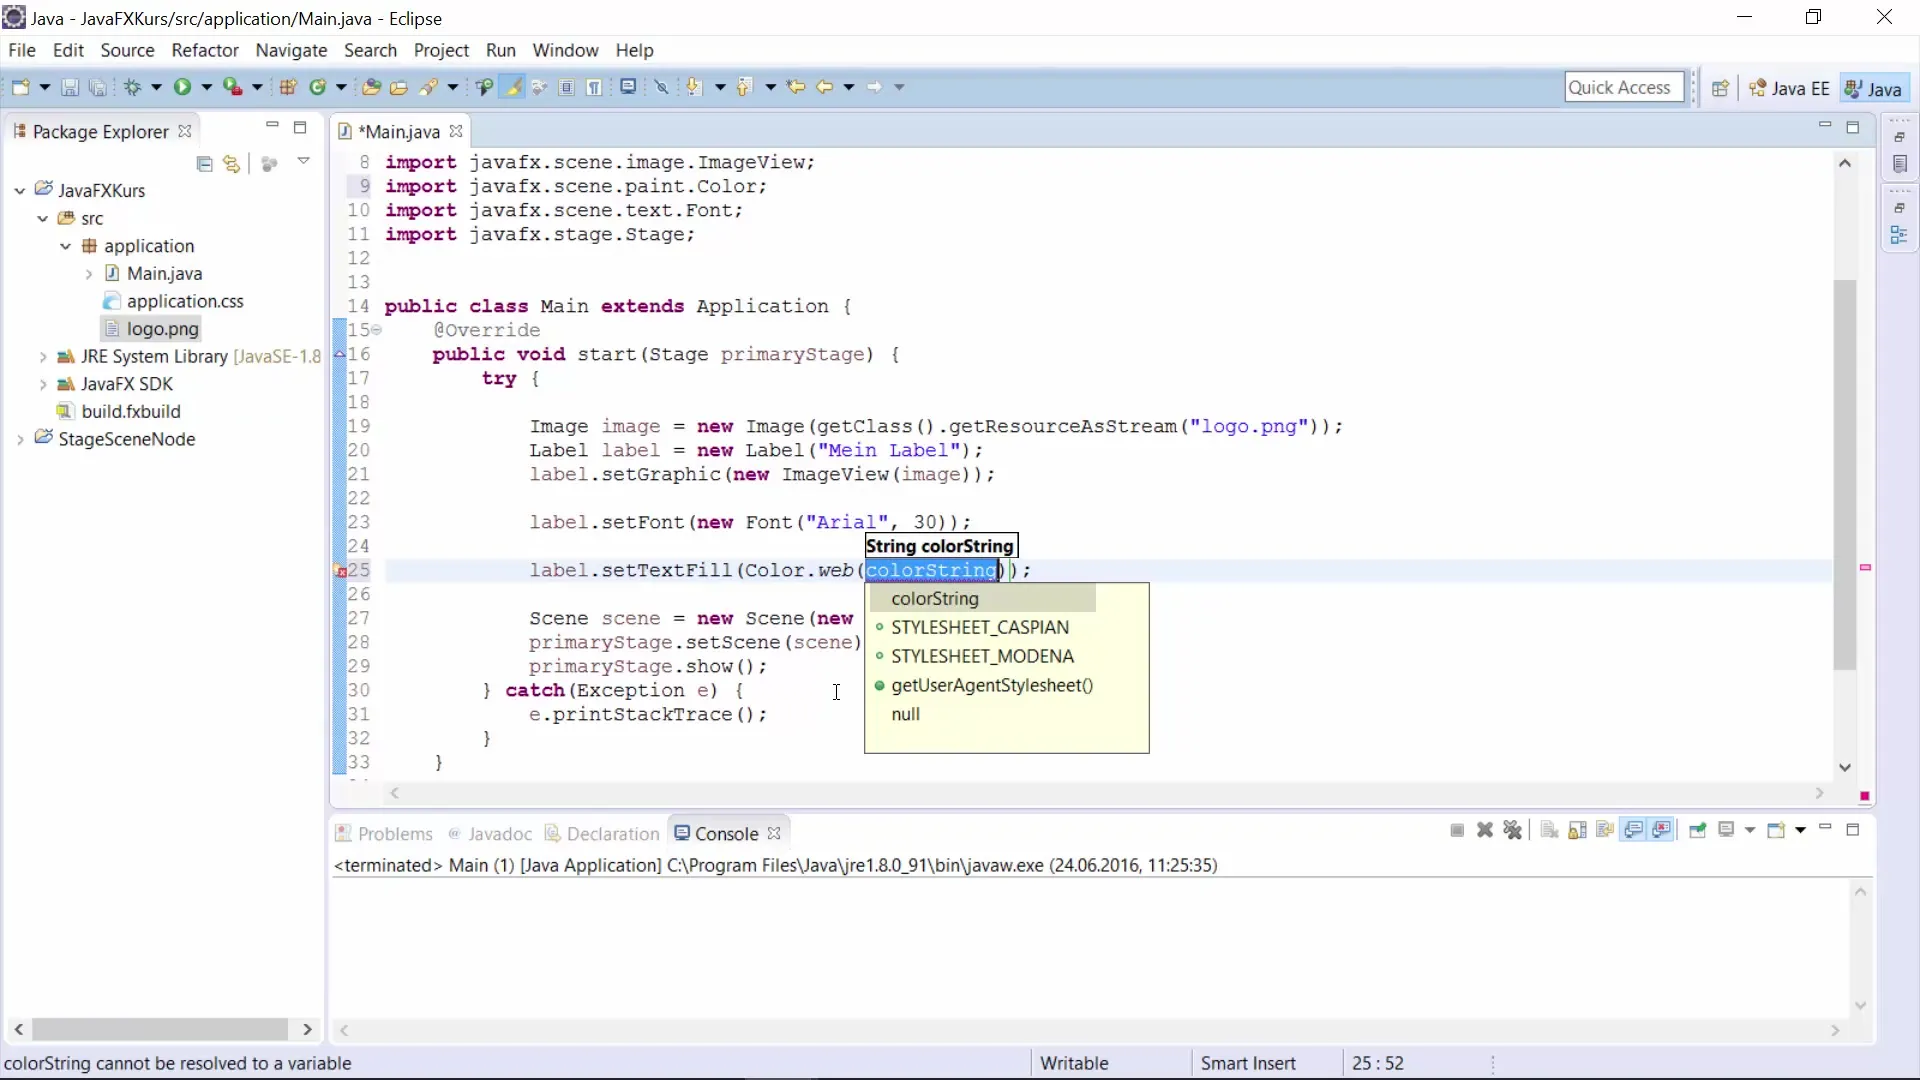
Additionally, you can scale the label.
This affects the dimensions of your label and possibly the surrounding graphical elements.
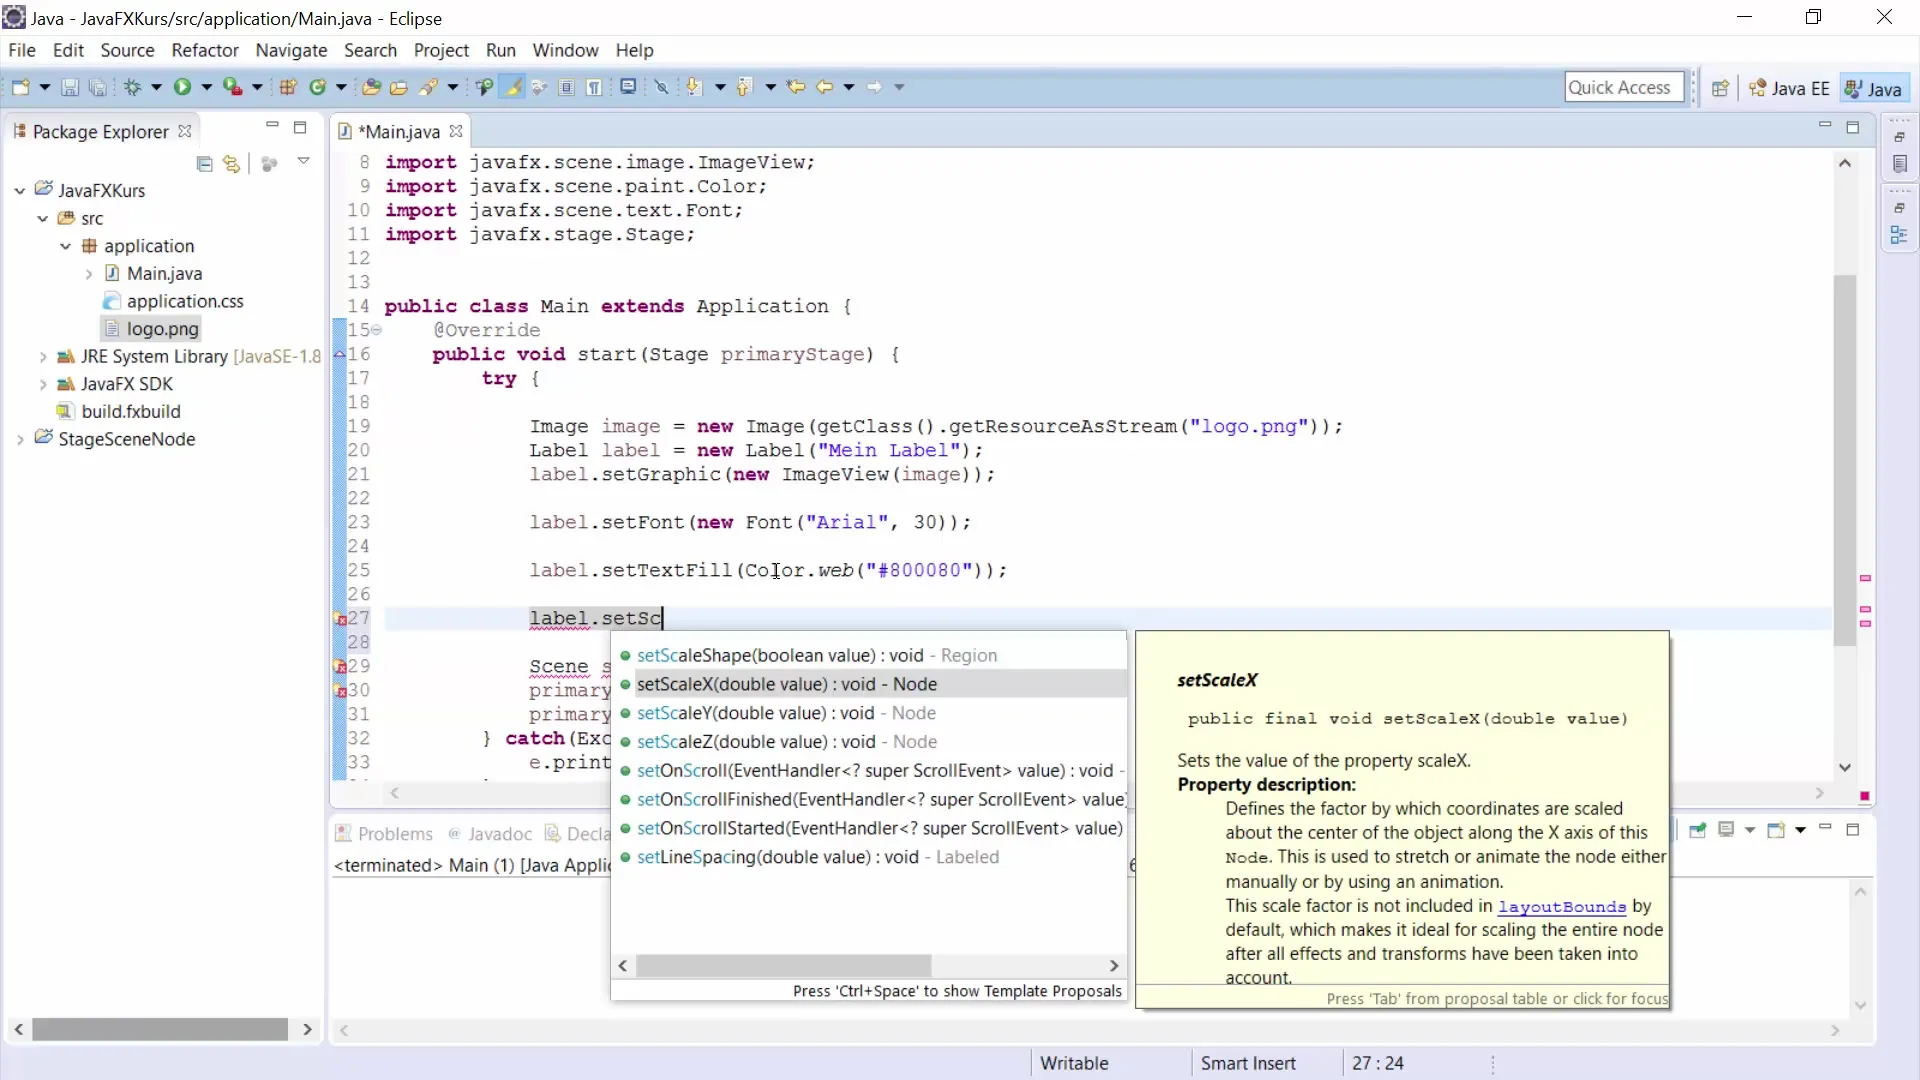
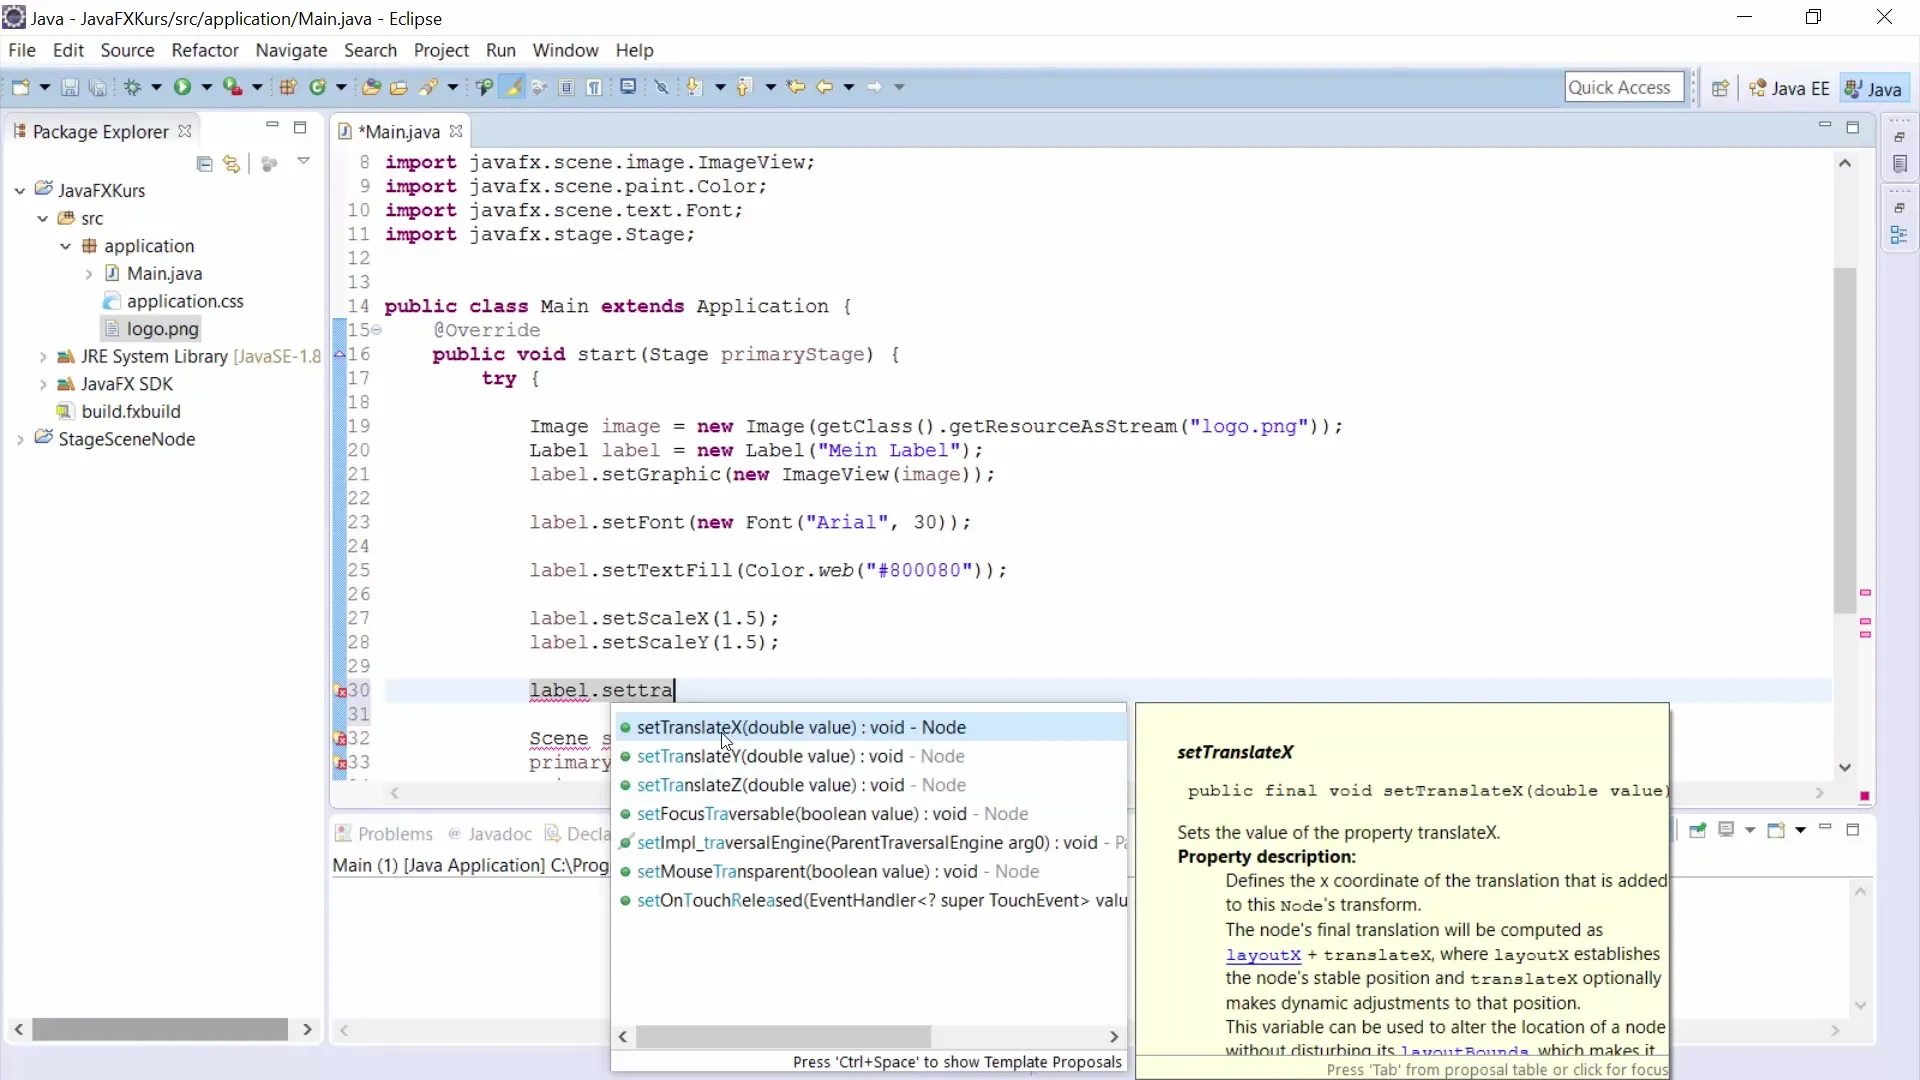
If you want to move the label within your window, you can use the methods setTranslateX() and setTranslateY().
This moves your label to the desired position within the GUI.
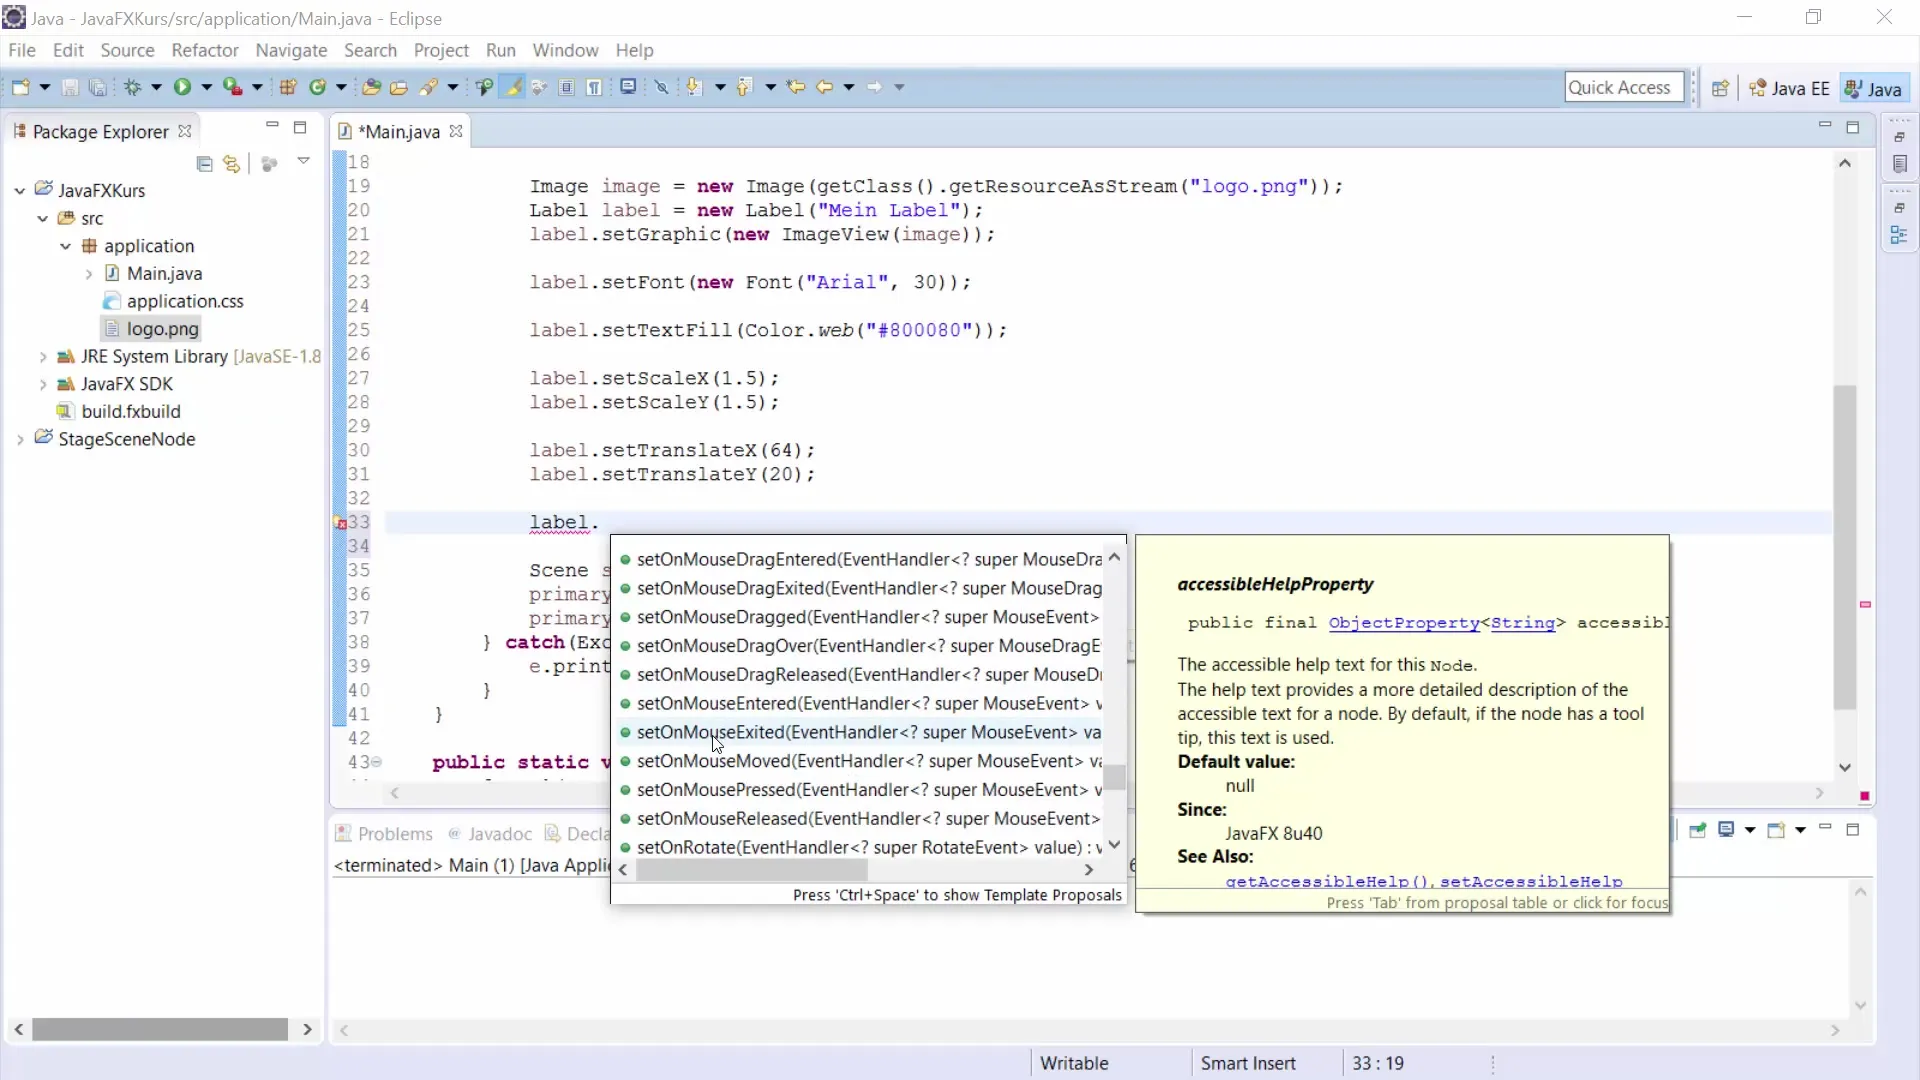
There’s still more you can explore. Labels offer many functions, such as interactions with mouse events. For example, you could add events when hovering with the mouse.
Skip to the documentation and experiment with labels to discover the numerous possibilities.
Summary – JavaFX for GUI Development: The Label in JavaFX
In this guide, you learned how to create a label in JavaFX and customize various properties. From inserting an image to adjusting fonts and colors, you have learned the basics of using labels in the graphical user interface of your application. Use this knowledge to create your own engaging user interfaces.
Frequently Asked Questions
What is a label in JavaFX?A label is a graphical component that represents text and images in a user interface.
How do I import the Image class into my JavaFX project?Use import javafx.scene.image.Image; to add the Image class.
Can I change the font of a label?Yes, you can customize the font of a label using the setFont() method.
How do I scale a label in JavaFX?Use setScaleX() and setScaleY() to scale the size of a label.
How do I add an image to a label?Use the ImageView class and the setGraphic() method to display an image.


