With JavaFX, you can develop user-friendly graphical user interfaces and also integrate audio and video content. In this guide, I'll show you how to create a simple audio player in JavaFX that you can create. We will focus on the basic functions to play, pause, and stop an audio file. Get ready to learn the basics of audio management in JavaFX!
Key Insights
- The use of JavaFX for media playback.
- Creating a simple audio player with padding buttons.
- Essential functions to control the audio player.
Step-by-Step Guide
Step 1: Create the basic structure of the program
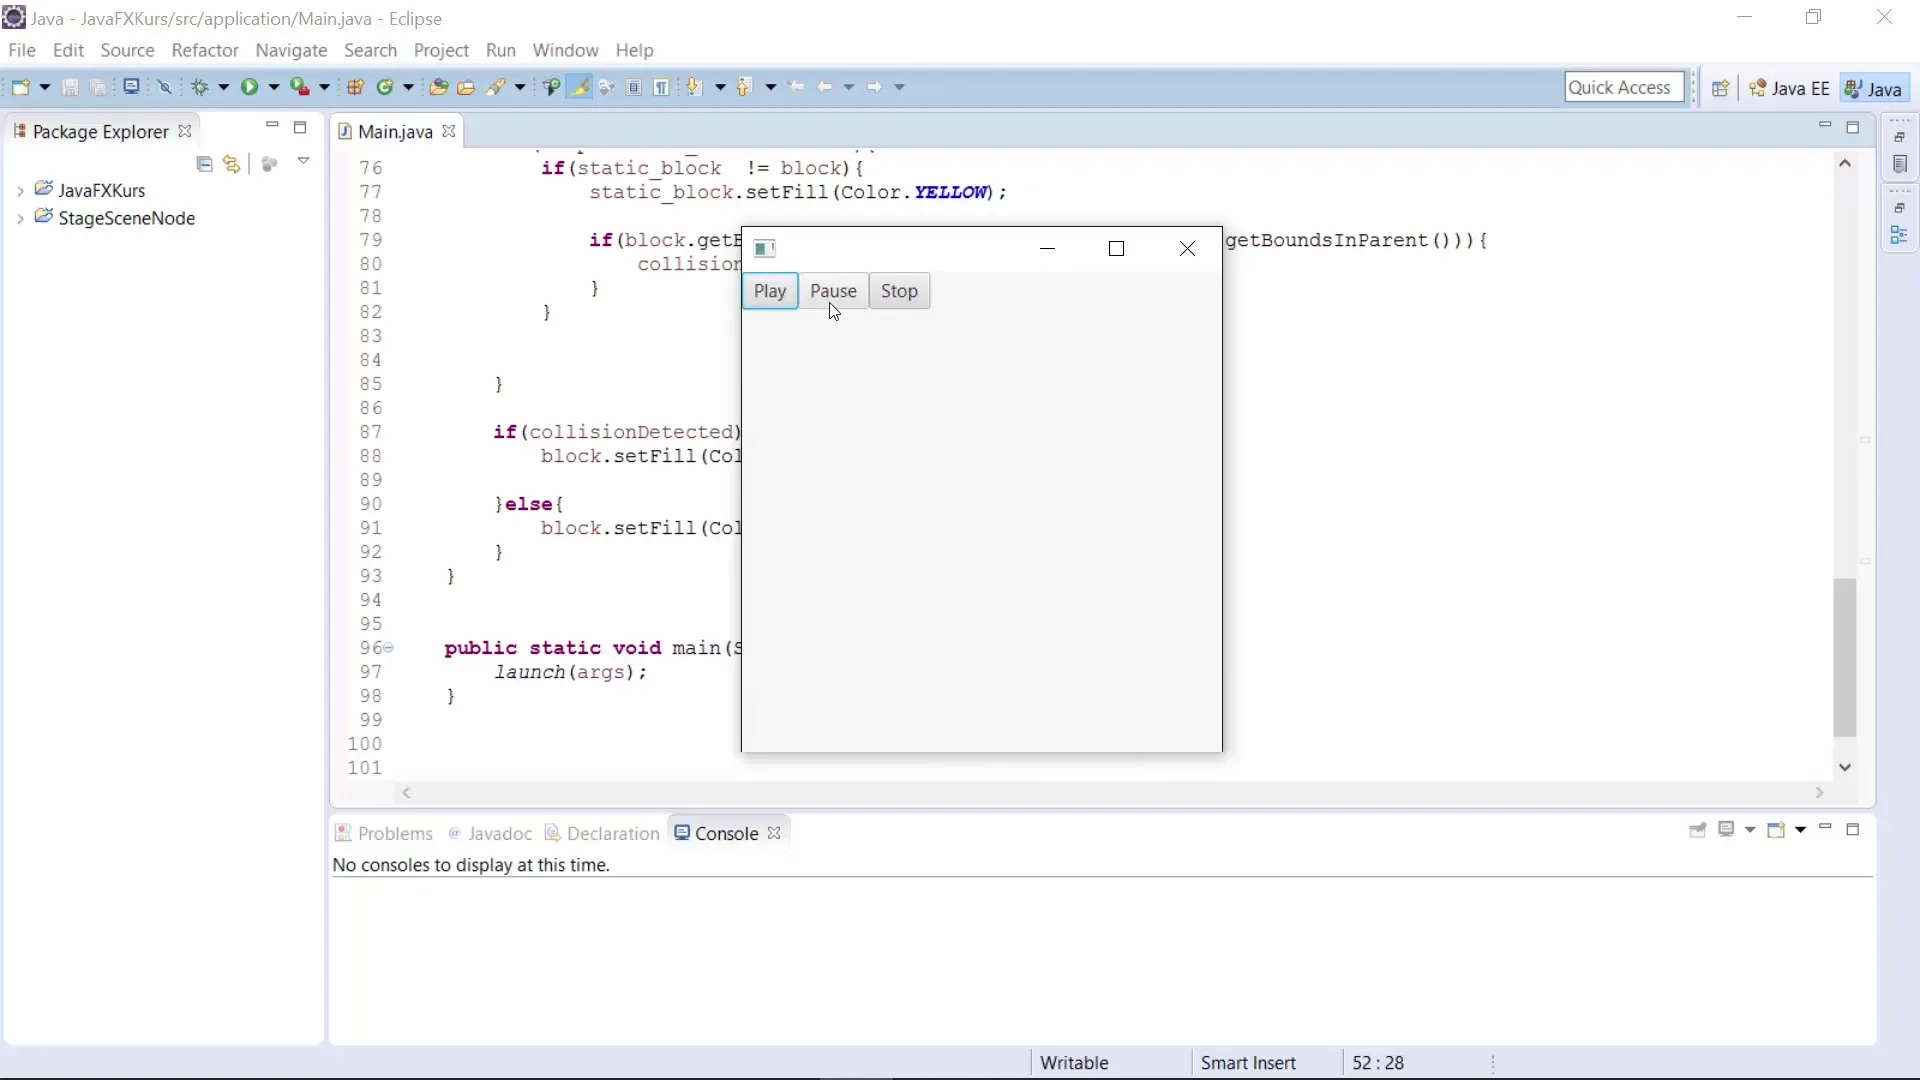
Start by setting up a simple JavaFX project. You will need a main window with buttons for "Play", "Pause", and "Stop". Set up the structure of the window where the audio player will be integrated.
Step 2: Integrate the Audio Resource
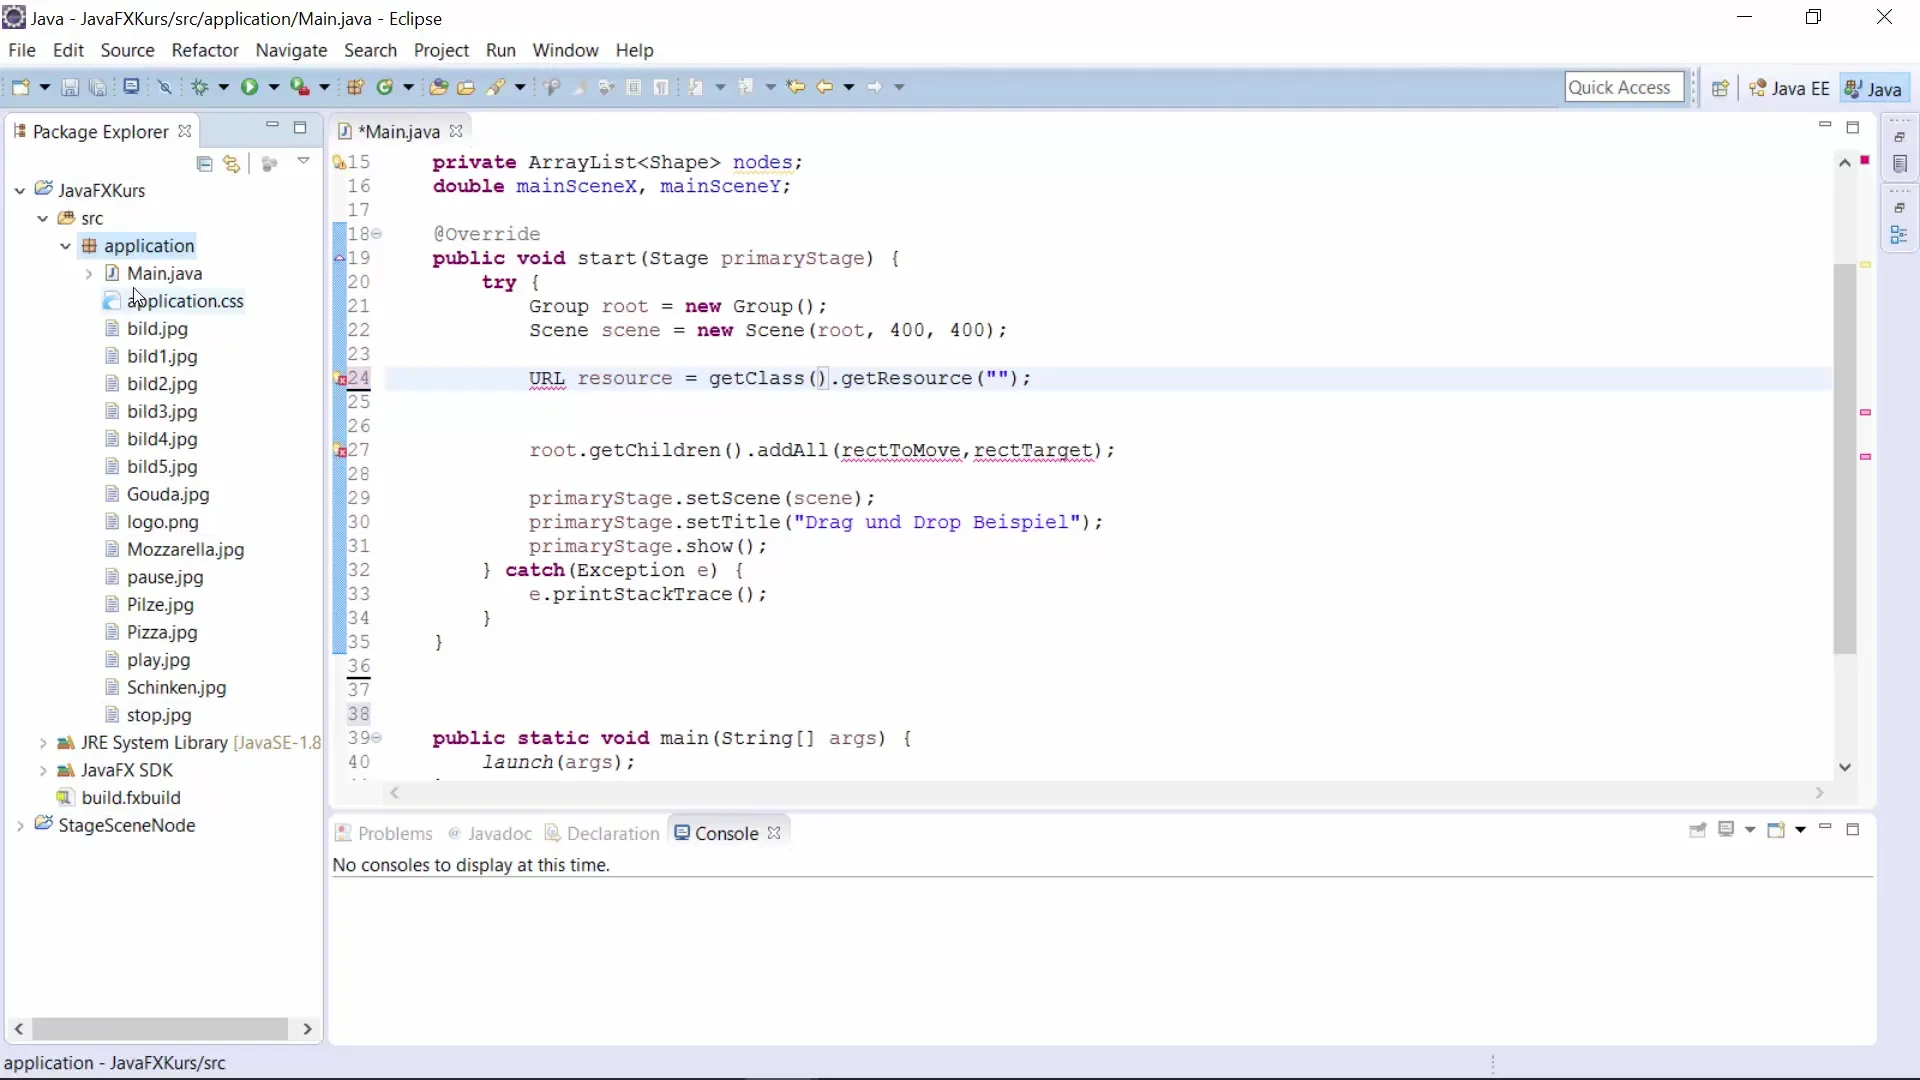
You will need to insert an audio file into your project. The resource will be integrated as a URL. Use getClass().getResource() to access the audio file. The file should be located in the resources folder of your project.
Step 3: Create Media Object
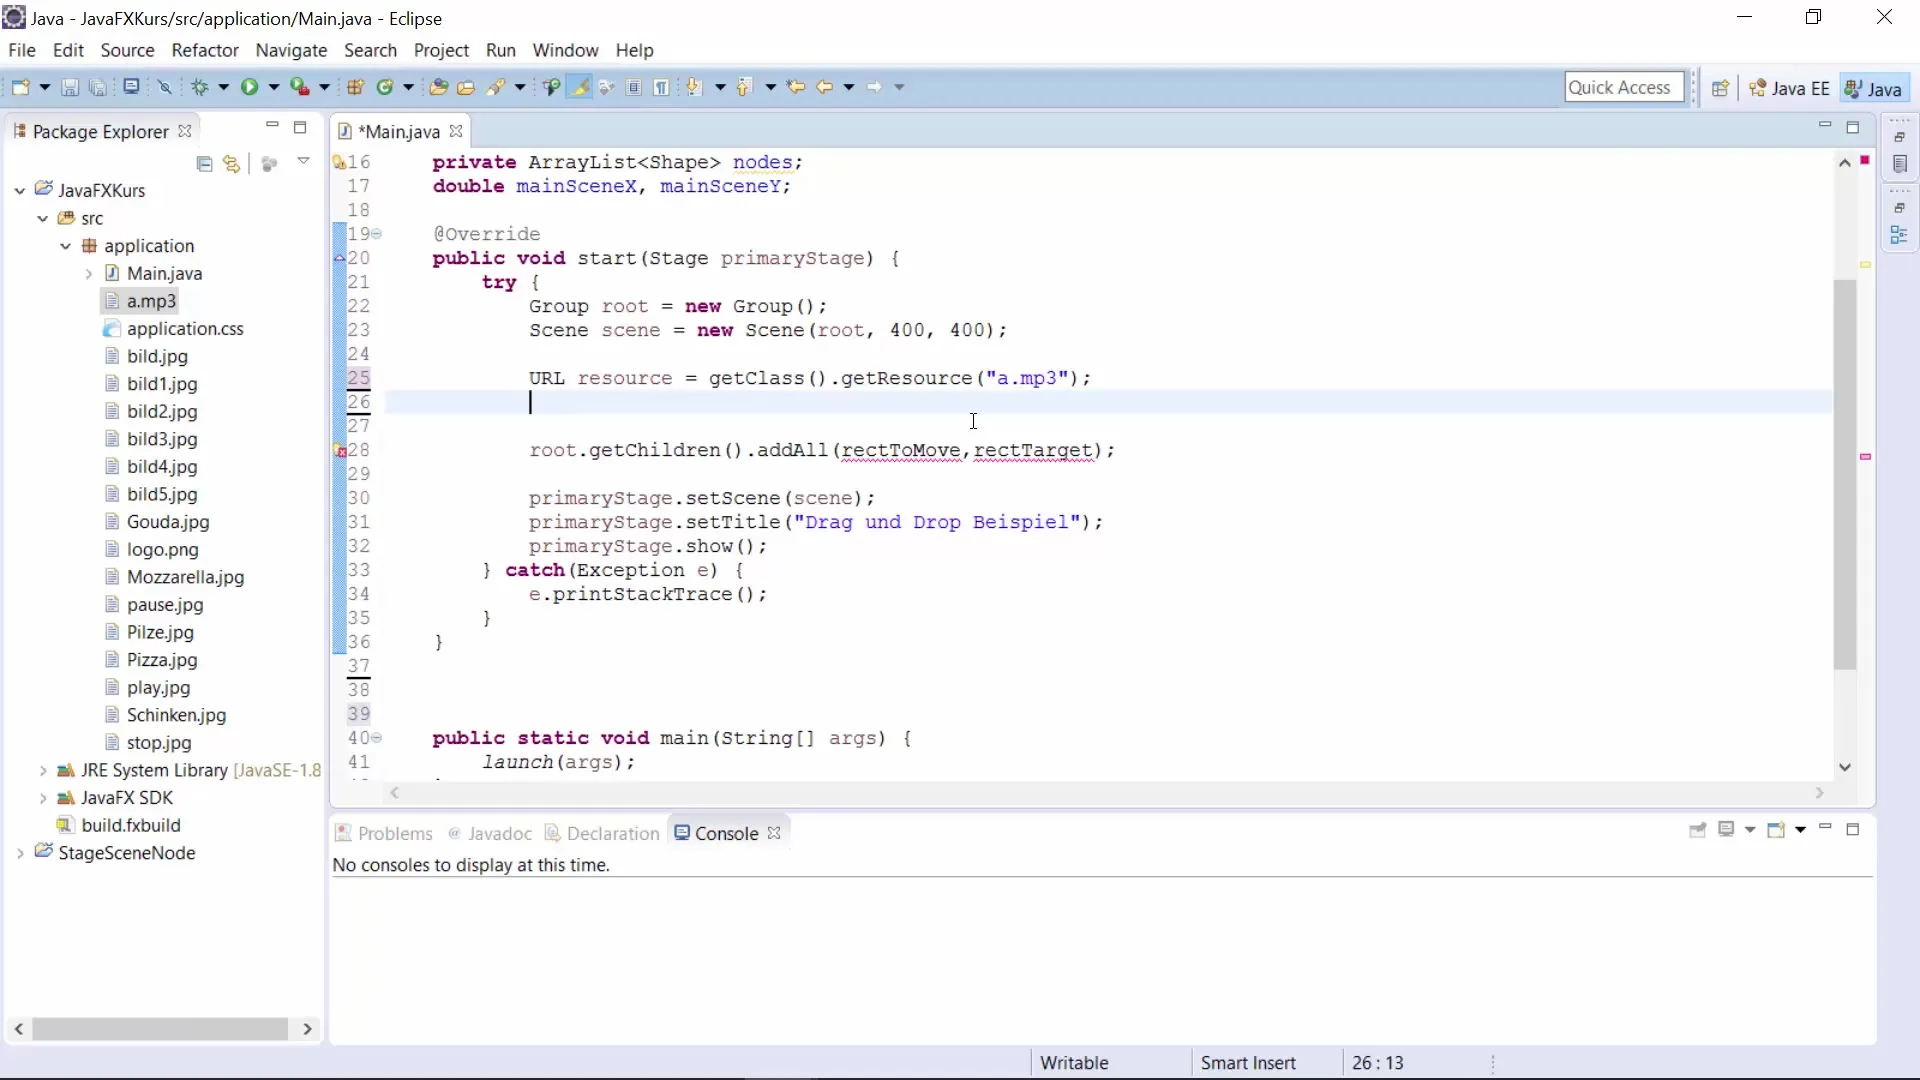
Now that the audio file is integrated, you can create a Media object. This is done using the constructor of the Media class, which can accept the URL of the audio file. Make sure to perform the necessary imports for the Media class.
Step 4: Add MediaPlayer
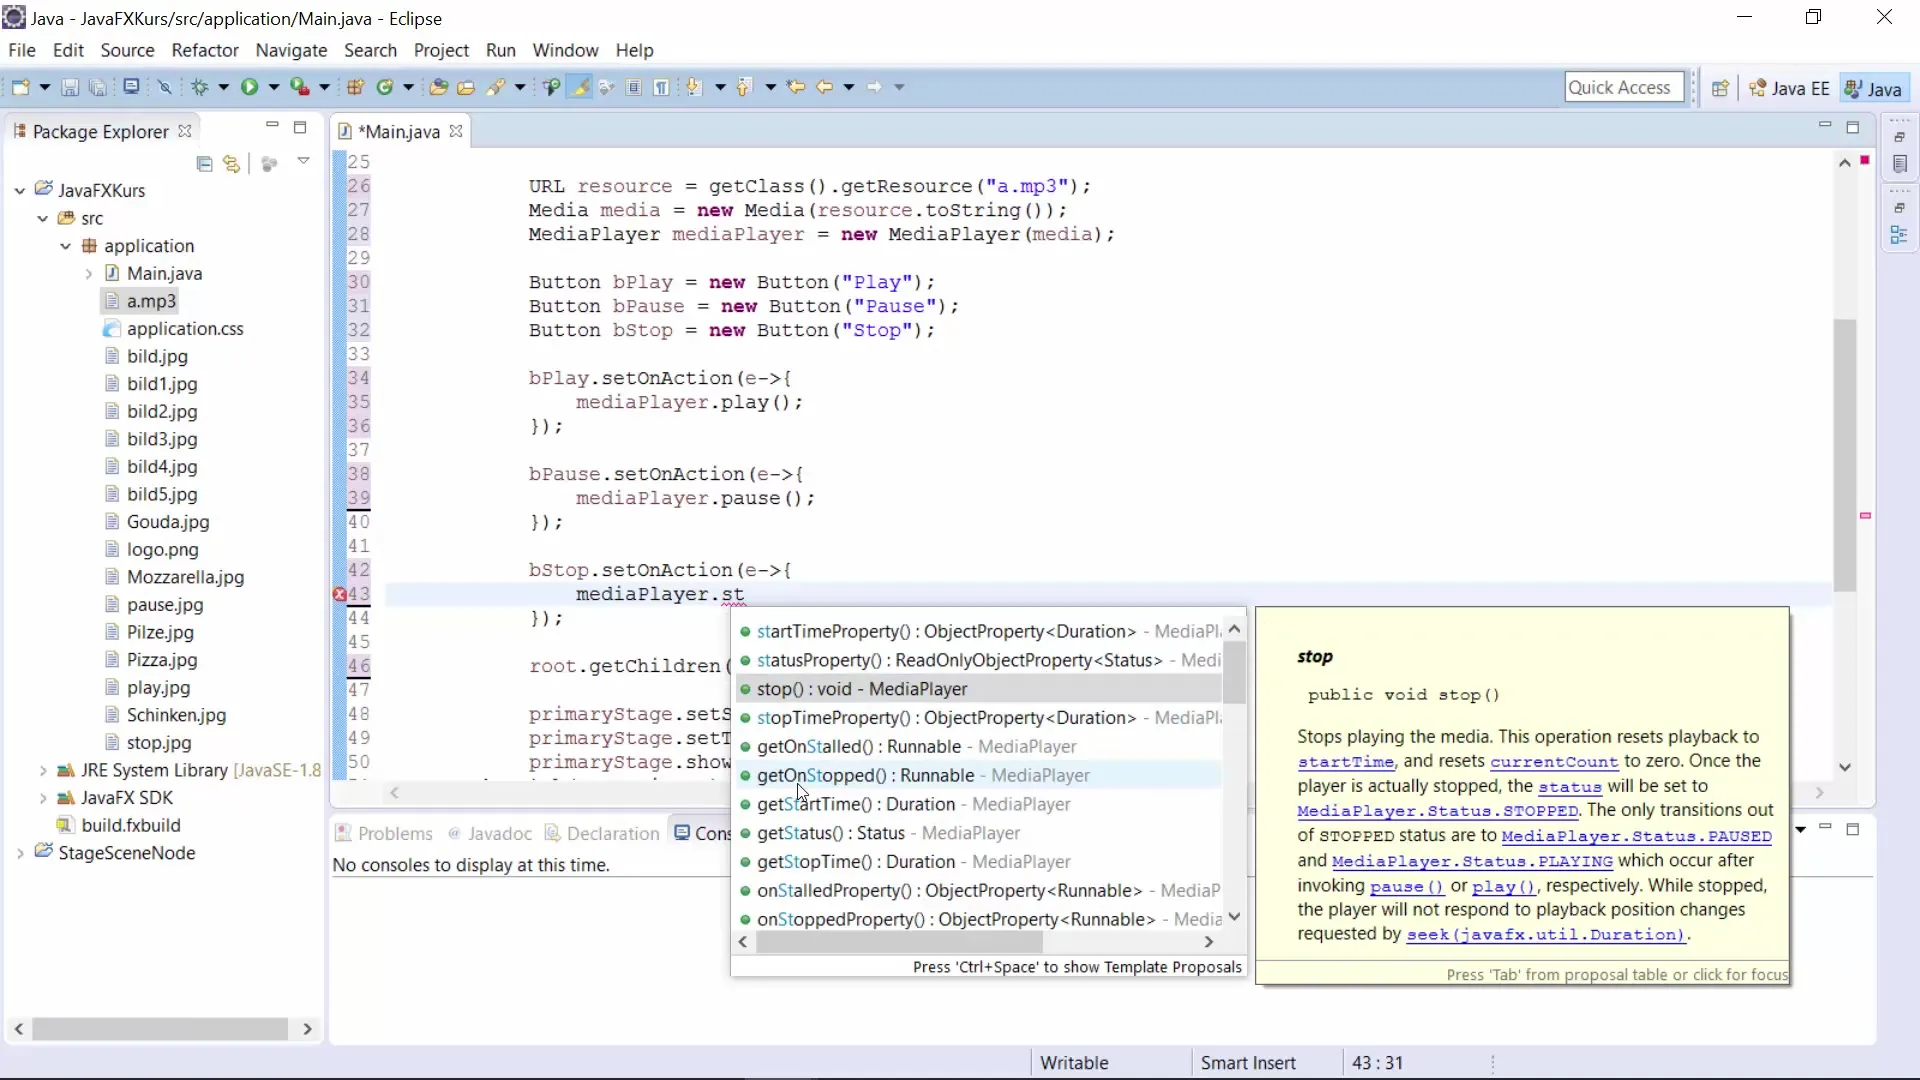
To play the audio file, you need a MediaPlayer object. Create this object using the previously created Media object; for this, call the constructor of the MediaPlayer object and pass it the Media object.
Step 5: Create Buttons
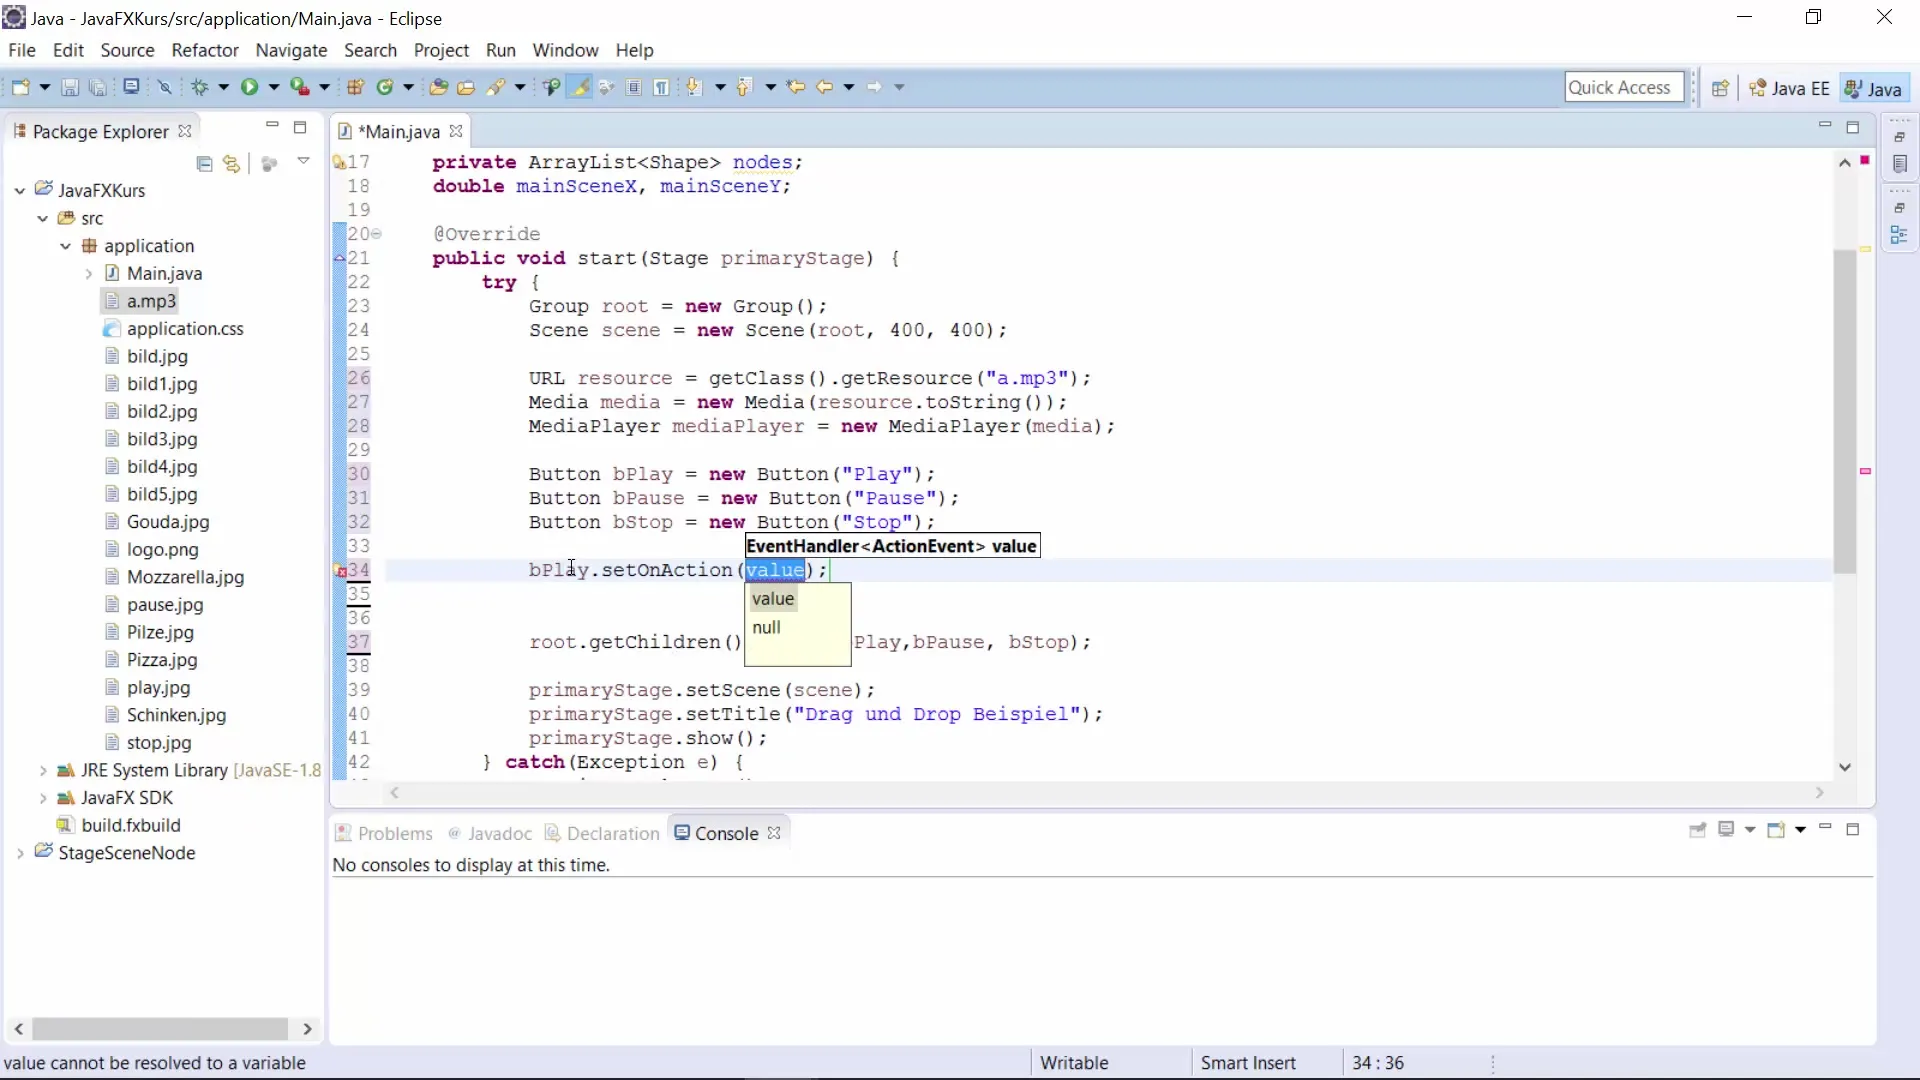
Create the necessary buttons for controlling the audio player. Define the "Play", "Pause", and "Stop" buttons. The buttons can simply be created with new Button("Button-Text").
Step 6: Add ActionListener
Now you need to implement the functions for the buttons. Add setOnAction to each button to define actions when clicked. For the "Play" button, you call the.play() method of the MediaPlayer.
Step 7: Implement Pause and Stop
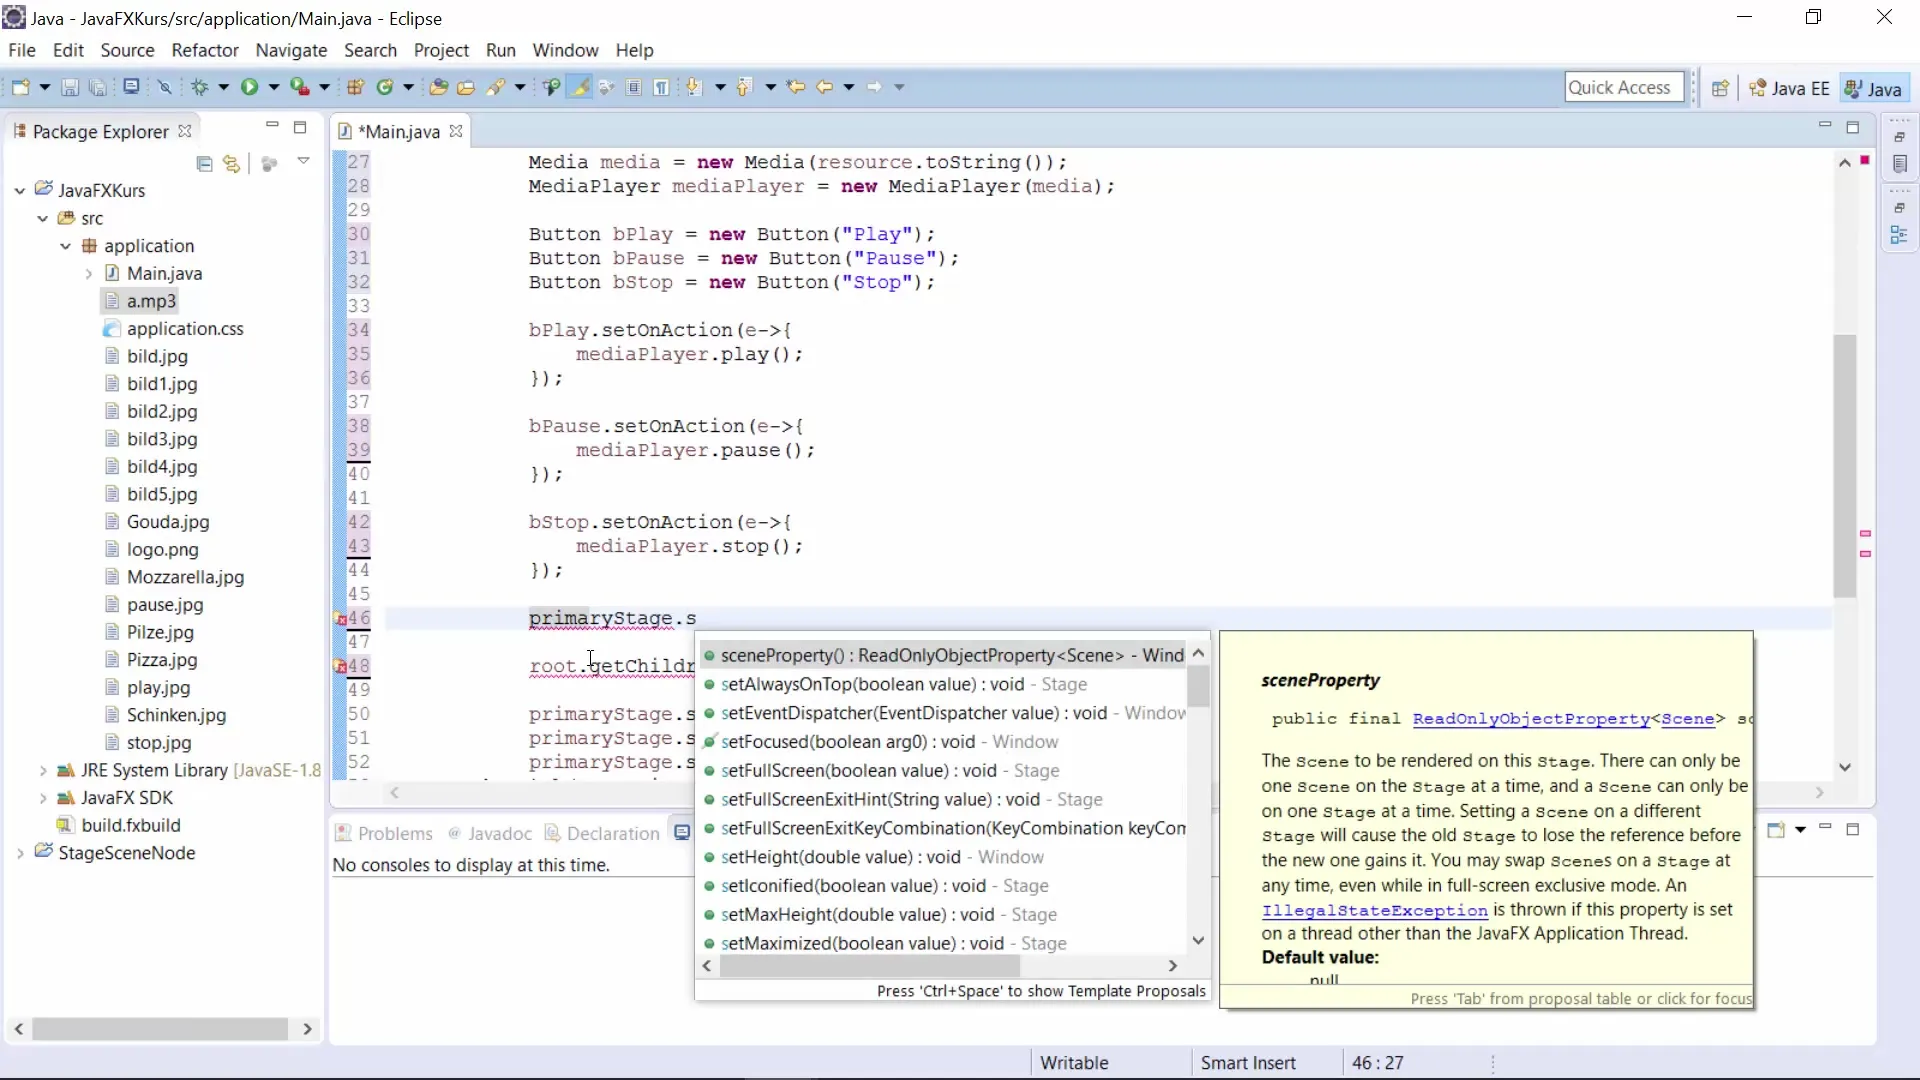
Follow the same procedure for the other two buttons. The "Pause" button should call.pause() of the MediaPlayer, while the "Stop" button uses the stop() method. This will give you complete control over audio playback.
Step 8: Resource Management
To ensure that the MediaPlayer is properly stopped when closing the window, you should define a close request handler for the main window. Use lambda functions once again for this.
Step 9: Optimize Layout
To make the user interface appealing, use a GridPane or VBox to organize the buttons. This will improve the user experience and make the controls more intuitive.
Step 10: Test the Program
Now you can run the program. Test the "Play", "Pause", and "Stop" buttons. Make sure the audio file is played correctly and the controls work as intended.
Summary – Audio Player in JavaFX: A Practical Guide
In this guide, you learned how to create a simple audio player in JavaFX. You learned the basics of incorporating audio resources into JavaFX applications and acquired the necessary knowledge to utilize essential functions of the MediaPlayer.
Frequently Asked Questions
What is JavaFX?JavaFX is a framework for creating modern GUI applications in Java.
How do I import audio files into my JavaFX project?Insert the audio files into the resources folder of your project and access them via the class getClass().getResource().
How can I change the volume of a MediaPlayer?You can change the volume with mediaPlayer.setVolume(double value), with a range from 0.0 to 1.0.
Does this audio player also work with video files?Yes, you can use similar steps to create a video player by extending the Media and the corresponding MediaPlayer to video resources.
Are the methods play(), pause(), and stop() applicable to all audio formats?Yes, as long as the audio file is in a supported format, these methods can be used to control playback.


