The use of TextArea is a crucial component in JavaFX GUI development. In this guide, you will learn how to effectively integrate TextArea into your program. TextArea allows users to enter longer texts, significantly improving the user experience. Let’s get started and go through the individual steps of implementation.
Key insights
- TextArea offers a flexible way to enable longer text input in JavaFX.
- You can adjust the number of columns and rows to optimize the user interface.
- TextArea supports line breaks and a scrolling function that enhances usability.
Step-by-step guide
Step 1: Import the TextArea class
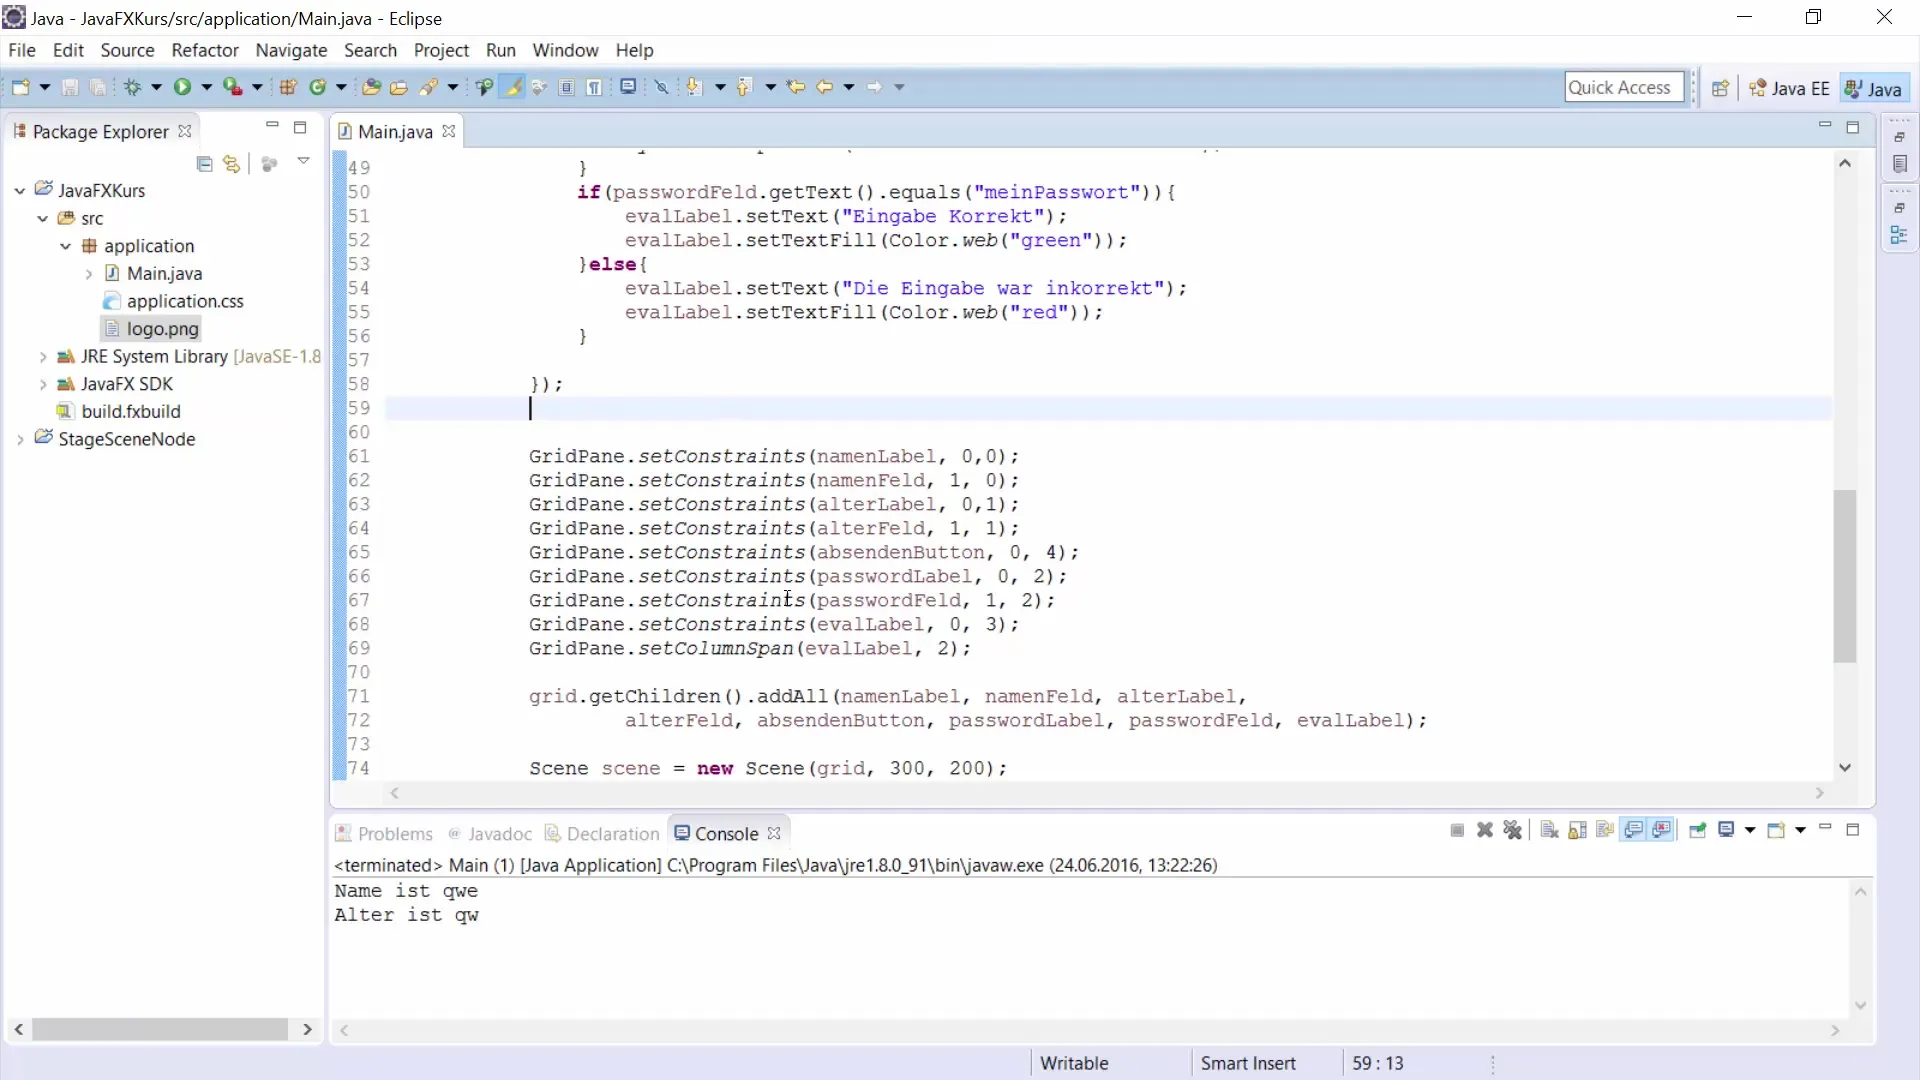
First, you need to import the TextArea class into your program. This is necessary to use the functionalities of this class. Make sure to use the Scene Control library.
Step 2: Define the TextArea
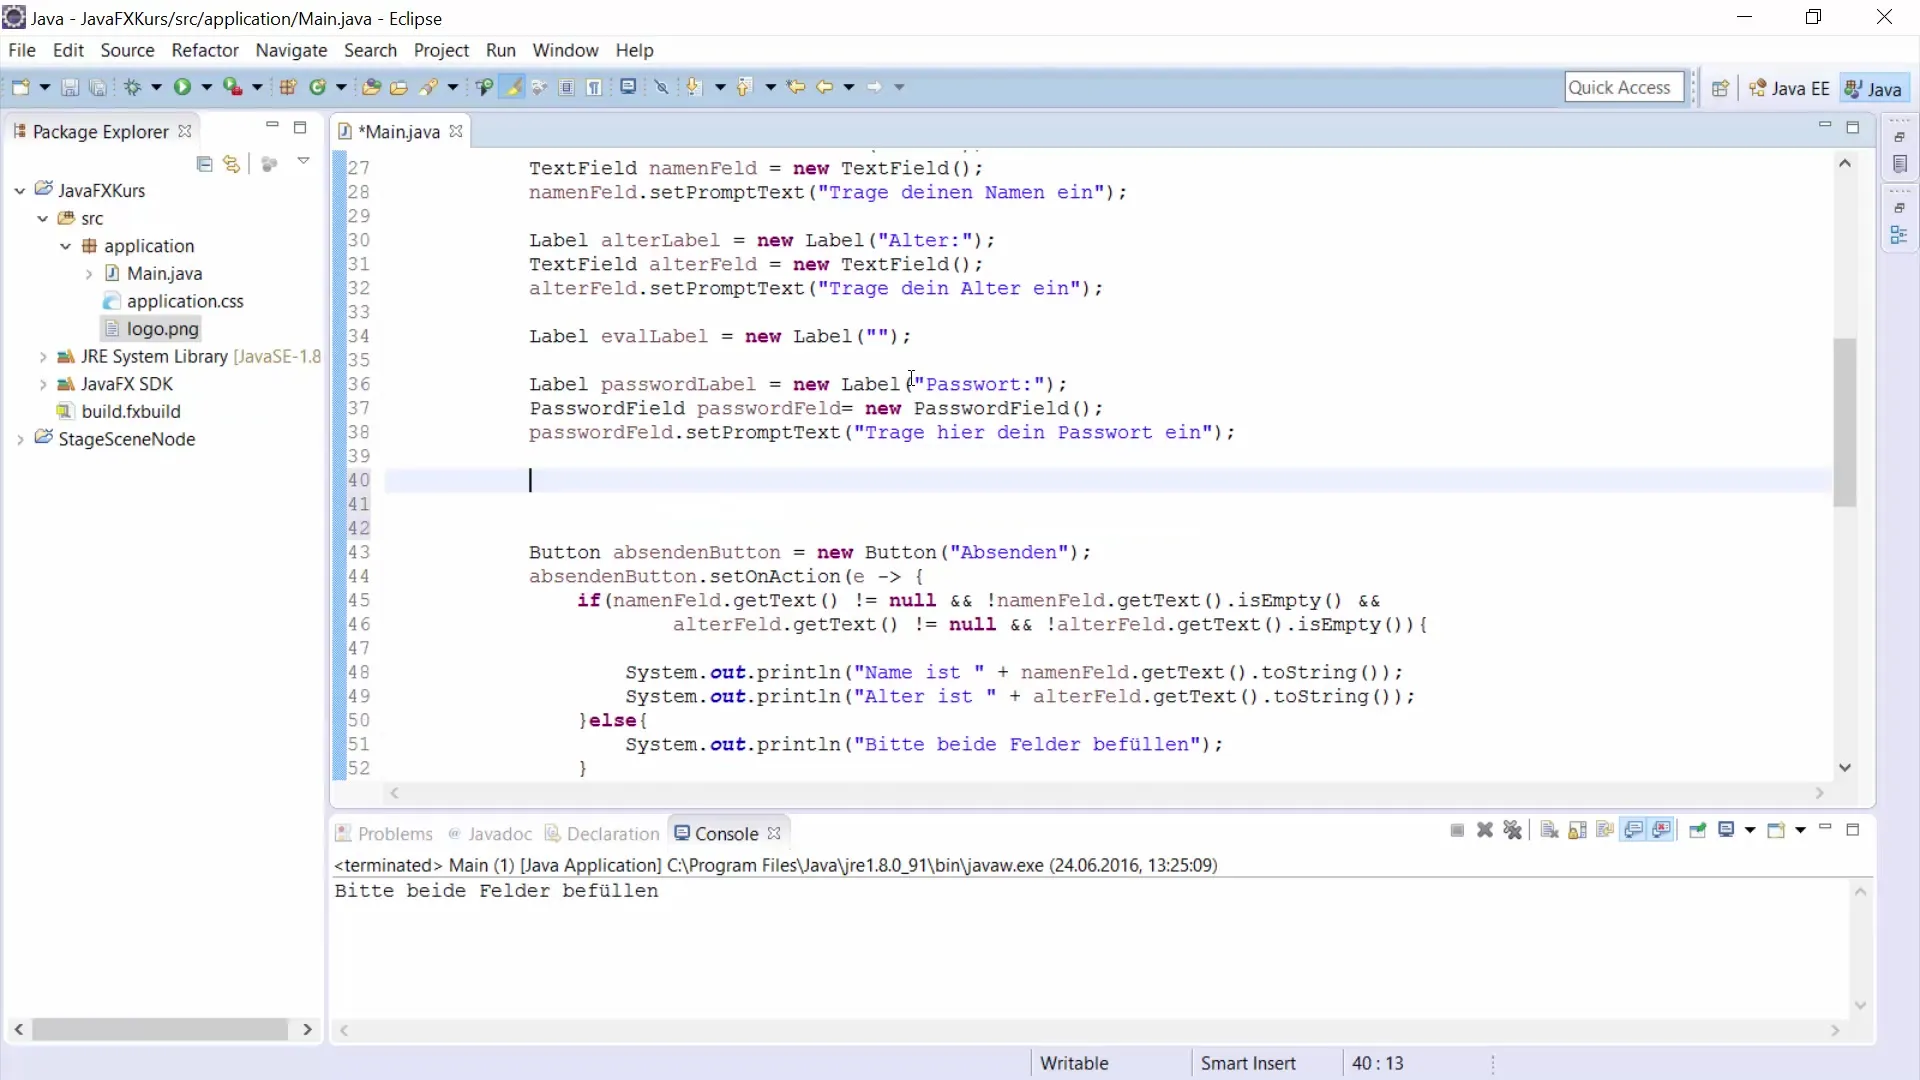
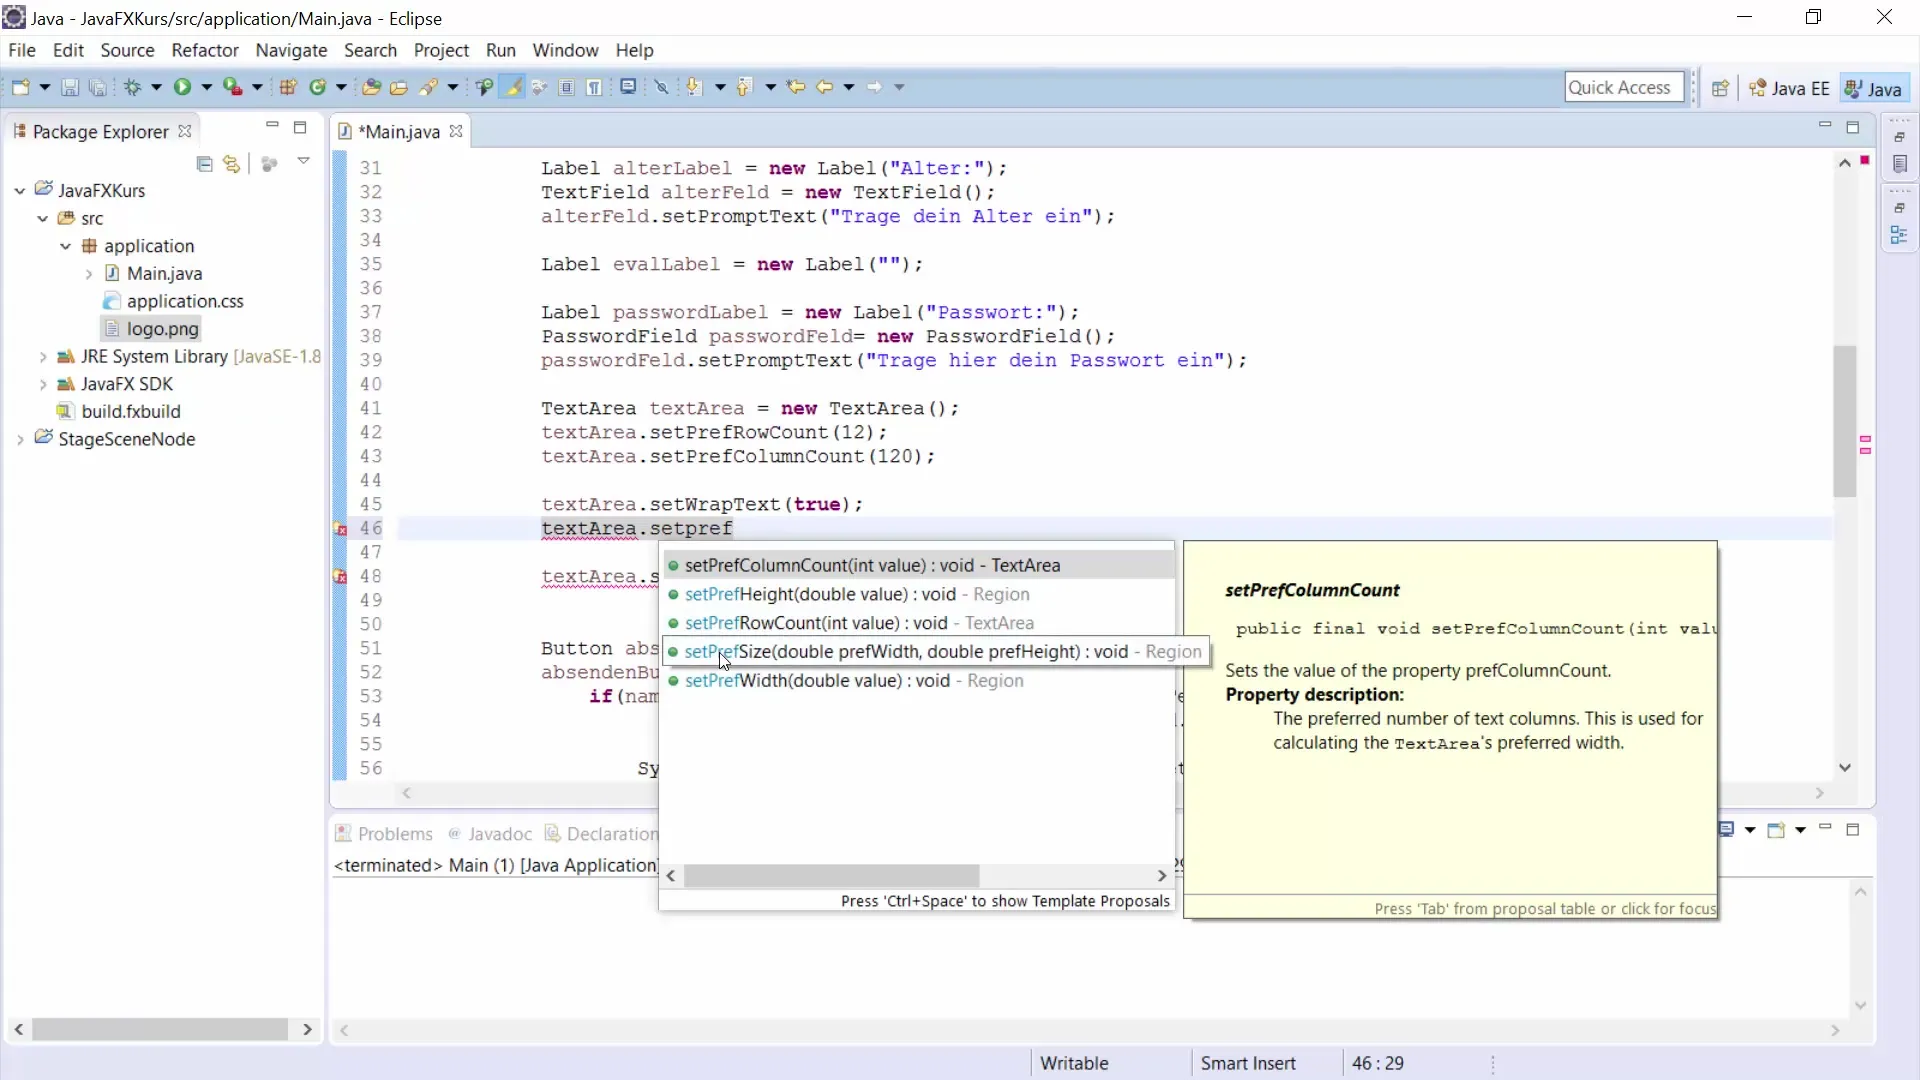
Now define the TextArea within your program. You can set the number of lines to be displayed in the TextArea using the method setPrefRowCount(). For example, if you want 12 lines to be displayed, use the corresponding call.
Step 3: Determine the number of columns
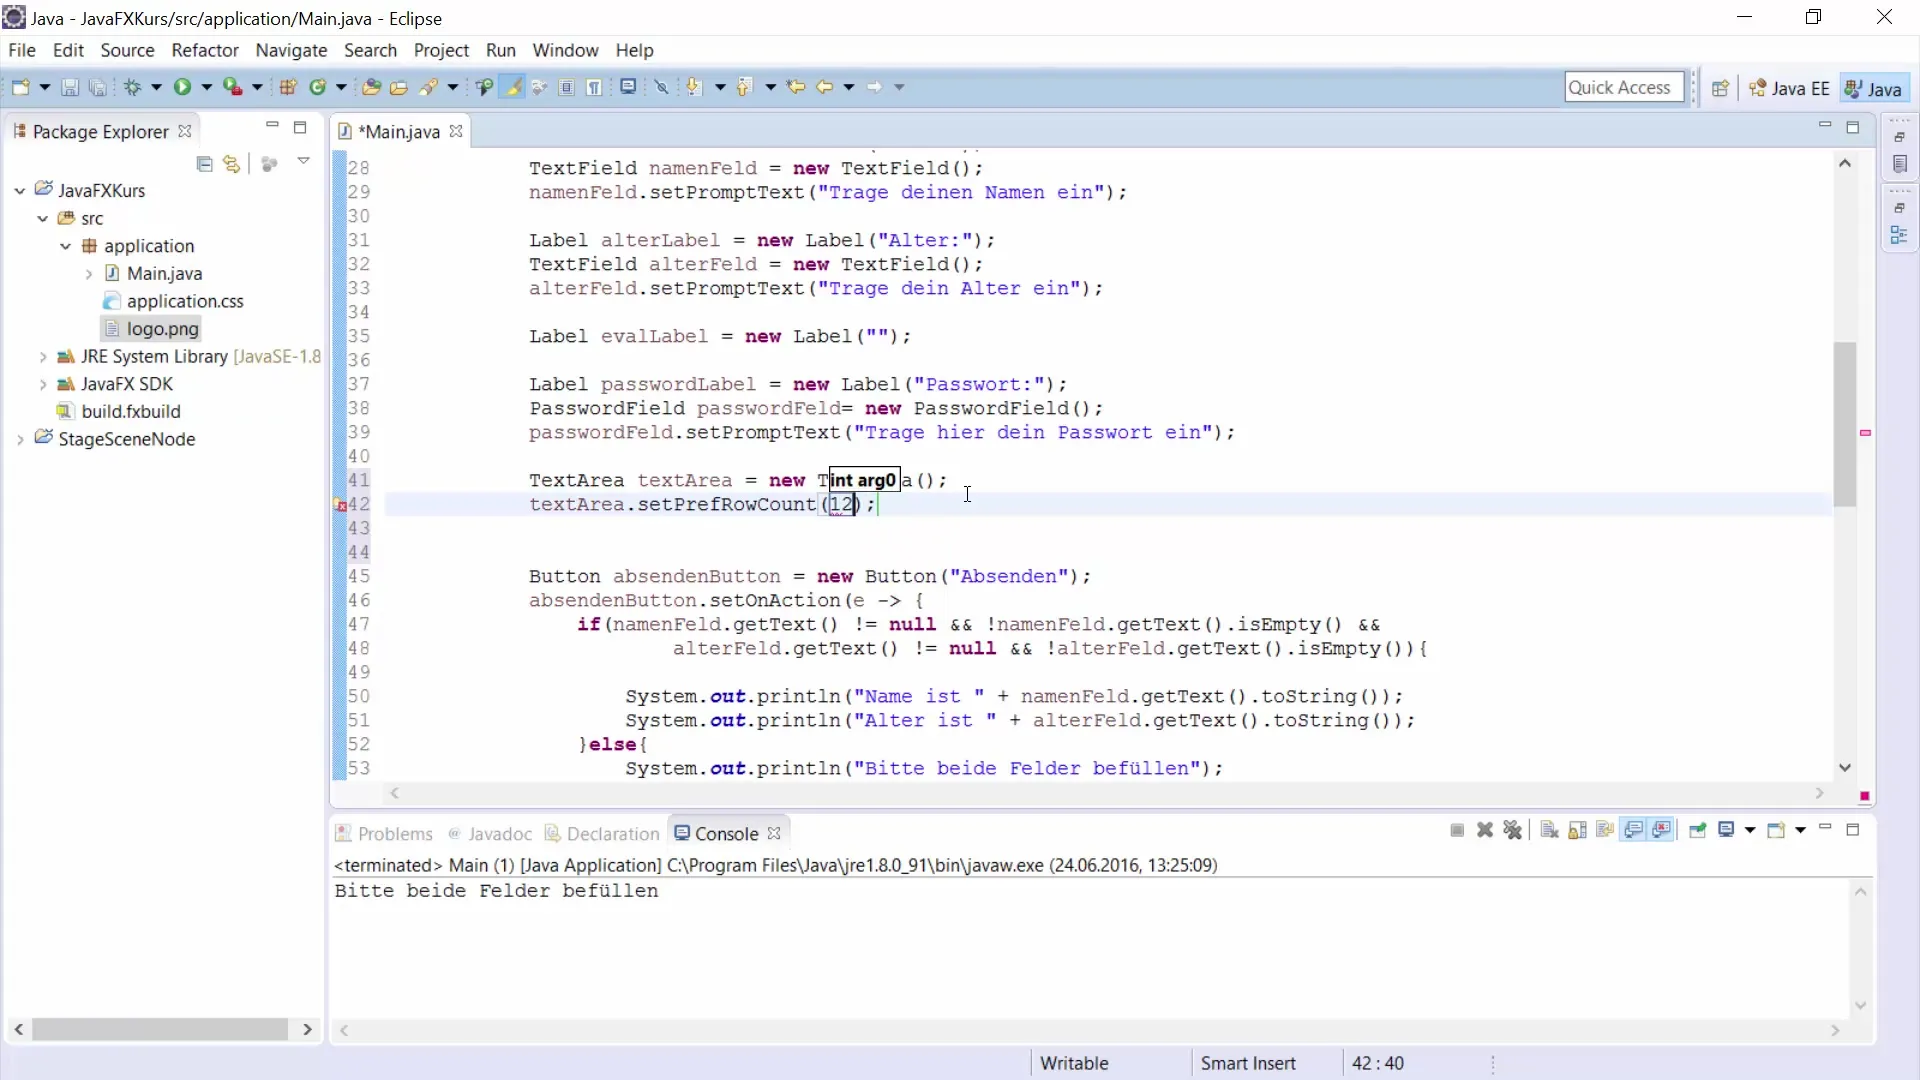
It is also possible to define the number of columns that will fit in the TextArea. You can use the method setPrefColumnCount() for this purpose. If you want the TextArea to have 120 columns, set this with the appropriate value.
Step 4: Enable text wrapping
To ensure that longer texts are not displayed outside the TextArea, enable text wrapping. Use the method setWrapText(true) for this. This is especially important for the user to see the input clearly.
Step 5: Set the initial text
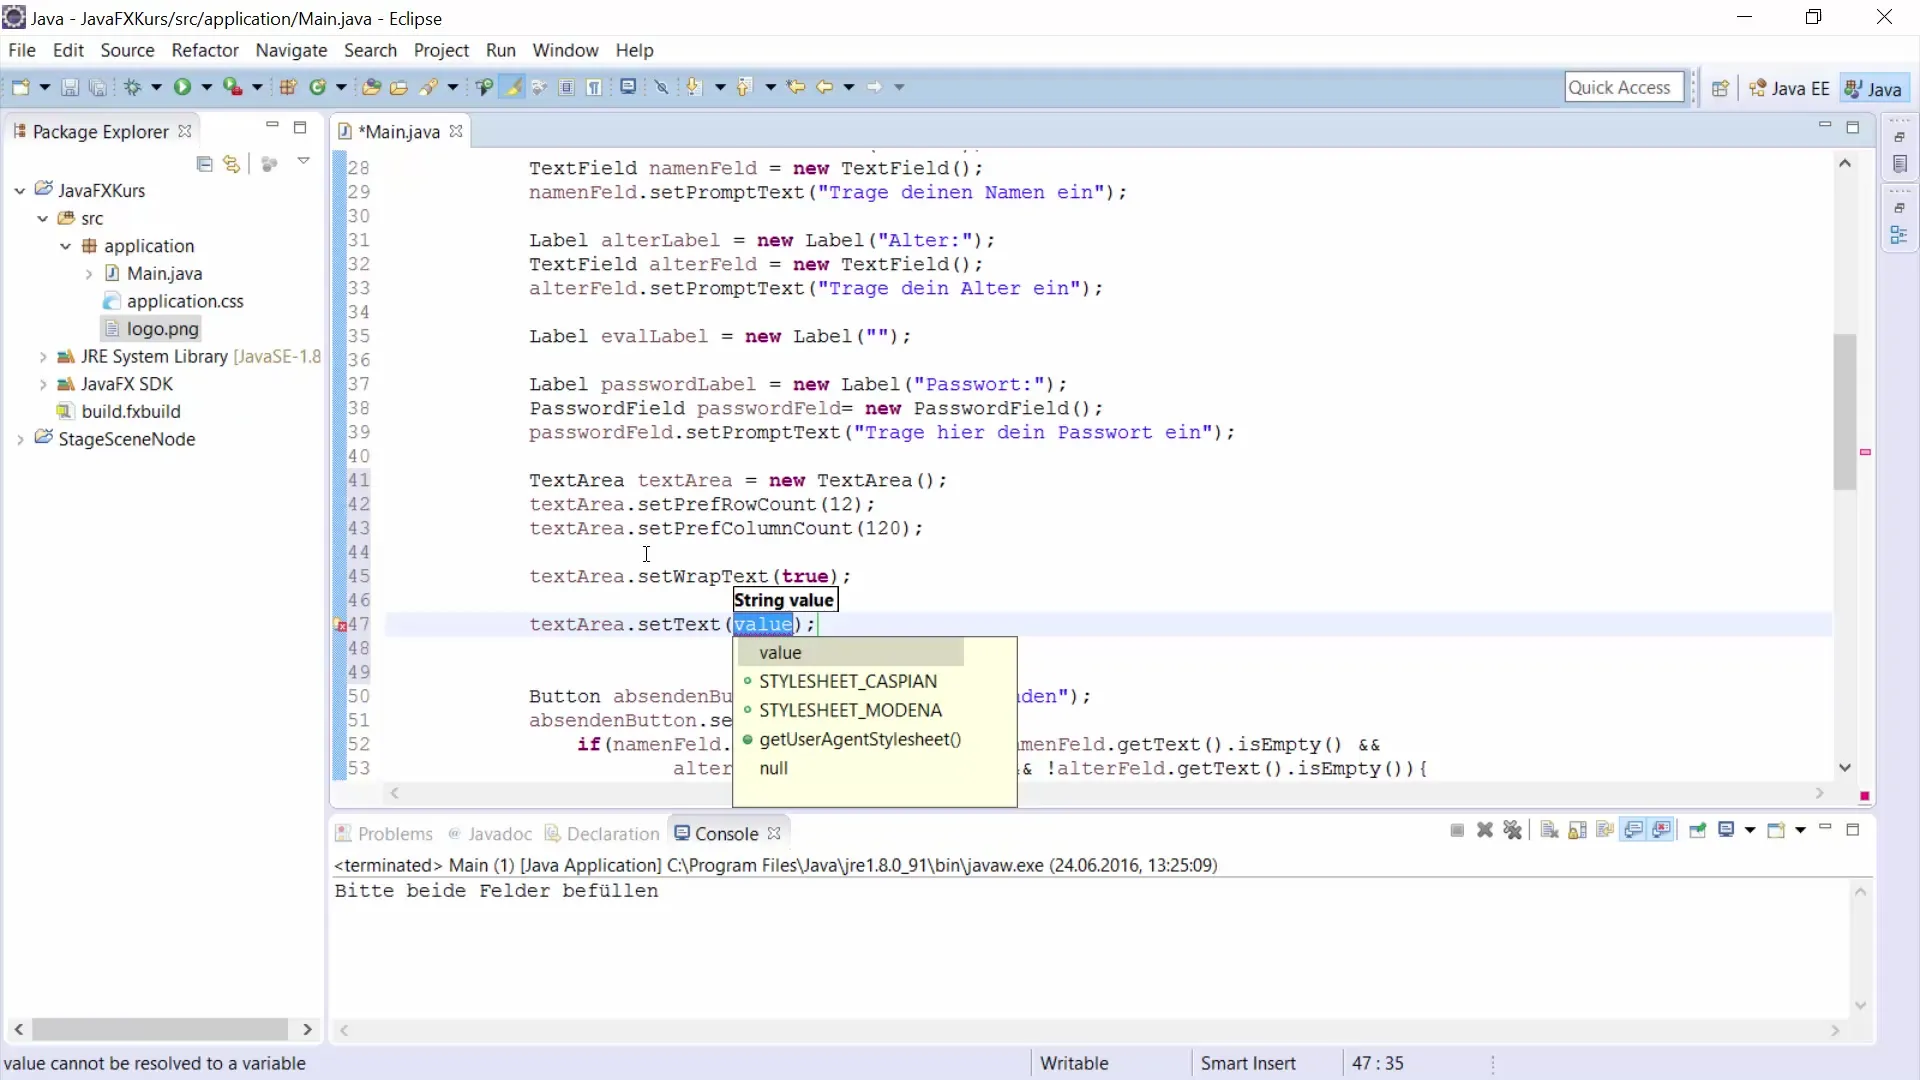
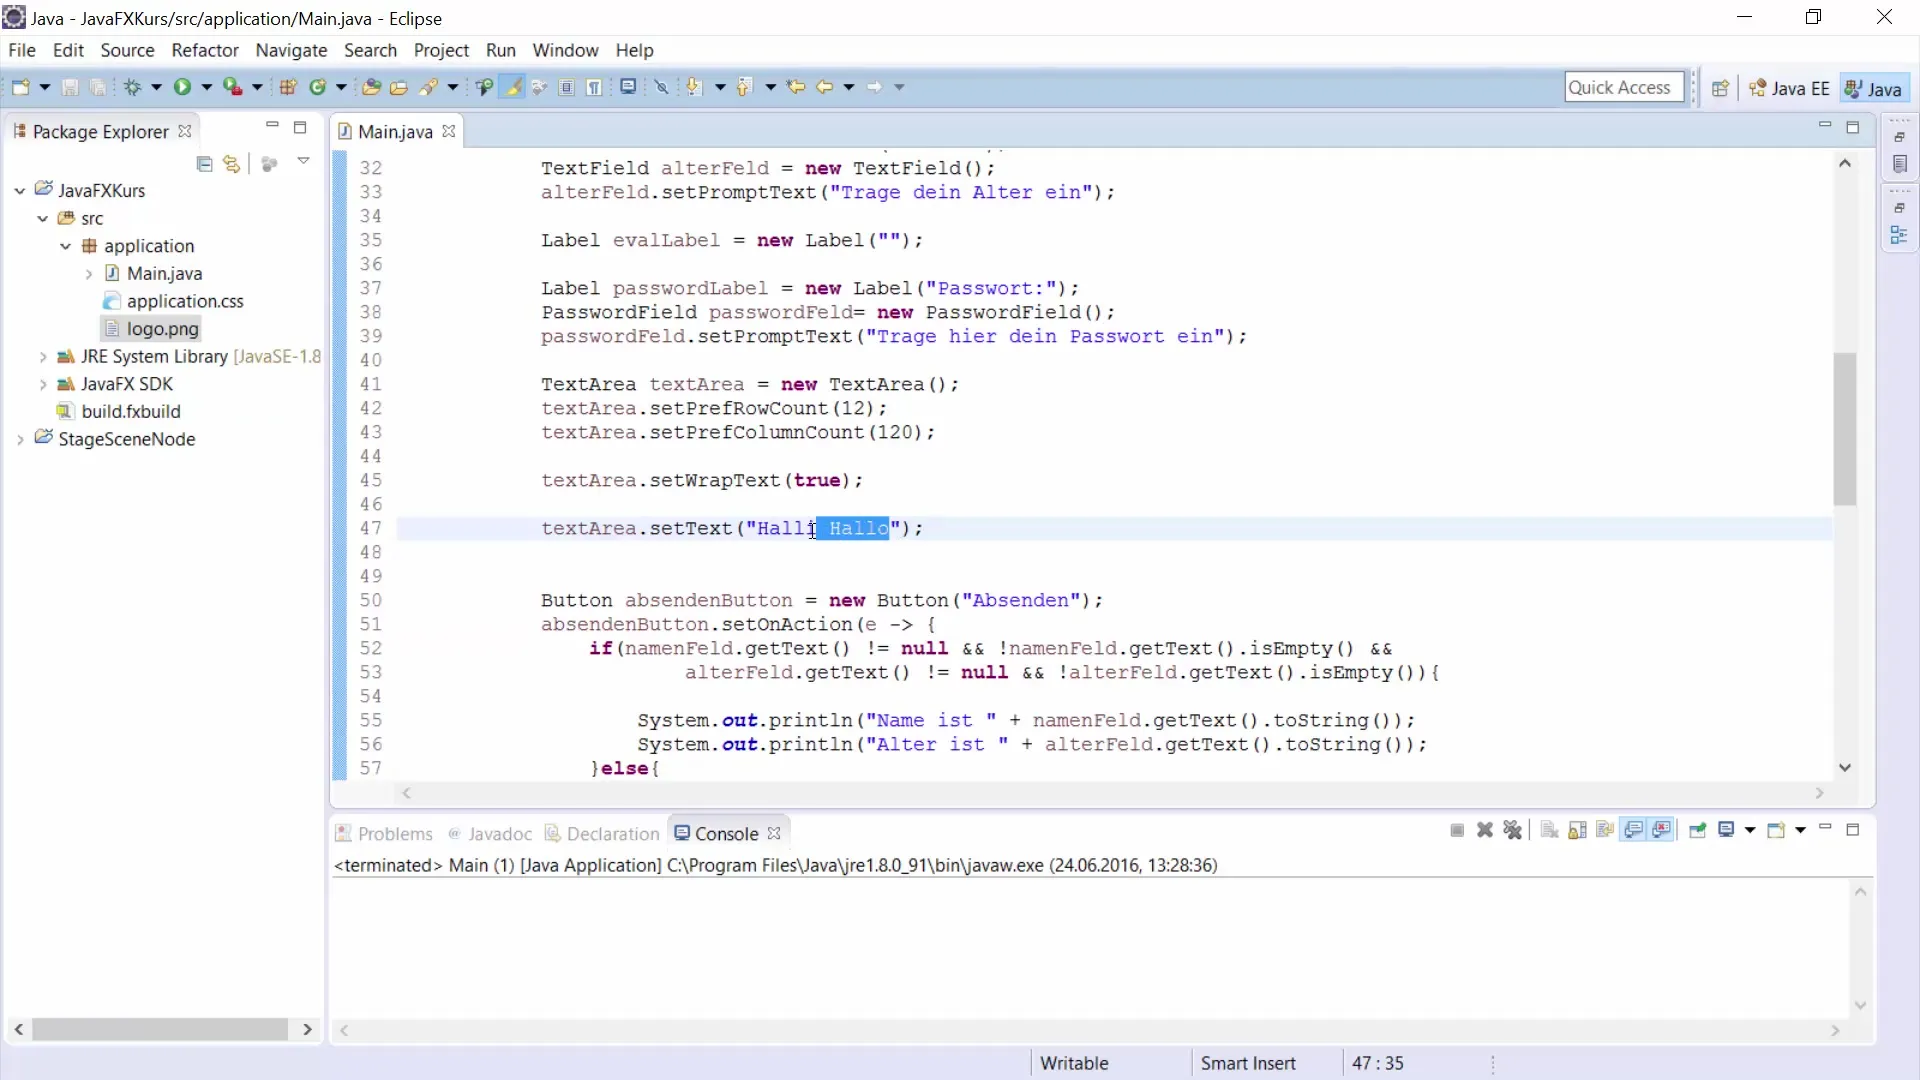
You can immediately add content to the TextArea using the method setText(). This function allows you to display a default text like "Hello" that is visible when the program starts.
Step 6: Add the TextArea to the interface
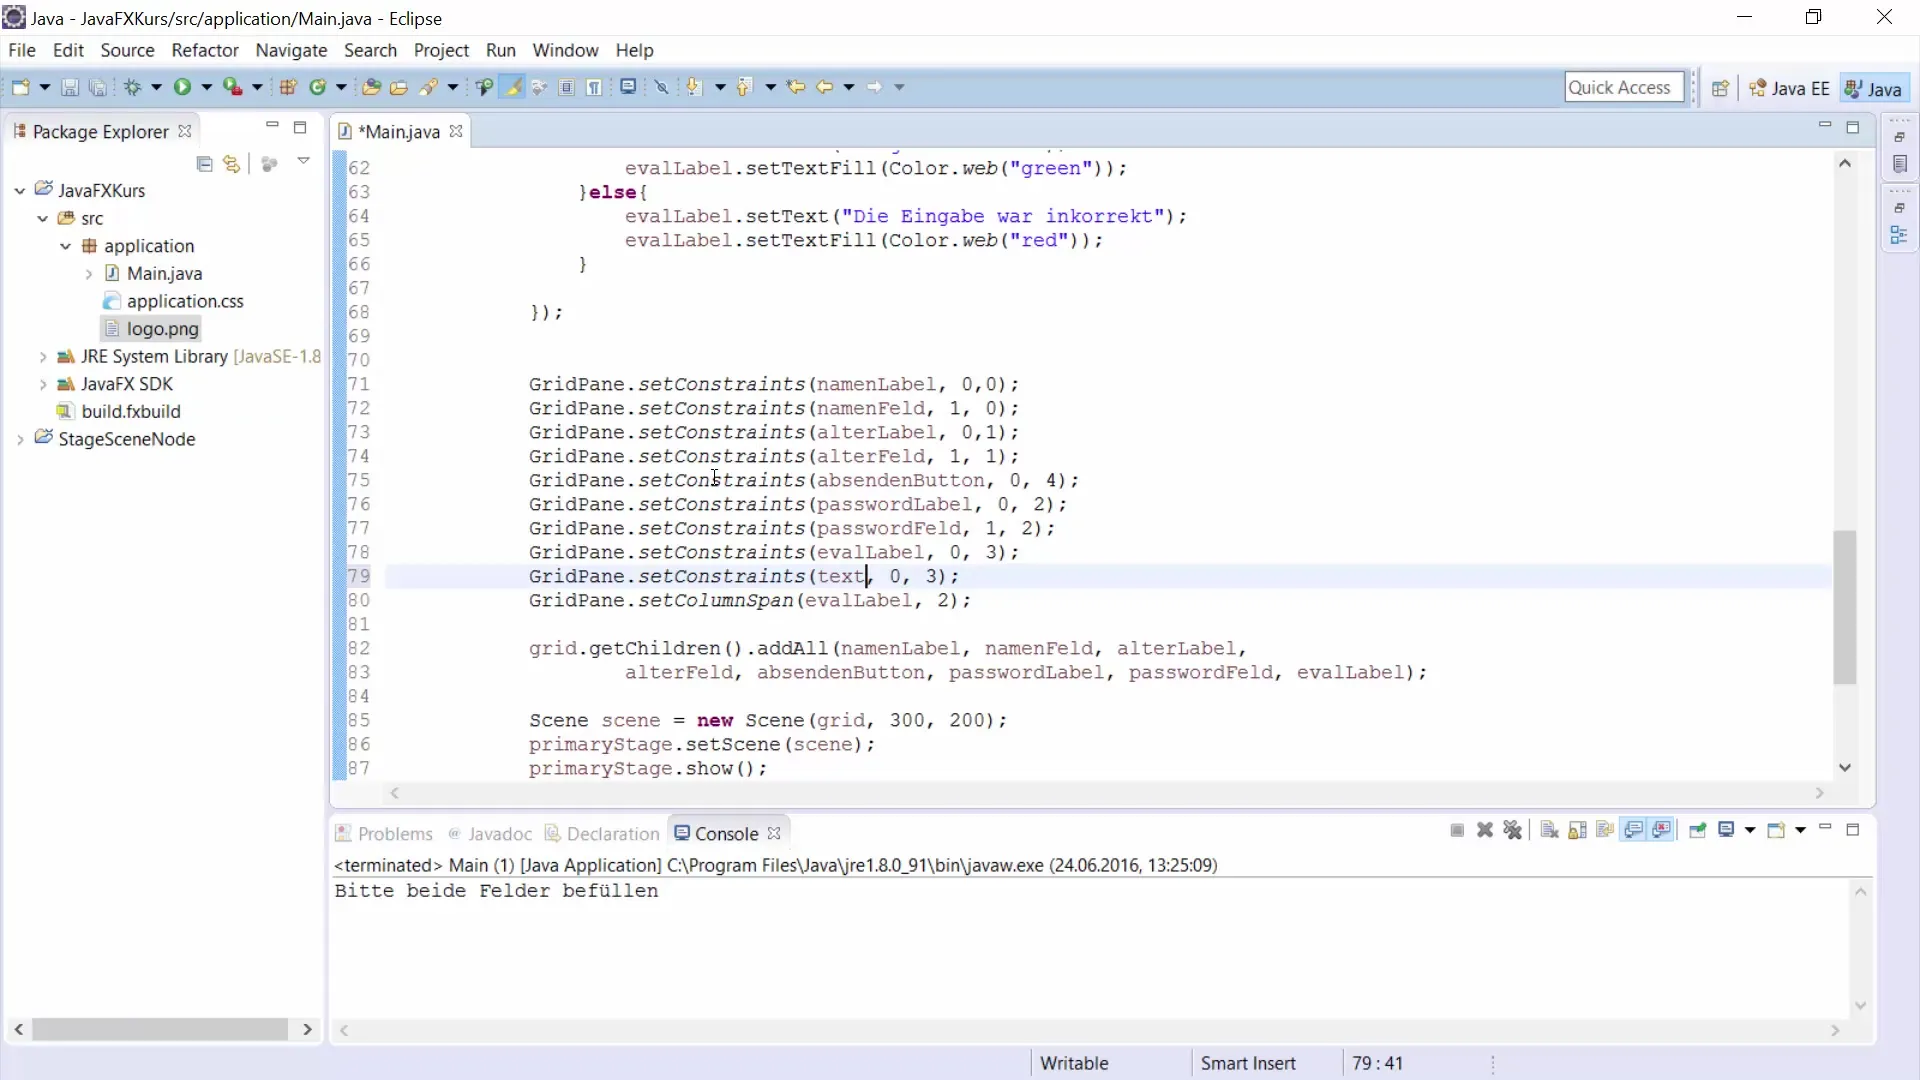
Now it’s time to add the TextArea to your user interface. For example, use a GridPane and define the position where the TextArea should appear.
Step 7: Adjust the layout
It may happen that adding the TextArea shifts other UI elements. Make sure to use columnSpan efficiently to optimize layout changes and achieve a harmonious overall appearance.
Step 8: Interact with the TextArea
Test the input options in the TextArea. You can add different lines by entering \n and ensure the text processes both long and short texts well.
Step 9: Adjust the size of the TextArea
You also have the option to precisely adjust the size of the TextArea. With methods like setPrefWidth() and setPrefHeight(), you can define the width and height of your TextArea to ensure it fits optimally into your layout.
Step 10: Preview the changes
Now you should run your program to see how the TextArea looks in the user interface and whether everything works as expected. Make sure that the size, the entered text, and the arrangement of the elements meet your expectations.
Summary – Using TextArea in JavaFX for effective GUI development
In this guide, you have learned how to implement and customize TextArea in JavaFX to create a user-friendly interface. The various steps and functions enable you to optimally integrate TextArea and enhance the user experience.


