Create a user-friendly HTML-editor with JavaFX that offers you the ability to transfer text formatting and styles into HTML code. This guide will walk you step by step through the development of a functional editor that allows you to display not only the entered text but also present it in a browser and generate the corresponding HTML code. By implementing various functions, you can independently create and customize website content.
Key Insights
- Creating an easy-to-use HTML editor with JavaFX.
- Ability to display HTML code and execute it in a WebView.
- Learning basic JavaFX components like Button, TextArea, and WebView.
Step-by-Step Guide
To create the HTML editor, you will follow these steps one by one.
Step 1: Preparing the Environment
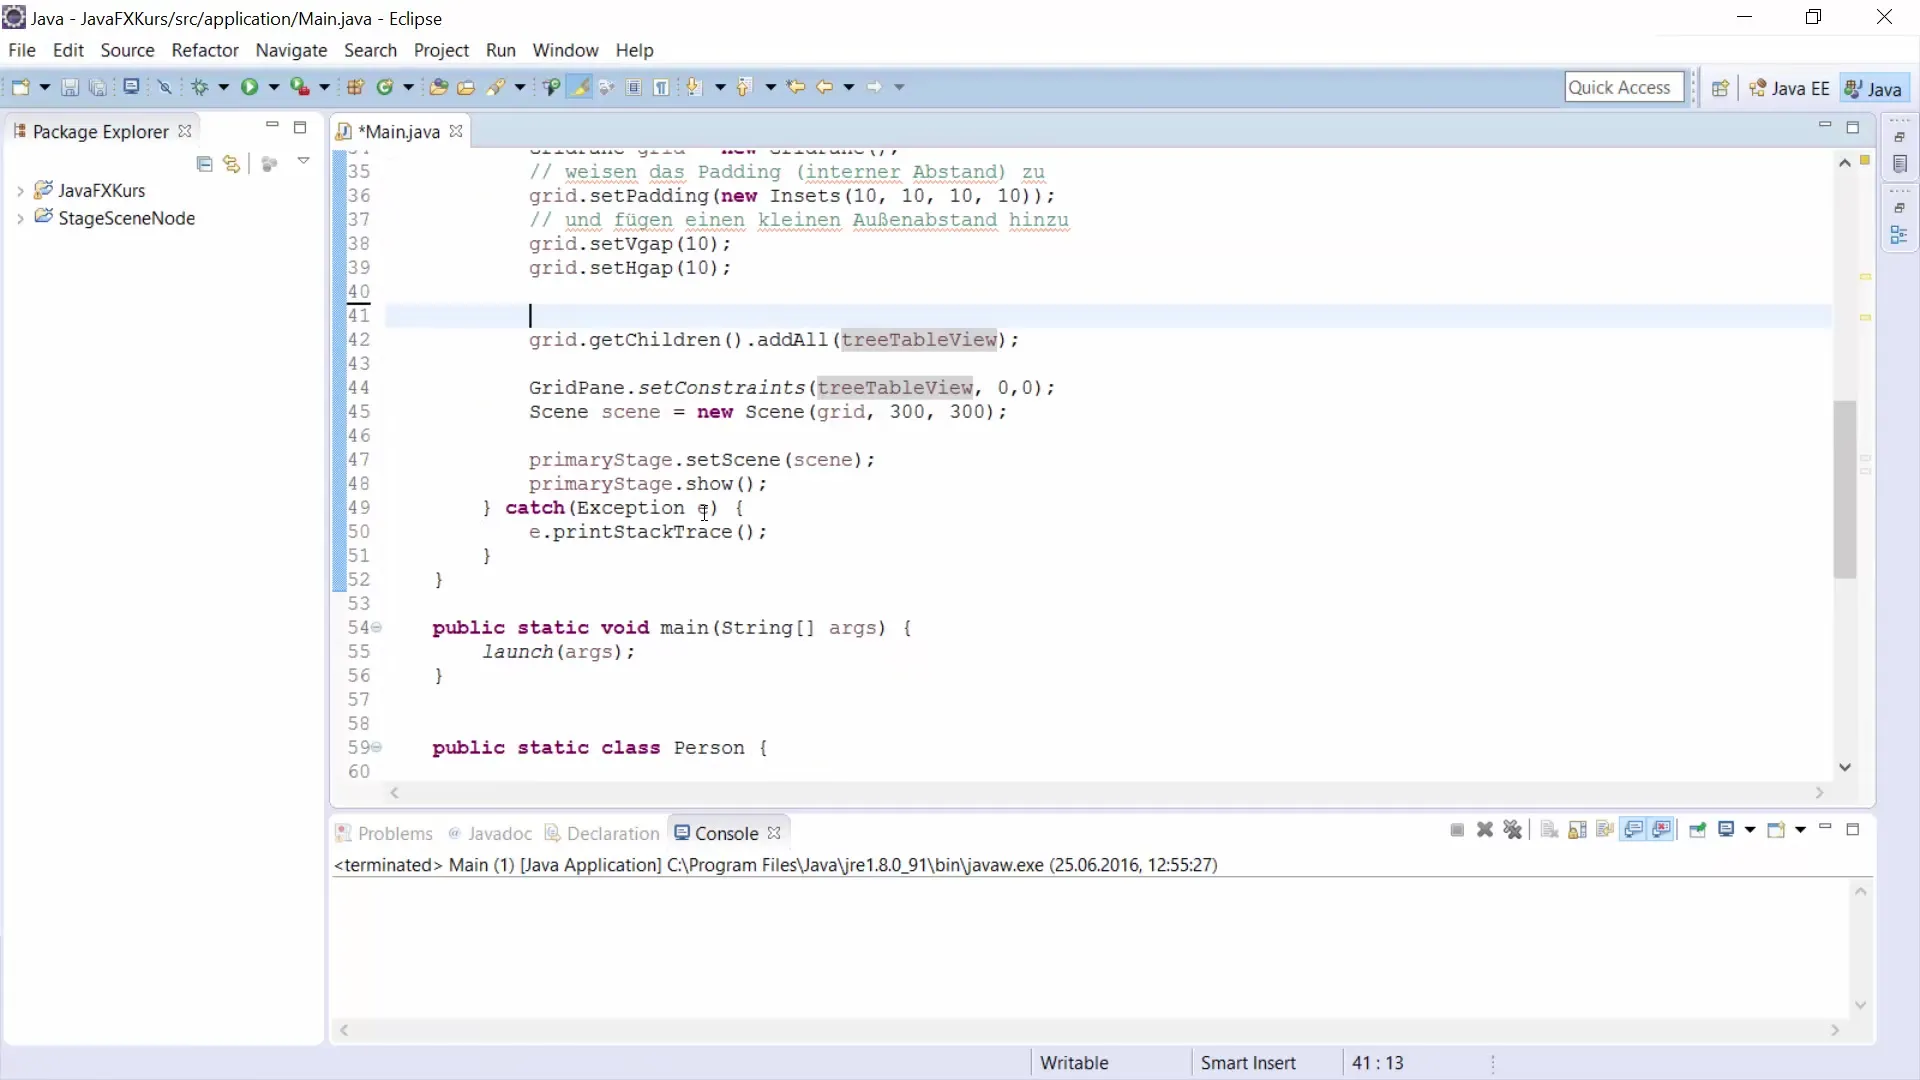
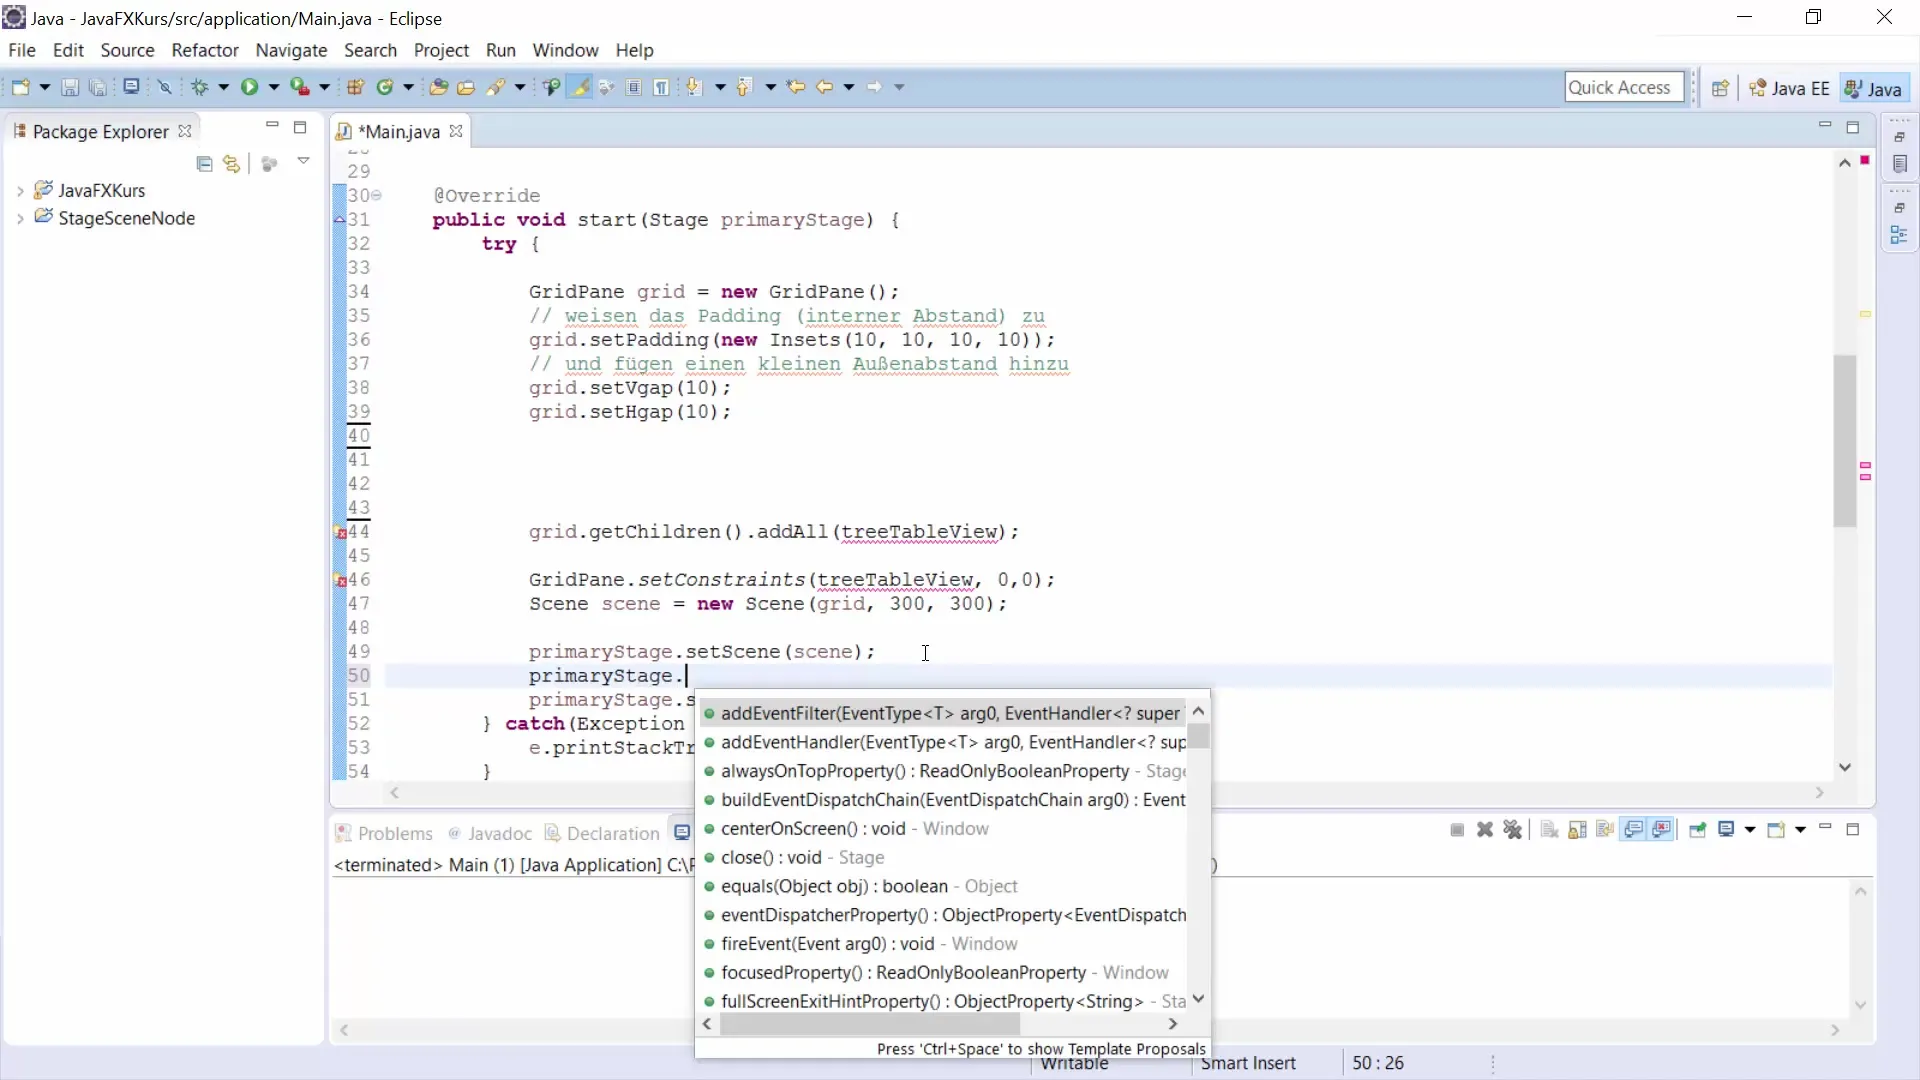
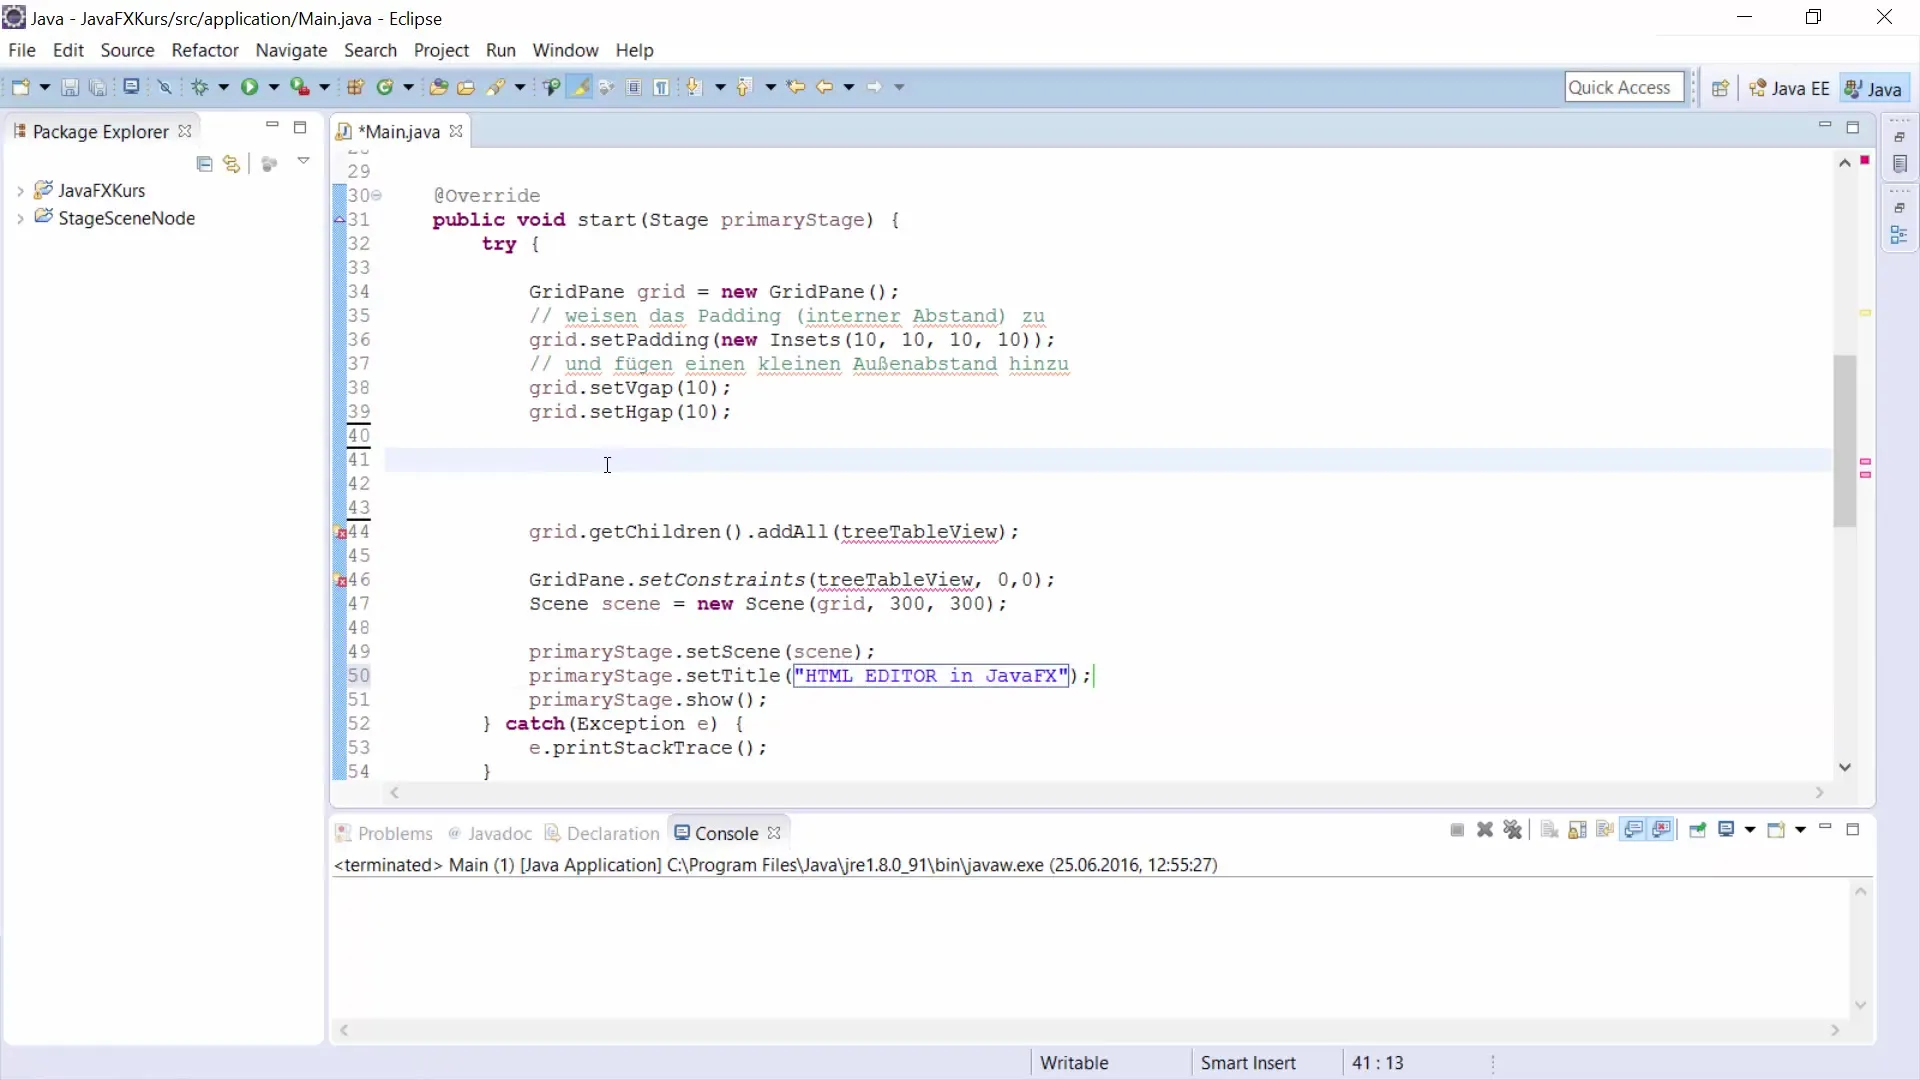
First, remove the Treetable view from the previous video to have a clean start with the HTML editor. You set up the primary stage with the title "HTML Editor in JavaFX".

Step 2: Creating the HTML Editor
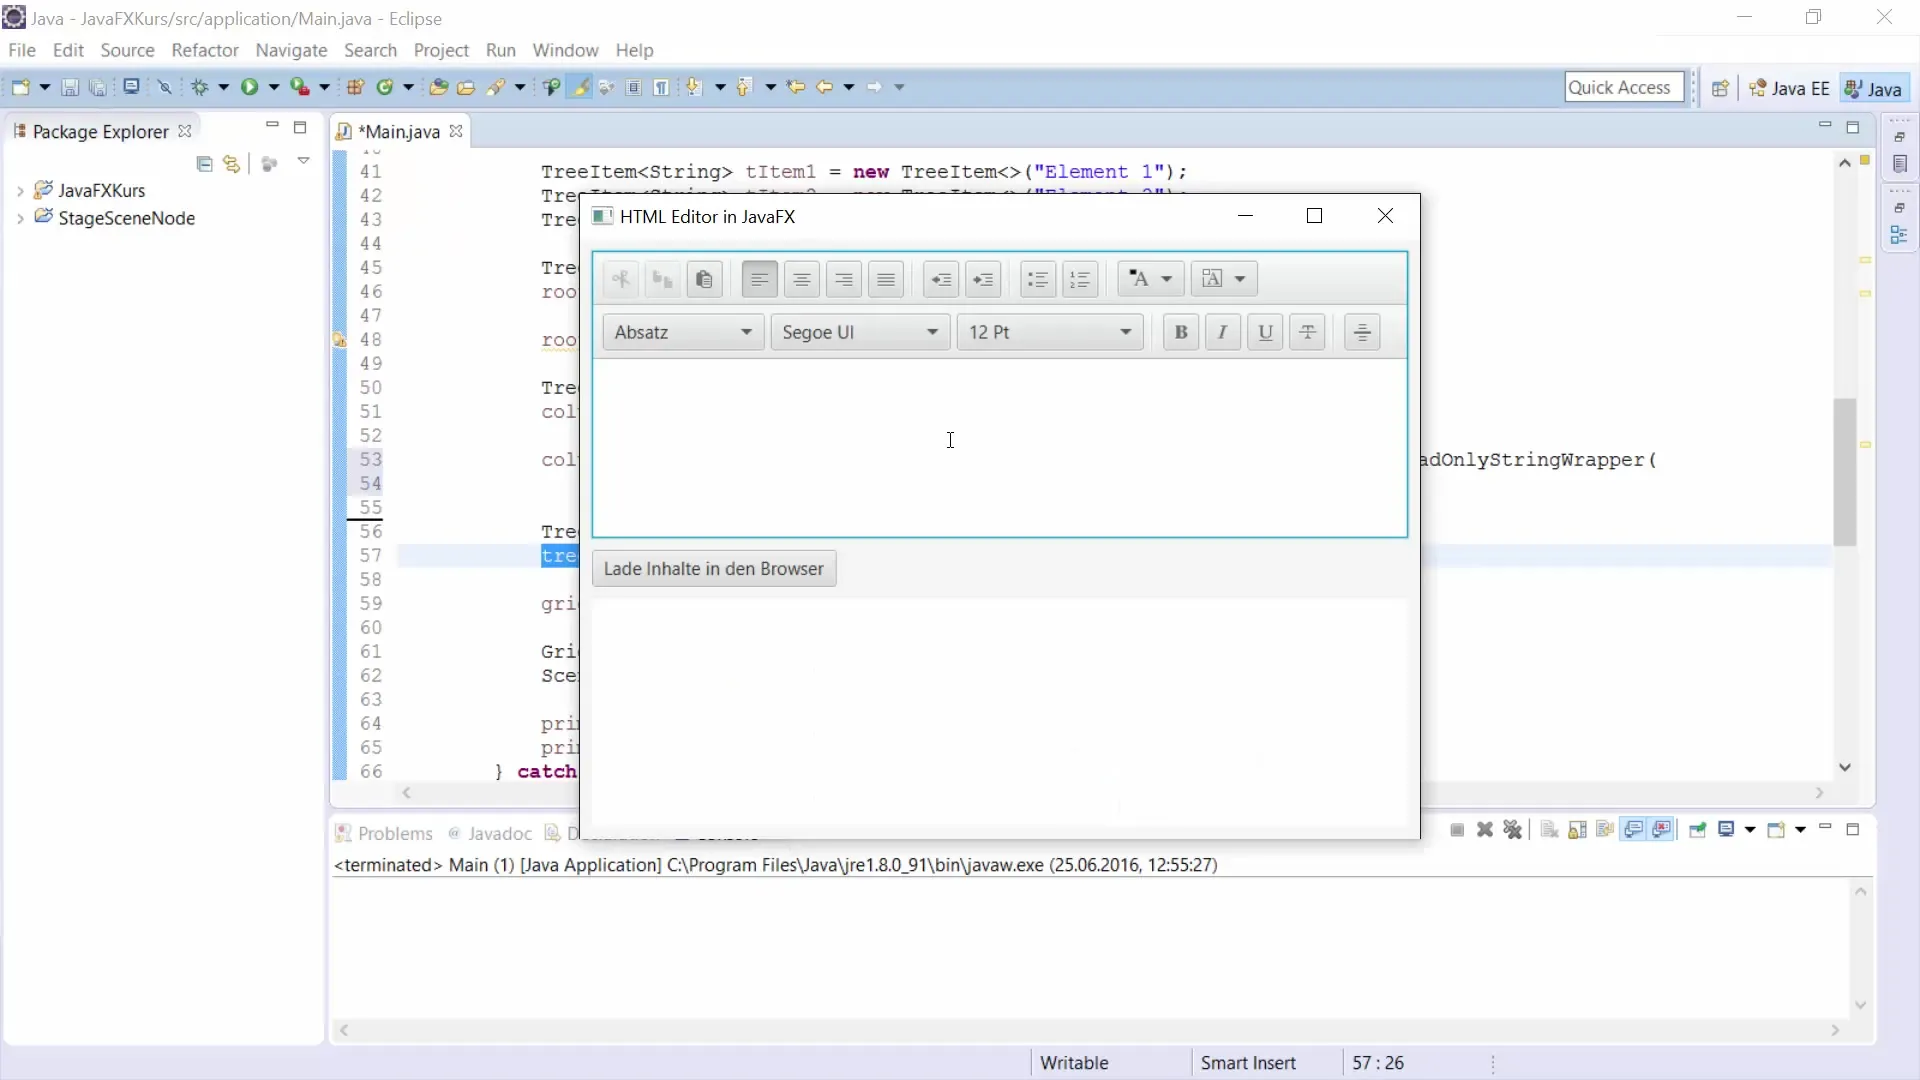
Here, you add the HTML editor by creating an instance of the HTML Editor class. This makes it easier to manipulate the text, and you can access it to format the text.
Step 3: Customizing the Editor
You can adjust the height of the editor to 250 pixels and ensure it has the required size to allow for a better view of the content, for example.
Step 4: Creating a WebView
To display the HTML code, you create a WebView and set its dimensions to 300x200 pixels. This WebView will be used to present the content of the webpage.
Step 5: Creating a TextArea for HTML Code
A TextArea is needed to display the generated HTML code. This TextArea is also sized appropriately so it can comfortably reflect the HTML code.
Step 6: Button for Displaying HTML Code
You add a button labeled "Show HTML Code". This button will have the function of converting the text from the HTML editor into the HTML code.
Step 7: Implementing Button Functionality
You implement the functionality for the button so that when clicked, the HTML text from the editor is written into the TextArea. This gives you immediate feedback on the HTML code you have just generated.
Step 8: Formatting the HTML Code
To make the HTML code readable, you use the function setWrapText(true) so that the text does not stay in one line but wraps properly.
Step 9: Creating the WebEngine
To prevent damage while browsing, you need to create a WebEngine for the WebView. This is required to display the content of the HTML editor in the respective browser.

Step 10: Loading Content in the Browser
Then, you link the button to a function call that instructs the WebEngine to load the HTML content of the editor. This allows you to view live content as it would appear on a webpage.

Step 11: Final Testing
At the end, conduct a test by entering text in the HTML editor, applying formats, and finally clicking your "Show Content in Browser" button. You should see the results in the embedded WebView below.

Step 12: Refinements and Final Testing
Adjust the design elements and conduct final tests to ensure everything functions as expected. In particular, check the browser functionality and HTML generation.
Summary – Creating an HTML Editor for JavaFX
With this guide, you should be able to create your own HTML editor in JavaFX. You have covered the basics of the user interface and can now format texts, generate the corresponding HTML code, and display this content live in the browser. Experiment with the features and extend the application to meet your personal requirements.
Frequently Asked Questions
What is an HTML editor?An HTML editor is a software application that allows you to create and edit HTML code.
Which language is used in this tutorial?This tutorial uses JavaFX as the programming language.
Can I use the editor on other platforms as well?Yes, as long as they support the JavaFX library, the editor can be used on various platforms.
Which components are used in the example?The components used include HTML Editor, TextArea, Button, and WebView.
Is the source code for the HTML editor available?The source code is not provided in this guide, but you can follow the steps and implement it yourself.


