The options for users in a graphical interface are crucial for the user experience. The ChoiceBox in JavaFX allows you to create a simple and effective selection option. This guide will show you step by step how to integrate a ChoiceBox into your JavaFX application and what features it can offer.
Key Insights
- A ChoiceBox allows the selection of various options from a dropdown menu.
- The selection can be dynamically linked with listeners and arrays.
- Tooltips can be added to provide additional information.
Creating a ChoiceBox
To get started with the program, I recommend using the previous project that works with checkboxes and graphics as a base. Here are the steps you need to follow.
Step 1: Creating the ChoiceBox
First, you create the ChoiceBox. This is typically done in the main part of your application, where you define the UI element.

Here you define a new ChoiceBox named CB.
Step 2: Adding Entries to the ChoiceBox
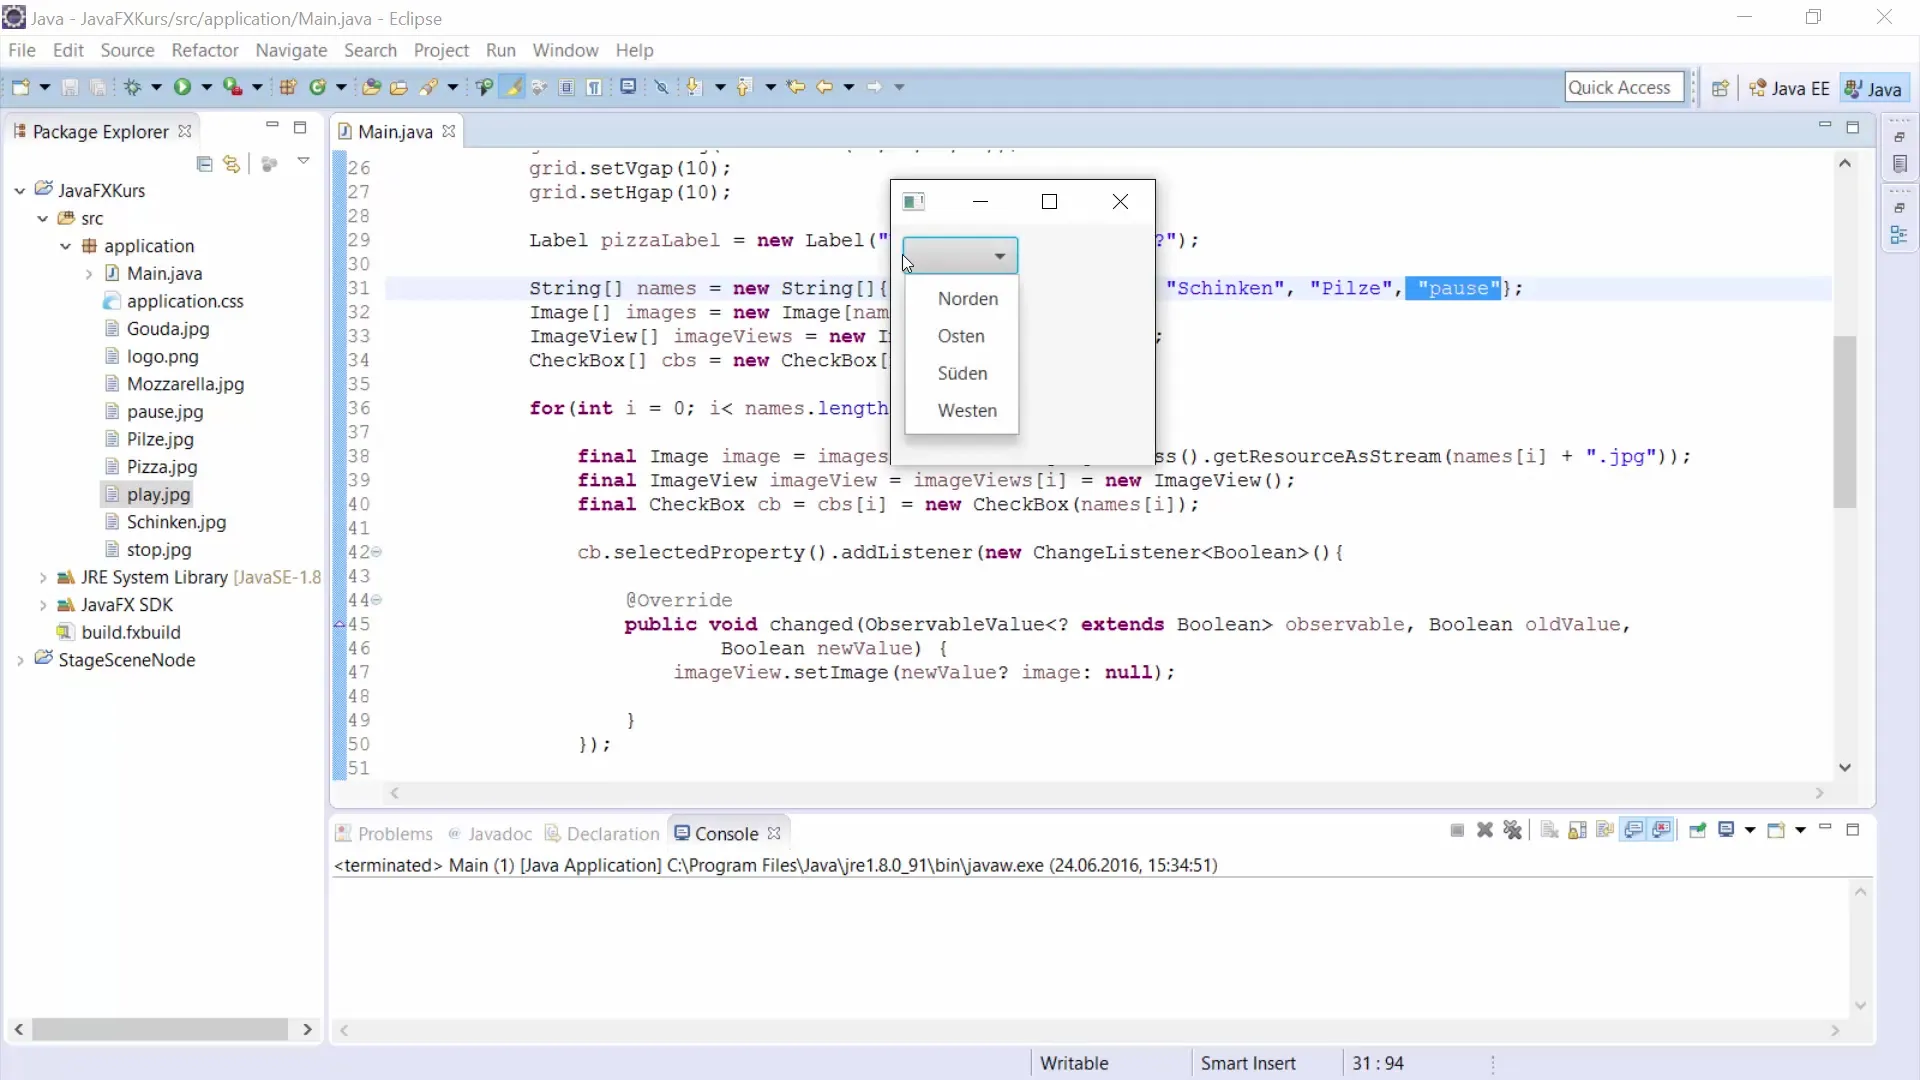
The ChoiceBox should now be filled with data. In this example, the cardinal directions and their neighboring countries are used as options.

To do this, you import an ObservableArrayList from the FXCollections class to manage the data.
Step 3: Linking Countries with the Cardinal Directions
Now you want to create a list of countries that are linked to the cardinal directions. A simple array helps you establish this relationship.
Step 4: Adding the ChoiceBox to the User Interface
Now you need to add the ChoiceBox to your UI layout. Use a GridPane or another layout that fits your design.
Step 5: Adding a Listener for the ChoiceBox
To respond to the selection in the ChoiceBox, you need to add a listener that tracks the changes and performs corresponding actions.
Step 6: Creating a Label for Output
It is important to create a label that displays the user's selection. At the beginning, the label does not have any text.
Step 7: Setting the Tooltip
Tooltips add a friendlier user experience by providing information about the ChoiceBox. Use the code to add a tooltip to the ChoiceBox.
Step 8: Testing the Application
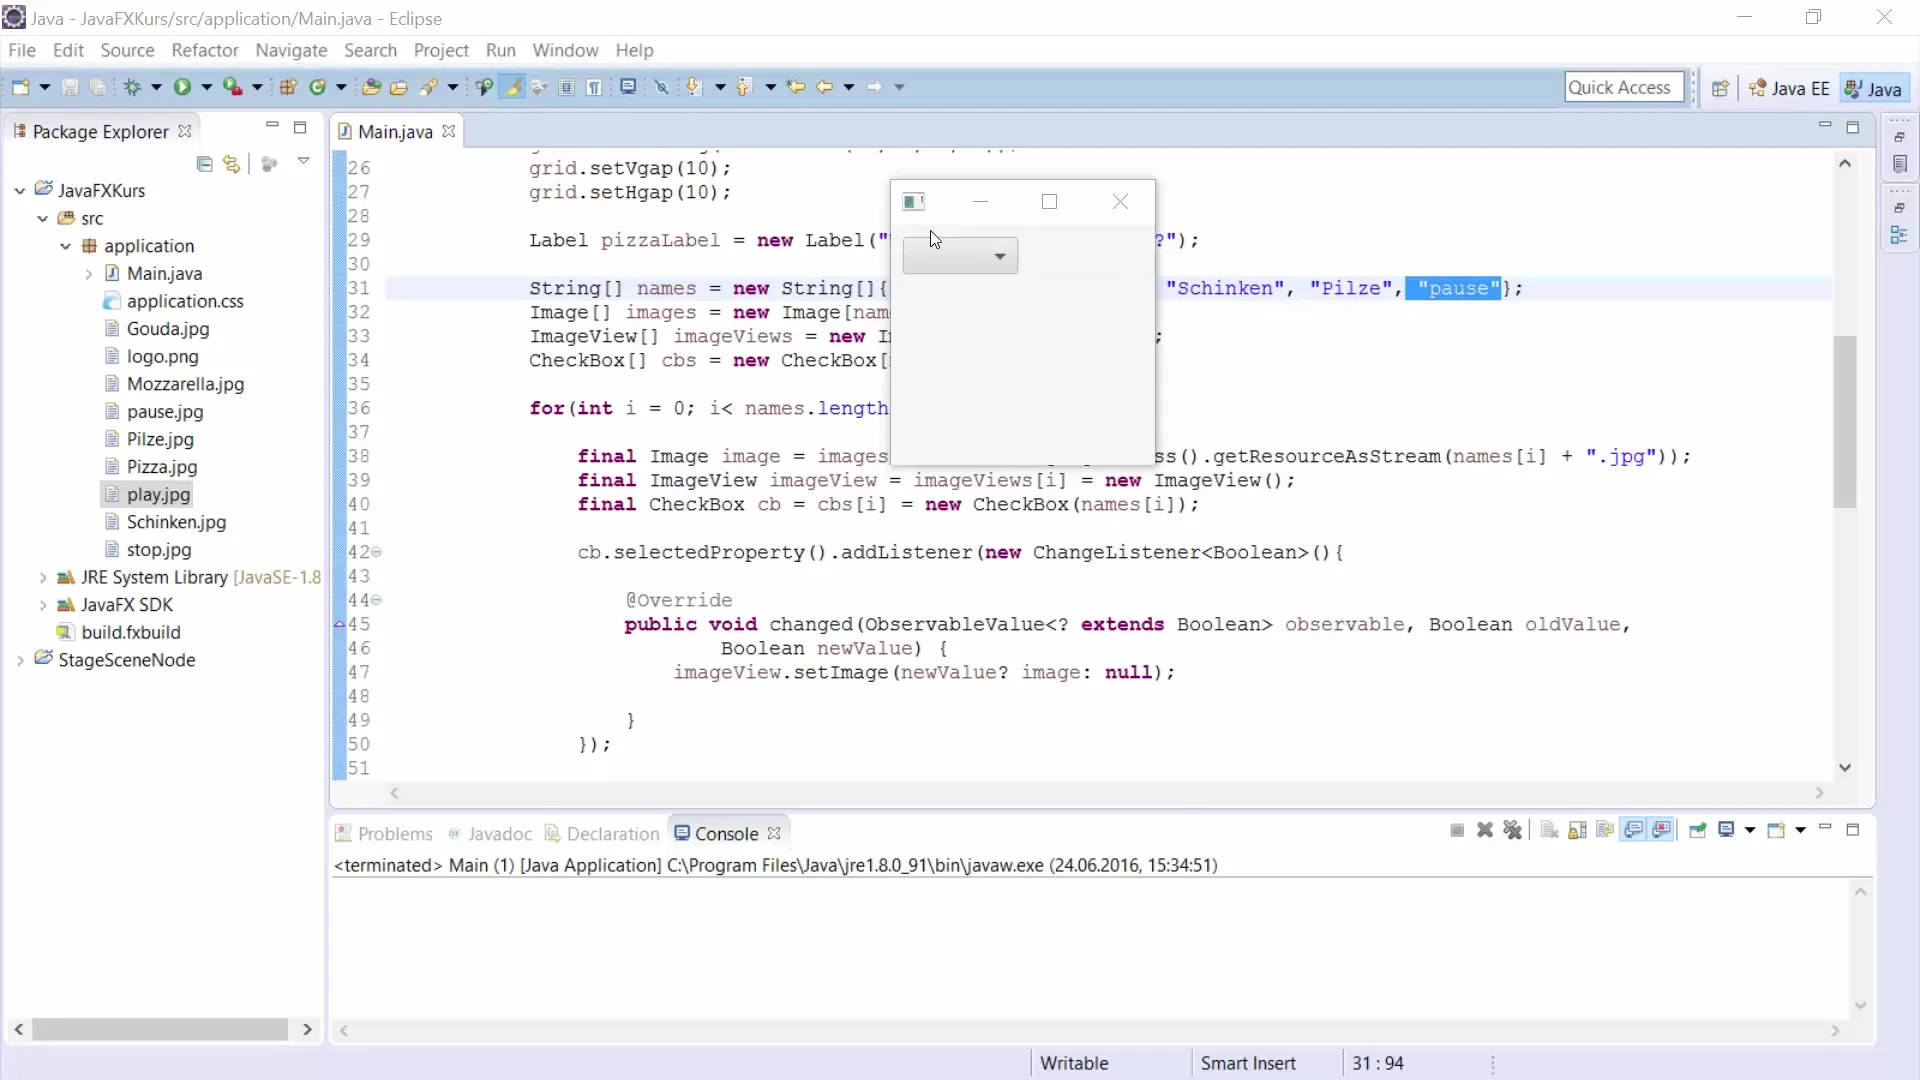
Now it's time to test the application to ensure everything works as expected. Select different cardinal directions and see if the correct neighboring countries are displayed.

When you select a direction now, it should change the displayed output in the label accordingly.
Summary – JavaFX ChoiceBox – A Practical Guide to Creation and Functionality
You have now learned how to create a ChoiceBox in JavaFX and link it with a list of options and their corresponding values. Additionally, you have seen the implementation of a tooltip that provides better orientation for users. You can now use this technique to create interactive and user-friendly applications.
Frequently Asked Questions
How do I create a ChoiceBox in JavaFX?You instantiate the ChoiceBox with ChoiceBox cb = new ChoiceBox(); and fill it with data.
How can I add a list of options to the ChoiceBox?Use ObservableList and add the options with cb.getItems().addAll(options);.
How do I link the ChoiceBox selection with a label?Implement a ChangeListener that changes the label text based on the selection.
What is the purpose of a tooltip?A tooltip provides additional information about UI elements to improve usability.
How do I test the ChoiceBox application?Start the application and select different options to verify functionality.


