The development of graphical user interfaces (GUIs) is an exciting and creative step in software programming. To ensure an effective workflow, a suitable software environment is of great importance. In this guide, I will show you how to download and install Eclipse and the Scene Builder for development with JavaFX. These tools allow you to create fascinating and user-friendly interfaces.
Key findings
- You need the Eclipse IDE and the Scene Builder to develop JavaFX applications.
- The installation is a simple process that may take a few minutes depending on your internet speed.
- Eclipse offers user-friendliness and flexibility to customize your workspace.
Step-by-Step Guide
Step 1: Download Eclipse
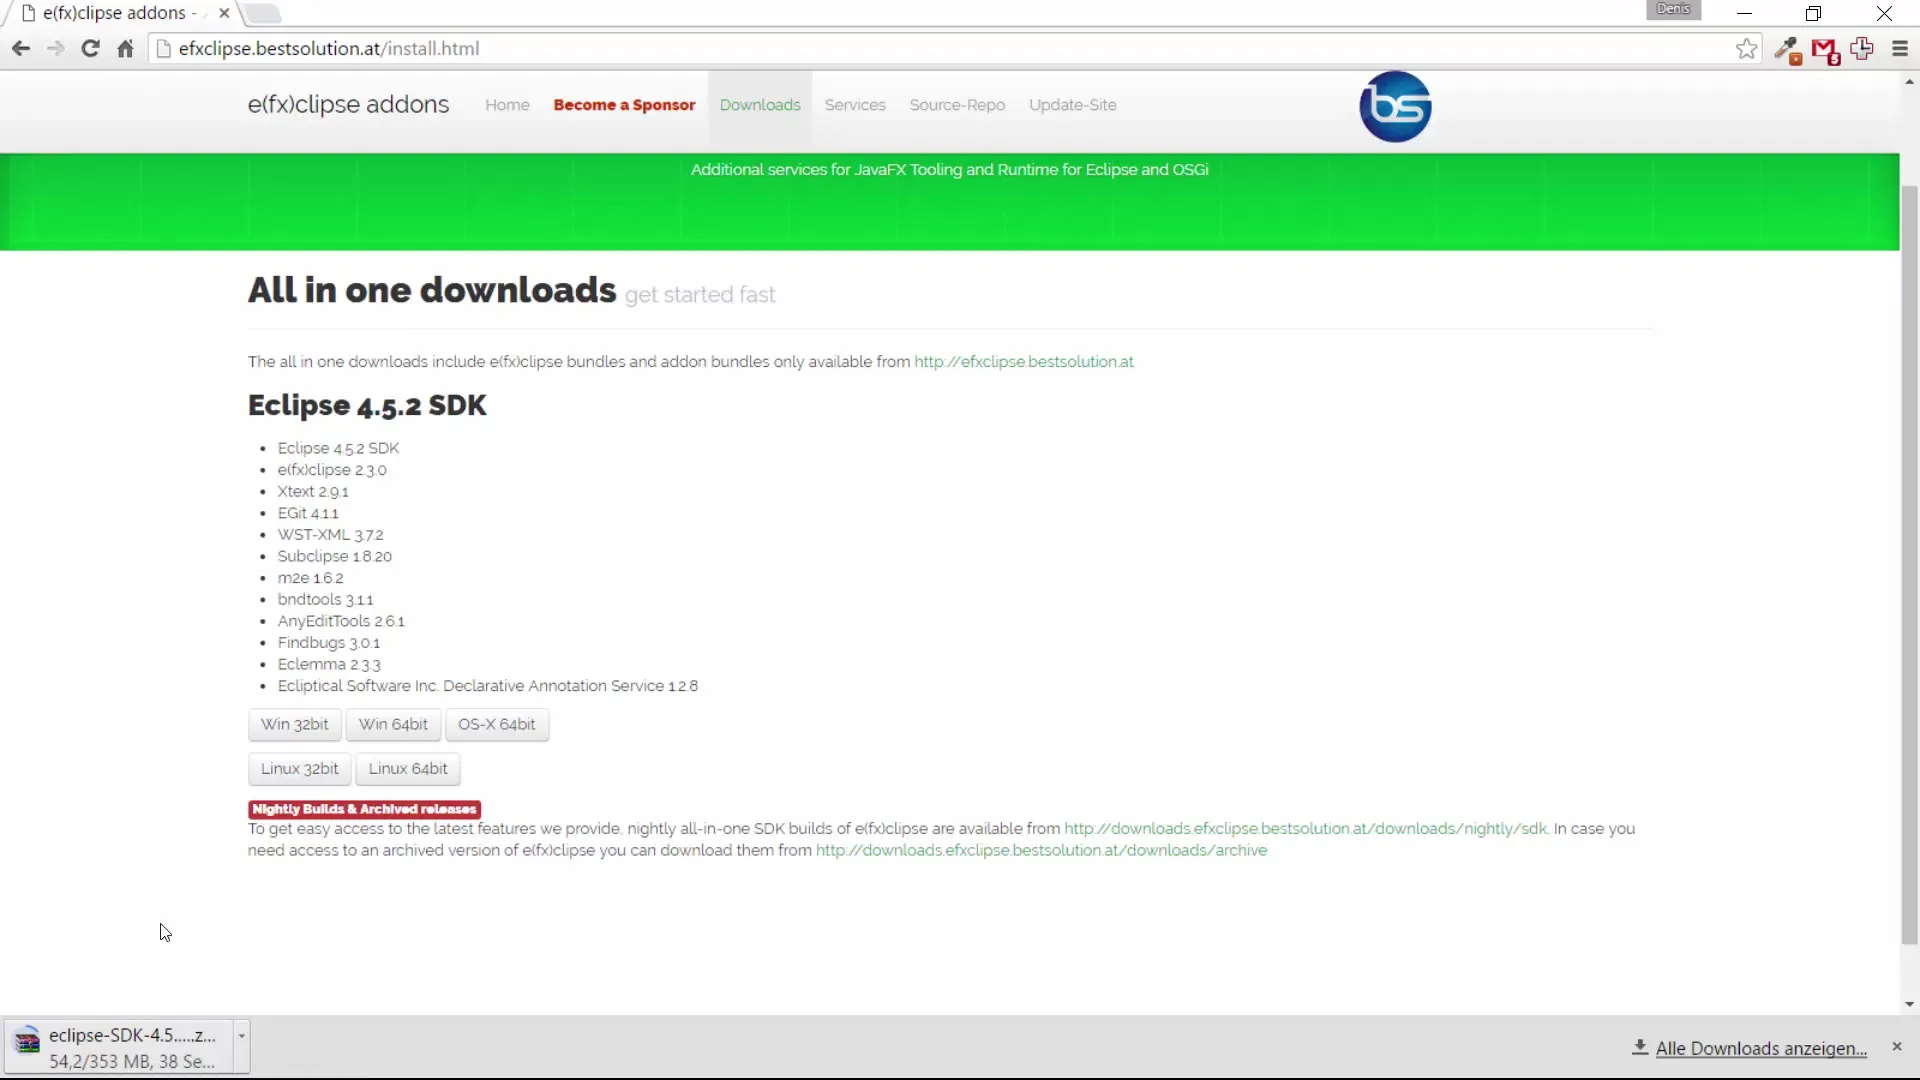
First, you need to search for “EFX Eclipse” in your web browser. Open the application and start the download by clicking on the download link for the Windows 64 Bit version.
Generally, the download will take a few minutes, depending on the speed of your internet connection. Please wait until the download is complete before proceeding with the installation.
Step 2: Install Eclipse
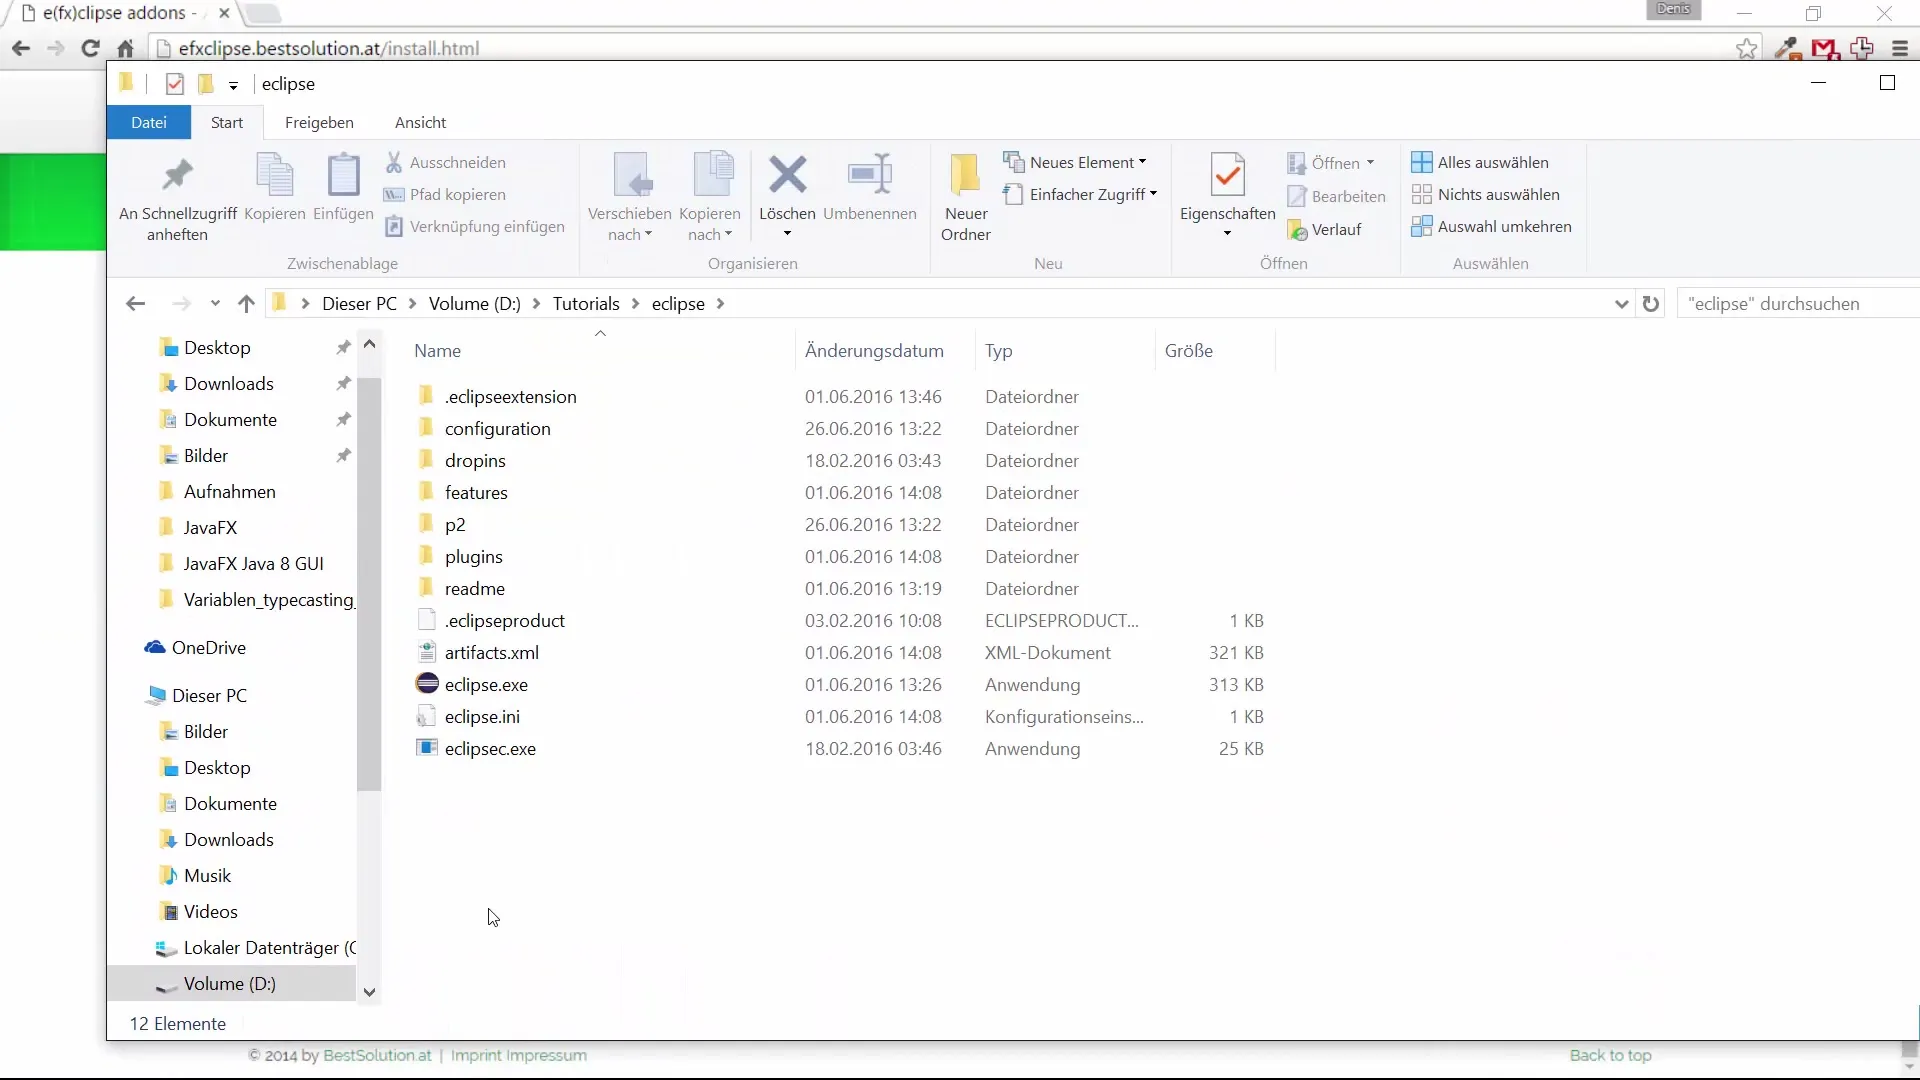
Once your download is complete, open the downloaded file with an extraction tool like WinRAR or WinZip. You will find the Eclipse installation package, which you can drag into a desired folder – be it on your desktop or in your user folder.
I personally moved Eclipse into my Tutorials folder. You can now start the application, and it should work perfectly.
Step 3: Download Scene Builder
For creating appealing user interfaces with JavaFX, you also need the Scene Builder. Search for “Scene Builder JavaFX”. You should be redirected to the download page of the Scene Builder.
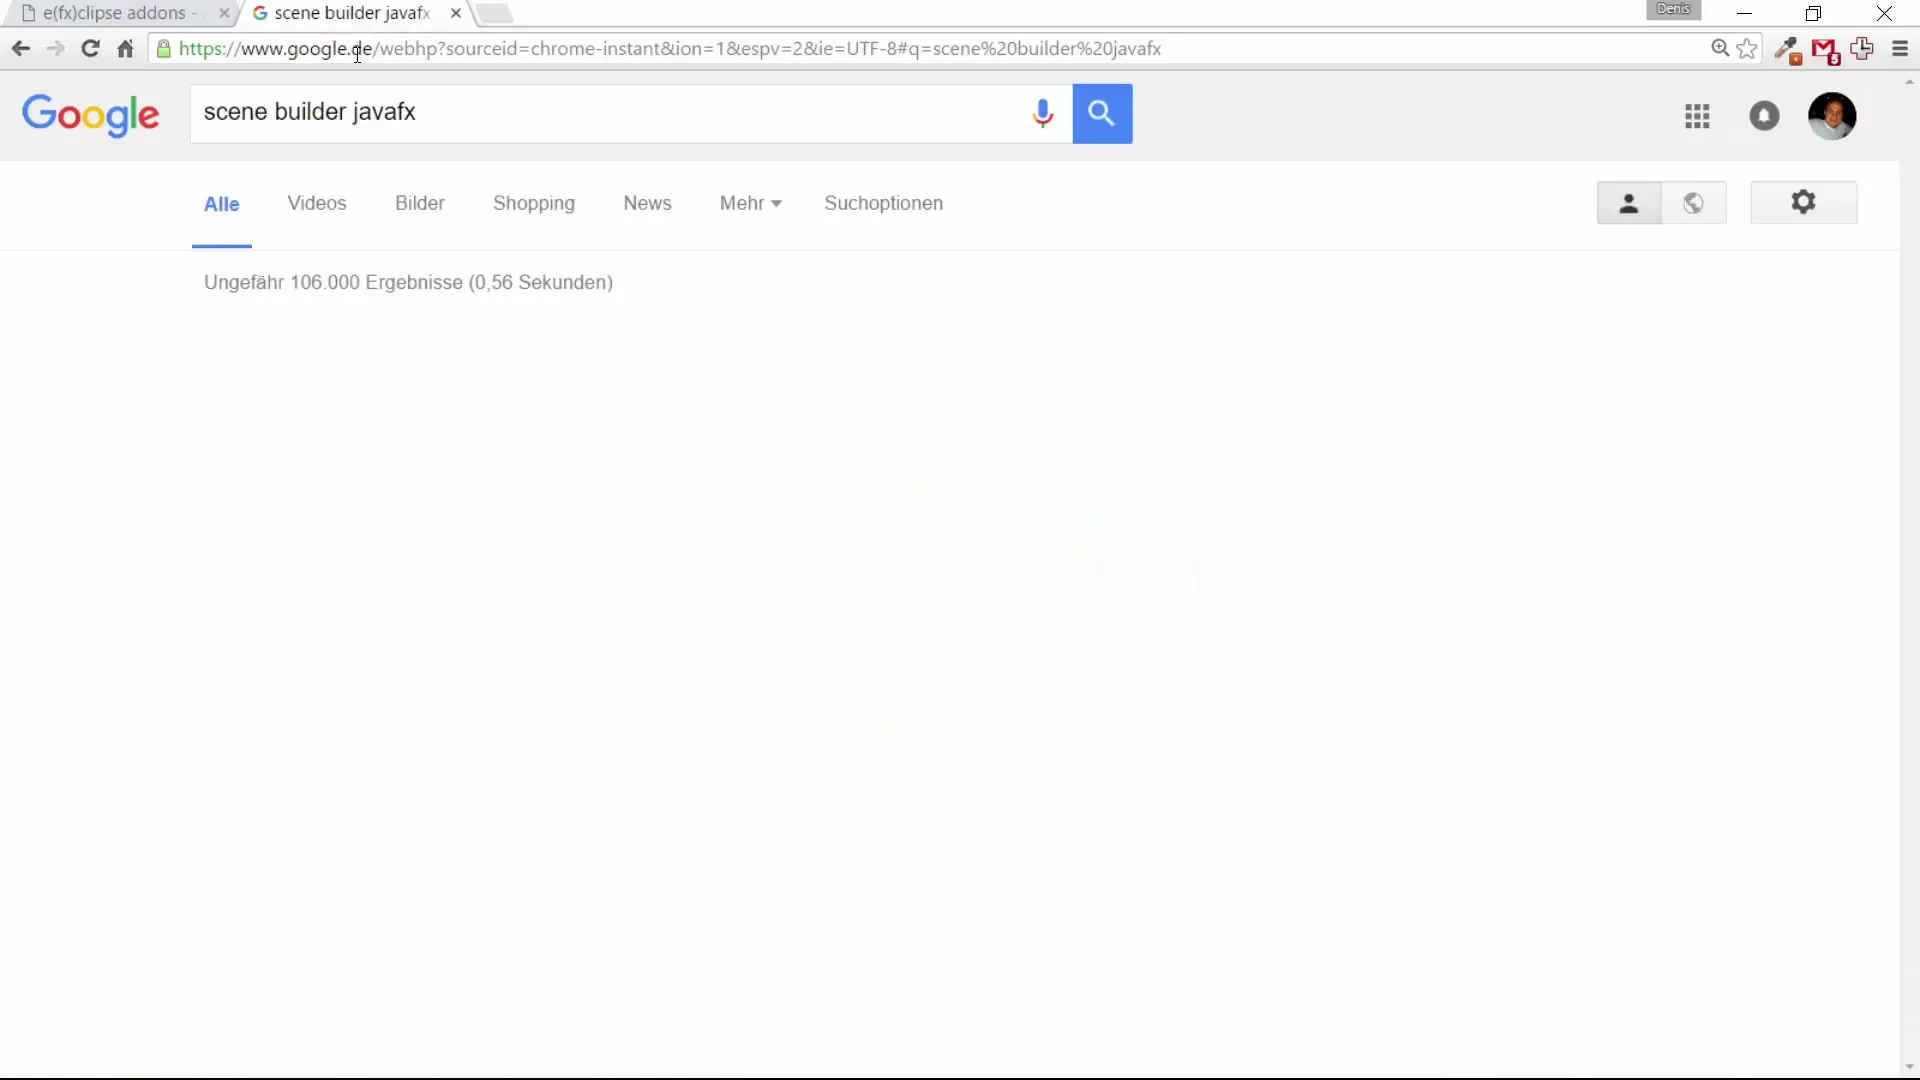
Here you will find the link to previous versions, as the latest version may only provide the source code for download.
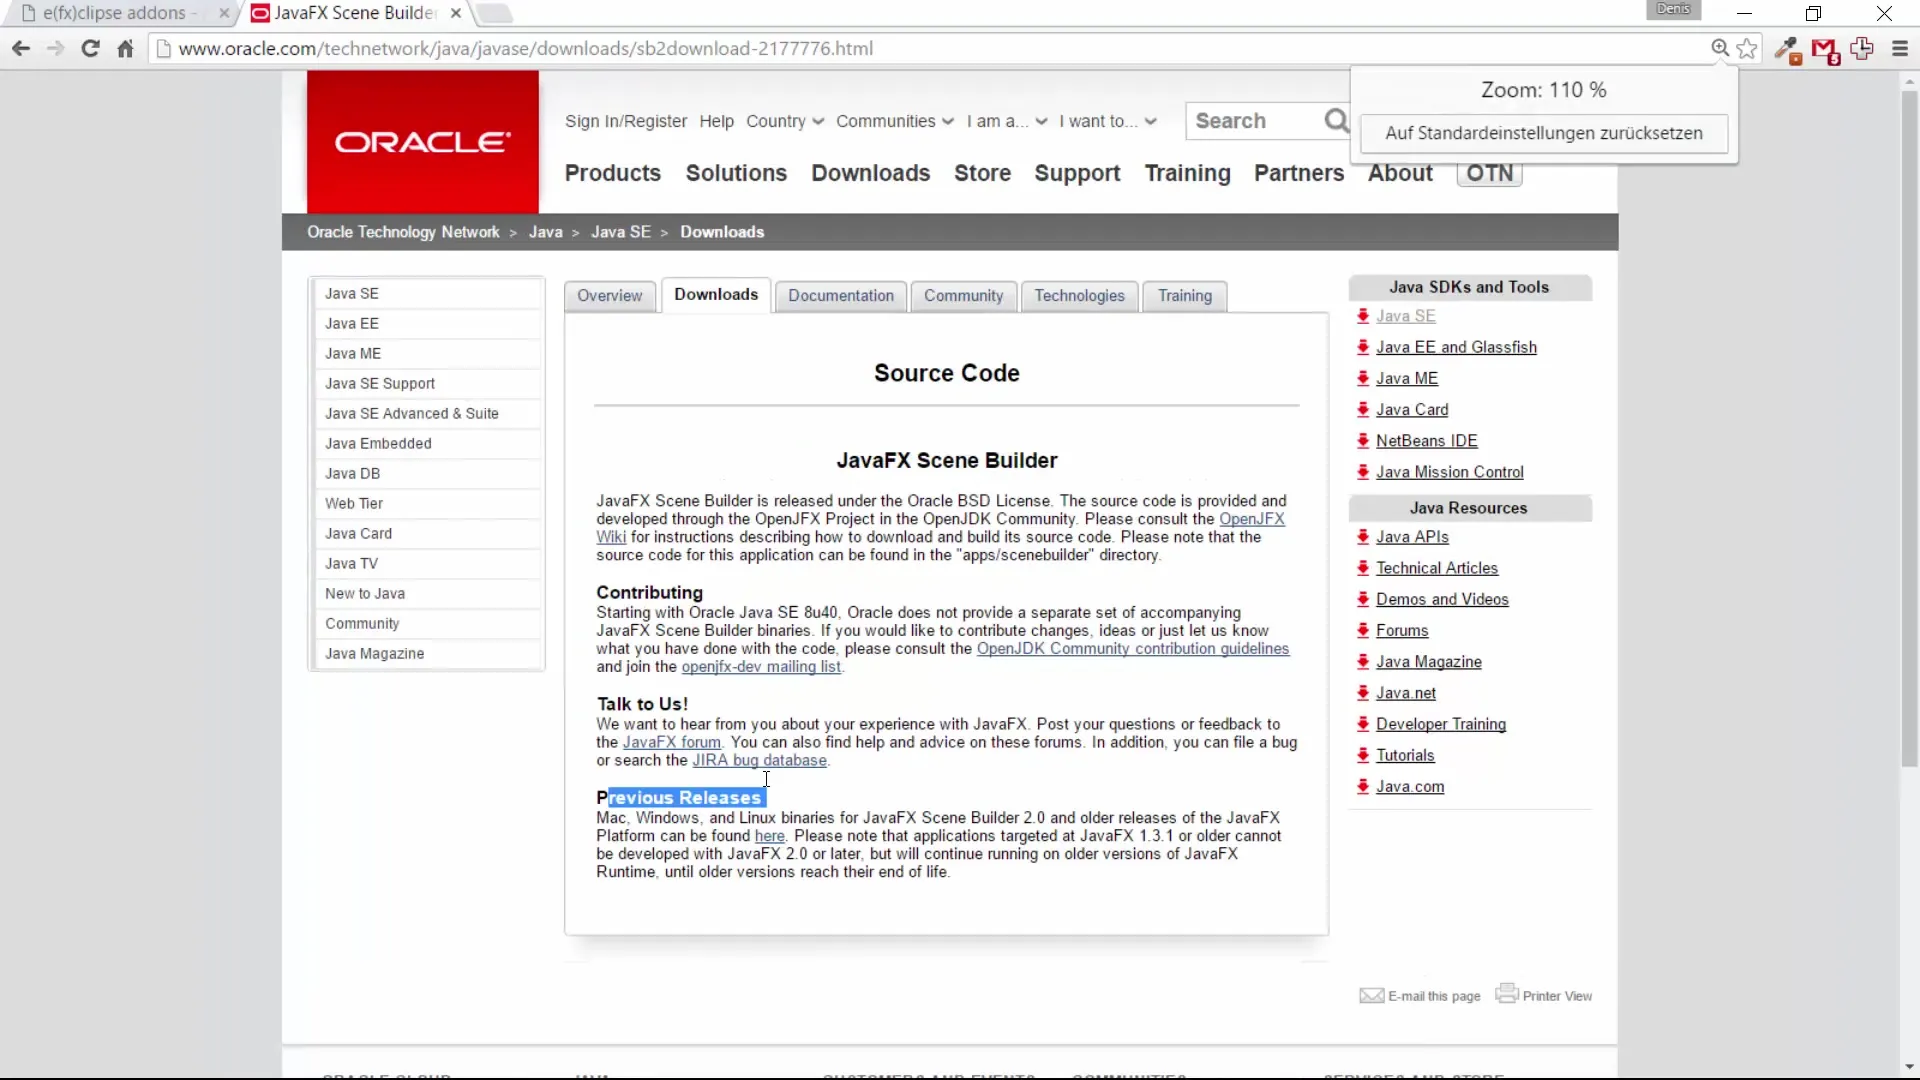
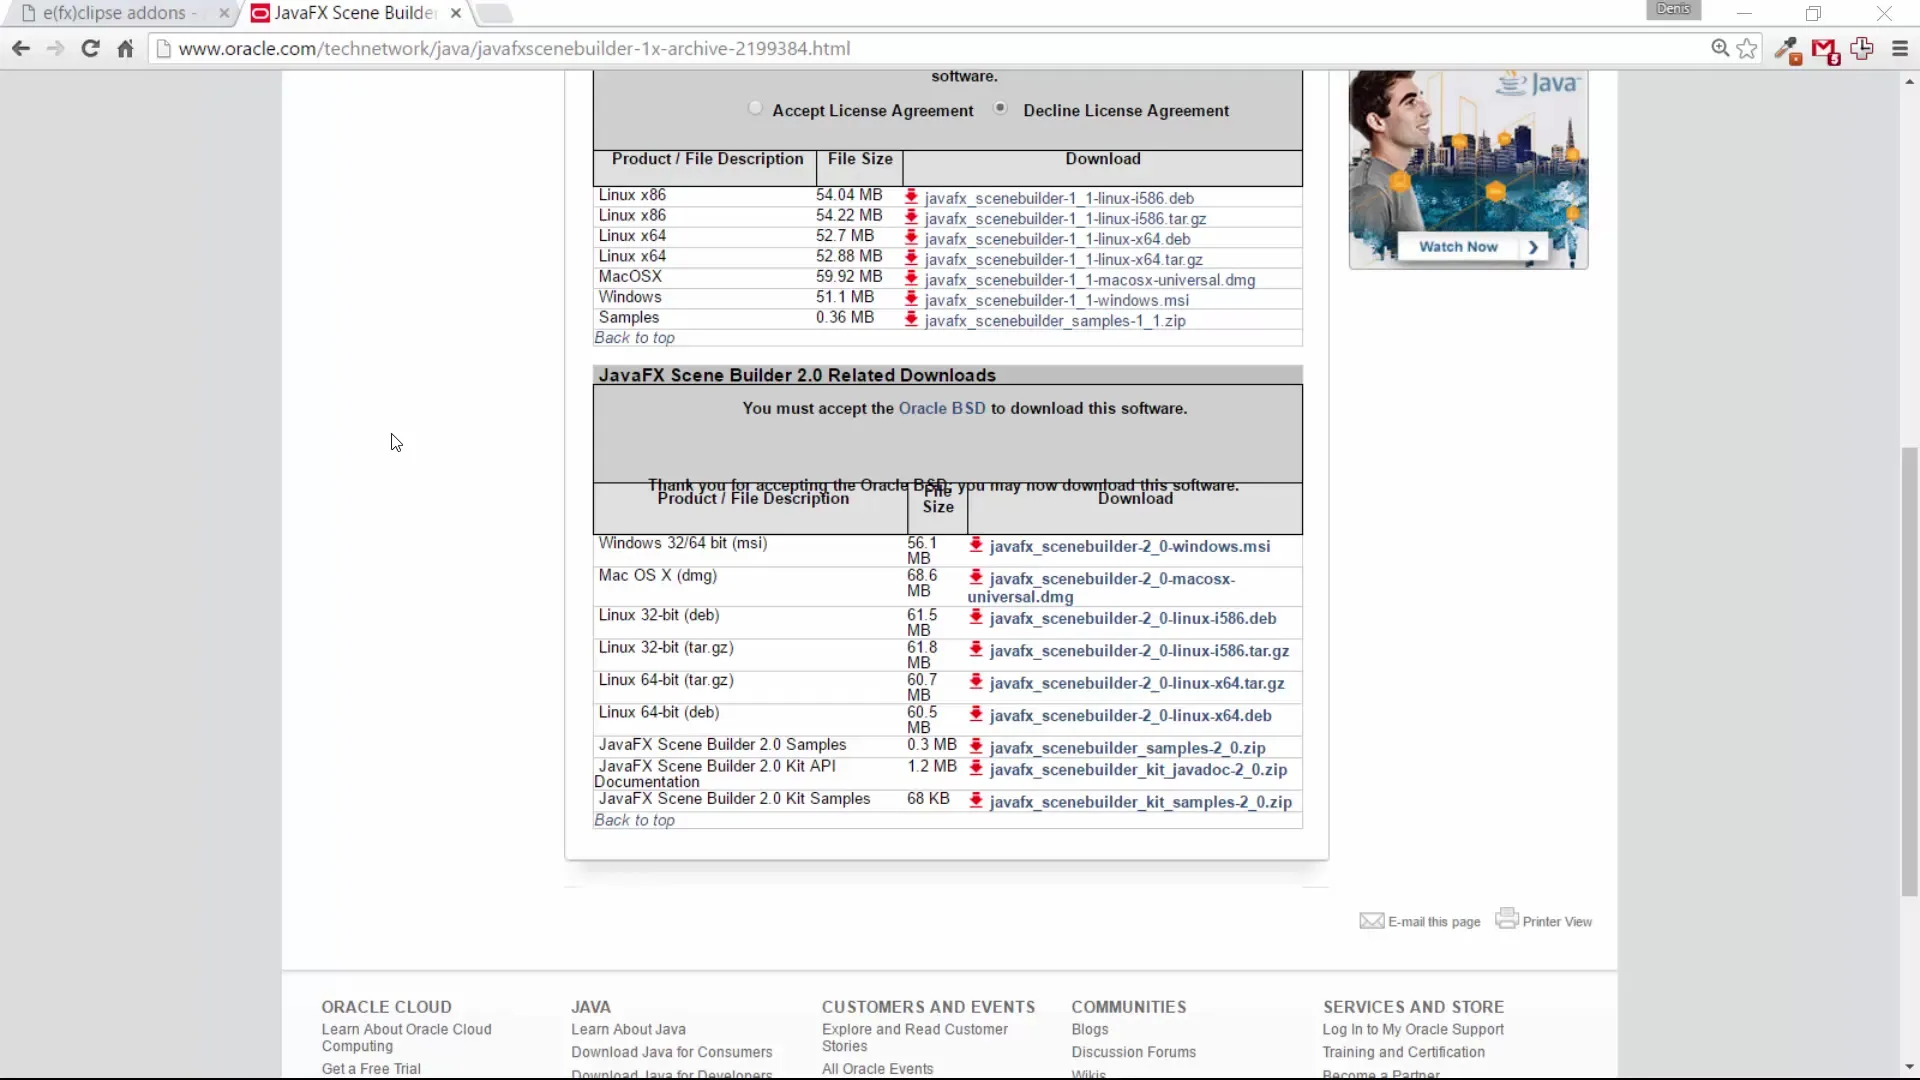
For learning purposes, it is perfectly fine to use an older version. Scroll down and download the appropriate version of the Scene Builder.
Step 4: Install Scene Builder
After the download of the Scene Builder is complete, install the application by following the installation instructions. Generally, the process will show you, and the program will be successfully installed.
Step 5: Set Up Eclipse Workspace
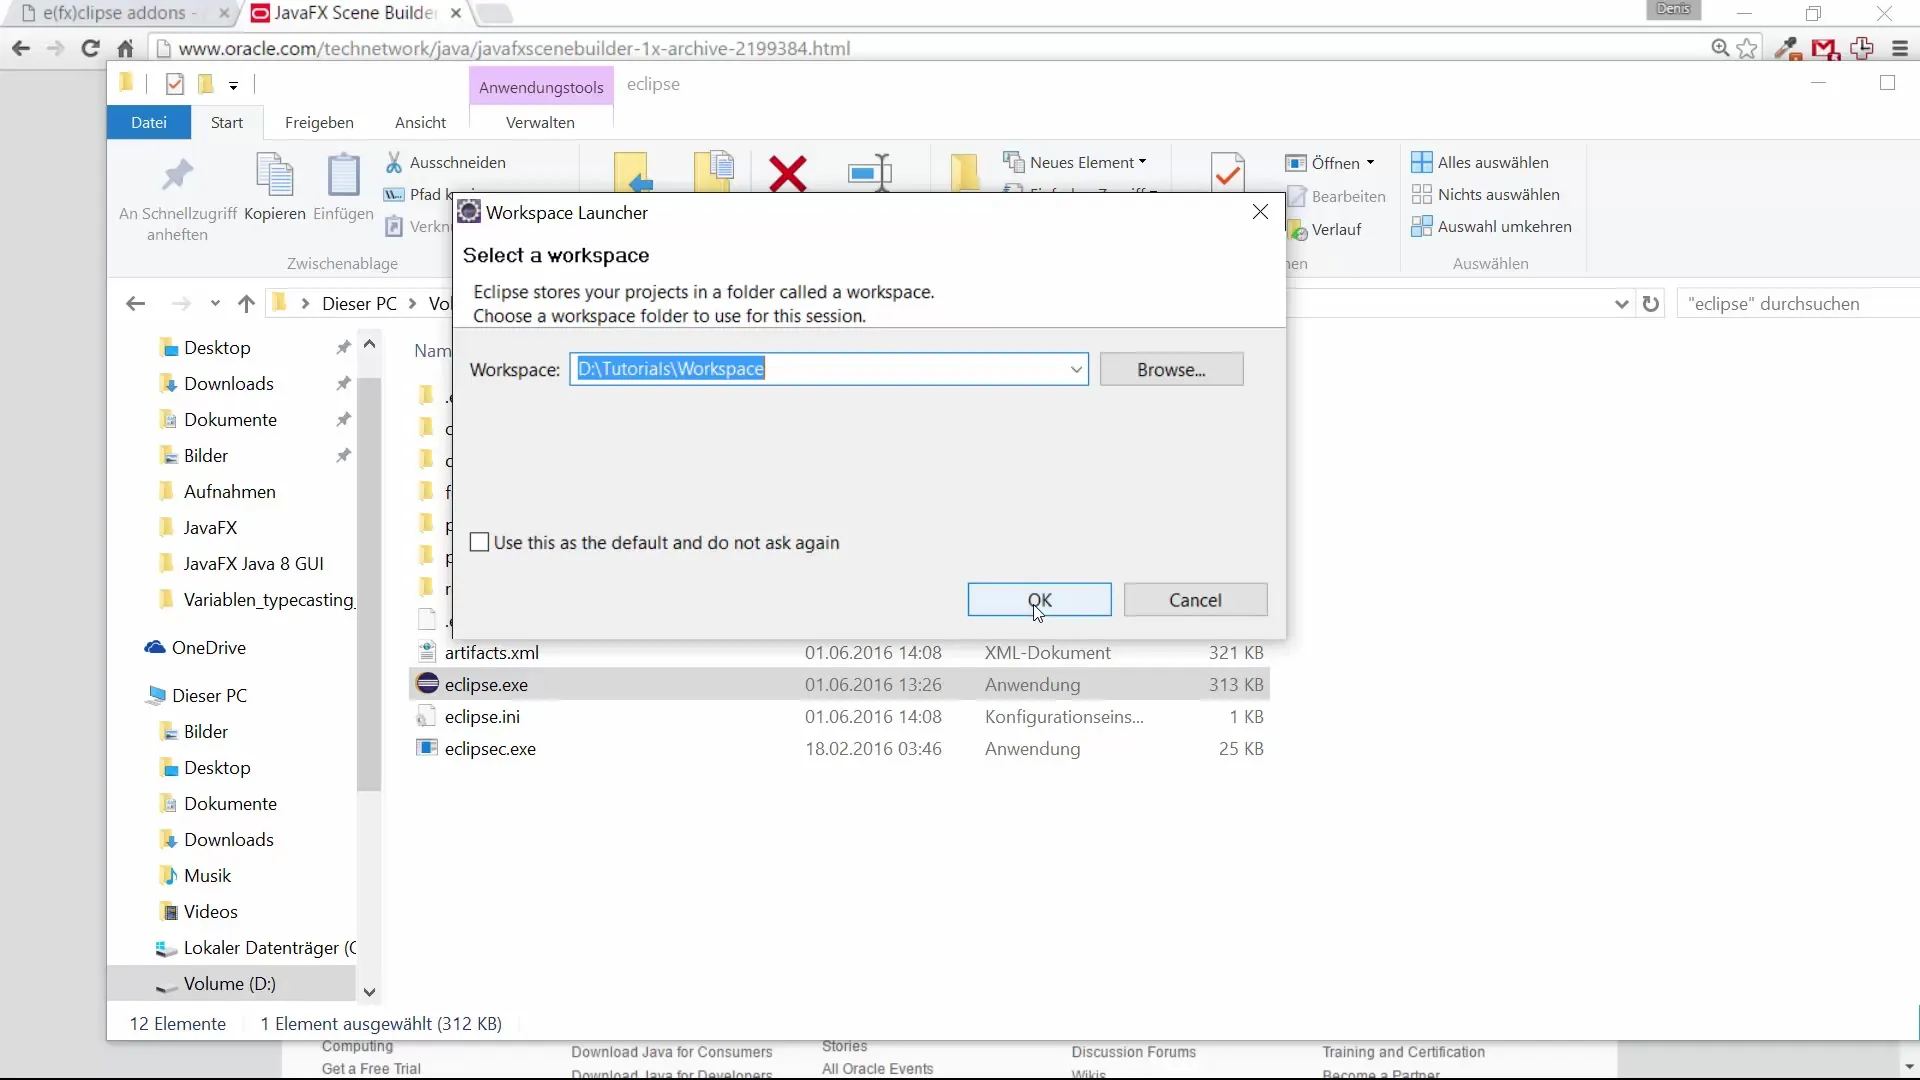
Now that you have both Eclipse and the Scene Builder installed, open the Eclipse IDE. You will be prompted to select a workspace. If you already have a workspace set up, you can choose that one. Otherwise, you can create a new workspace.
Once you have configured your environment, you are ready to start developing JavaFX applications.
Summary – Guide to Installing JavaFX and Eclipse
The installation of Eclipse and the Scene Builder, both important tools for developing JavaFX GUIs, is easy and straightforward. You have learned how to download, install, and set up the software to successfully start your projects.
Frequently Asked Questions
How can I download Eclipse?Simply search for “EFX Eclipse” in your web browser and download the appropriate version for your system.
Which version of Eclipse should I use?The current version is usually the best choice; for this course, we are using one of the older versions of Eclipse.
What is the Scene Builder?The Scene Builder is a tool that allows you to create graphical user interfaces for JavaFX applications without having to write code.
How can I select a workspace in Eclipse?When starting Eclipse, you will be asked where you want your workspace to be. You can choose an existing one or create a new one.

