When developing an application that requires the exchange of files, an intuitive user interface is crucial. The FileChooser in JavaFX is an excellent tool for this purpose. It allows users to conveniently select files from their system or save new files. In this guide, I will show you how to implement the FileChooser to enhance the user experience in your application.
Key Insights With the right implementation of the FileChooser, you can enable users to select and save files while simultaneously controlling the number of file types that can be selected. A well-designed FileChooser not only simplifies operation but also increases efficiency when working with files.
Step-by-Step Instructions
Step 1: Initialize a FileChooser
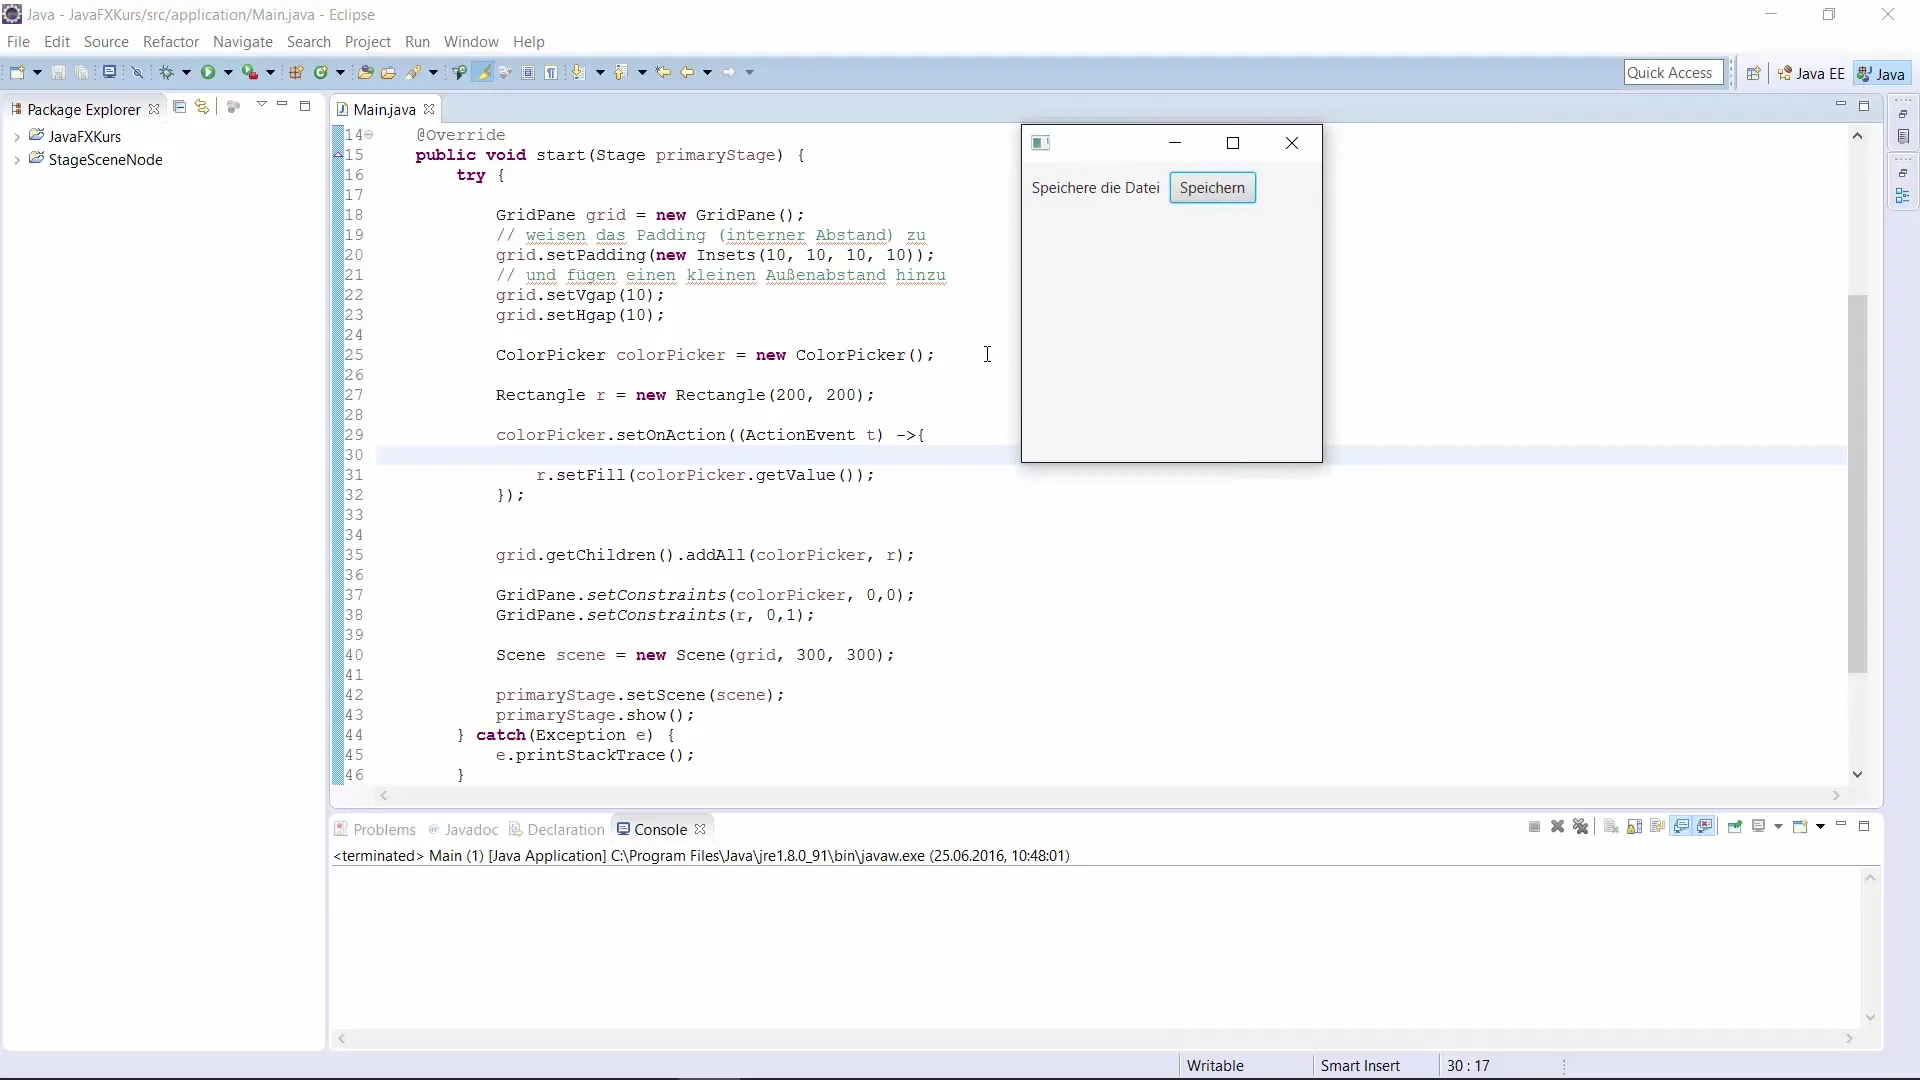
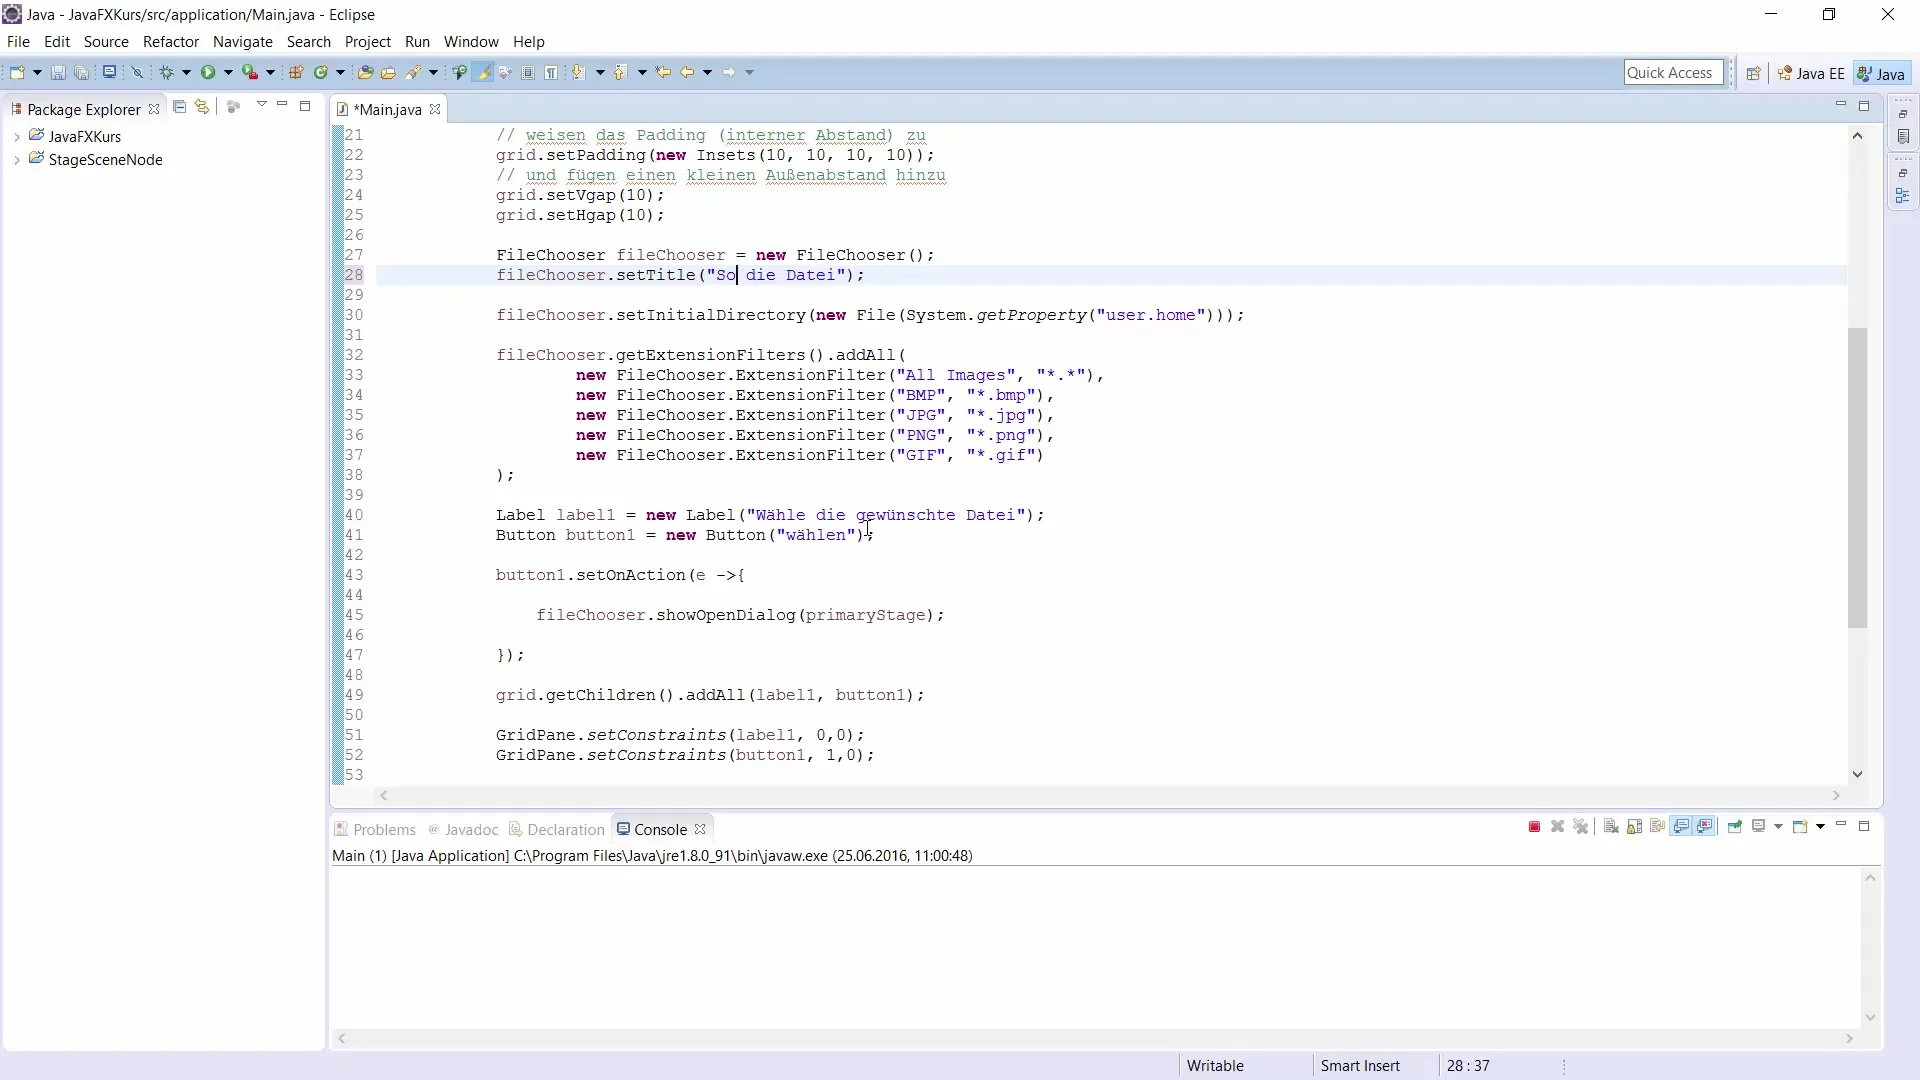
First, you need to create an instance of the FileChooser. This is the basic building block of your file selection or save functionality. You can use the following code for this.
Step 2: Set a Title for the FileChooser
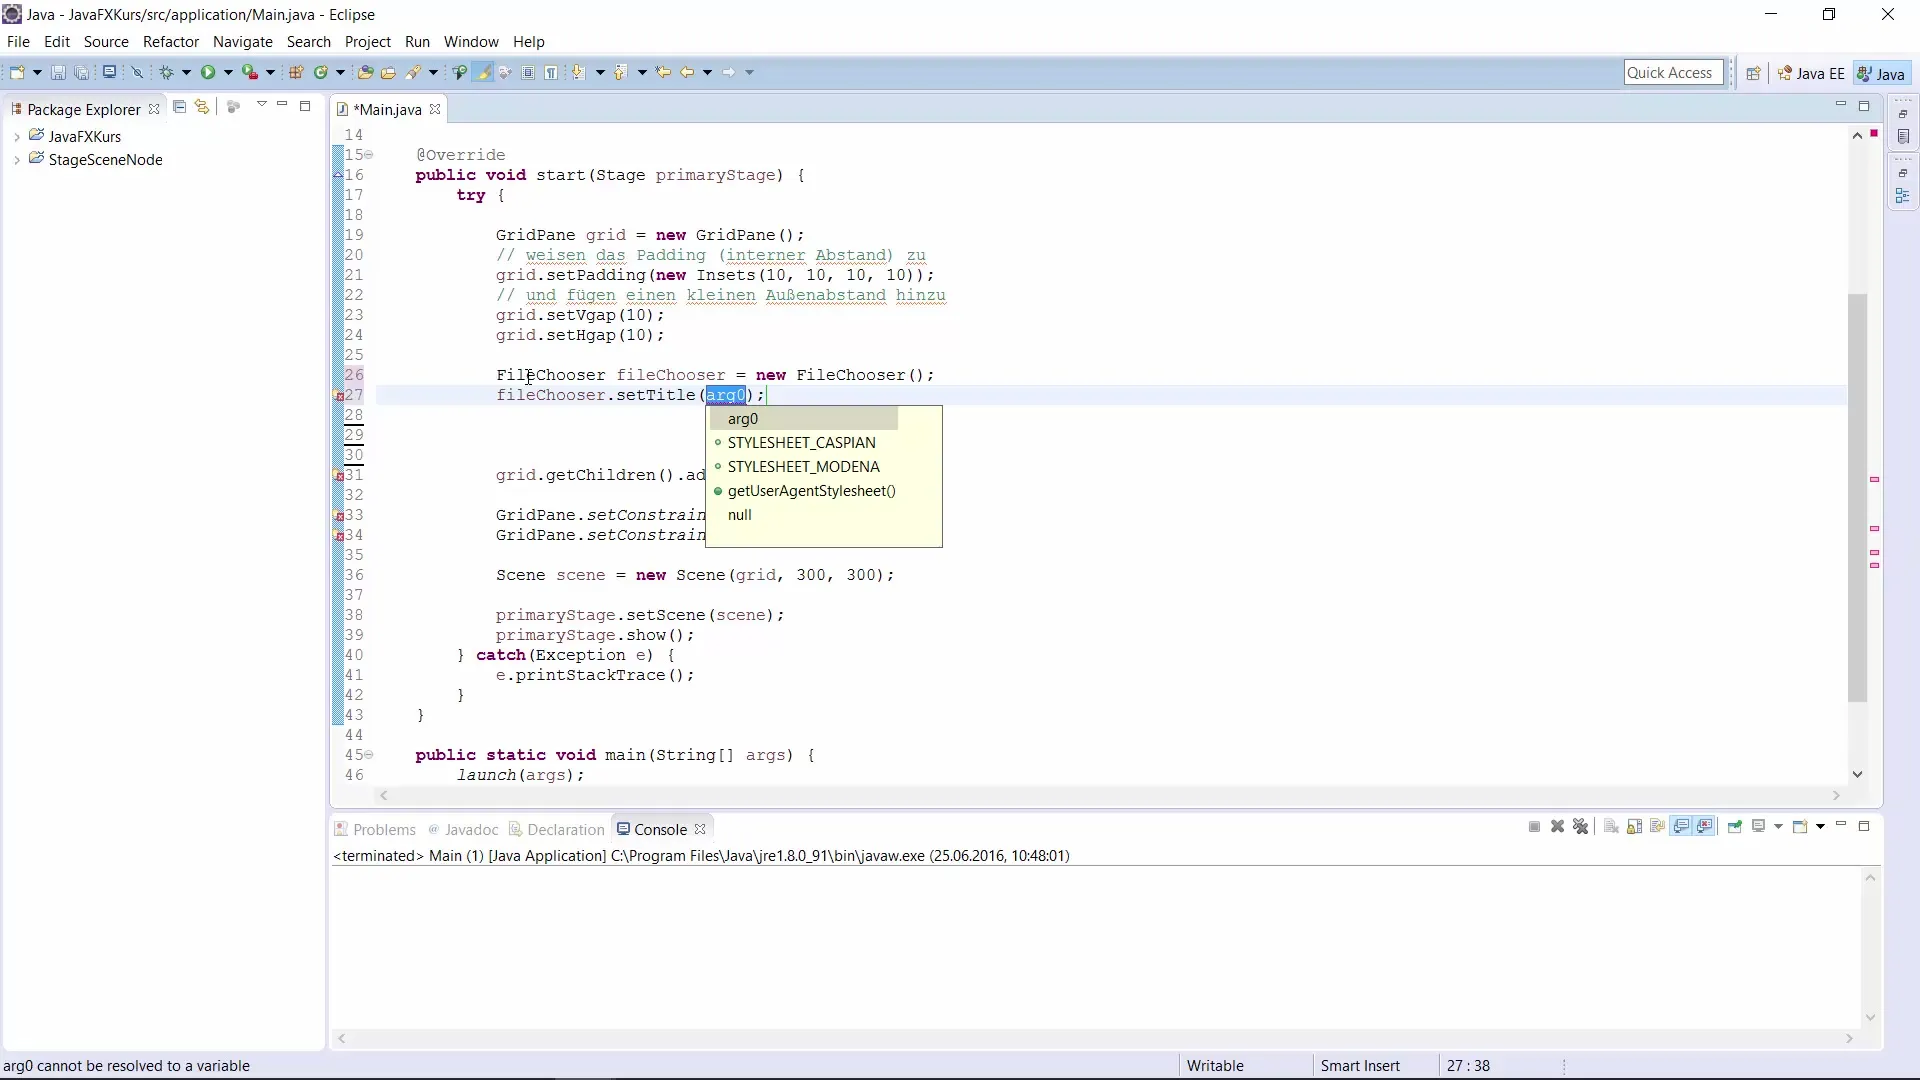
To clarify to your users what they should do in the FileChooser, give it a title. This title will be displayed in the FileChooser window.
Step 3: Open a Dialog to Select a File
With the FileChooser, you can open a dialog to select a file. Make sure to specify the stage in which the dialog should appear.
Step 4: Add Support for Multiple File Types
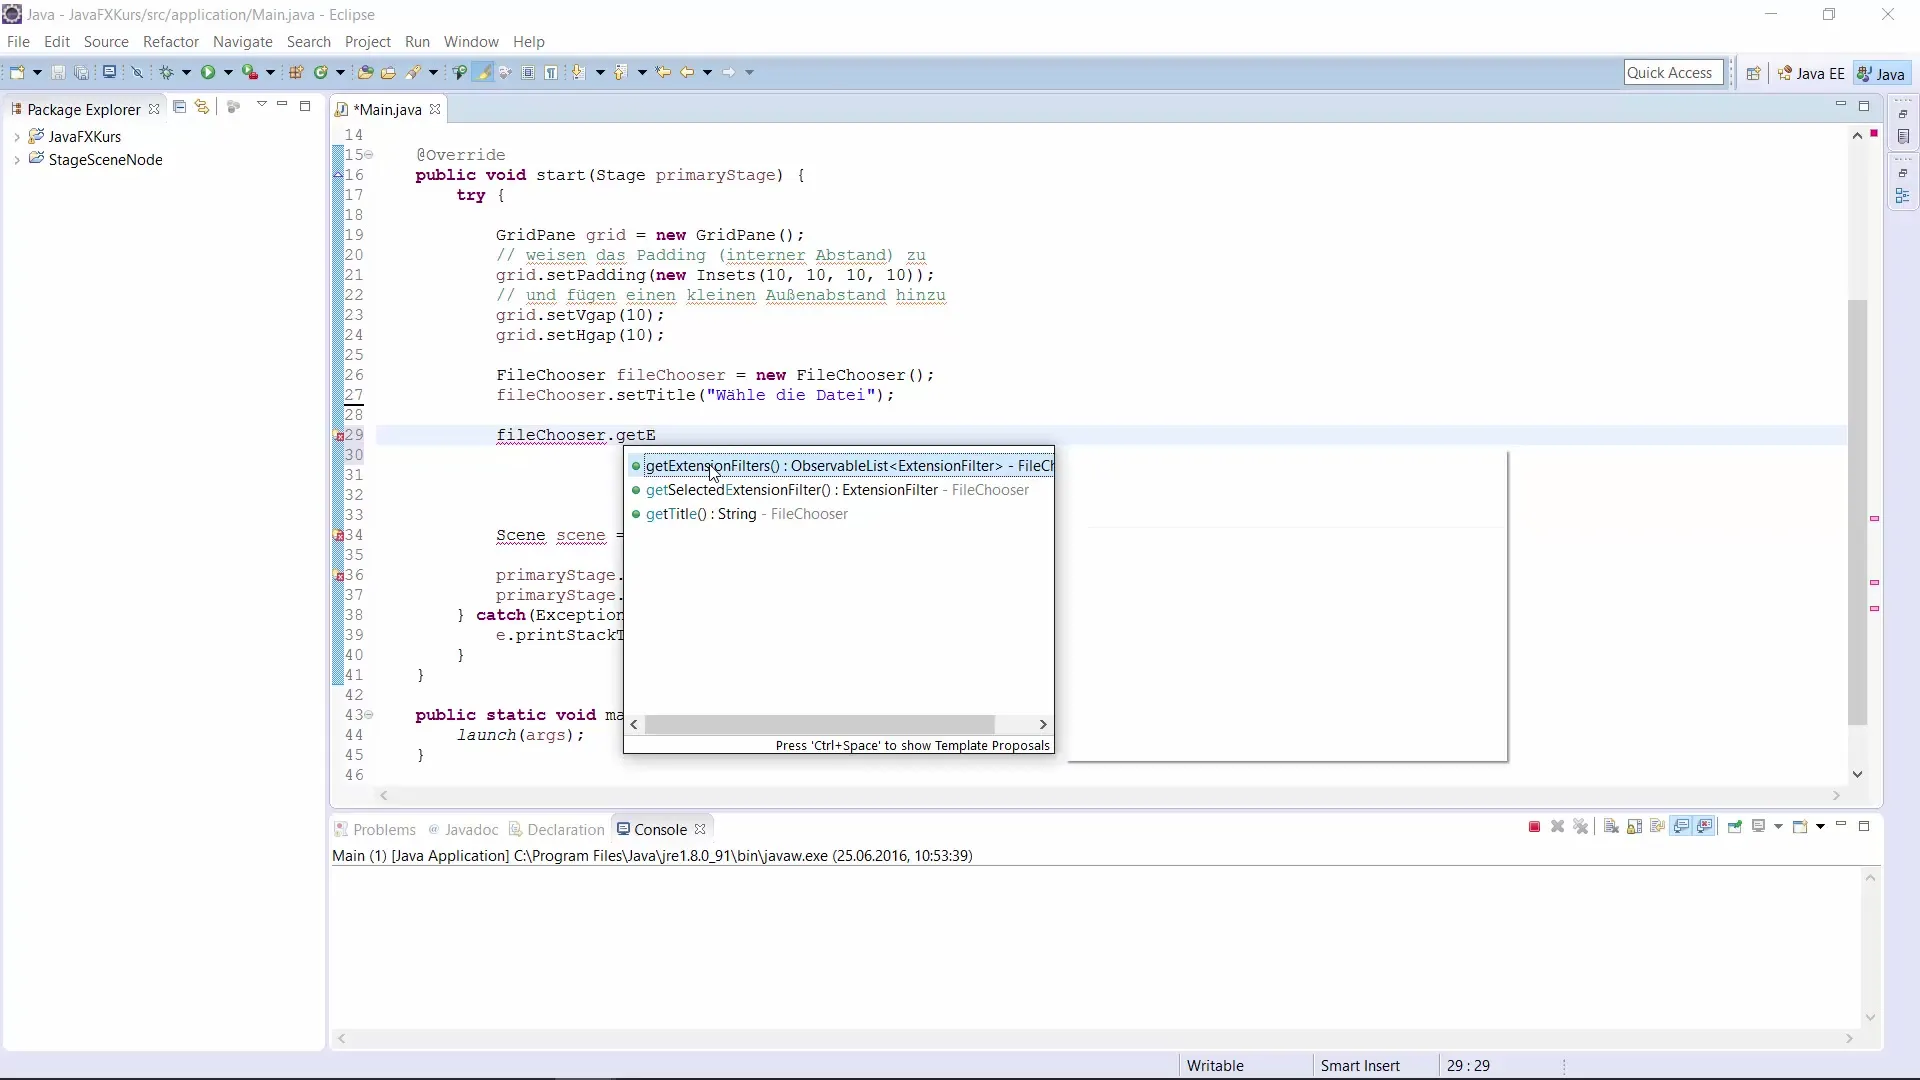
In many cases, you may want to restrict certain file types that users can select. Use an extension filter for this. Here you add filters to facilitate the selection of specific file formats for users.
Step 5: Add a Label and a Button to Open the FileChooser
To trigger the dialog, you need a button and a label instructing users what to do. Add the button and label to your UI layout.
Step 6: Set the Event for the Button
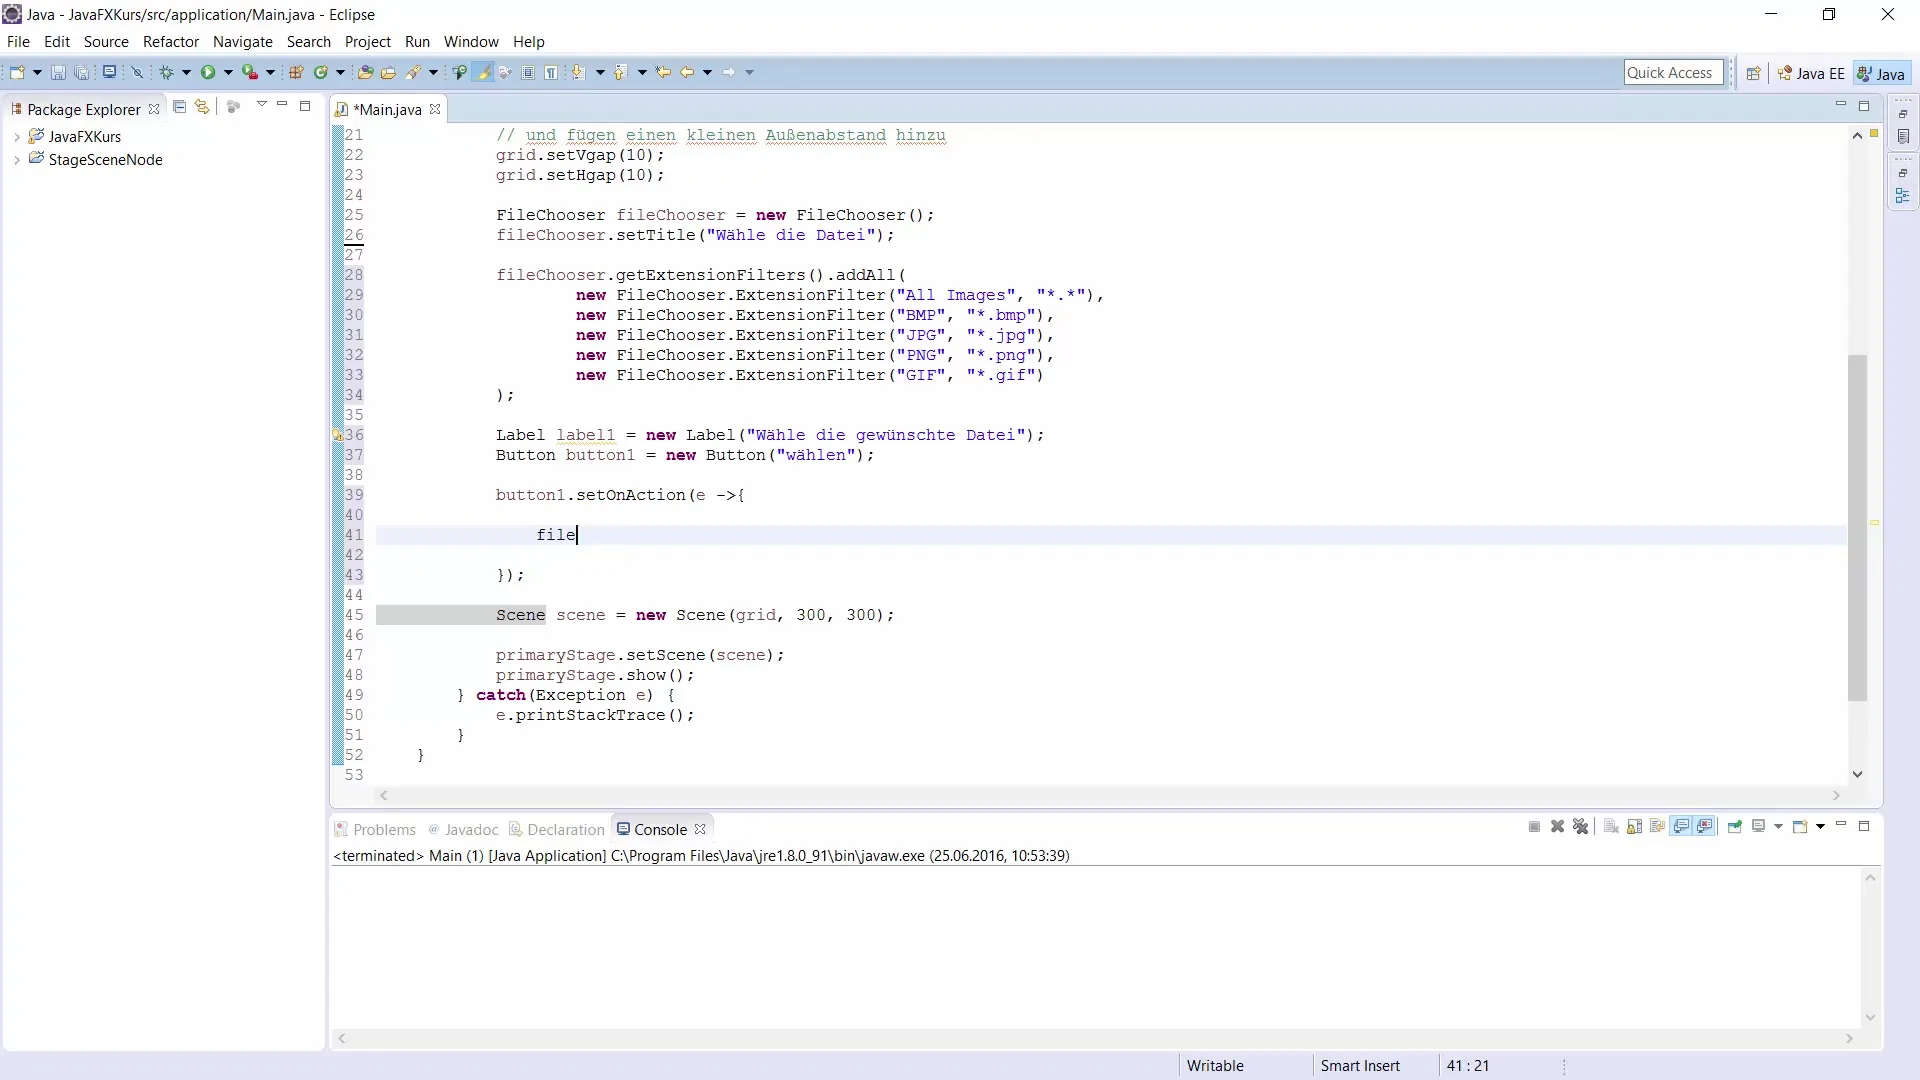
Configure the button to open the FileChooser dialog when clicked. Create an EventHandler for this.
Step 7: Adjust the Layout
To ensure Django displays the label and button in the right places, you need to adjust the layout settings.
Step 8: Implement a Function to Save Files
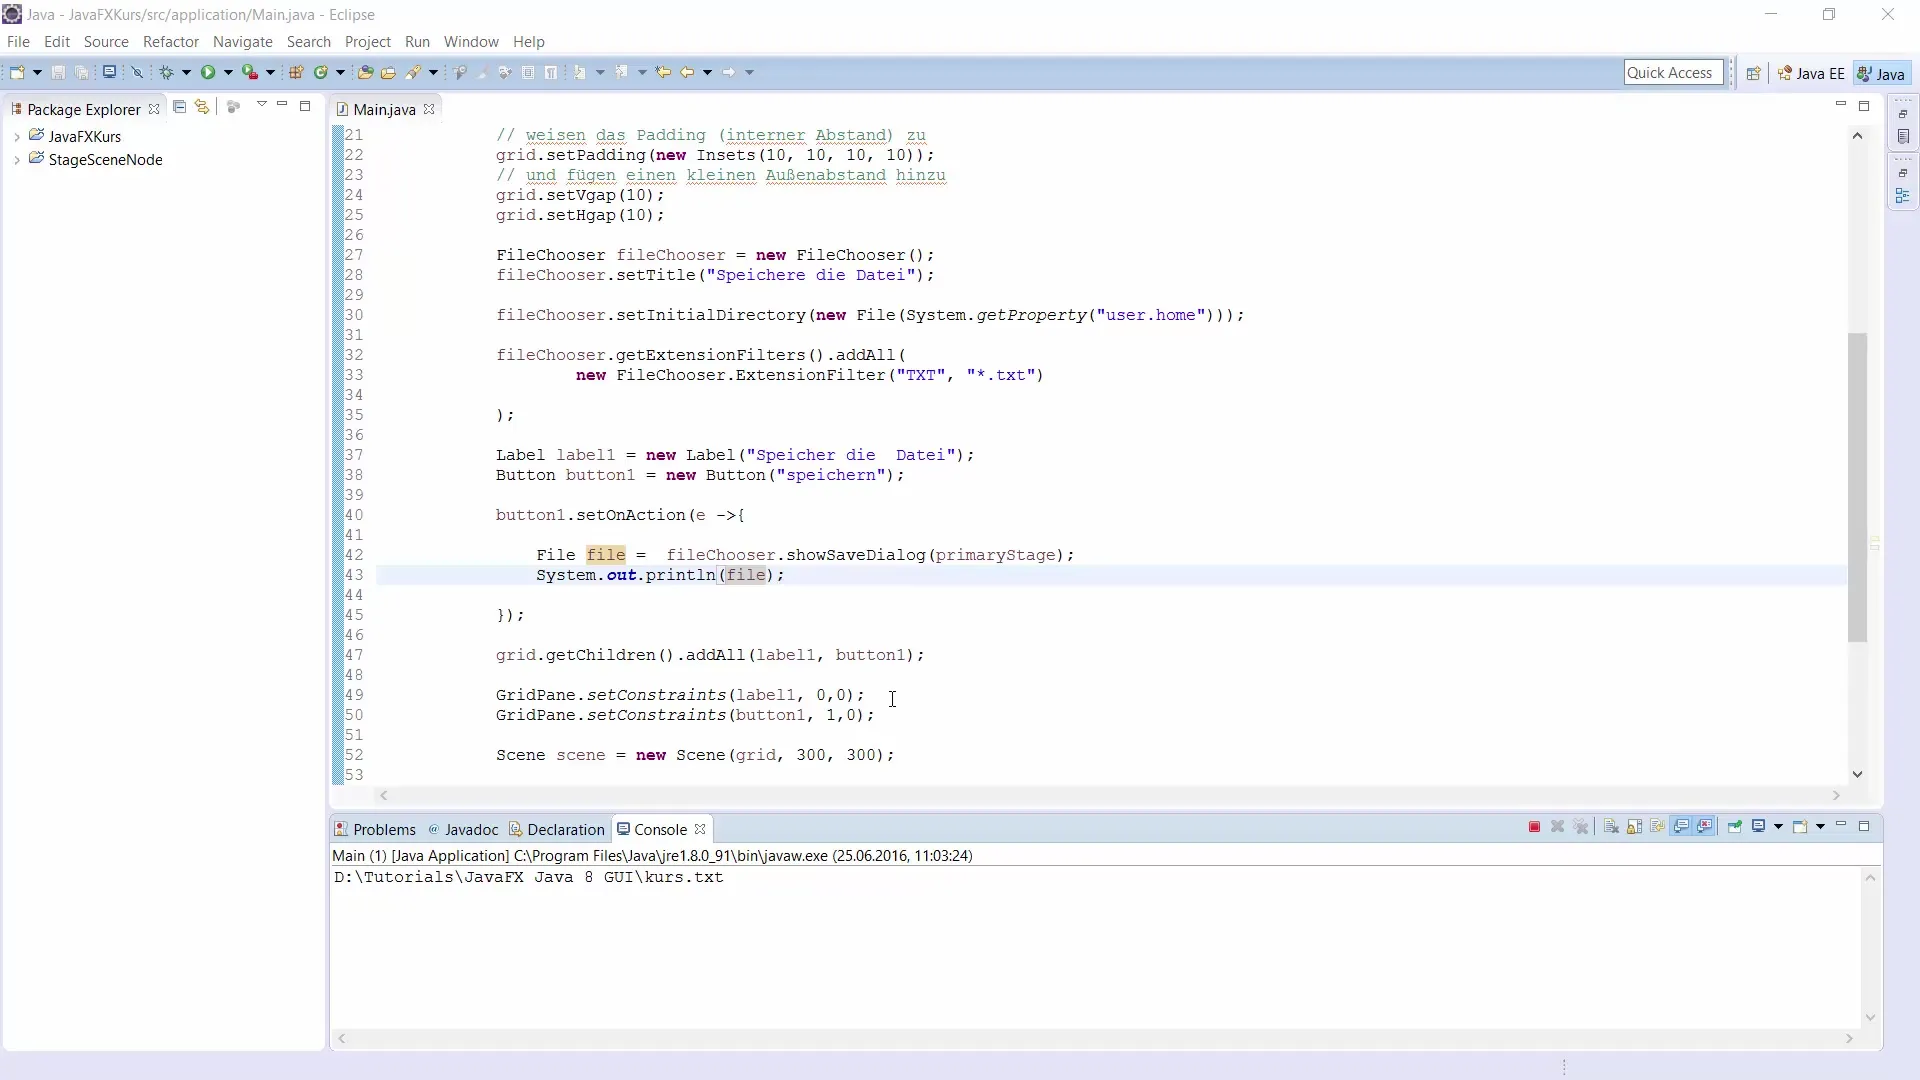
Next, you can also use the FileChooser to save files. Adjust the title and method in your button handler accordingly.
Step 9: Actually Save the File
To ensure the file is saved, use a FileWriter. This allows you to write the content to the selected file.
Step 10: Provide Feedback to the User
Show the user information about where the file was saved and whether the operation was successful.
Summary
This guide illustrates how to implement the FileChooser in JavaFX for selecting and saving files. You have learned how to create a FileChooser, define supported file types, and manage user interaction. Whether you are opening or saving files, a well-designed user interface significantly enhances the user experience.
Frequently Asked Questions
How can I restrict the FileChooser to specific file types?You can do this by adding extension filters to define the desired file extensions.
What happens if a user selects an unsupported file?The FileChooser will show an empty selection, and no file will be opened or saved.
Can I allow multiple file types at the same time?Yes, by adding multiple extension filters, you can enable different file types.
Can I set the default folder for the FileChooser?Yes, you can do that with the setInitialDirectory() method.
Could I also use a TextArea to write the contents of the file?Yes, you could write the text from a TextArea to the file, instead of using static text.


