With the ScrollBar in JavaFX, you can design your layout dynamically and make large content accessible to your users. This guide will walk you through the process of implementing a ScrollBar in a JavaFX project, step by step. You will learn how to create a scrollable view for images and make adjustments to create an appealing and functional user interface.
Key takeaways
You will learn how to configure a ScrollBar in JavaFX, add images, and adjust the properties of the ScrollBar to create a user-friendly interface.
Step-by-step guide
To implement a ScrollBar in JavaFX, follow these steps:
1. Creating the basic structure
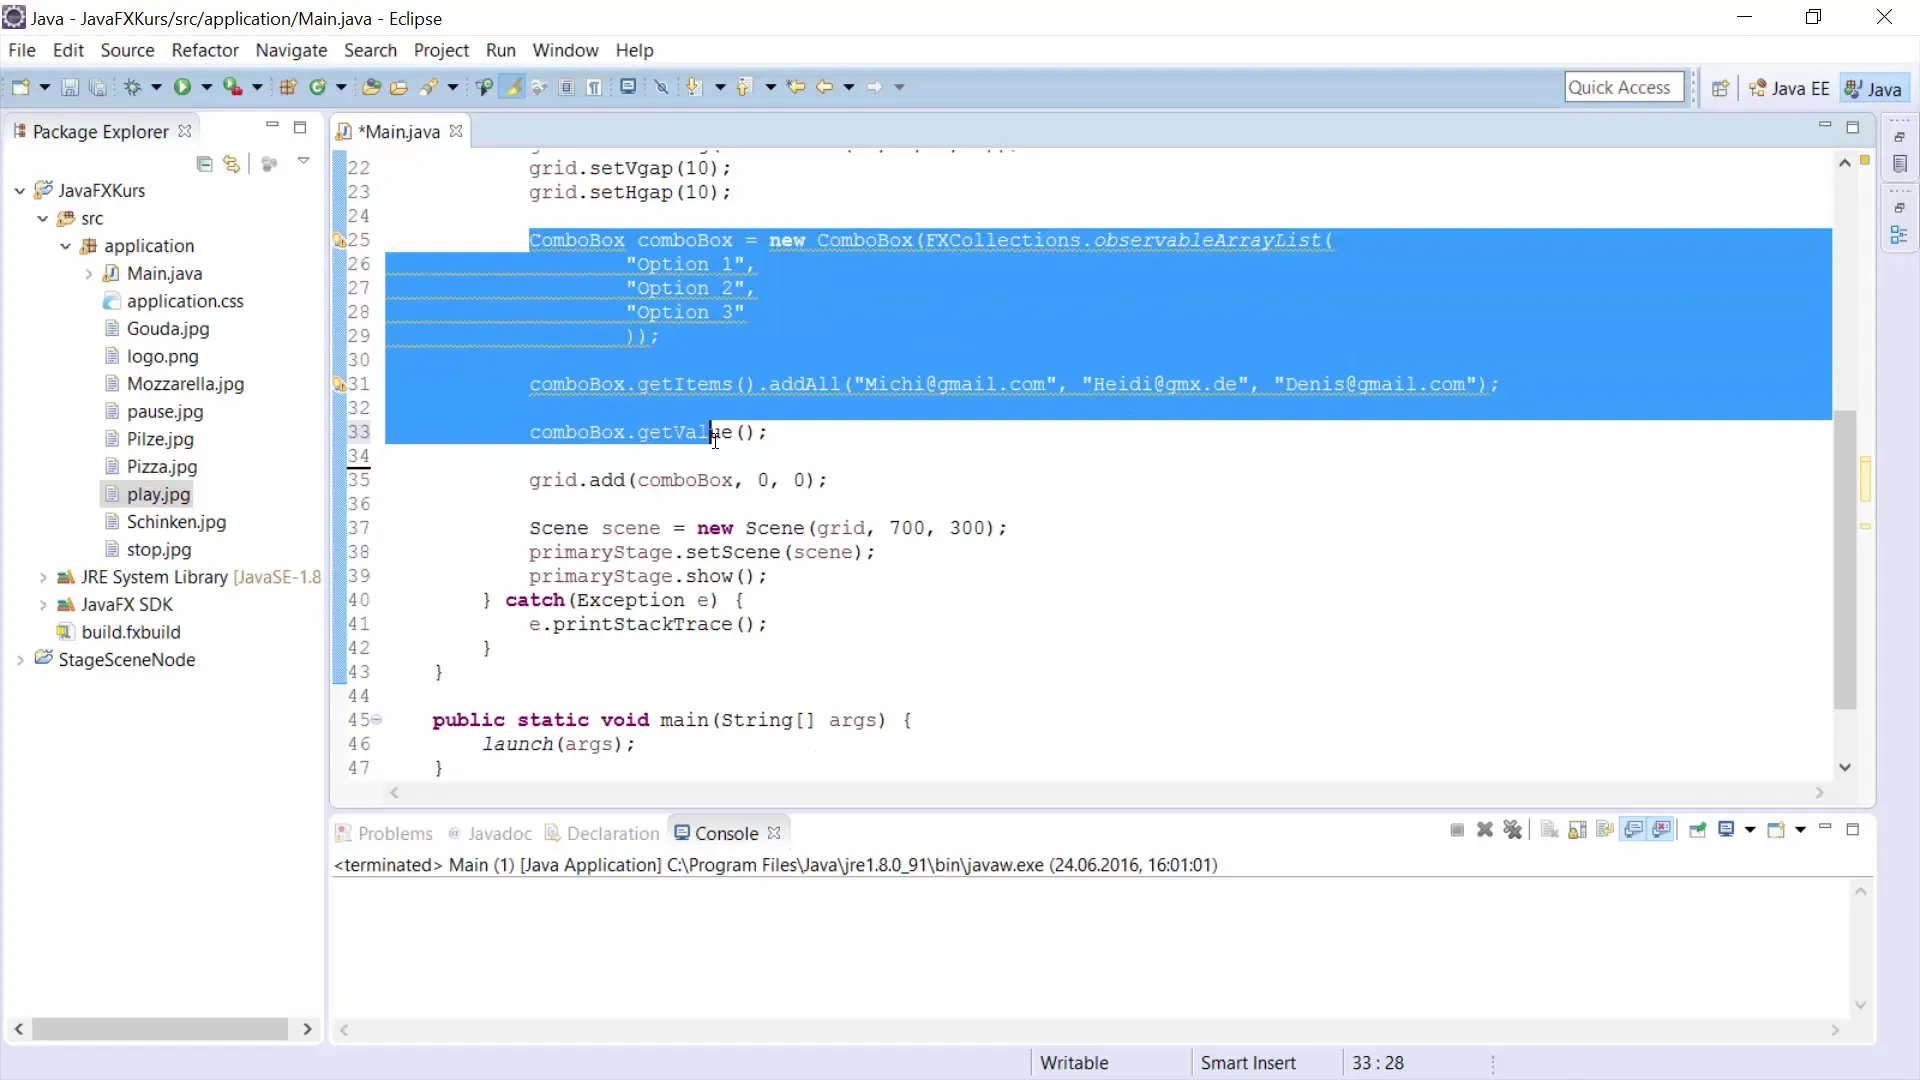
To integrate a ScrollBar, start by creating a Group where you can organize your elements. In our case, we will name the Group "root" and set it up.
2. Adding the ScrollBar
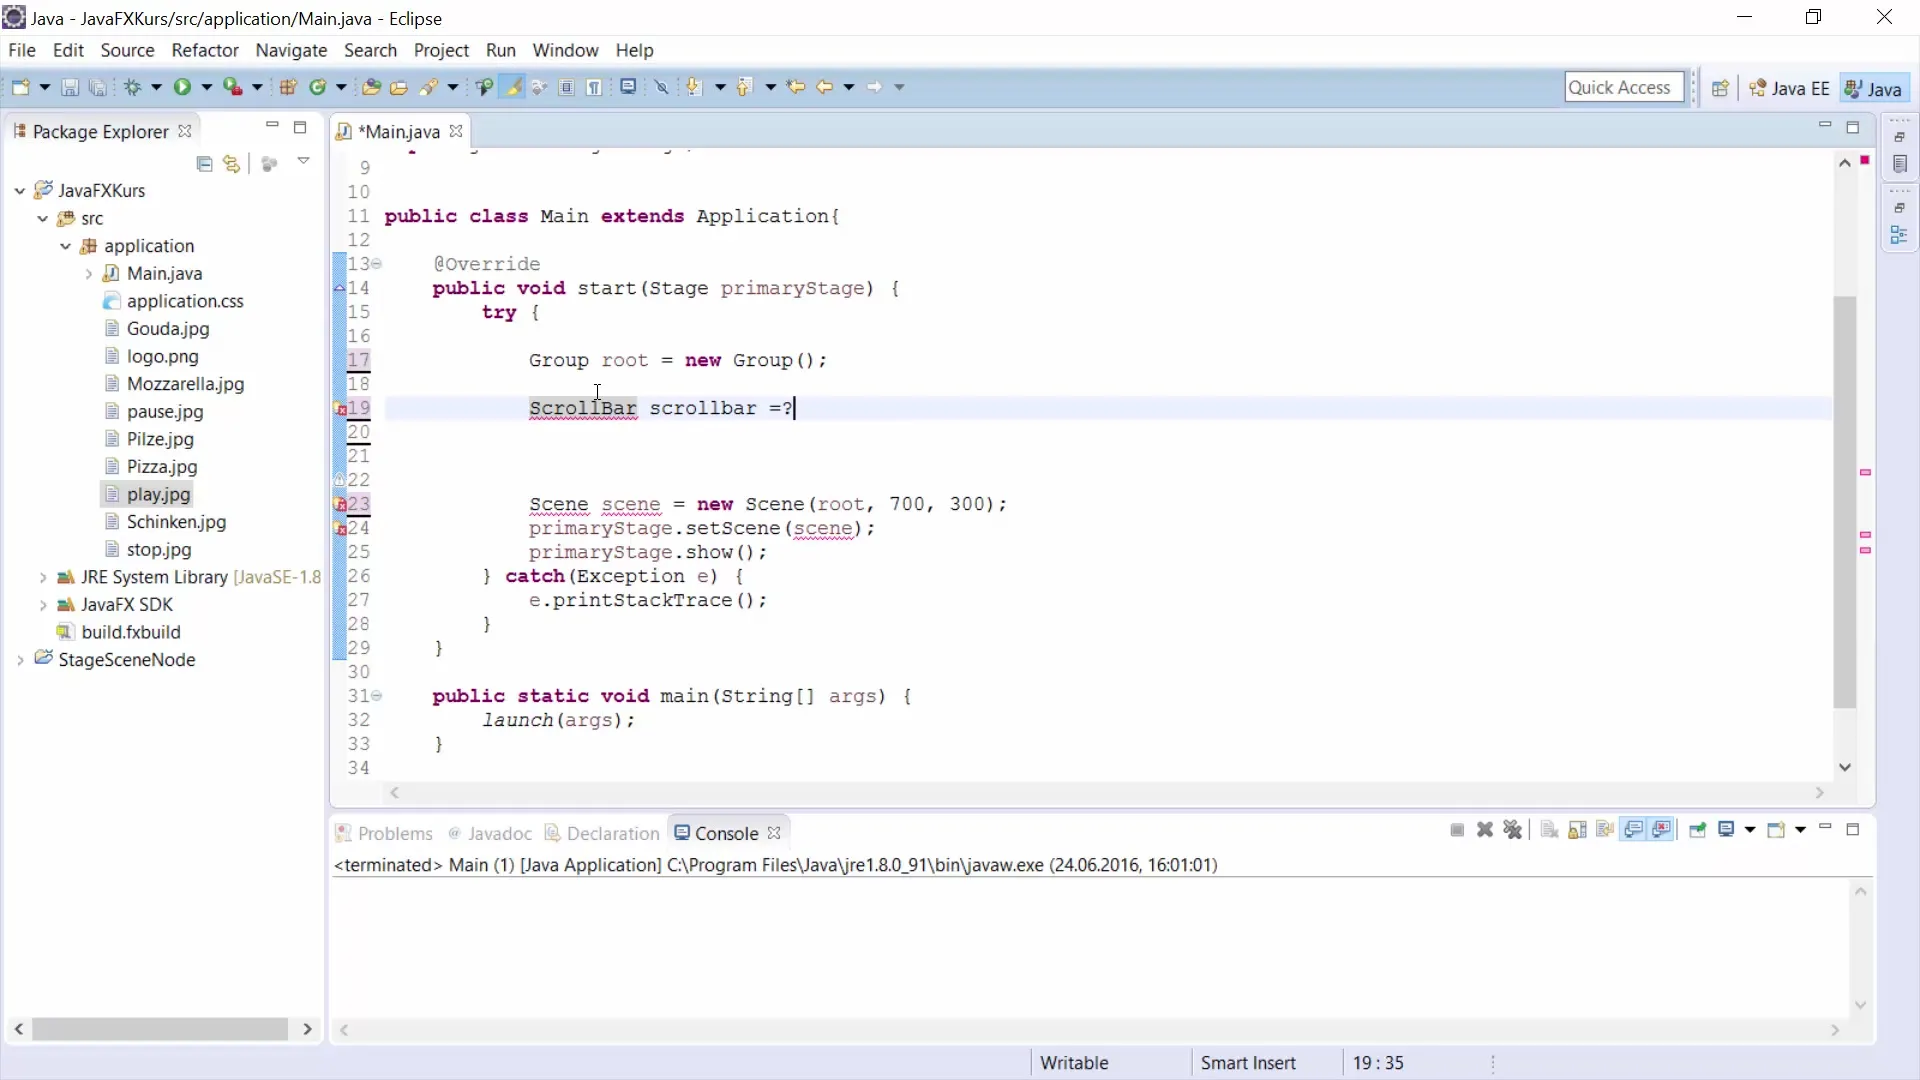
Now it's time to create the ScrollBar itself. You will call it "scrollb" and initialize it with the correct type. It is important to import the ScrollBar to work with it.
3. Providing images
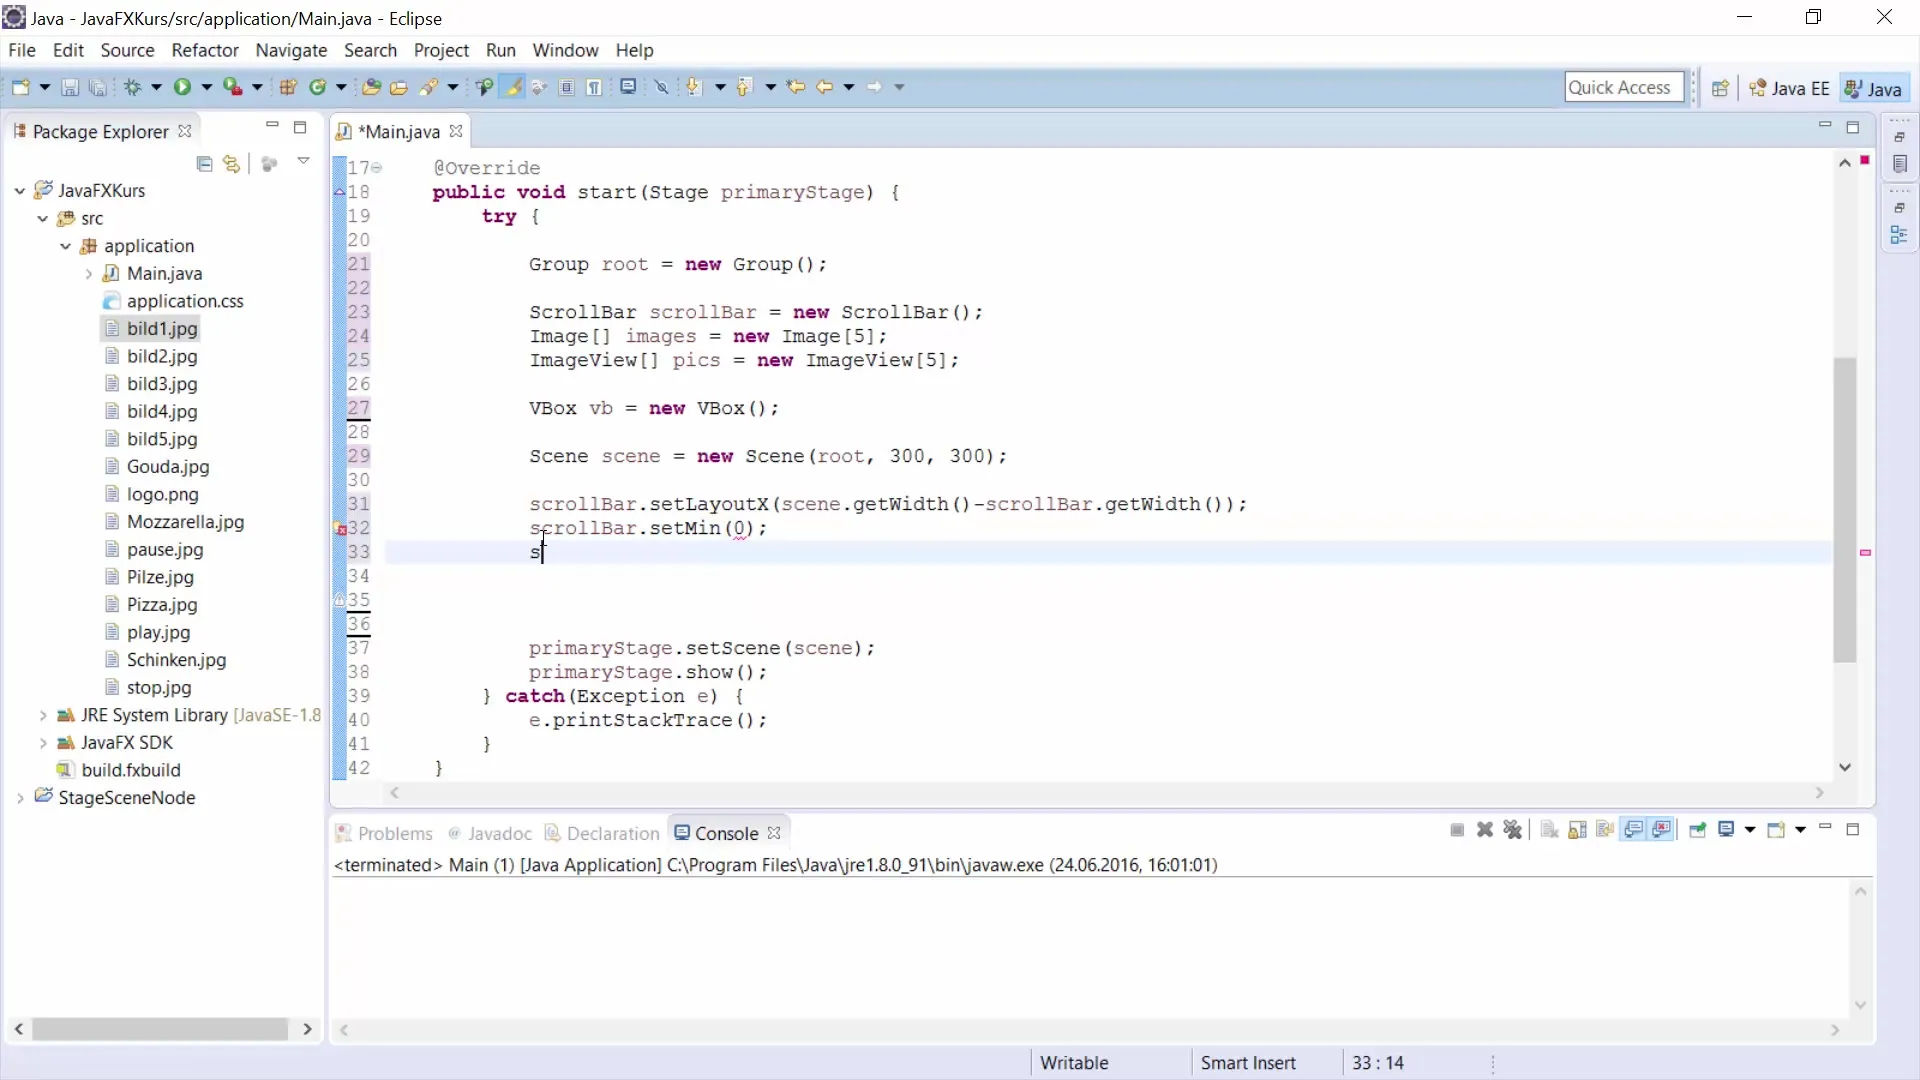
To insert images, you need a collection of Image objects. Create an array of images named from "Image 1" to "Image 5". This will help you load and display the images easily later.
4. Creating an Image View array
In addition to the images, you create an array of ImageView objects. This will allow you to display the images in your layout.
5. Adding a VBox
To display the images, you add a VBox (vertical box) where all entries will be placed. You can insert the ScrollBar into this VBox. Make sure that the position of the ScrollBar meets the requirements of your layout.
6. Setting the position and size of the ScrollBar
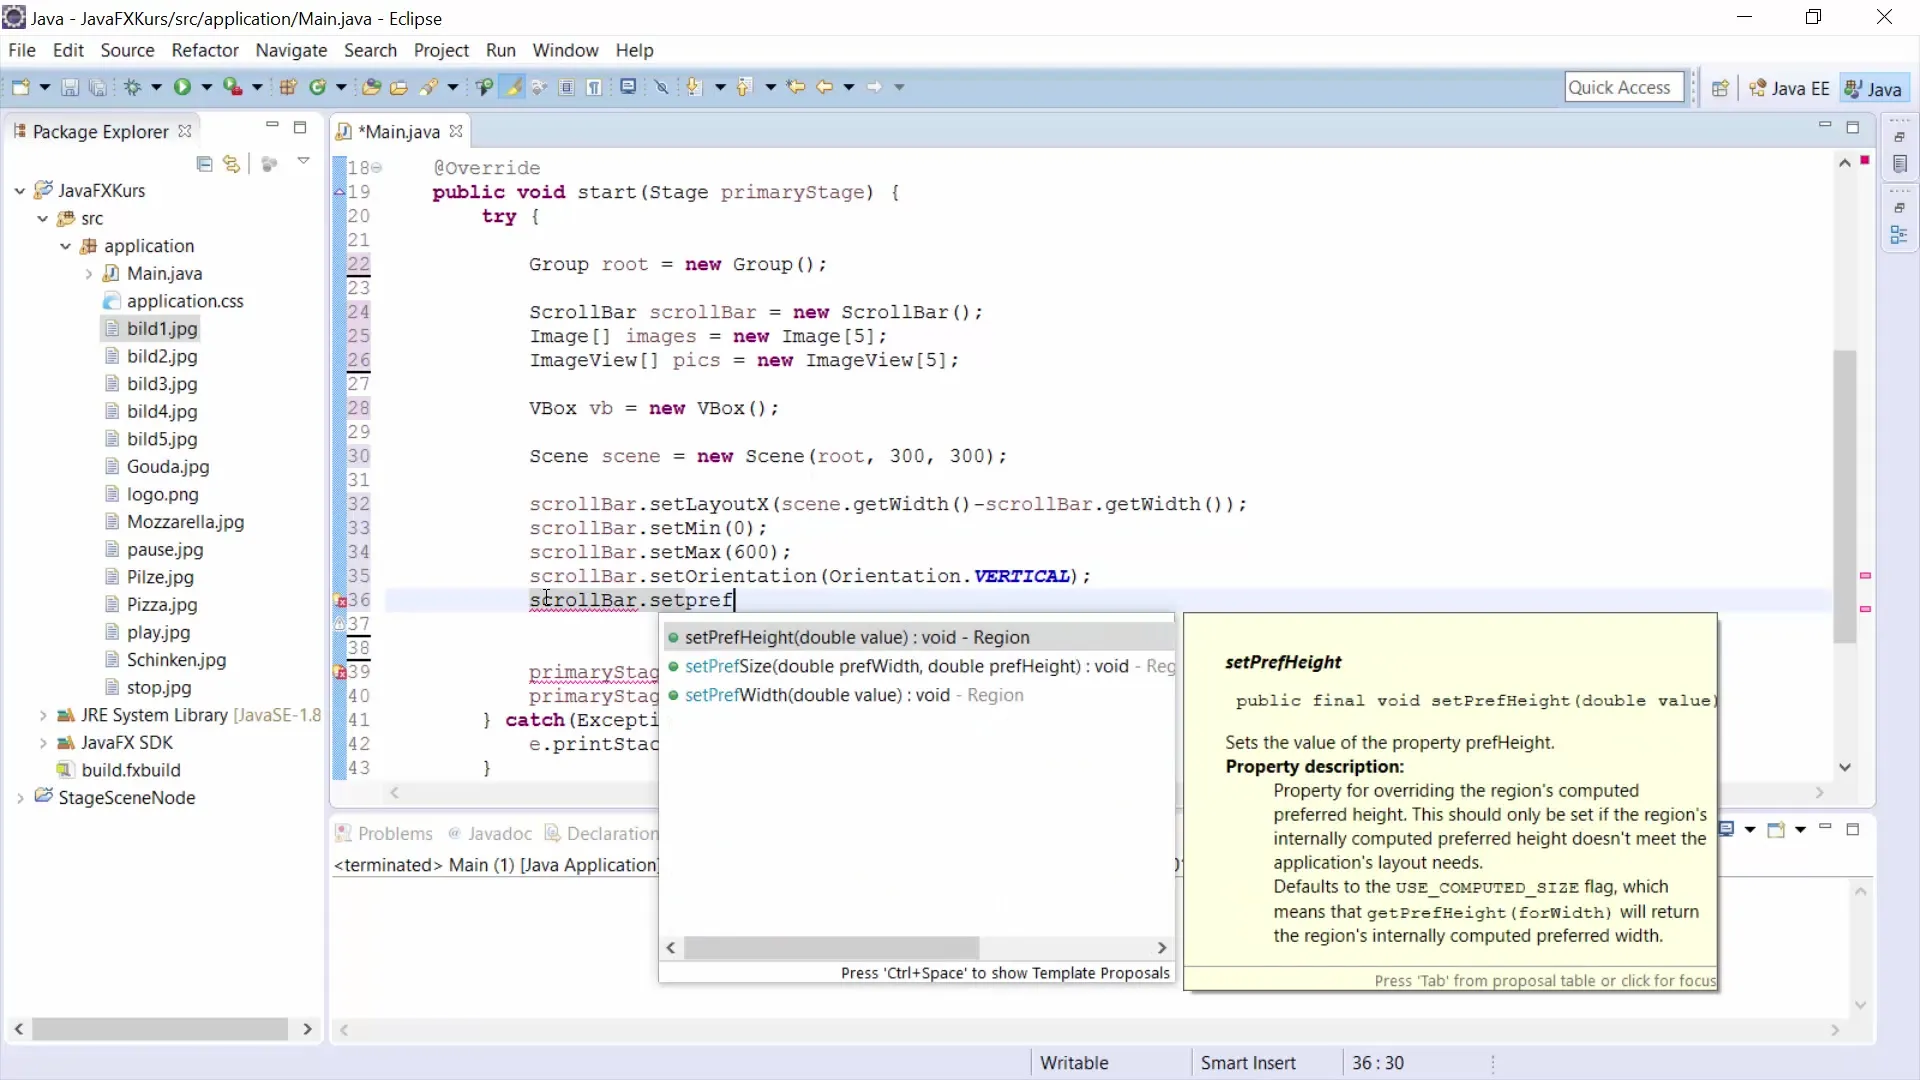
Here you set the x-position of the ScrollBar so that it is aligned to the right of your layout. Additionally, you can define minimum and maximum values for the ScrollBar to optimize its interaction. Remember to adjust the orientation (horizontal or vertical).
7. Setting the width and height
To improve the usability of the ScrollBar, you set its width and height. For example, you might want the ScrollBar to be 10 pixels wide and 300 pixels high.
8. Adding images to the VBox
Now it's time to integrate the images into your VBox. You will use a loop to add all images to the VBox. This is done using the "add" method, which is called for each image.
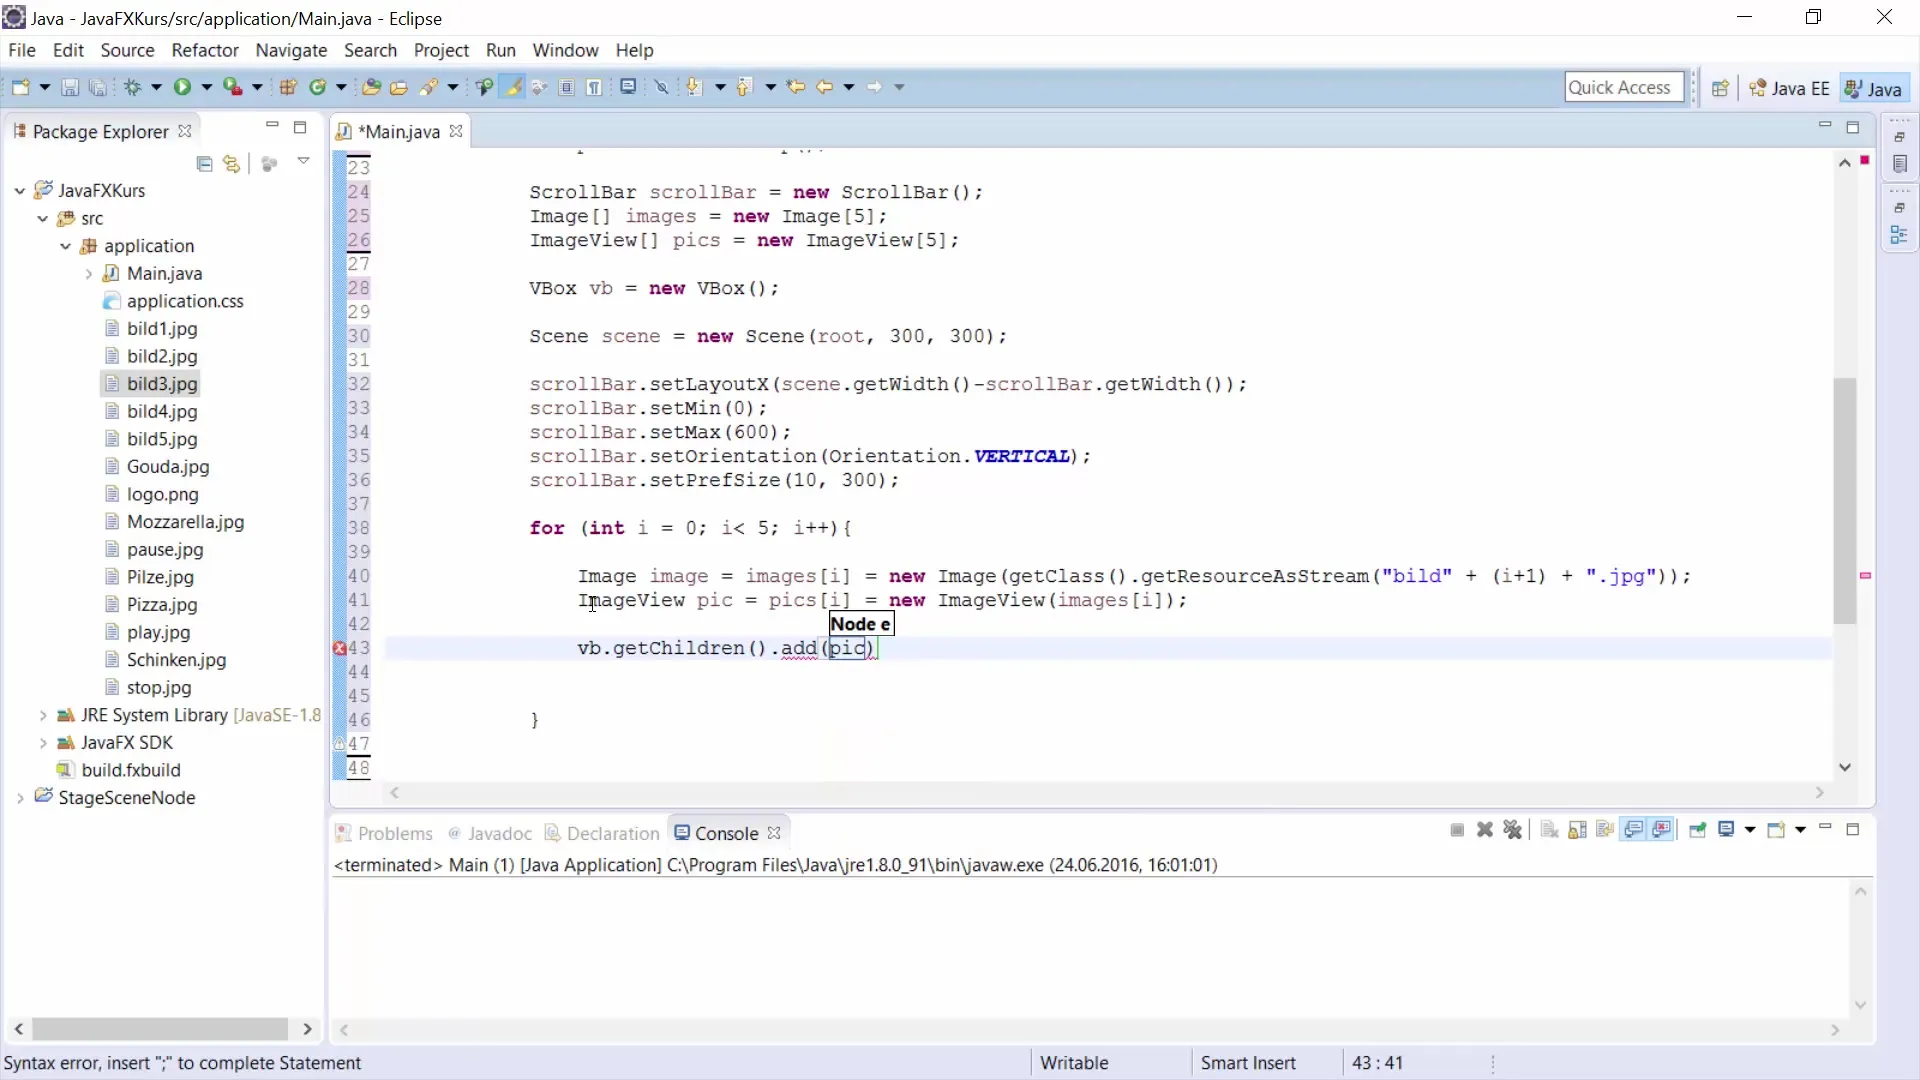
9. Adding the ScrollBar to "root"
After the images have been added to the VBox, it is important to add the VBox and the ScrollBar to the Group "root". This is the only way you will get functioning scroll functionality.
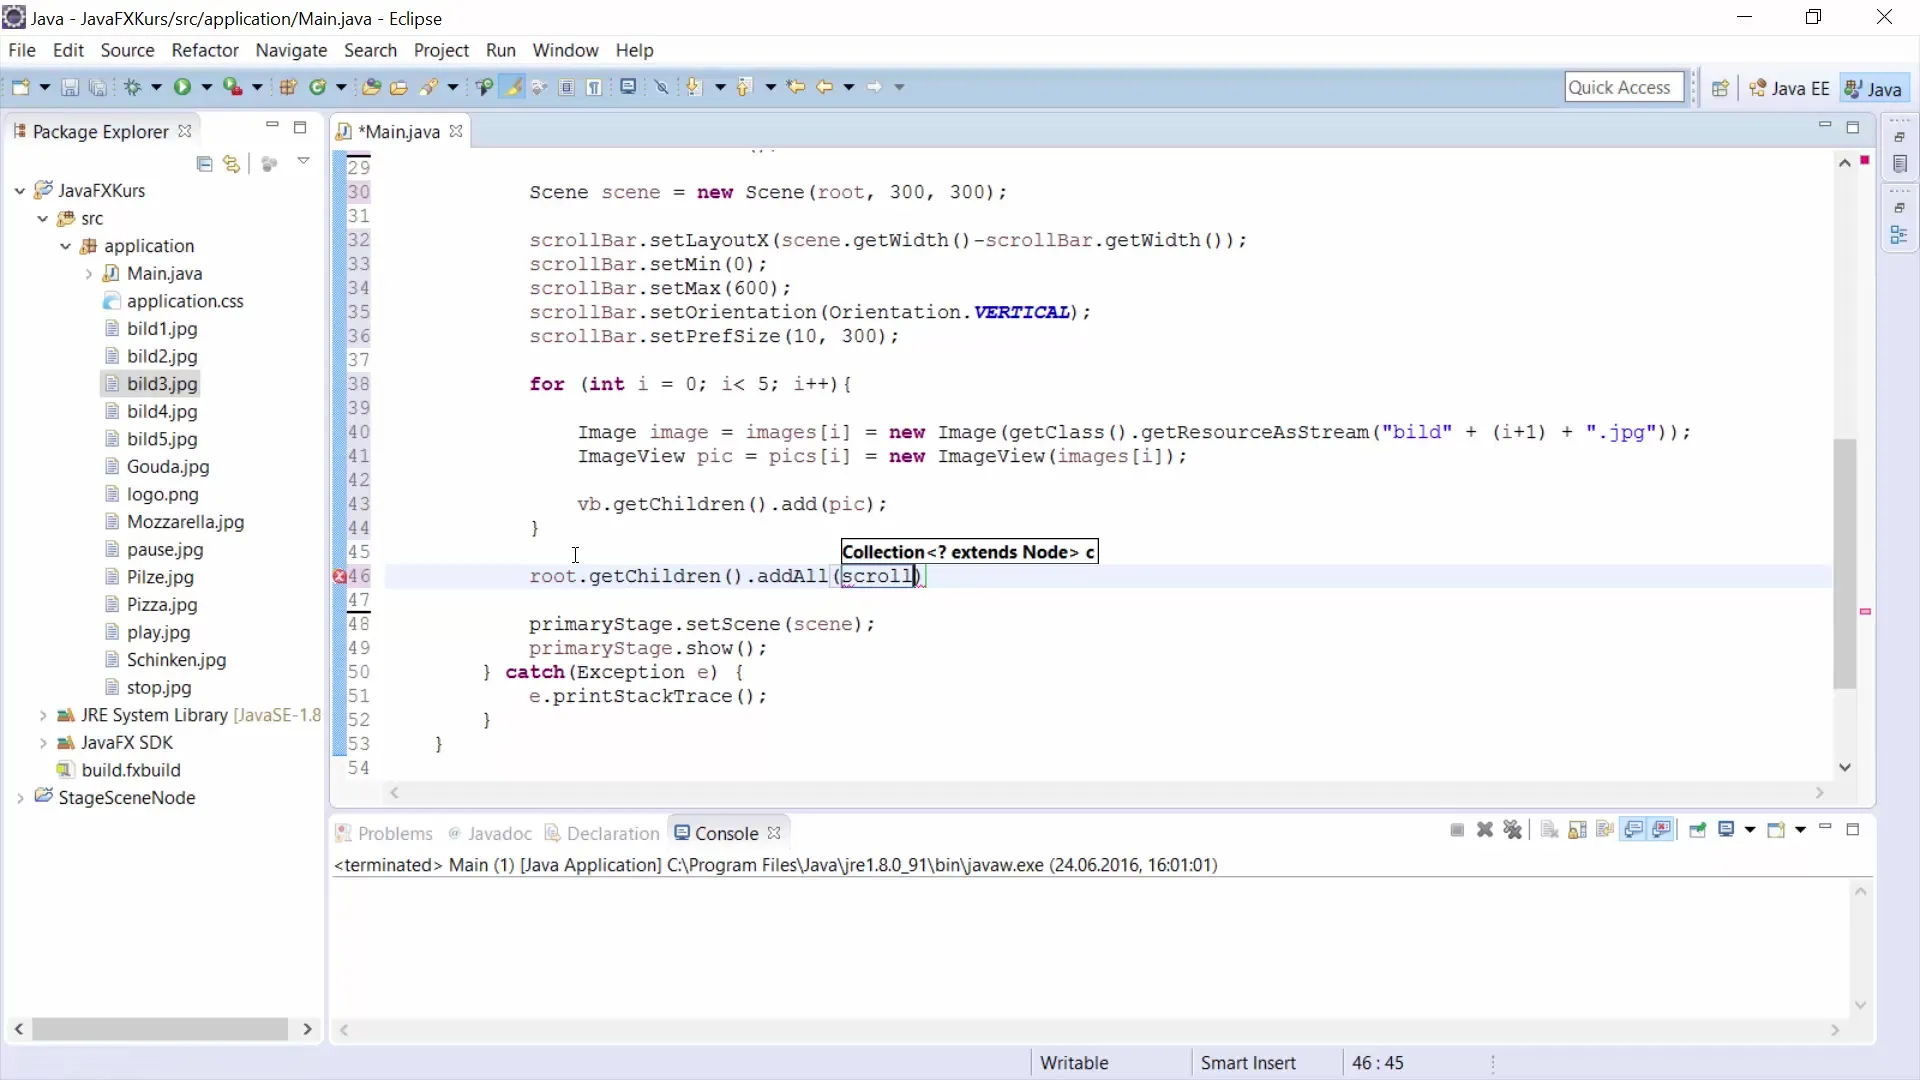
10. Implementing the ChangeListener
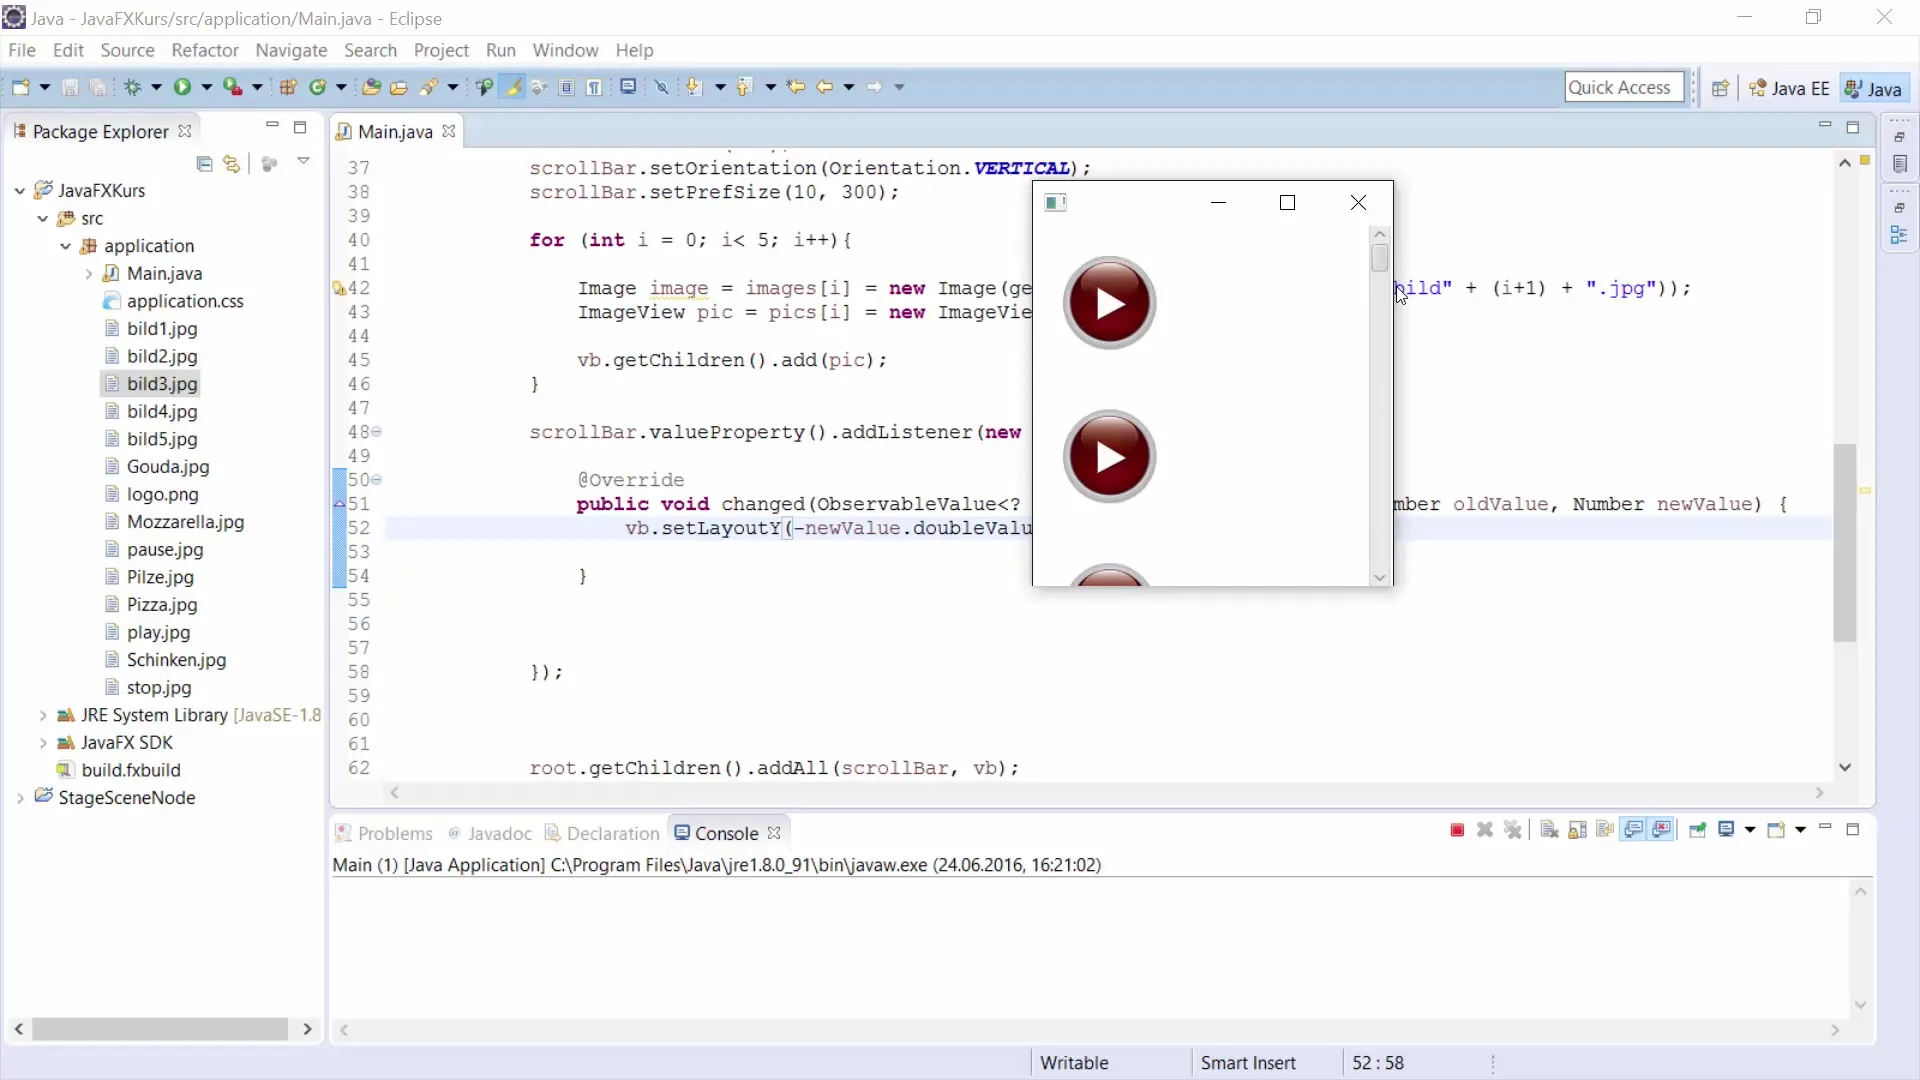
To optimize the functionality of the ScrollBar, you need to add a ChangeListener. This listener responds to changes in the ScrollBar and updates the layout accordingly. Make sure to set the layout values correctly.
11. Testing the scroll function
Once all elements are correctly set up, test the scroll functionality. With the previously set values, you should be able to scroll through your images displayed in the VBox using the ScrollBar.
Summary – Guide to using a ScrollBar in JavaFX
In this guide, you learned how to implement a ScrollBar in a JavaFX project. You walked through the basics of creating a Group, adding images, adjusting the ScrollBar, and implementing the necessary event listeners. By following this guide, you will soon be able to design your own scrollable user interfaces that effectively display a variety of content.
Frequently Asked Questions
How do I add multiple images to my ScrollBar in JavaFX?You can insert images into the VBox using an array and a loop before adding them to the enclosing Group.
Can I use the ScrollBar both horizontally and vertically?Yes, the ScrollBar can be used in both orientations. You can adjust the orientation accordingly by applying Scrollbar.setOrientation().
How do I adjust the size of the ScrollBar?You can set the size of the ScrollBar using the methods setWidth() and setHeight() or setPrefSize() to define its width and height.


