The development of graphical user interfaces (GUIs) can sometimes be a challenge, especially when you have to implement everything manually in code. A tool that helps you with this is the JavaFX Scene Builder. This tool allows you to create attractive interfaces with minimal effort. In this guide, I will show you the steps to effectively use the Scene Builder and design a simple GUI.
Main insights
- The Scene Builder allows for easy assembly of GUIs through drag-and-drop.
- It is important to create an.fxml file before using the Scene Builder.
- The arrangement of elements can be managed directly in the interface, significantly speeding up development.
Creating an.fxml file
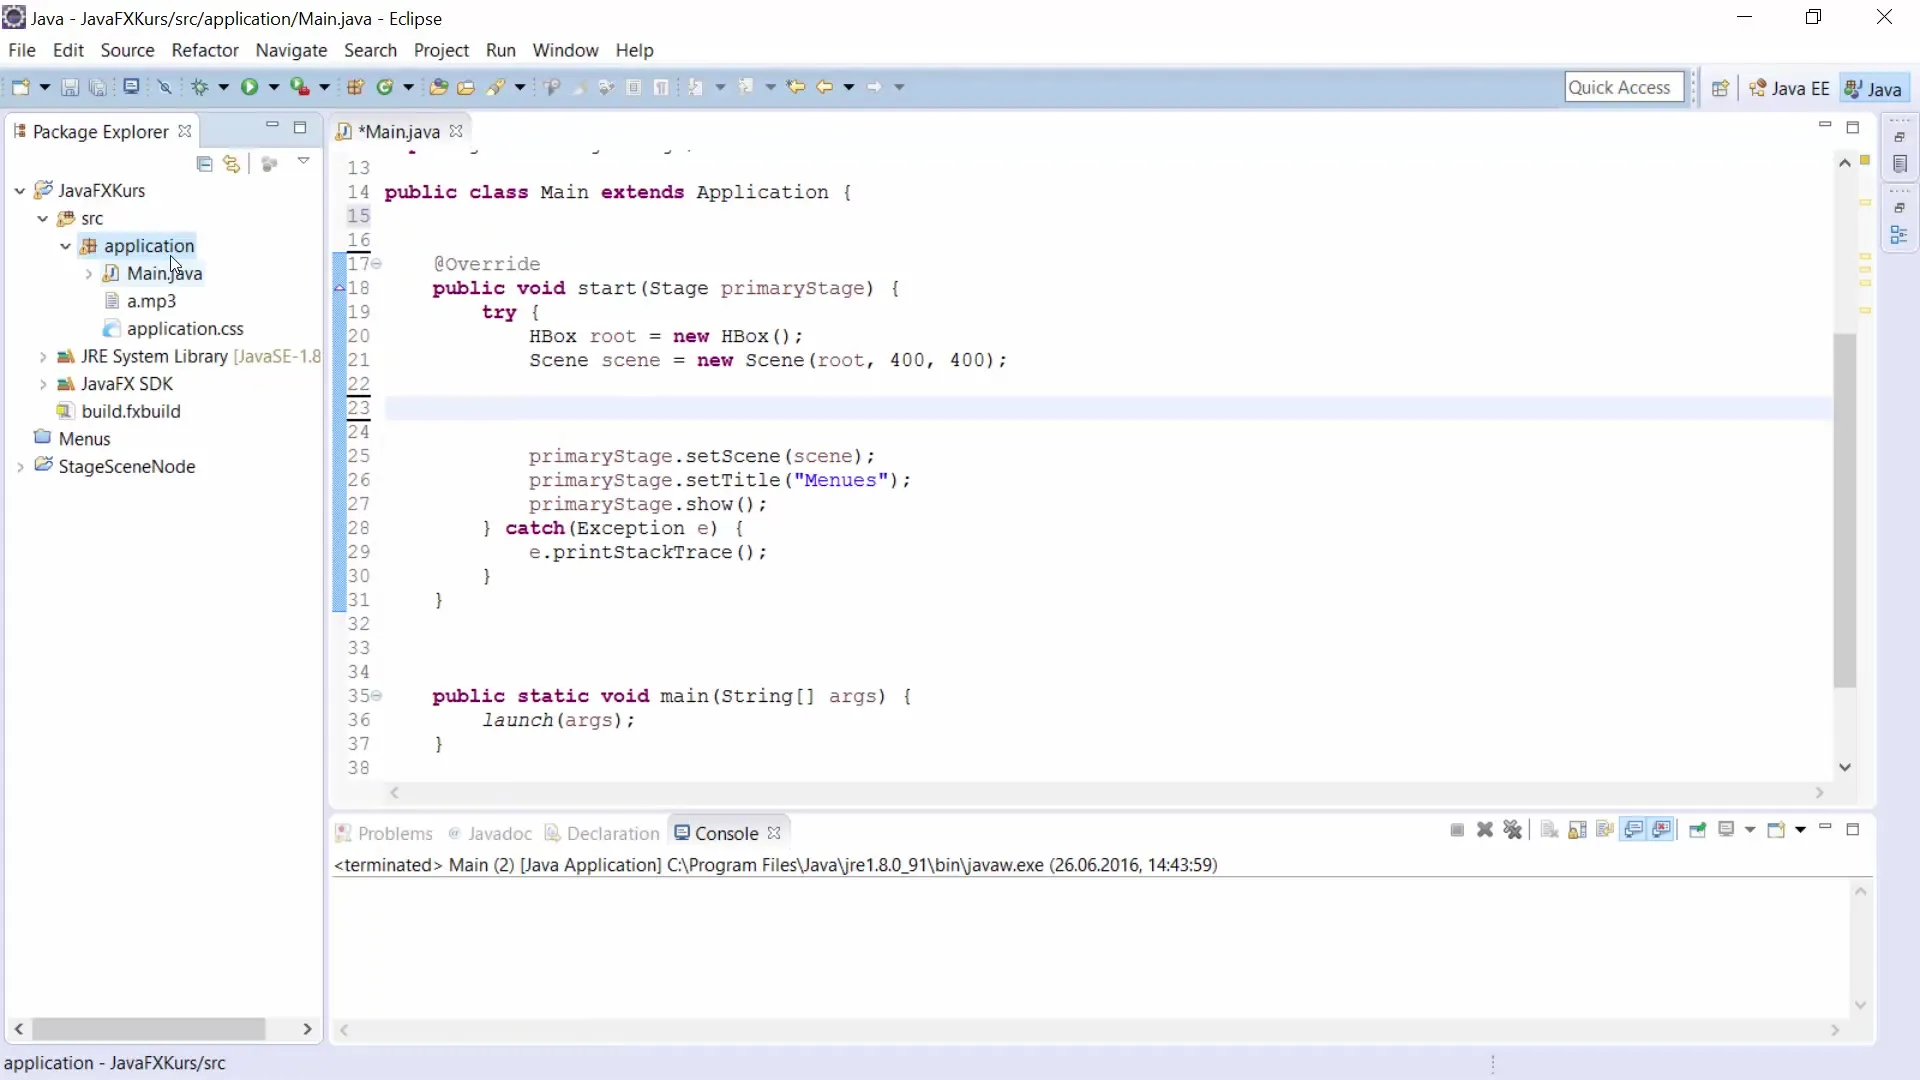
To work with the Scene Builder, you first need to create an.fxml file. This is quite simple. Right-click in your application folder, select “New” and then “Other…”. Under “JavaFX” choose “New FXML Document”. Now you can name the file, for example “Kurs.fxml”, and click “Finish”. After that, the file will appear in your project directory.
Understanding XML code
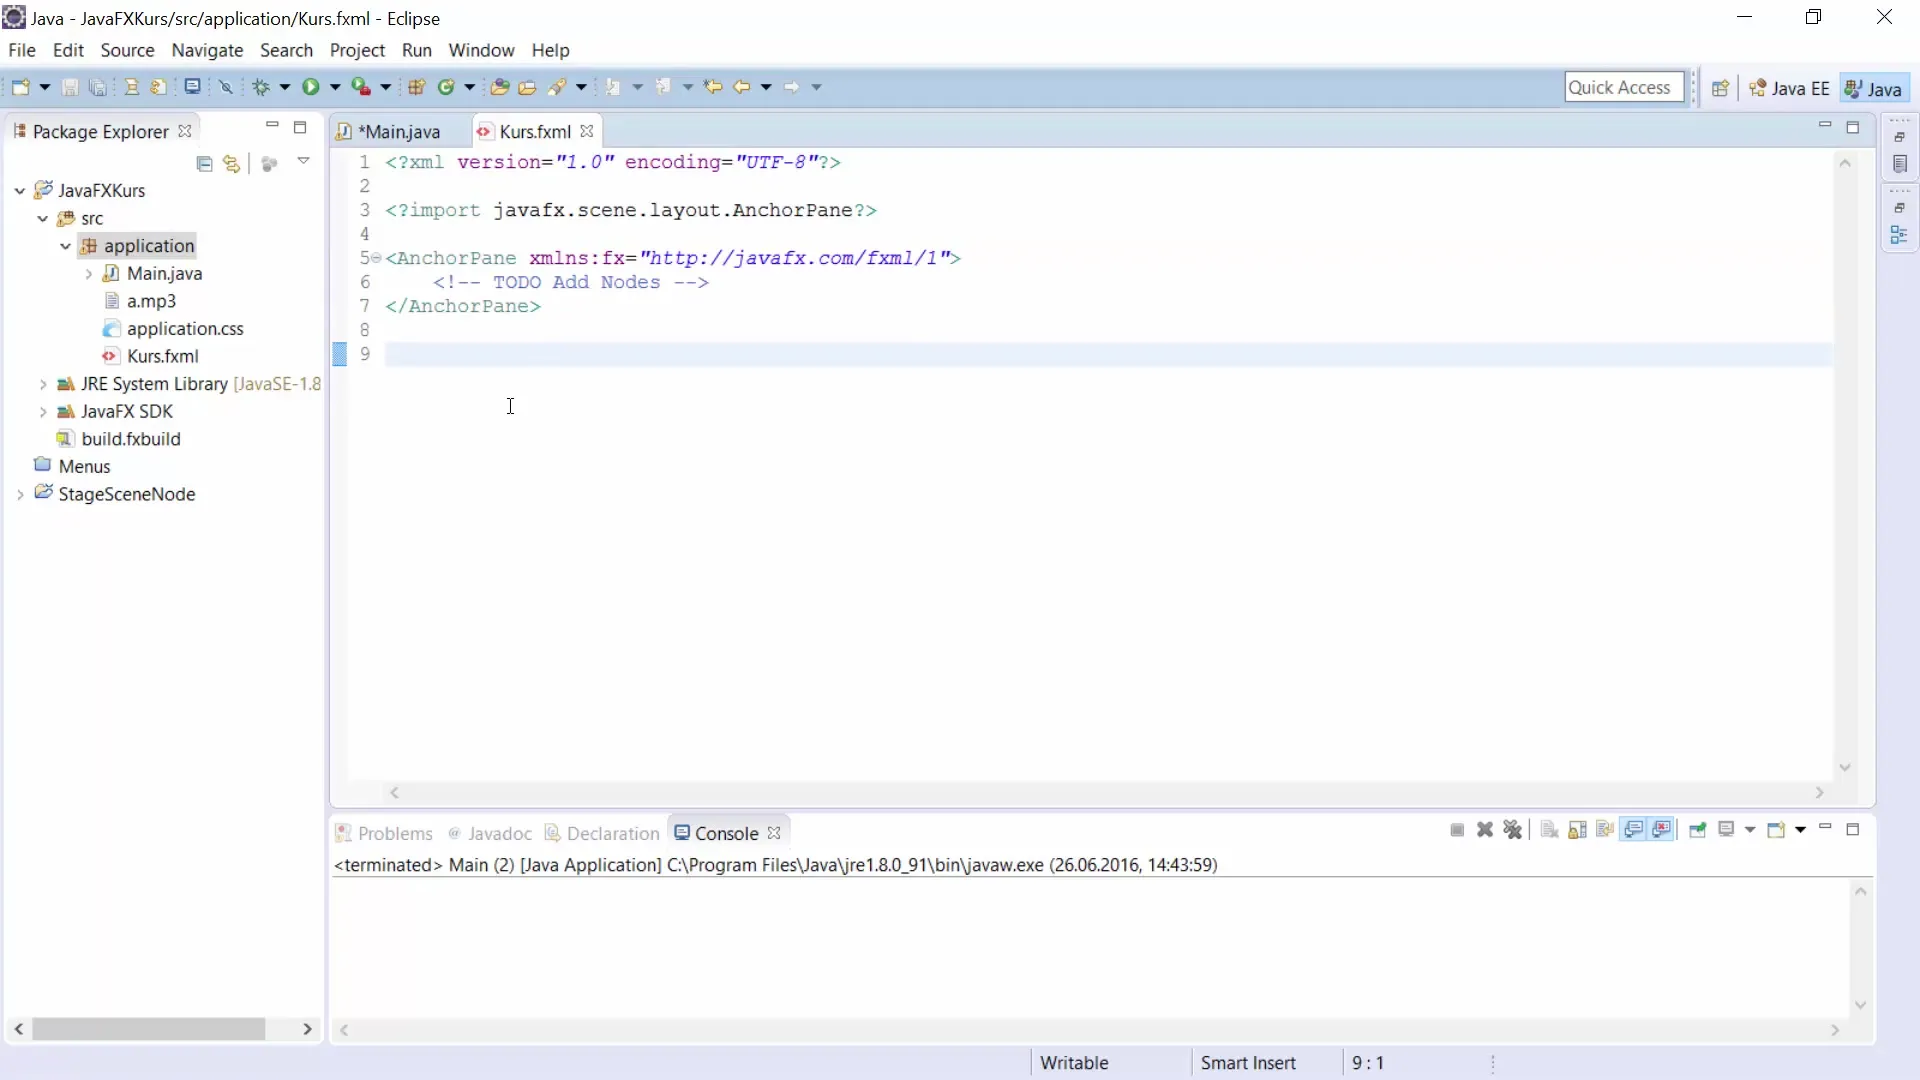
Although we mainly focus on the visualization process, the.fxml file is represented in an XML-like syntax. You will probably not need to write much code by yourself, as the Scene Builder allows you to design everything via drag-and-drop. If you do need specific adjustments, you can always edit the XML code directly.
Using the Scene Builder
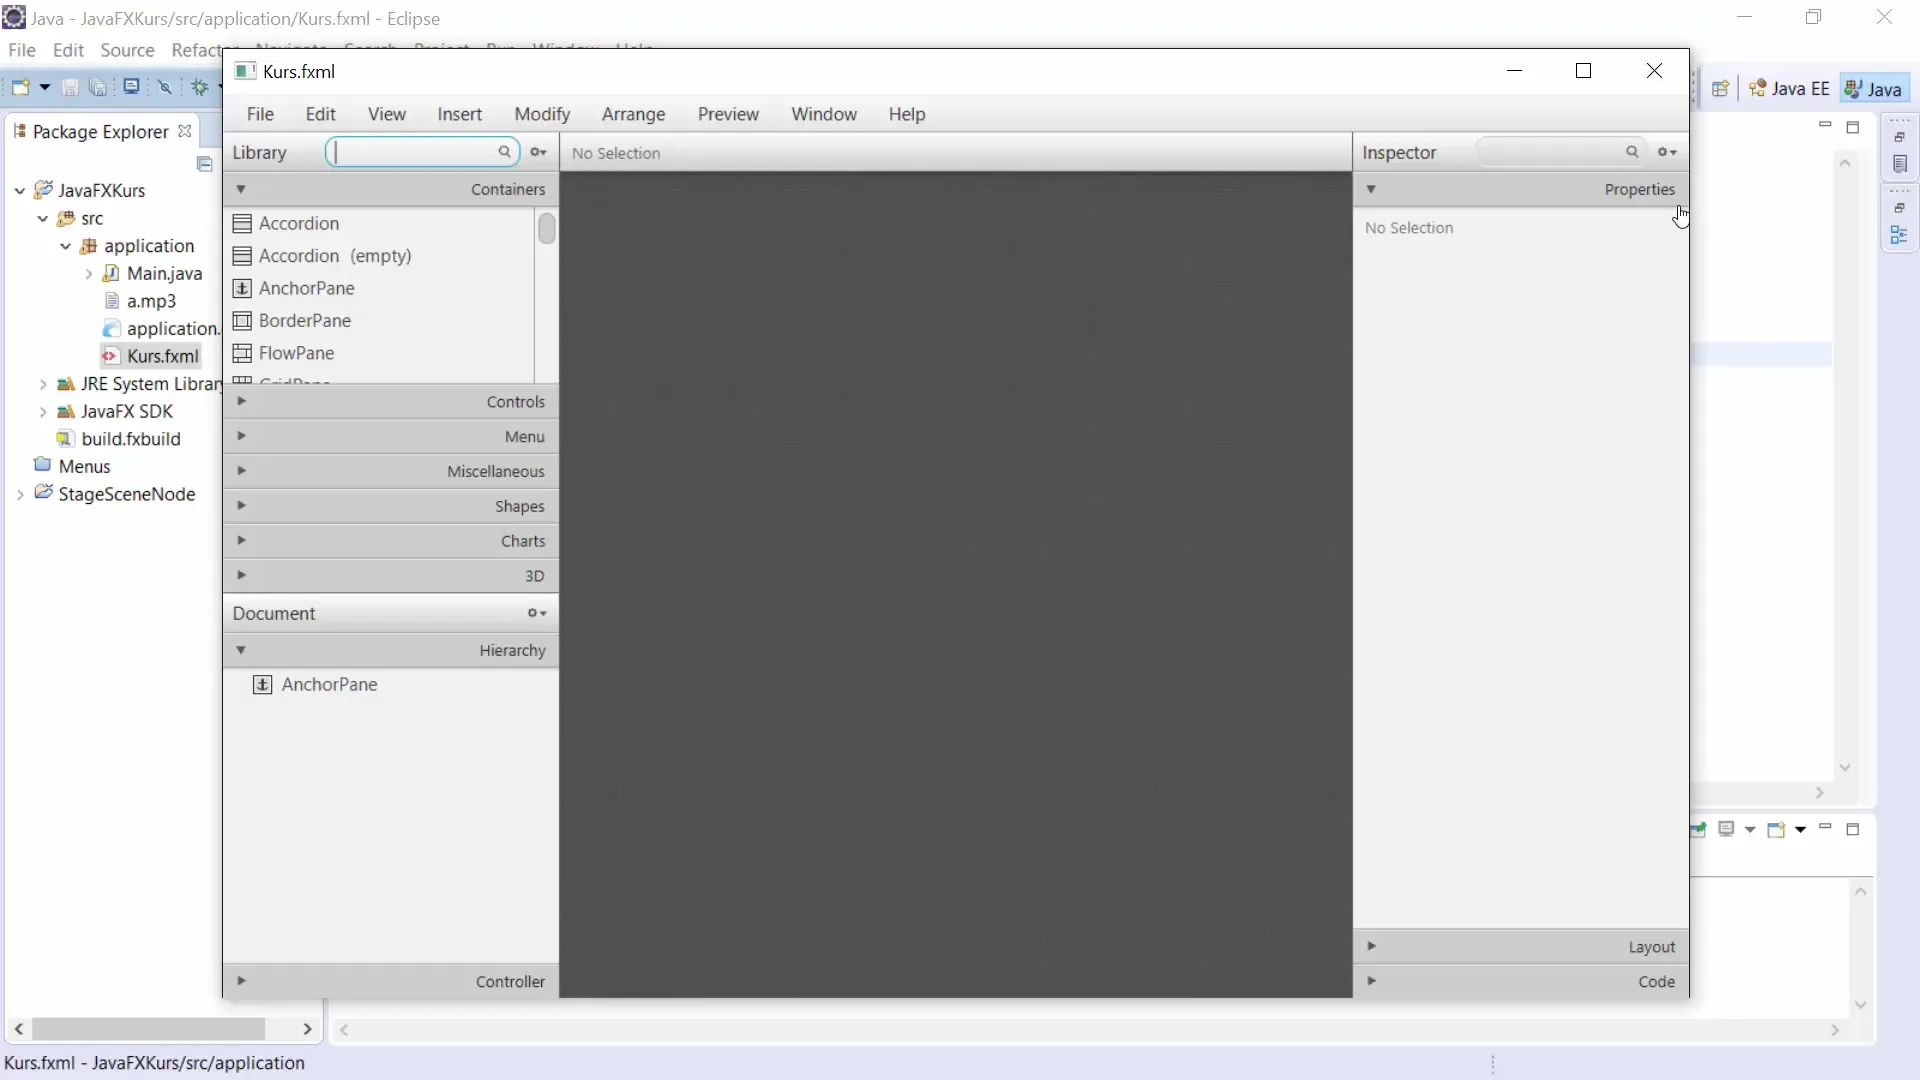
To start the Scene Builder, right-click on the.fxml file and select “Open with Scene Builder”. After a few seconds, the tool will open and display the user interface. On the left side, you will see various containers and controls such as buttons, text fields, and menus that you can use in your application.
Customizing the workspace
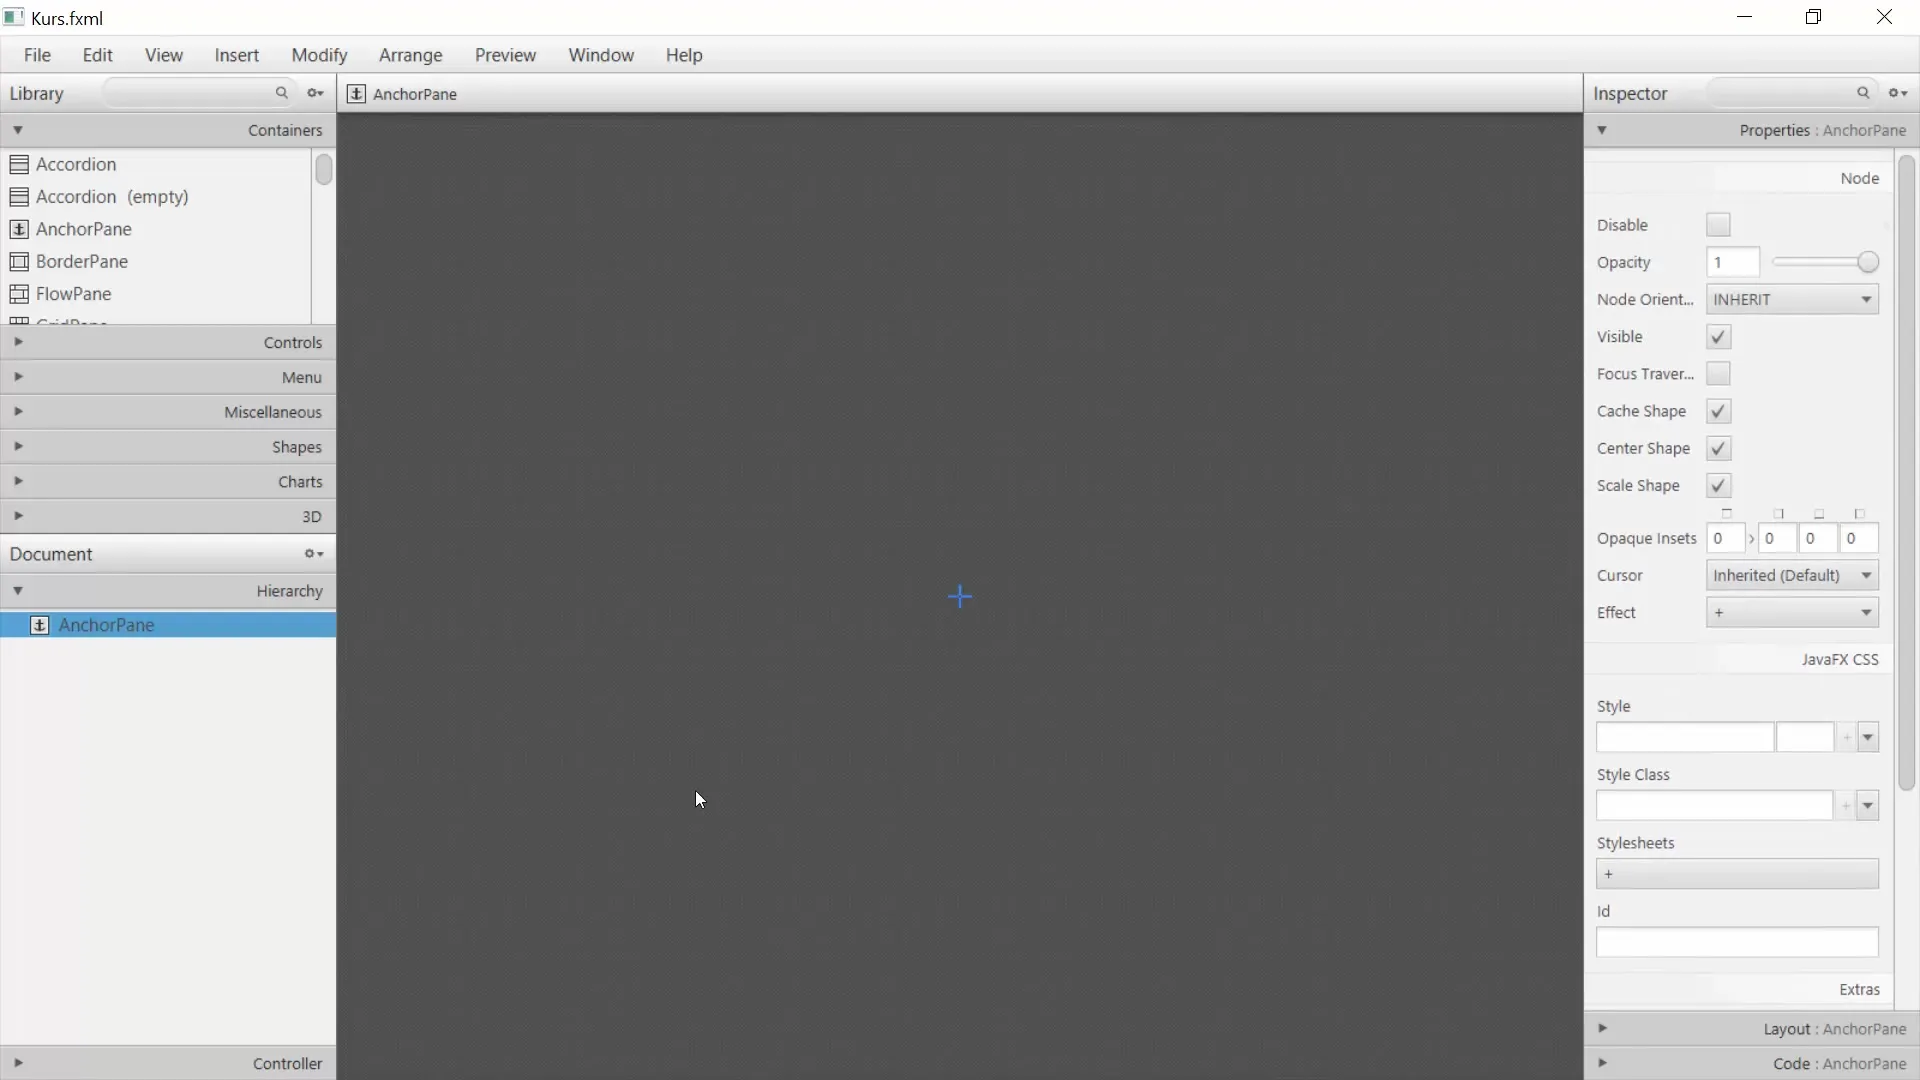
The first step in the Scene Builder should be to customize the workspace so that you have enough space for your elements. You will notice that an AnchorPane is selected by default. You can edit this container by adjusting the size to create more area for your GUI.
Adding elements
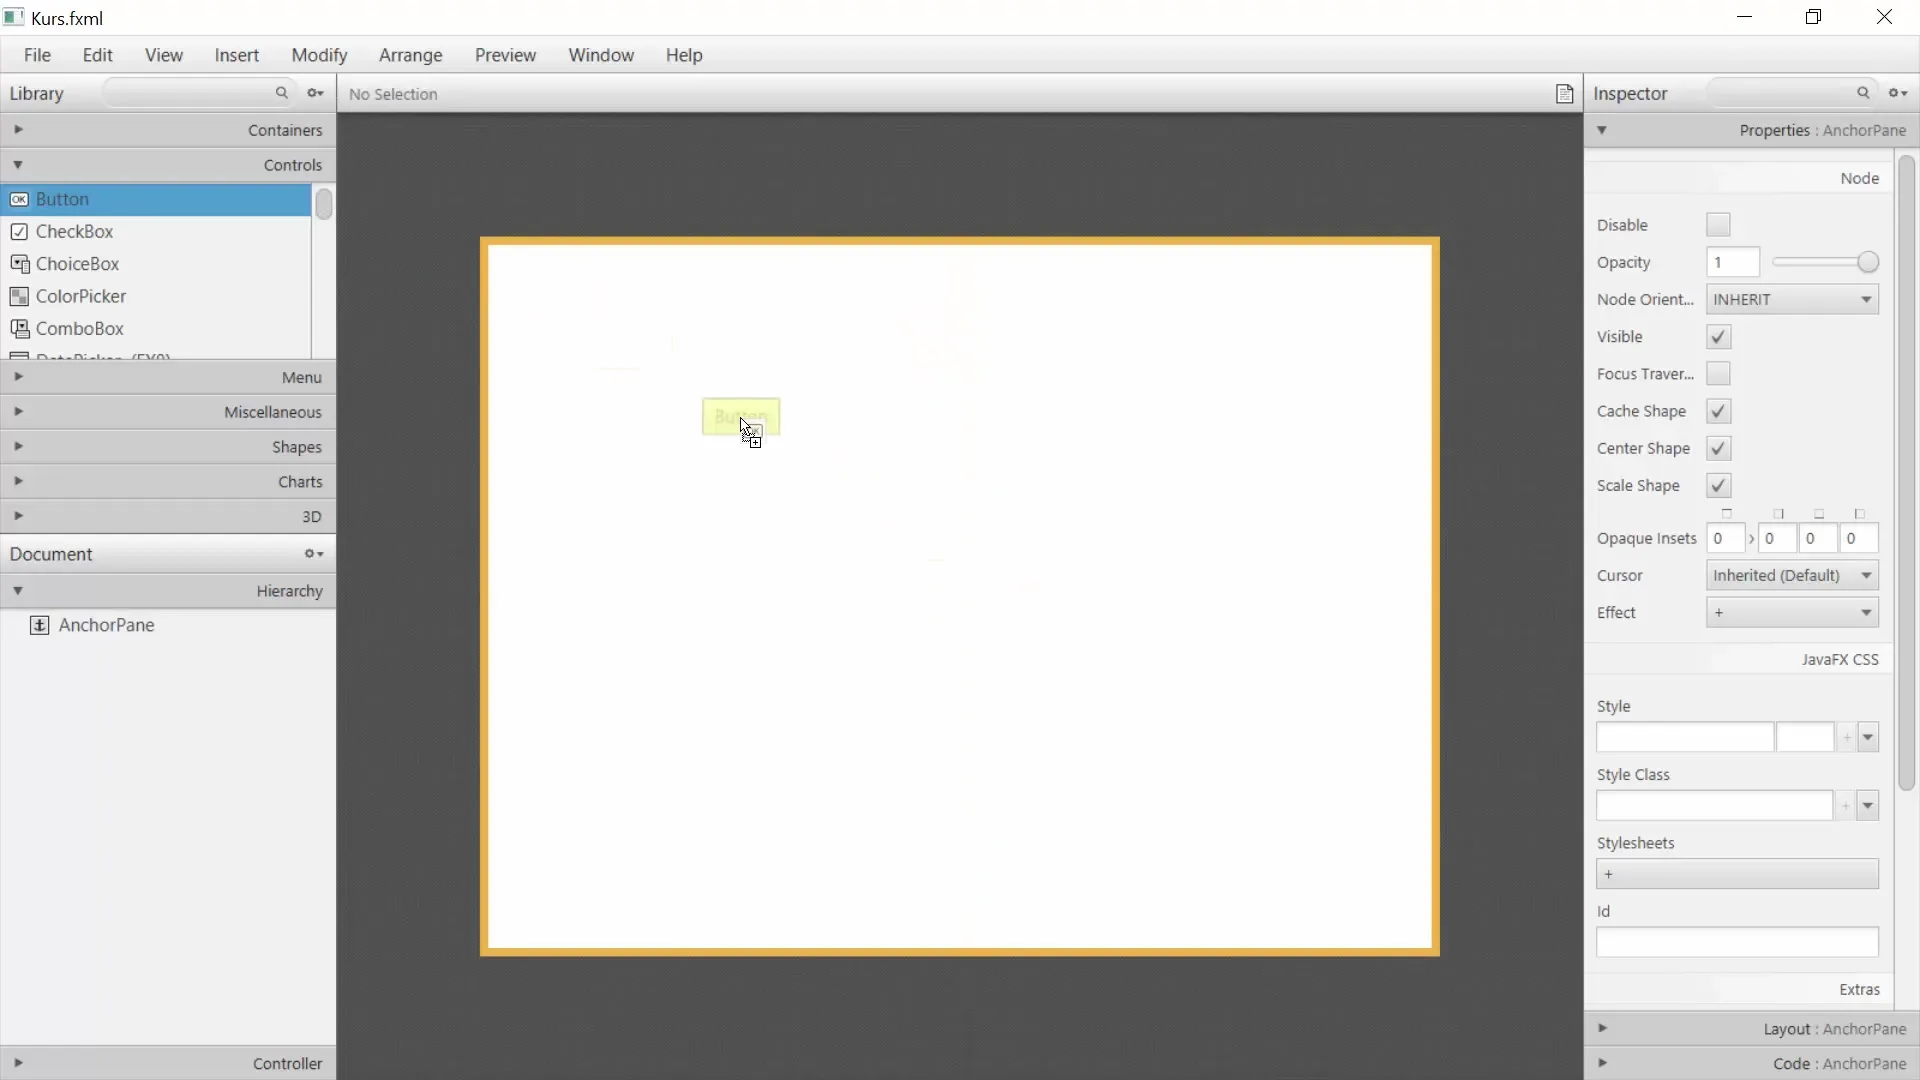
Now the creative part begins: adding GUI elements. For example, you can add a button. Simply drag the button from the list onto the workspace. You may notice that red lines appear to help you align the position of the button.
Editing properties
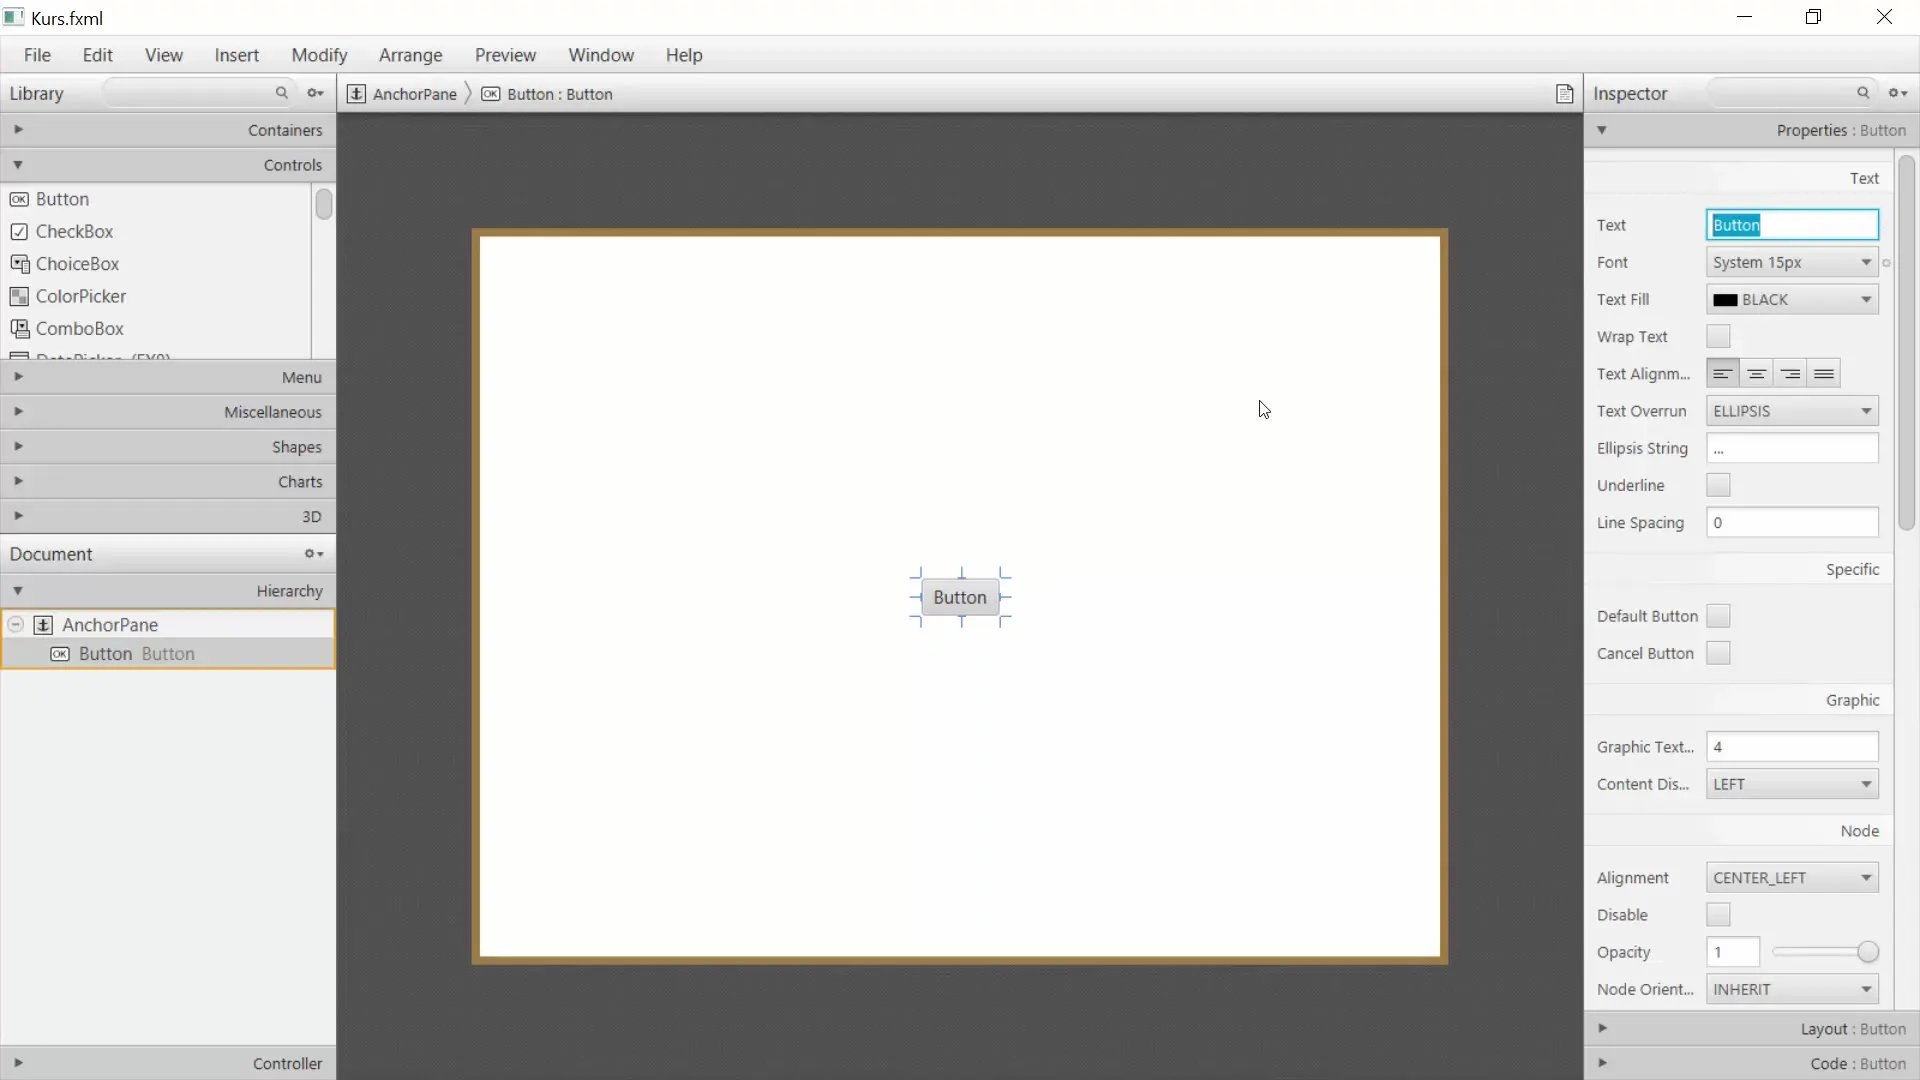
Each element has specific properties that you can adjust. For example, if you click on the button, you can change the button text on the right side under “Properties”. Instead of “Button”, type “My Button”. Note that you can also adjust the layout of the button to position it where you want.
Centering elements
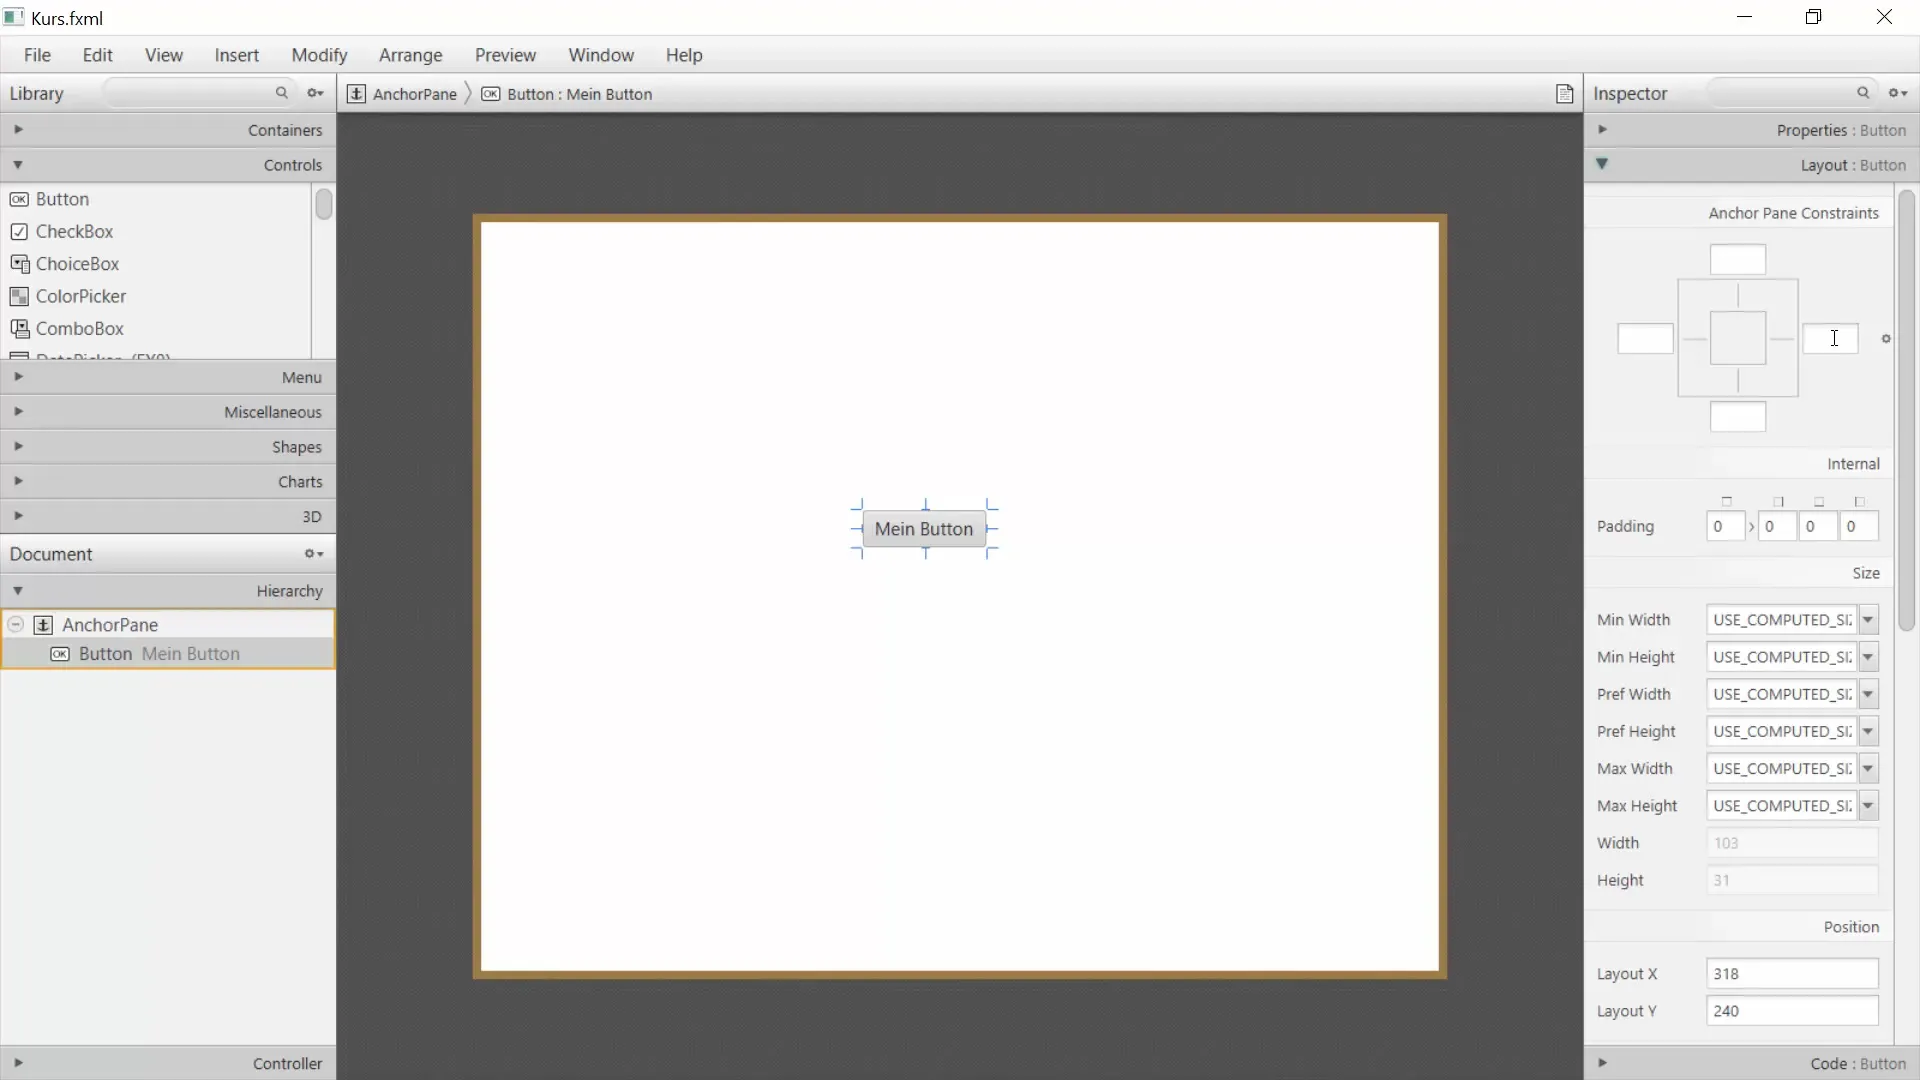
If you want the button to remain centered at all times, you should make some layout adjustments. For example, you can "anchor" the button to a specific position. When you resize the window, the button should stay in the desired position.
Testing the changes
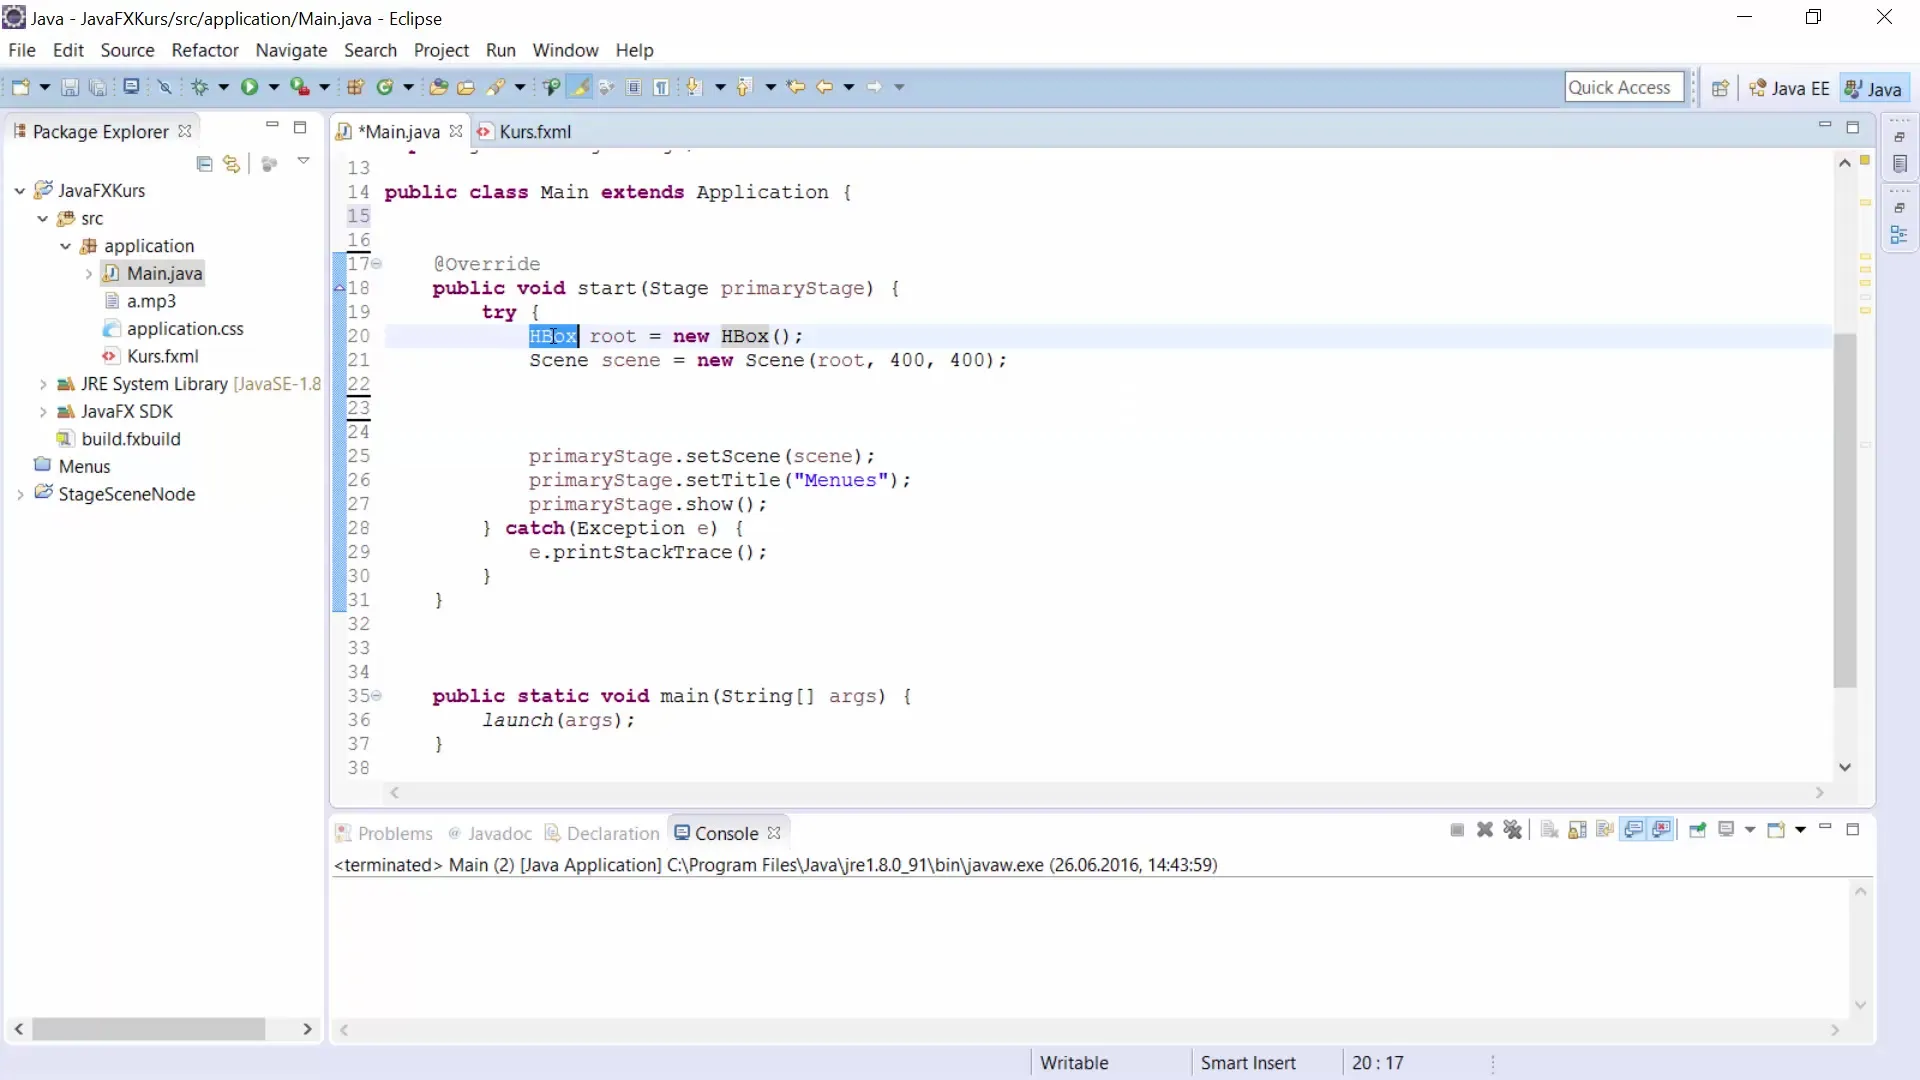
To test your GUI, you can save the.fxml file and include it in your main.java file. Instead of setting a fixed size, you use the FXML loader to load the.fxml file. You can do this with the command getClass().getResource().
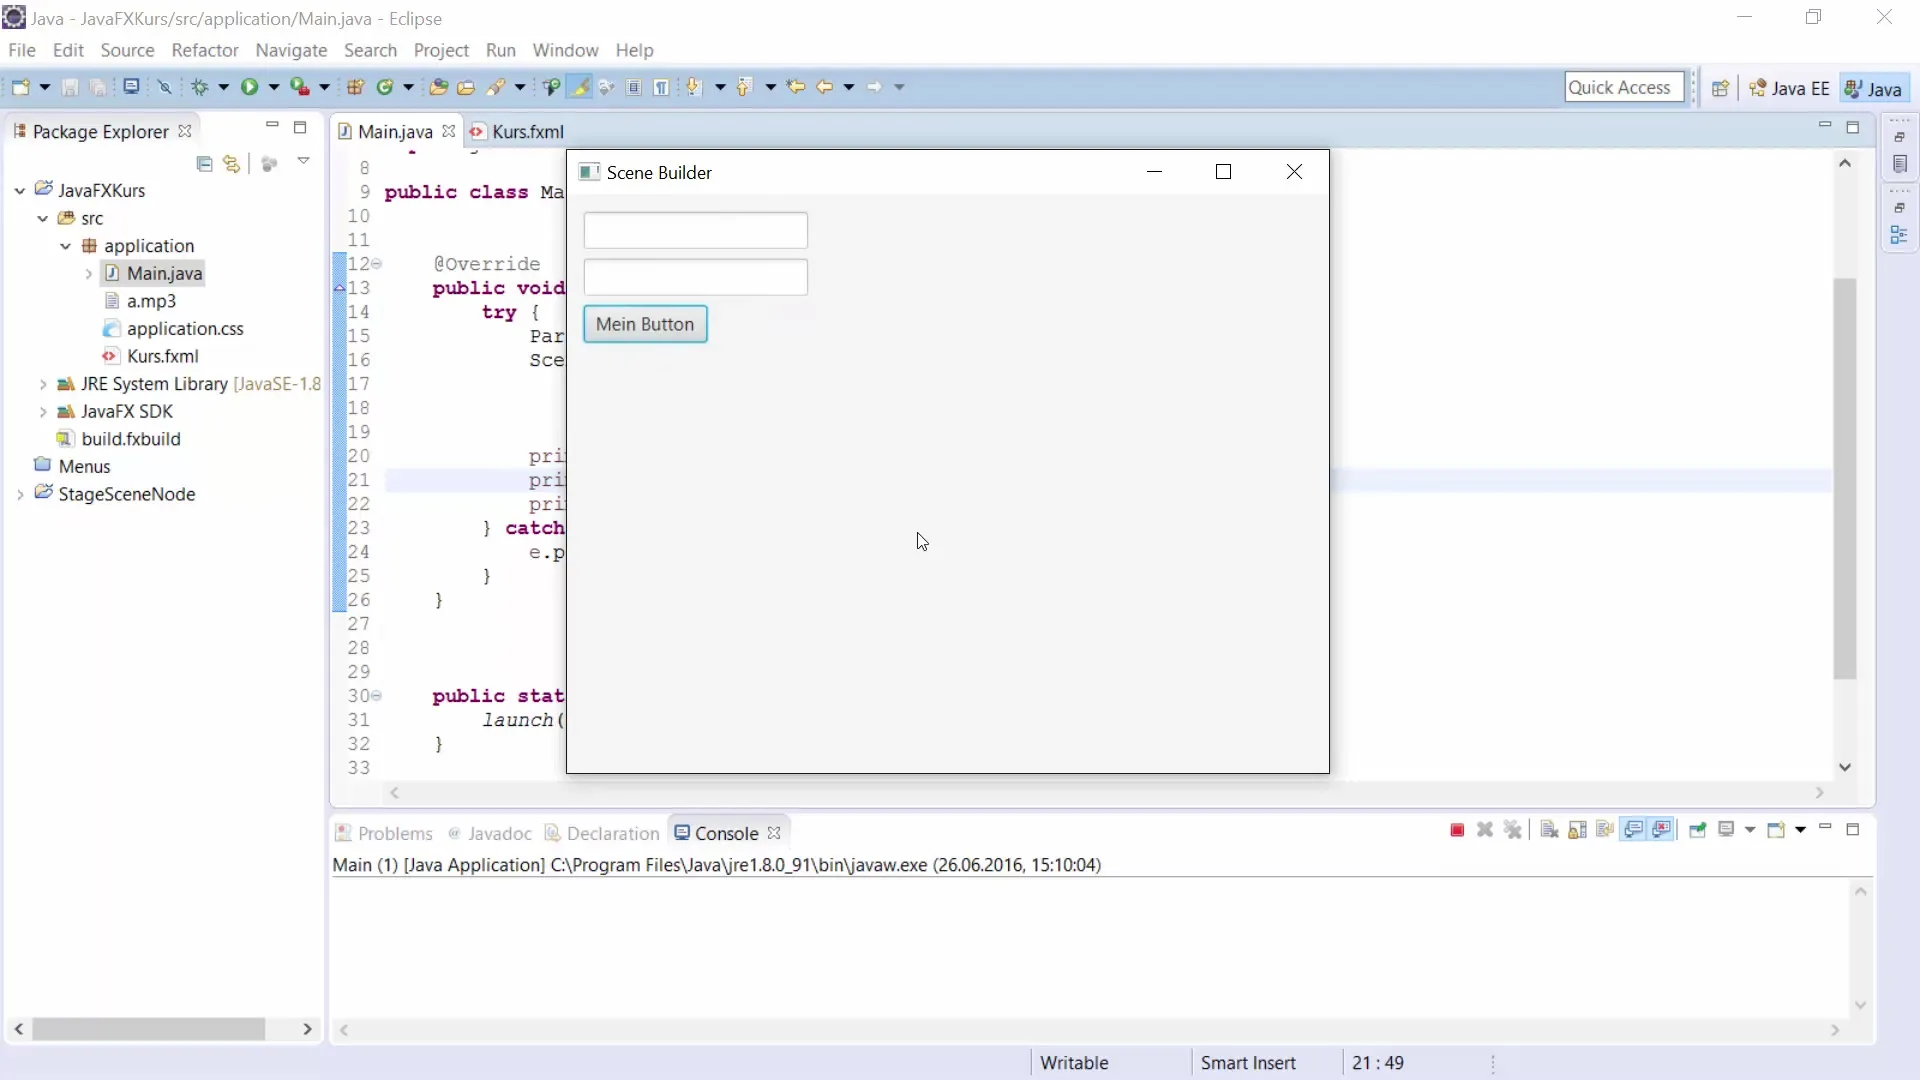
Now you can run the program. The window should appear with the text fields and the button you created. You will see how easy and effective it can be to create a GUI with the Scene Builder.
Summary – Guide to Using the Scene Builder in JavaFX
With the Scene Builder, you can easily and intuitively create GUIs. The drag-and-drop approach saves you a lot of time, and you can see in real time how your interface looks. Understanding the.fxml file and the properties of your elements is crucial to getting the most out of this tool.


