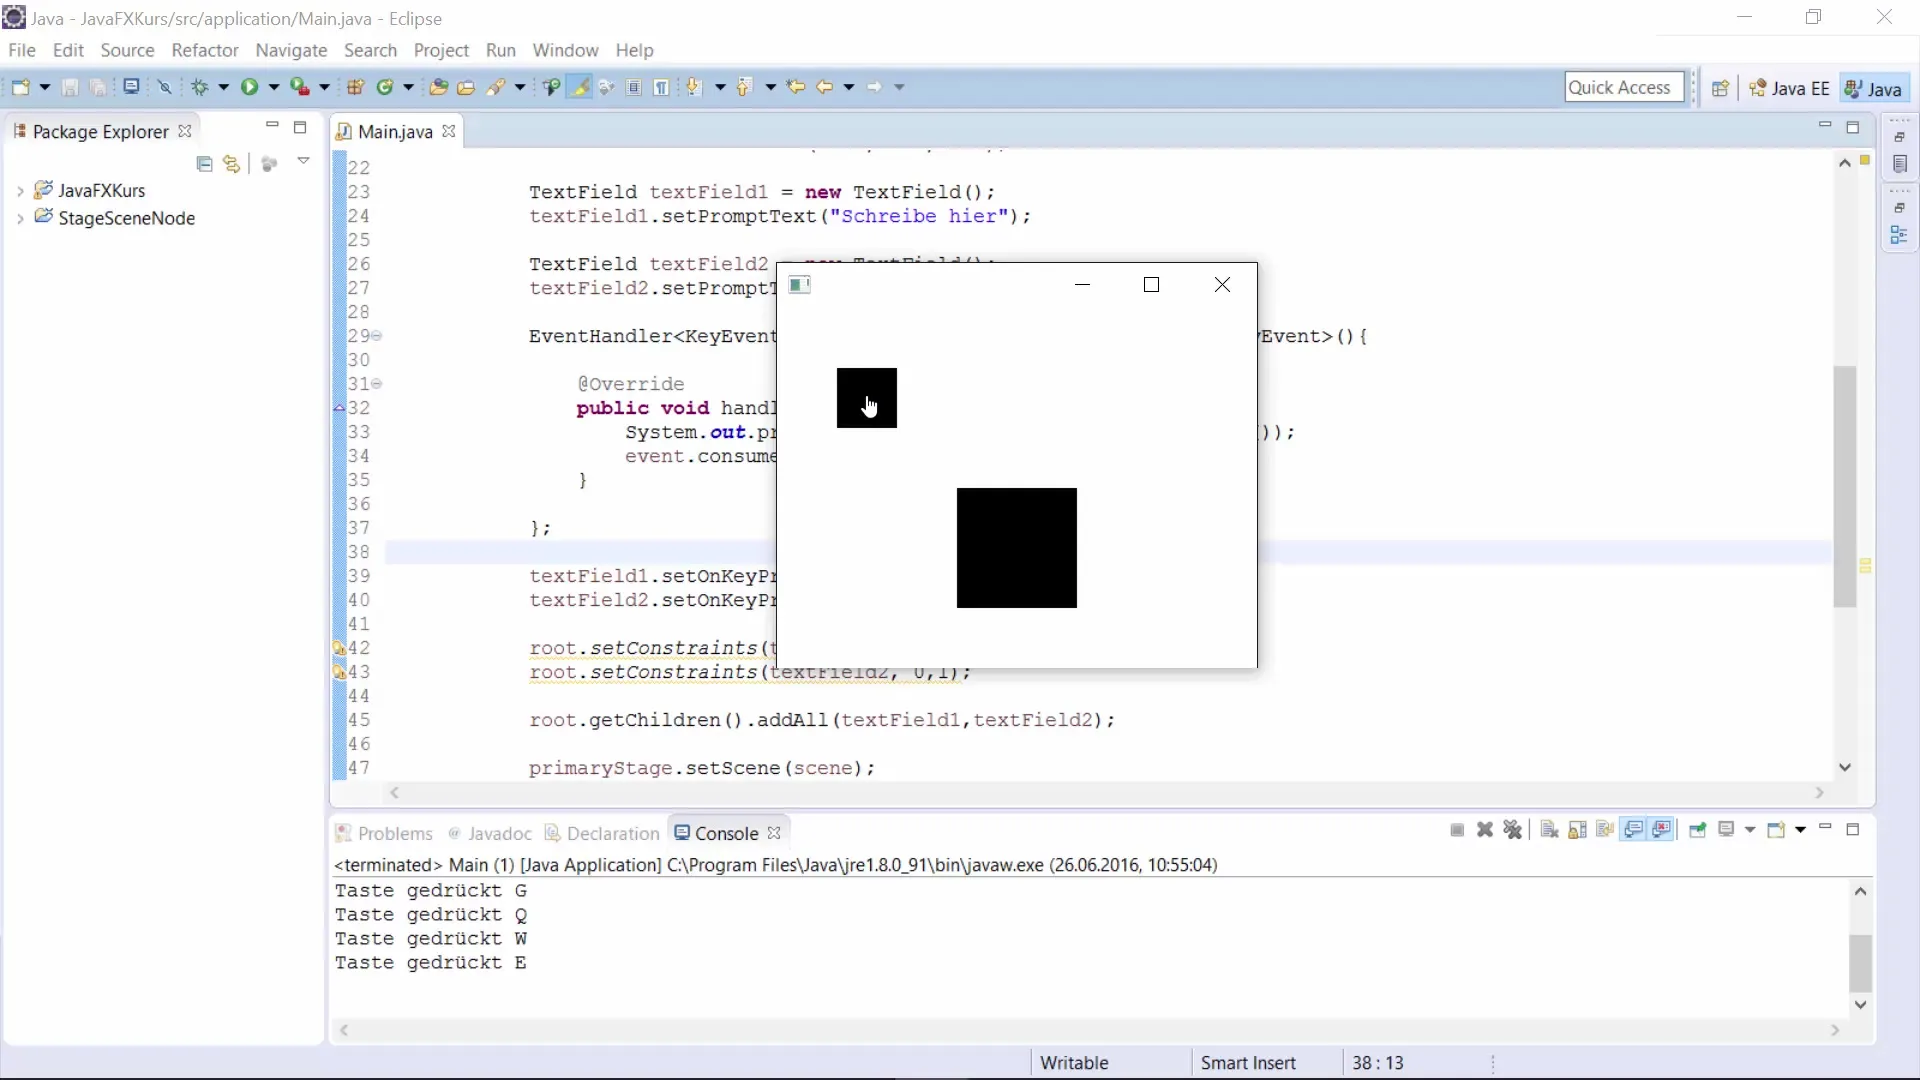
Have you ever wondered how Drag and Drop are implemented in a graphical interface? This concept is not only common in modern applications, but it also plays a crucial role in user experience. In this guide, I will show you how to implement Drag and Drop in JavaFX by creating two squares that you can move. It will be a step-by-step guide, so you can easily follow all the necessary steps.
Key Takeaways
- Drag and Drop enables users to easily move objects.
- Implementing Drag and Drop in JavaFX is straightforward using event handlers and lambda expressions.
- Collision detection is essential to determine if an object has been dropped within a certain area.
Step-by-Step Guide
1. Project Setup
First, create a new JavaFX project in your development environment. Make sure all required libraries are included. We will start with the basic setup of your application by creating a main class.

2. Create the User Interface
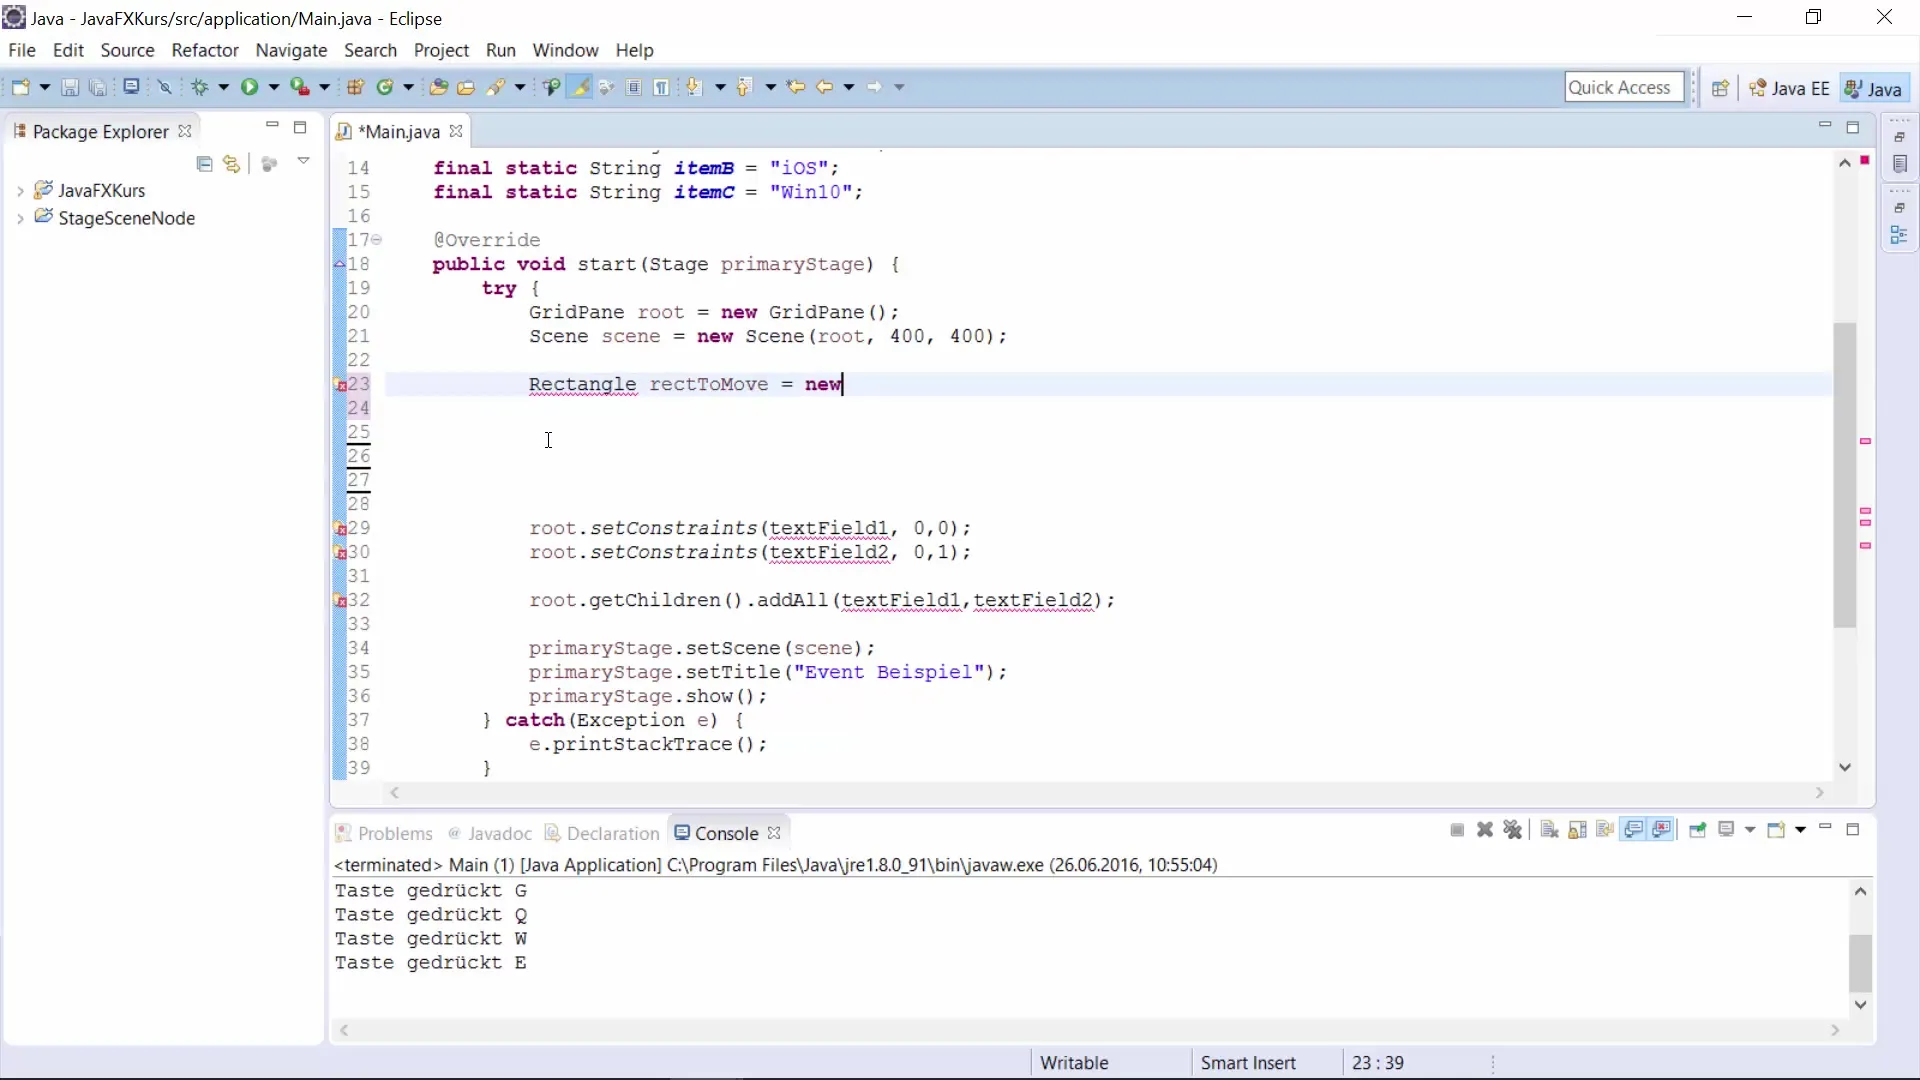
For our example, we will create two squares: a small one that we want to move and a large one that serves as the target. The code for this looks as follows:
When creating the rectangles, you define their position and size.

3. Define Position and Scene
Next, you need variables to store the position of your objects. Define the X and Y coordinates of the scene. These will later be used to track the movement during the drag-and-drop process.
4. Add Event Handlers
The next step is to add event handlers that will enable the drag-and-drop functionality. We start with the handler for mouse button press.
Here you store the current mouse position when the mouse button is pressed.
5. Implement Dragging Handler
For the dragging phase, we use another event handler that allows you to move the square while holding down the mouse button.
In this case, you will update the position of the square based on the current mouse movement.
6. Mouse Release
To account for the mouse release, add an additional handler. This will change the color of the square and check whether it has been dropped in a specific target position.
7. Collision Detection
To check if the moved square has been dropped into the target square, you will implement a method called checkBounce.
Here you will detect whether the two squares overlap and change the color of the target square accordingly.

8. Add Objects to Scene
Finally, add the created rectangles to your scene and set the scene on the stage.
Summary – Drag and Drop with JavaFX
With this guide, you have learned how to implement a simple drag-and-drop system in JavaFX. You have learned the basics of collision detection as well as handling mouse events. Drag-and-drop functionalities are crucial for the usability of your applications.
Frequently Asked Questions
How do I implement Drag and Drop in JavaFX?You introduce mouse button events to track positions and move the object.
What is collision detection in this context?It is about checking whether two objects overlap and how that is visually represented.
Can I use Drag and Drop for other objects?Yes, the concept is flexible and can be applied to various JavaFX objects.


