The drawing of shapes is a fundamental part of GUI development. With JavaFX, you can easily create various shapes that add more visual appeal to your application. In this tutorial, we will focus on the simplest shape: the line. You will learn how to draw, adjust, and style a line in a JavaFX scene.
Key Insights
- Using the Line class to create a line in JavaFX.
- Adjusting the line color and width.
- Introduction to dashed lines and various line styles.
Step-by-Step Guide
To create a line in JavaFX, follow these steps:
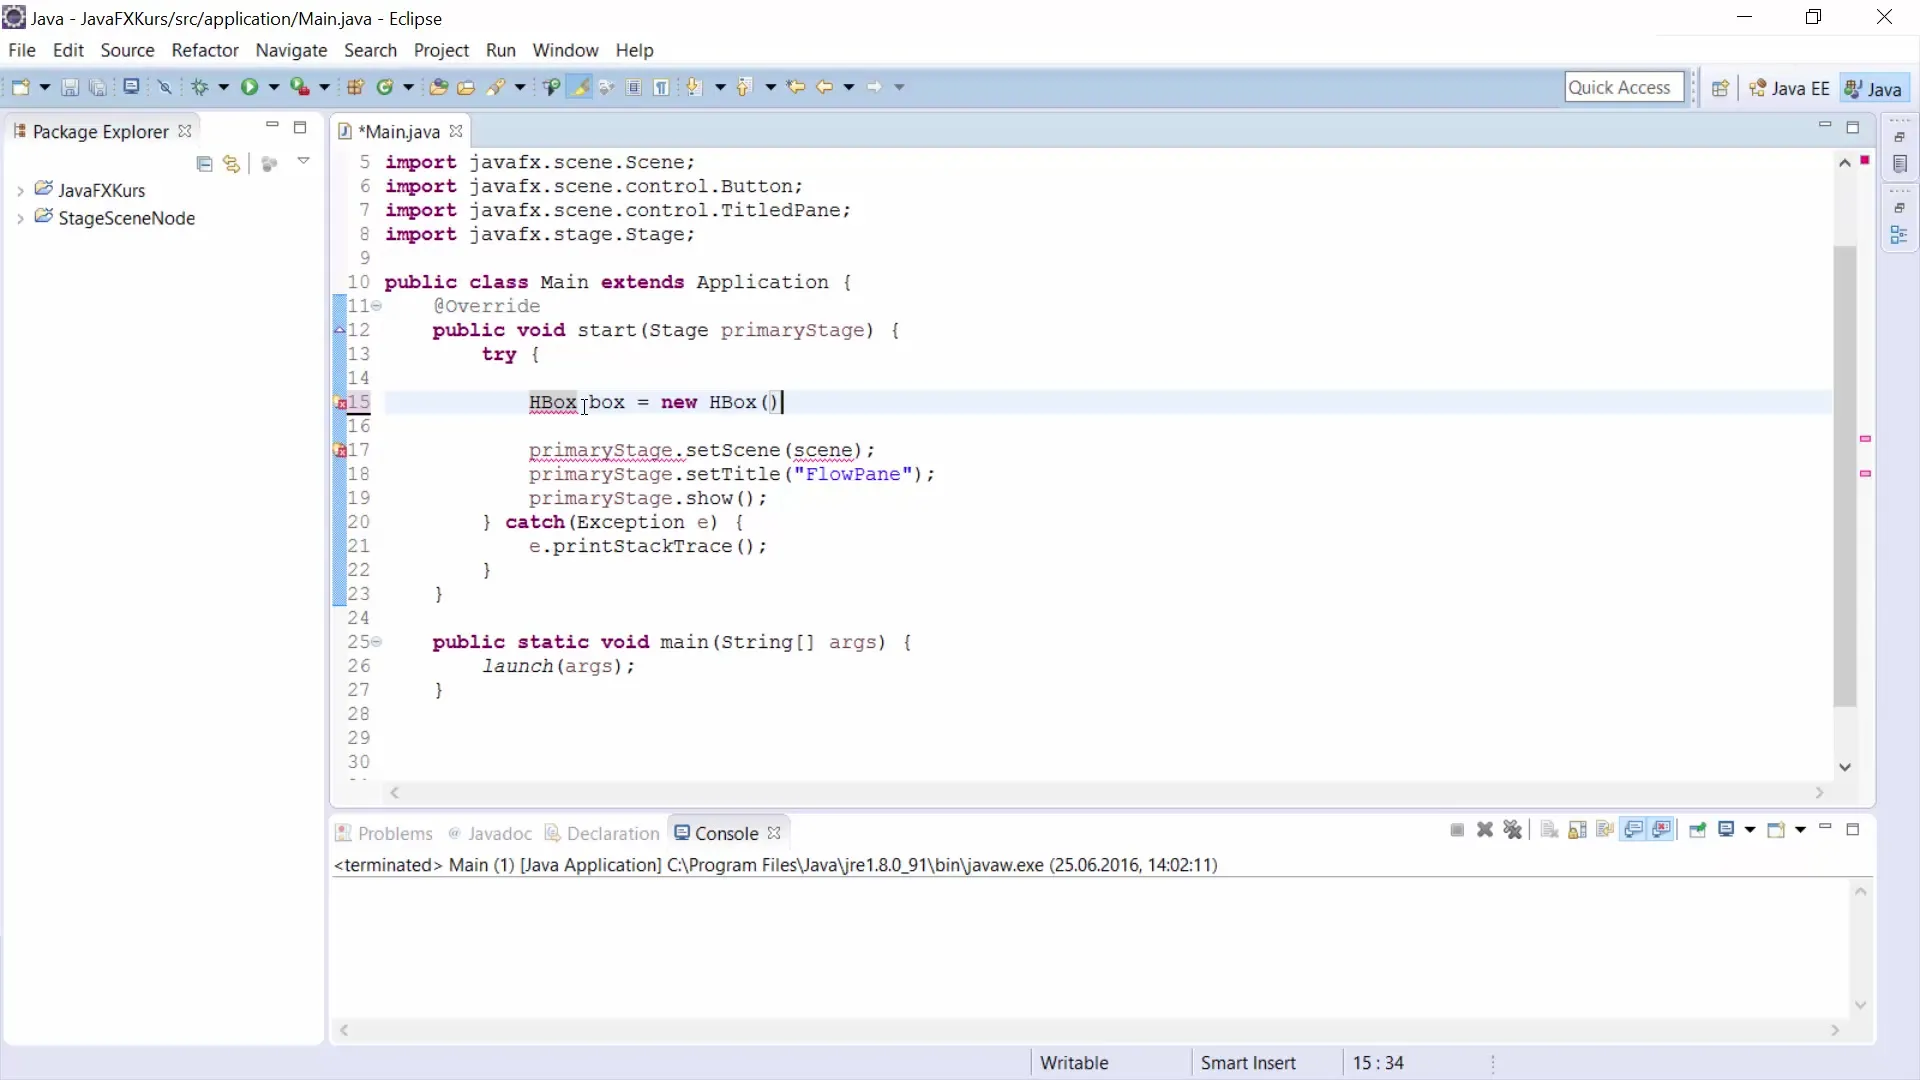
Step 1: Create a Basic HBox
To display your line, you first need to create an HBox. This serves as a container for all graphical components.

First, the box is instantiated. You can create a new HBox using the following code:
Step 2: Create a Scene
Now it's time to create a scene where your HBox will be placed. You can set the size of the scene and therefore the drawing area to 400x400 pixels.
Here is the code to create the scene:
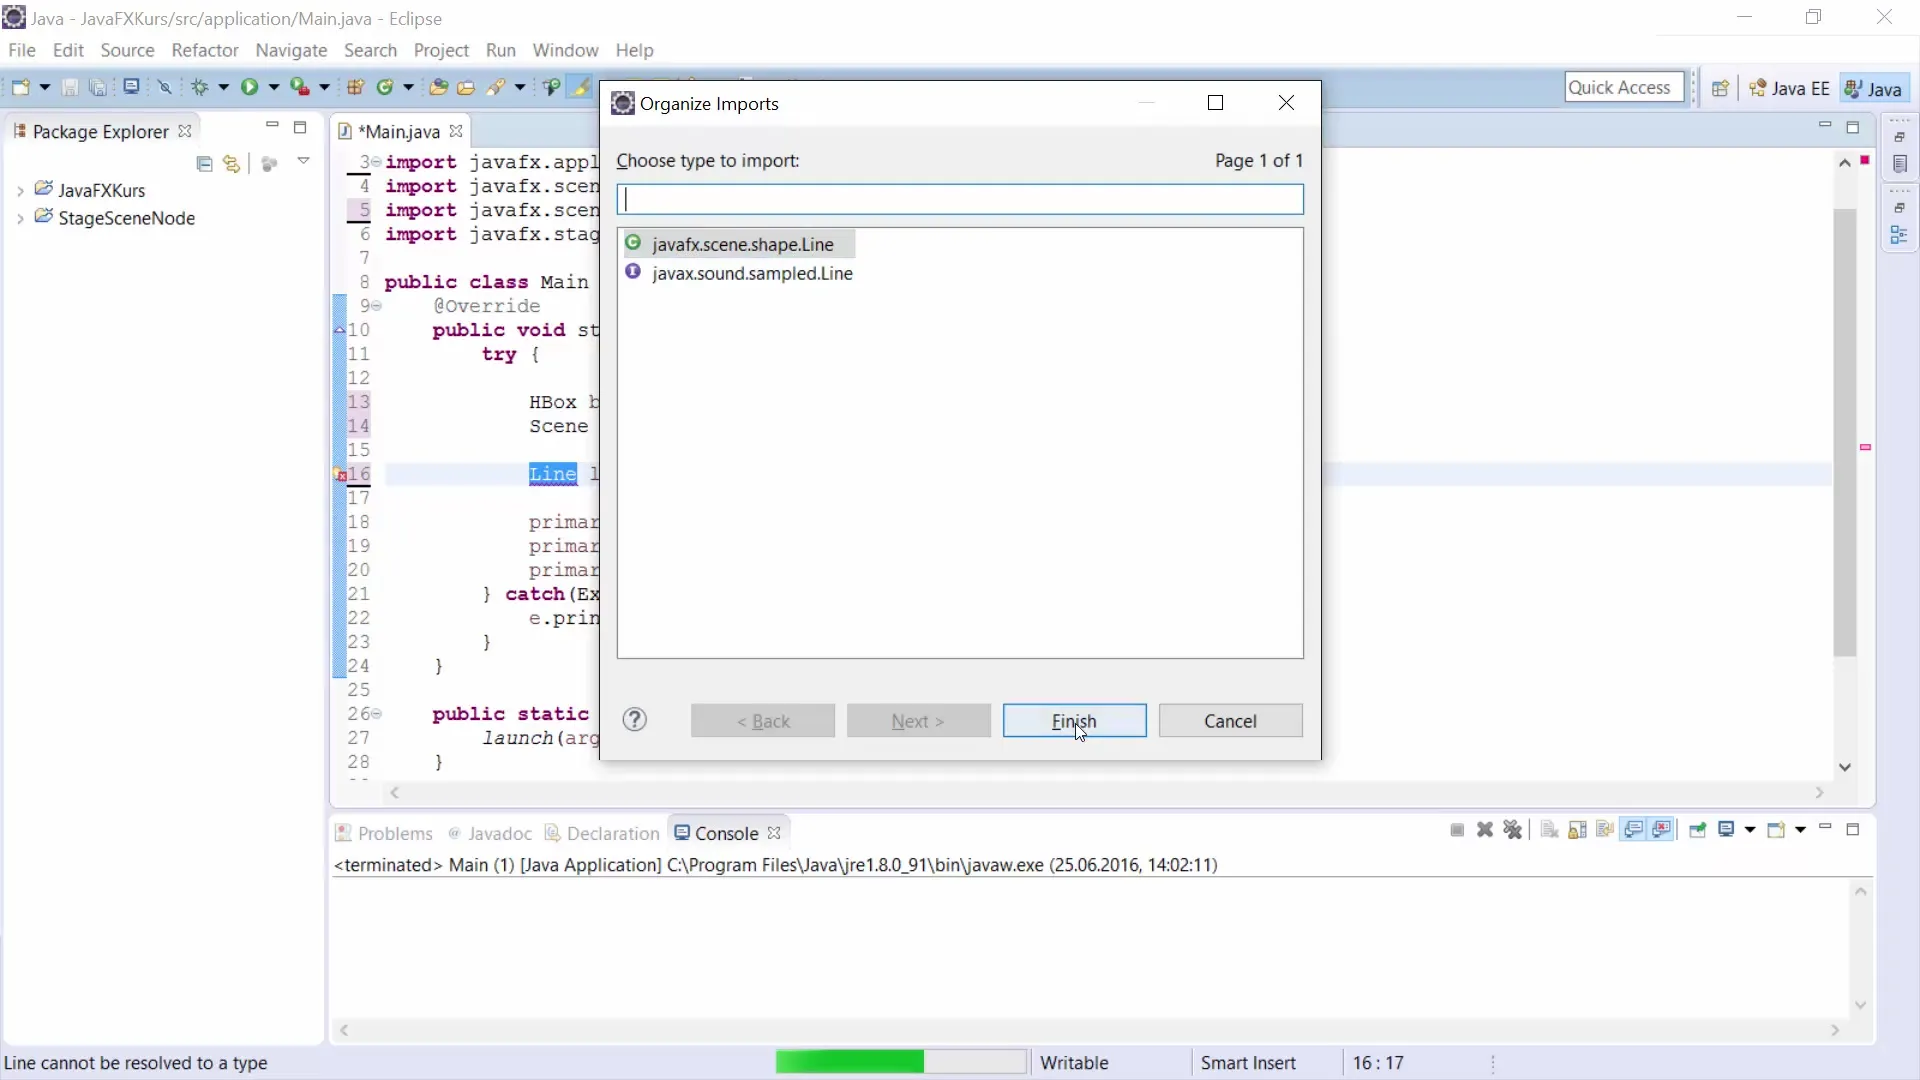
Step 3: Add a Line
To draw a line, you use the Line class. This allows you to specify the start and end points of the line directly in the constructor.

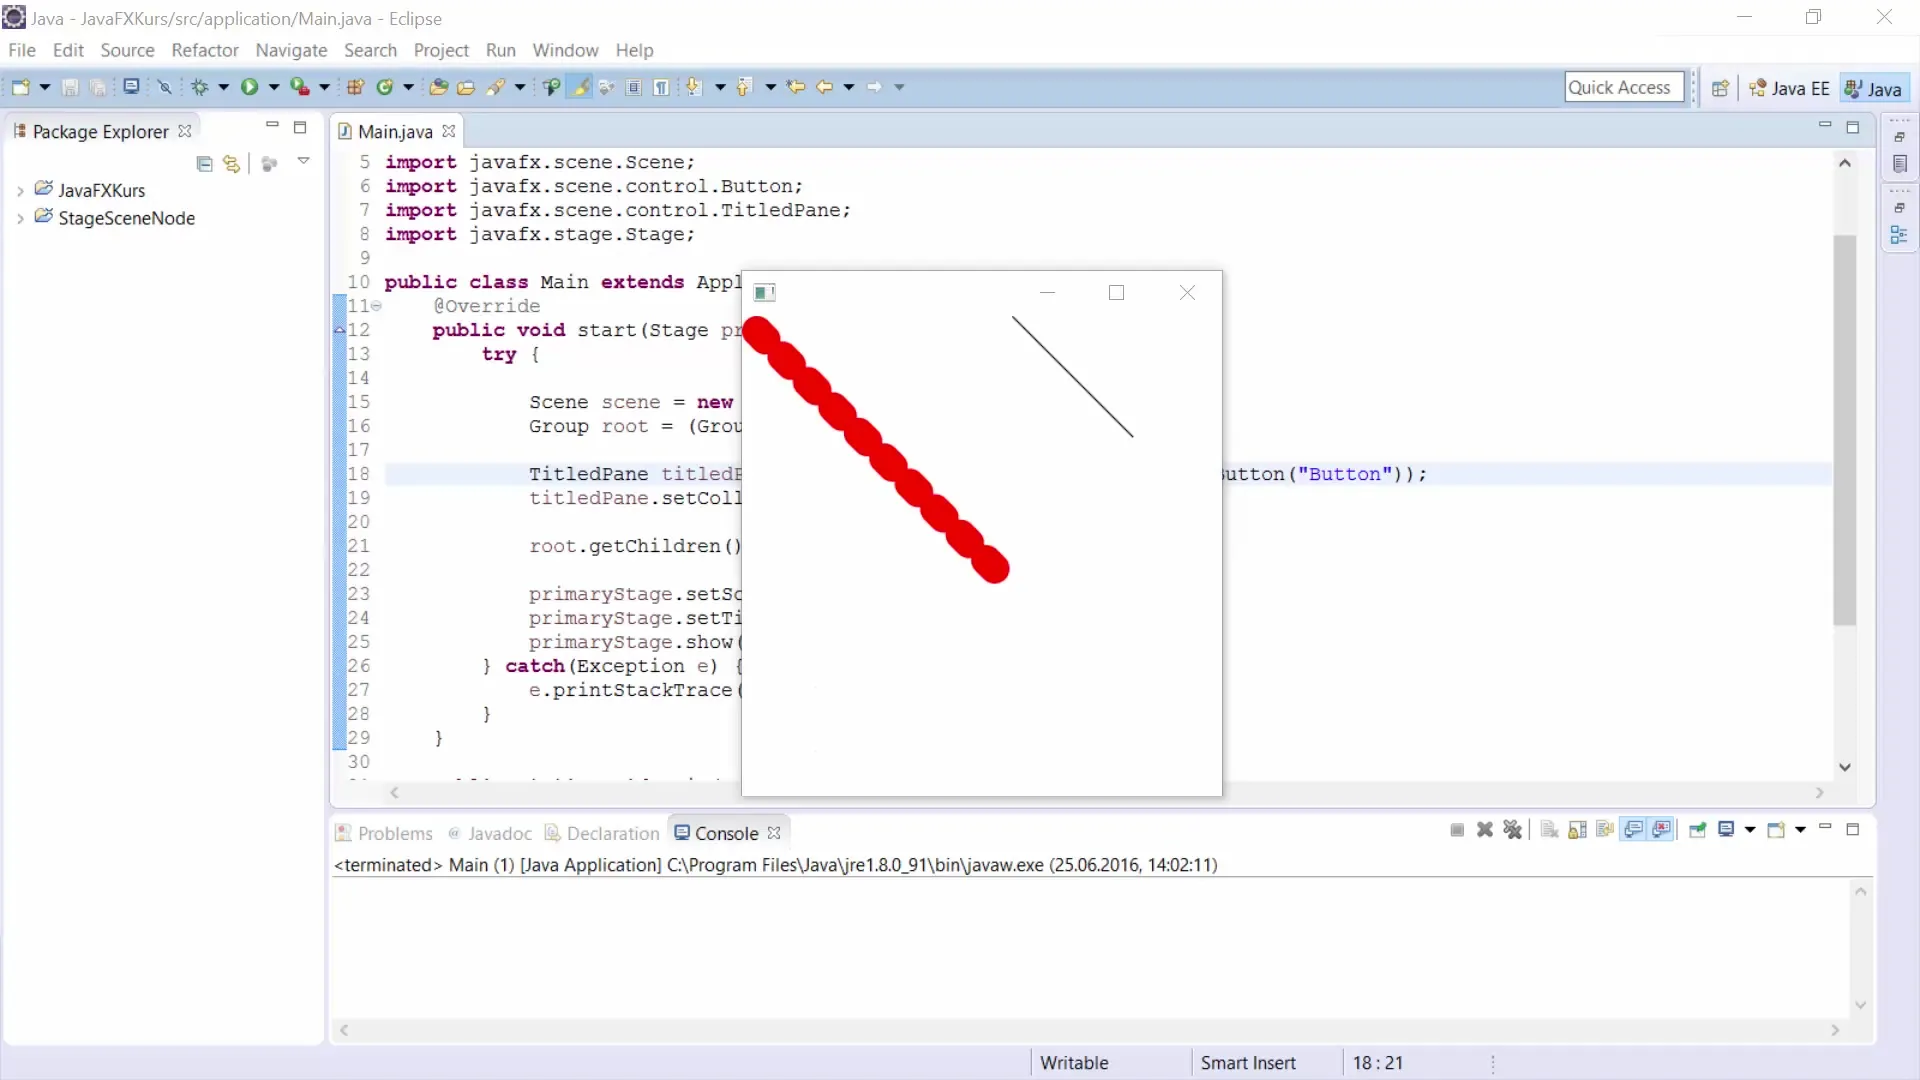
For example, you create a line that runs from point (0,0) to point (200,200):
Step 4: Add the Line to the Scene
To make the line visible, you need to add it to the HBox. For this, use the method getChildren().addAll().
Here is the corresponding code:
Step 5: Understanding the Origin
One important property of JavaFX is that the origin is located in the upper left corner of the drawing area. Positive values extend downward for the y-axis and to the right for the x-axis.
Step 6: Color the Line
To make the line more visible, you can change the color using the setStroke() command.
Use this code to make it red:
Step 7: Adjust Line Width
You can also adjust the width of the line. For this, use the method setStrokeWidth().
Use this code to increase the width to 25 pixels:
Step 8: Create Dashed Lines
To create a dashed line, you need the DashArray. This method allows you to define patterns for the line.
Here is an example to create a dashed line:
Step 9: Define the Line Style
The cap of the line can either be round or square. To set the style to round, use the command setStrokeLineCap().

Here is the corresponding code:
Step 10: Interactive Exercise
Now that you know the principles of drawing lines in JavaFX, you can attempt a small exercise. Try to draw a simple house using lines for the foundation and the roof.
Pause the video and try to sketch a house!
Summary
In this tutorial, you learned how to create, adjust, and style a line in JavaFX. You covered the basics of the graphical user interface to continue with other shapes in upcoming videos.
Frequently Asked Questions
How can I change the color of the line?Use the method setStroke(Color.COLOR) for the line color.
How do I change the width of the line?Use the method setStrokeWidth(WIDTH) to set the width of the line.
Can I create dashed lines?Yes, with the method getStrokeDashArray() you can define the pattern for dashed lines.
Can I create multiple lines?Yes, you can simply create multiple instances of Line and add them to the HBox.


