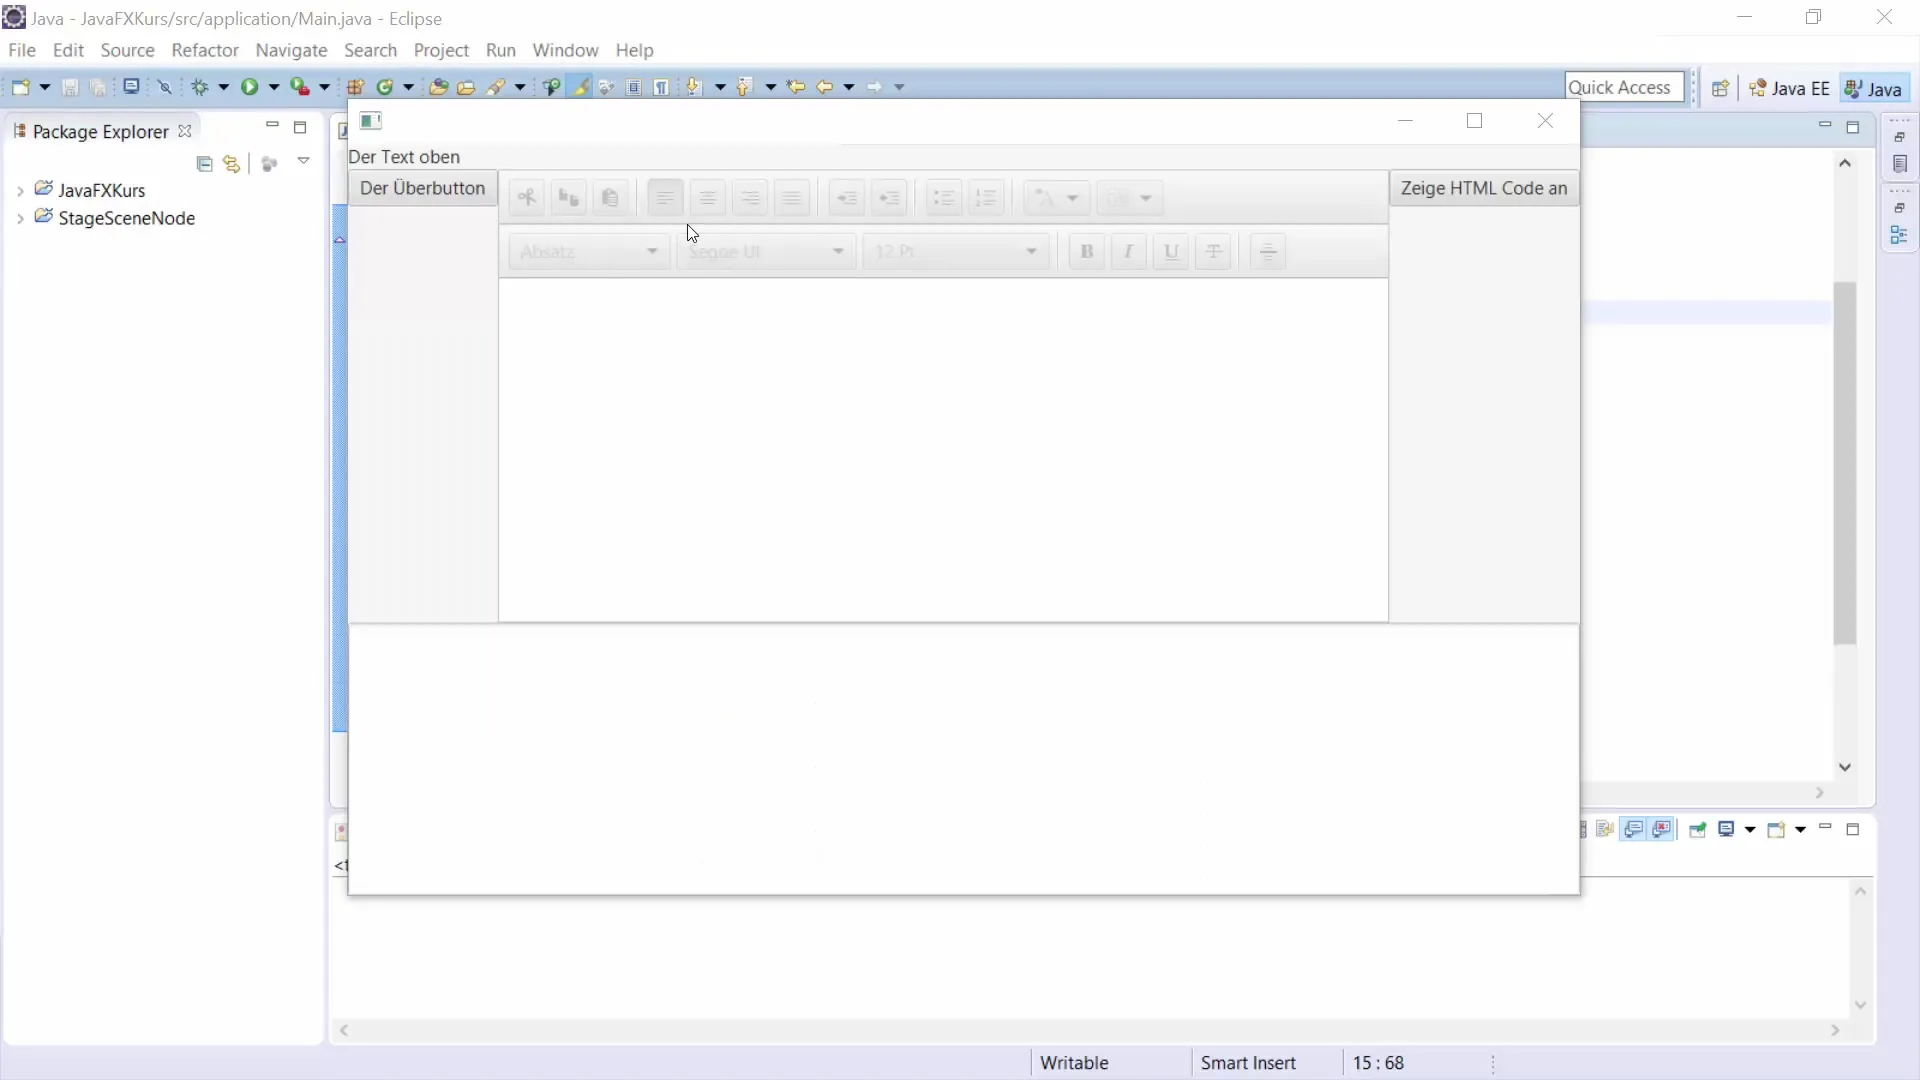
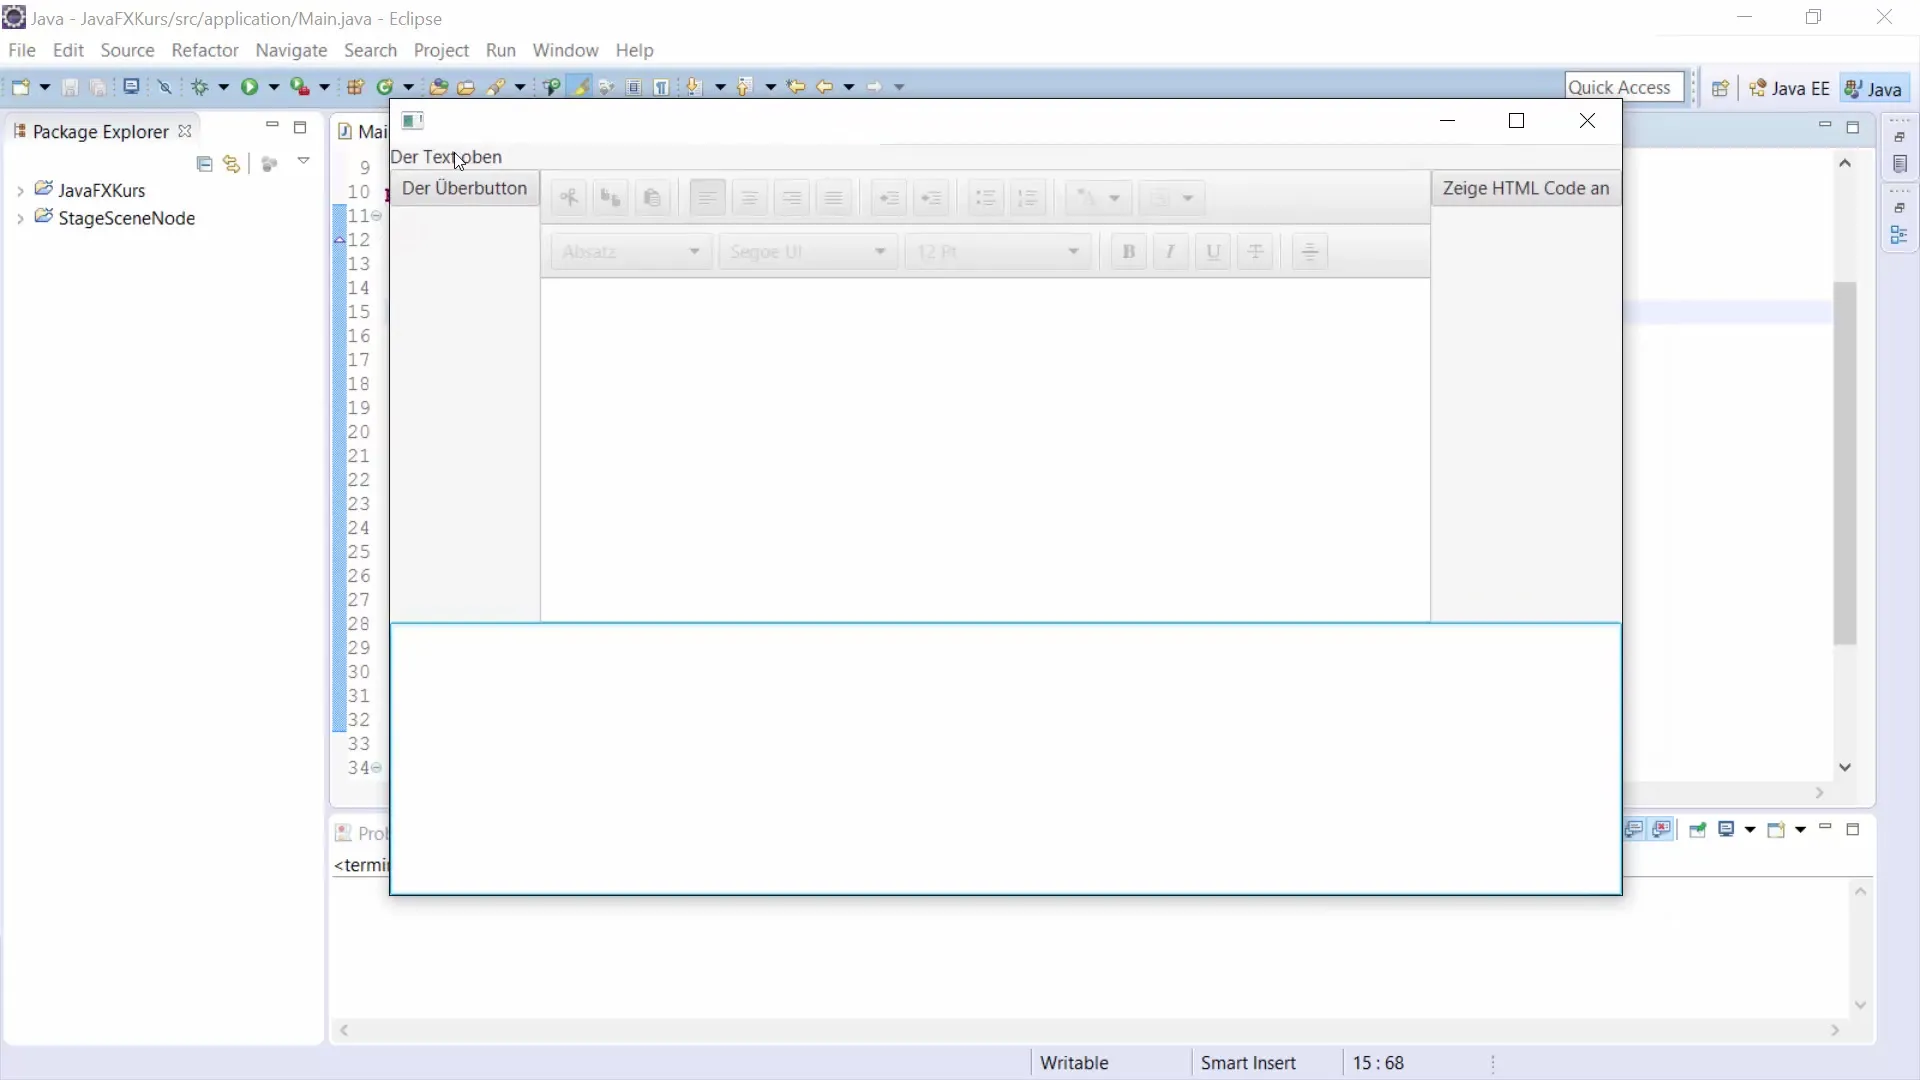
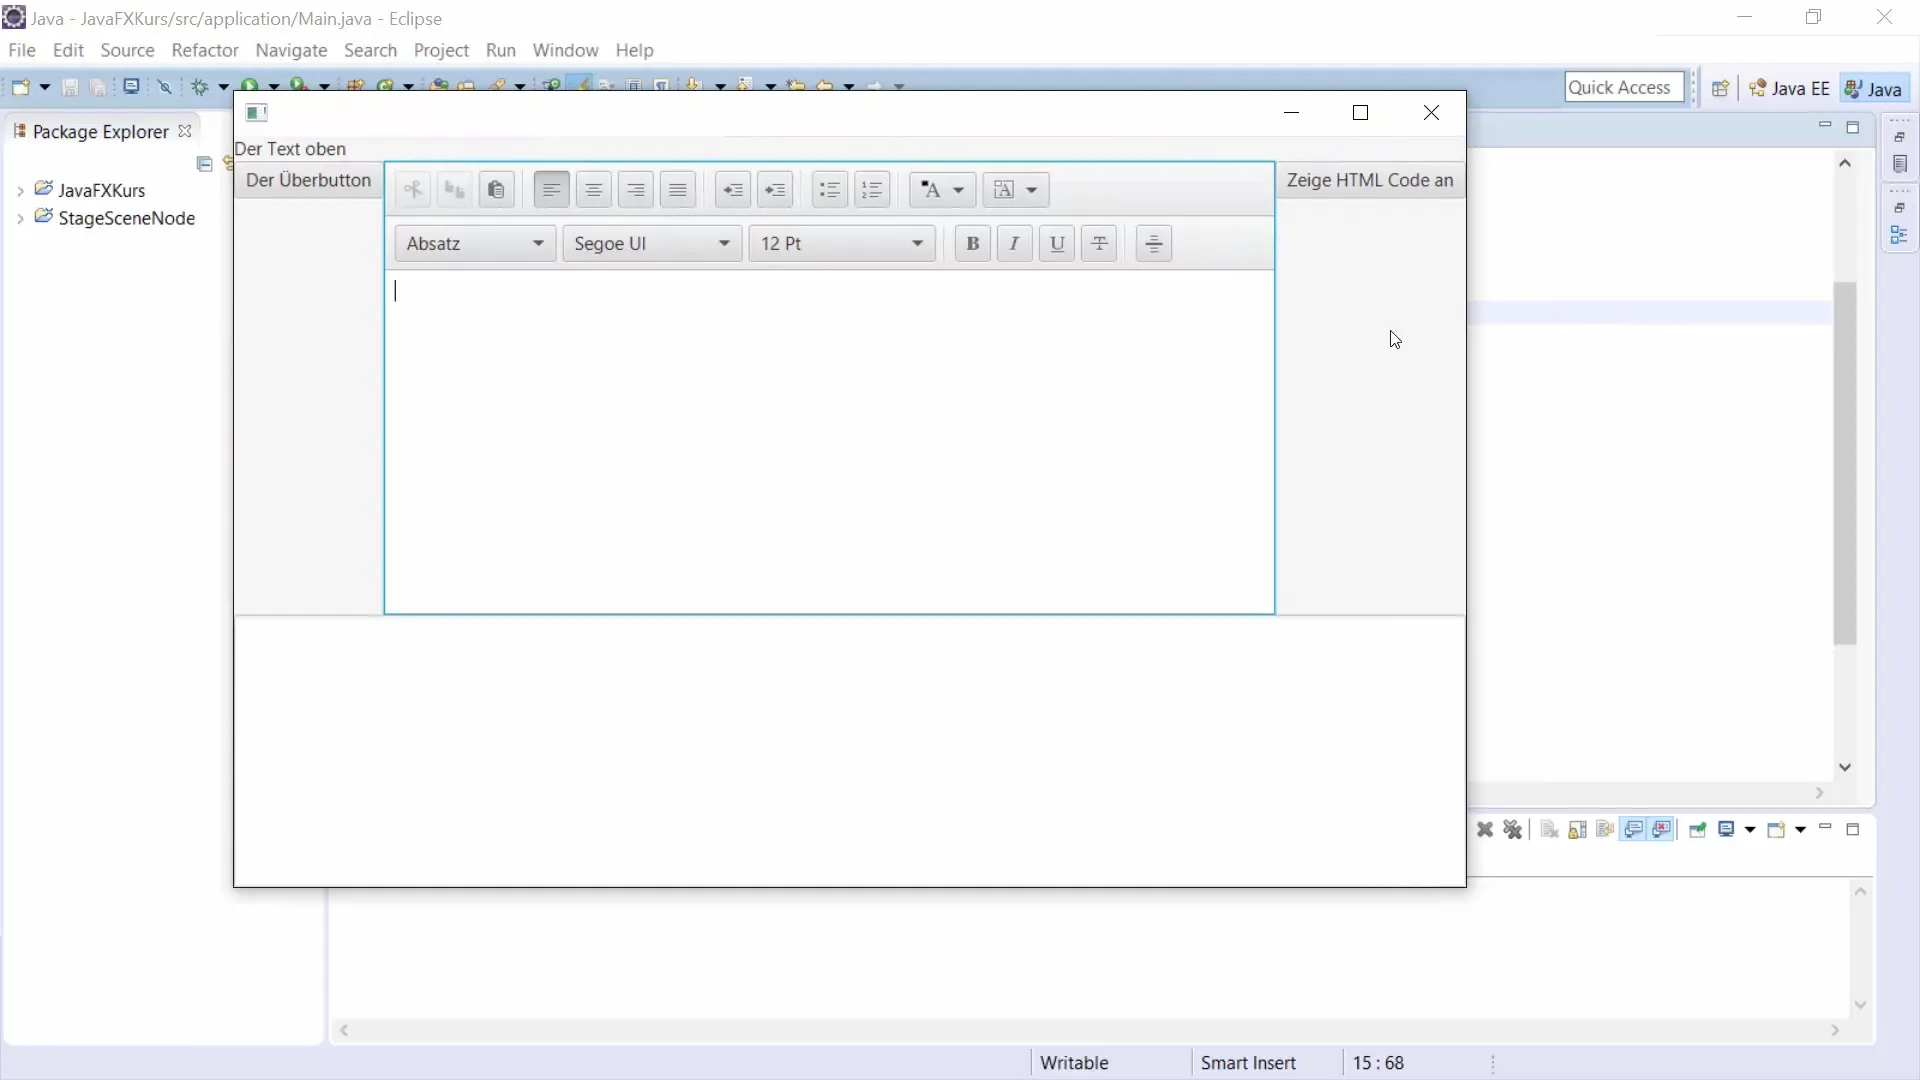
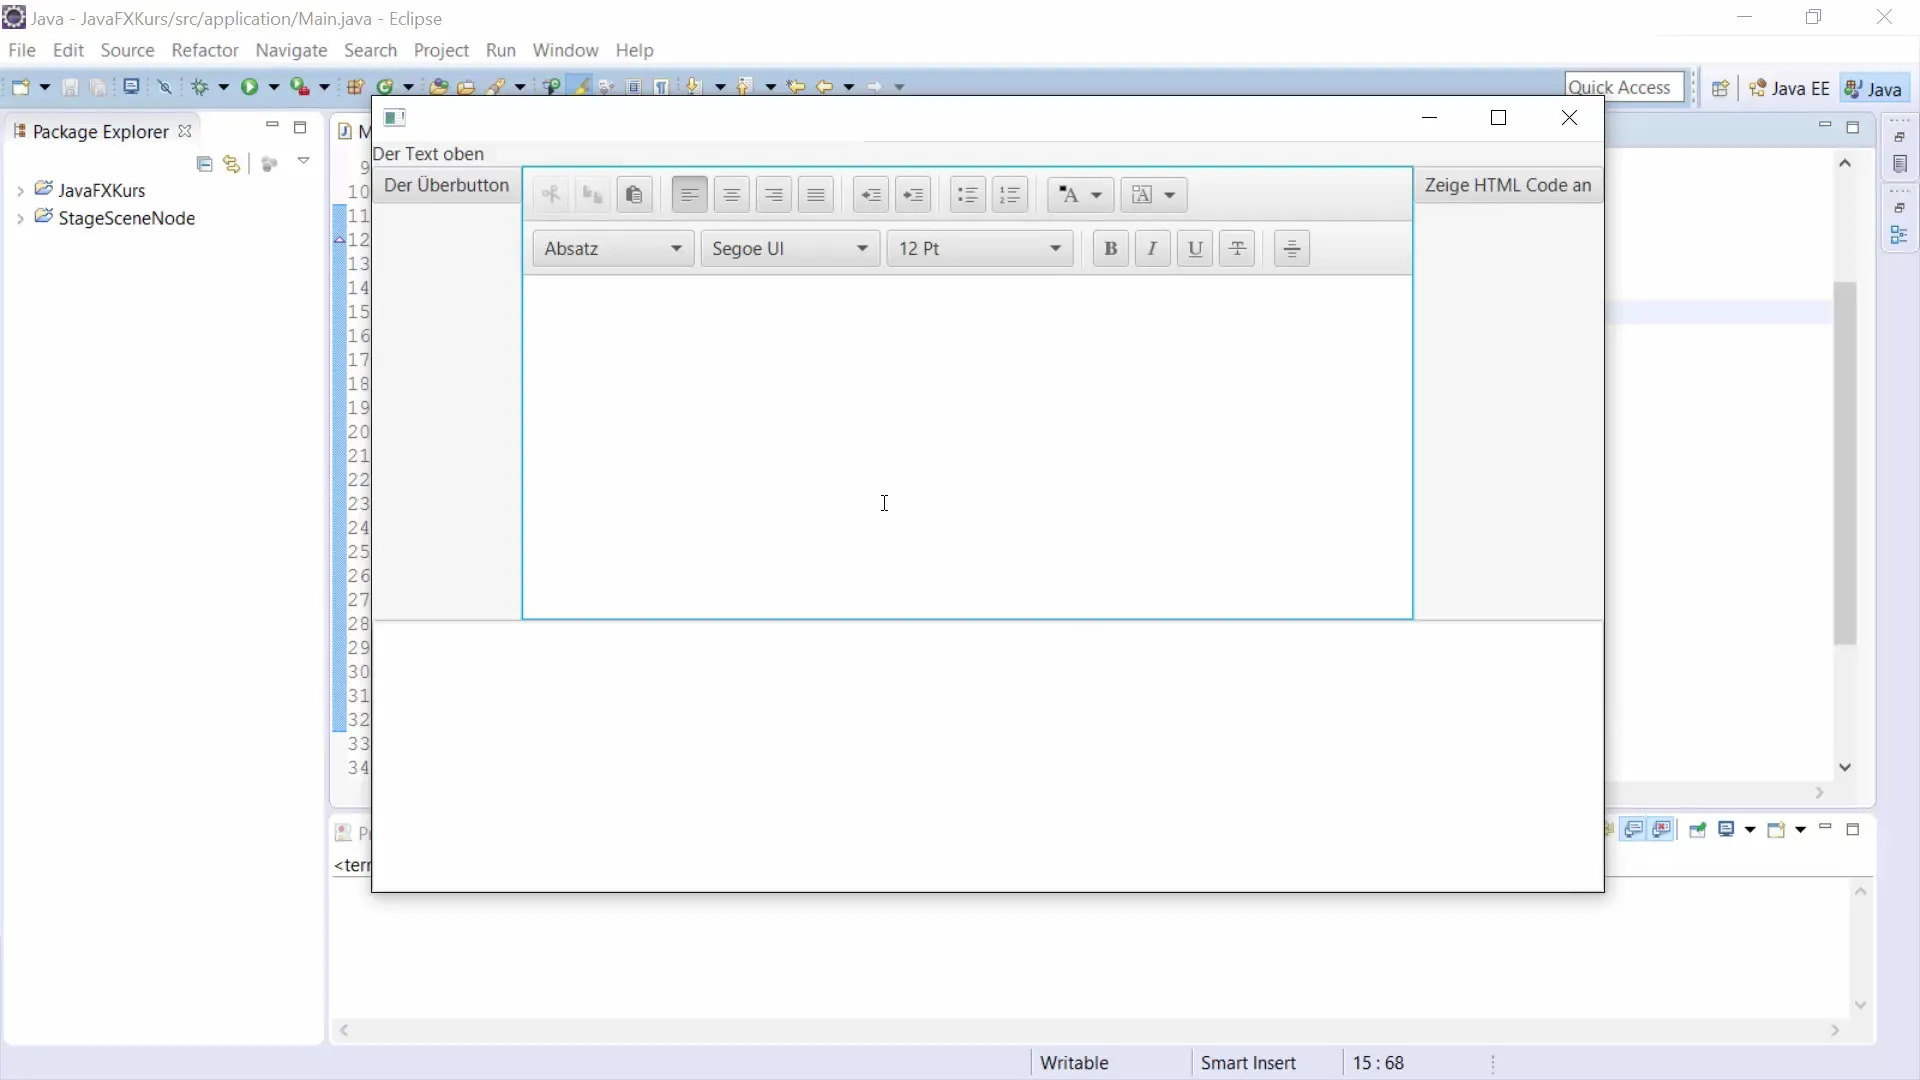
The layout management in JavaFX is crucial for designing appealing and functional user interfaces. One of the most versatile layouts you can use in your JavaFX application is BorderPane. In this guide, I want to show you how to effectively design a user interface with BorderPane that is easy to use and well-structured. We assume that you are developing an application that resembles an email client application, so let’s get started.
Key Insights
- The BorderPane layout consists of five main areas: top, bottom, left, right, and center.
- Each area can contain different layouts and controls.
- BorderPane allows for a logical and appealing structure of the user interface.
Step-by-Step Guide
Step 1: Creating the BorderPane
To get started with our BorderPane, you first need to instantiate this layout and insert it into your scene. The following code shows how to create a new BorderPane with dimensions of 500x600, for example.

Step 2: Adding Controls
Now let’s turn to the individual areas. We will start with the top area, where we will place a label that serves as a title. You can easily create your label as follows:
Step 3: Creating VBox for the Sides
For the left and right sides of the BorderPane, we will use VBox layouts. This allows us to arrange the contained elements vertically.
Step 4: Arranging Controls in the Left VBox
Now we will add some buttons to the left VBox to represent the emails. For example, one button could represent the text "Email 1".
Step 5: Displaying Emails in the Center
For the central area, we will add an HTMLEditor that allows the user to write or view emails. Here’s how to create an HTMLEditor:

Step 6: Adding Details in the Bottom Area
In the bottom area of the BorderPane, you could place a TextArea to display HTML content.
Step 7: Using the Right Area
We will add another button in the right VBox to display the HTML created in the editor.
Step 8: Implementing Logic for the Button
Finally, we need to ensure that the button actually displays the HTML content. To do this, we will add an action event handler:

Step 9: Completion and View
Now it’s time to bring everything together and display our BorderPane in the application. If you have implemented everything correctly, your user interface should now be structured as desired.

Summary - Overview of JavaFX BorderPane
In this guide, you have learned how to create and effectively use the BorderPane in JavaFX. From creating the main structure to implementing controls and their logic, you have gone through the fundamentals of the layout. BorderPane offers you a flexible way to design your user interface, making it ideal for various applications.
Frequently Asked Questions
What is a BorderPane in JavaFX?A BorderPane is a layout container that allows UI elements to be arranged in five areas (top, bottom, left, right, center).
How do you add elements to a BorderPane?You add elements by using the corresponding methods such as setTop(), setBottom(), setLeft(), setRight(), and setCenter().
Can different layouts be used in each area?Yes, different layouts can be used in each area of a BorderPane to allow for a diverse arrangement of UI elements.
Is BorderPane suitable for complex applications?Yes, BorderPane is particularly well-suited for complex applications due to its flexibility and simplicity, such as email clients.


