Archiving your projects in DaVinci Resolve is crucial for organizing your work and keeping it available for future reference. Instead of simply deleting projects, DaVinci Resolve offers an efficient way to securely save all necessary files and the project file. This ensures that you can easily access and edit your projects later on. Here you will learn how to safely archive your projects step by step.
Key findings Archiving projects in DaVinci Resolve prevents data loss and facilitates future editing. DaVinci Resolve offers the feature "Export Project Archive" to save project files and media together.
Step-by-step guide to project archiving
Let’s start with the first step after your projects are finished rendering.
Now that you have successfully rendered your project in DaVinci Resolve and all necessary files are complete, you need a secure method to archive the work. You should not simply delete your project file as this may lead to a loss of valuable data.
For this, DaVinci Resolve is optimally equipped. To start the archiving process, right-click on your project. You will see two options: "Export Project" and "Export Project Archive."
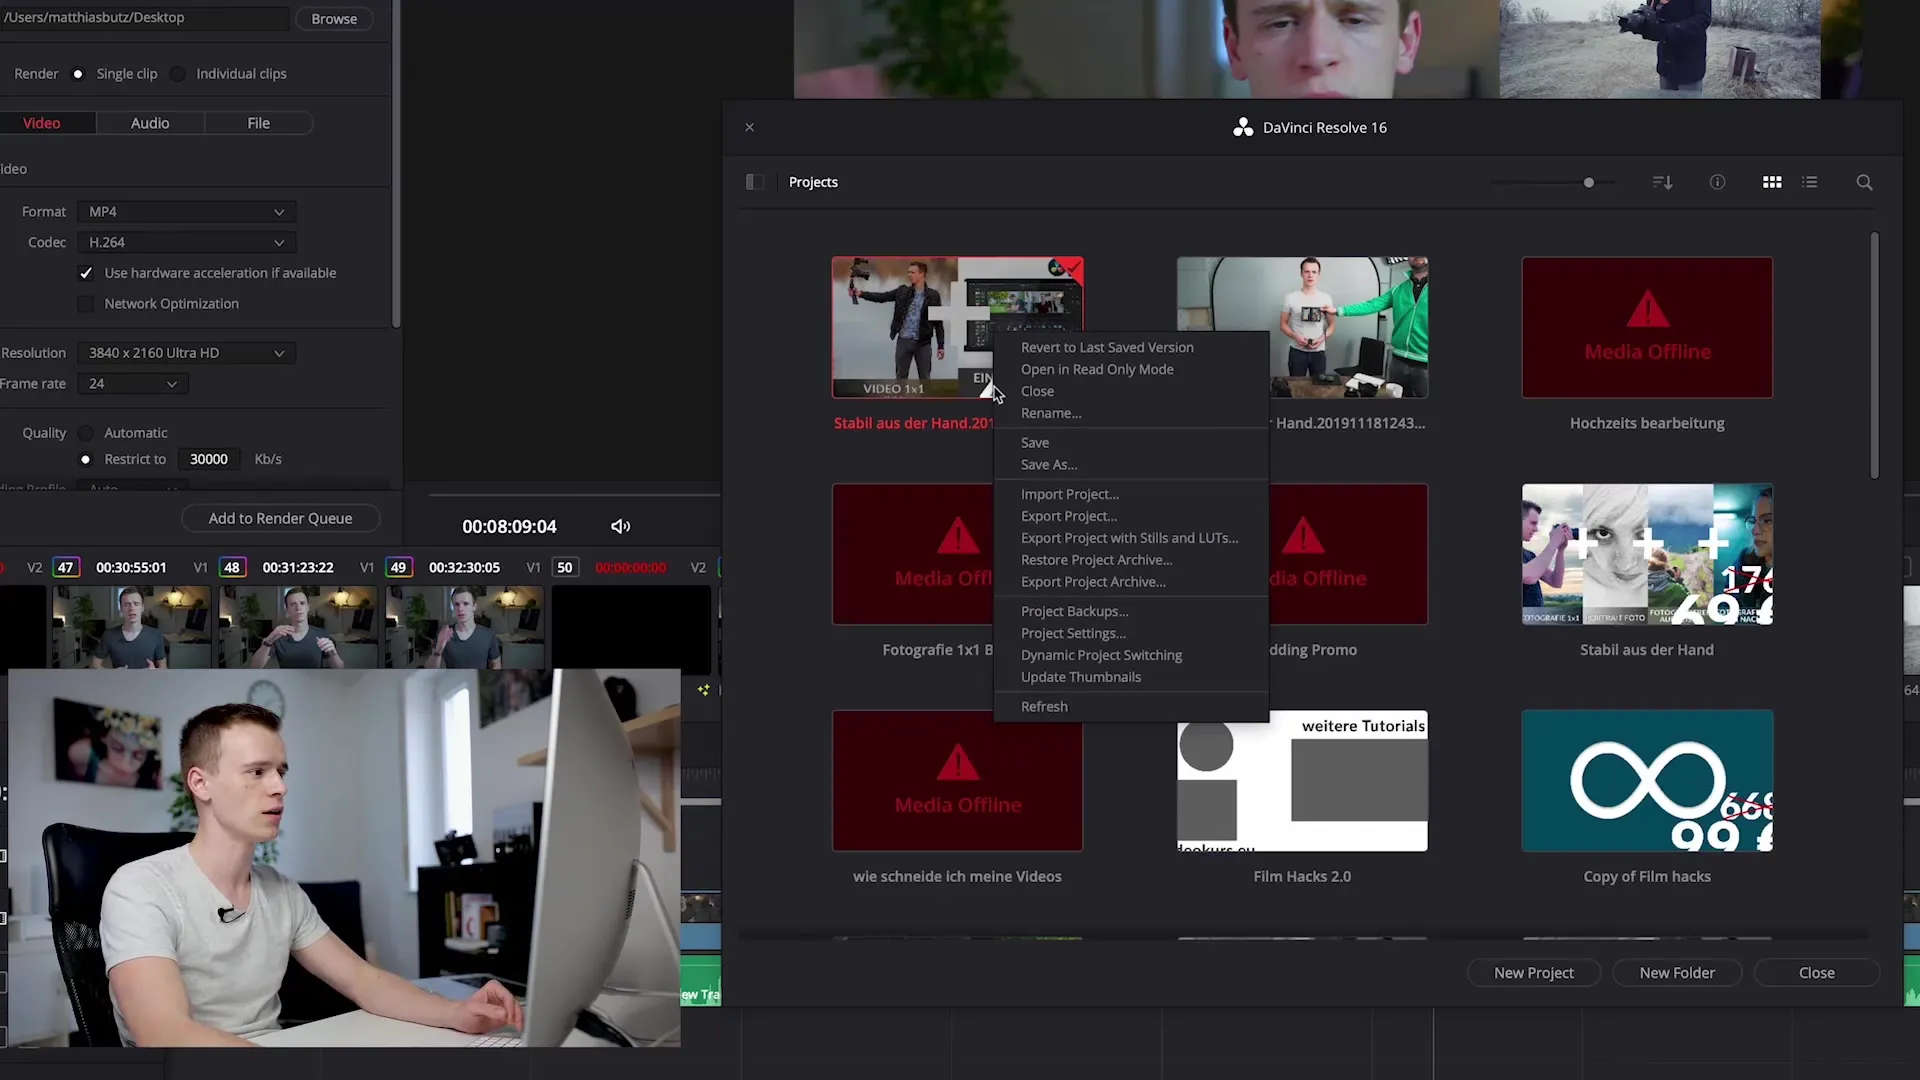
Now select the second option "Export Project Archive." This feature is essential as it stores both the project file and all media files in a new folder.
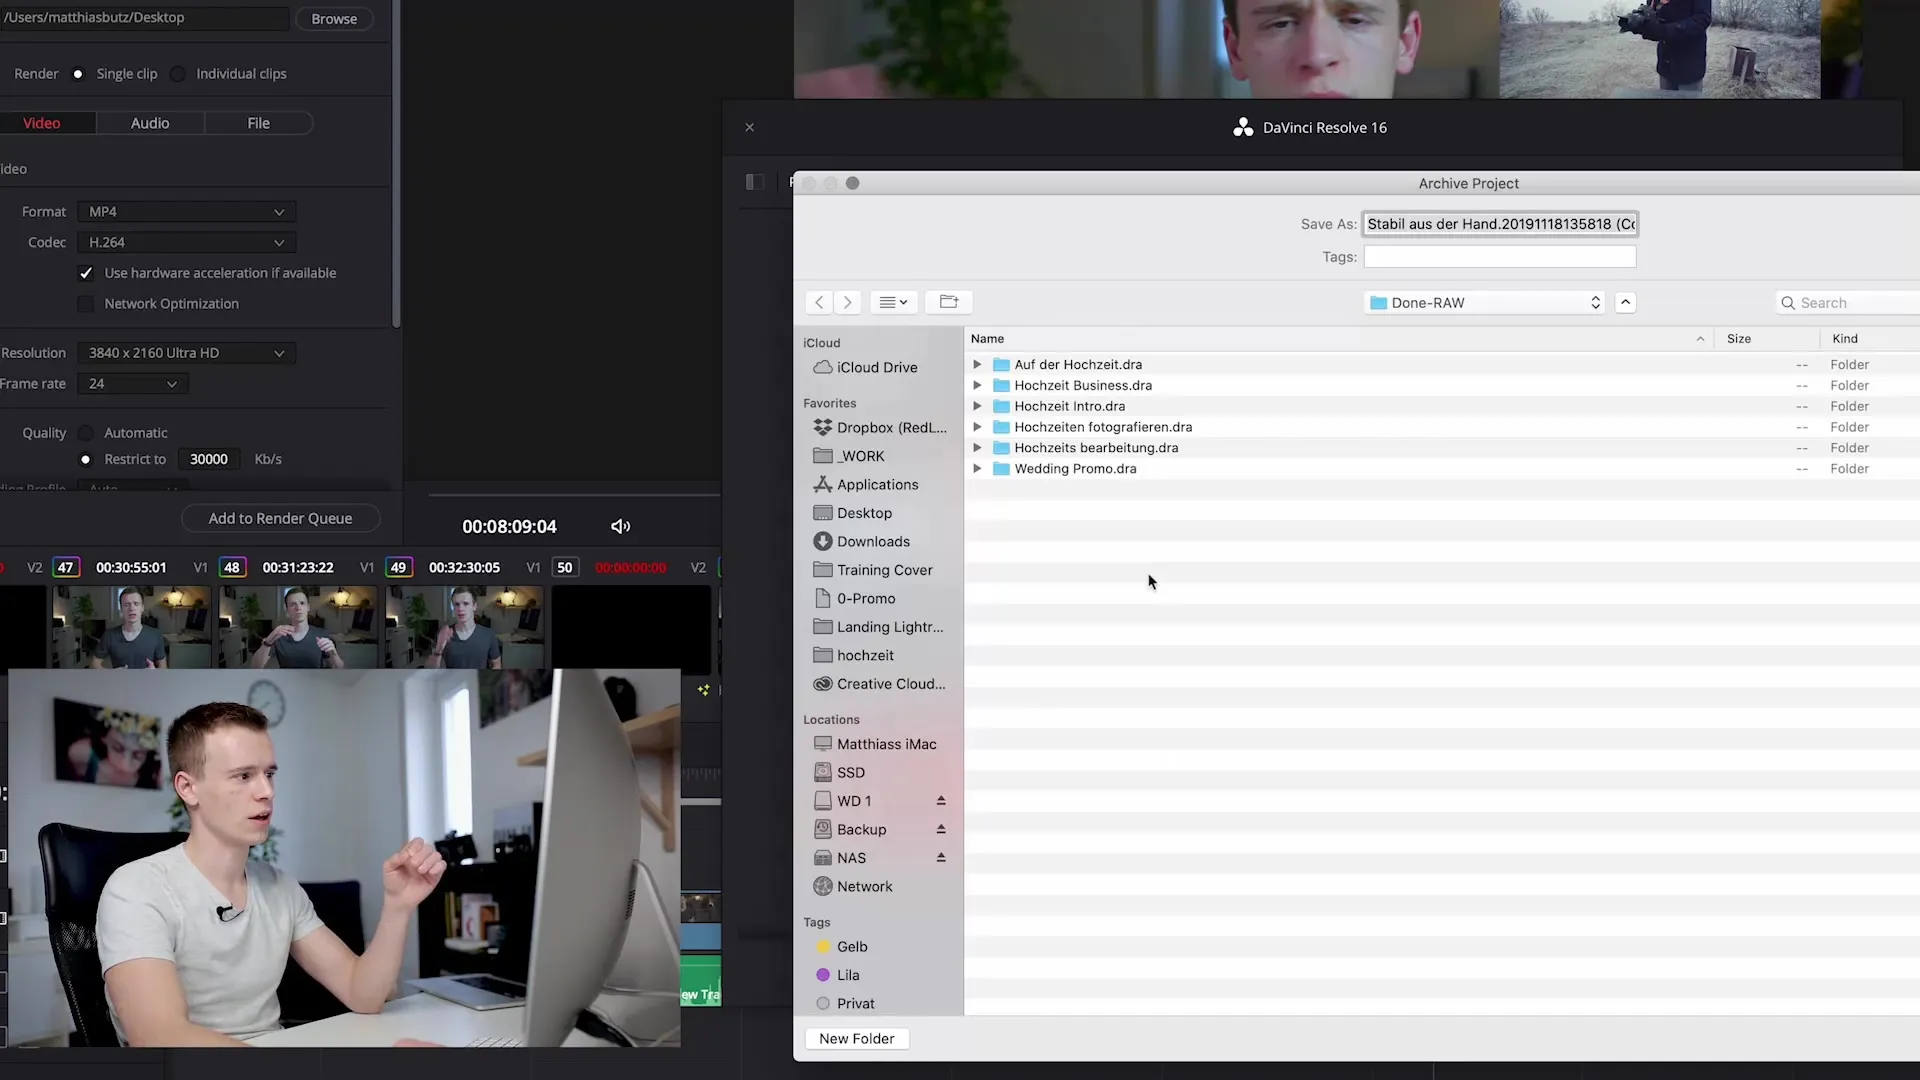
After you click on "Export Project Archive," you will be prompted to choose a location for the archive. Simply select your desired folder and click "Save."
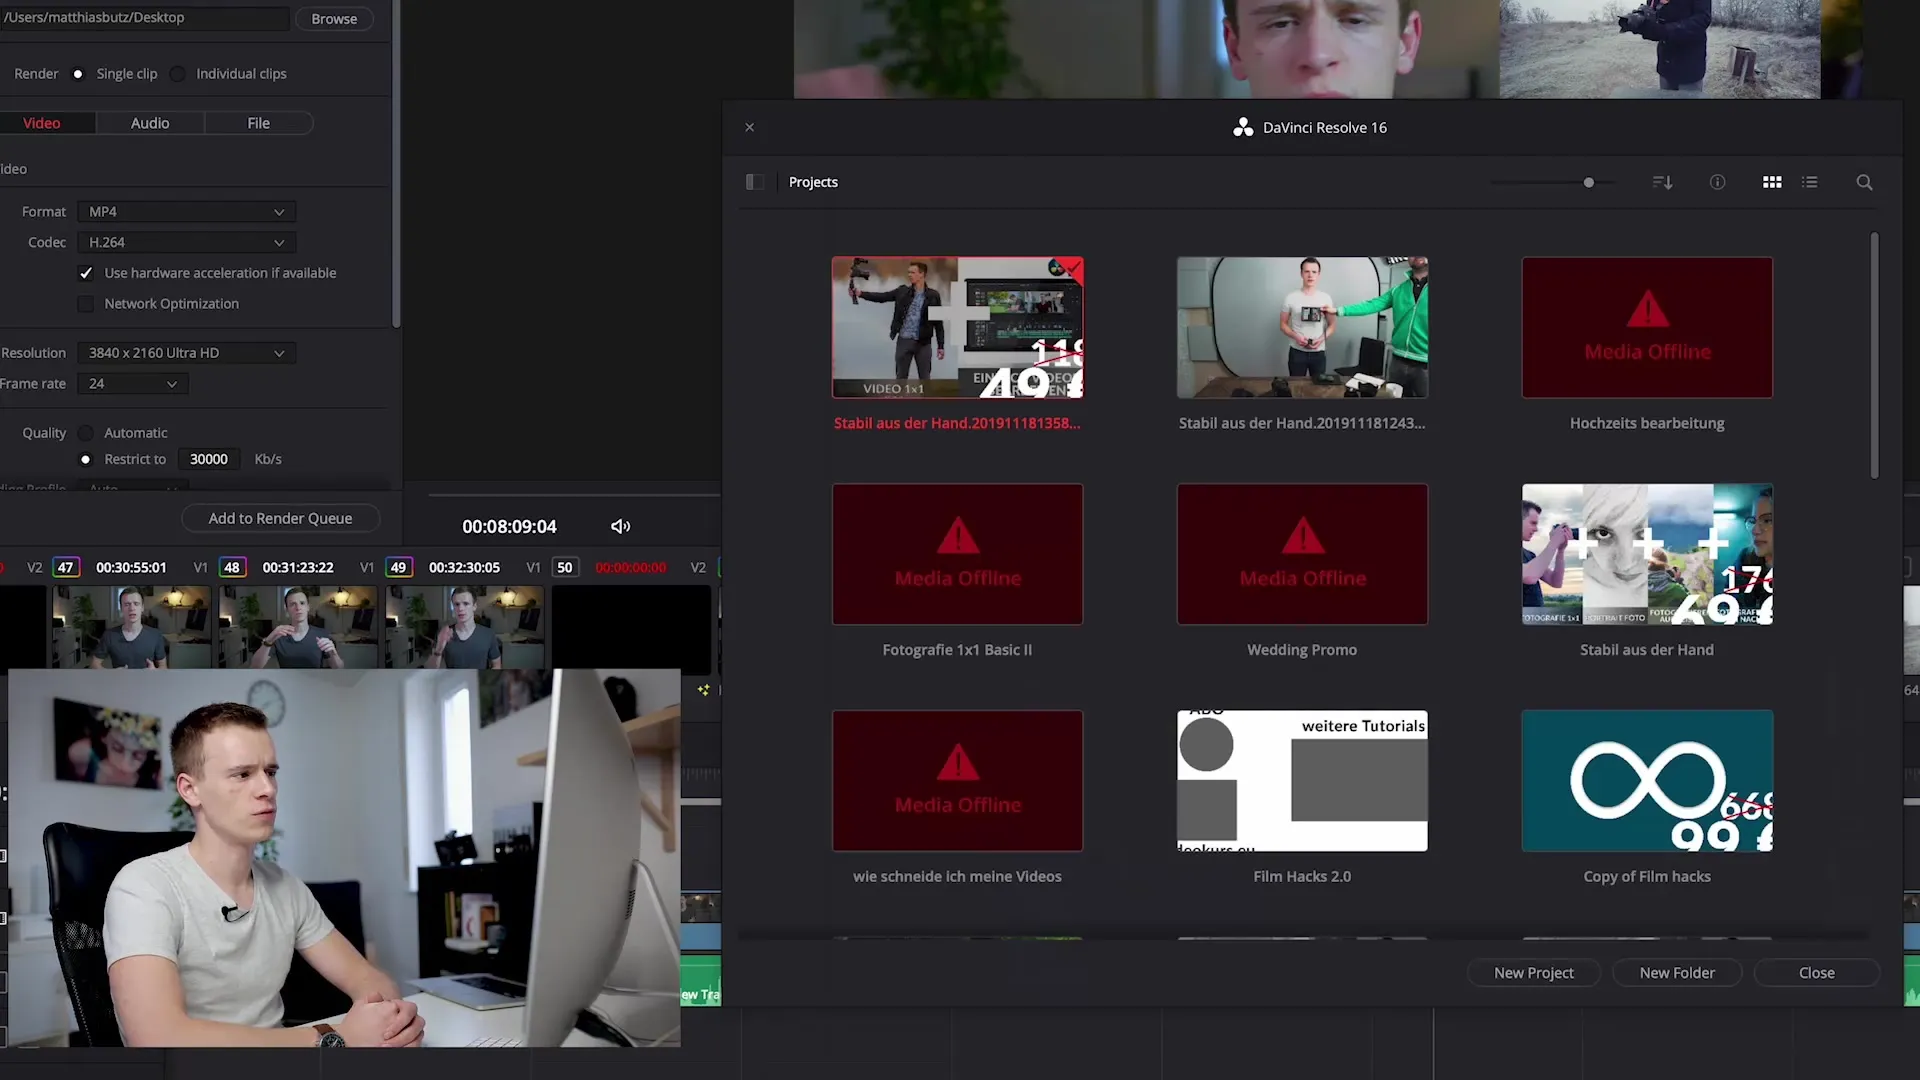
DaVinci Resolve will then create a new folder where the project file, video and audio files, as well as all other necessary media files will be stored.
In the newly created archive folder, you will find all the files you used in your project. This allows you to access images or music, for example, that you used in your project.
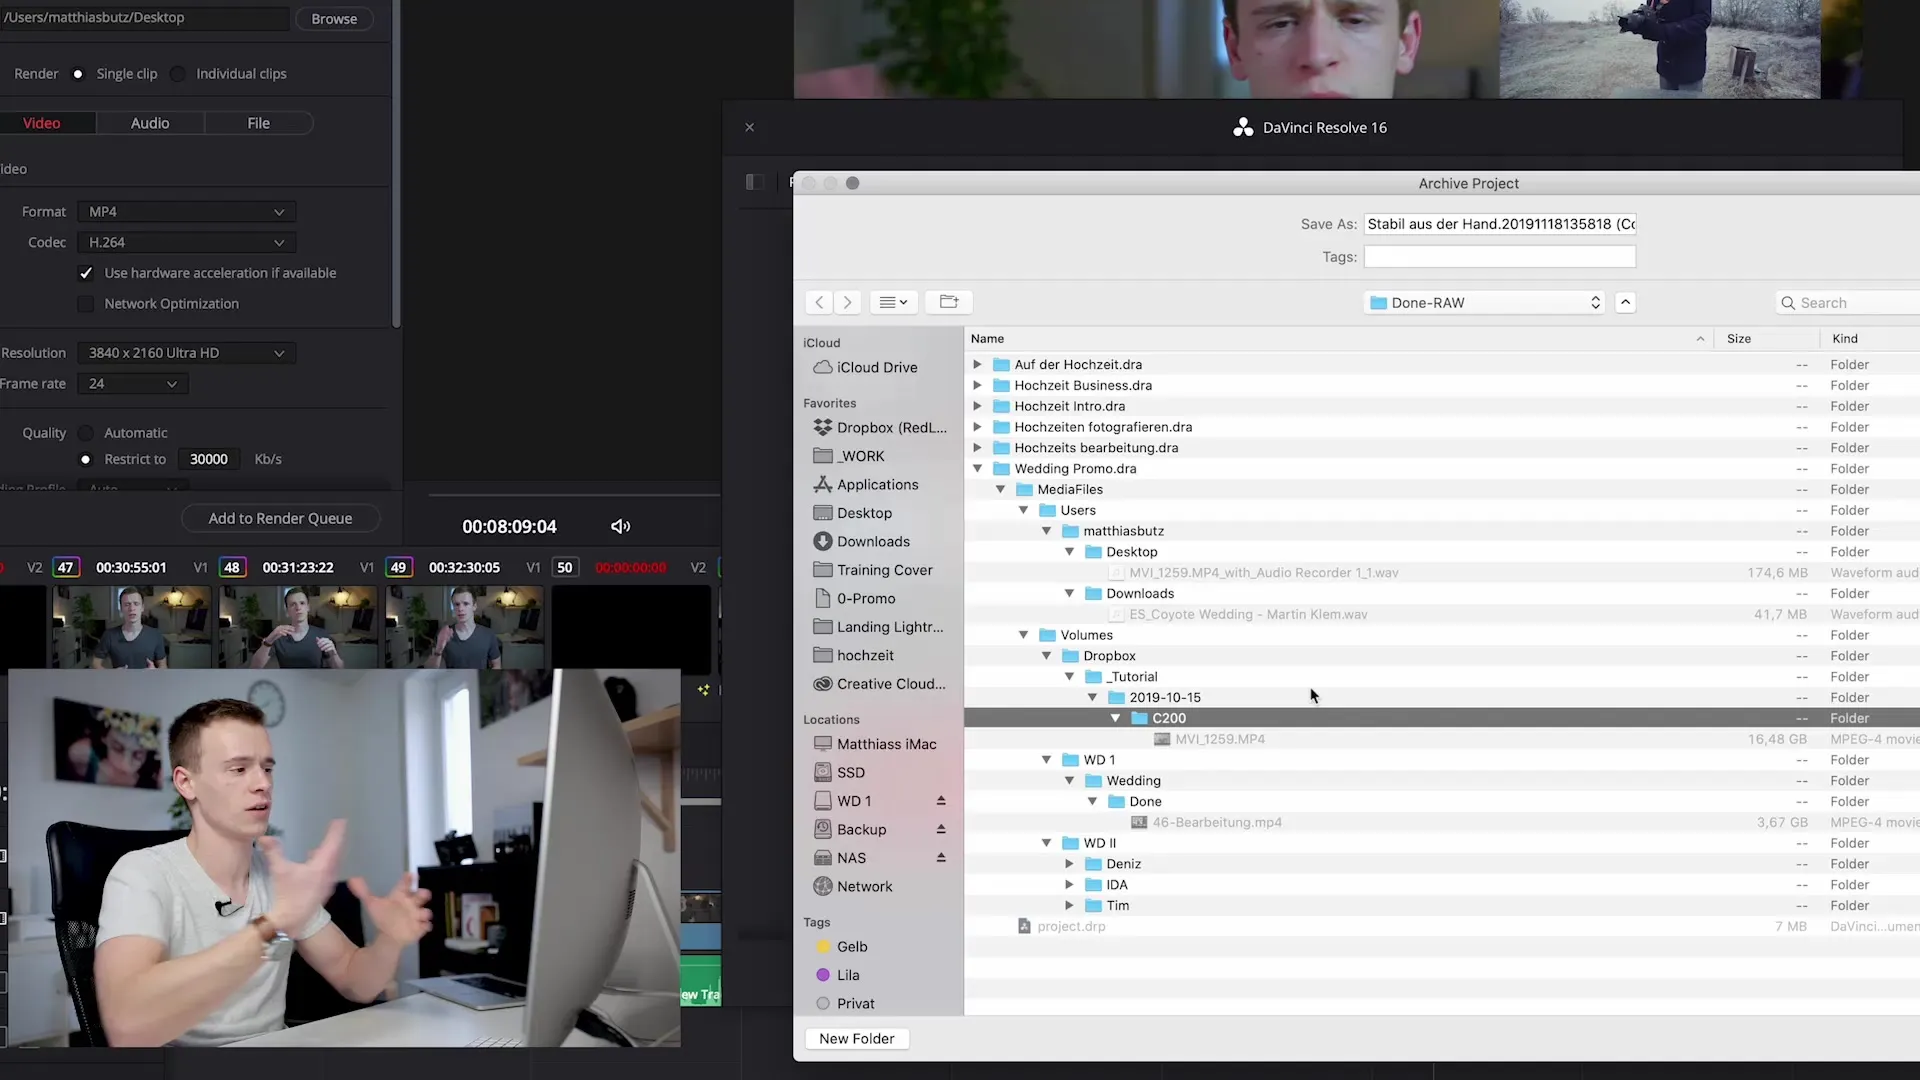
With this method, DaVinci Resolve ensures that all files necessary to recreate your project are automatically copied to a designated location.
This is particularly advantageous when working with various media sources, such as your desktop, downloads, external hard drives, or cloud services like Dropbox.
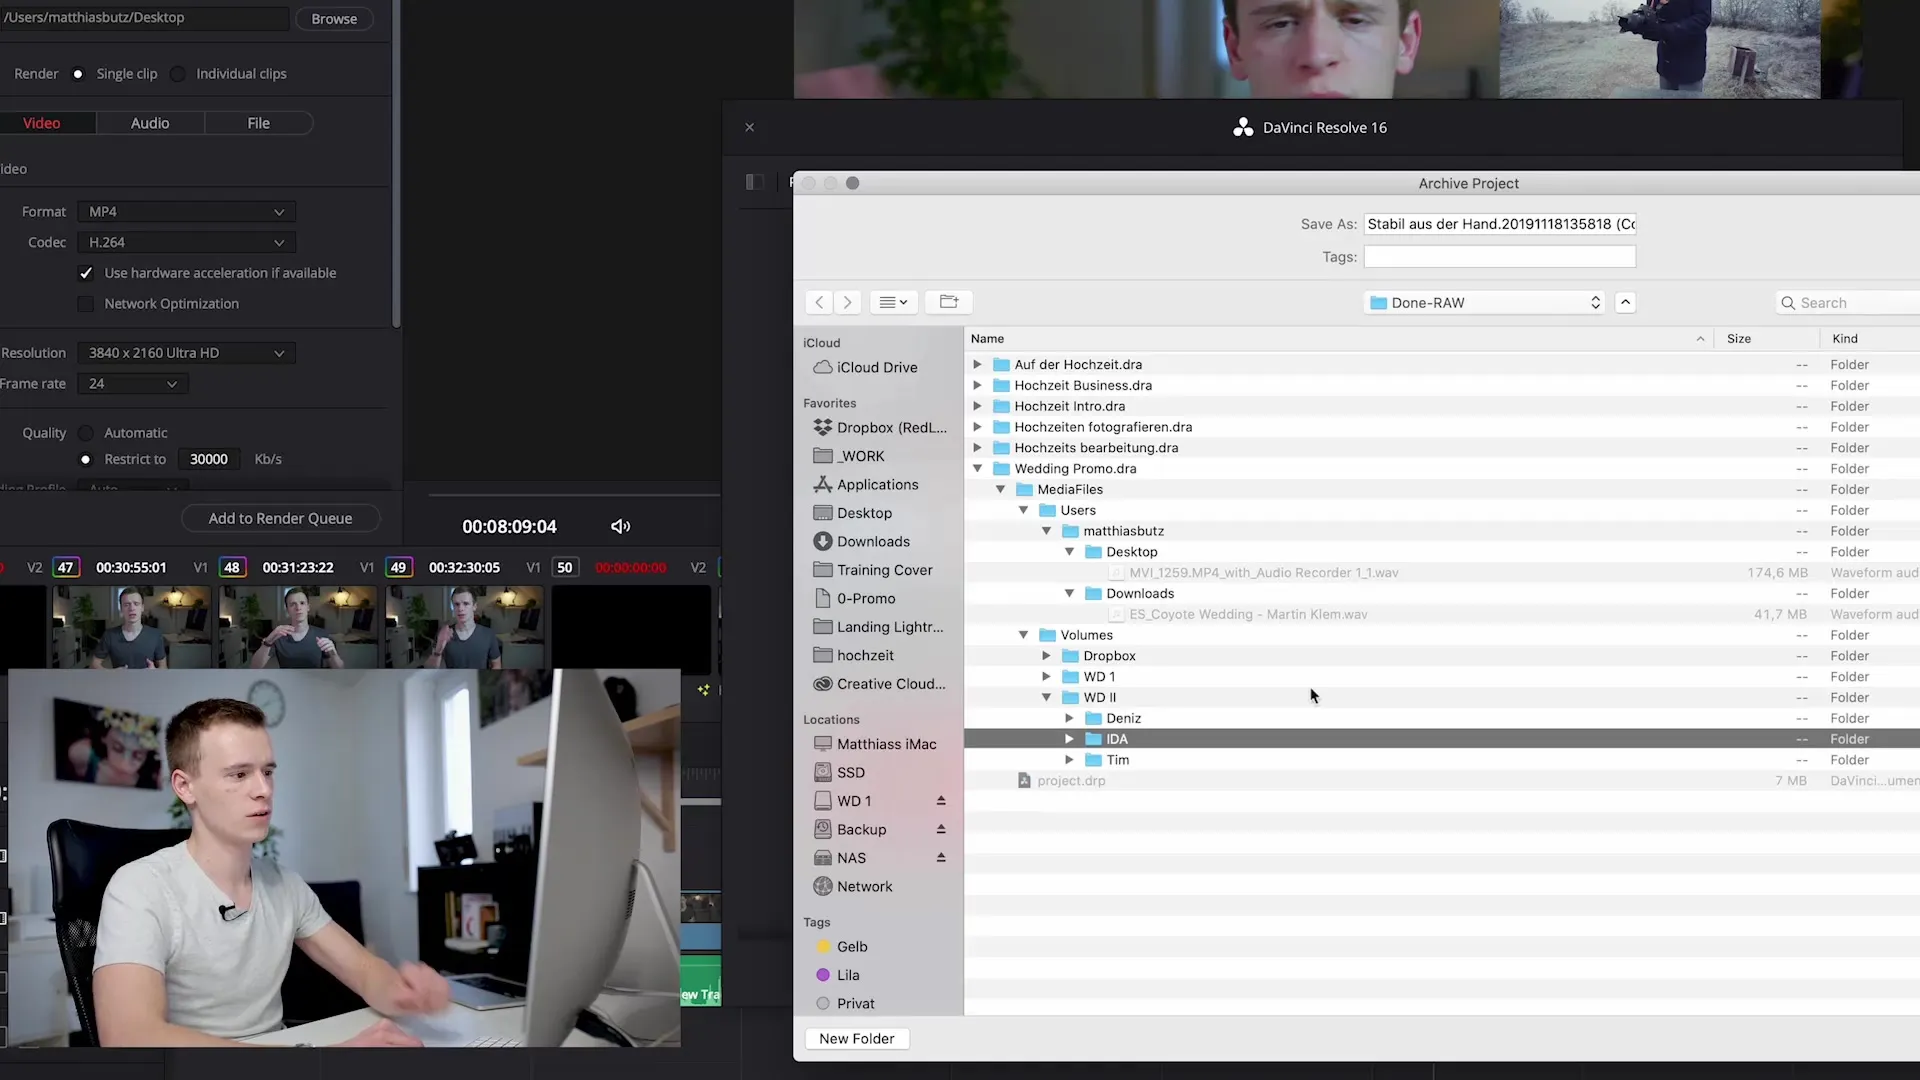
Once the archiving process is successfully completed, you have not only securely saved your project, but you are also able to edit it at any time. You can open the project at any time and connect it with the media files stored in your archive without losing important content.

The archiving helps you organize your workspace and gives you the freedom to access your projects anytime.
Therefore, I strongly recommend archiving your projects or using a custom file system. With DaVinci Resolve, this can be easily automated.
Summary - Effectively archiving projects in DaVinci Resolve
This guide has shown you in detail how to securely archive your projects in DaVinci Resolve. By using the "Export Project Archive" feature, you can save all relevant files in a structured folder. This enables you to work efficiently and easily access your projects in the future.
Frequently Asked Questions
How do I archive my project in DaVinci Resolve?You can archive your project by right-clicking on your project and selecting "Export Project Archive."
What gets saved when archiving?The project file as well as all media files like videos, images, and audio are saved.
Where are the archived files stored?You can select a location of your choice where the archive will be created.
Can I edit archived projects later?Yes, you can open archived projects at any time and work with the associated media files.
What is the benefit of project archiving?The archiving prevents the loss of media files and facilitates future editing.


