Masks offer you the ability to edit specific areas of a video or an image without affecting the entire recording. In DaVinci Resolve, you can use various types of masks to achieve the desired effects. In this guide, I will show you how to effectively create and apply masks to optimize your video projects.
Key Insights
- DaVinci Resolve offers various mask types such as square, round, curve, and gradient masks.
- Masks allow for targeted adjustments to videos without affecting the entire image.
- The handling of masks is similar to the pen tool in Photoshop.
- With tracking, masks can be dynamically adjusted to follow moving objects in the image.
Step-by-Step Guide
1. Selecting the Mask Type
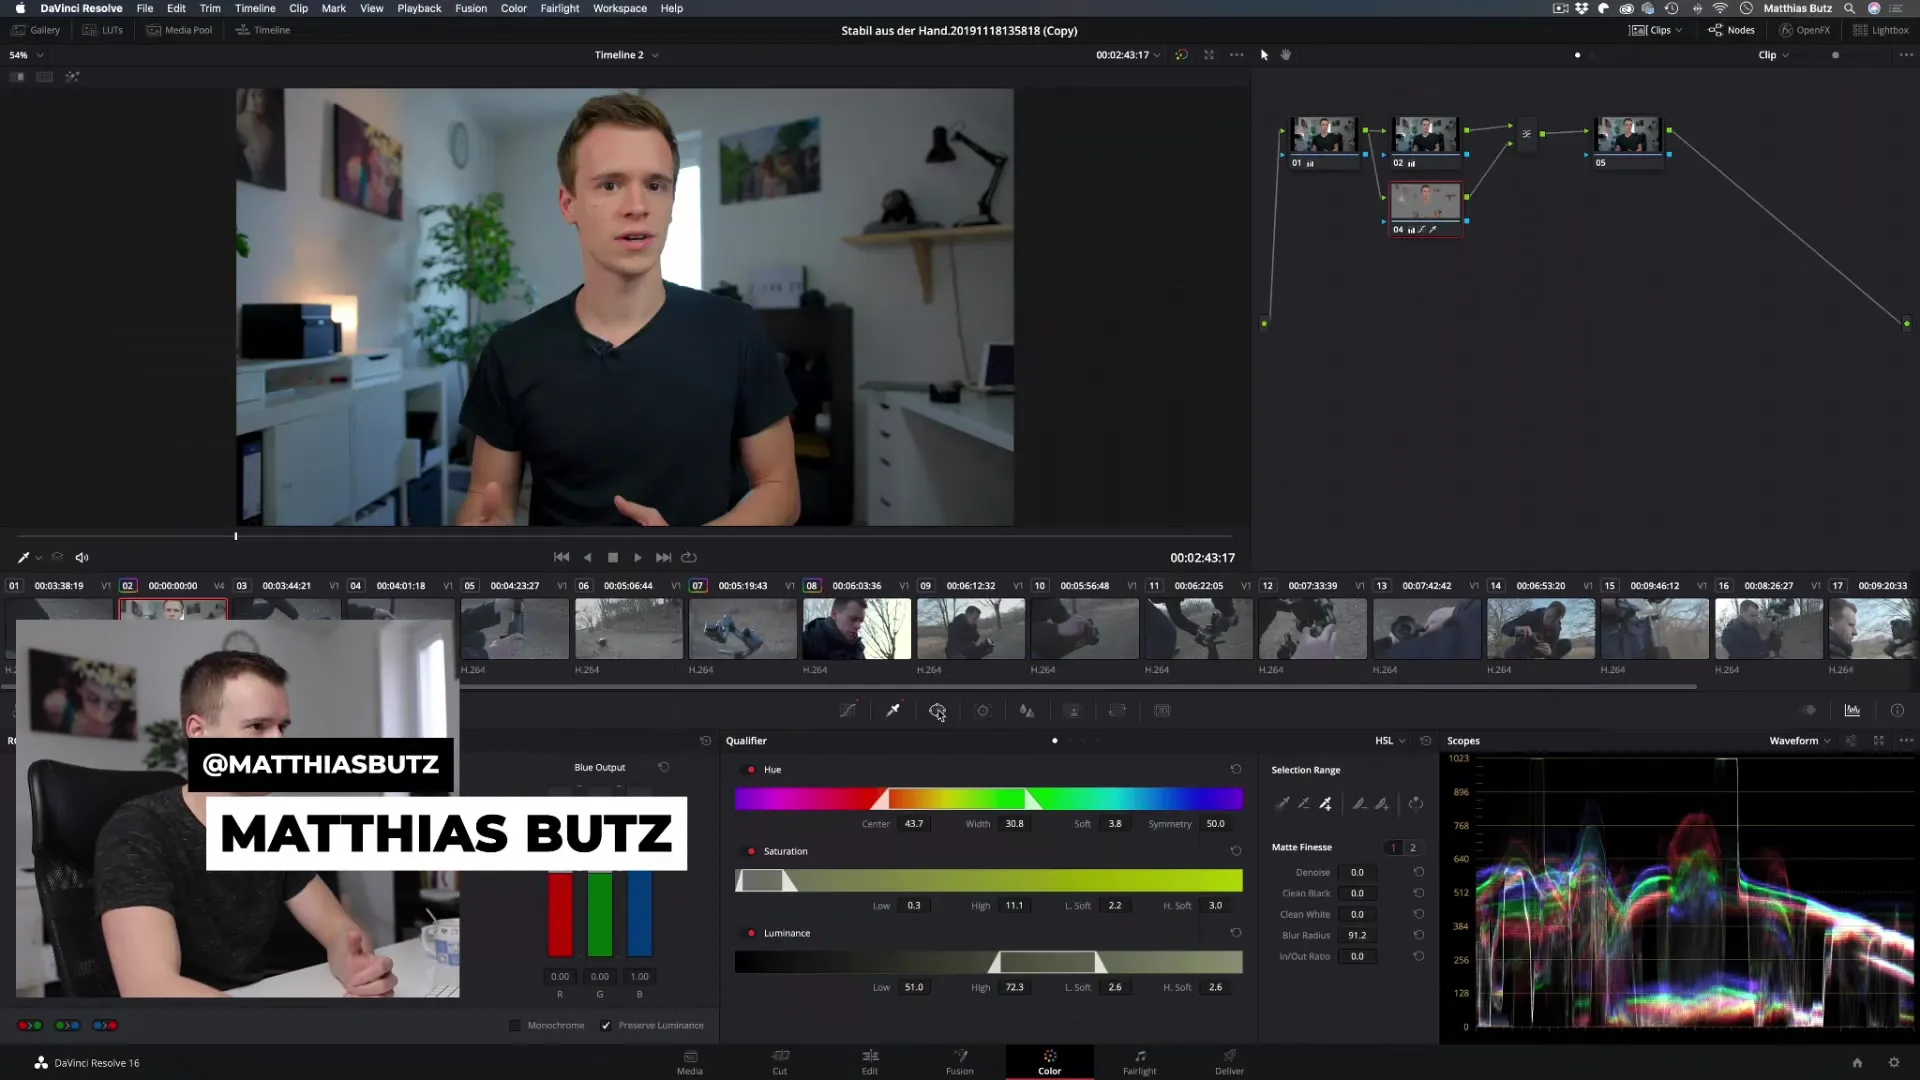
Before you start masking, first select the type of mask you want to use. DaVinci Resolve allows you to work with square, round, curve, and gradient masks. To create a mask, go to the desired clip and select the mask icon in the color correction panel. Here you can choose the desired mask type, such as a square mask.
2. Creating a Square Mask
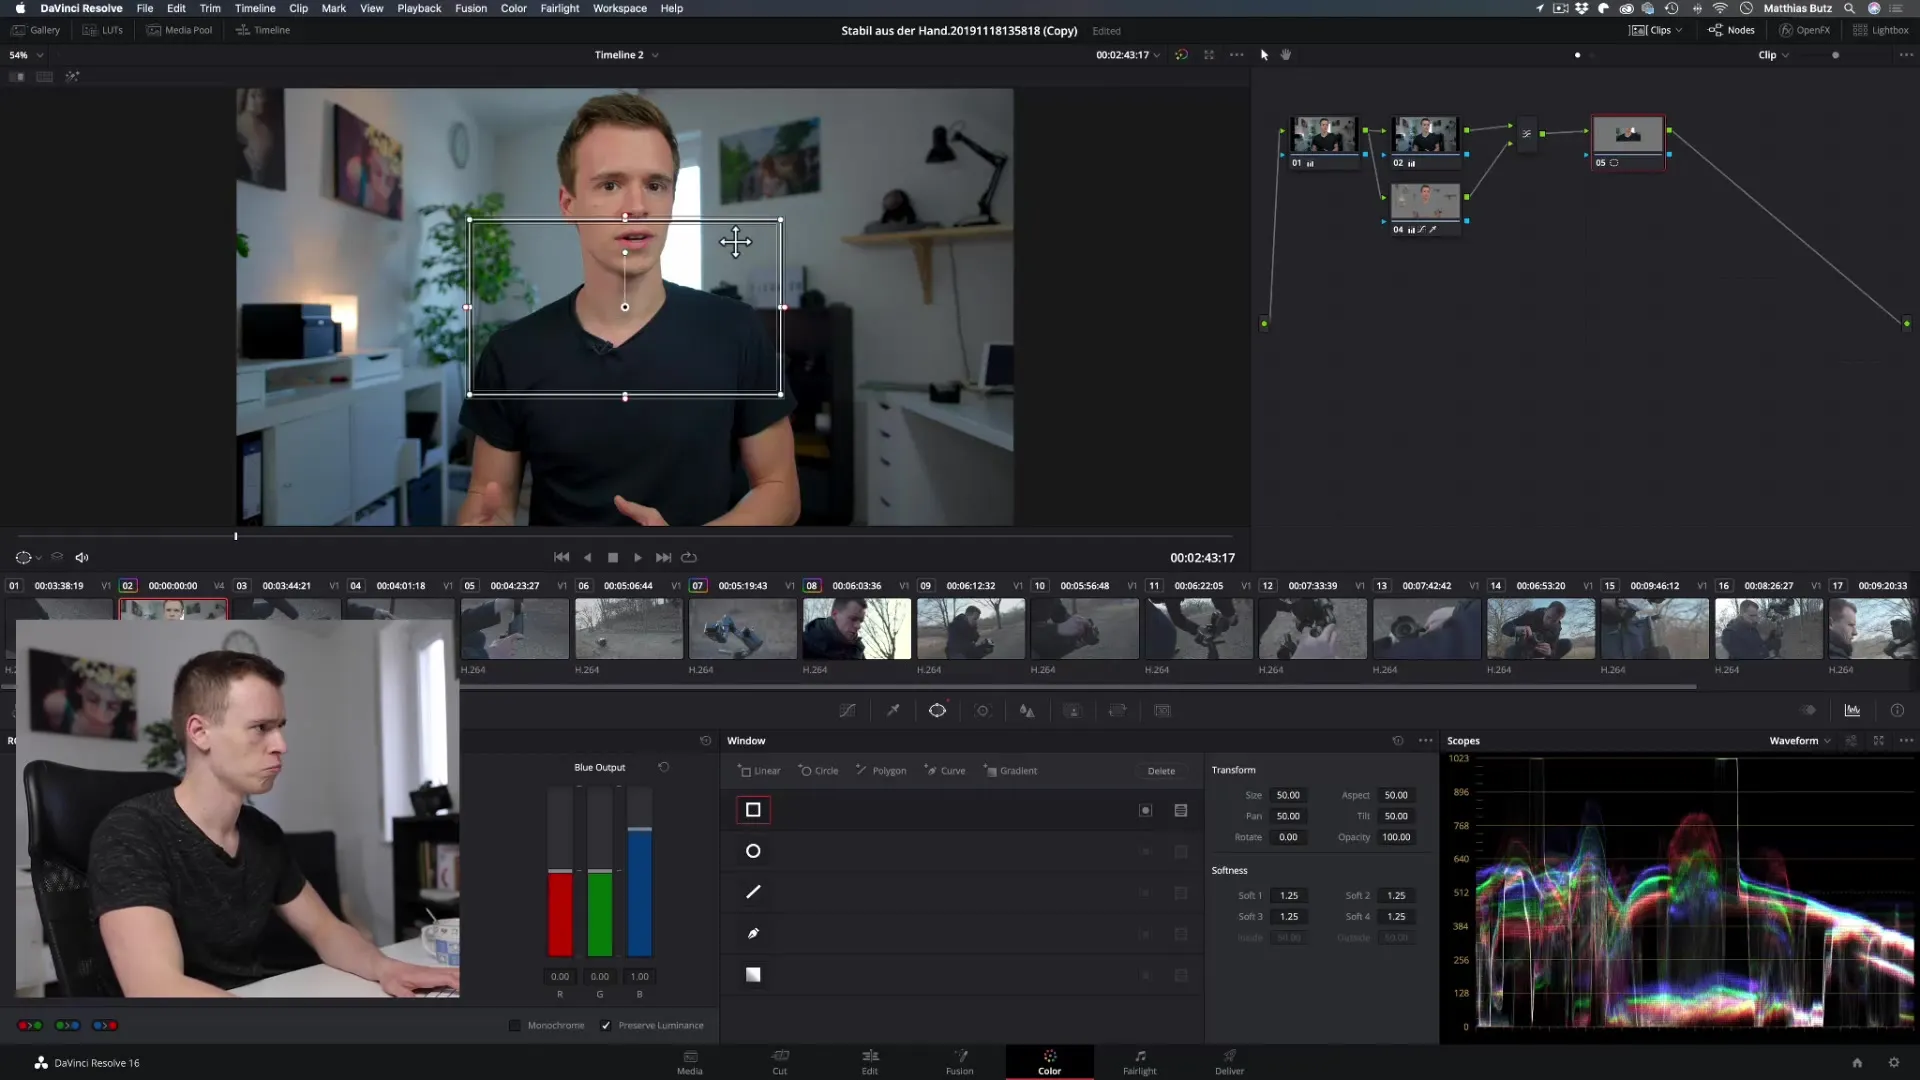
To create a square mask, simply drag the mask around the subject you want to highlight. As you adjust the mask, you can pull the corners to change the size and precisely define which area of the image should be edited. Make sure the mask is positioned correctly around the desired element.
3. Rounding and Adjusting the Mask
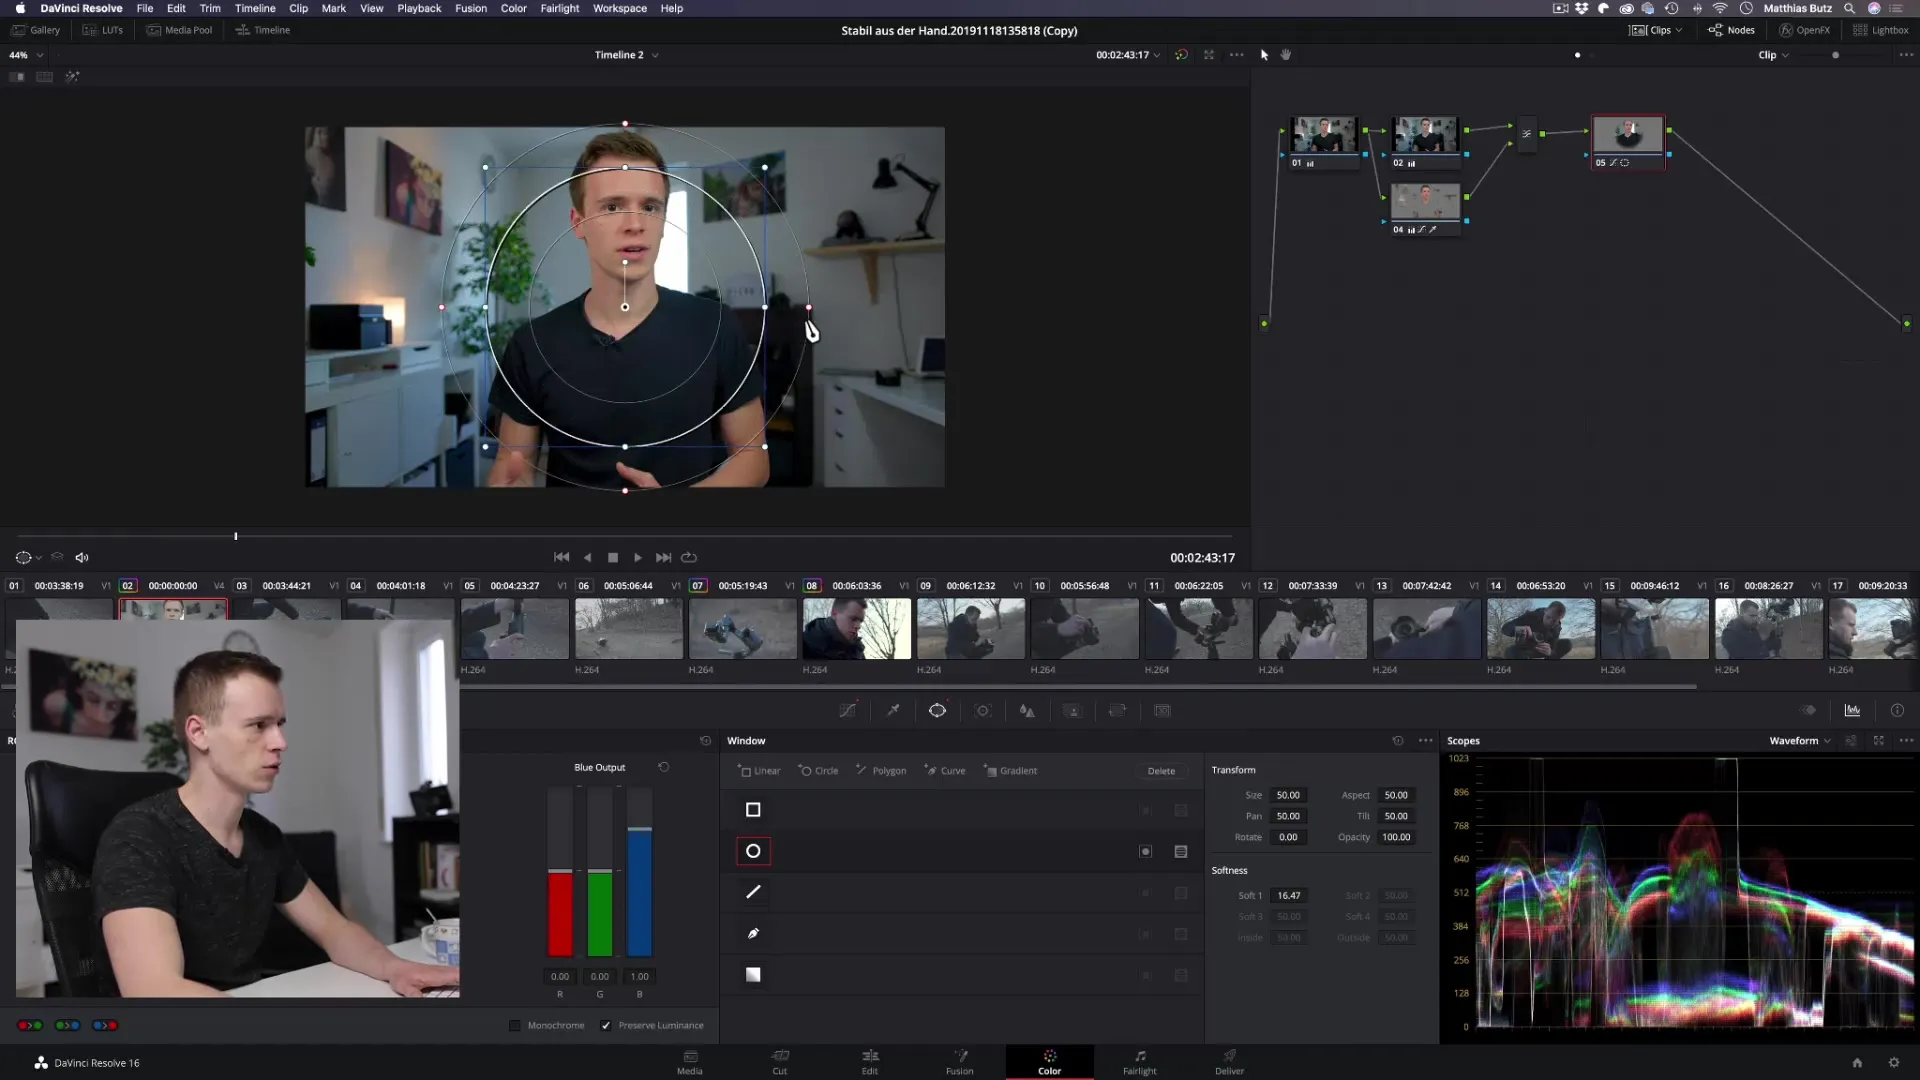
If you need a round mask, you can select that as well. The adjustment works similarly to the square mask. You can change the size and position to fit the mask perfectly to your subject. This is particularly useful if you want to highlight a person in the image. Don't forget to activate the mask to make it visible.
4. Using the Curve Mask
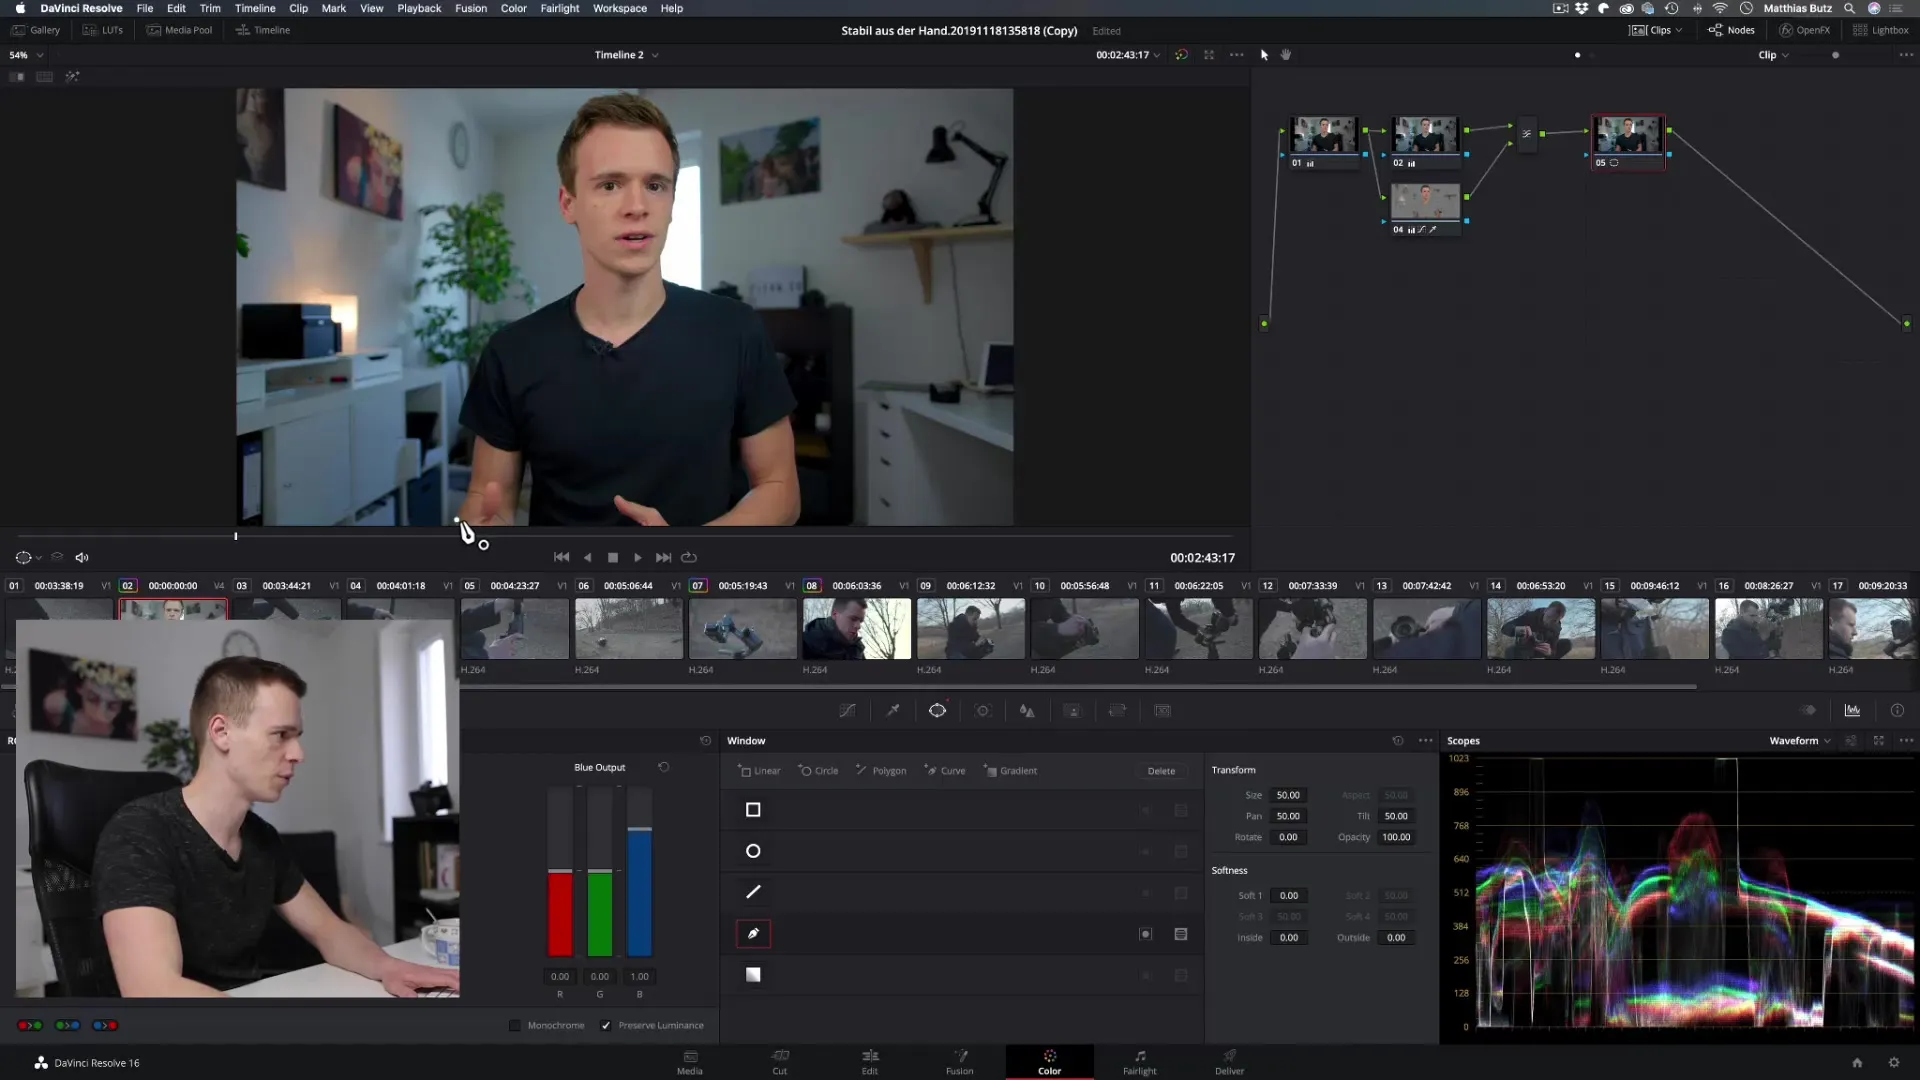
The curve mask provides you with the greatest flexibility to create more complex shapes. You can use it as the pen tool in Photoshop to select any area precisely. This allows you to achieve creative effects that go beyond simple shapes. Click on the mask icon and start drawing the curve mask around your subject.
5. Creating a Gradient Mask
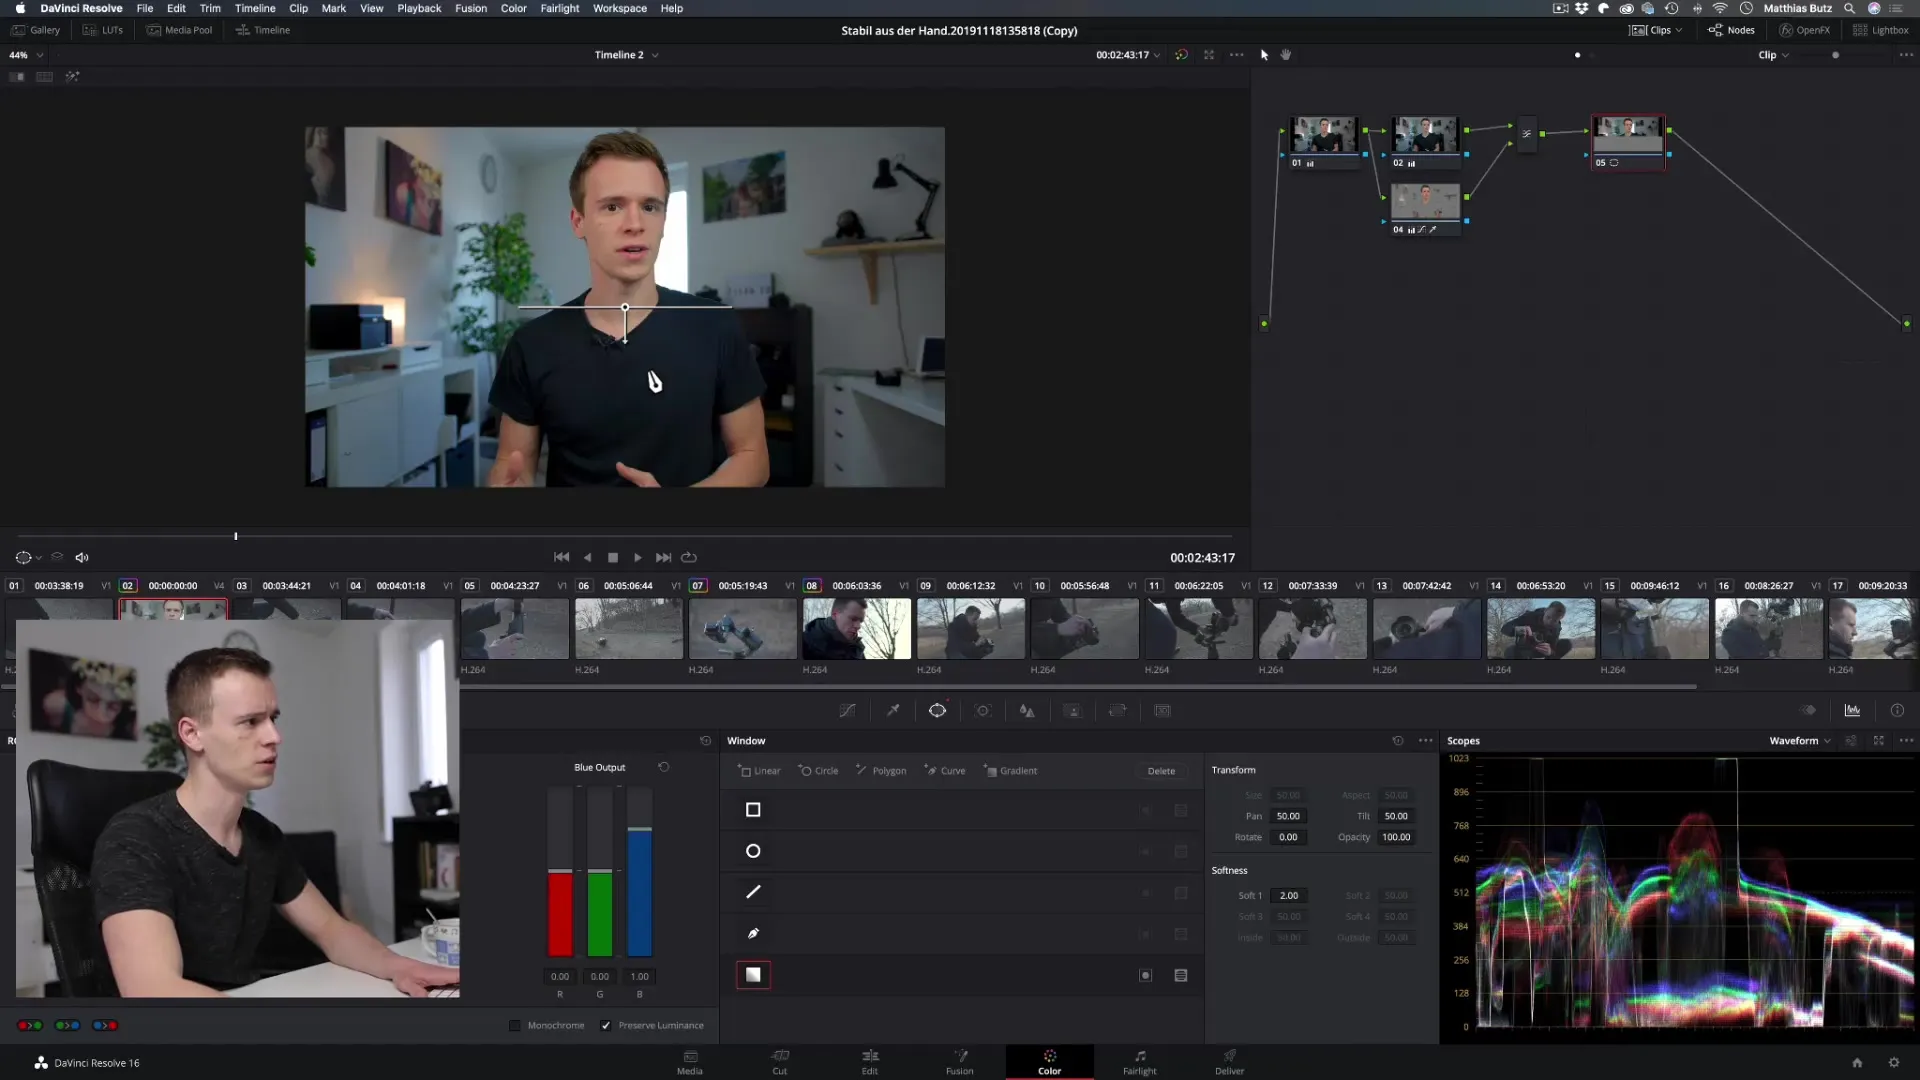
With the gradient mask, you can gently darken or lighten certain areas, which is useful for effects like vignettes. Drag the gradient line and position it so that the transition is soft and appealing. This can help draw focus to a specific area of the video. Experiment with the position of the line to achieve the desired effect.
6. Adding a Vignette
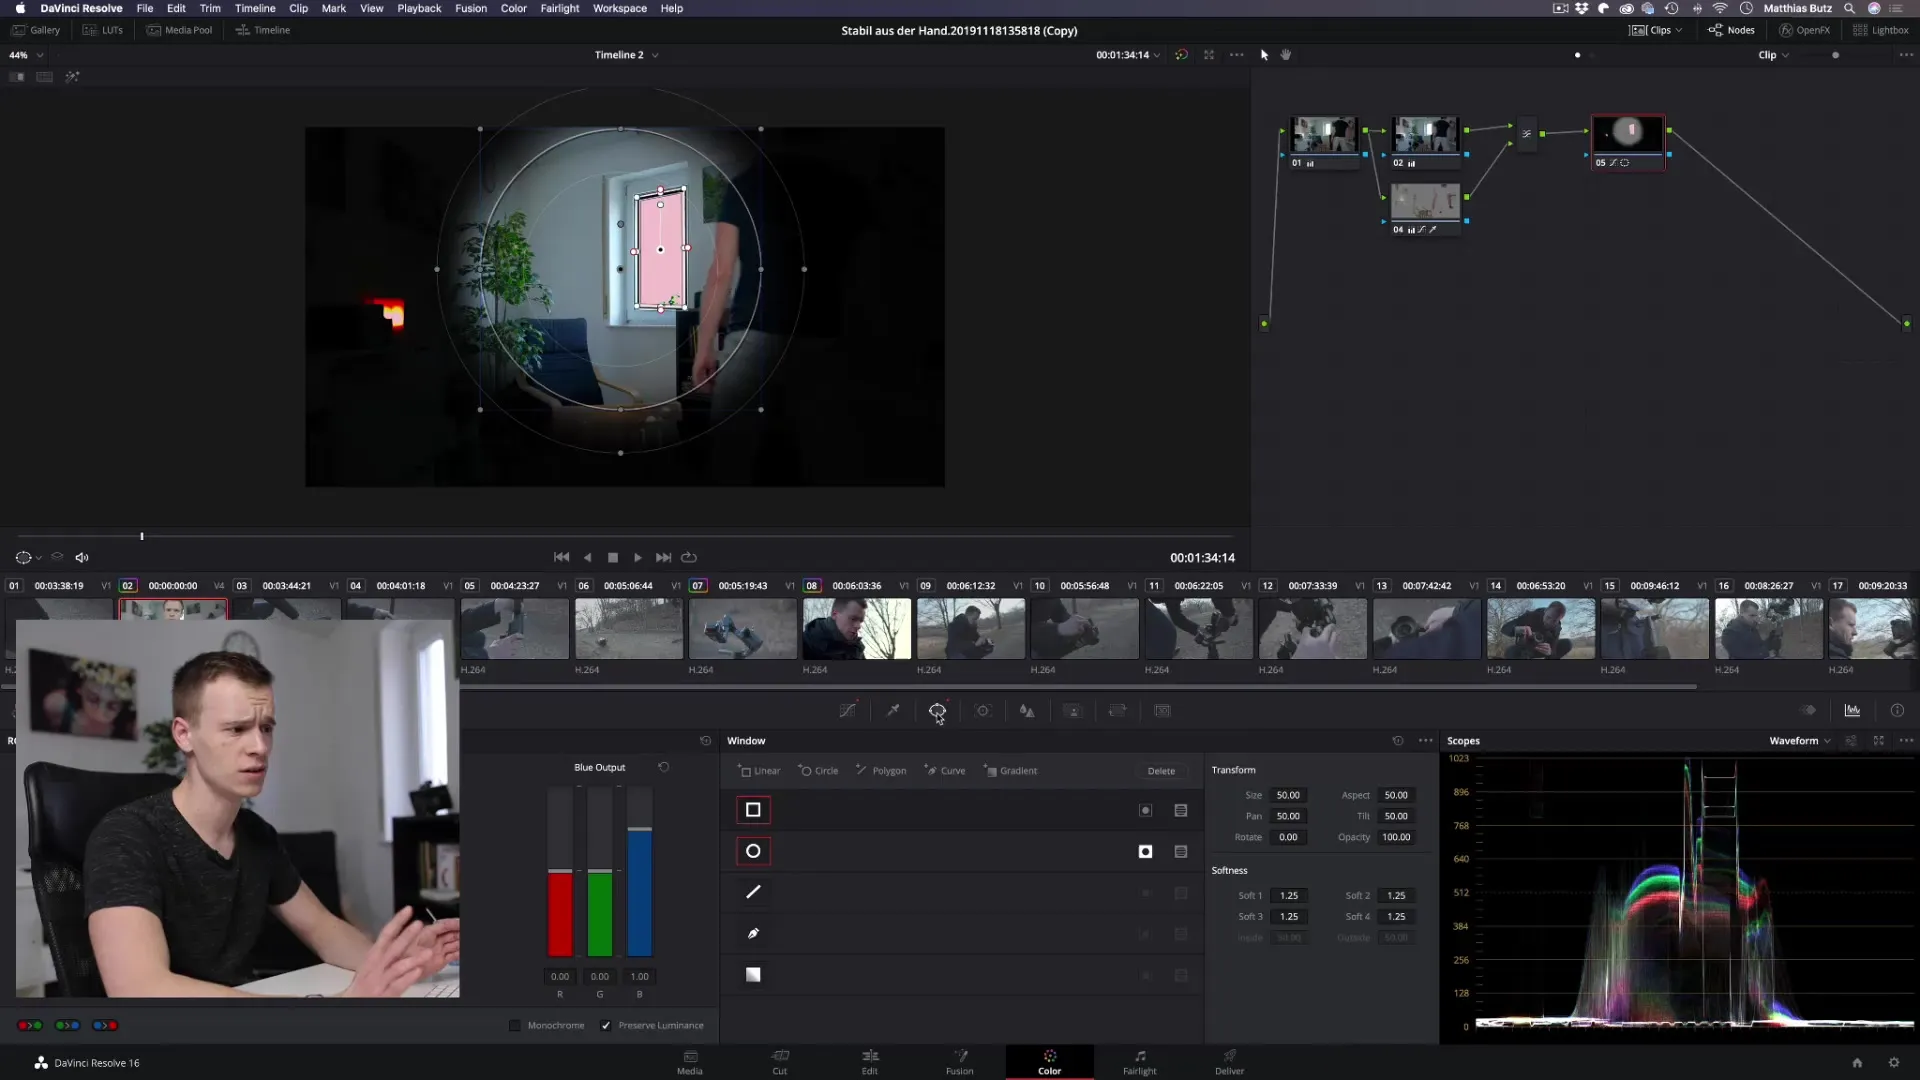
To create a vignette, drag the line of the gradient mask so that the outer area darkens. Make sure to choose the right position for the light and dark areas of the vignette, and then use the option to optimize the soft edges. With the inverted function, you can easily reverse the effect to achieve the desired result.
7. Dynamic Adjustment with Tracking
If you have moving objects in the image, I recommend using tracking to dynamically adjust your masks. This means that the mask follows the object during the recording, resulting in a consistent effect. Tracking can be found under the "Fusion" or "Color" tab. Here you select your mask icon and then the tracking function.
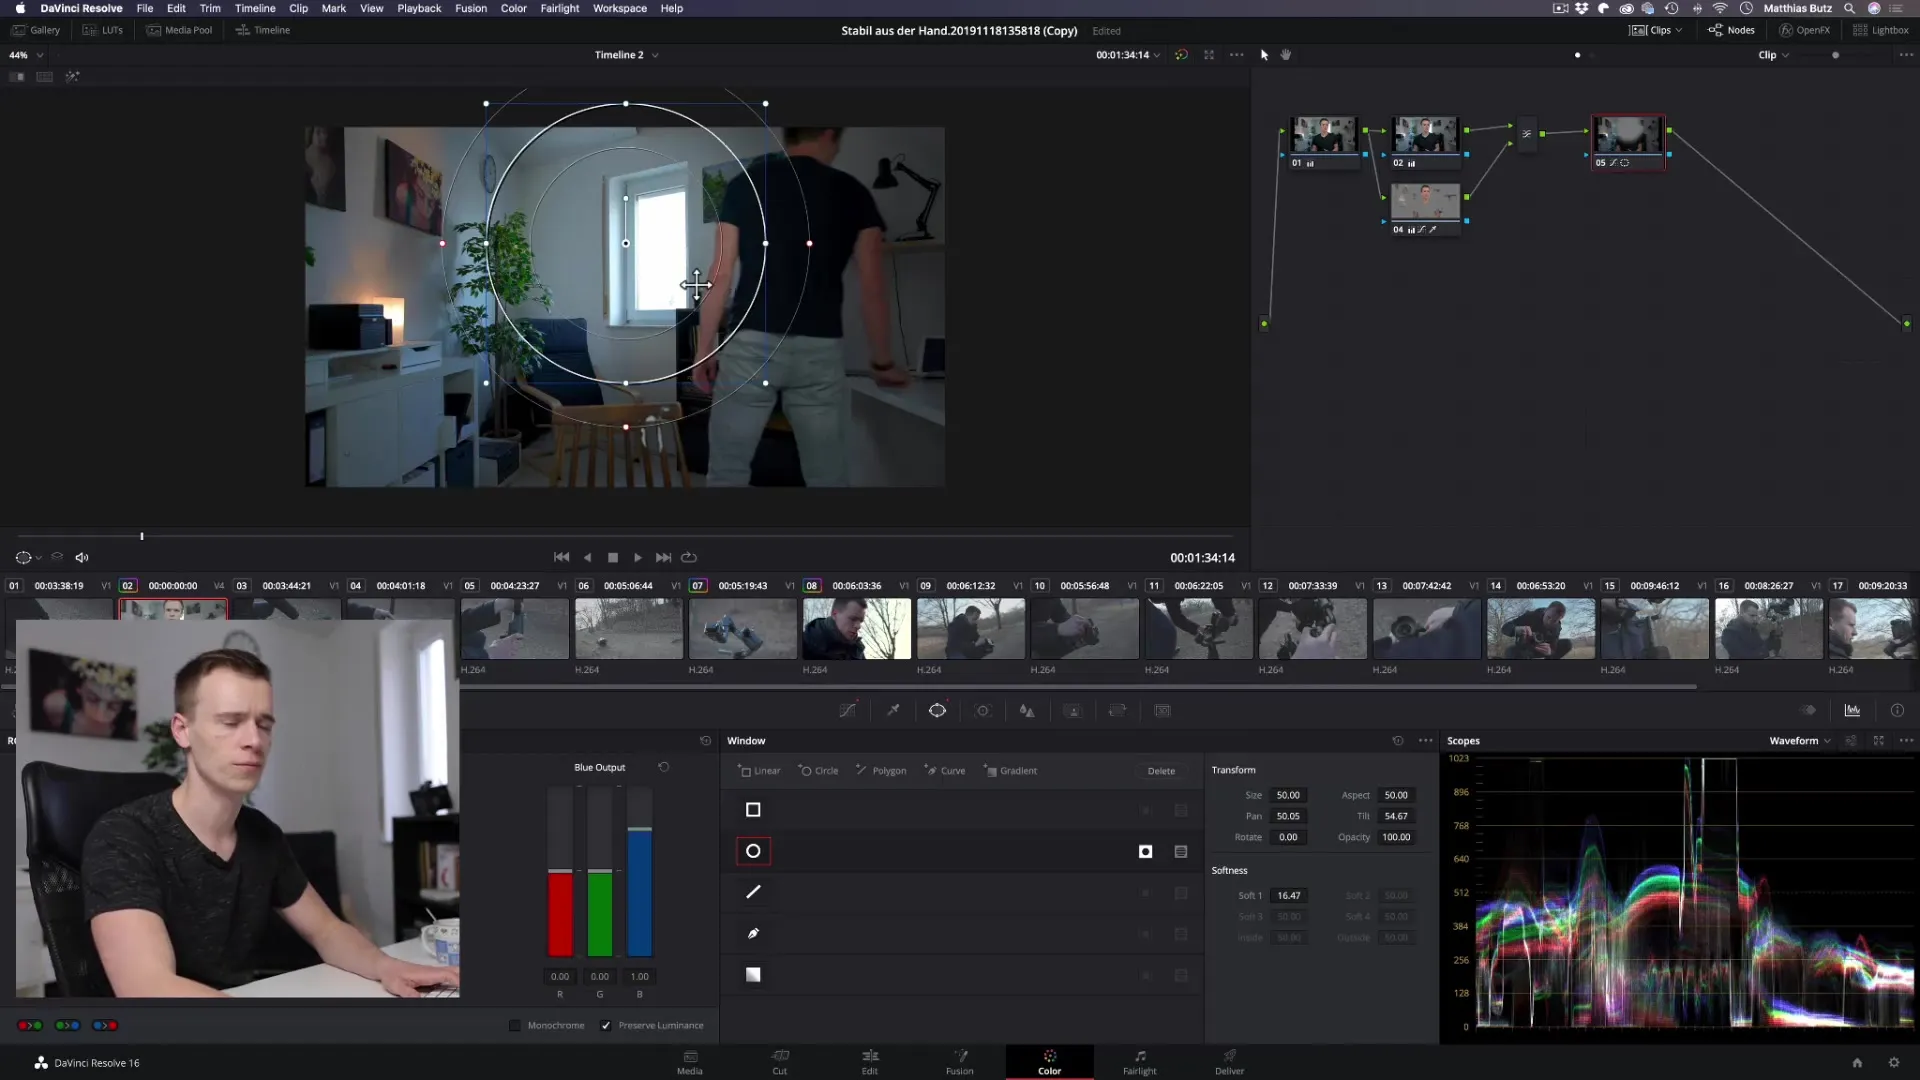
8. Fine-Tuning and Refining the Mask
To soften the edges of the mask, you can adjust the "Softness" settings while editing the mask. Depending on the resolution of your project, you can edit the edges. This prevents harsh transitions and makes the mask more natural and appealing. Practice fine-tuning to achieve the best effect.
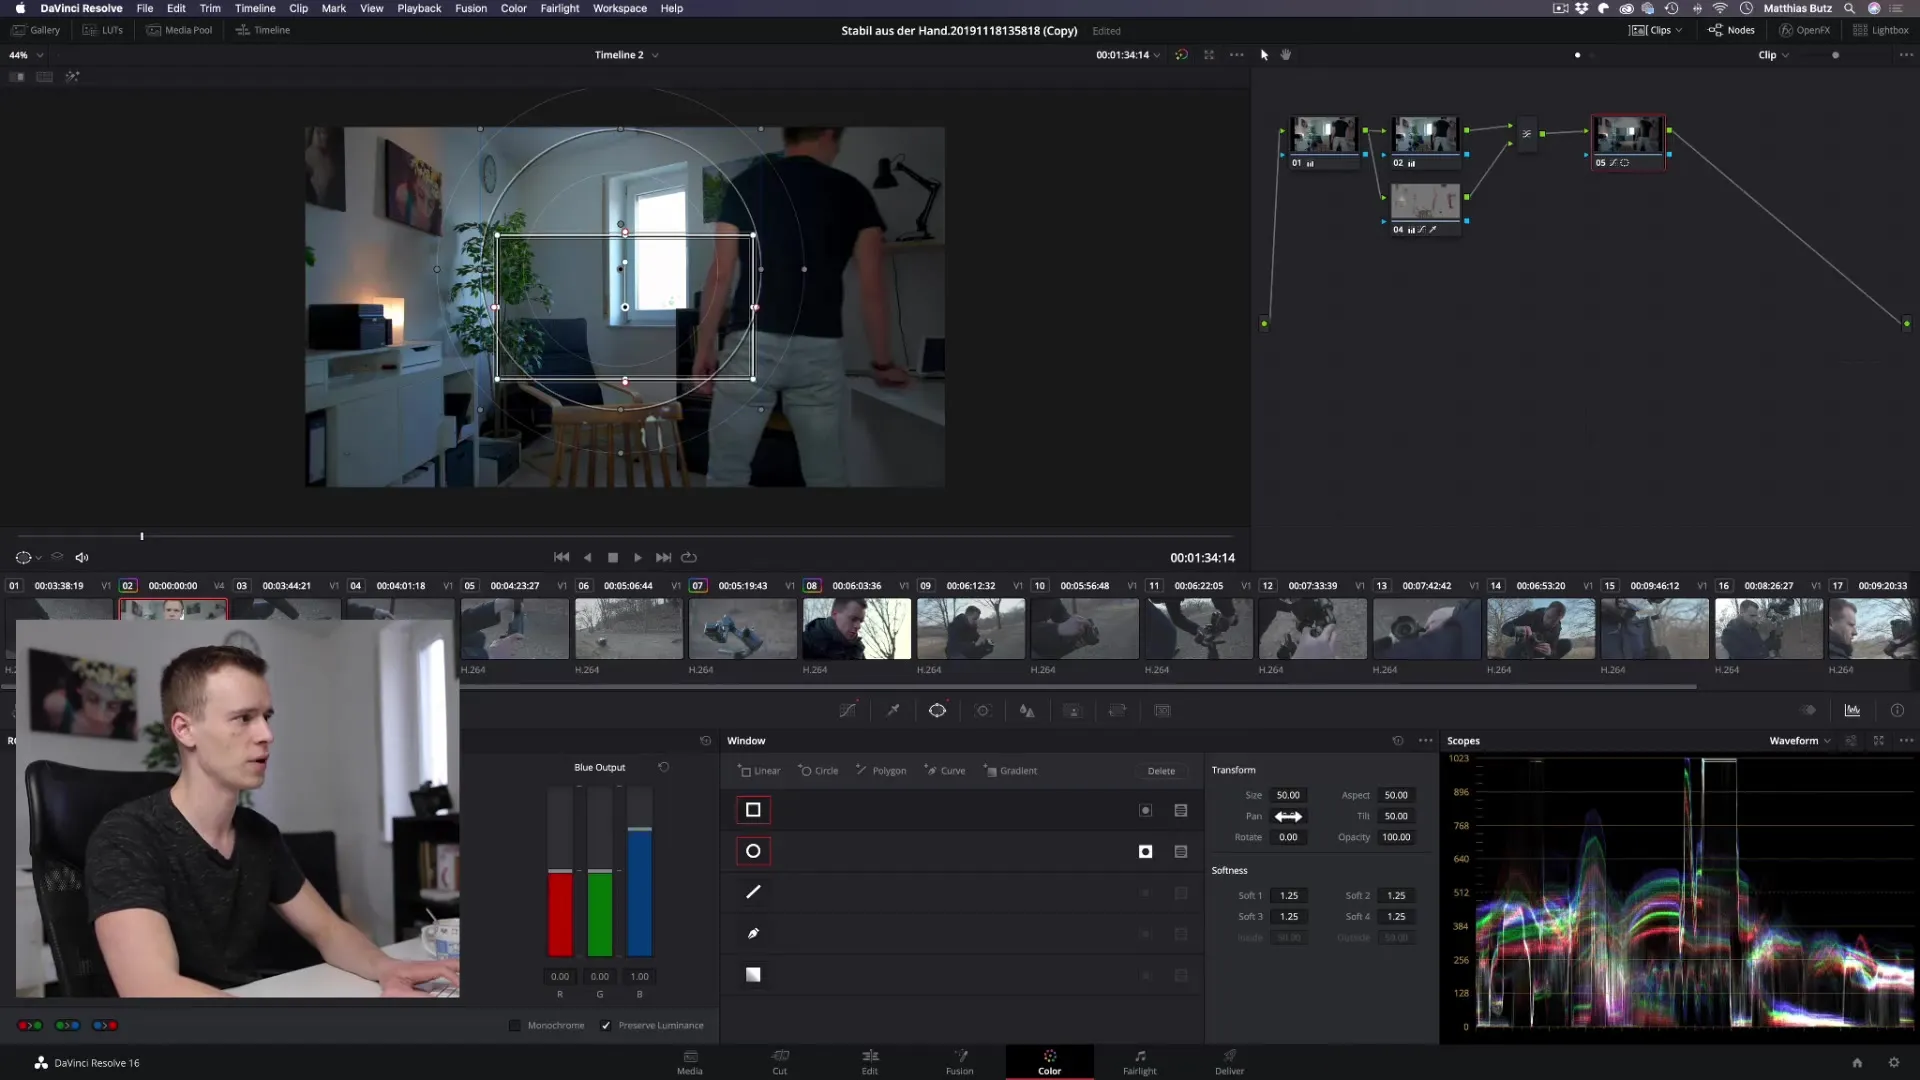
9. Using Multiple Masks
If you want to adjust multiple areas, you can layer multiple masks on top of each other. This allows you to create a variety of visual effects without having to affect the entire image. Each mask can be refined and combined independently, resulting in numerous creative possibilities.
Summary - Masks in DaVinci Resolve: Step-by-Step Guide to Creation and Application
Masks are a powerful tool in DaVinci Resolve that allows you to edit specific areas of your videos. With various types of masks, such as square, round, curve, and gradient masks, you can precisely control and adjust visual effects. Use tracking to dynamically follow moving objects and adjust the masks accordingly.
Frequently Asked Questions
How do I create a mask in DaVinci Resolve?Select the mask icon and choose the desired mask type. Draw the mask around the desired area.
Can I combine masks in DaVinci Resolve?Yes, you can layer multiple masks and adjust each area independently.
How can I soften the edges of my mask?Use the "Softness" settings in the mask options to refine the edges.
How does tracking work in relation to masks?Tracking allows the mask to move with moving objects in the image, keeping it consistently visible.
What are the best use cases for masks?Masks are great for creating vignettes, focusing on specific areas, or for creative visual effects.


