The Color Wheels in DaVinci Resolve are a central tool for color correction and color grading. They enable you to specifically control the color mood and exposure of your video. Even though the various sliders might seem somewhat complex at first glance, they are extremely powerful and offer numerous options for optimizing your footage. In this guide, you will take charge of color correction and learn to use the Color Wheels effectively.
Main insights
- The color sliders Lift, Gamma, and Gain are responsible for different brightness ranges.
- The Offset affects the entire image evenly.
- With minimal adjustments, you can achieve a significant impact to optimally showcase your colors.
Step-by-step guide
Introduction to the Color Wheels
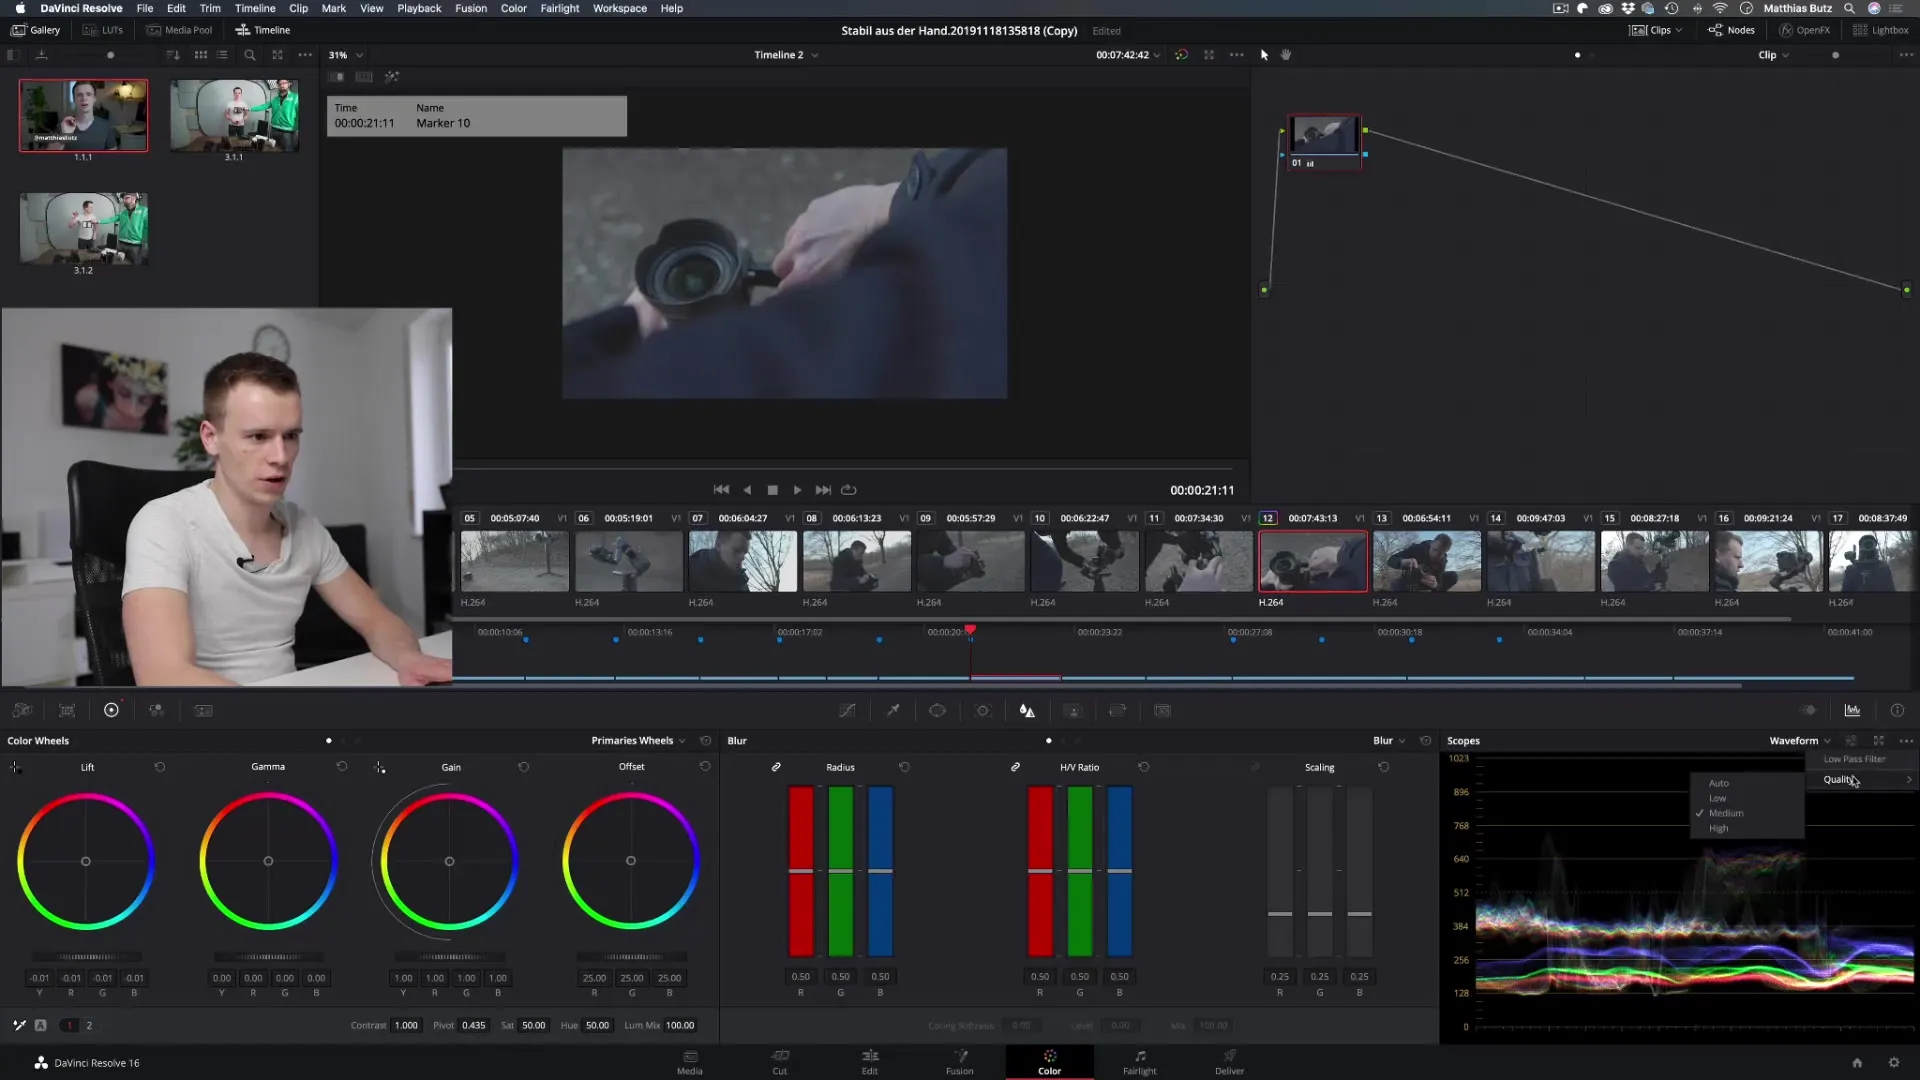
Before starting, you should open the Color Wheels in DaVinci Resolve. At first, you may see the sliders Lift, Gamma, and Gain. These sliders are crucial for color grading as they control the brightness and hue of your image.

Using the Lift slider
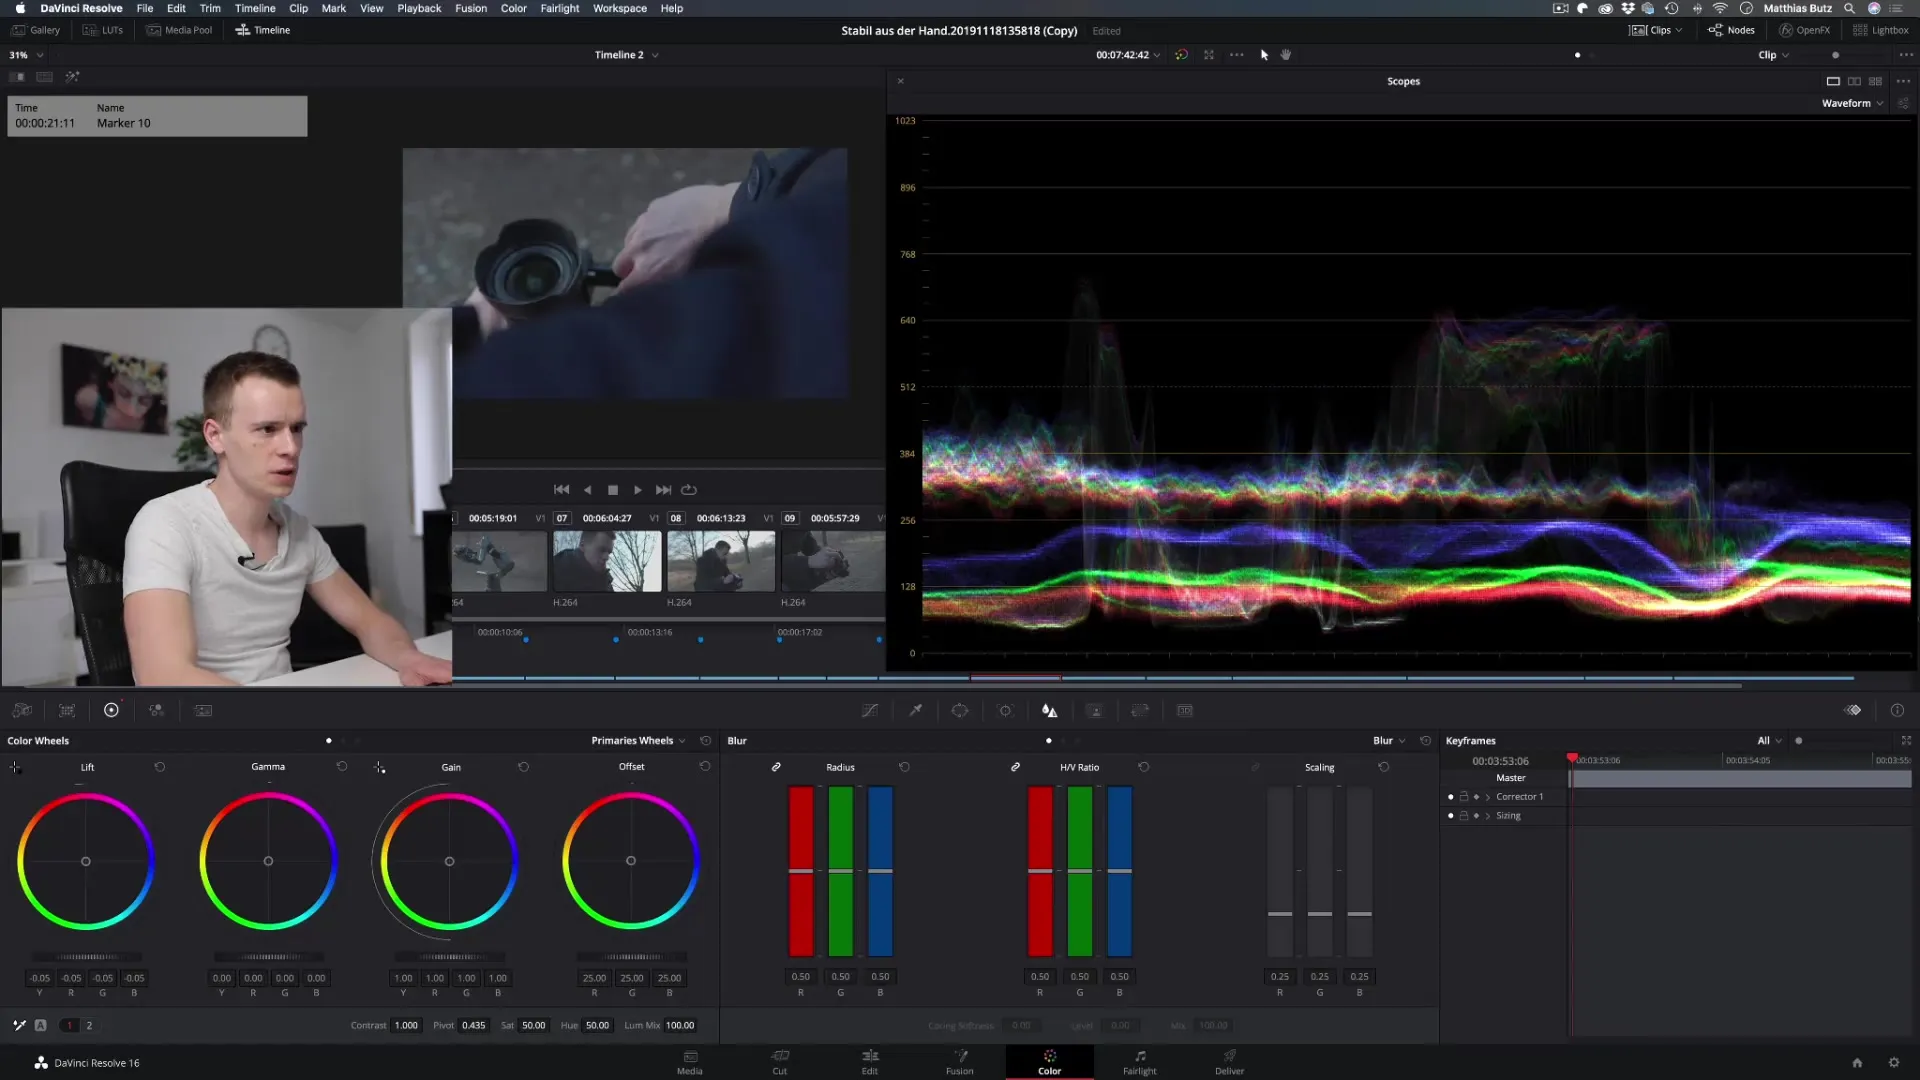
Start with the Lift slider, which is responsible for the dark areas of the image. When you turn this down, you will see how the dark tones in your image become darker. This is especially evident when you open the Vectorscope or the Waveform to visually track your adjustments immediately.
Working with the Gamma slider
The Gamma slider controls the midtones of the image. When you want to adjust this, you need to ensure that the adjustments do not overly affect the lower and upper image areas. Experiment with the sliders to see how changes affect the various tonal values of your video.
Adjustment of the Gain slider
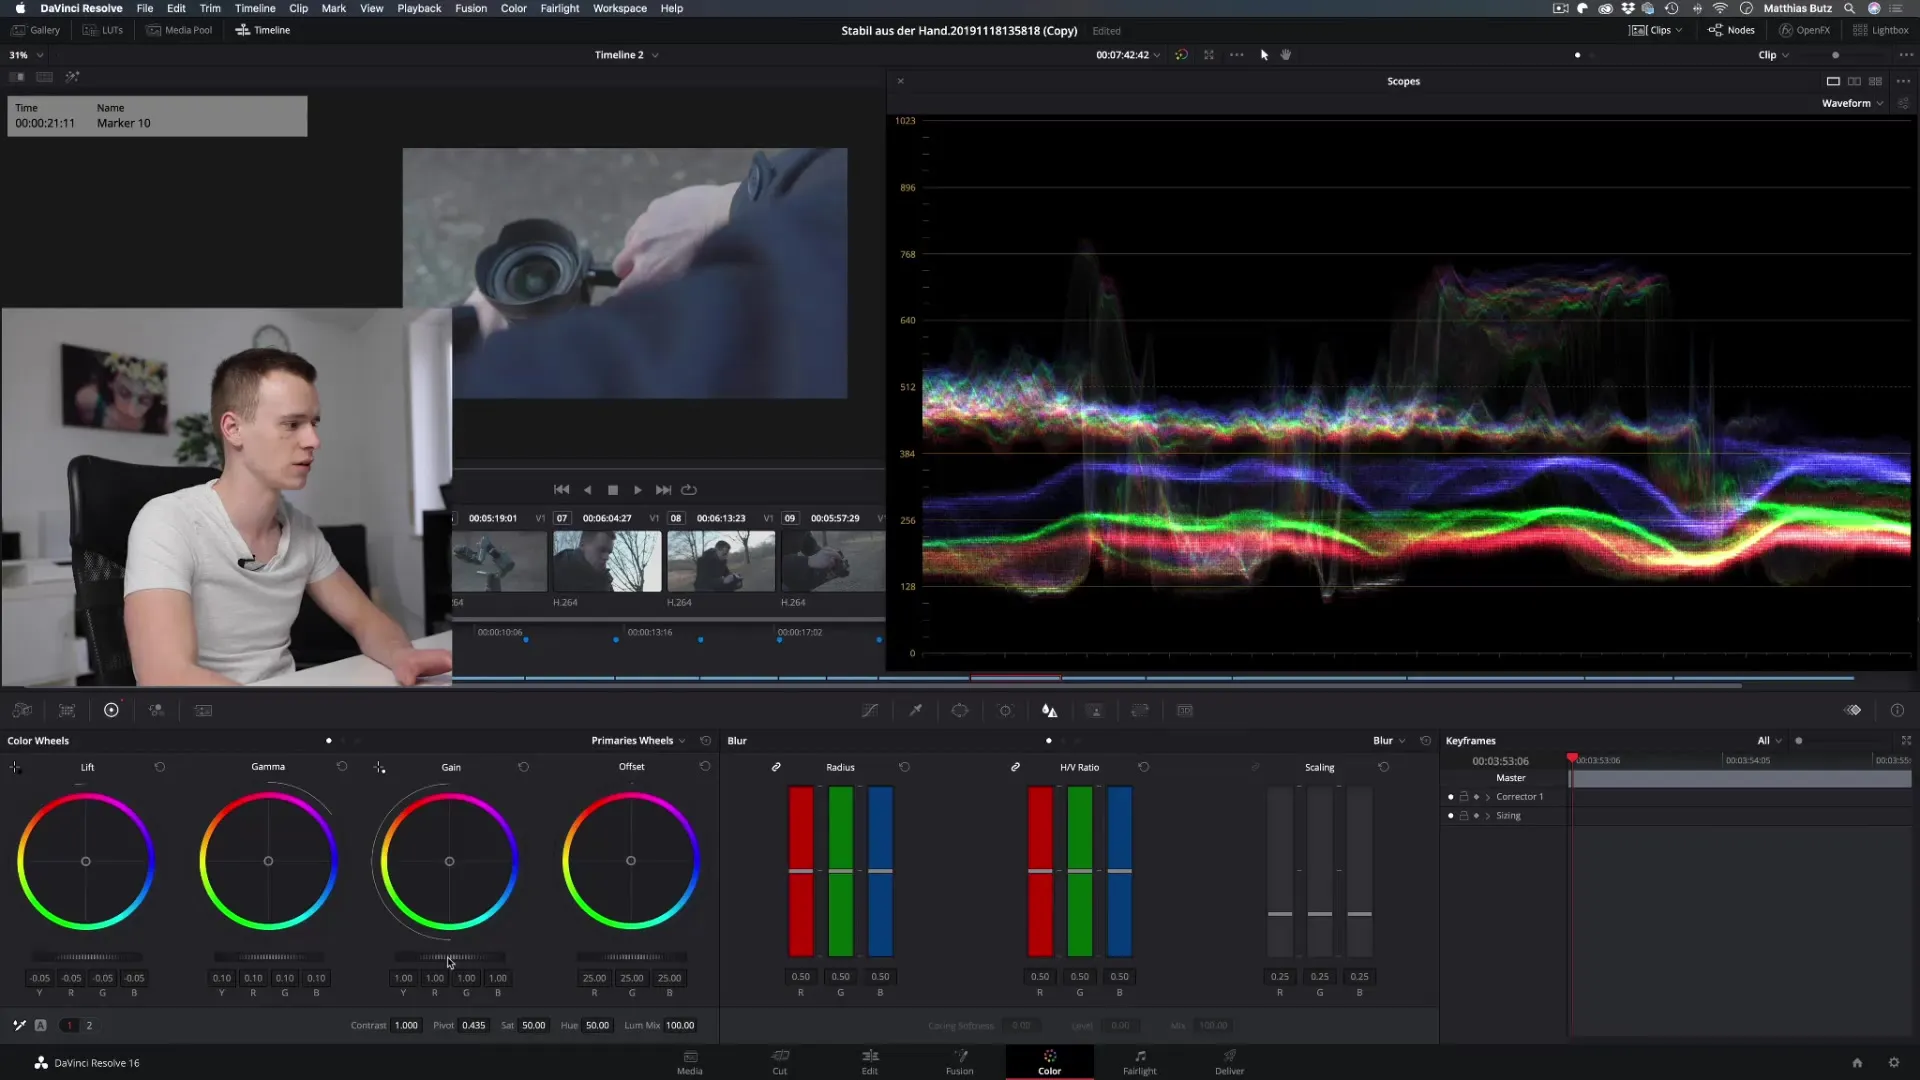
The Gain slider is responsible for the bright areas of the image. Increase the Gain to make the bright areas of your image more brilliant. Here too, it is important to keep an eye on the effects on the rest of the image to achieve a balanced exposure.
Understanding the Offset slider
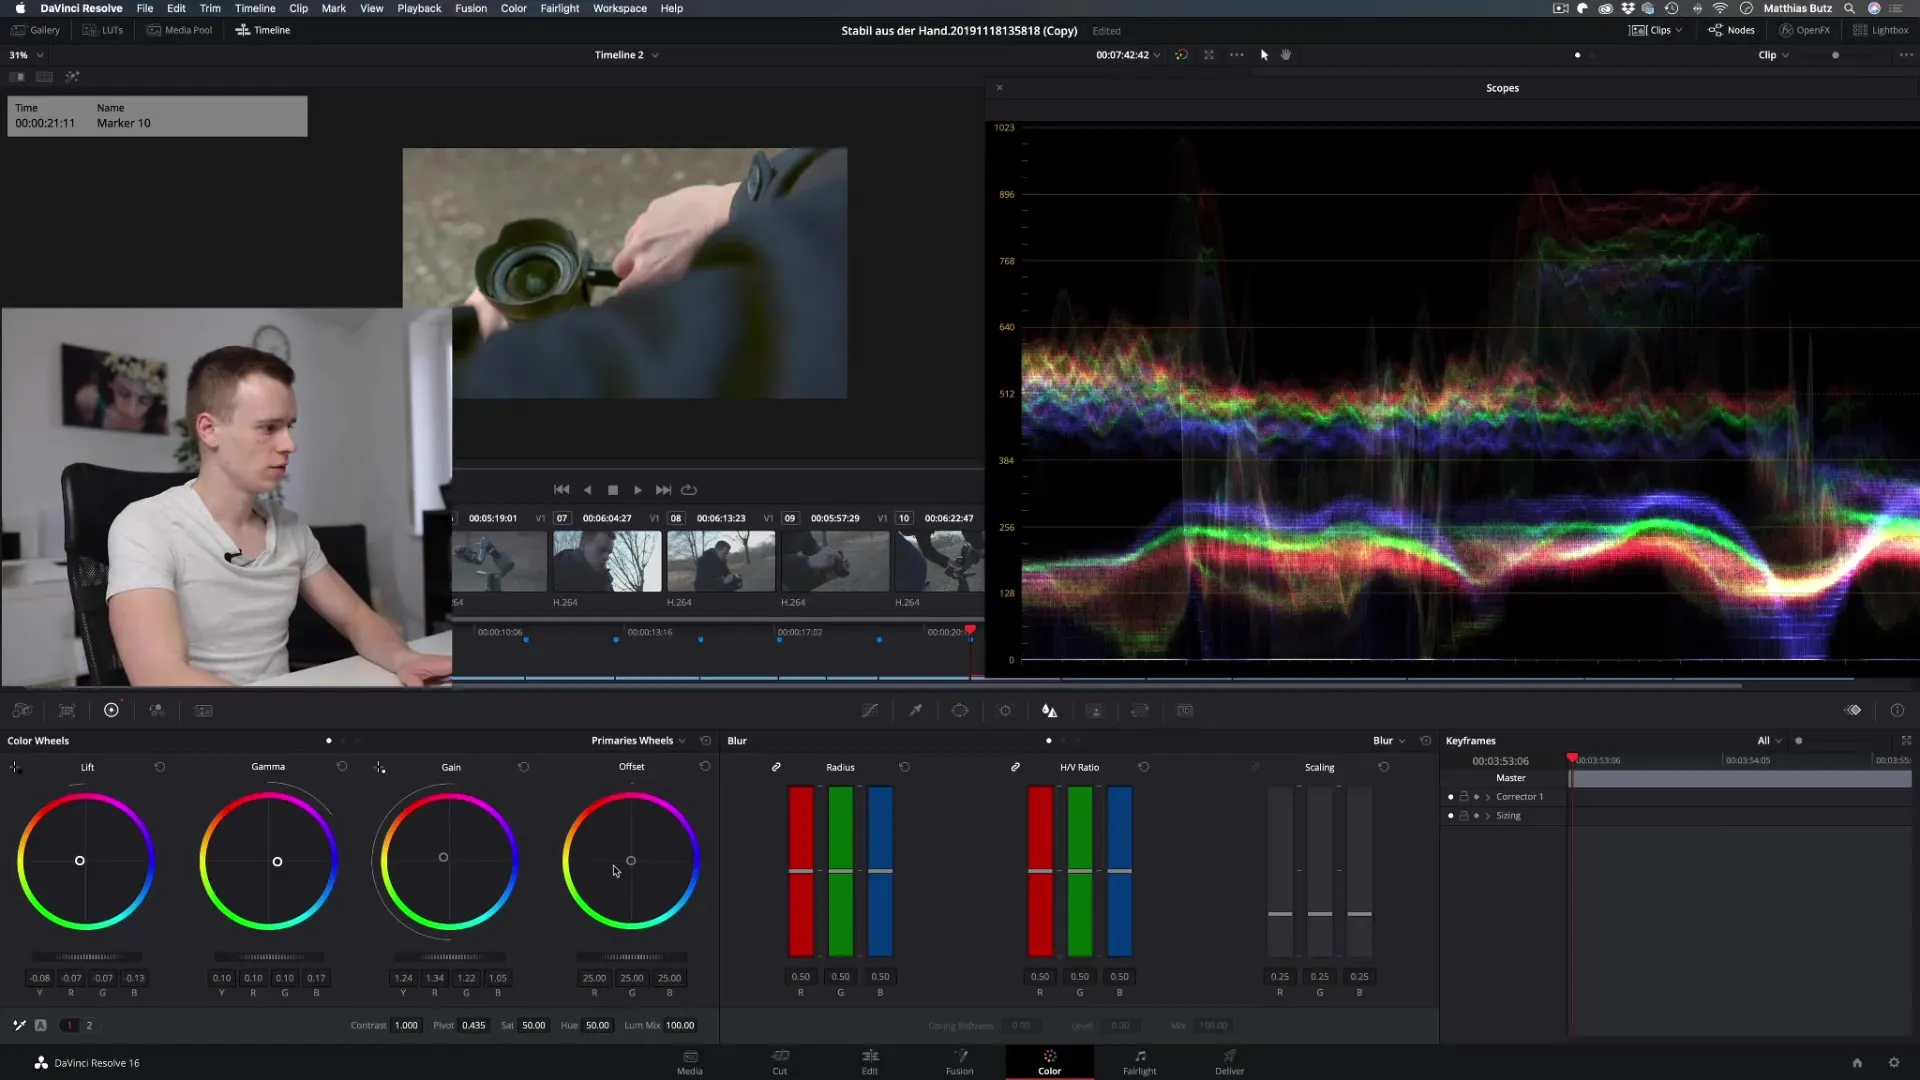
The Offset is the most comprehensive slider and influences all image areas simultaneously. Increasing the Offset will brighten the entire image, while decreasing it will lead to a darker image. It is useful for making quick changes across the whole image.
Color adjustments in the Color Wheels
In addition to brightness, you can also adjust the color balance in each area. Play with the colors in the Lift area to incorporate more yellow or less blue. It is important to work carefully to ensure that the colors do not appear unnatural.
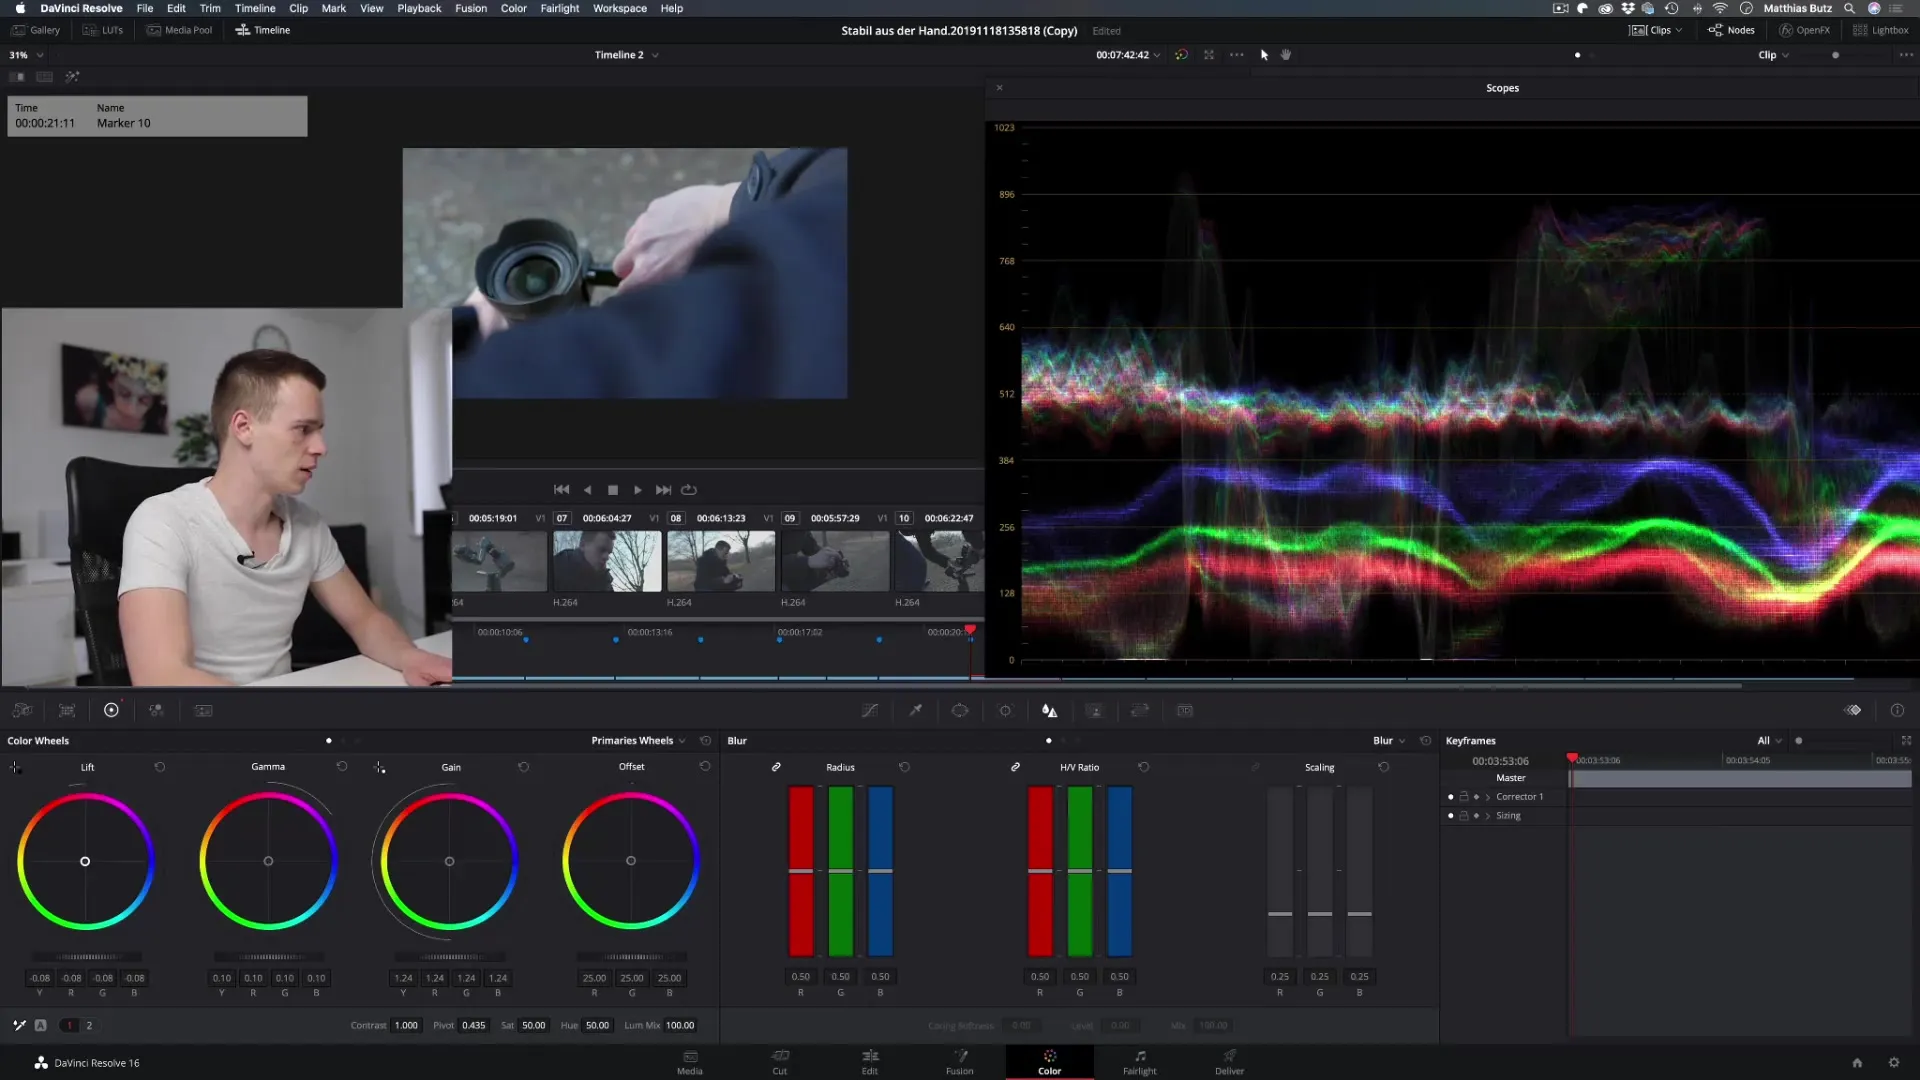
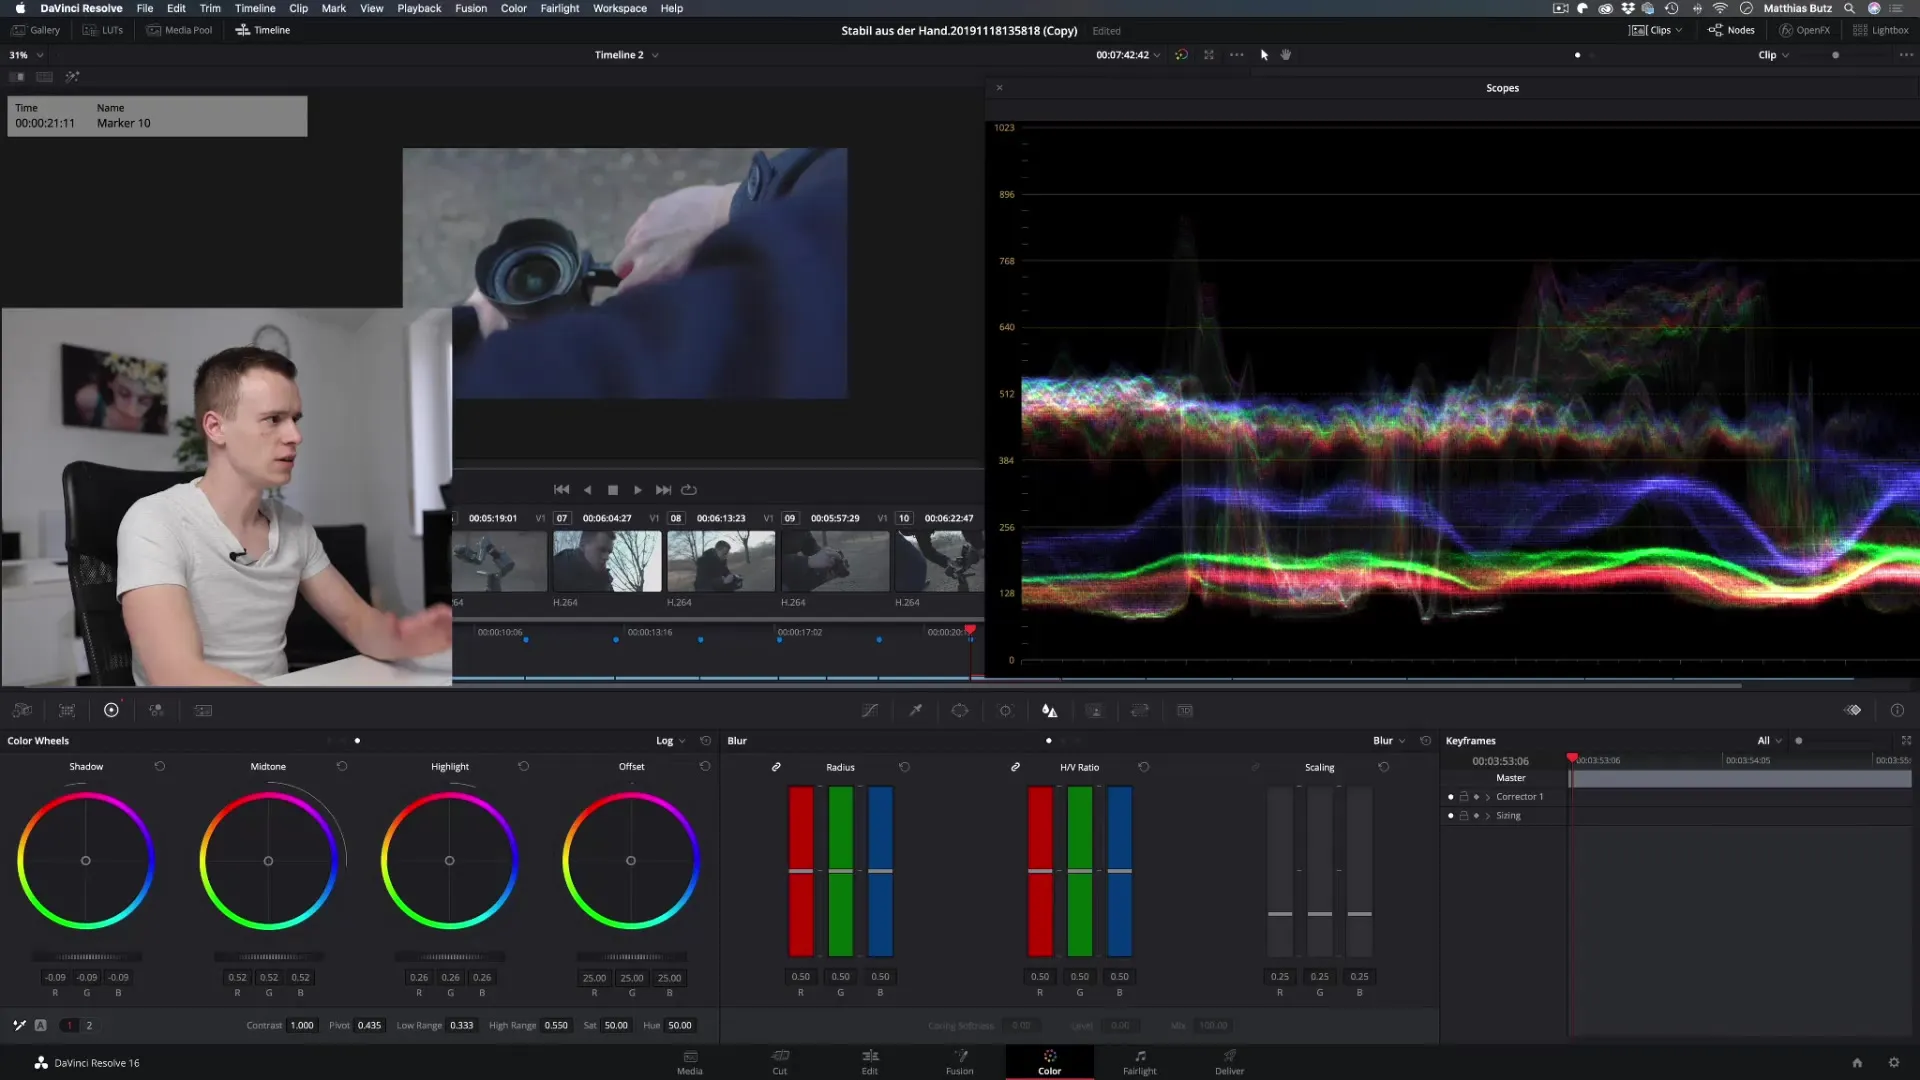
Fine-tuning the midtones and highlights
Look at the midtones and highlights. Adjust these with the corresponding sliders to ensure that the whole image looks harmonious. Here, it is especially helpful to work with small adjustments to maintain natural colors.
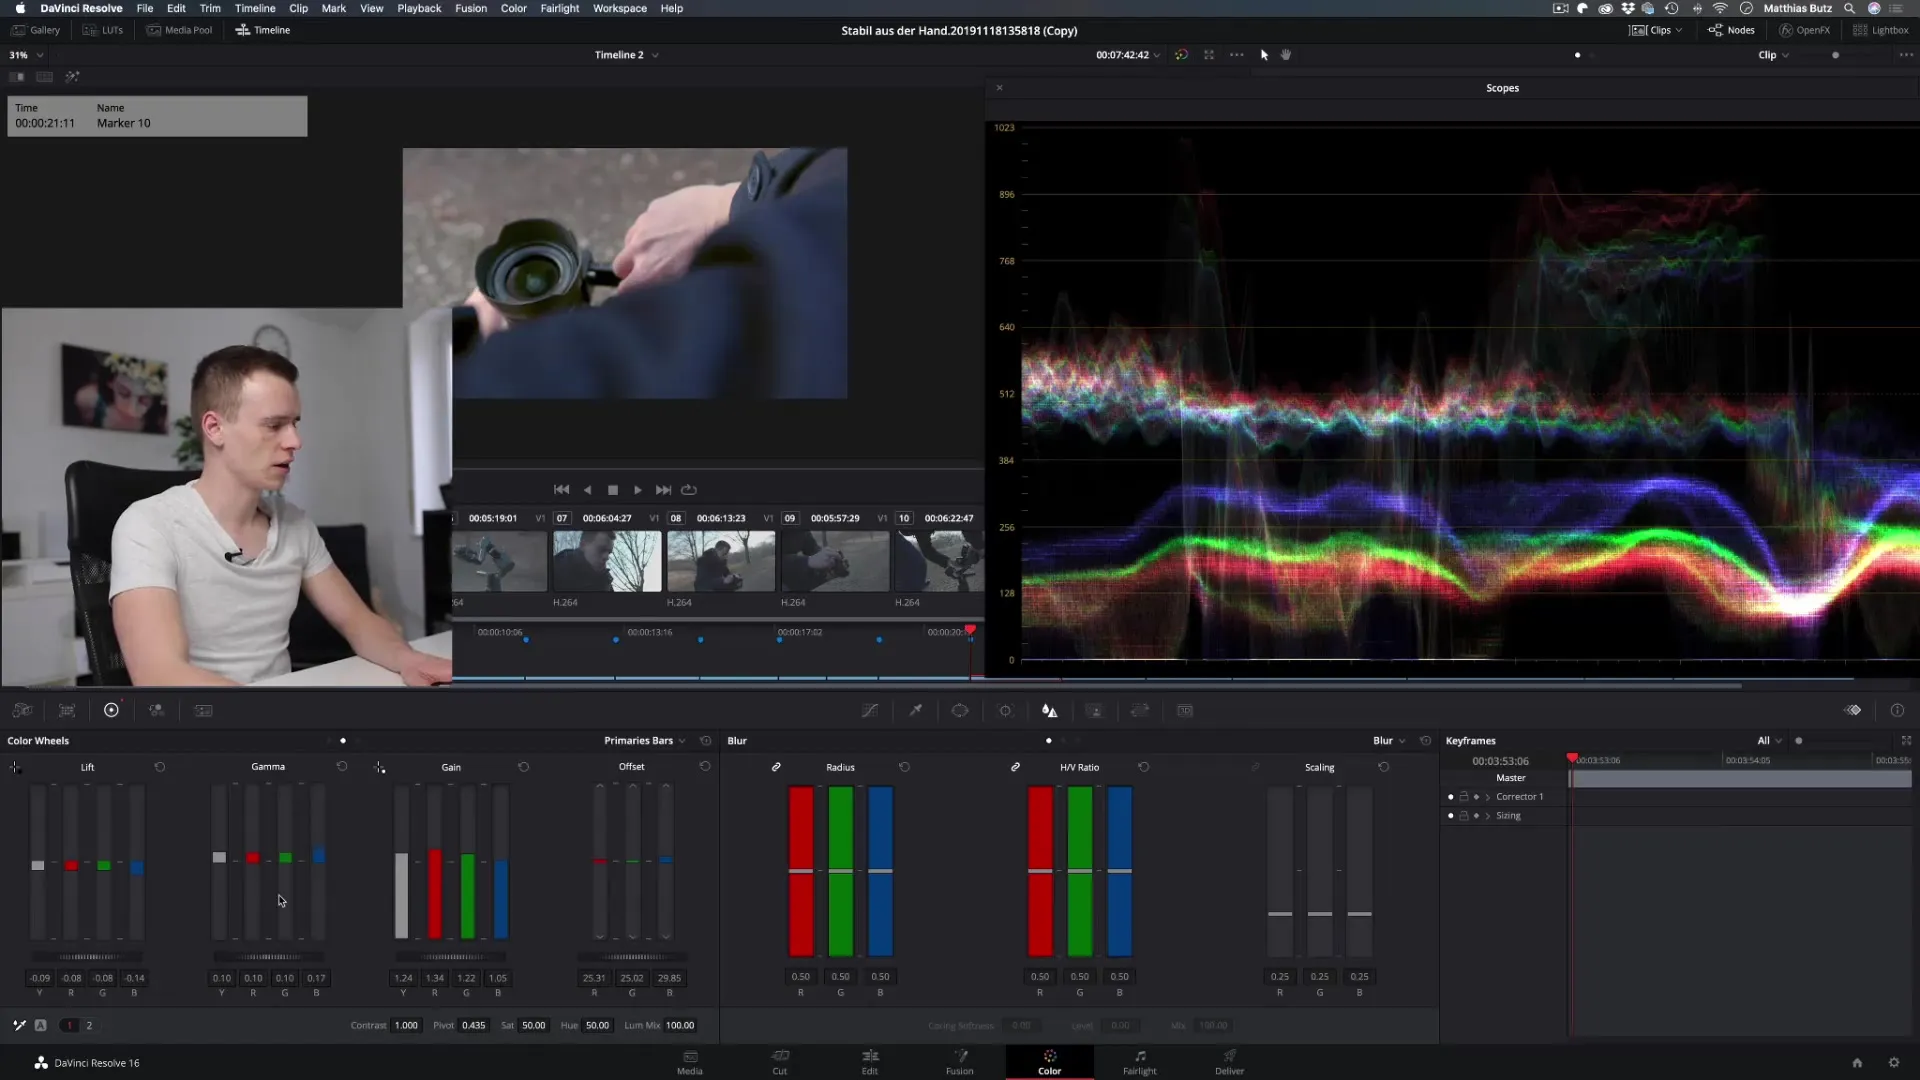
Working with the Primary Bars
If you prefer a more precise editing, you can use the Primary Bars, which correspond to the same functions as the Color Wheels, but offer a different user interface. Depending on personal preference, you can decide which method is more comfortable for you.
Detail accuracy through shadows, midtones, and highlights
The difference between the Color Wheels and the specific areas is enormous. When working in the shadows, midtones, and highlights, make sure to only affect the respective area without changing the others too much. This allows for more precise color correction.
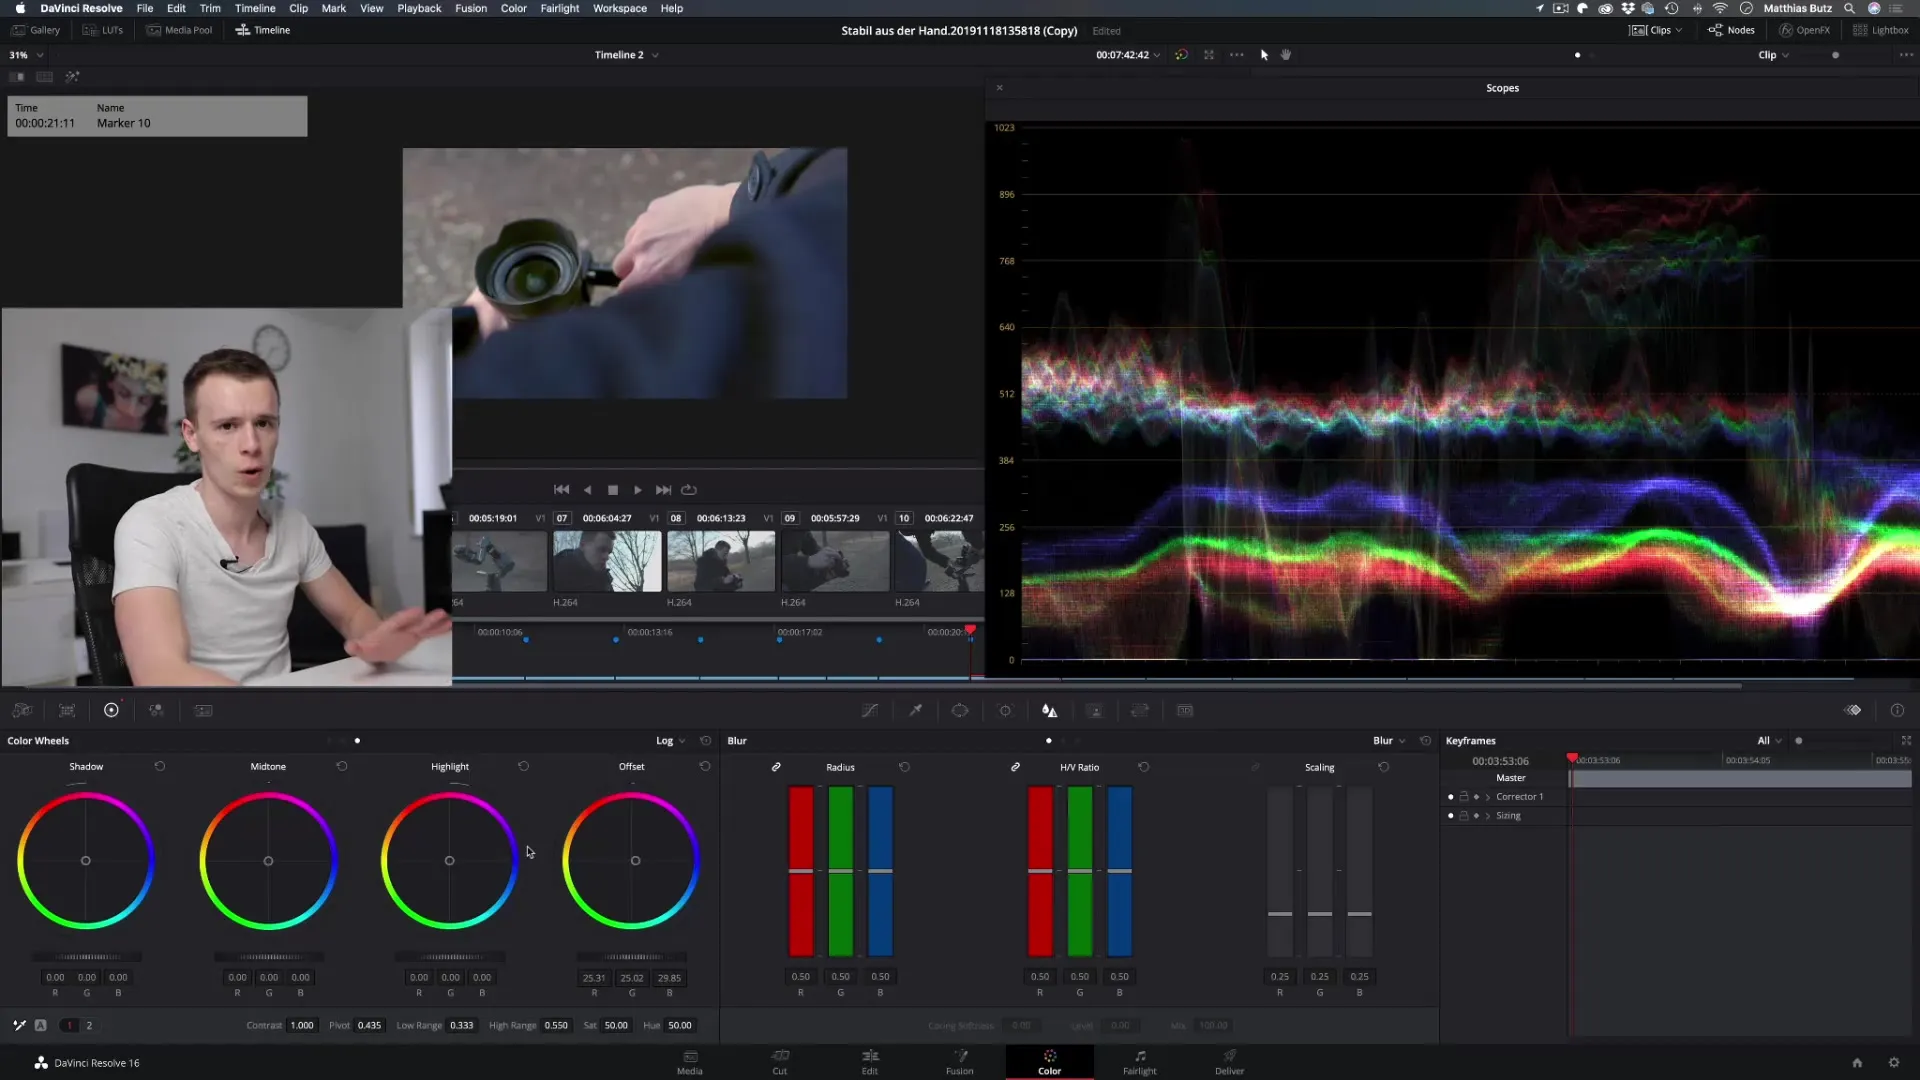
Using automatic color correction
If you have less experience with color grading, you can use the automated color correction feature. This function gives you a quick overview of what is possible and can serve as a starting point for your own adjustments.
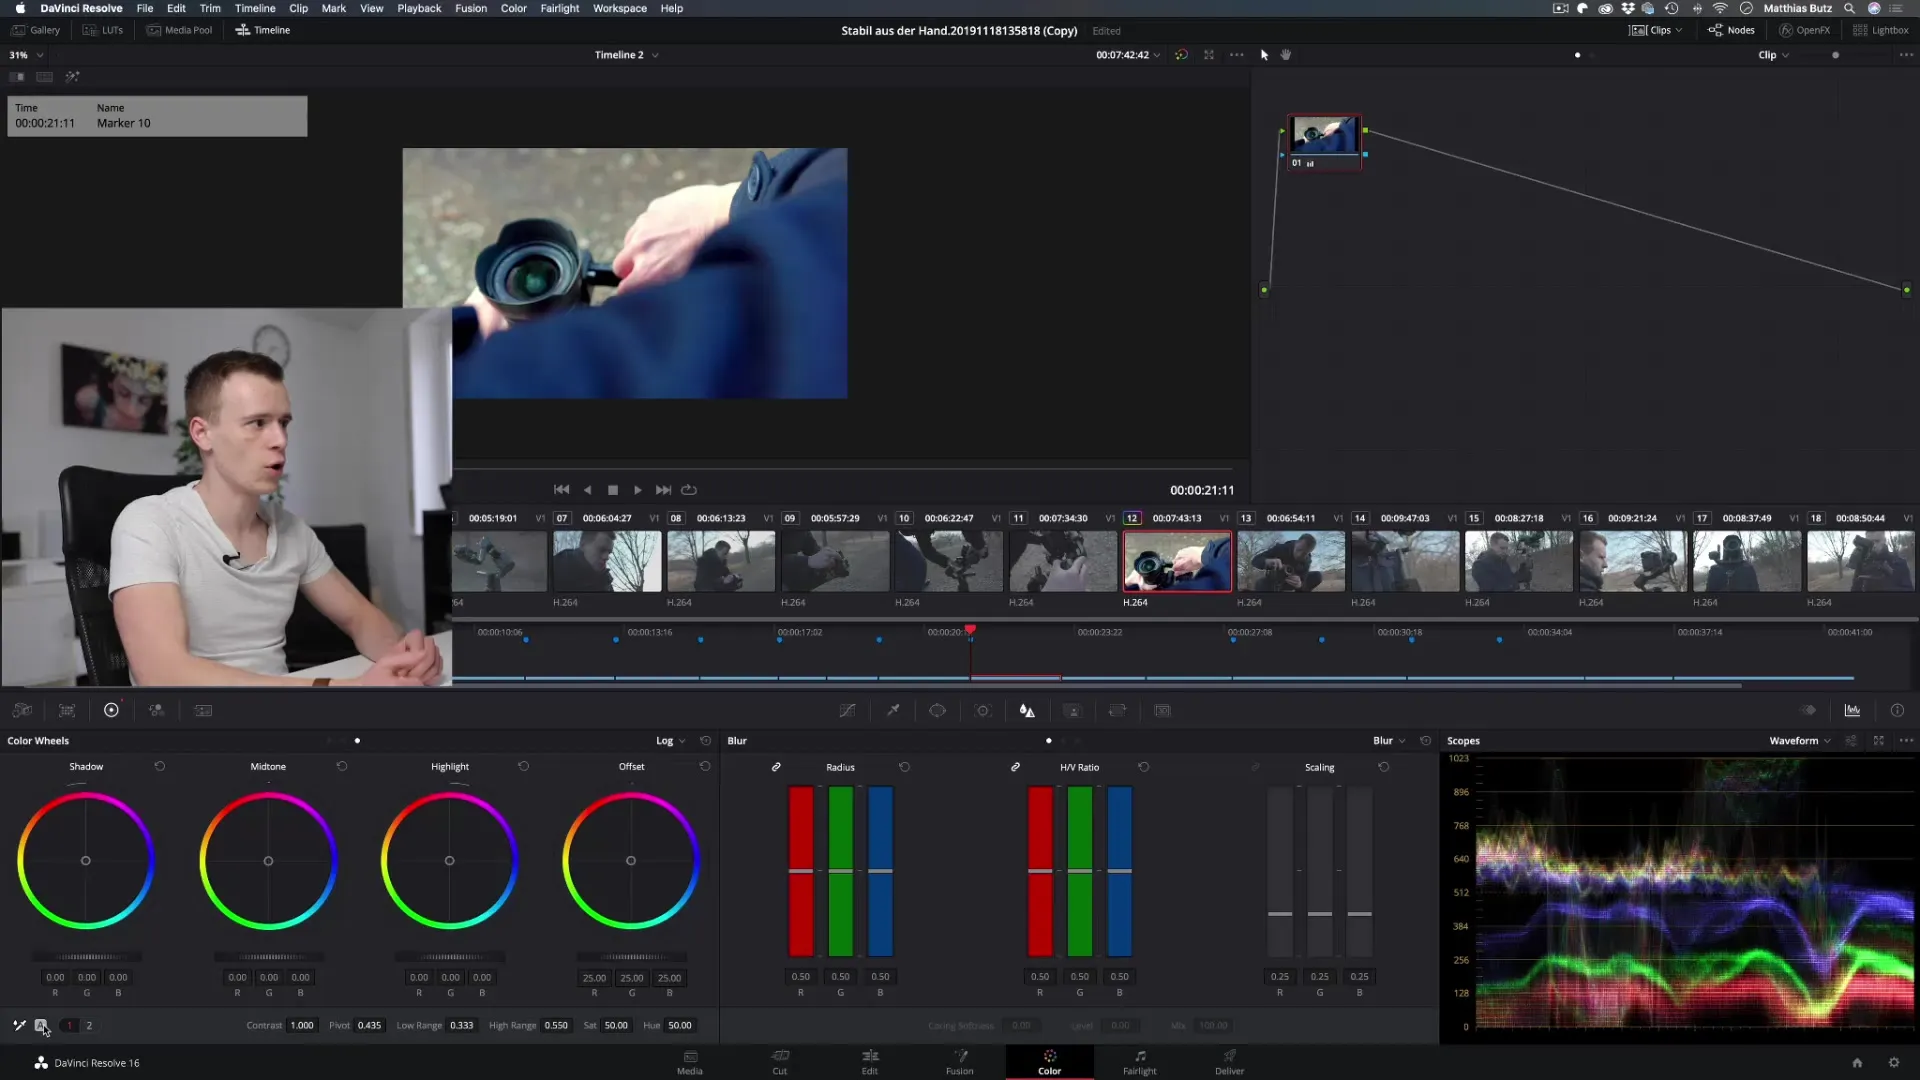
Final refinements
Before considering the grading complete, take a look at your image as a whole. Compare it with other clips to ensure that the color tone remains consistent. If necessary, experiment with the sliders for contrast and saturation to achieve the best final version.
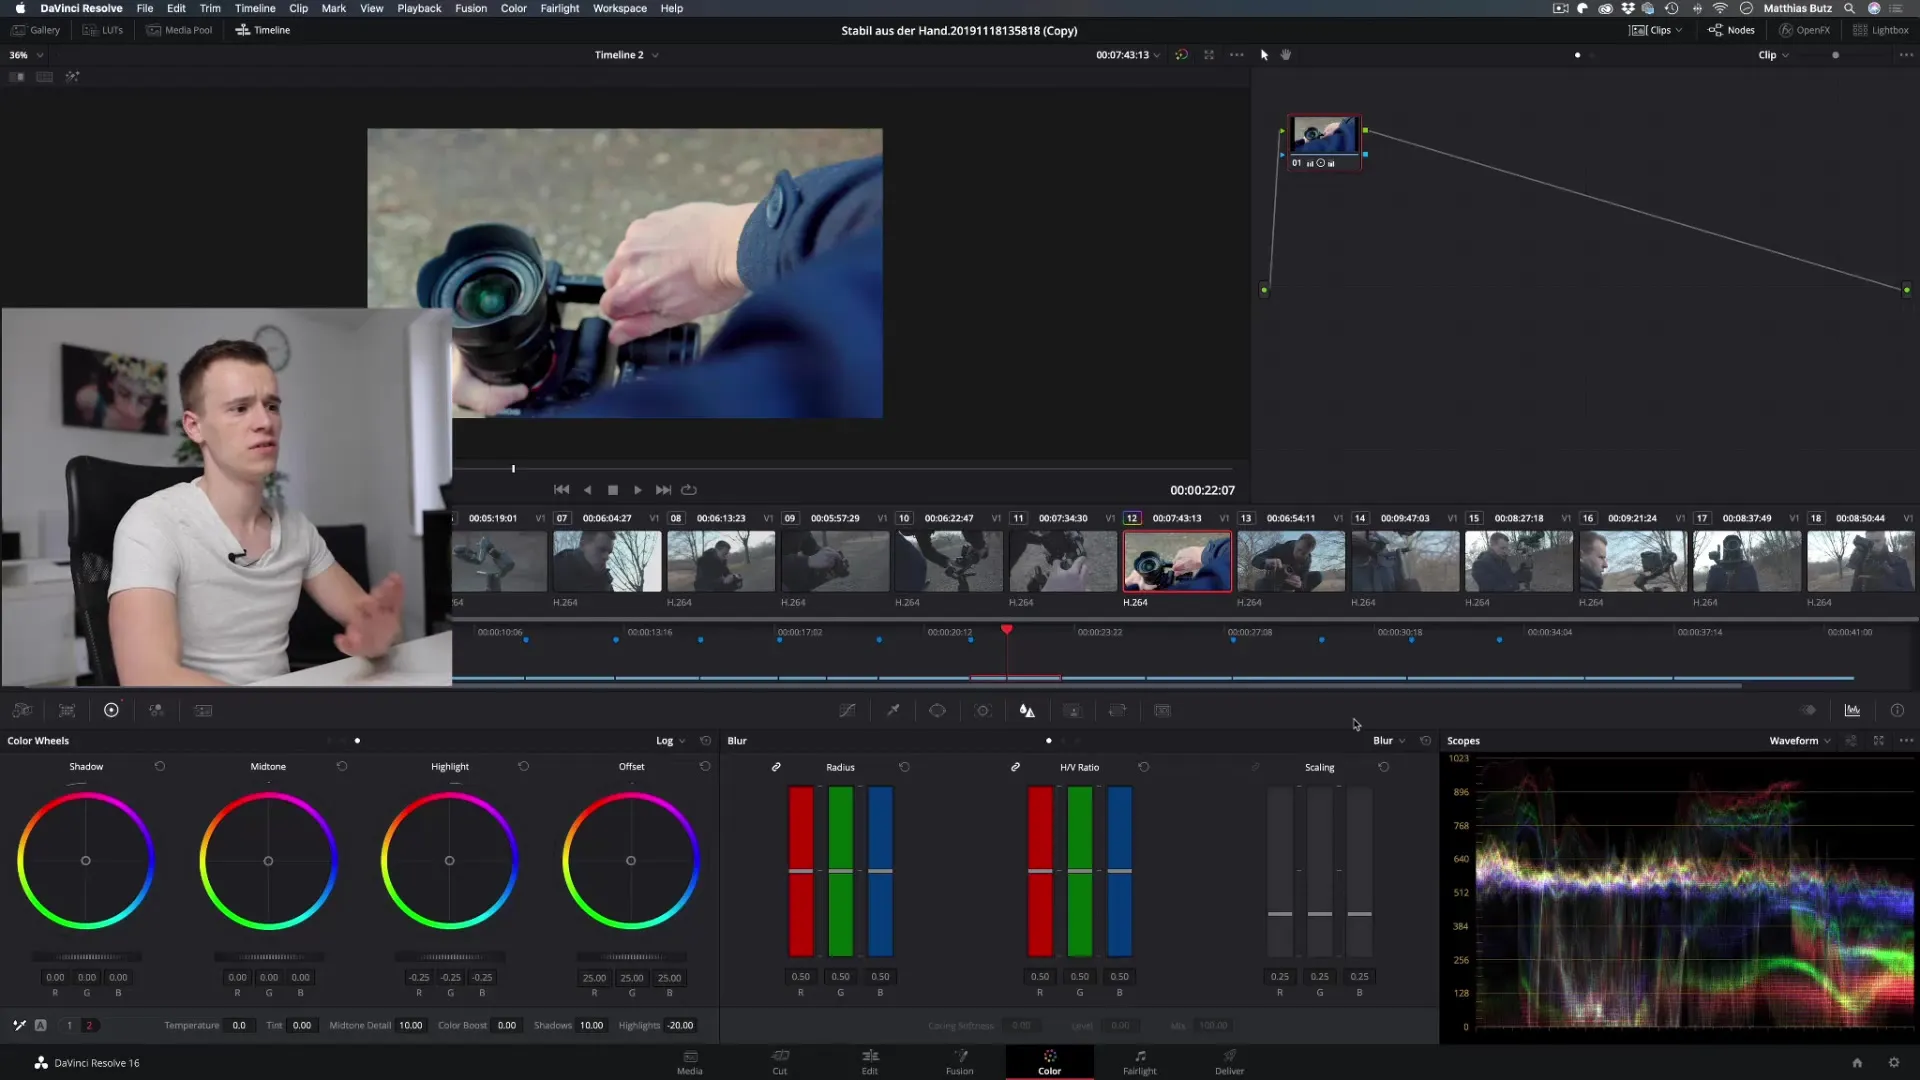
Summary – Color Grading with the Color Wheels in DaVinci Resolve
Working with the Color Wheels in DaVinci Resolve can make a crucial difference in your video production. It takes practice to fully leverage the potential of these tools, but with the right techniques and a patient approach, you can achieve impressive results.
Frequently Asked Questions
What are the Color Wheels in DaVinci Resolve?The Color Wheels are tools for color correction and color grading that control different areas of the image.
How do the Lift, Gamma, and Gain sliders work?Lift controls the dark areas, Gamma the midtones, and Gain the highlights.
Can I also adjust the Color Wheels automatically?Yes, there is a feature for automatic color correction that allows for quick adjustments.
How can I avoid color deviations?Work with minimal adjustments and regularly check the effects.
Is it worth experimenting with the sliders?Definitely! Experimenting is important to get a feel for the sliders and achieve the best results.


