In the field of video editing, sharpness plays a crucial role in the overall quality of a production. DaVinci Resolve offers interesting tools to sharpen or soften your videos. In this tutorial, you will focus on sharpness: Learn how to efficiently use this effect to achieve the best results for your clips.
Key Insights
- The right radius is crucial for subtle sharpness.
- Experiment with the sliders for horizontal, vertical ratio, and scaling.
- Consciously choose which brightness ranges you want to sharpen.
- Excessive sharpening can negatively impact video quality.
Basics of Sharpening
Start by opening DaVinci Resolve and loading your desired clip into the timeline. The sharpening process begins in the so-called blur area, which has been renamed to Sharpening.
To start sharpening, click on the button listed in the dropdown menu for sharpening. At this point, it’s important to ensure that you have selected the "Sharpen" option, as the program may default to "Blur".
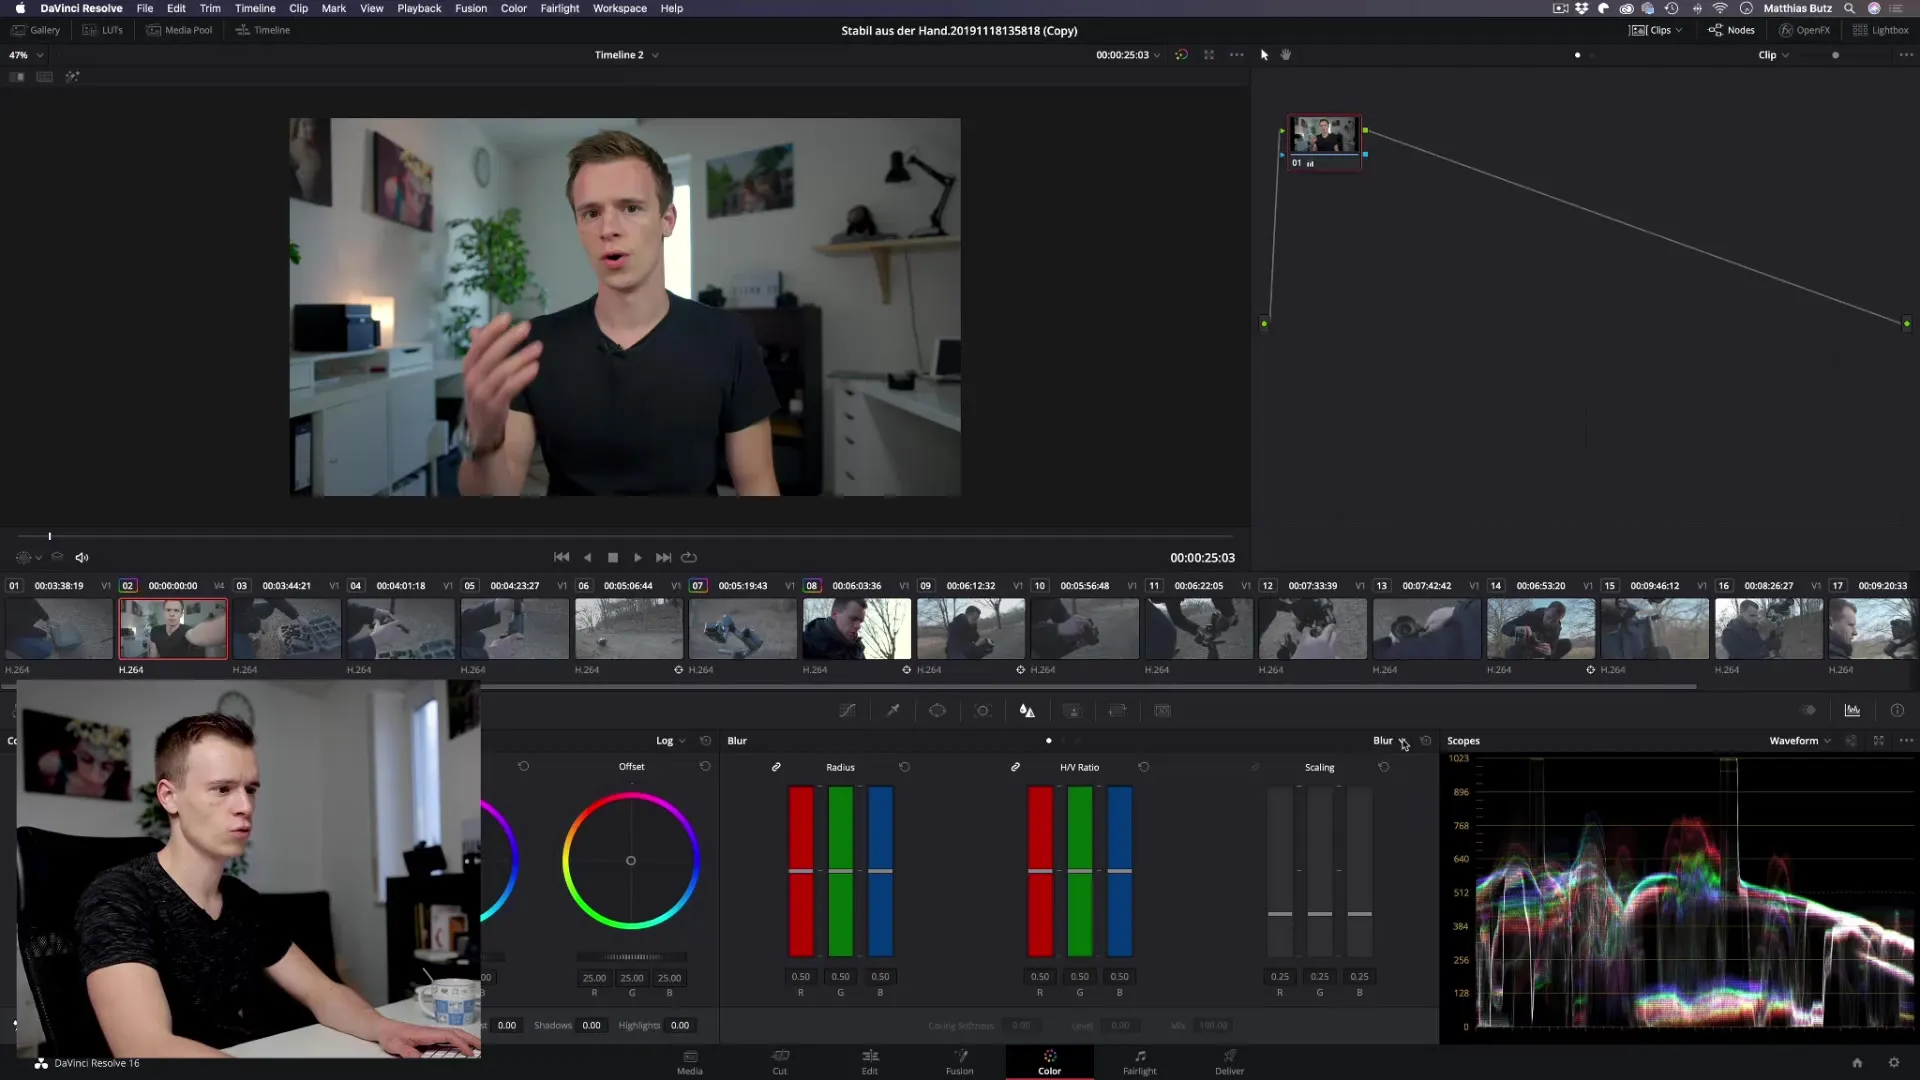
Using the Sharpness Sliders
After selecting "Sharpen," you have three important sharpness sliders available: the radius, horizontal and vertical ratio, and scaling.
The radius is one of the most fundamental parameters. To achieve pleasant sharpness, you should only slightly adjust it downwards. For example, set it to a value of around 0.47. Notice how the image changes immediately.
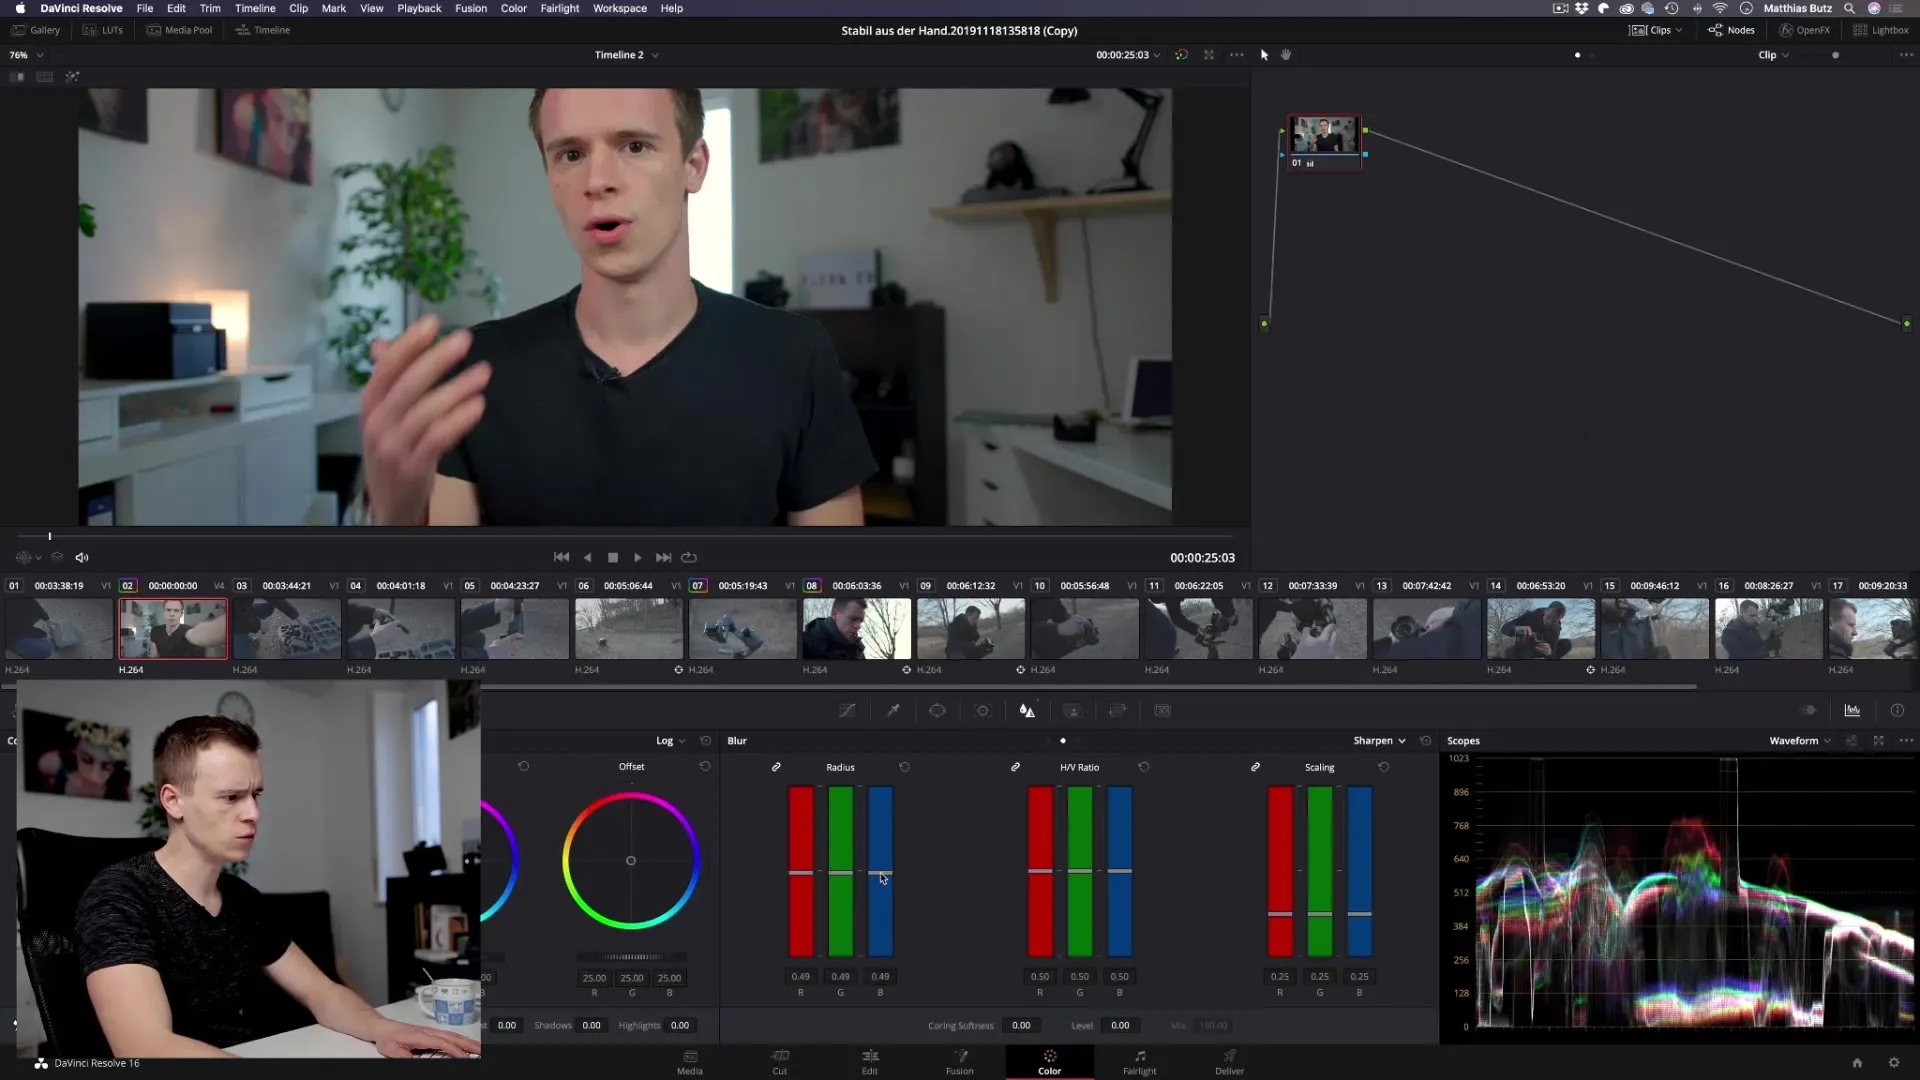
A quick look at the image preview shows you the difference between the original and the sharpened version. Be aware that too much sharpness often appears unflattering and can make your video look cheap compared to that of a professional film.
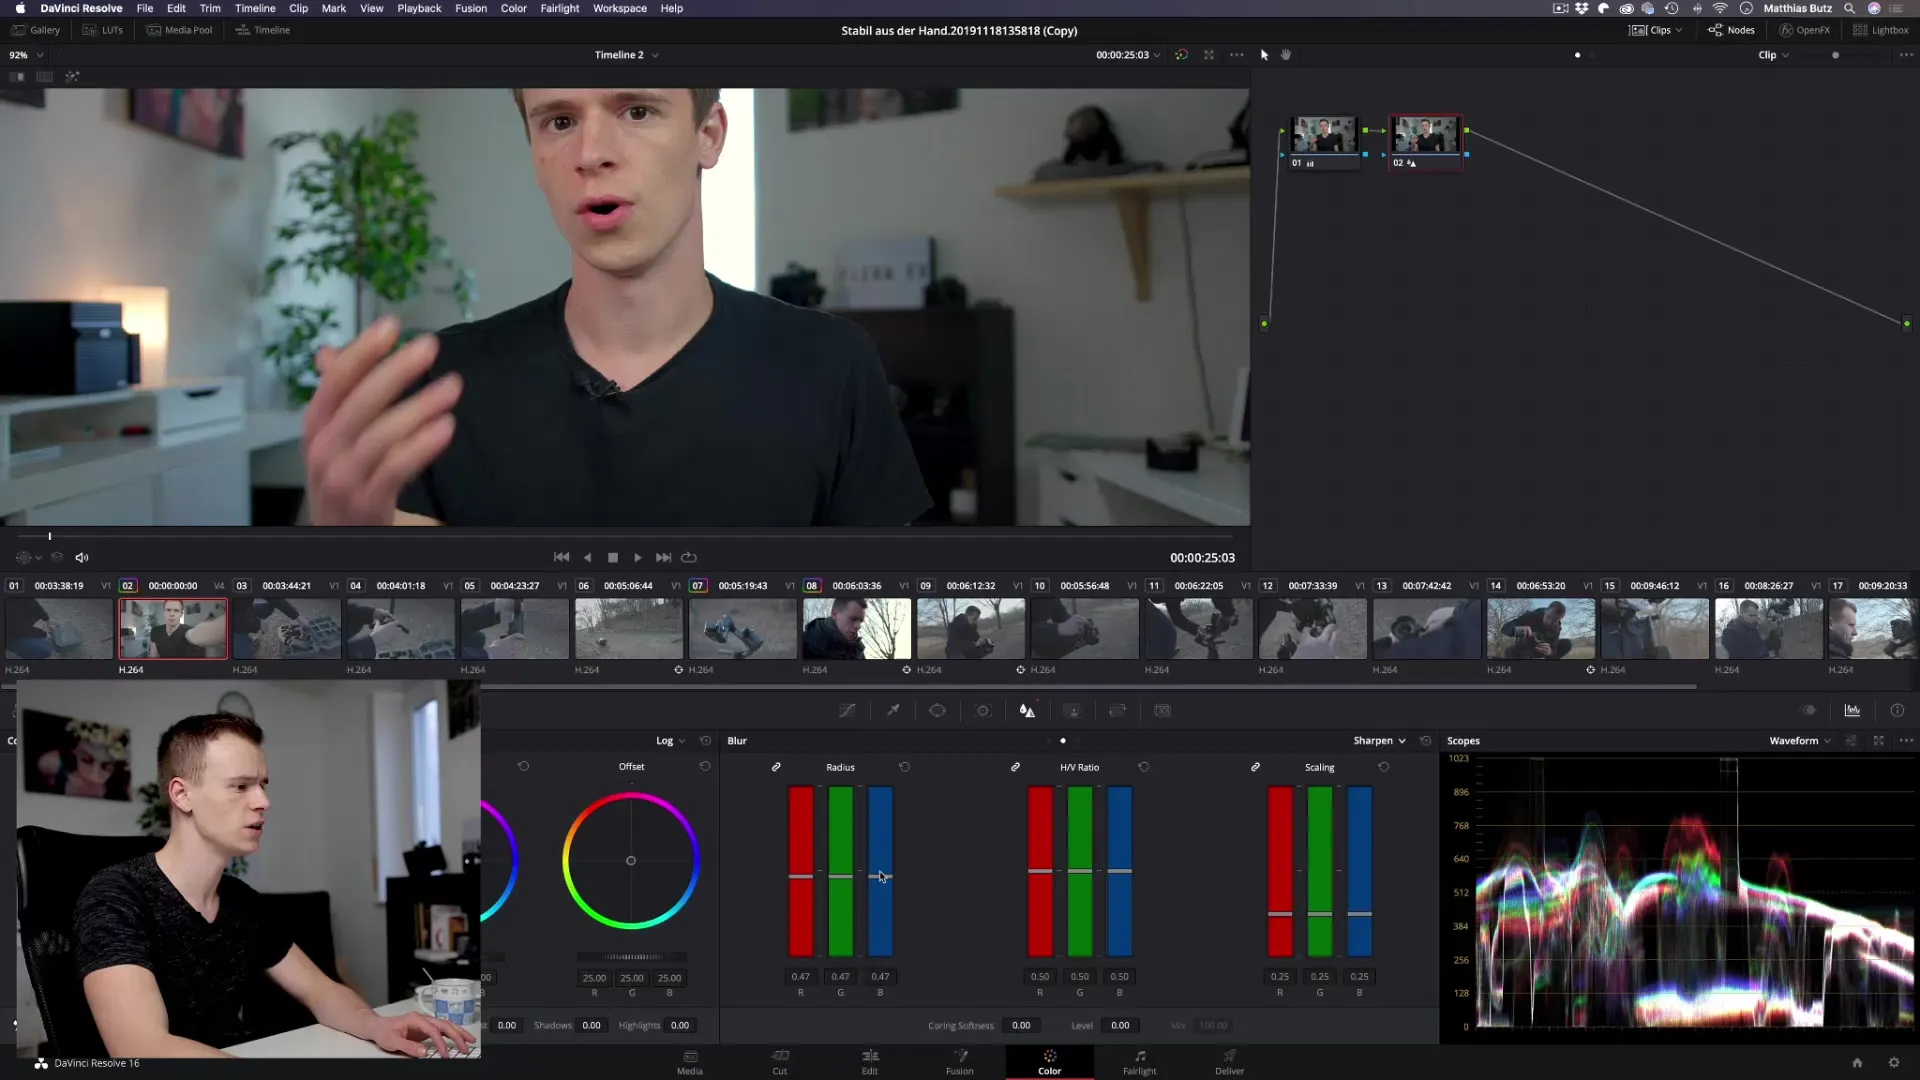
Fine-tuning the Sharpness
The horizontal and vertical ratio can usually be neglected in your projects unless you are working with specific geometric patterns or textures. These sliders can sometimes help when it comes to specific patterns in backgrounds, but the benefit is often limited.
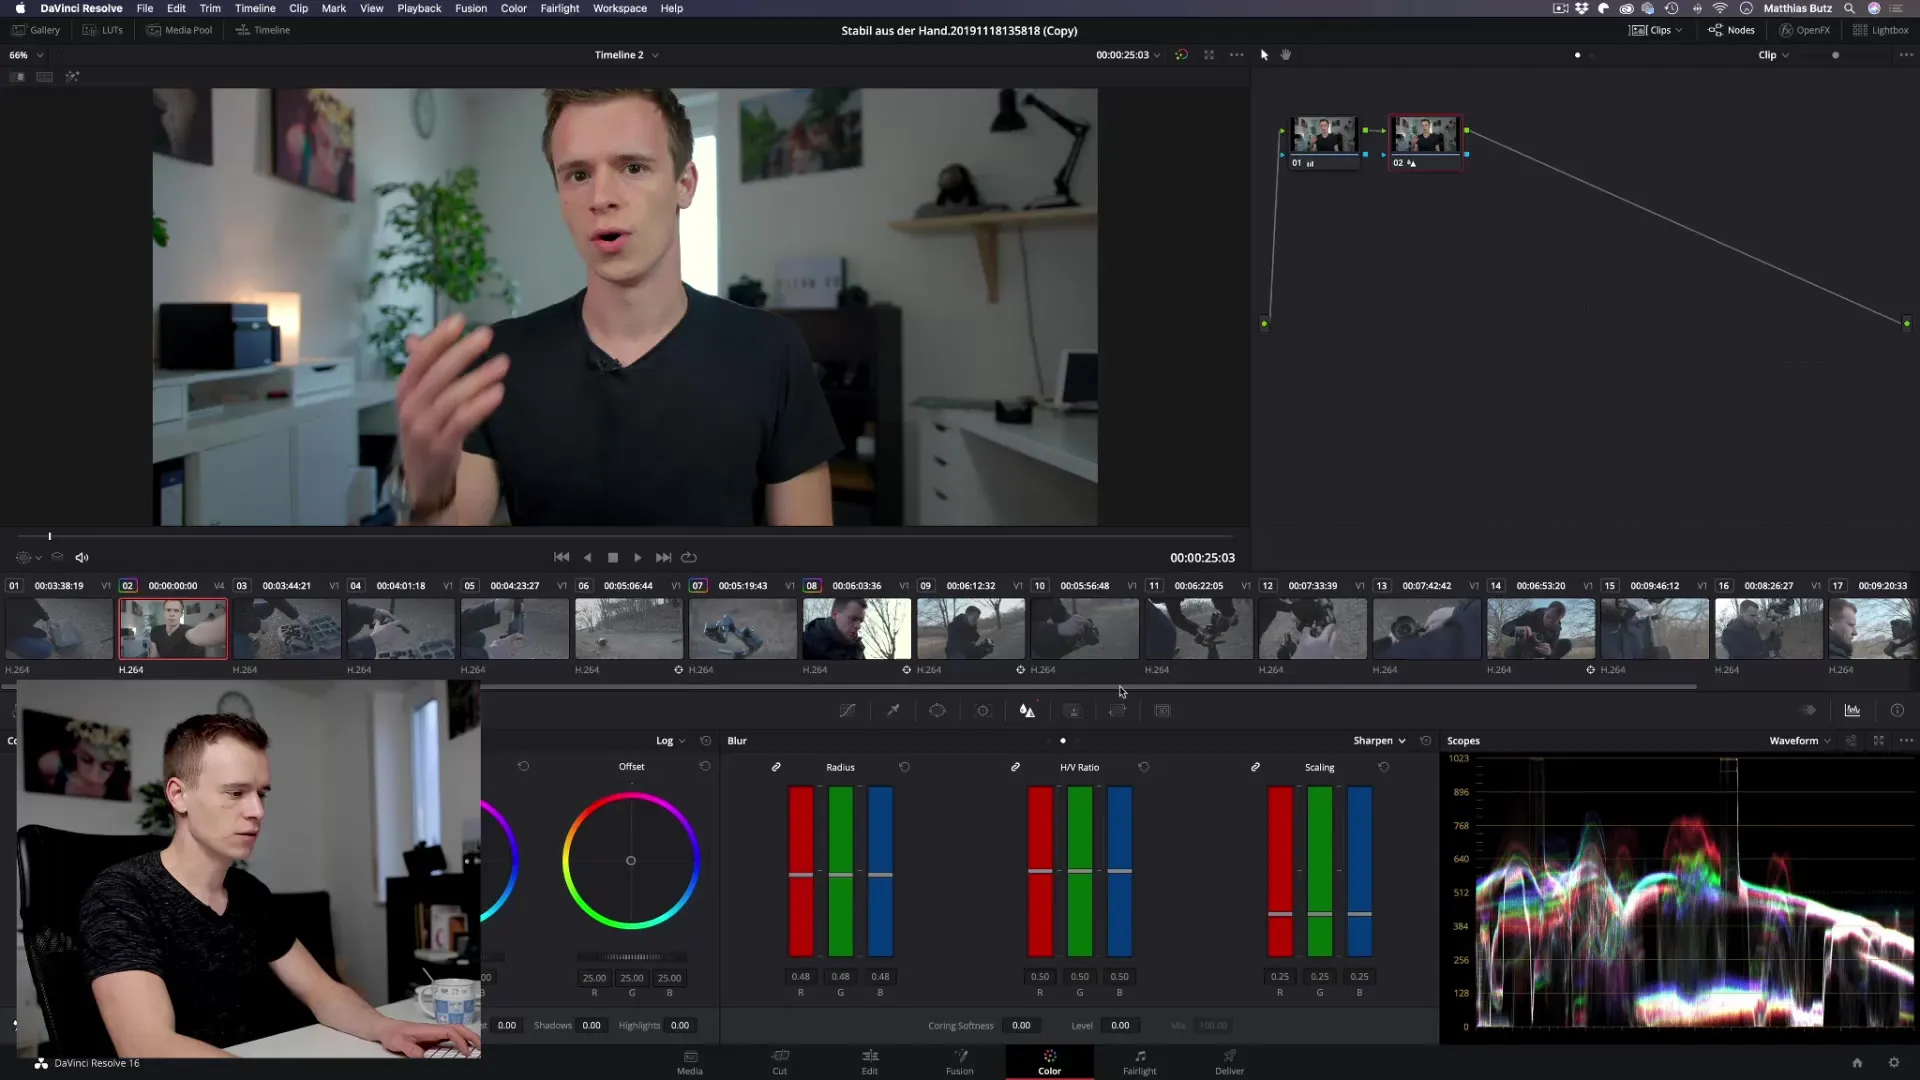
Scaling further enhances the sharpness effect. So if you are using a radius of 0.47, you can gently raise the scaling to achieve even more pleasant sharpness. Try values of around 0.49 and observe how the sharpness intensifies subtly.
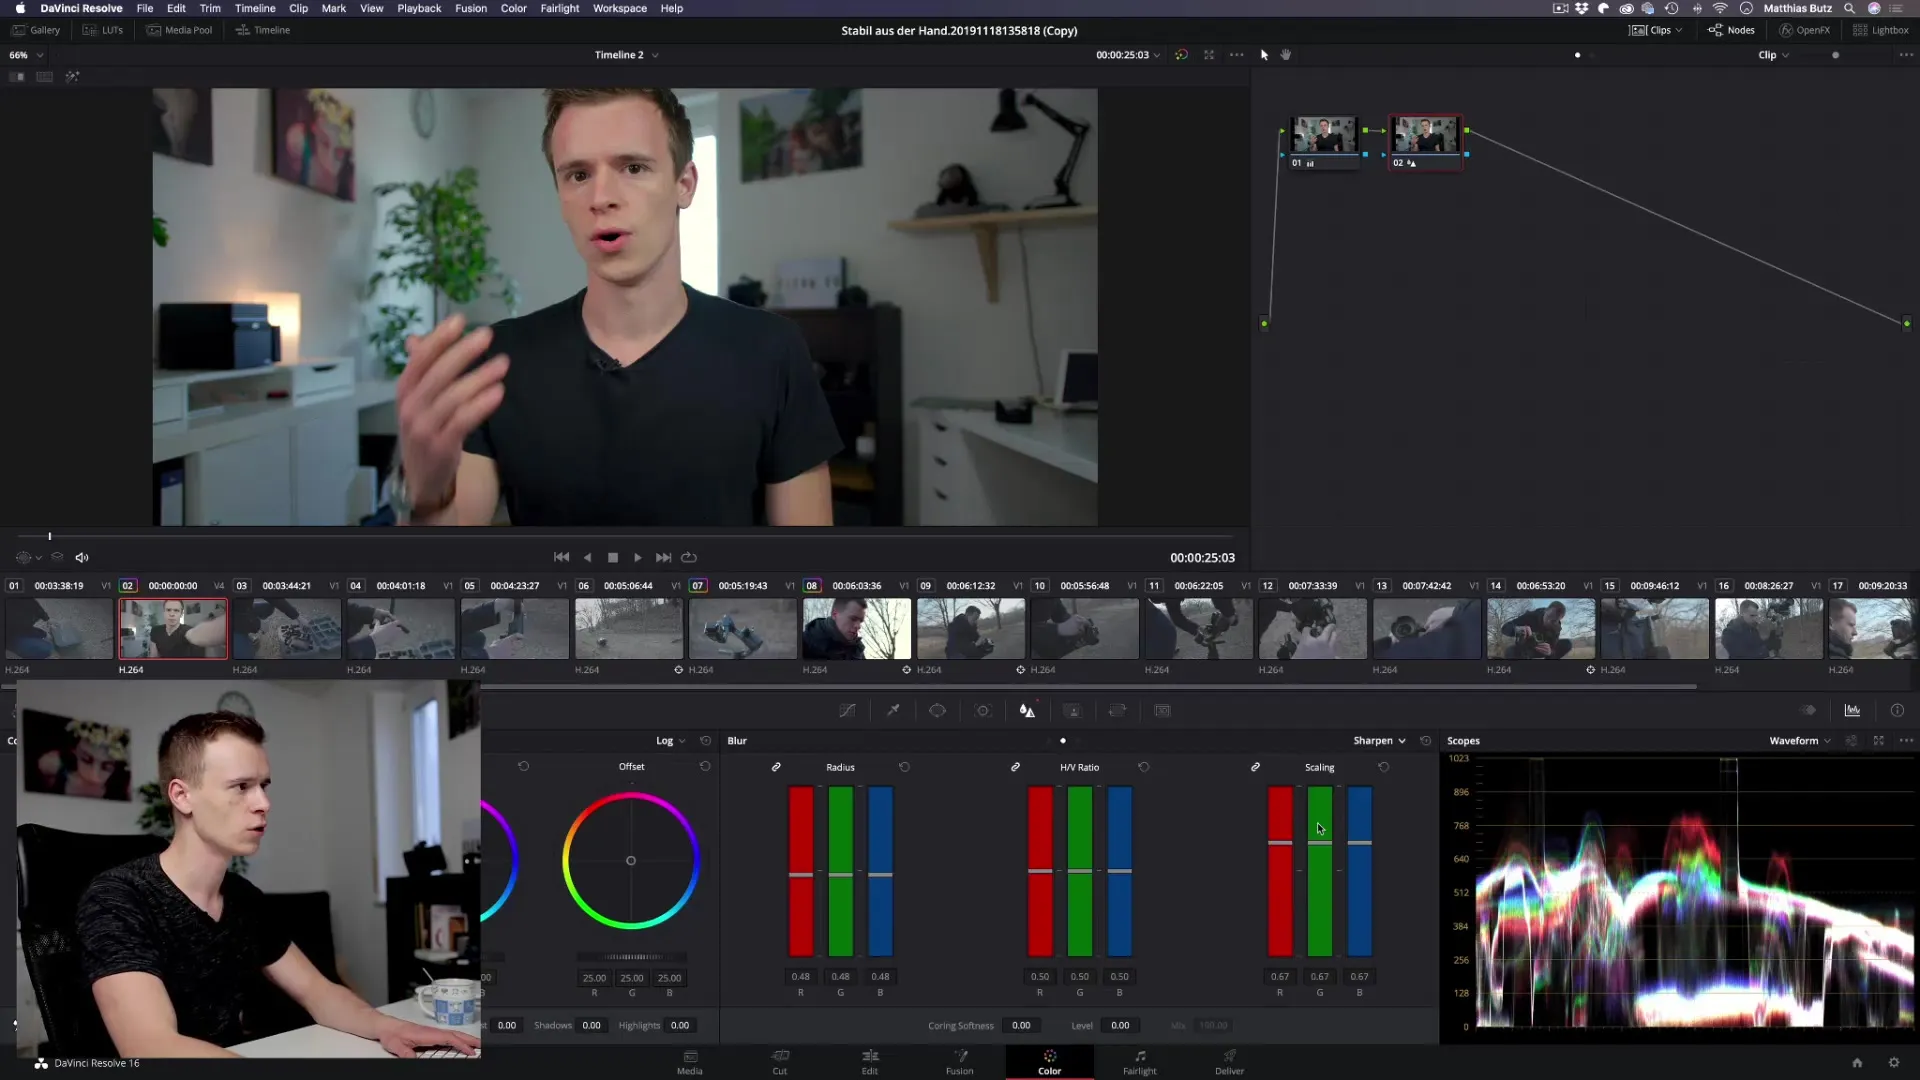
Selective Sharpening
An exciting possibility is to sharpen only specific brightness ranges. With this slider, you can specifically edit only brighter or darker areas. This technique can help you optimize the image selectively. However, be careful because incorrect application can quickly result in unsightly artifacts (especially in hair or fine patterns).
To make the most of this effect, ensure that you adjust the level parameter while playing with coring and softness to minimize unwanted artifacts.
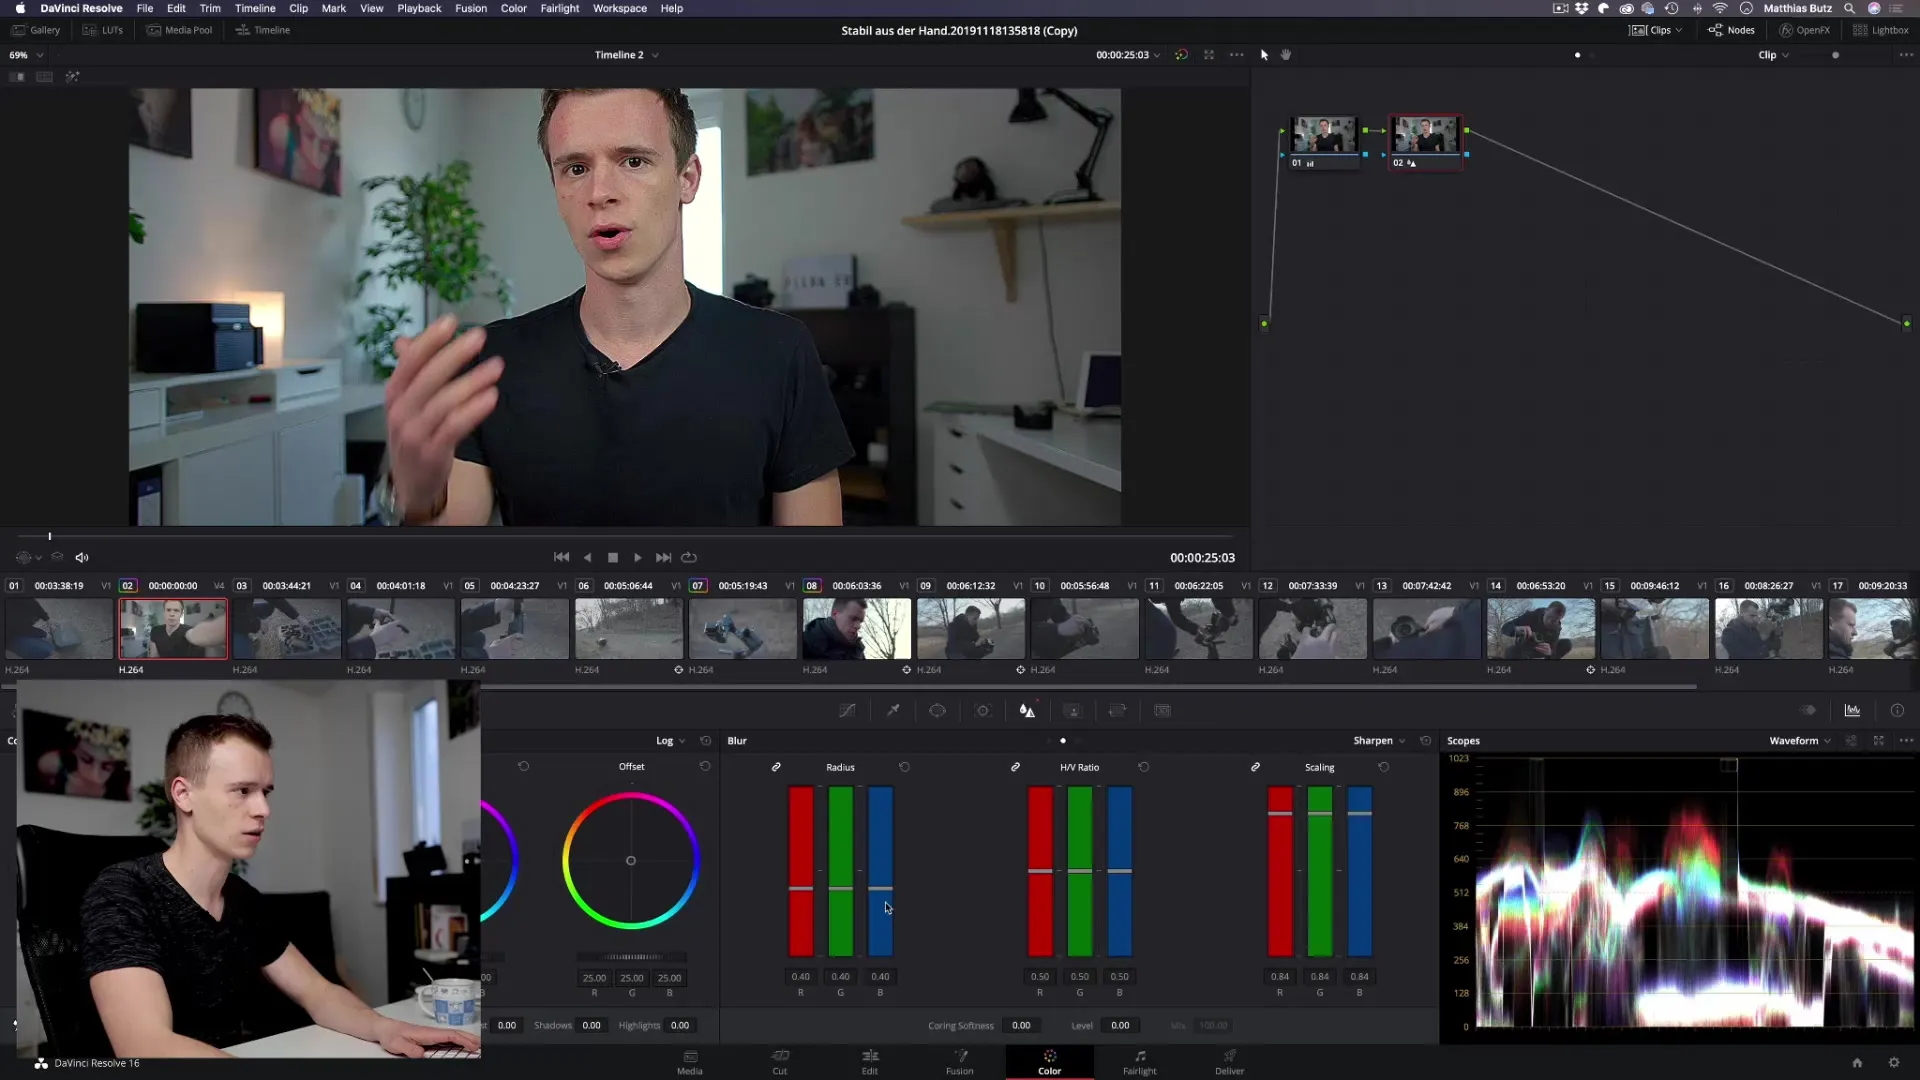
Optimized Settings
Generally, it is sufficient to set the level and coring sliders to zero and only work with the radius and scaling. Keep the radius as low as possible, around 0.48 or 0.49, to maintain natural image quality while adjusting the scaling.
A slight adjustment helps refresh the image without making it look unnatural. Experiment with the settings until you are satisfied with the results.
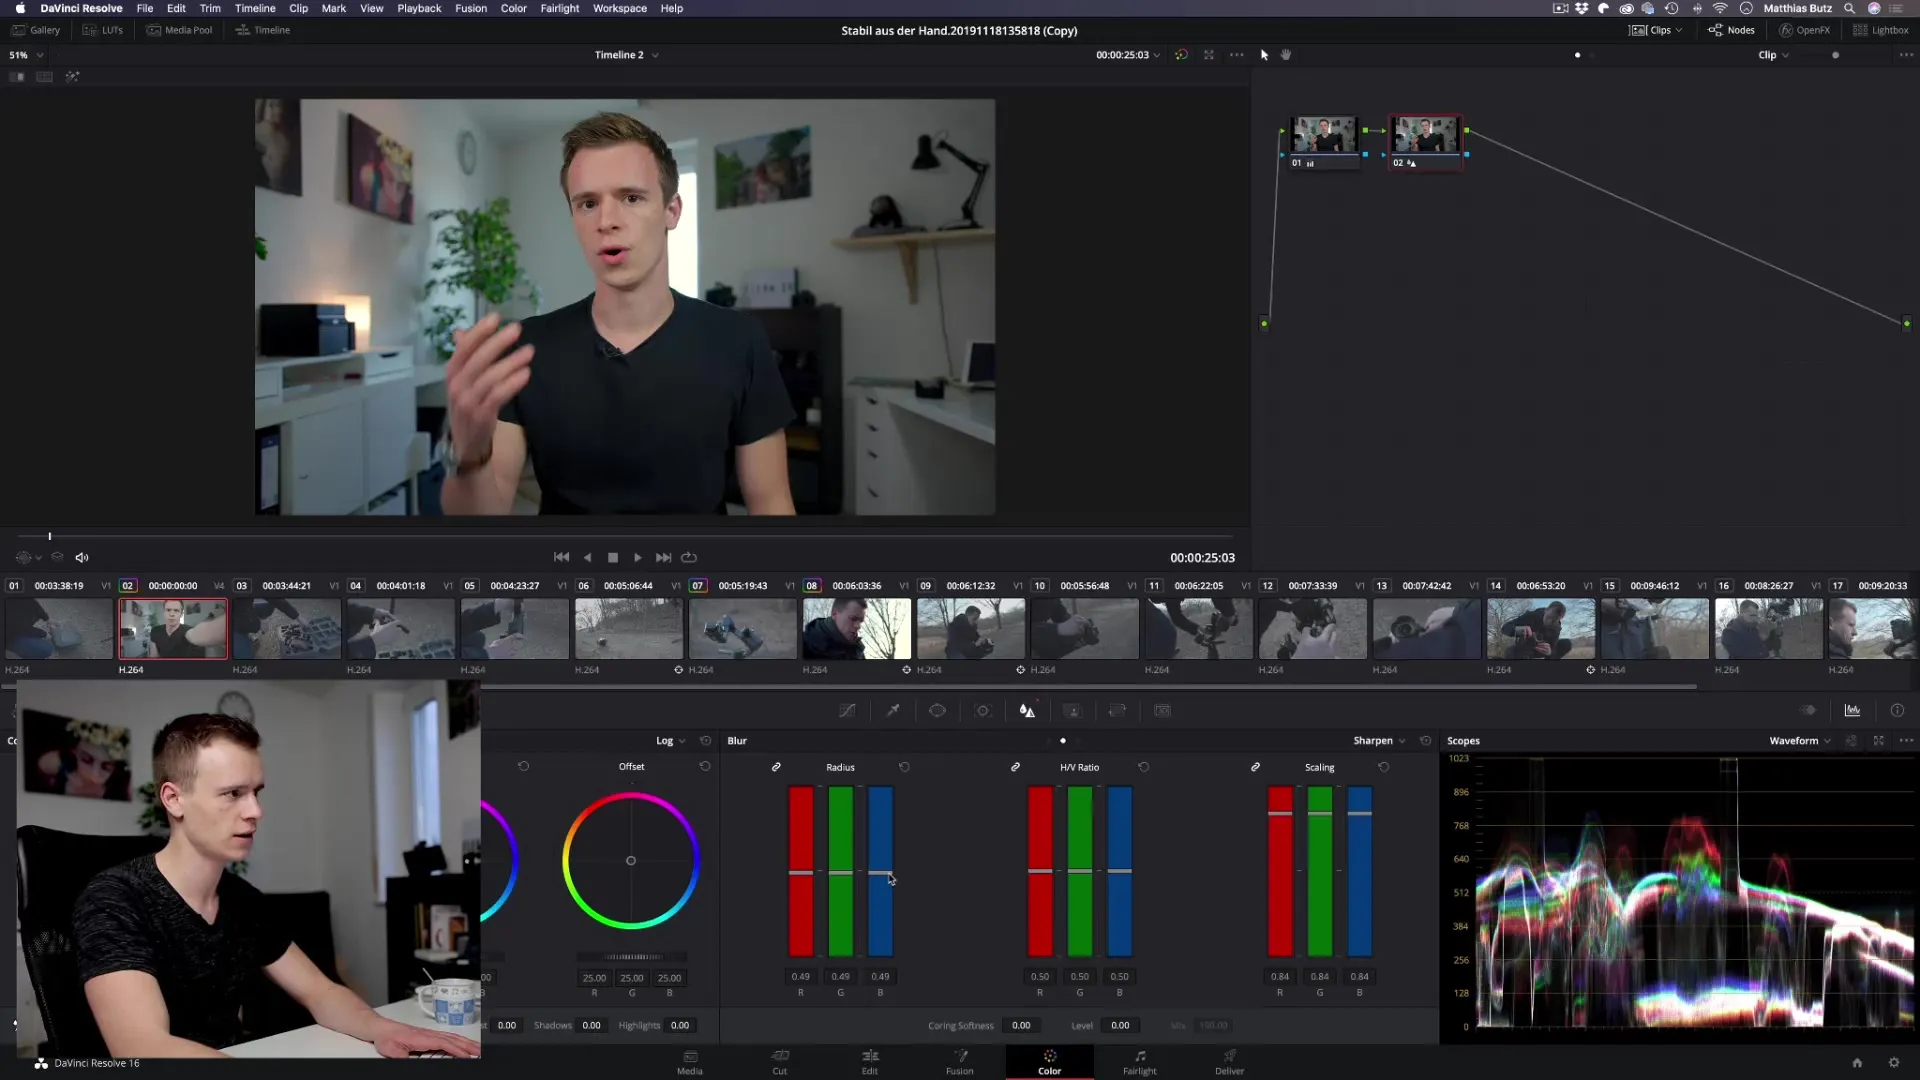
Avoiding Exaggerations
A common mistake is to go overboard when sharpening. Subtle sharpness often looks much better than cranking the sliders up to maximum values. Too much sharpness can create the impression of a smartphone or GoPro upload, which often does not meet the objectives of a professional video.
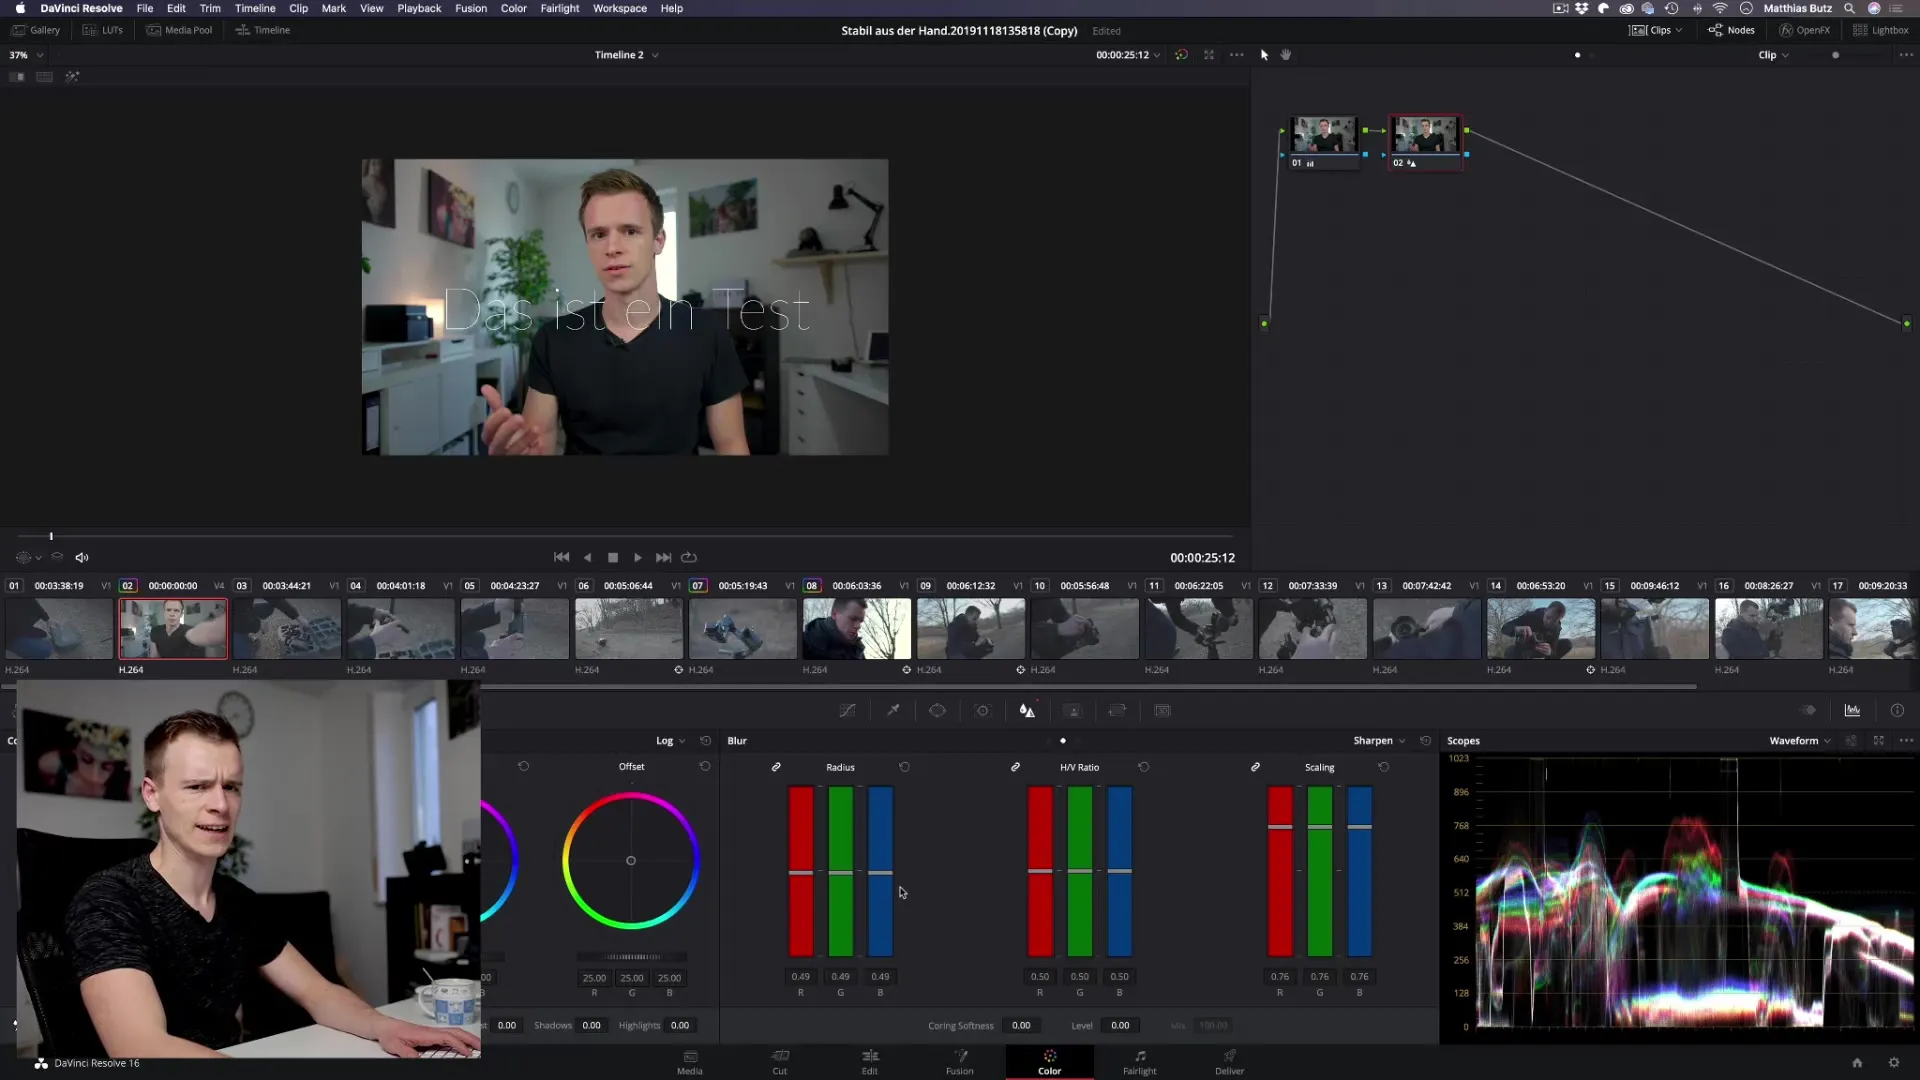
Clearly, a small, subtle sharpening effect often looks much more appealing and cinematic than an extreme sharpening that overshadows all elements of your video.
Summary – Sharpening and Softening in DaVinci Resolve
Sharpening and softening in DaVinci Resolve provide you with powerful tools to take your videos to the next level. With the wise use of the radius, scaling, and selection of brightness ranges sliders, you can edit your clips according to your vision and significantly enhance their visual quality.
Frequently Asked Questions
How do I sharpen my video in DaVinci Resolve?Select the “Sharpen” option in the blur area and adjust the radius and scaling.
Which sliders are important when sharpening?The radius and scaling are the most crucial sliders for good sharpness.
Should I use all sliders?It is usually sufficient to set the radius low and adjust the scaling moderately.
How does too much sharpness affect my video?Too much sharpness can create unwanted artifacts and negatively affect image quality.
Can I sharpen only certain areas?Yes, you can specifically sharpen only brighter or darker areas through the brightness range.


