When you edit your videos with DaVinci Resolve, exporting is a crucial step to ensure that your works appear on platforms like YouTube, Vimeo, or Instagram in the desired quality and format. The right export settings can make the difference between an engaging video and one that viewers are more likely to reject. This guide will help you establish the critical settings for a successful export, so your videos look exactly as you envision.
Key Takeaways
To achieve the best results when exporting your videos in DaVinci Resolve, you should consider the following aspects:
- Choose the appropriate resolution and bitrate.
- Use the H.264 codec for wide compatibility.
- Consider the correct audio settings.
- Ensure that hardware acceleration is enabled.
- Consider whether multipass rendering is sensible.
Step-by-Step Guide
To optimally export your video in DaVinci Resolve, follow the steps below:
First, decide which platform you want to export your video for. Common options are YouTube, Vimeo, or Instagram. These platforms have different requirements, but I will provide you with a general approach that applies to almost everything.

Next, you need to set the bitrate of your video. A high bitrate means that the video is less compressed and contains more information per frame. If you set the bitrate too low, the image quality and detail fidelity will suffer. For example, pixel artifacts may occur, degrading the visual experience. Make sure to find a balance where the file is not too large, but still remains high quality.
An important decision is also the resolution of your video. Do you want to export it in 4K (2160p)? That is the most common resolution for high-end projects and gives you the best quality. You can set the desired resolution through the video export settings.
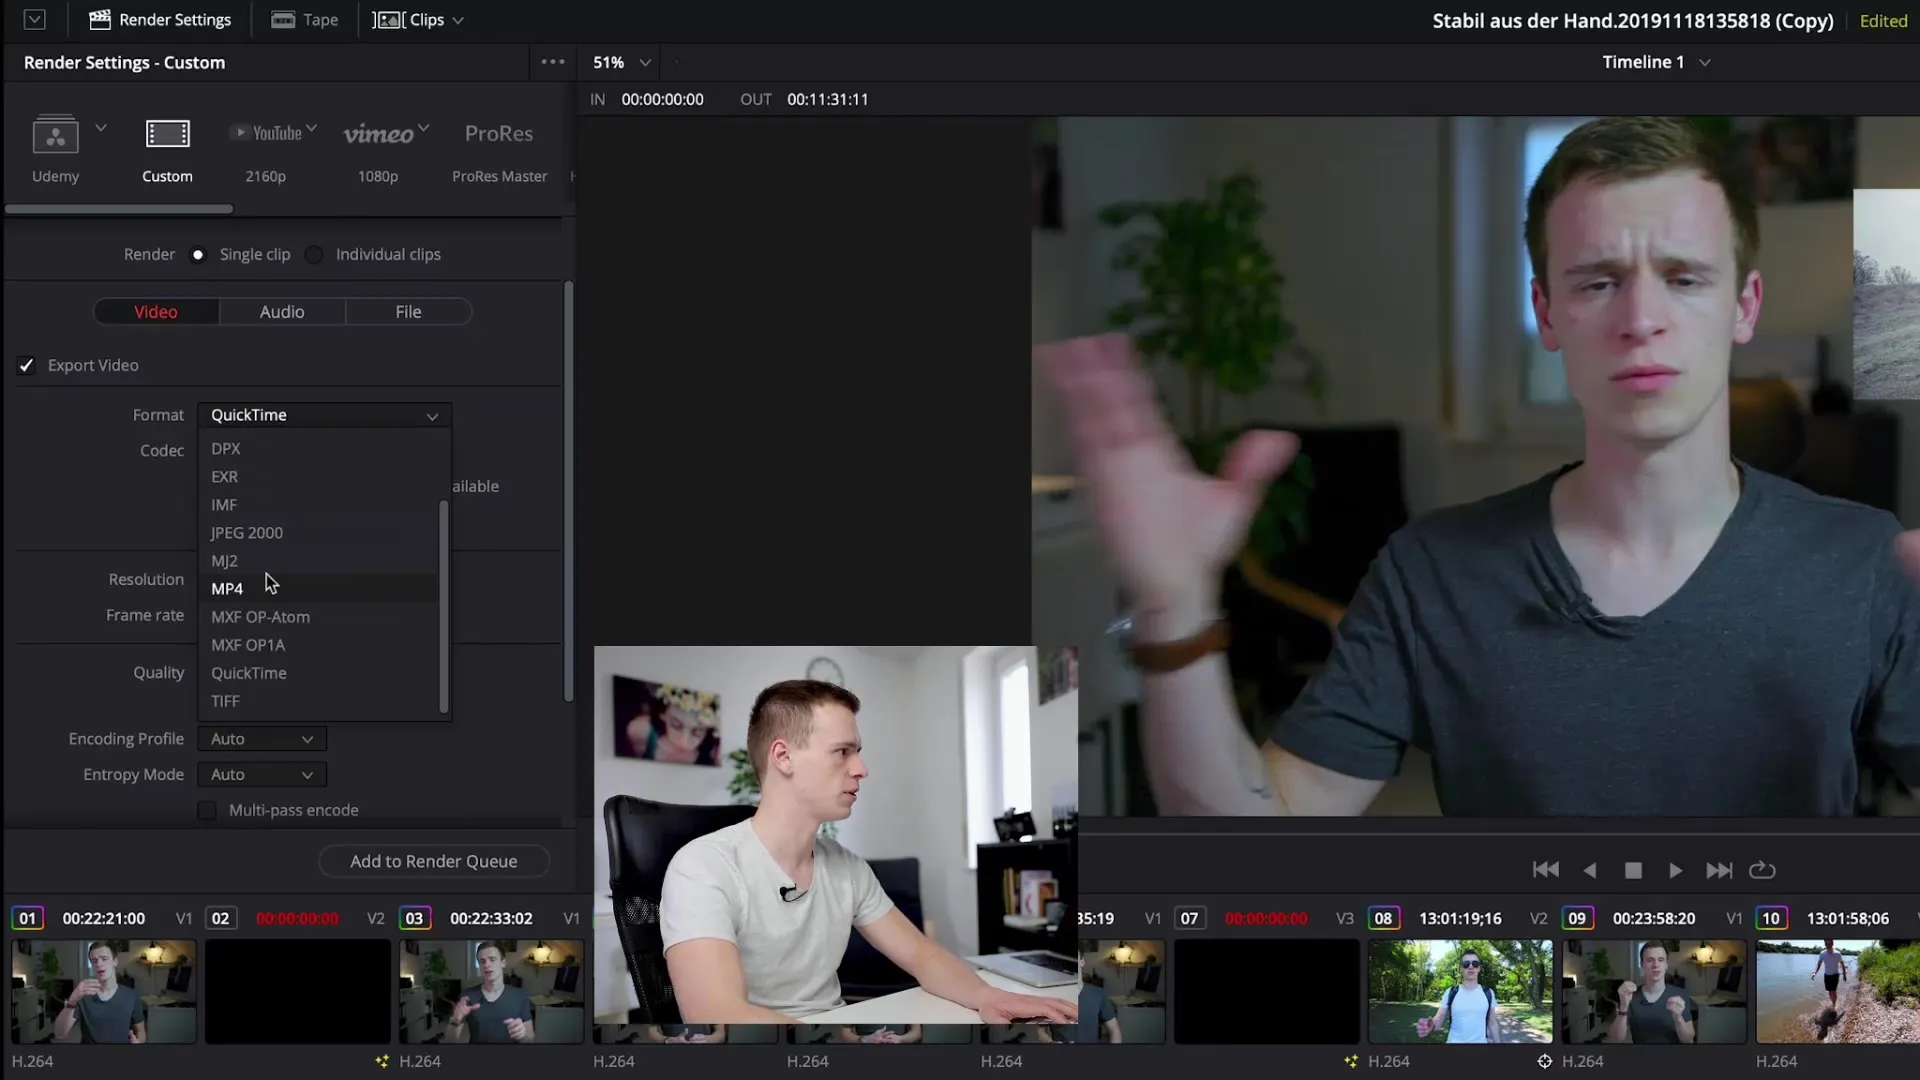
I recommend selecting the “custom” option so you have all configuration possibilities. For example, you can set the codec and audio format alongside the bitrate. The H.264 codec is the right choice here, as it is supported by almost all platforms.
Make sure you enable hardware acceleration if your system has the necessary hardware. This will speed up and make the export process more efficient.
If you want to adjust the frame rate of the video, ensure that you do not deviate far from the original frame rate of your project. For example, if your video was filmed at 24 FPS, you should keep it that way to ensure image quality and stability.
A common bitrate for Full HD (1080p) is about 16 Mbit/s. It is important to use variable bitrate, so that your video can be compressed according to the scene and image content. This ensures an engaging and high-quality experience when playing back.
When you set your audio settings, you should also use a constant bitrate. For the best sound, a bitrate of 320 kBit/s is ideal. Make sure that the correct output track is set to ensure that all audio content is exported correctly.
Before you start the export, make sure that the file path is correct and that the file has a user-friendly name. This way, you will find your videos more easily later.
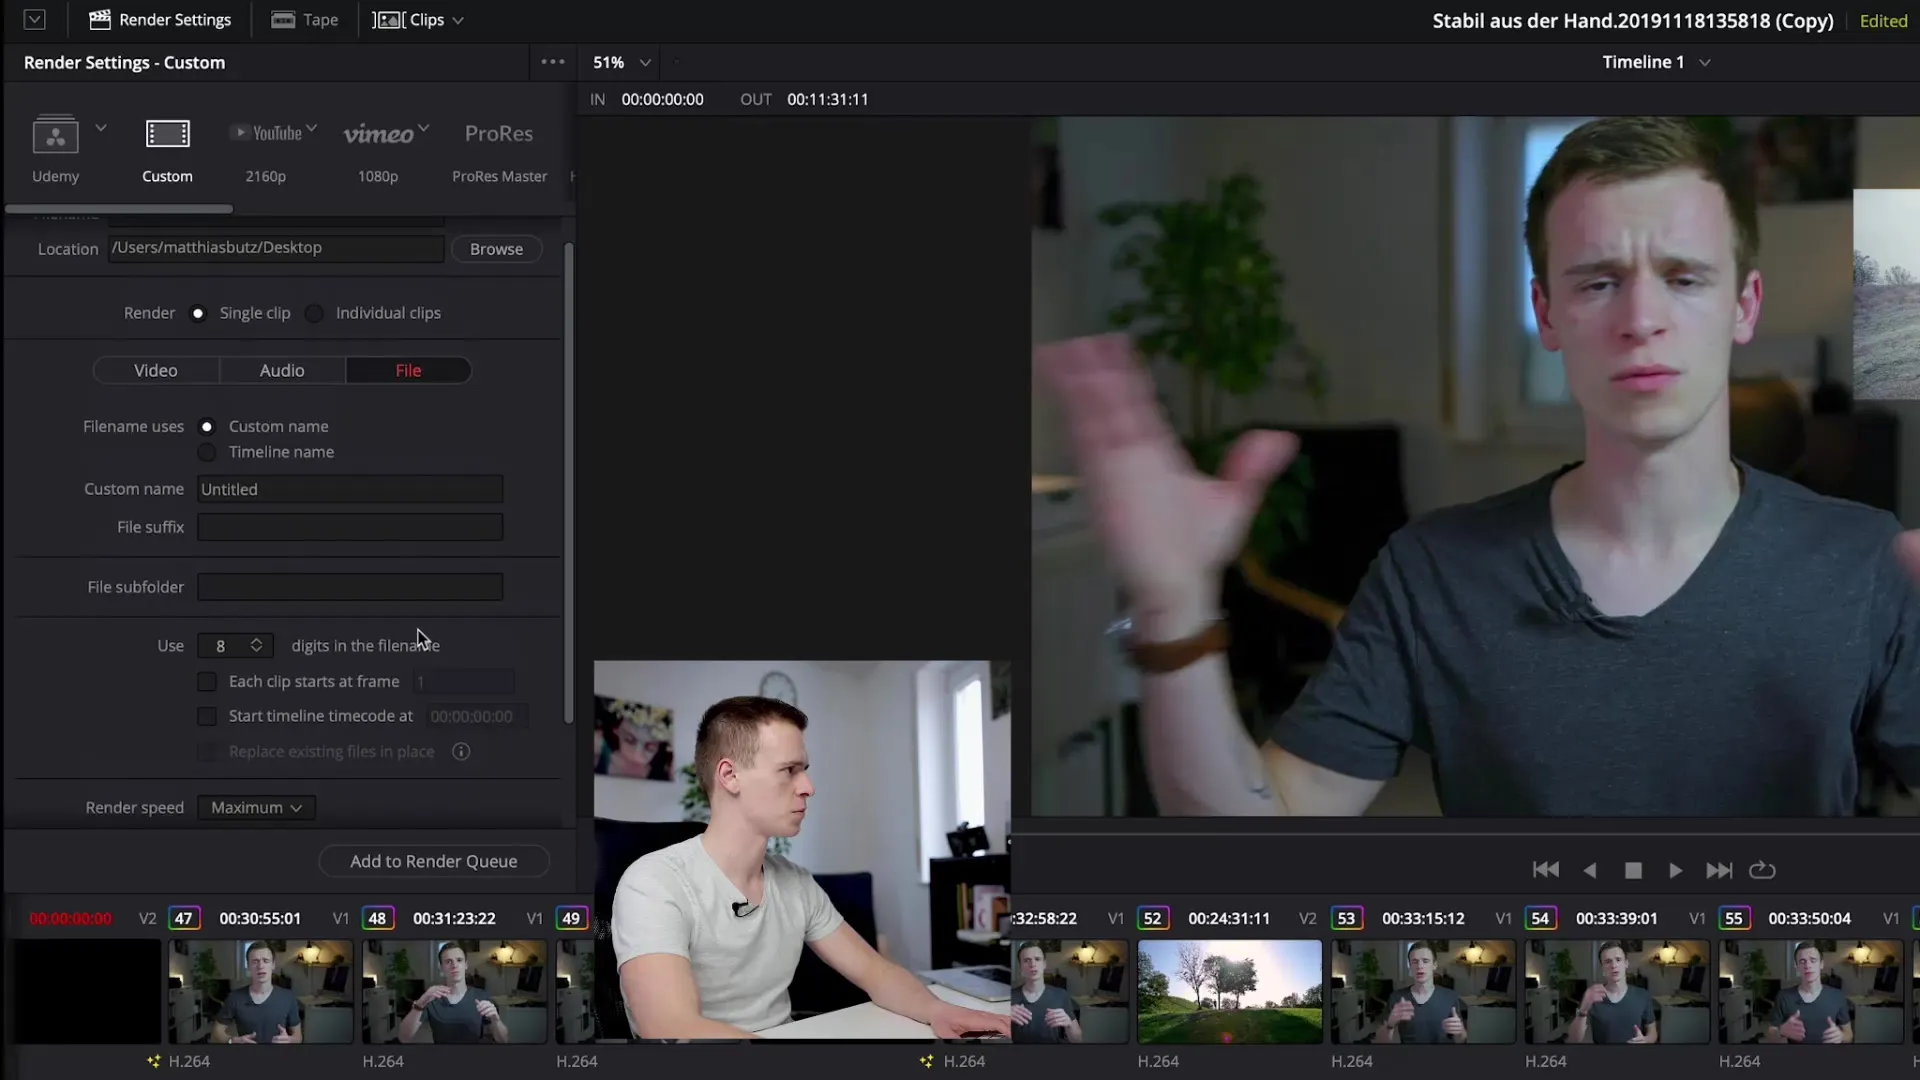
Once all settings are made, add the project to the render queue. Depending on the platform you are exporting for, you can make further adjustments; however, the settings made so far are universally applicable.
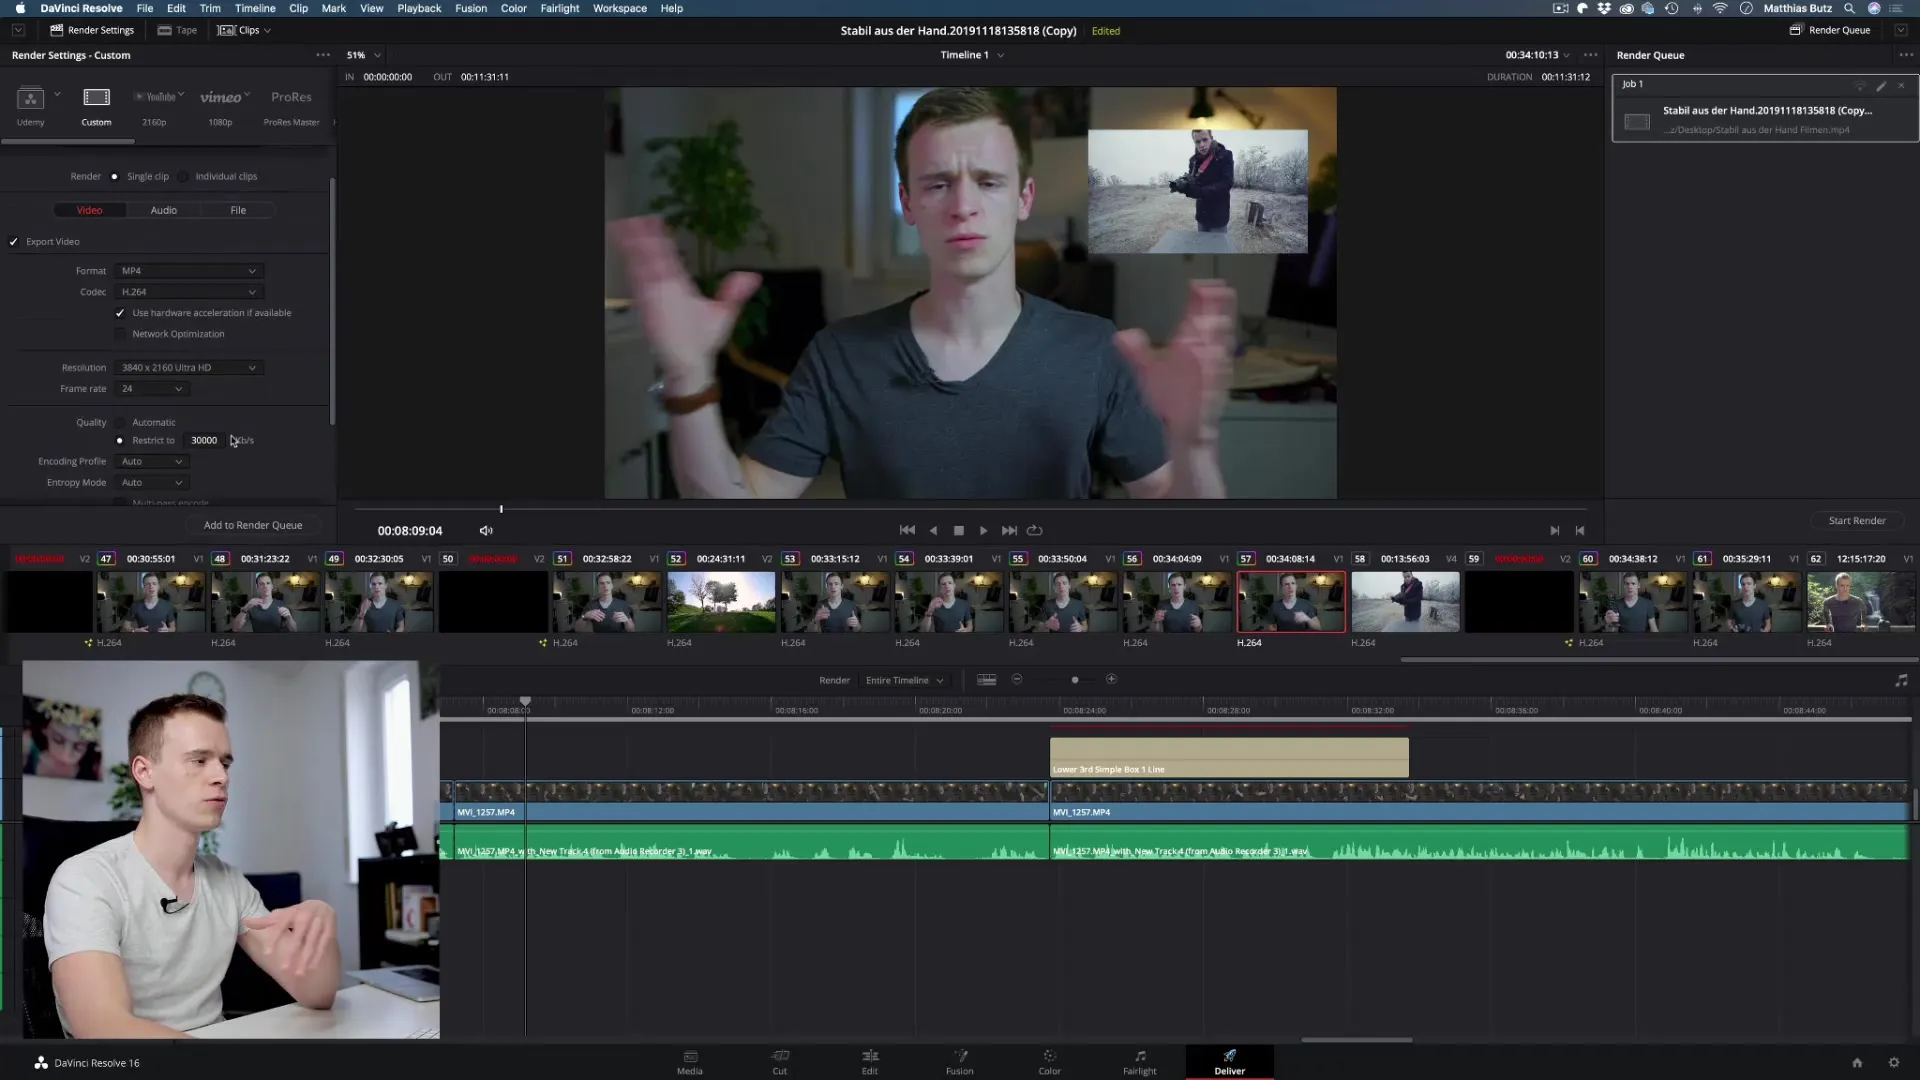
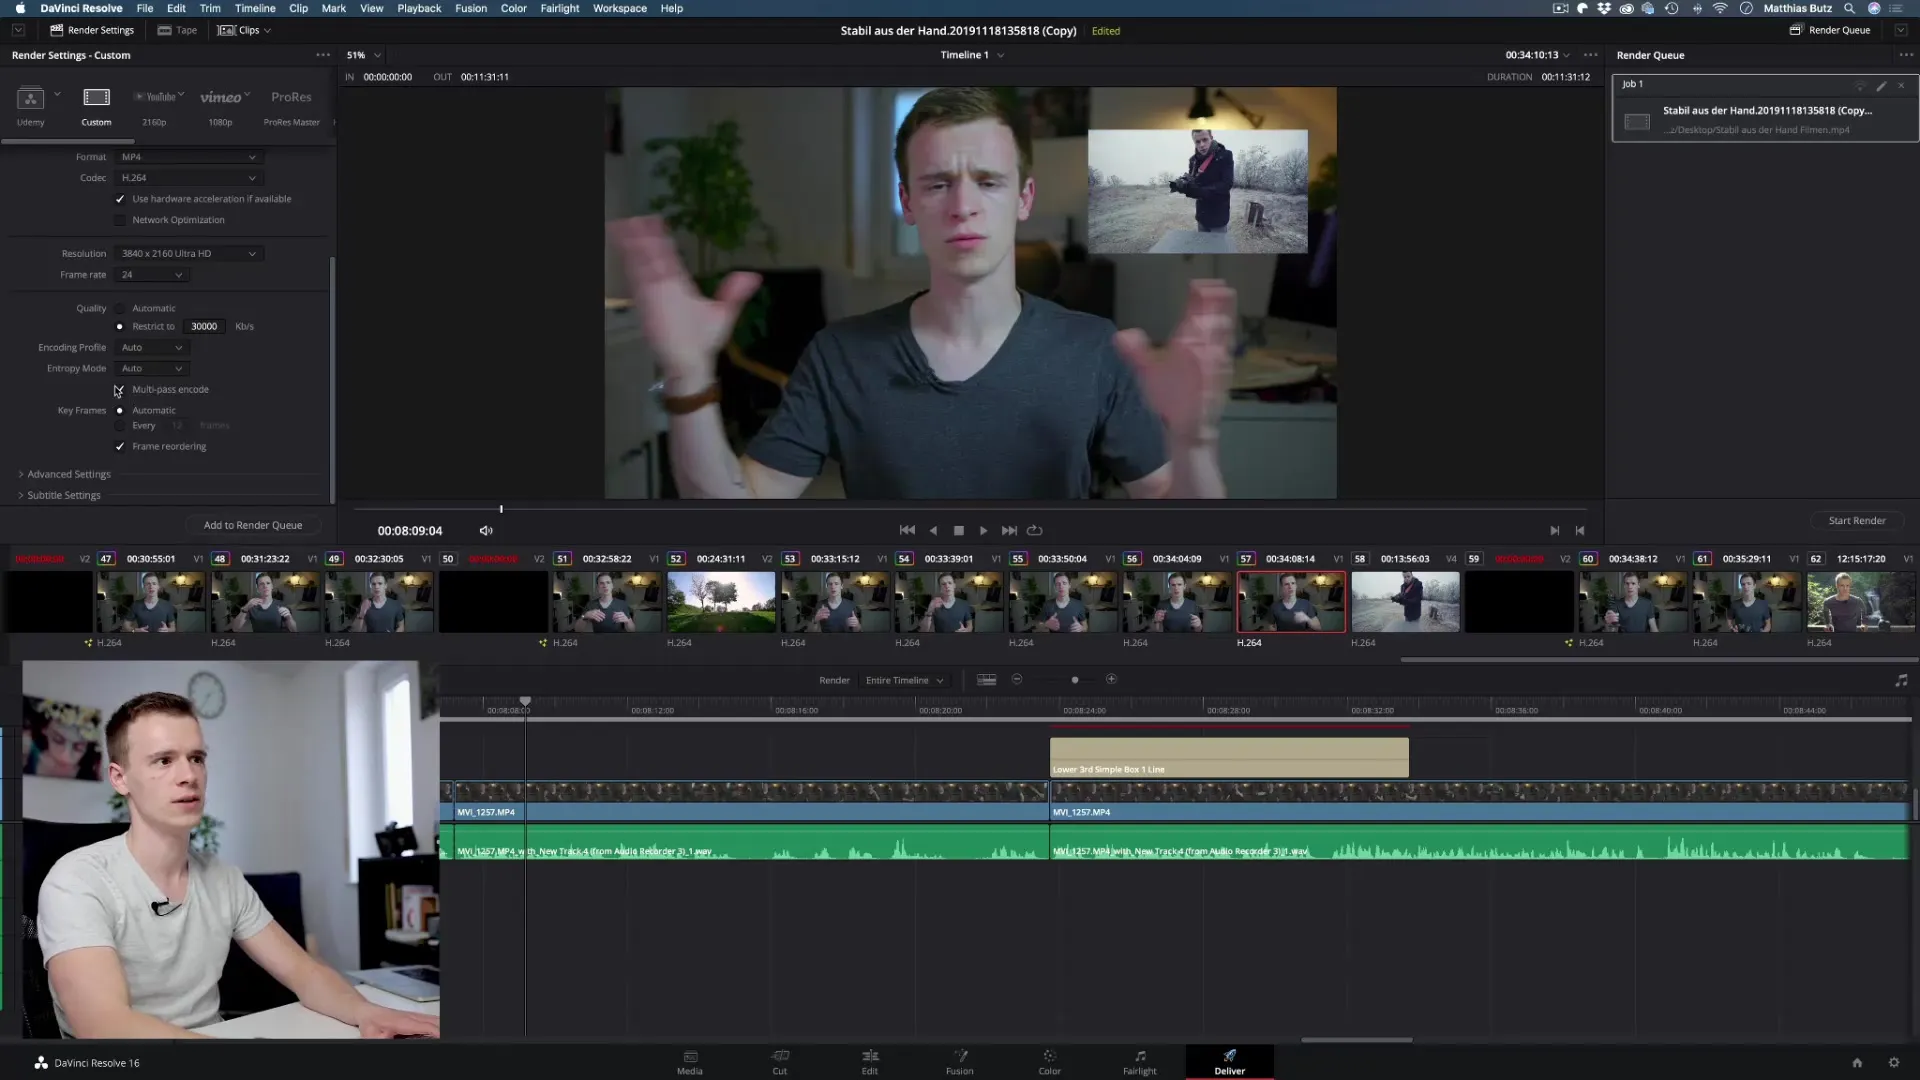
If you wish, you can also enable the multipass option. This ensures that the video is rendered twice, resulting in better optimized compression. However, note that this may prolong the export process.
Once everything is configured, click "Start Render" and watch the progress. You can watch the video during rendering for review to ensure that everything looks correct.
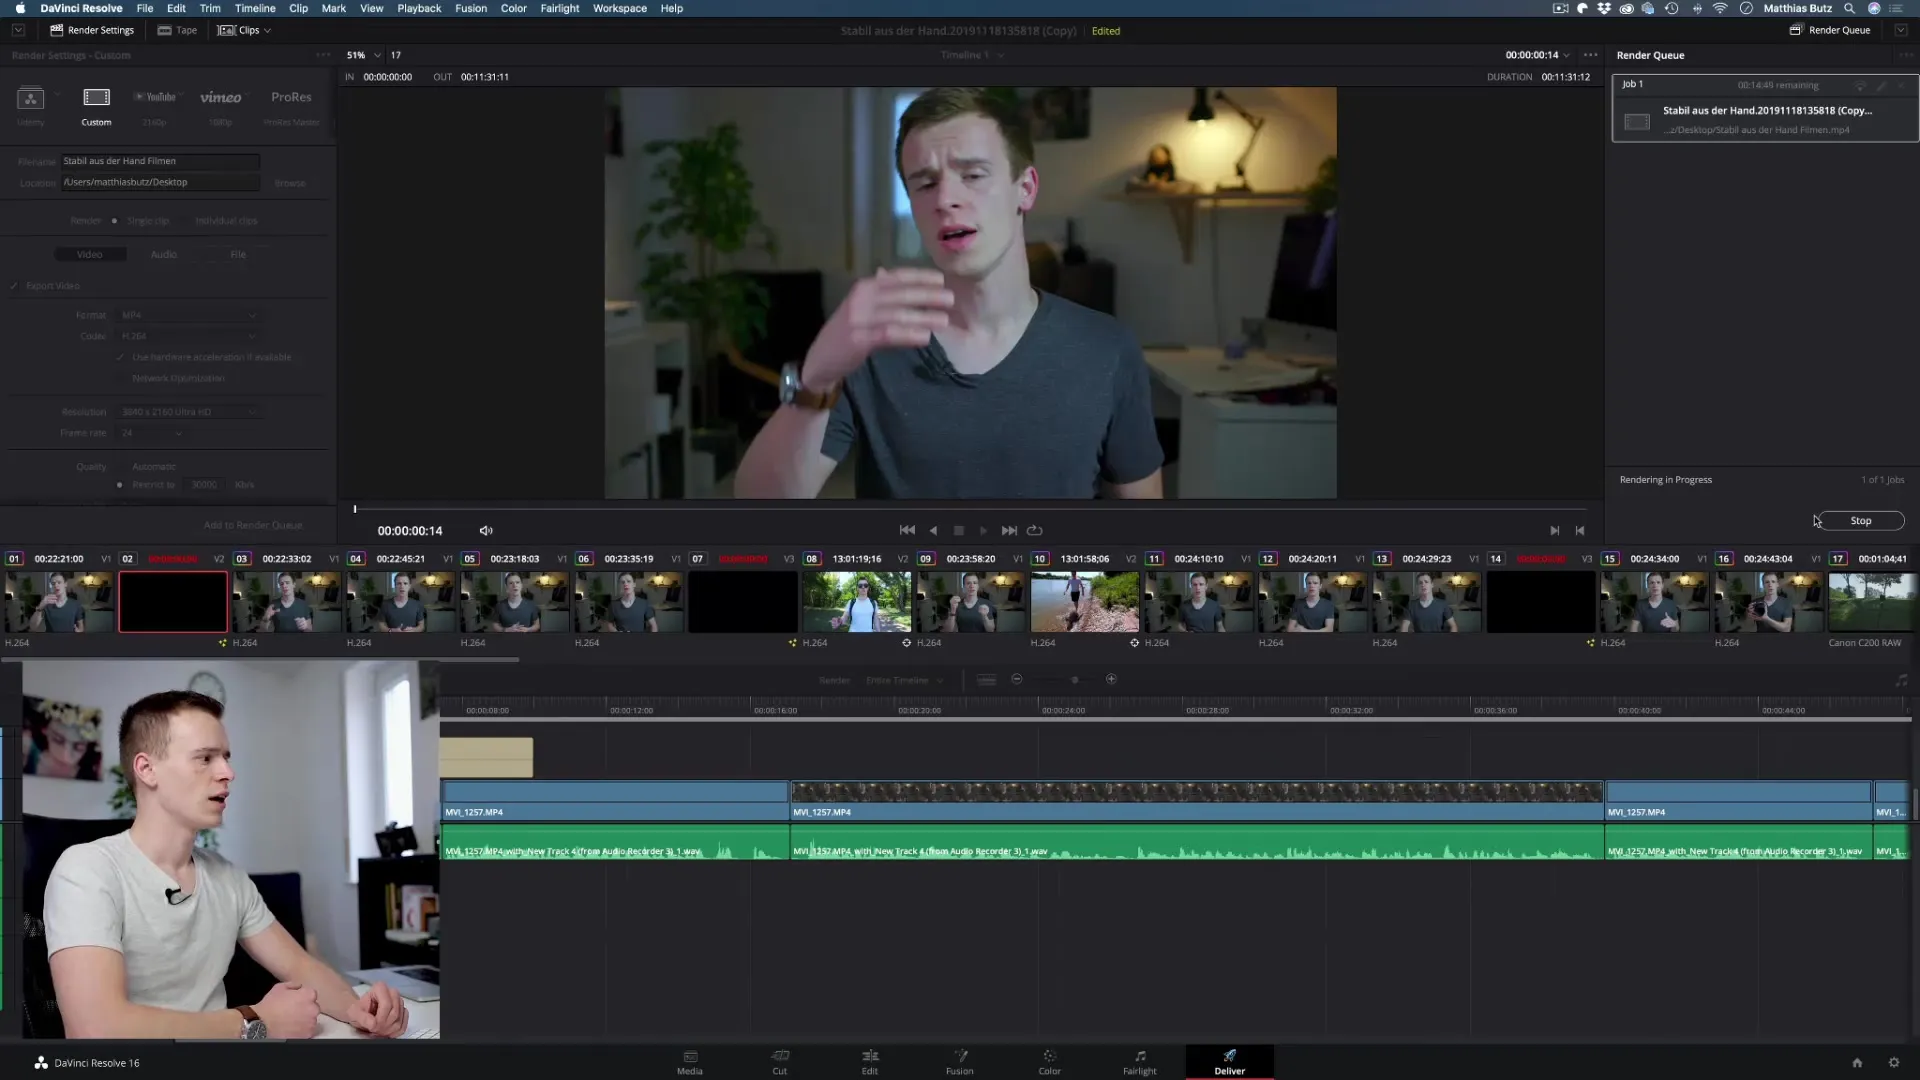
Once rendering is complete, your video is ready to be uploaded to the desired platform!
Summary – DaVinci Resolve Export: The Optimal Settings for Your Videos
In summary, choosing the right export settings is crucial to ensuring the quality of your videos. Choose an appropriate bitrate, the right resolution, and use the H.264 codec to ensure that your videos are well-received everywhere. Also, pay attention to the audio settings and correct file path to facilitate easy management of your projects.
Frequently Asked Questions
What is the best bitrate for 4K videos?The ideal bitrate for 4K videos usually lies between 30 and 40 Mbit/s.
Which codec should I choose for export?The H.264 codec is the best choice as it is compatible with most platforms.
How can I improve the quality of my audio during export?Set a bitrate of 320 kBit/s and select the correct output track.
What happens if I change the frame rate?Changing the frame rate may lead to reduced image quality or technical artifacts.
When should I use multipass export?Multipass export can help improve video quality at variable bitrate, but requires more time for export.


