Before you start editing your project in DaVinci Resolve, you need to create a timeline. This is the central area where all the clips and elements of your film are combined. In this guide, you will learn how to effectively and easily create a timeline and customize it to your needs.
Key Insights
- A timeline is essential for your projects.
- You can create multiple timelines within a project.
- Important settings such as resolution and format affect the quality of your clips.
- Automatic adjustments help manage different media formats.
Step-by-Step Guide
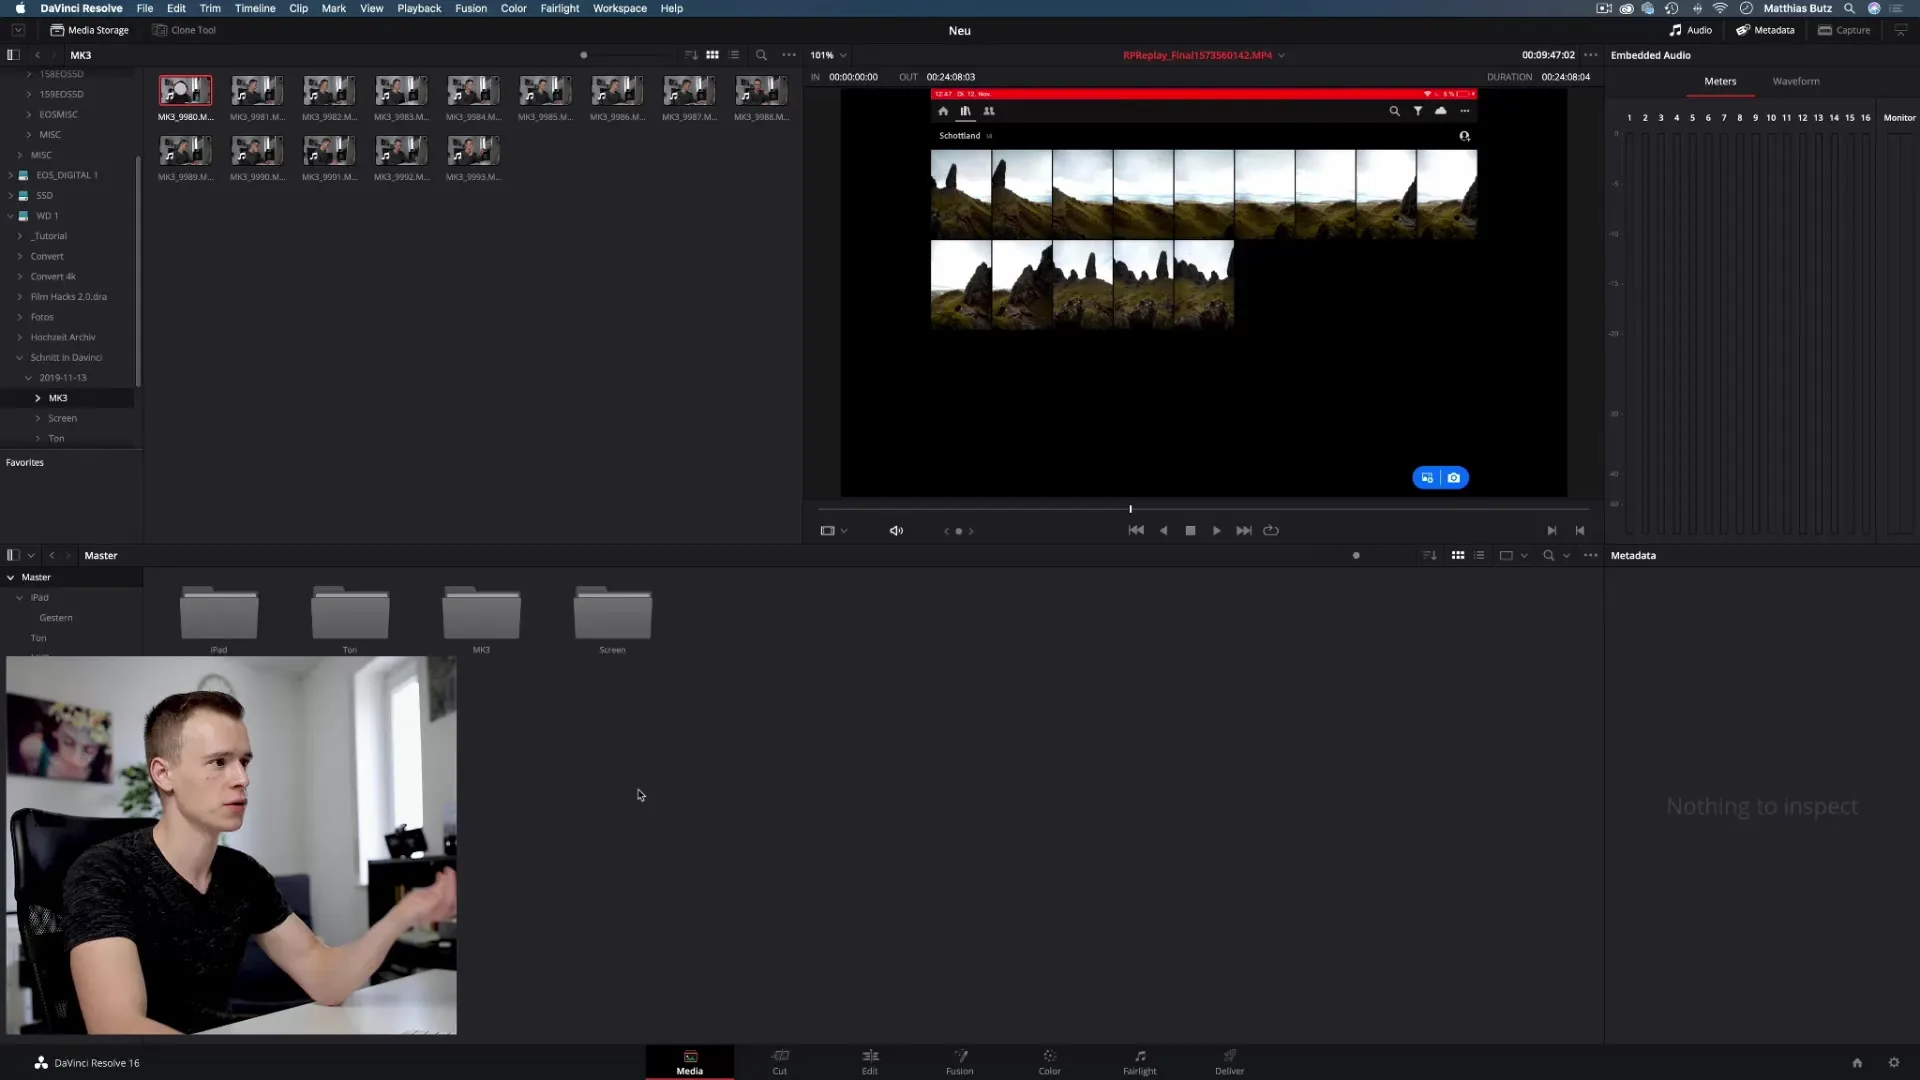
First, make sure you are in the Edit area of DaVinci Resolve. This area is specifically designed for editing clips and will provide you with the necessary tools to create your timeline.
Start by right-clicking in the Media Pool. In the context menu, you will see the option "Timelines". Clicking on it will open further options.
To create a new timeline, select "Create New Timeline". Alternatively, you can also use the keyboard shortcut Command (or Control) + M. This shortcut can be effectively used for a faster workflow.
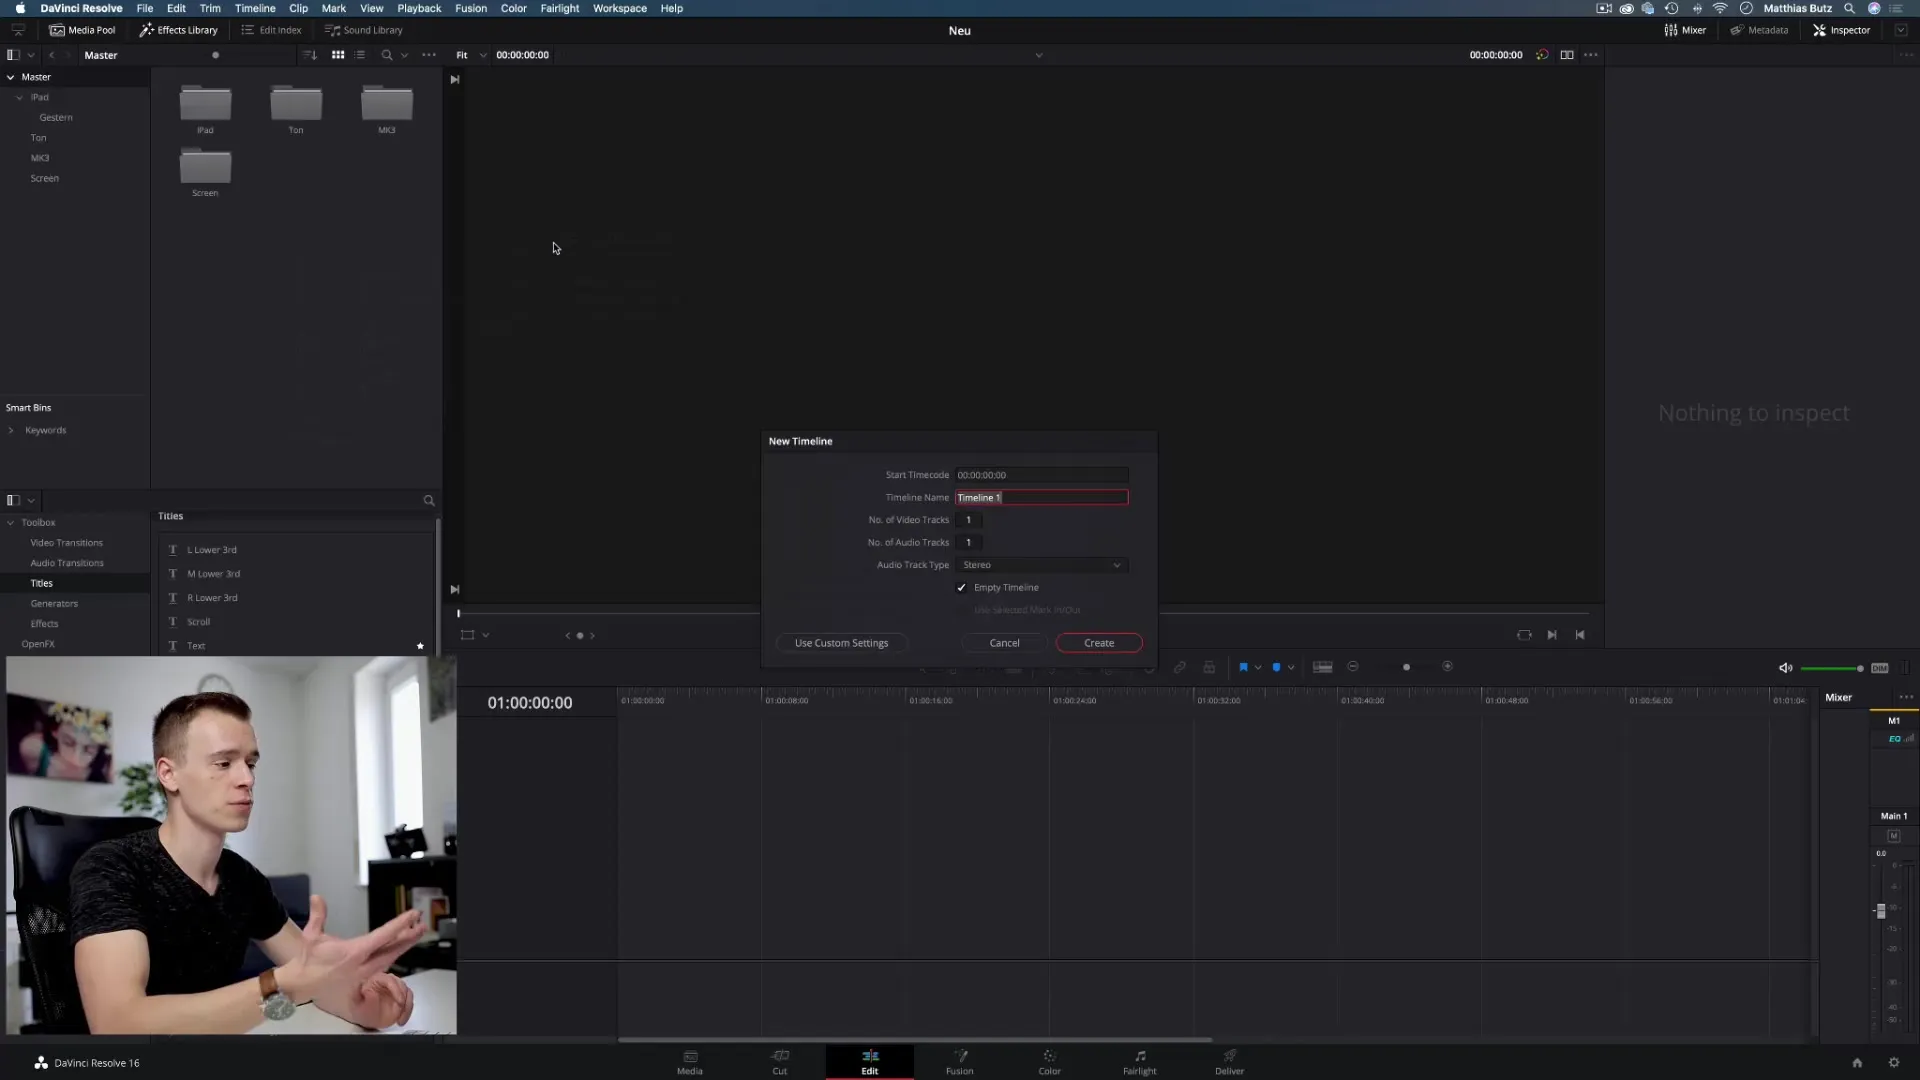
You will now be asked what you want to name your timeline. Choose a concise name that reflects the content or theme of your clip. In this example, we will call it "Test." You can adjust this name later if necessary.
It is important that the name of the timeline corresponds to your clip name to ensure clarity. You also have the option to make various settings for the timeline, including resolution and frame rate. You can adjust these under the "Custom Settings" menu.
An important decision you should make is how to handle different resolutions. When creating a timeline, it is advisable to set "Mismatched Resolution Files" to "Scale entire image to fit." This option helps you use clips of different resolutions easily within the same timeline.
For example, if you have a Full HD video and then drag a 4K video into the timeline, this option improves visibility by scaling the 4K file to the size of the Full HD video. This prevents you from having to make manual adjustments.
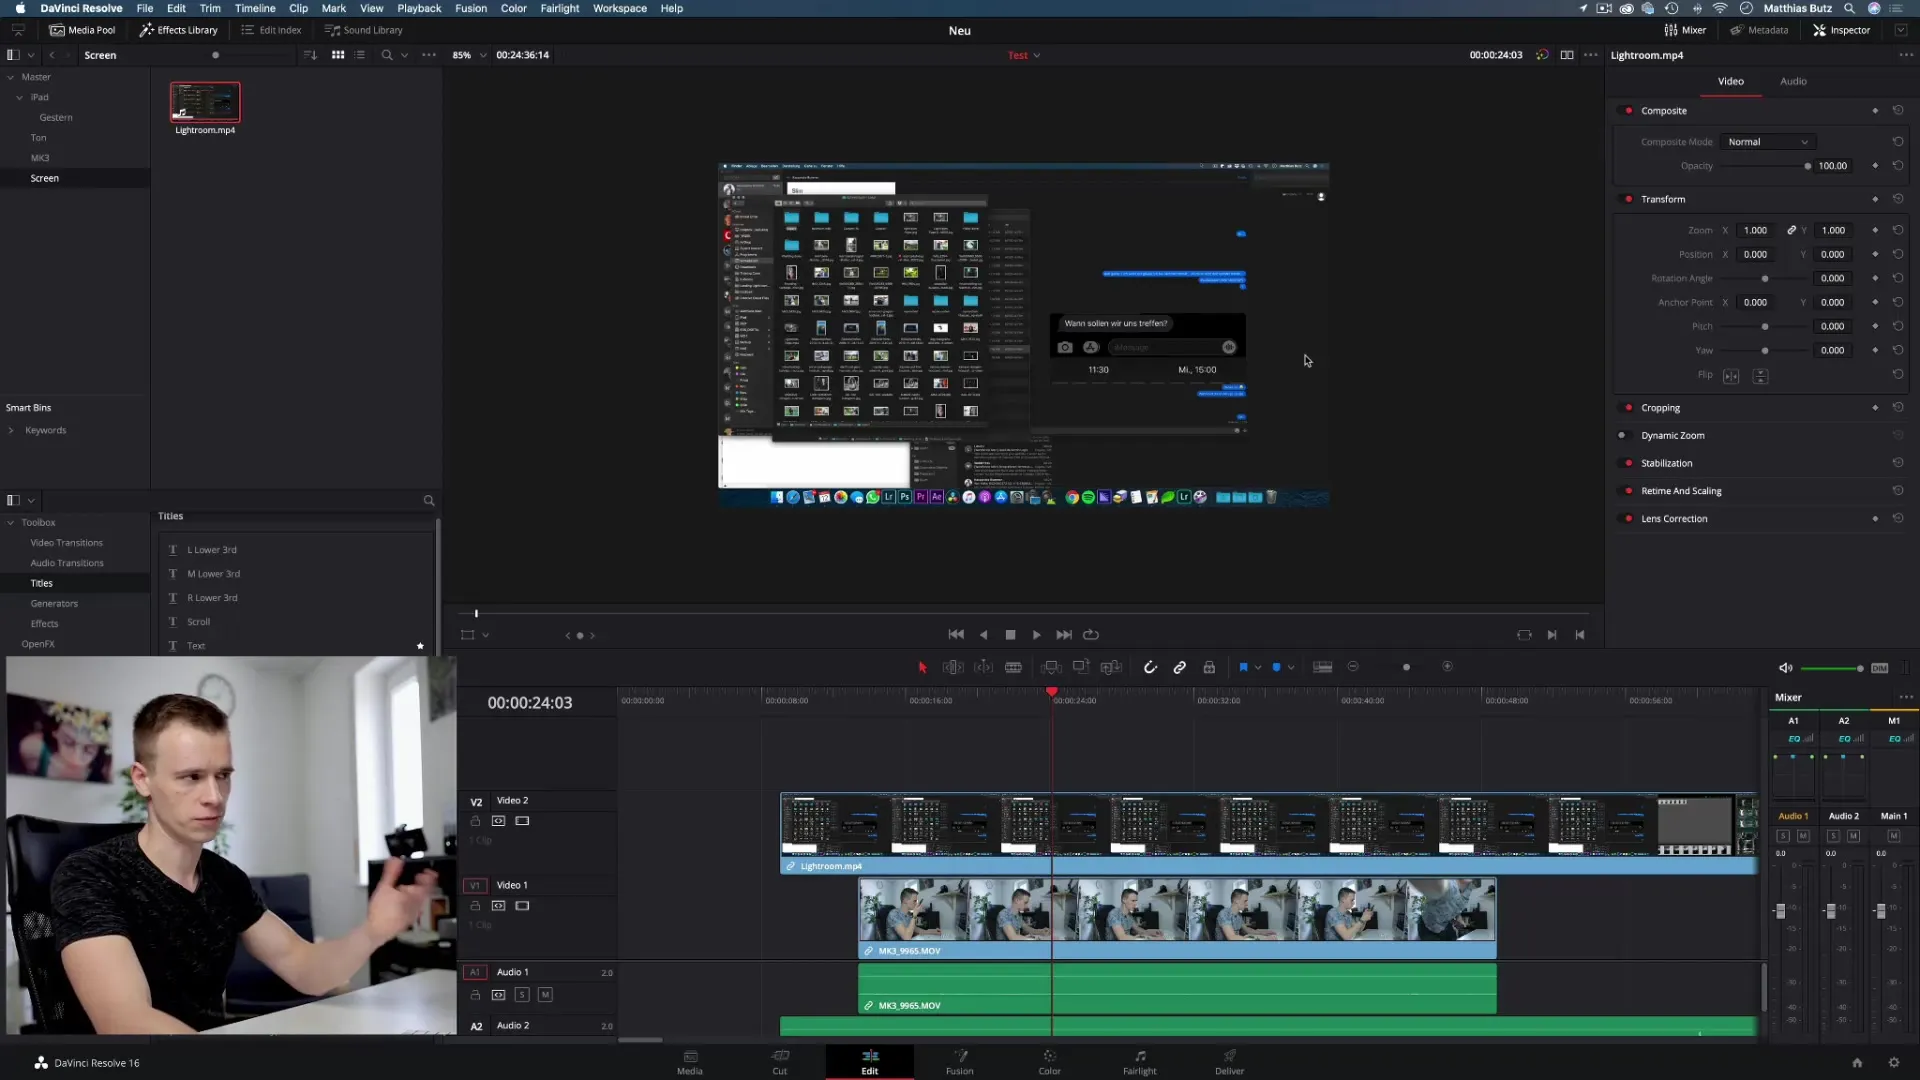
To demonstrate this, drag some clips into the timeline. First, a Full HD clip, and then a 4K clip. Notice how the 4K clip is automatically adjusted and optimally utilizes the timeline.
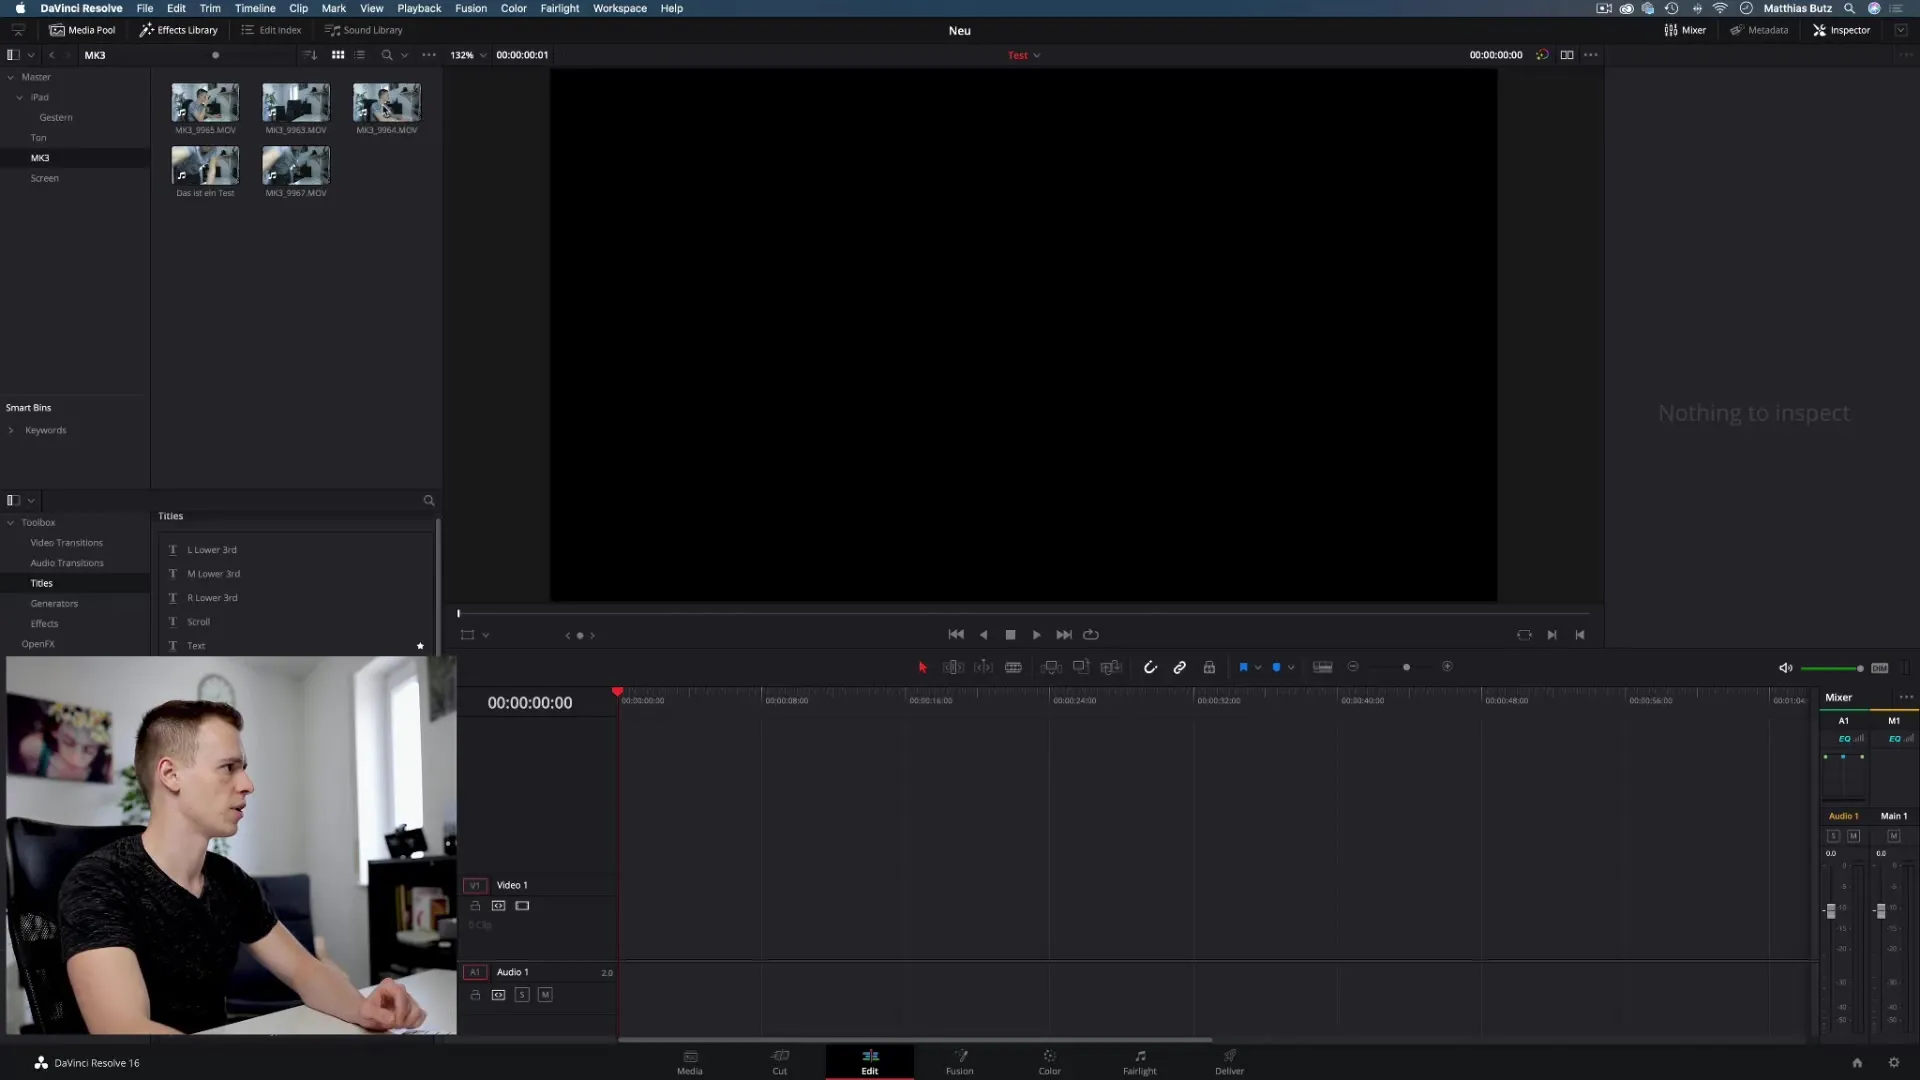
If you want to recreate the timeline, you can simply repeat these steps. Use the option "Create New Timeline" again and ensure that the settings meet your requirements.
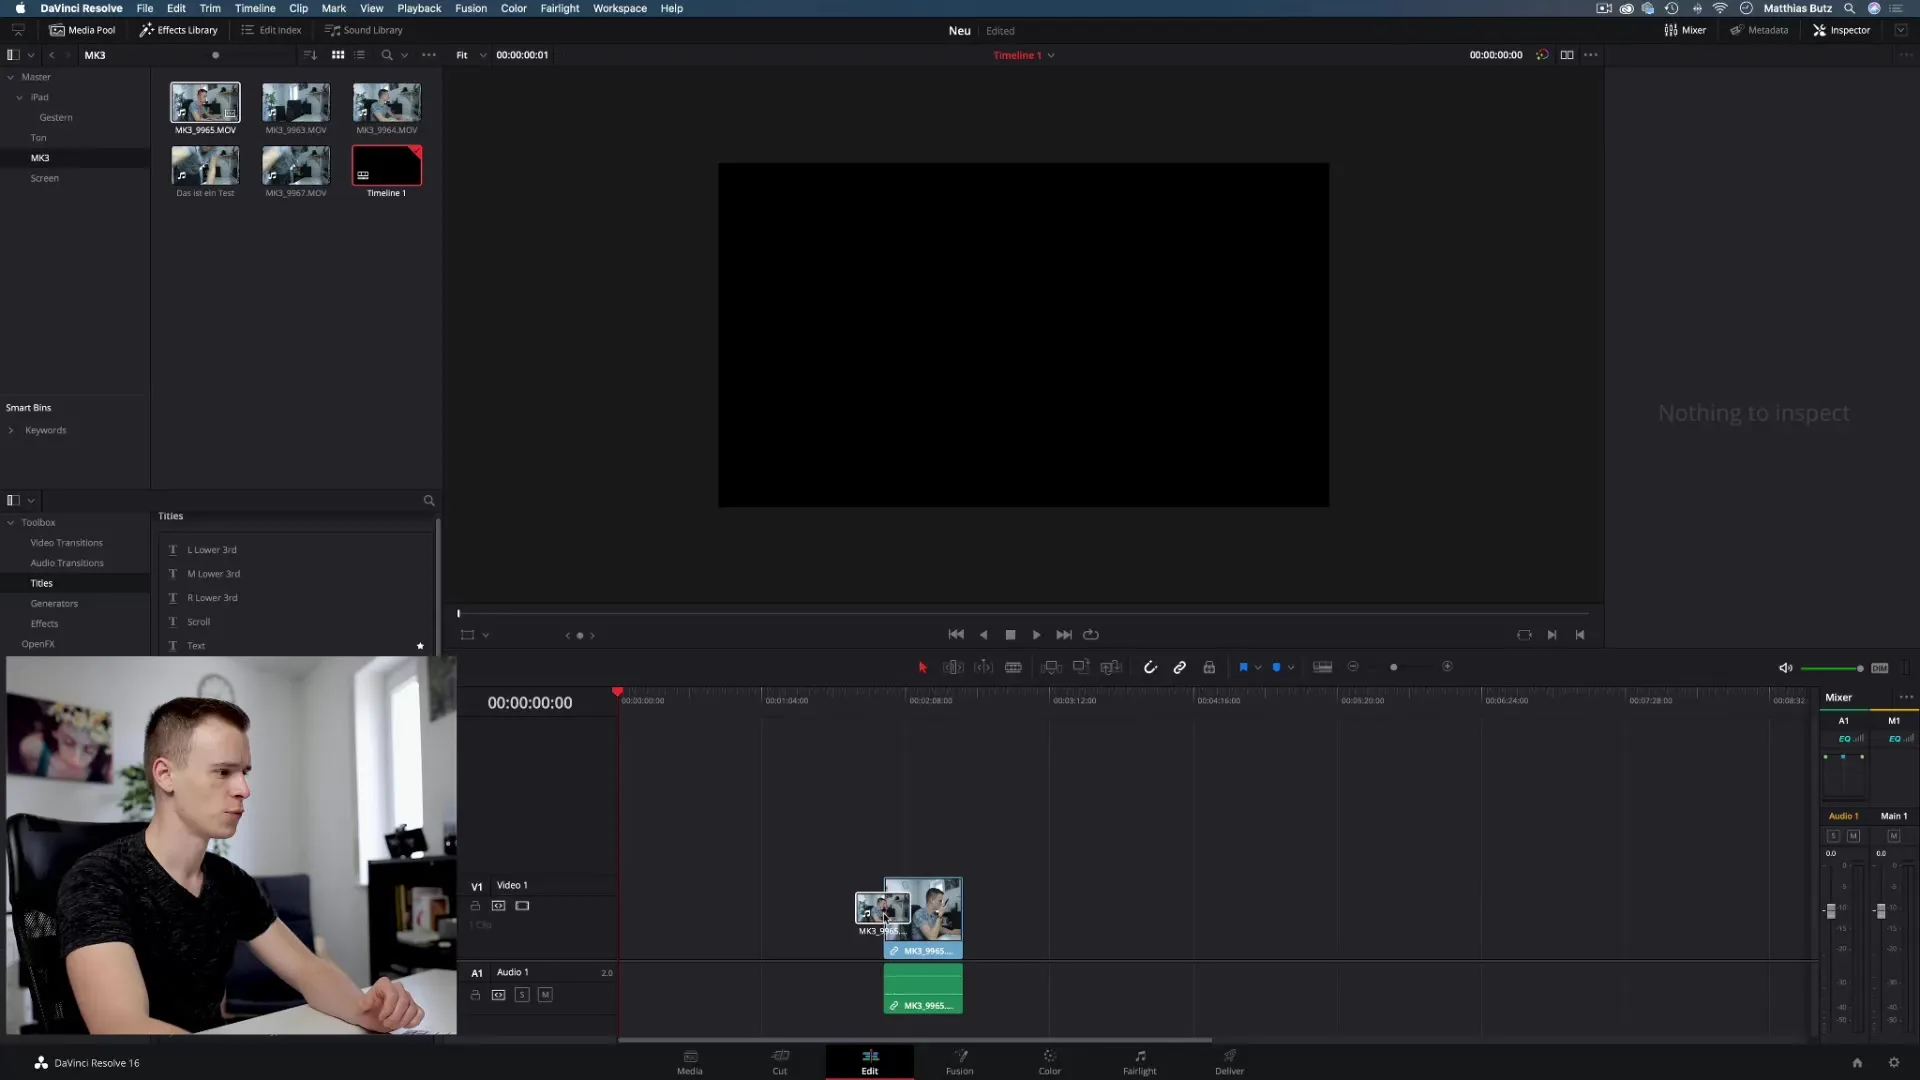
An alternative method for creating a timeline is to simply drag a clip into the empty timeline. In this case, a new timeline is automatically created with the name "Timeline 1." However, be aware that you should rename this later to avoid confusion.
If you insert clips into the timeline without prior adjustments, you will not be able to change them afterward unless you recreate the timeline.
However, there are numerous features in DaVinci Resolve that help you make your project efficient. You are not forced to make all settings manually, but can rely on automated options.
With this, you have learned the basics of creating and customizing a timeline in DaVinci Resolve. In the next tutorial, we will look at how to add and further edit clips in the timeline.
Summary – Creating a Timeline in DaVinci Resolve
In this guide, you have learned how to quickly and efficiently create a timeline in DaVinci Resolve. You now know where to find the necessary settings and how they can make your work easier.
Frequently Asked Questions
How do I create a new timeline in DaVinci Resolve?Right-click in the Media Pool on "Timelines" and select "Create New Timeline."
Can I have multiple timelines in a project?Yes, you can create multiple timelines in a single DaVinci Resolve project.
What is "Mismatched Resolution Files"?It is a setting that ensures different resolutions are correctly scaled in the timeline.
Can I change the settings of an existing timeline?Yes, as long as you haven't added clips yet, you can adjust the settings as needed.
What happens if I drag a clip into the empty timeline?DaVinci Resolve automatically creates a new timeline named "Timeline 1."


