Cutting is more than just trimming clips; it is an art form that brings storytelling to life in film production. In this DaVinci Resolve tutorial, I will show you how I edited a project from scratch. You will learn the techniques I used and how you can apply them to your own videos. Let’s dive straight into the editing process and bring your creative ideas to life.
Main takeaways
- The cuts must be synchronized with the music to achieve a harmonious result.
- Storytelling is crucial; the order of the clips should support the narrative.
- Use markers to facilitate editing and plan transitions.
- Experiment with speed changes for more dynamic clips.
Step-by-step guide
In this section, I will guide you step by step through the editing process in DaVinci Resolve. Be sure to use the screenshots for visual support.
Preparing the project
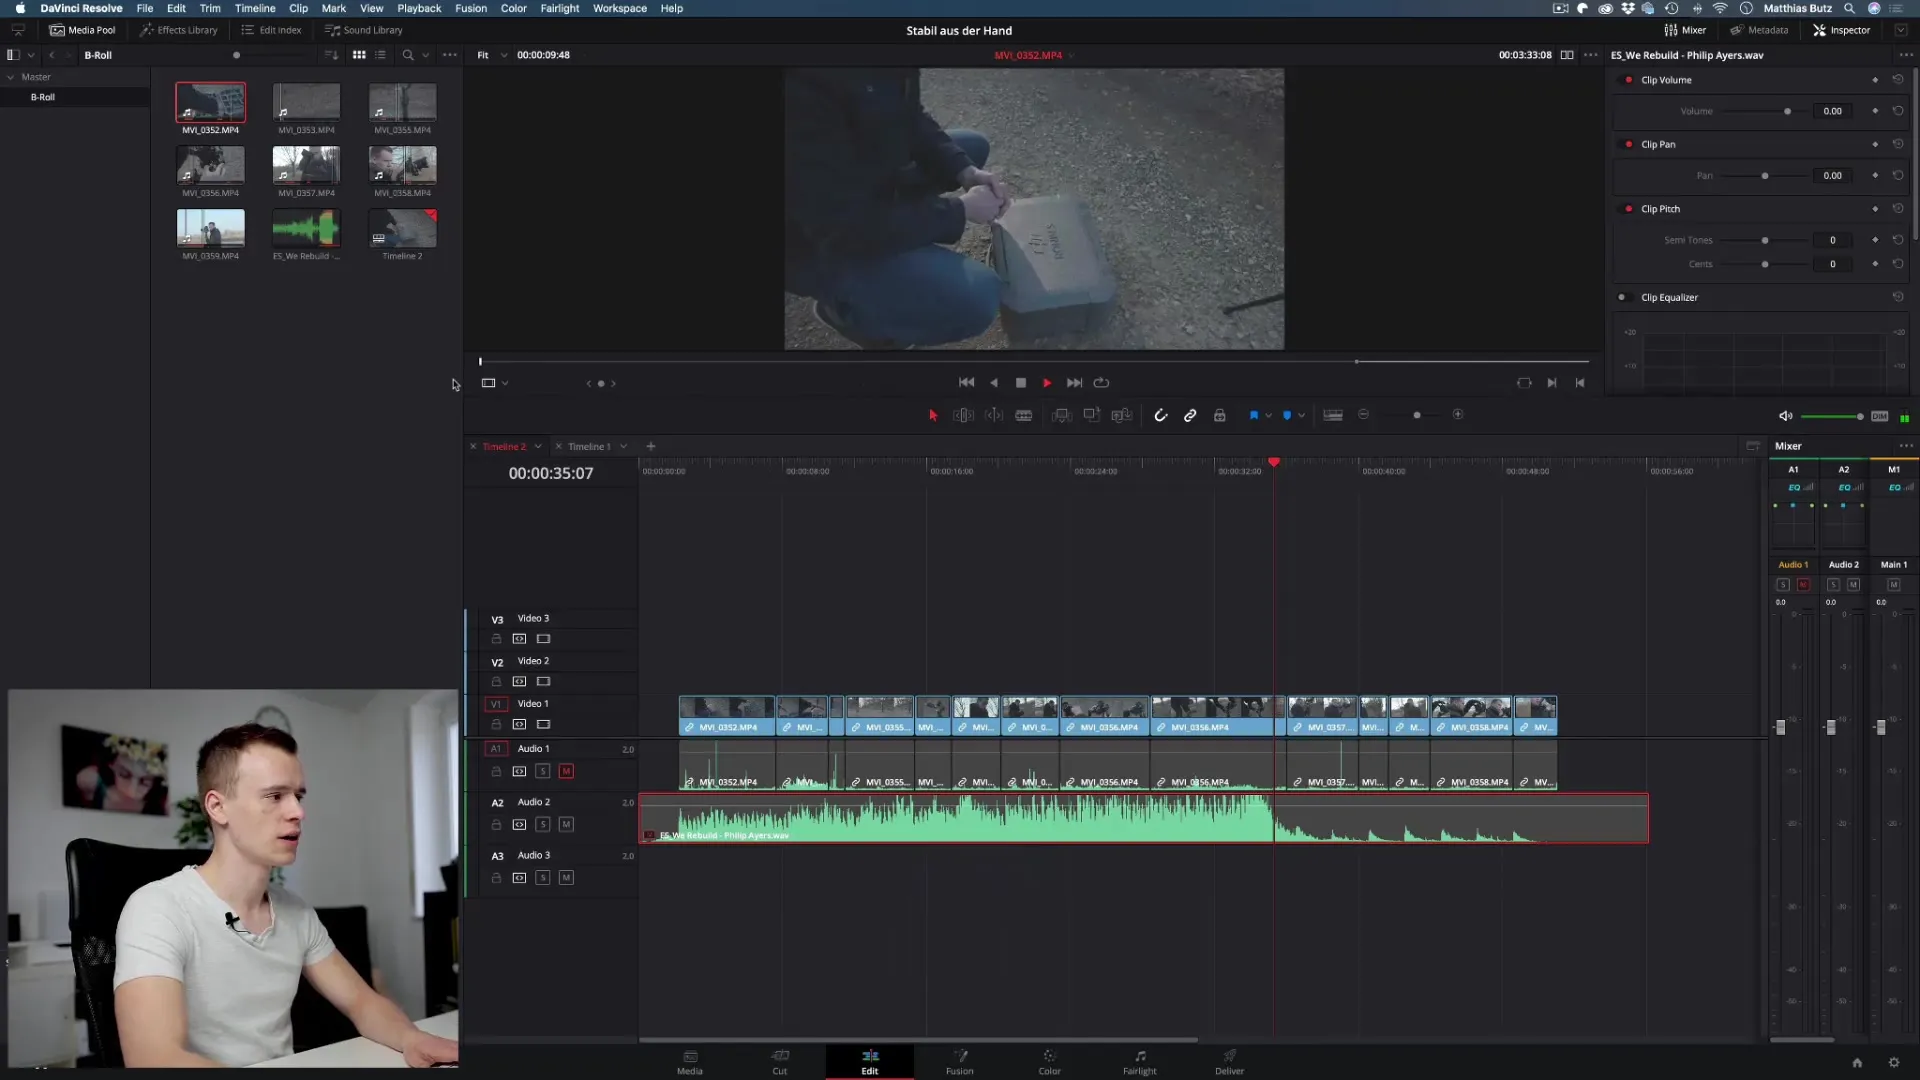
Before you start cutting, it is important to organize all materials. I have already reviewed all available clips and selected the relevant parts.
To work efficiently, sort your clips by topics or scenes. This way, you can keep track and quickly find what you need.
Reviewing and selecting clips
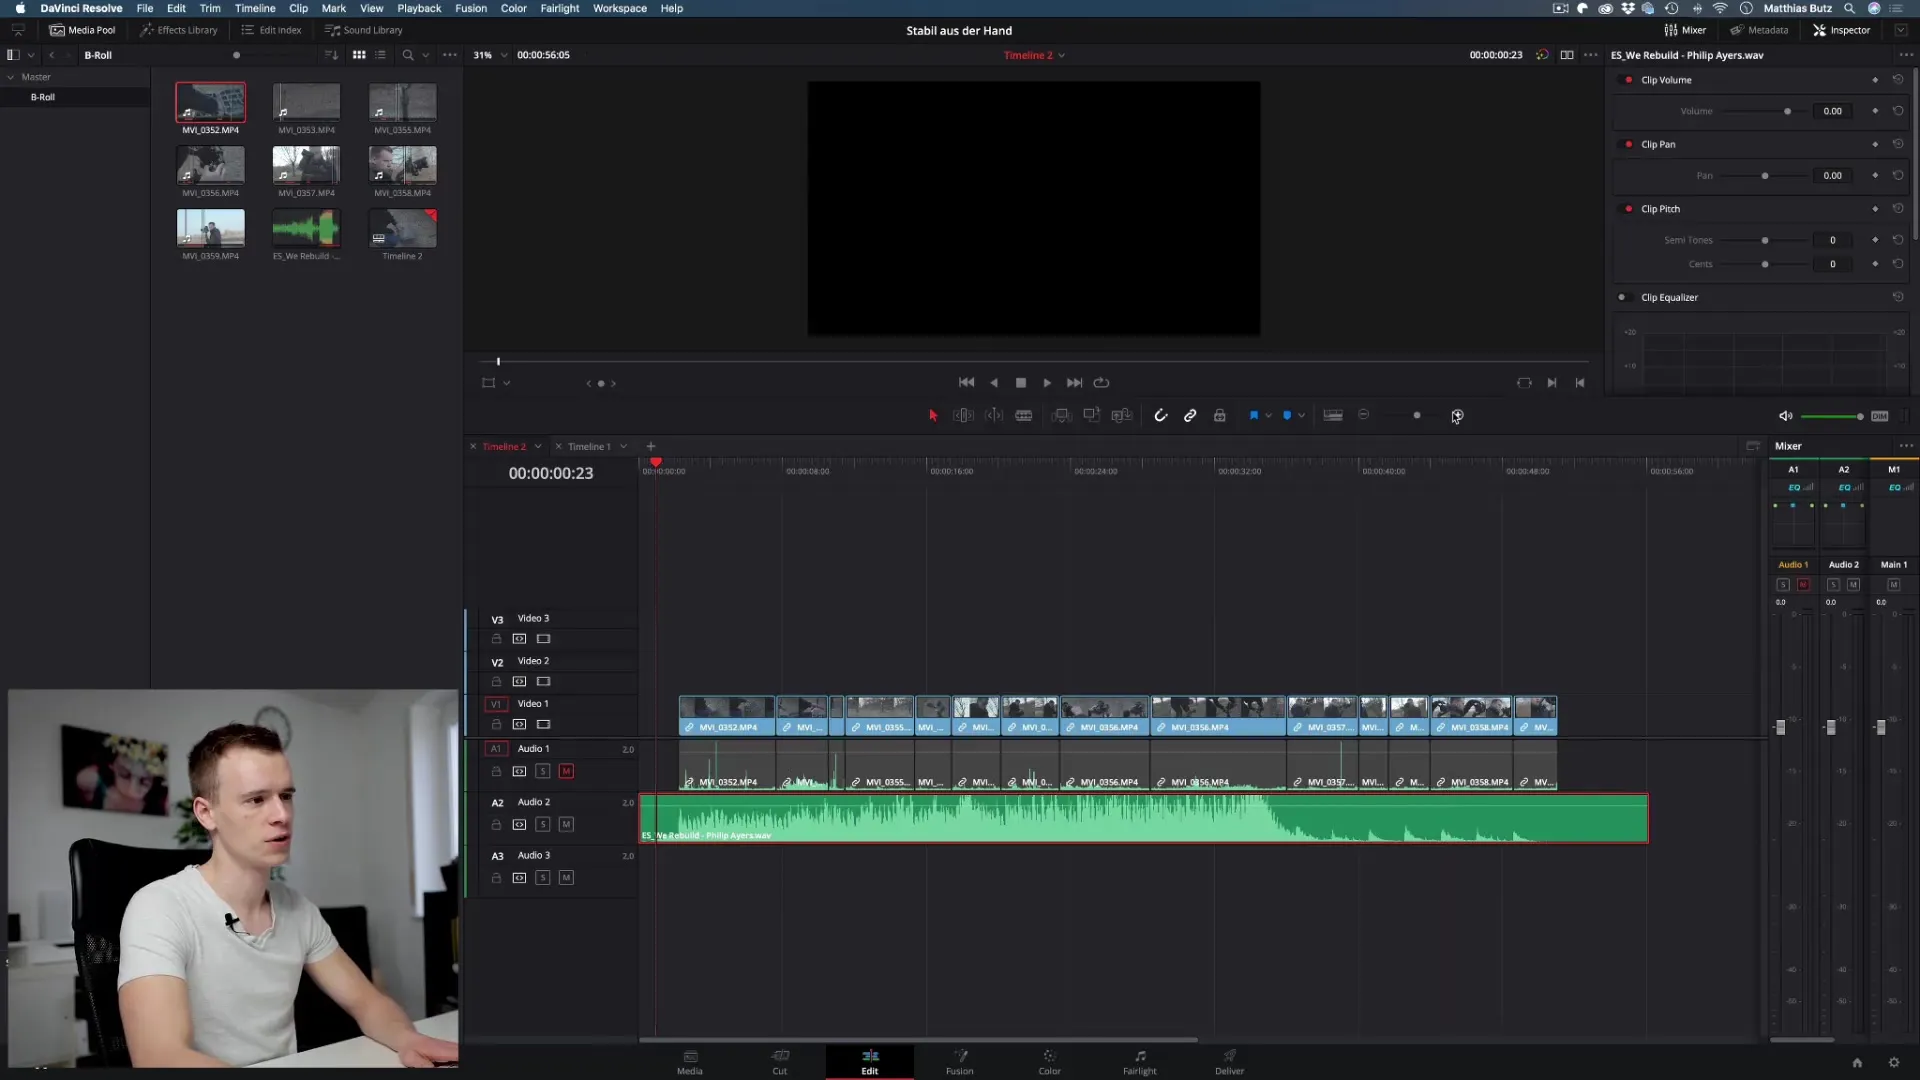
I watched all clips in full length. This helps in selecting the best shots for cutting and identifying unnecessary material.
To quickly skim through the clips, you can use the scroller. Set In and Out points for the clips you want to use to save time.
Adjusting cut timing
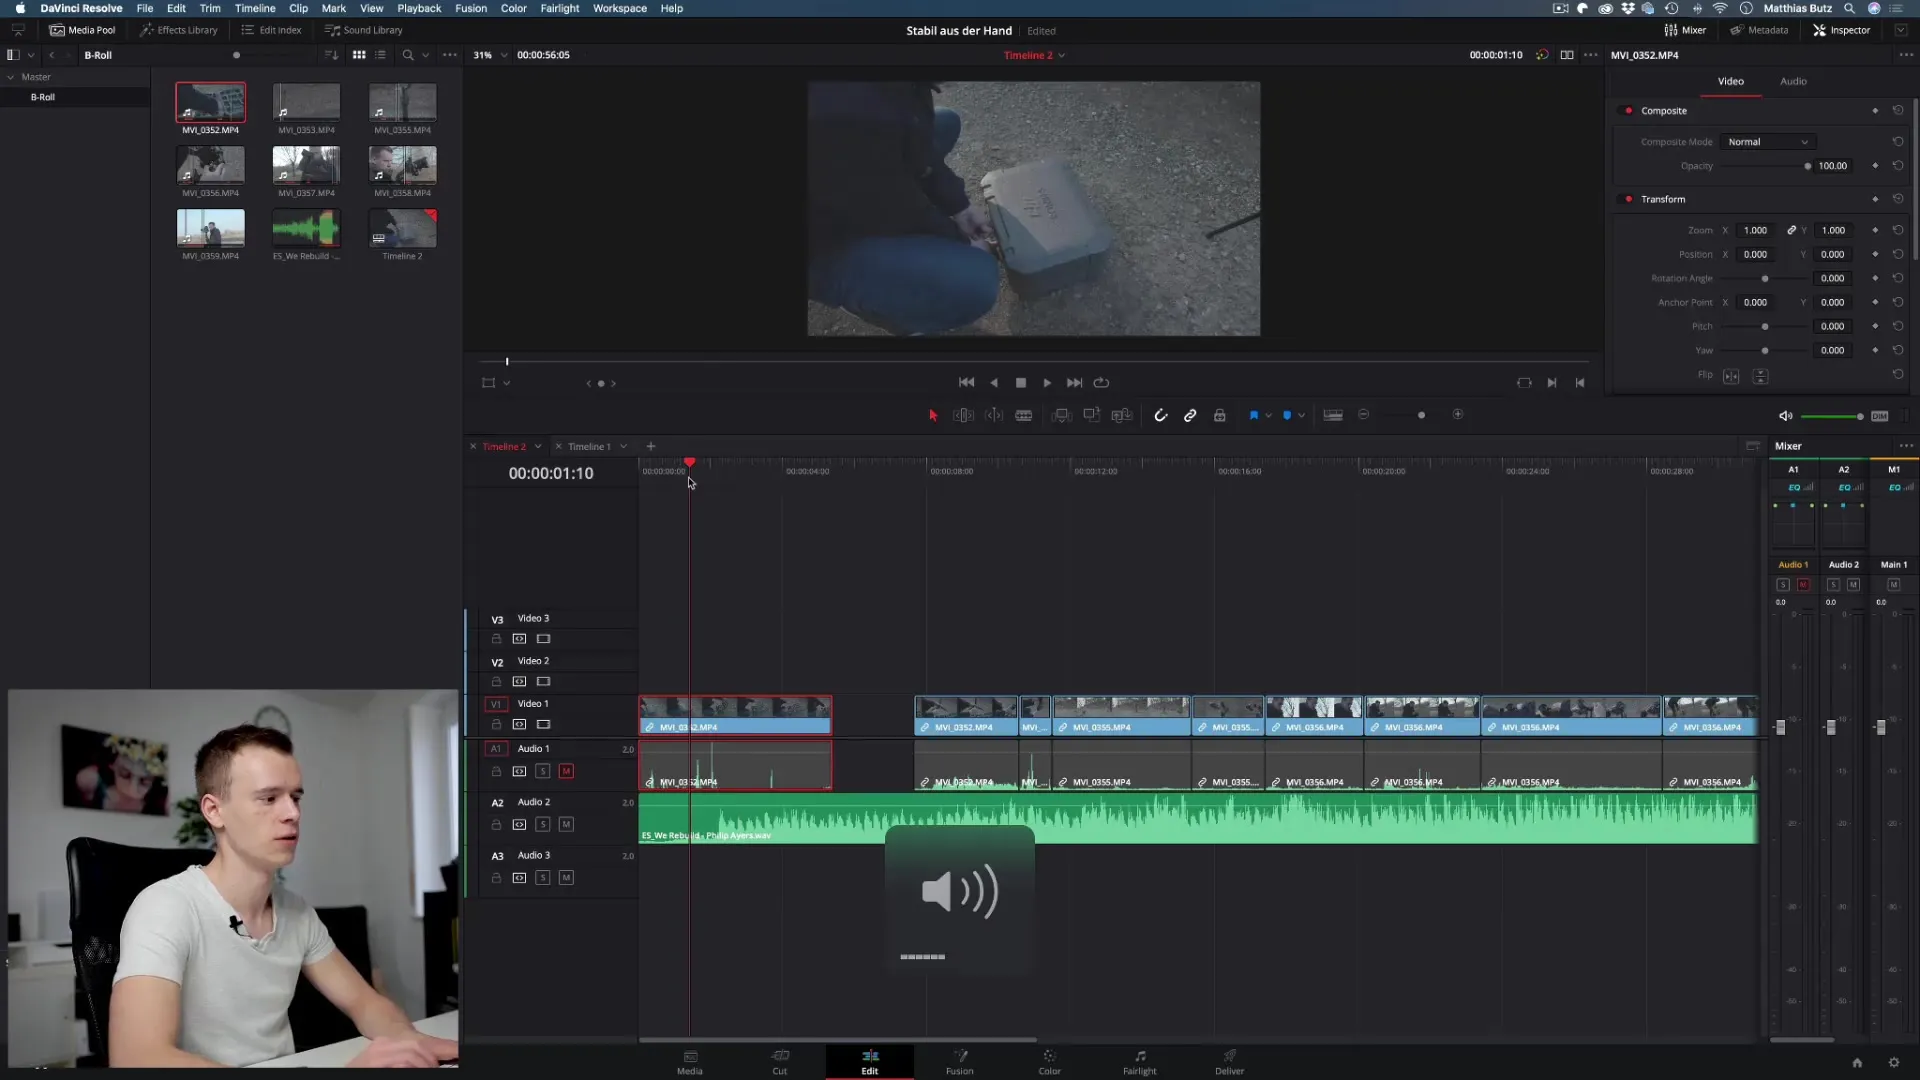
A central aspect of cutting is the timing with the music. In this step, I activated the music track to ensure that all cuts fit well with the music.
It is important that cuts occur at the rhythmic transitions of the music. Make sure not to cut clips that would interrupt the music.
Aligning cuts with the music
I made a cut in the clip at the point where the suitcase is supposed to open, precisely at the moment the music starts. Precision is required here.
Sometimes you may need to adjust the clips a bit more to make them fit perfectly with the music. This requires patience and a good ear for rhythm.
Adding crossfades and effects
To make the transitions between clips smoother, you should add small crossfades. I applied a gentle fade-in for the music track.
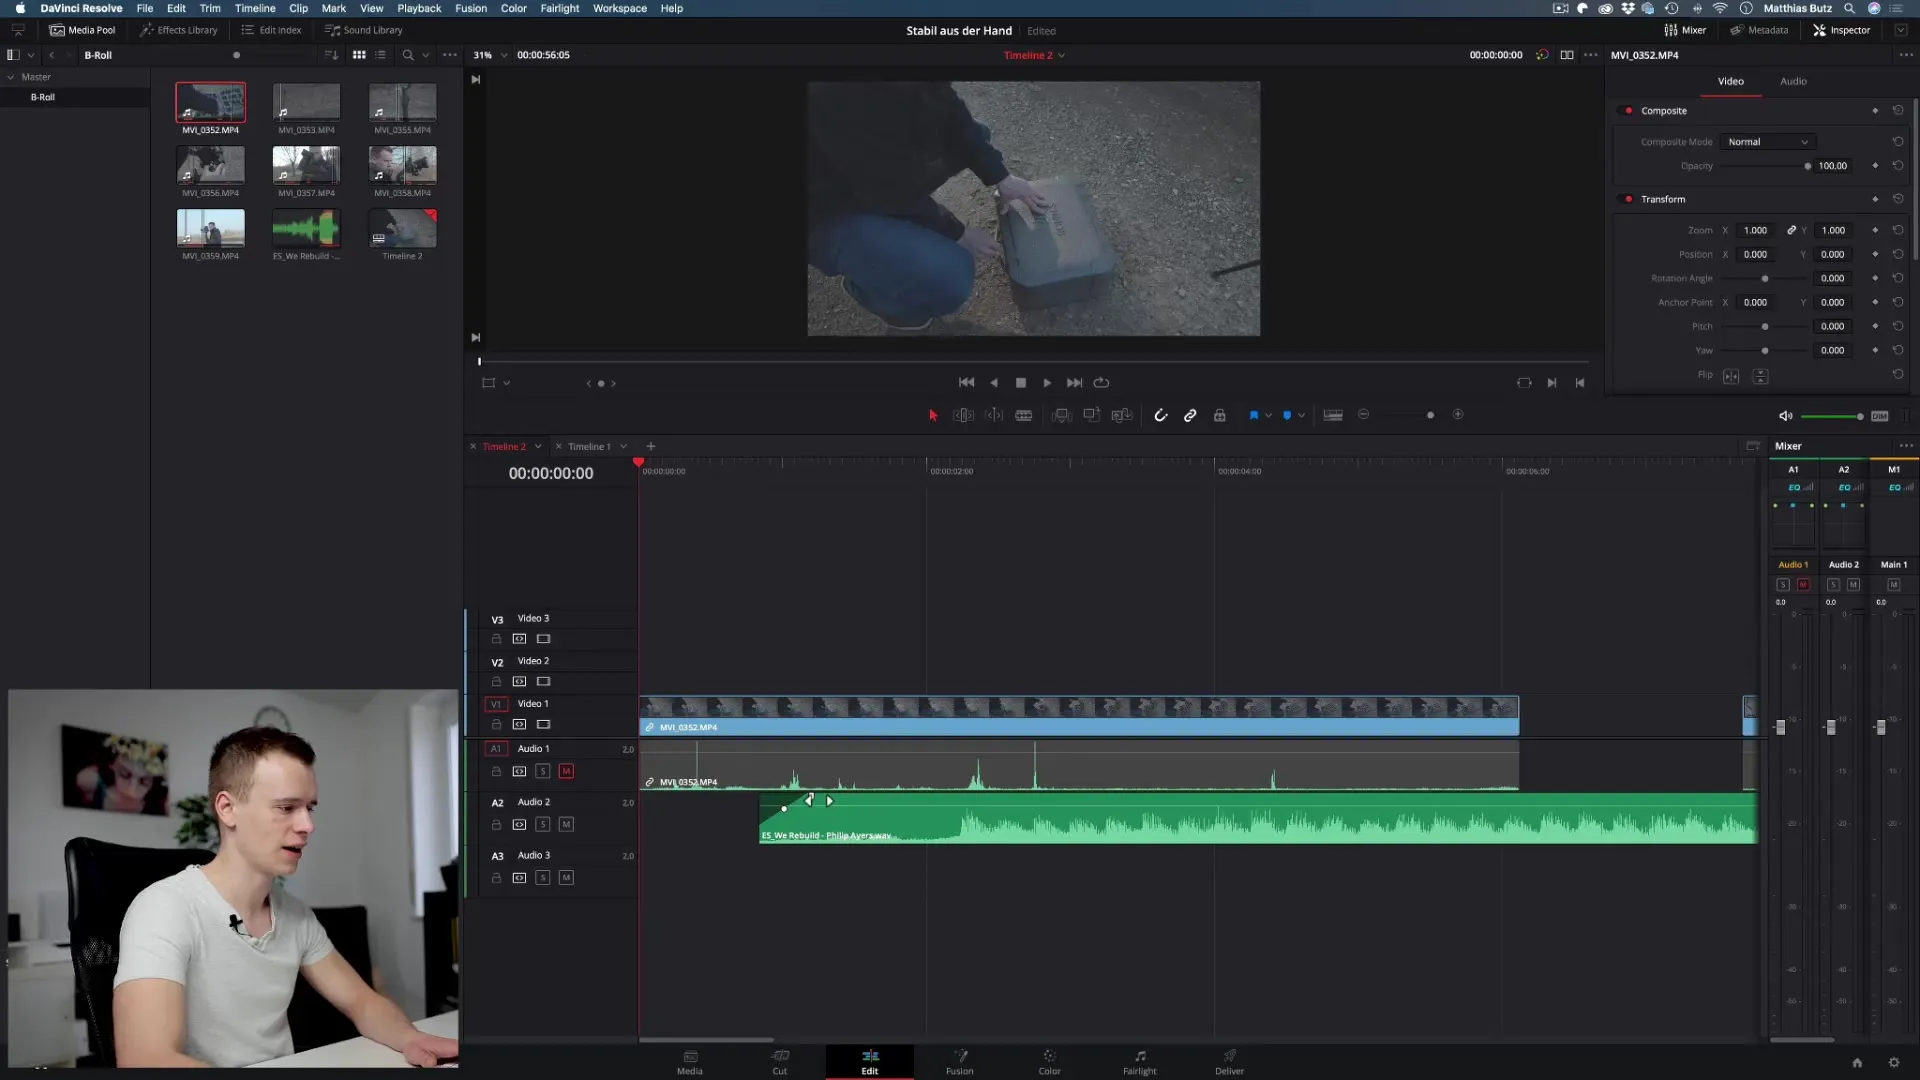
A smooth transition often feels more pleasant than an abrupt ending. Experiment with different effects to find the best solution for your project.
Adjusting speed
In some cases, I want to adjust the clip speed to achieve special effects like slow motion.
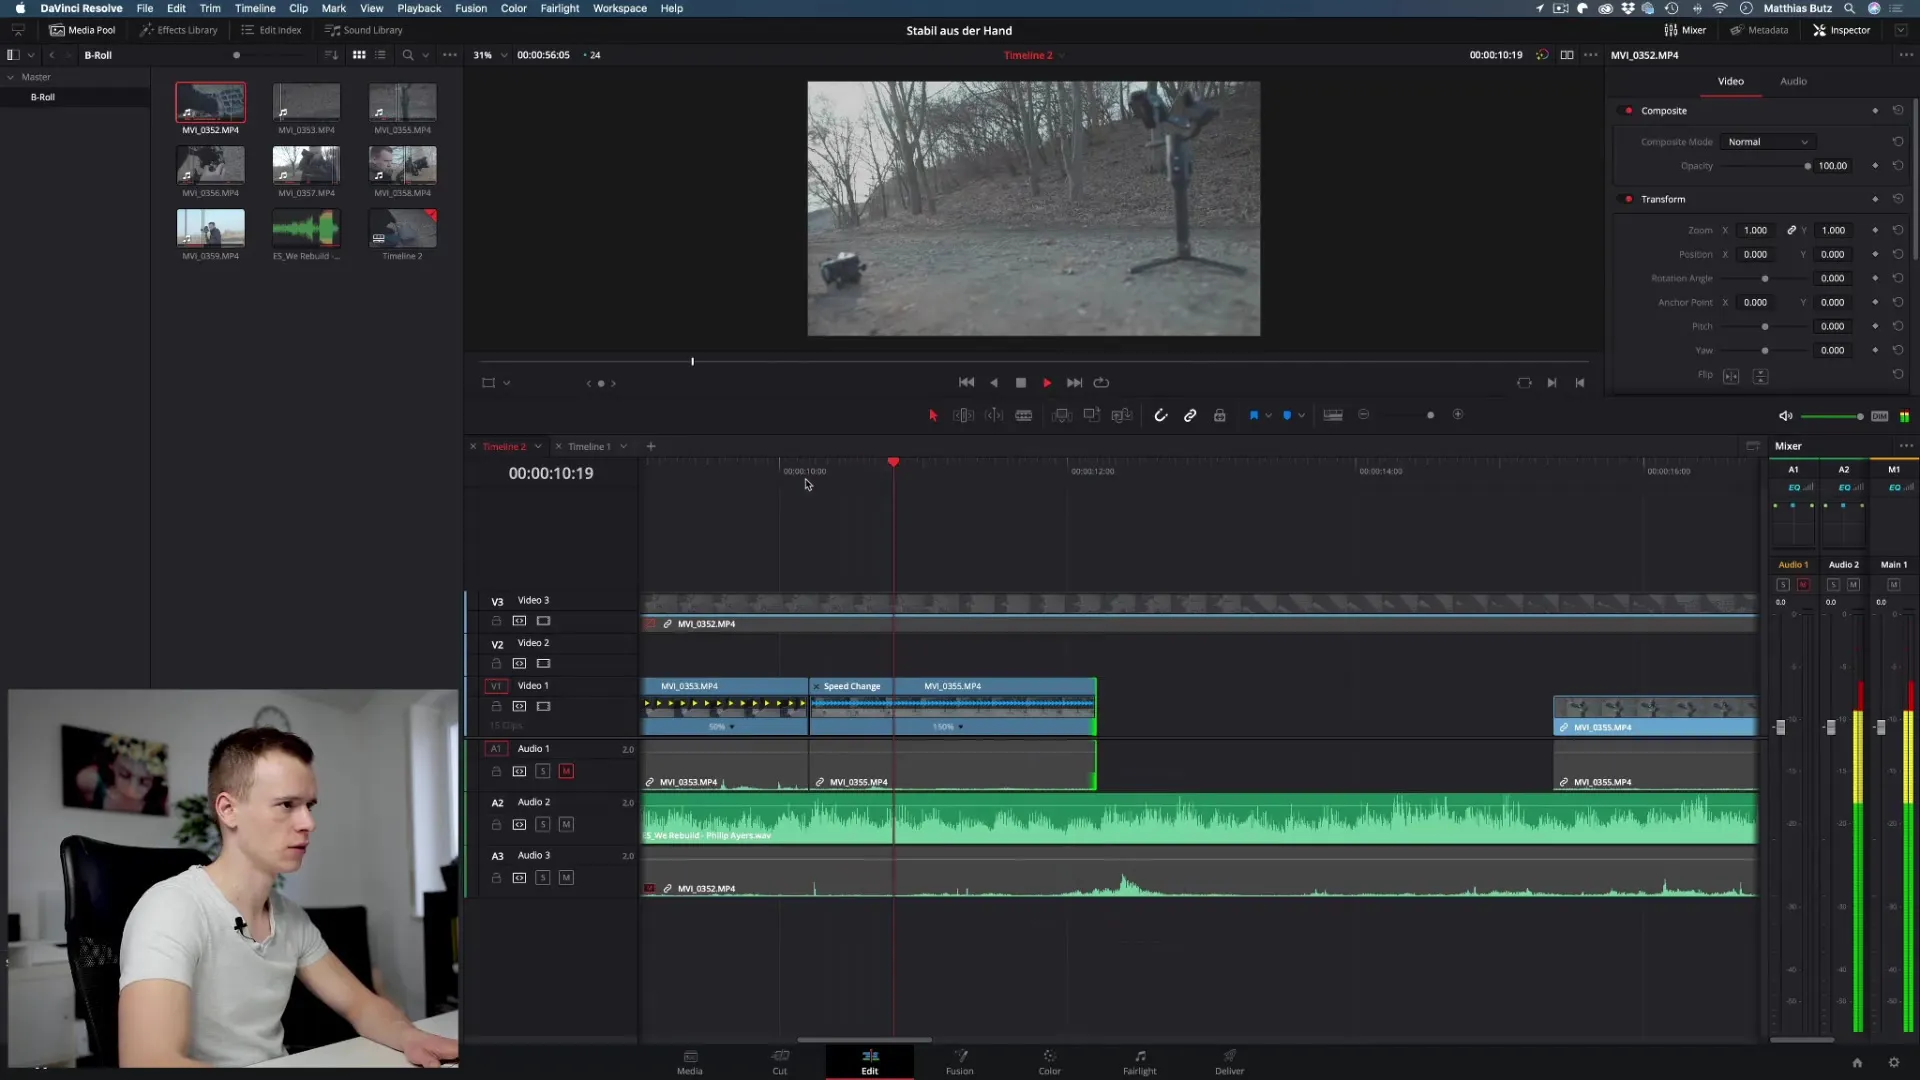
Here, it is important to ensure that the movements in the frame remain harmonious while panning the camera.
Setting markers for reminders
I often set markers at key points where cuts or special effects are required. Doors can provide clues about where cuts need to be made.
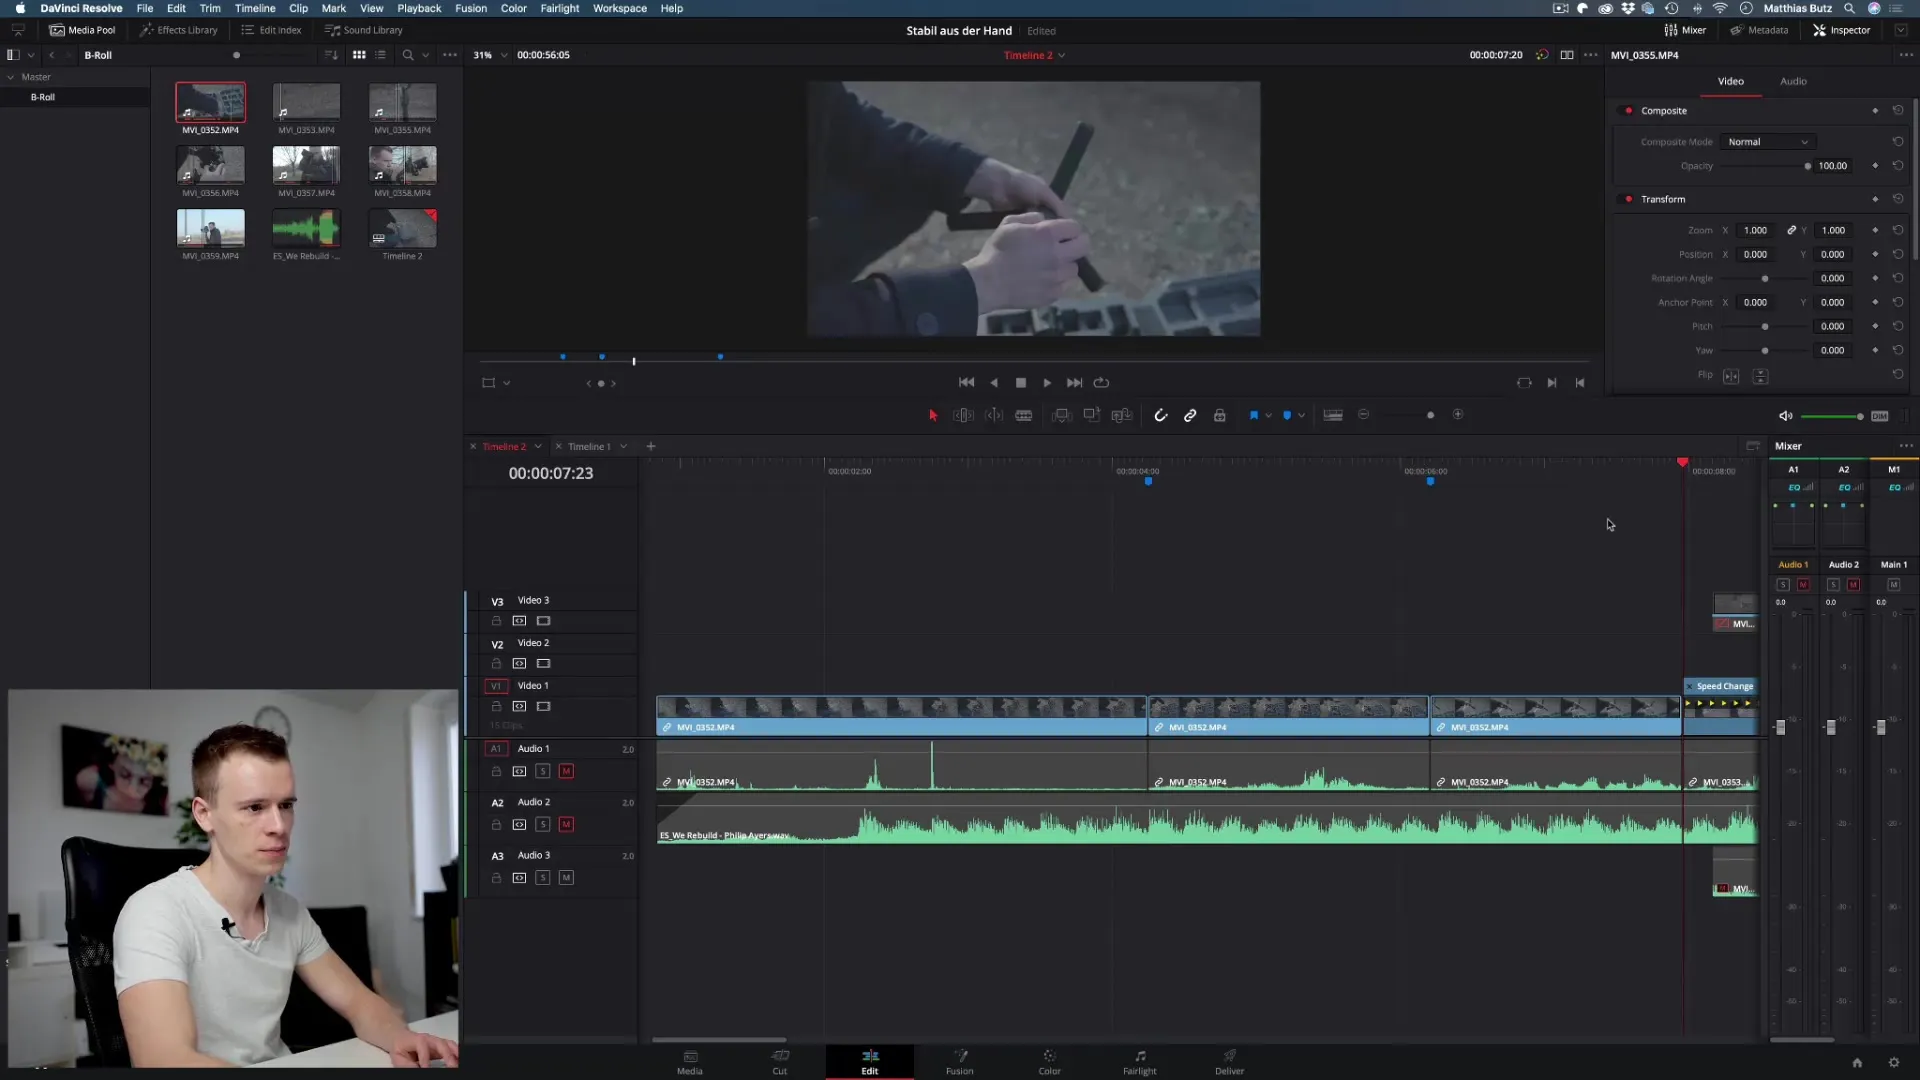
This enables easier editing and ensures you keep track of the narrative.
Synchronizing audio and video
Another important step is synchronizing the audio and video elements. I made sure that all sounds and clips are played in the correct order.
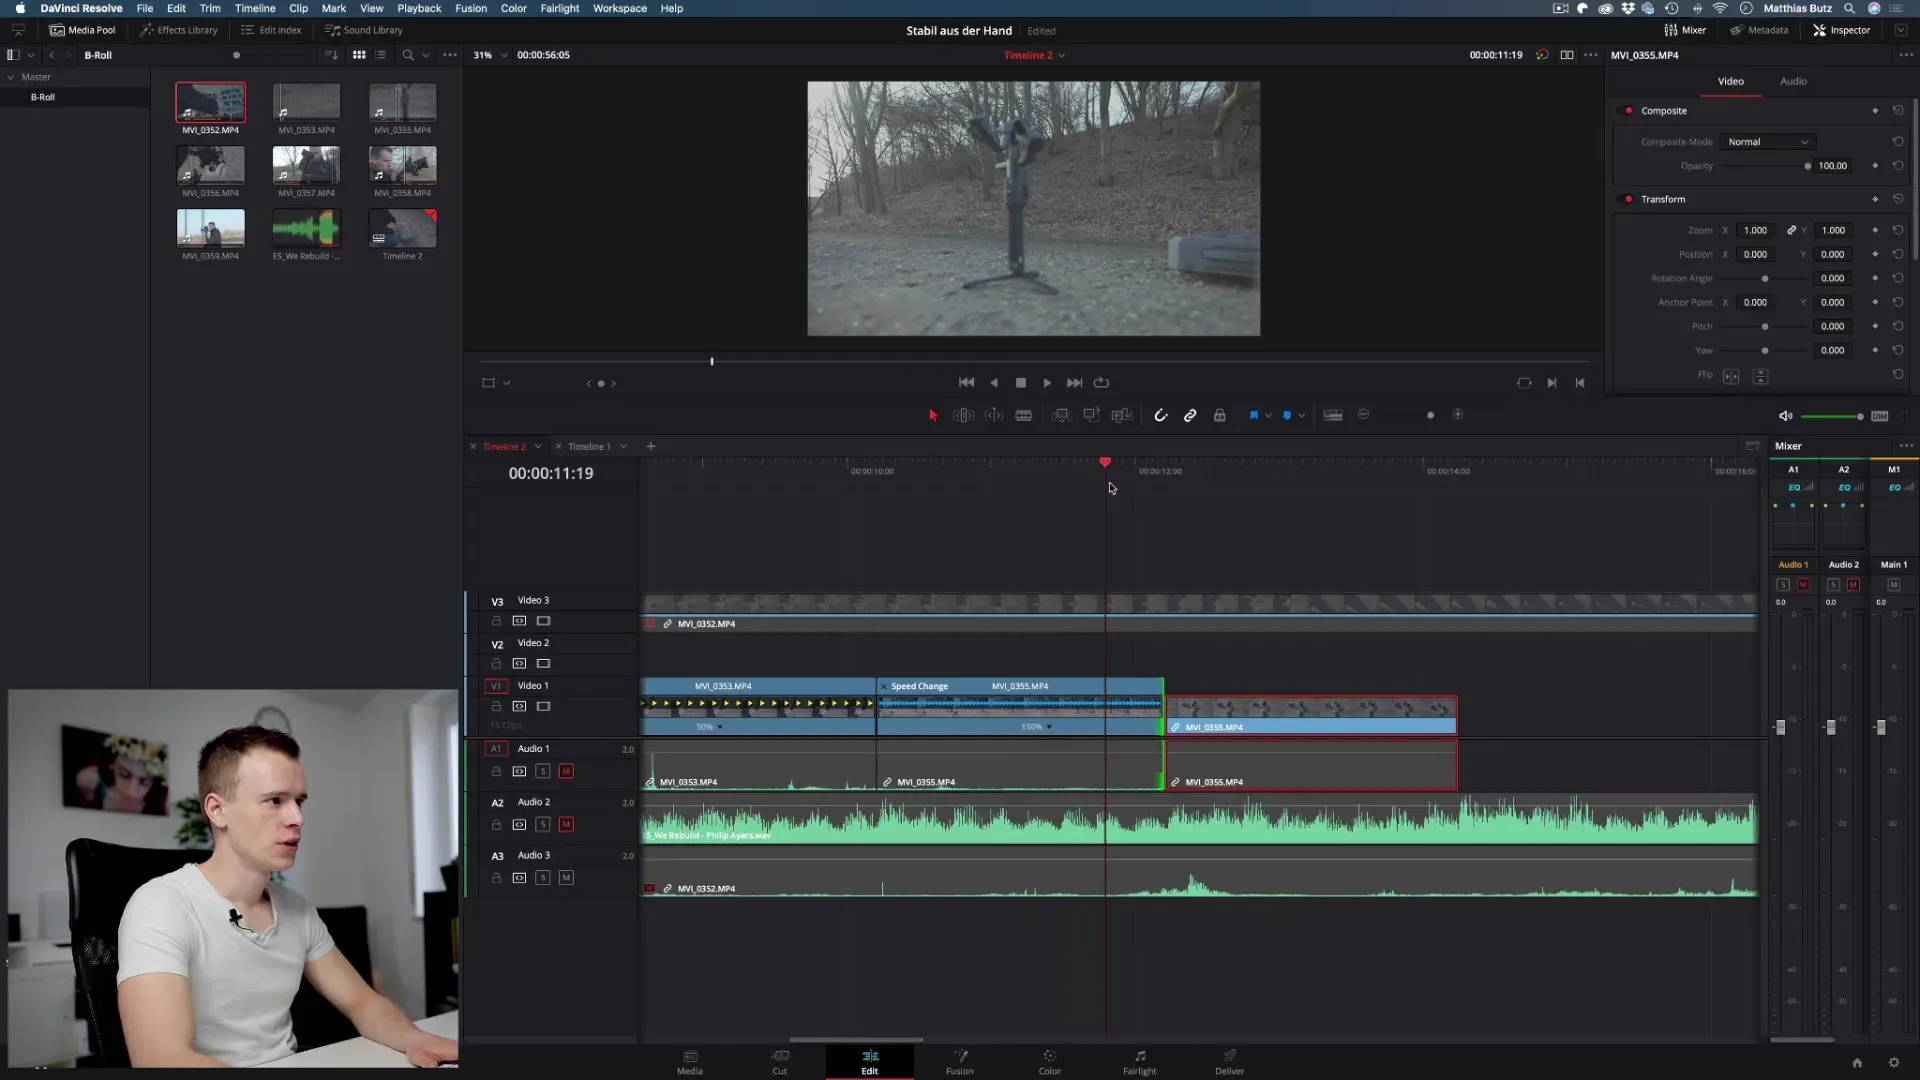
This helps achieve a credible and coherent result.
Final editing and rendering
Once all clips are cut and the transitions are perfectly set, it’s time to render the project.
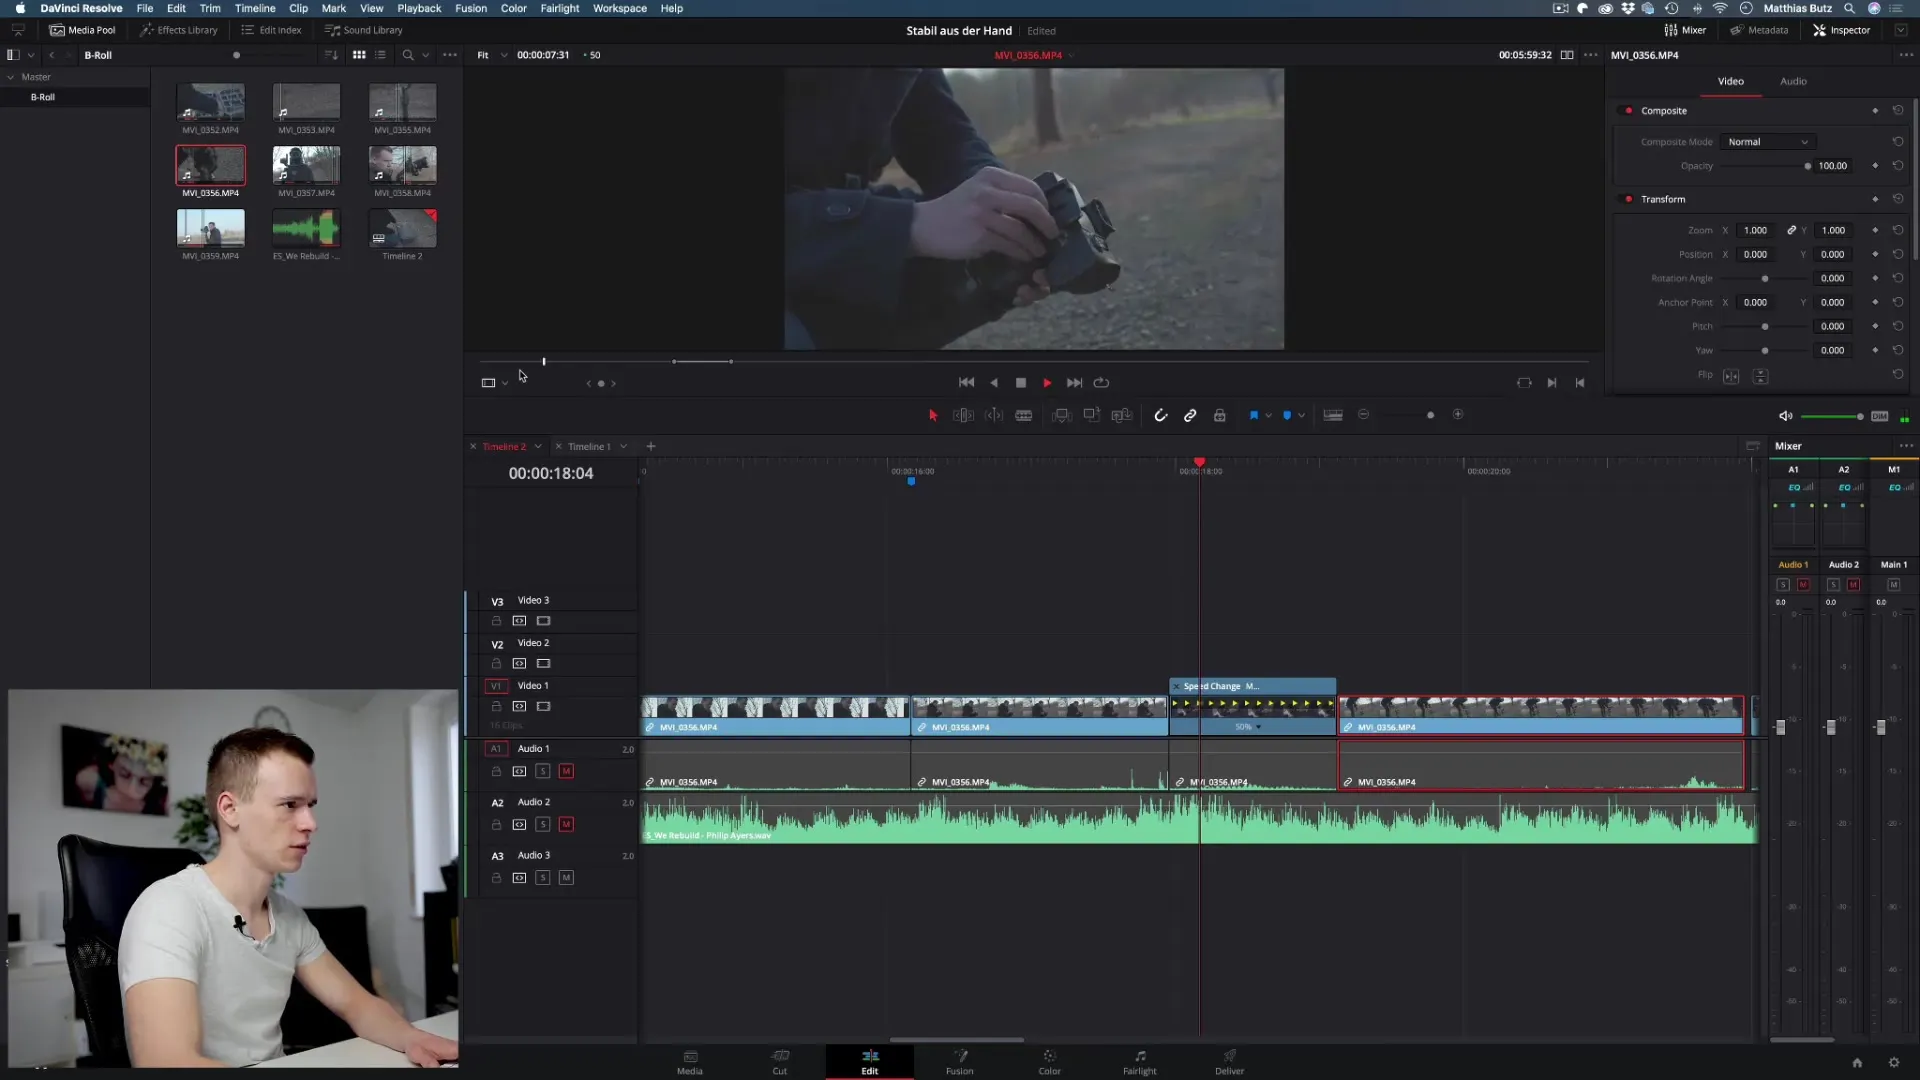
Be sure to select the right settings for the output file to achieve the best result.
Summary - DaVinci Resolve: Step-by-step guide to the art of video editing
In this tutorial, you learned everything important for editing a video in DaVinci Resolve. From organizing the clips to setting transitions to perfect synchronization with the music. Experiment with your own projects and find your personal style.
Frequently Asked Questions
How long does it take to edit a video?It depends on the number of clips and your experience. It can take anywhere from a few hours to several days.
What software is recommended for video editing?DaVinci Resolve is an excellent choice as it is both free and powerful.
How important is music selection for editing?Very important. Music can significantly influence the mood of the video.
Can I also edit directly in DaVinci Resolve?Yes, DaVinci Resolve offers an artistic interface that enables effective editing.
Is it better to work with a script?A script helps to have a clear idea of the content and structure of the video, making the editing easier.


