You have completed your editing and now want to export your video? Exporting videos in DaVinci Resolve can initially seem overwhelming, especially when you go through the various settings and options for the first time. In this guide, I will explain the export dialog of DaVinci Resolve and show you step by step how to export your projects properly. Let’s dive right into it!
Key Insights
- The export dialog offers extensive options for customizing your export process.
- You can render multiple variants of a video simultaneously.
- Make sure to select the correct timeline resolution to export in the desired quality.
- DaVinci Resolve automatically adjusts scaling when you make the correct settings.
- Check the available storage space on your hard drive to avoid issues during rendering.
Step-by-Step Instructions
Step 1: Accessing the Export Dialog
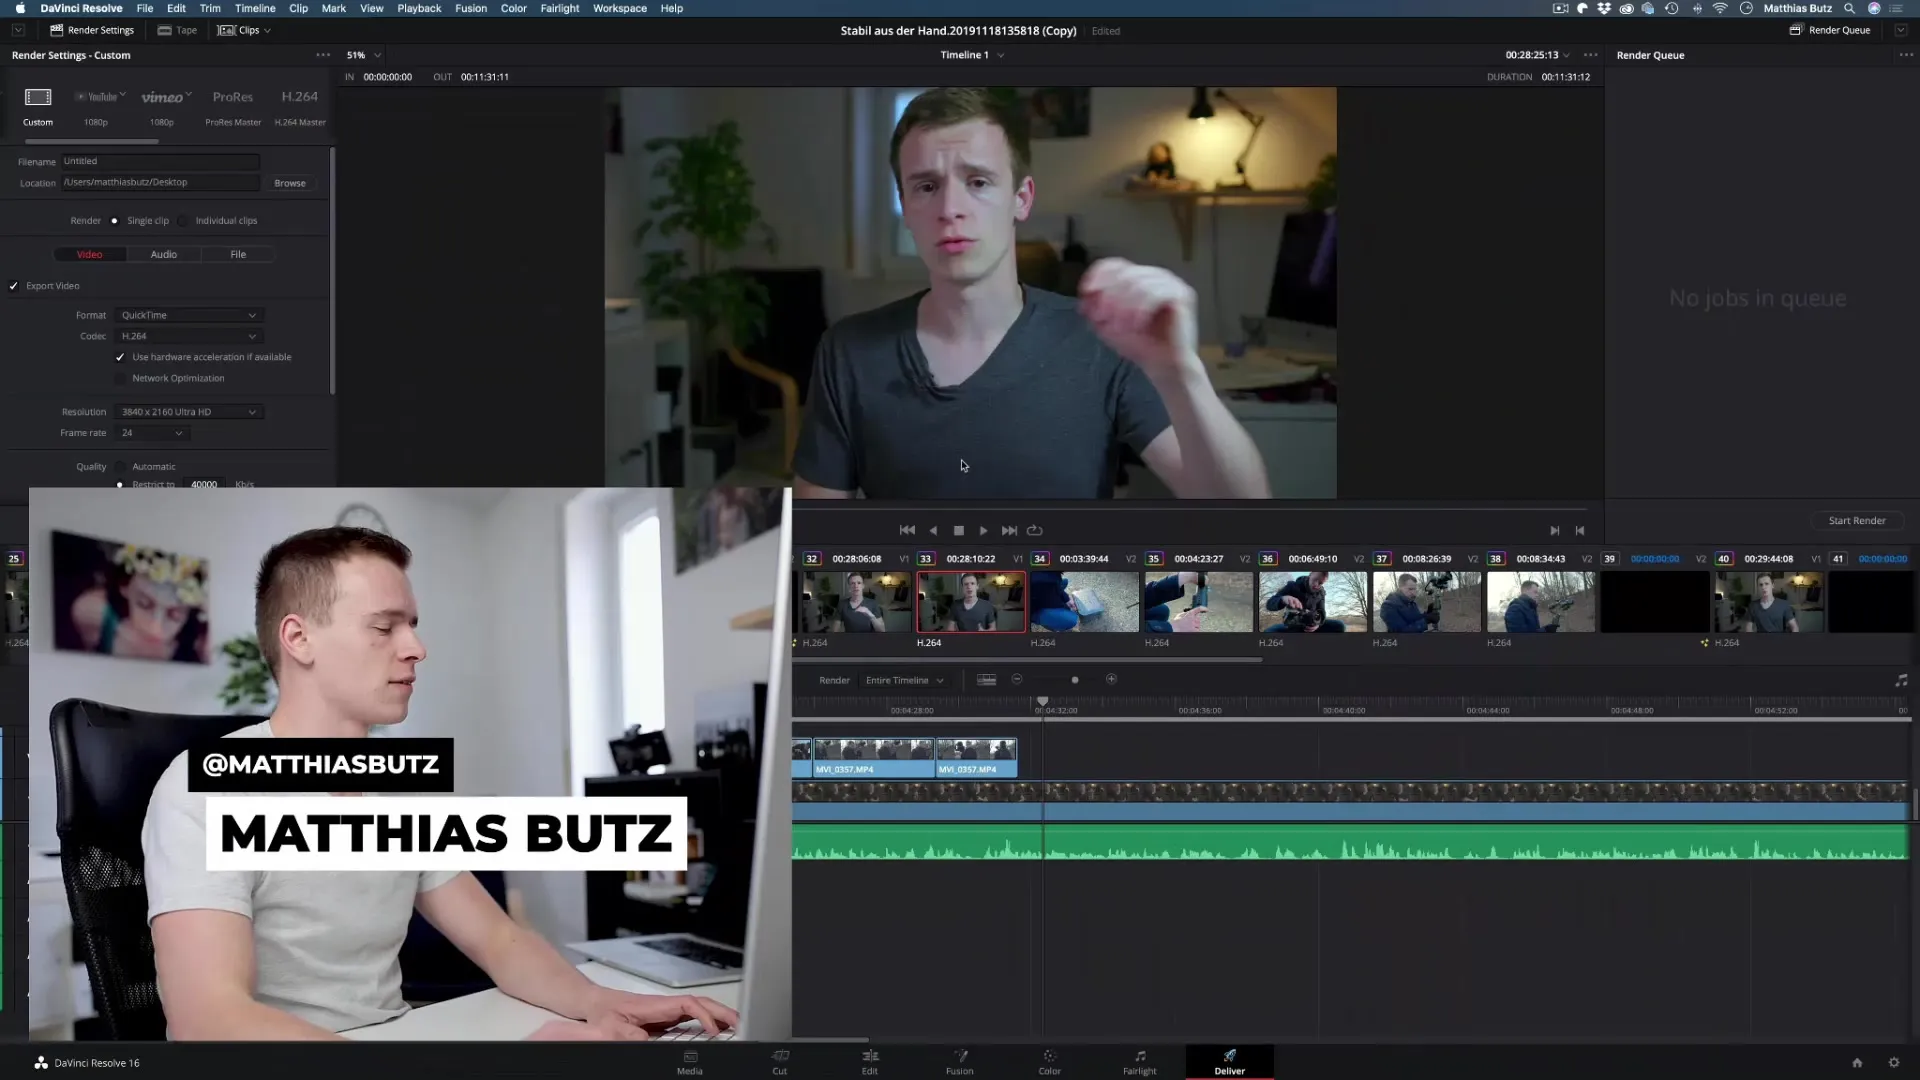
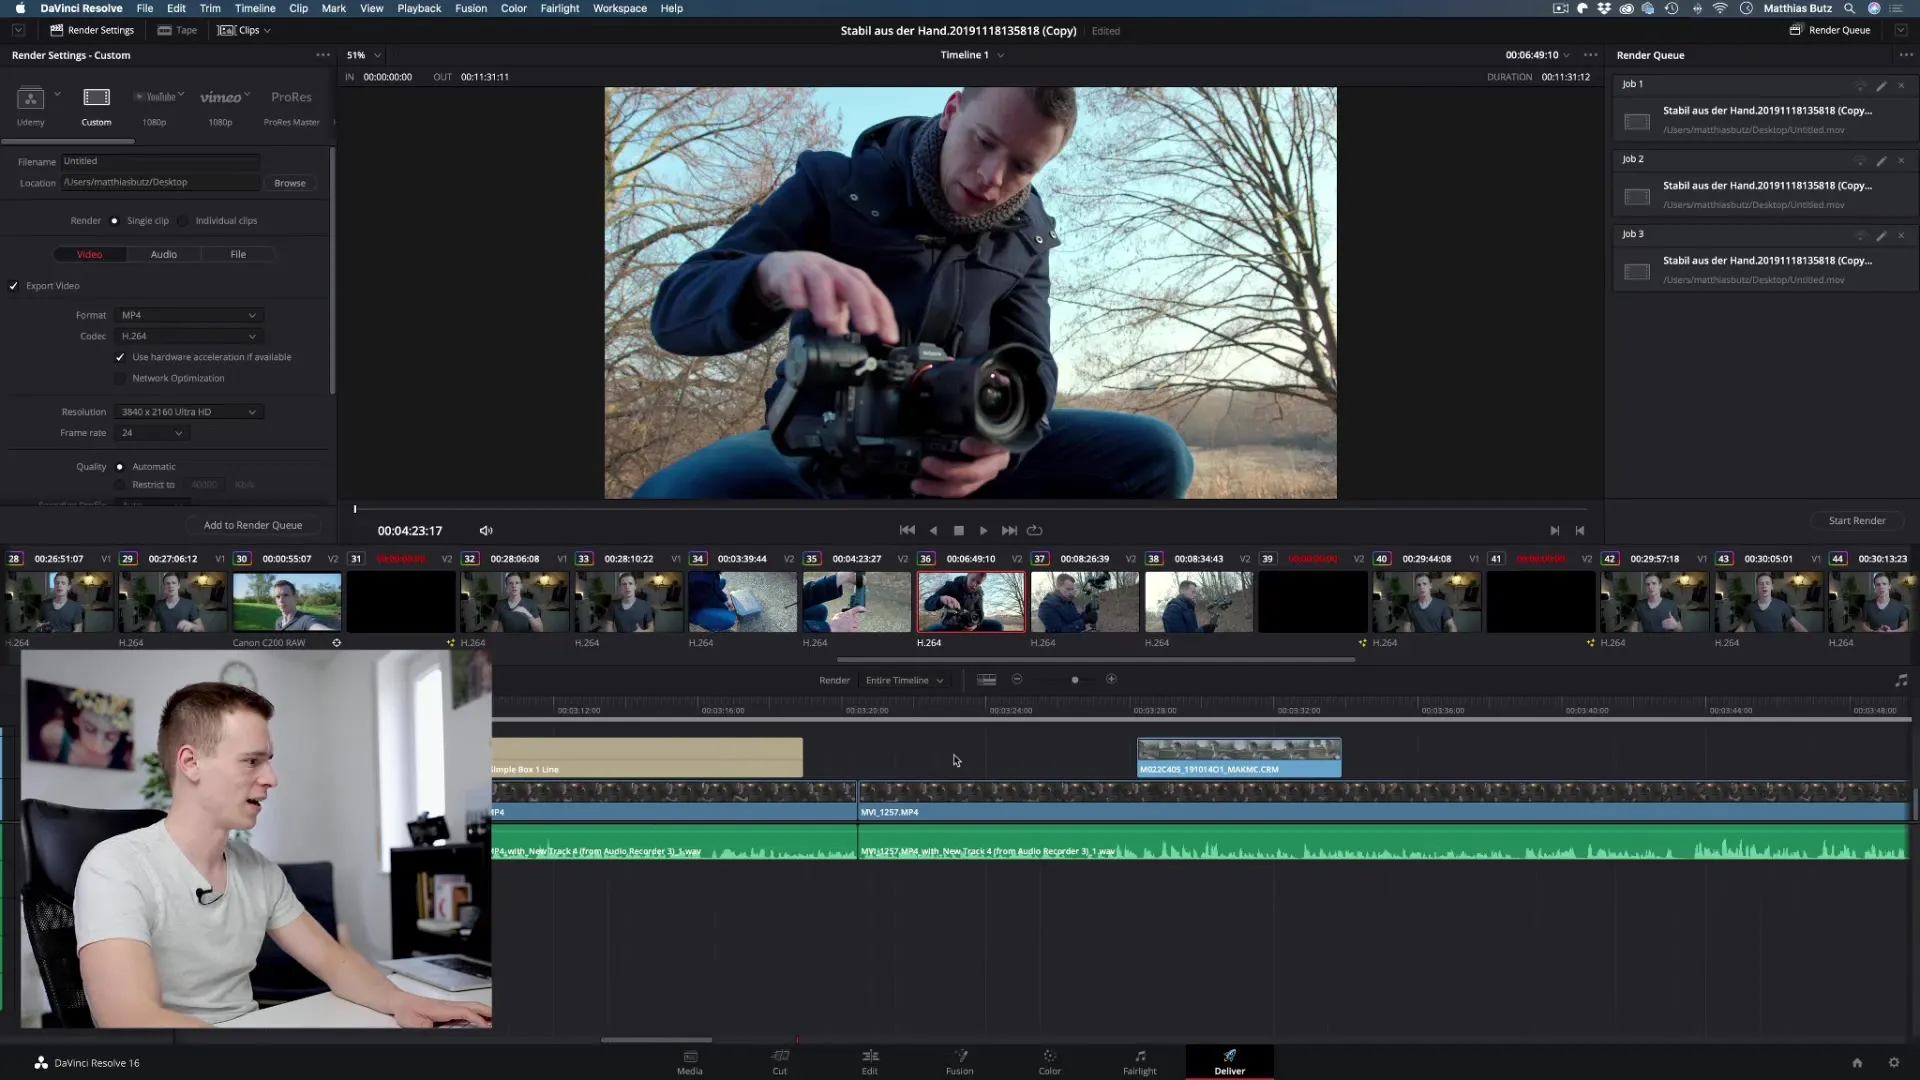
To open the export dialog, navigate to the "Deliver" section of DaVinci Resolve. Here you will find all the tools you need to export your video.
Step 2: Adding Render Variants
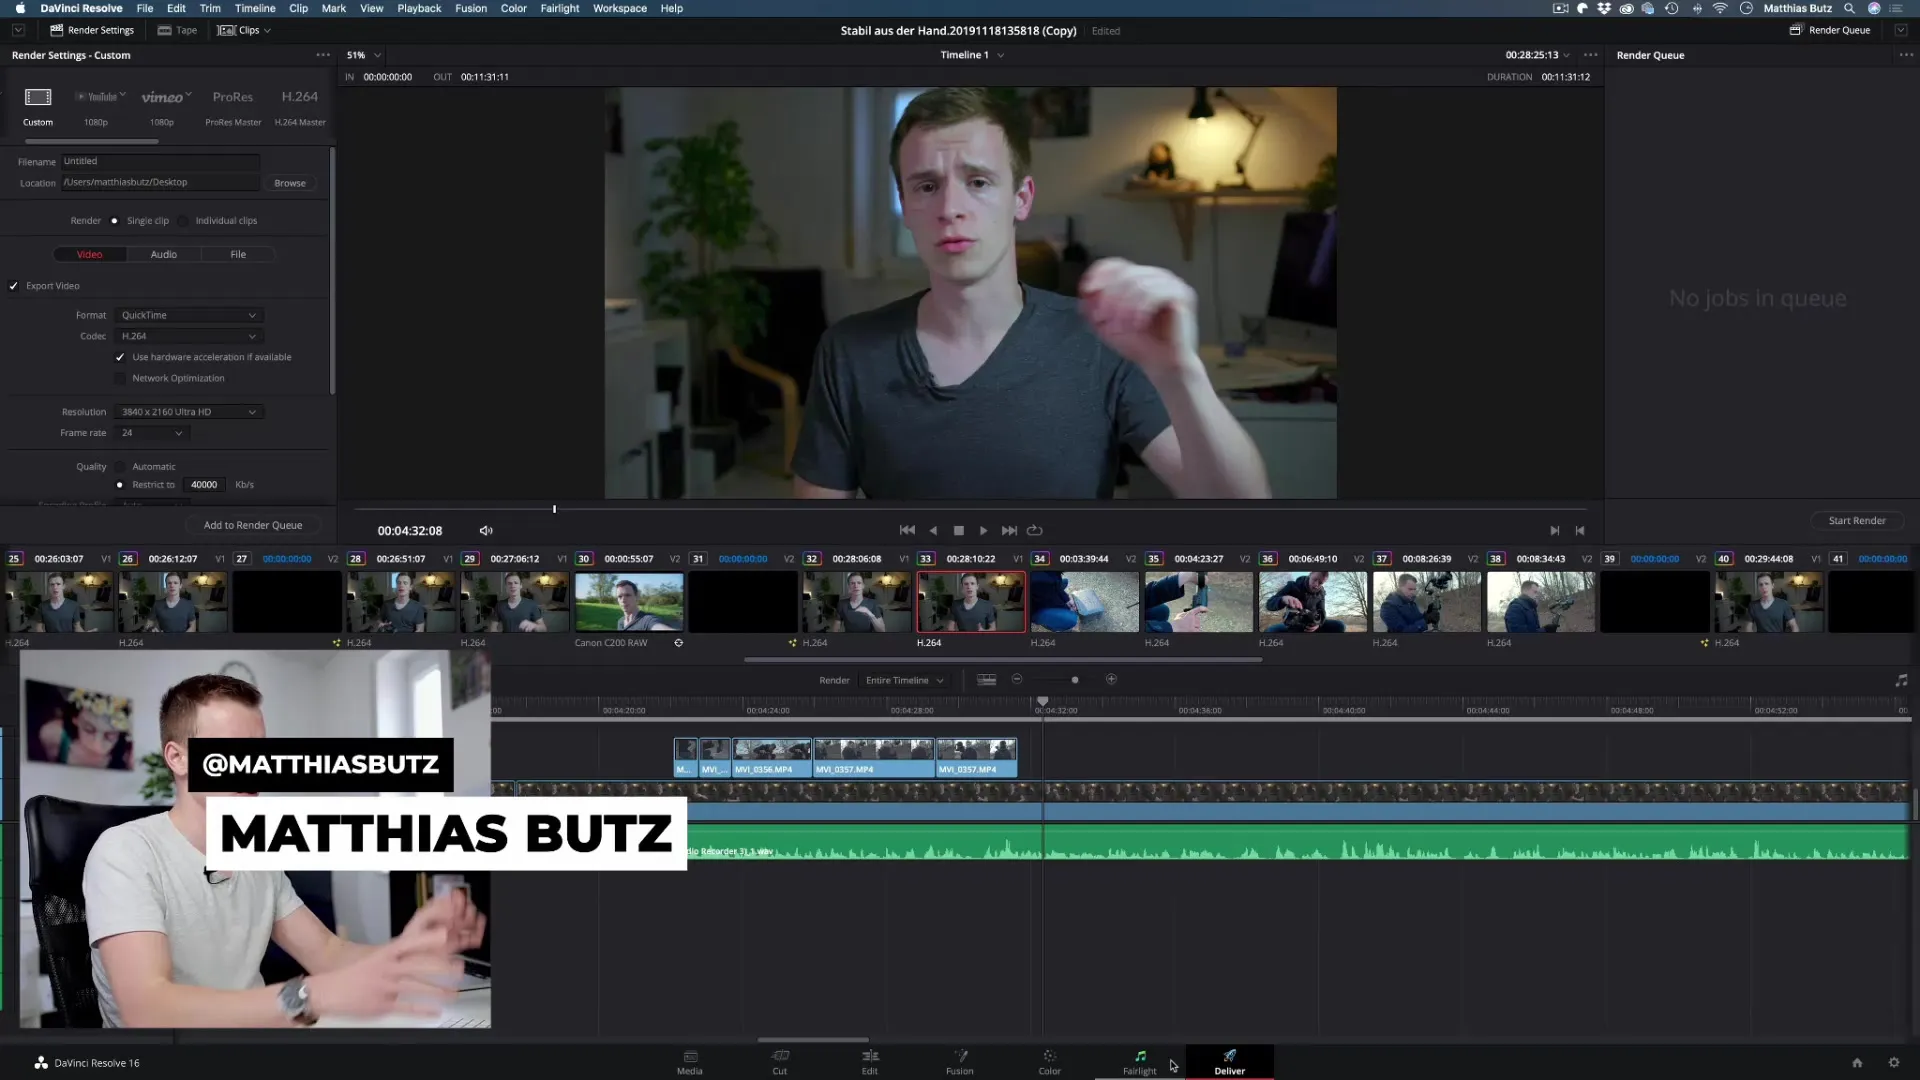
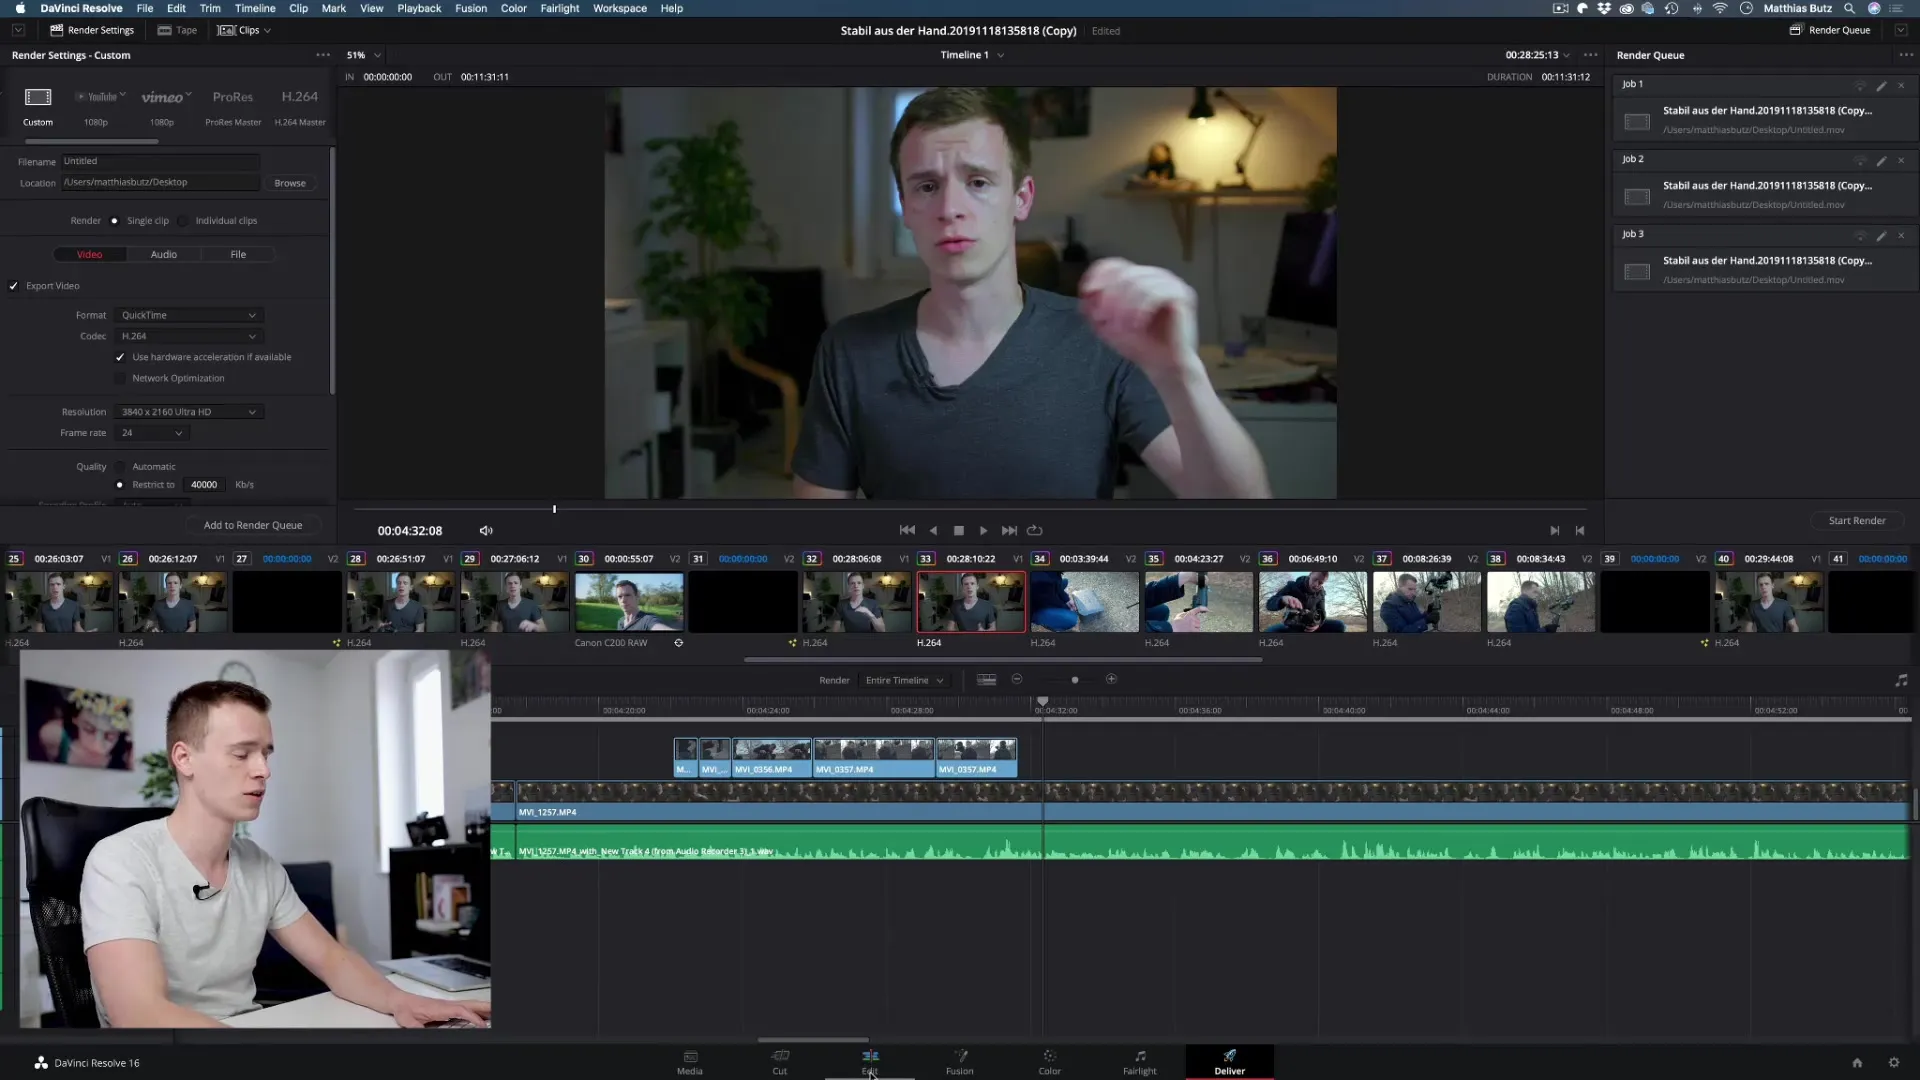
In the right section of the export dialog is the "Queue". You can add multiple variants of your project by simply clicking "Add" and configuring the options as needed. It’s no problem to place multiple variants in the queue at once.
Step 3: Selecting Render Settings
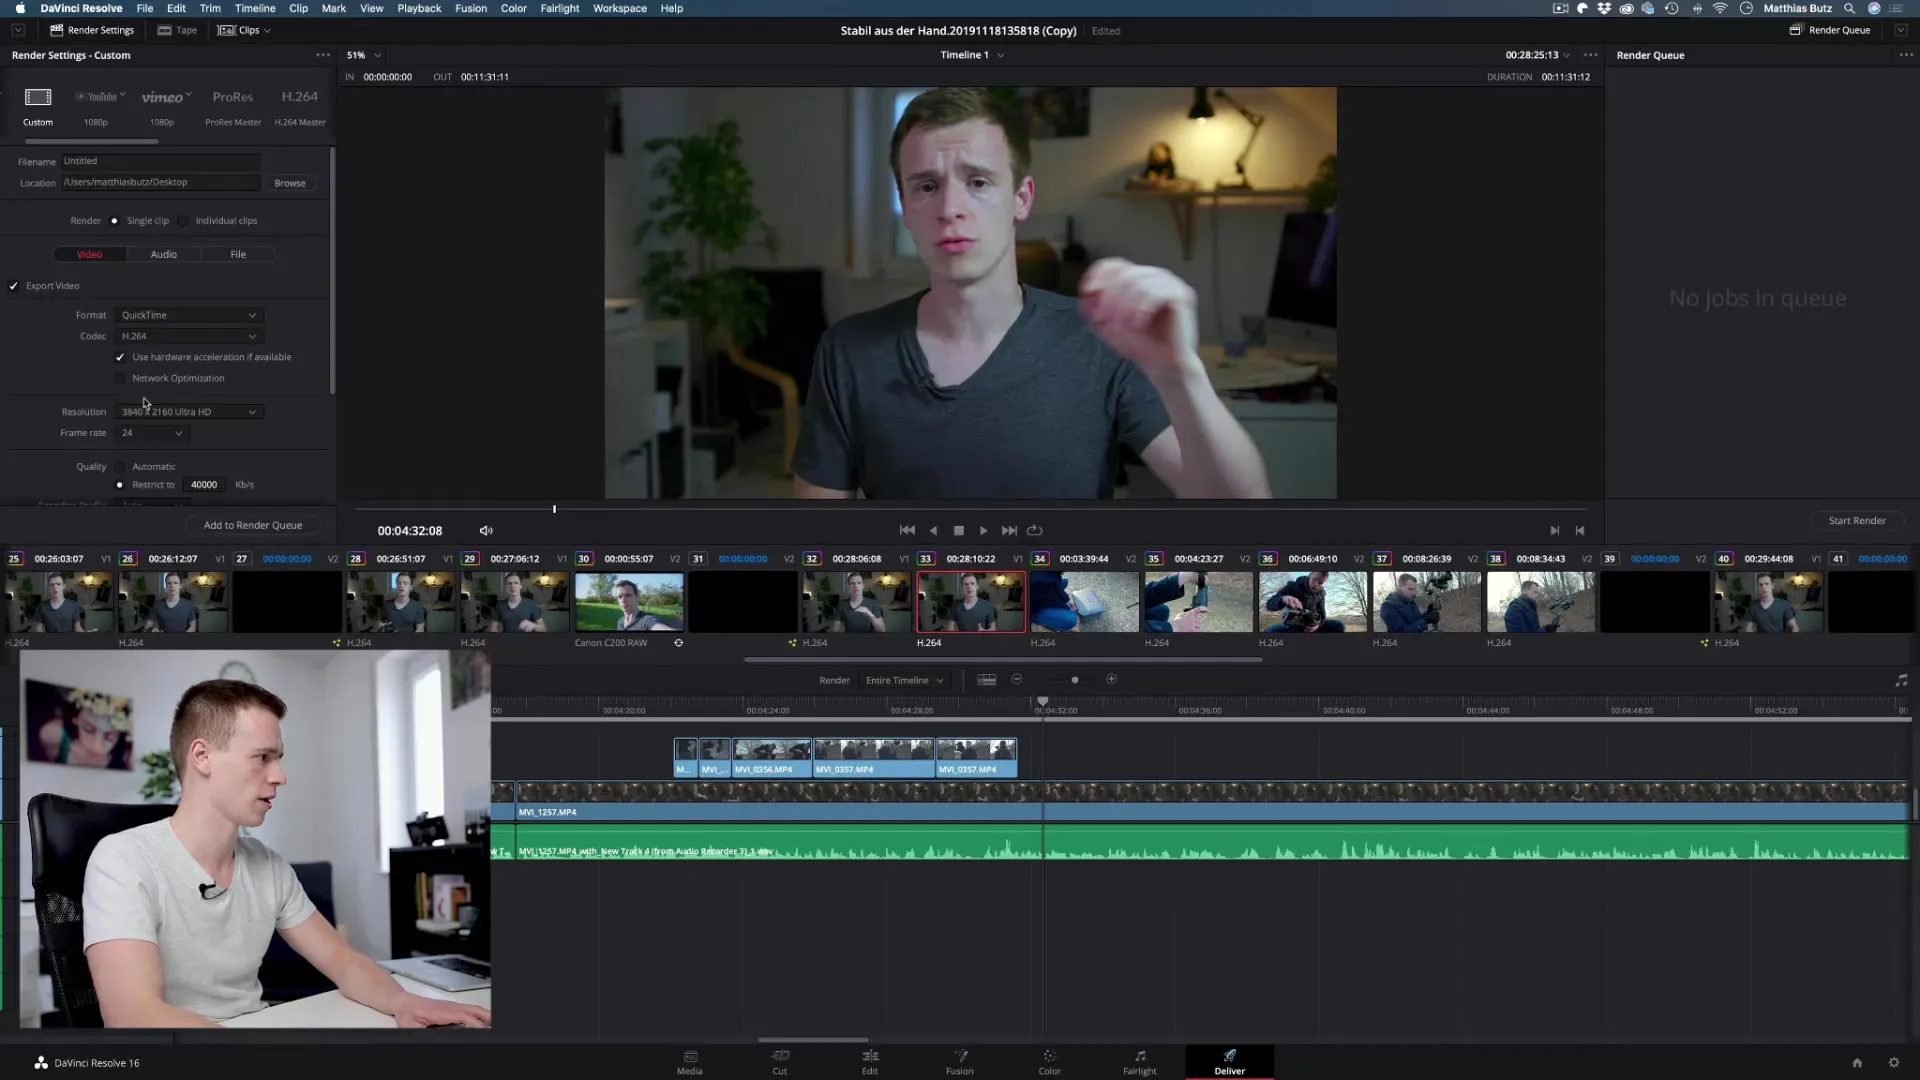
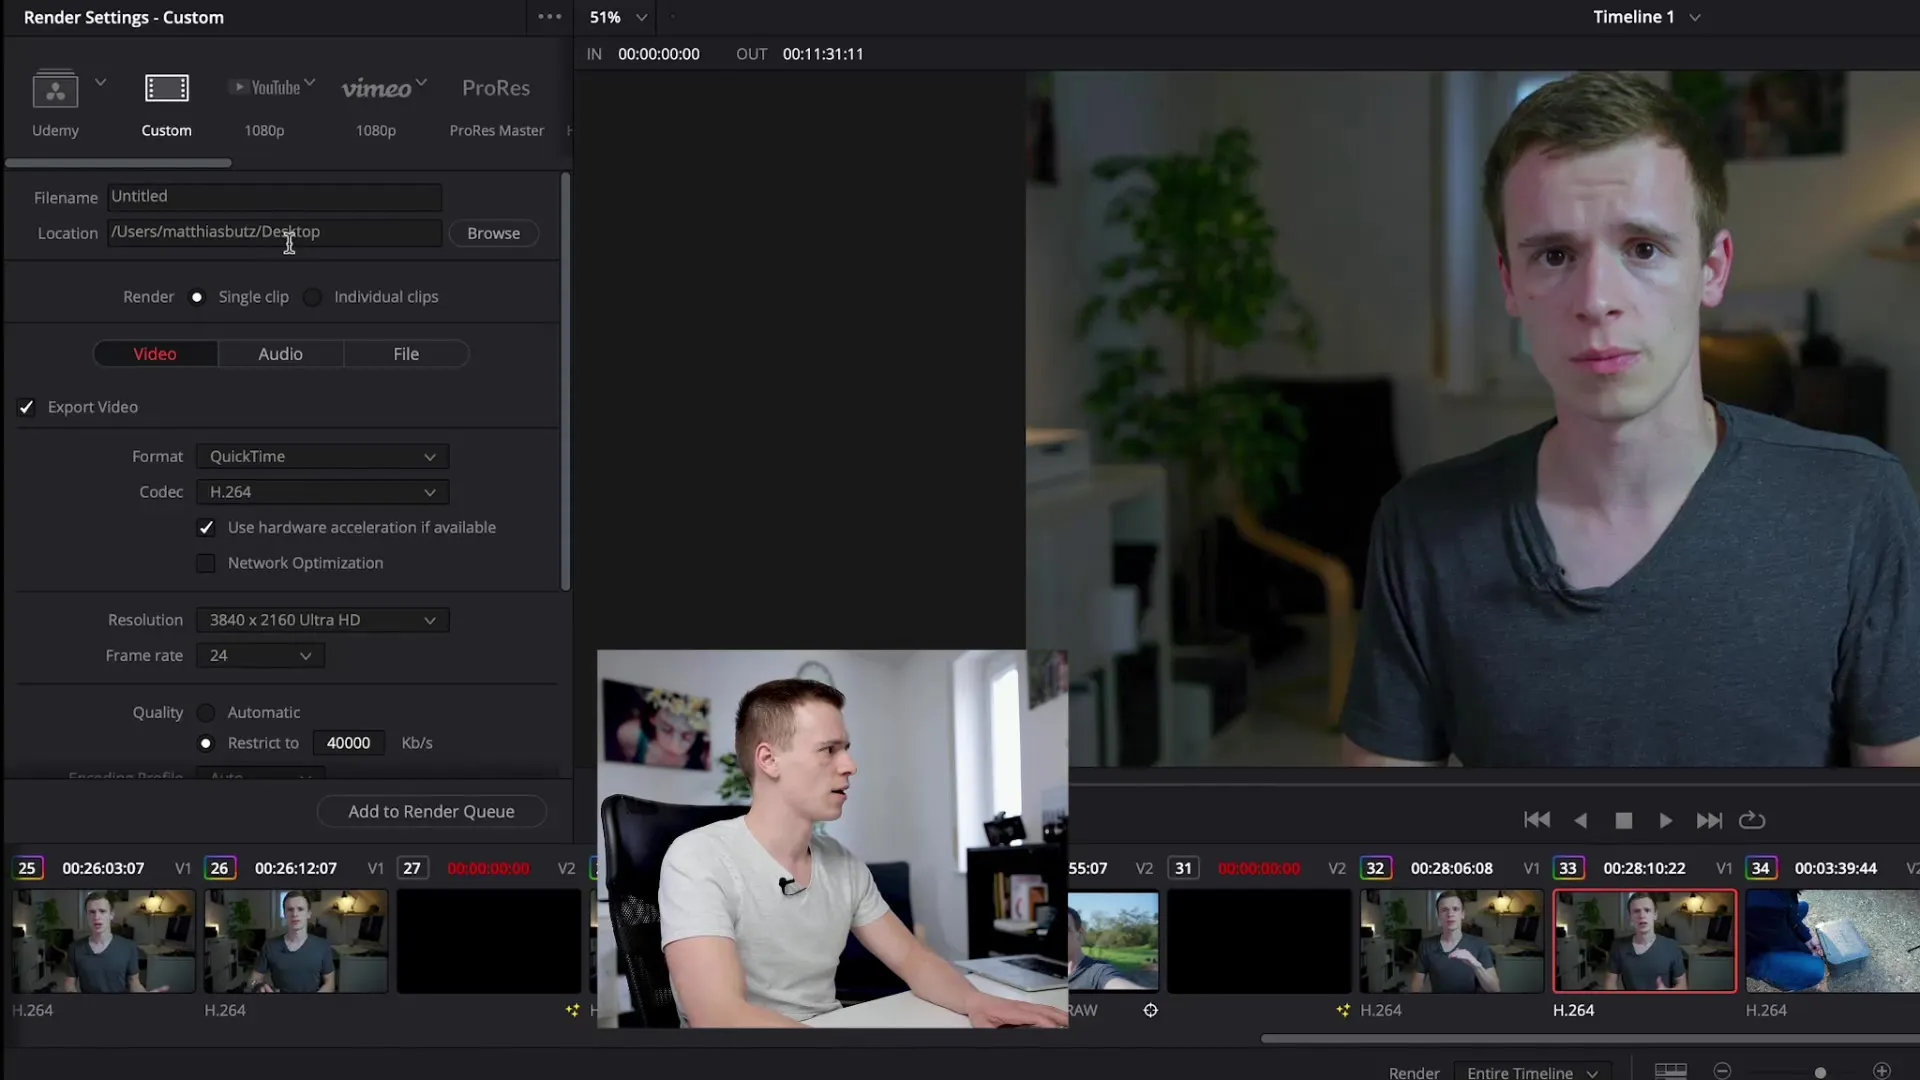
On the left side, you can make various settings. You need to ensure that all effect edits, colors, and cuts you have made so far are included in the export. DaVinci Resolve is known for its fast rendering speed when your files are stored on a high-performance hard drive.
Step 4: Checking the Timeline Resolution
Make sure to set the timeline resolution correctly. You should ensure that your timeline has the desired 4K or HD settings to achieve the best possible quality. A common problem is working in an HD timeline and not noticing when you want to export a 4K video.
Step 5: Setting File Name and Storage Location
Specify the storage location for your exported clip by clicking on the corresponding field. It is important to choose an easily accessible location, such as the desktop. You also have the option to manually adjust the file name to ensure better management of your projects.
Step 6: Selecting Audio and Video
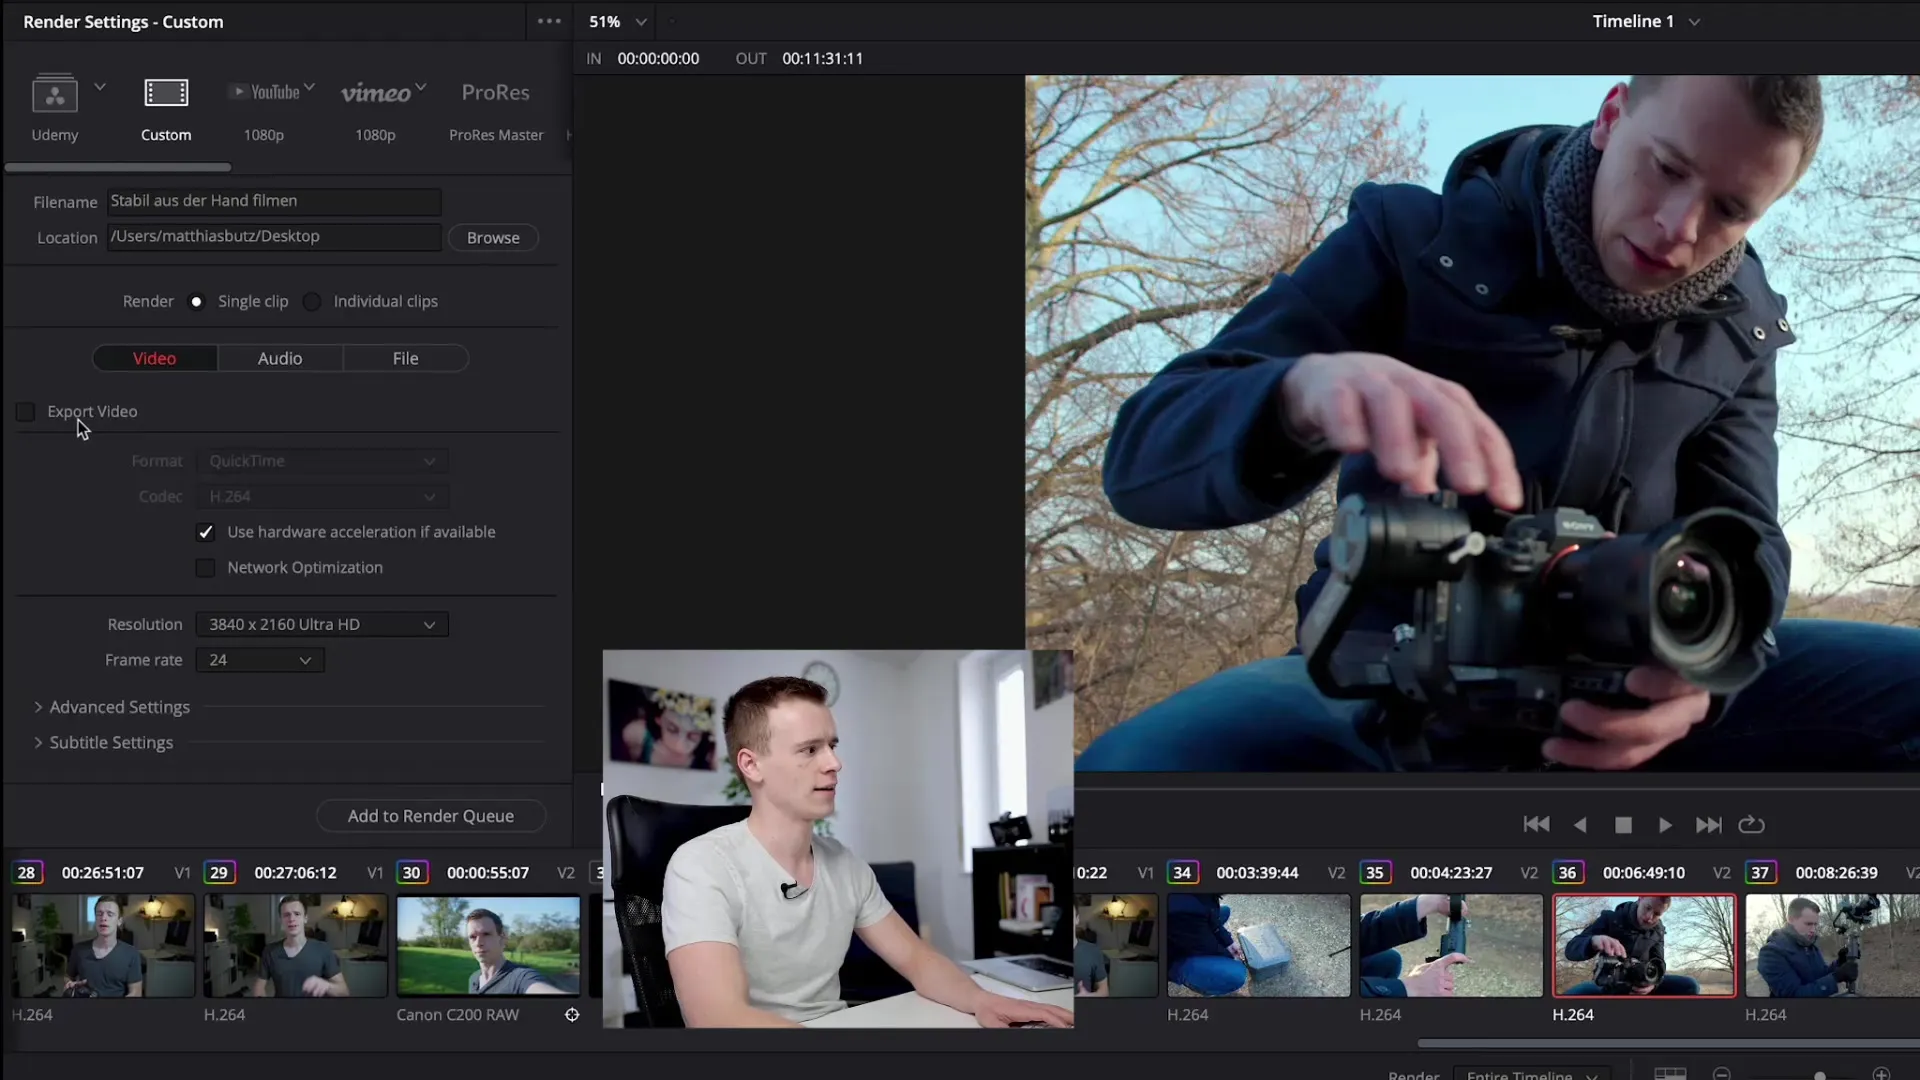
Make sure both "Export Audio" and "Export Video" are checked. If you uncheck either option, your exported video will either have no image or no sound, which is not optimal.
Step 7: Setting Render Speed
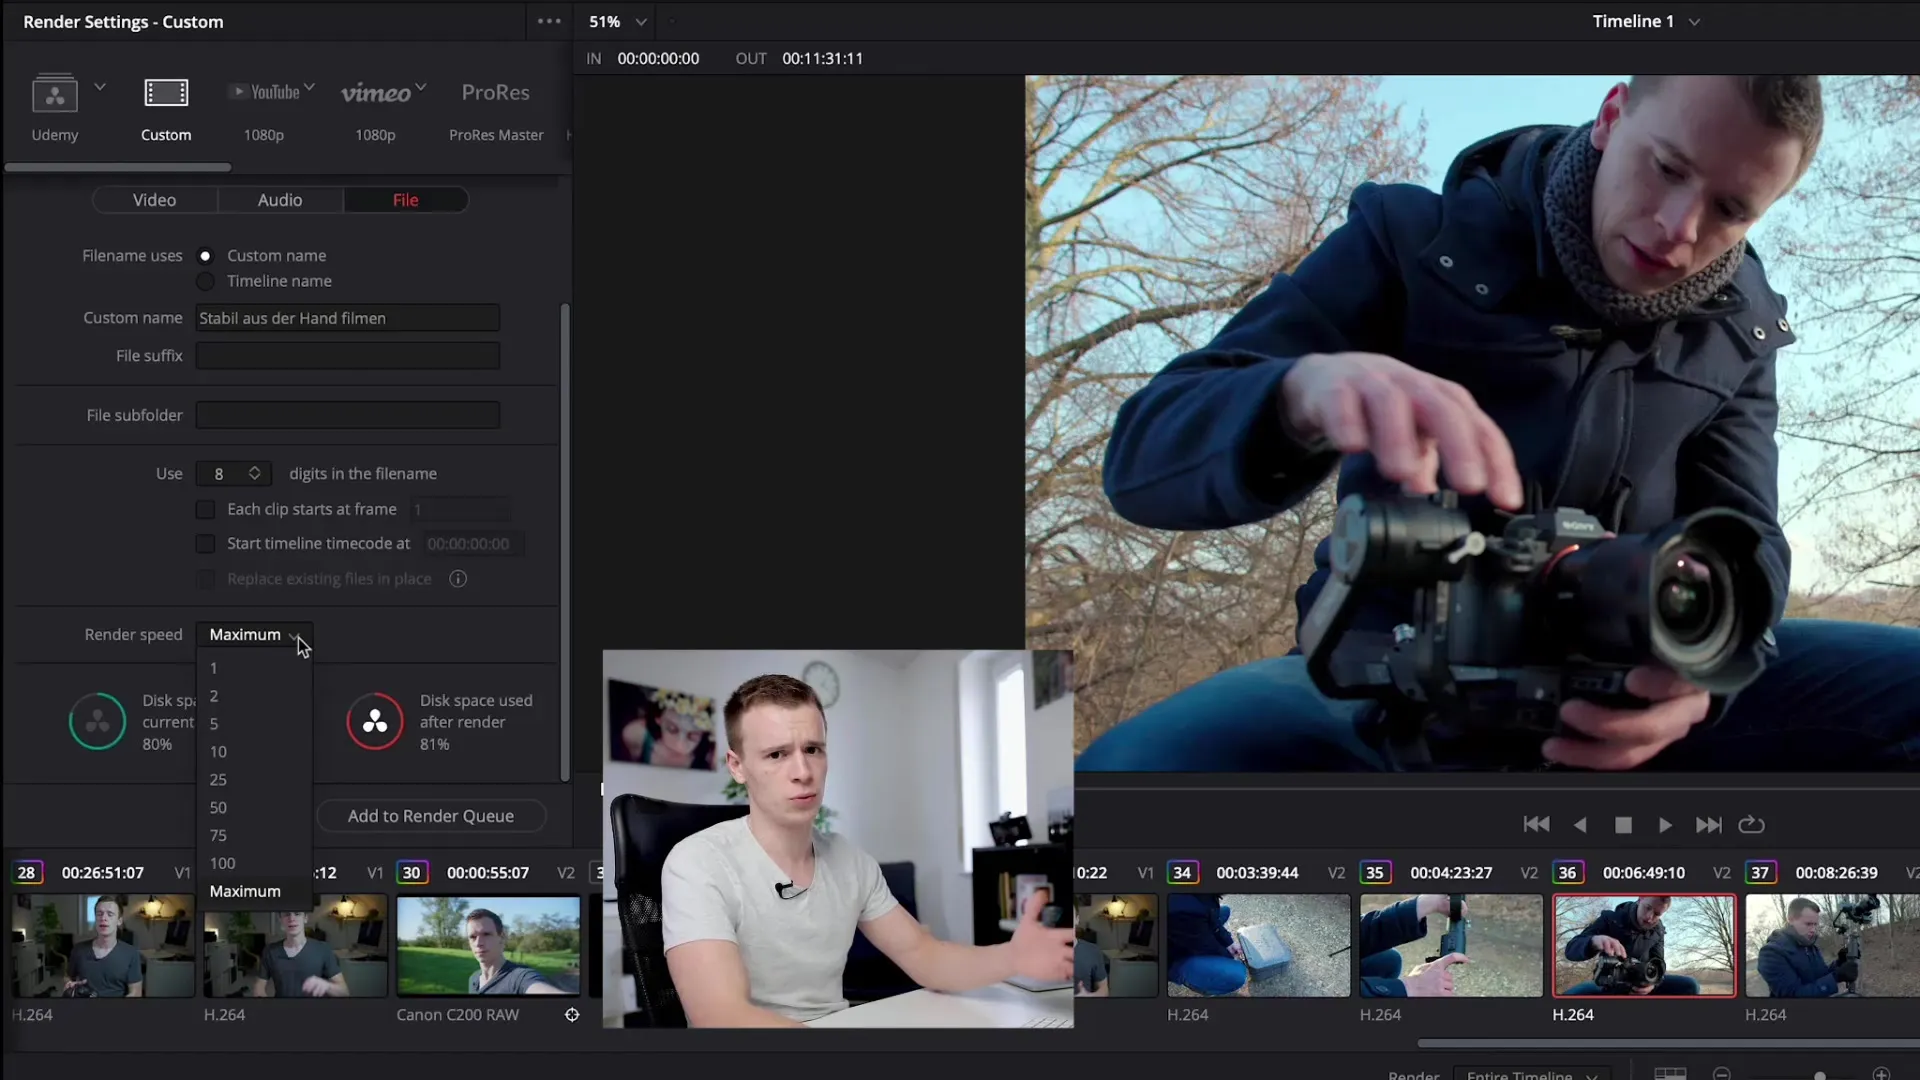
DaVinci Resolve also allows you to limit the render speed. This can be useful if you do not want to overstrain the CPU usage. You can set the speed either high or low, depending on your project’s requirements.
Step 8: Checking Disk Space
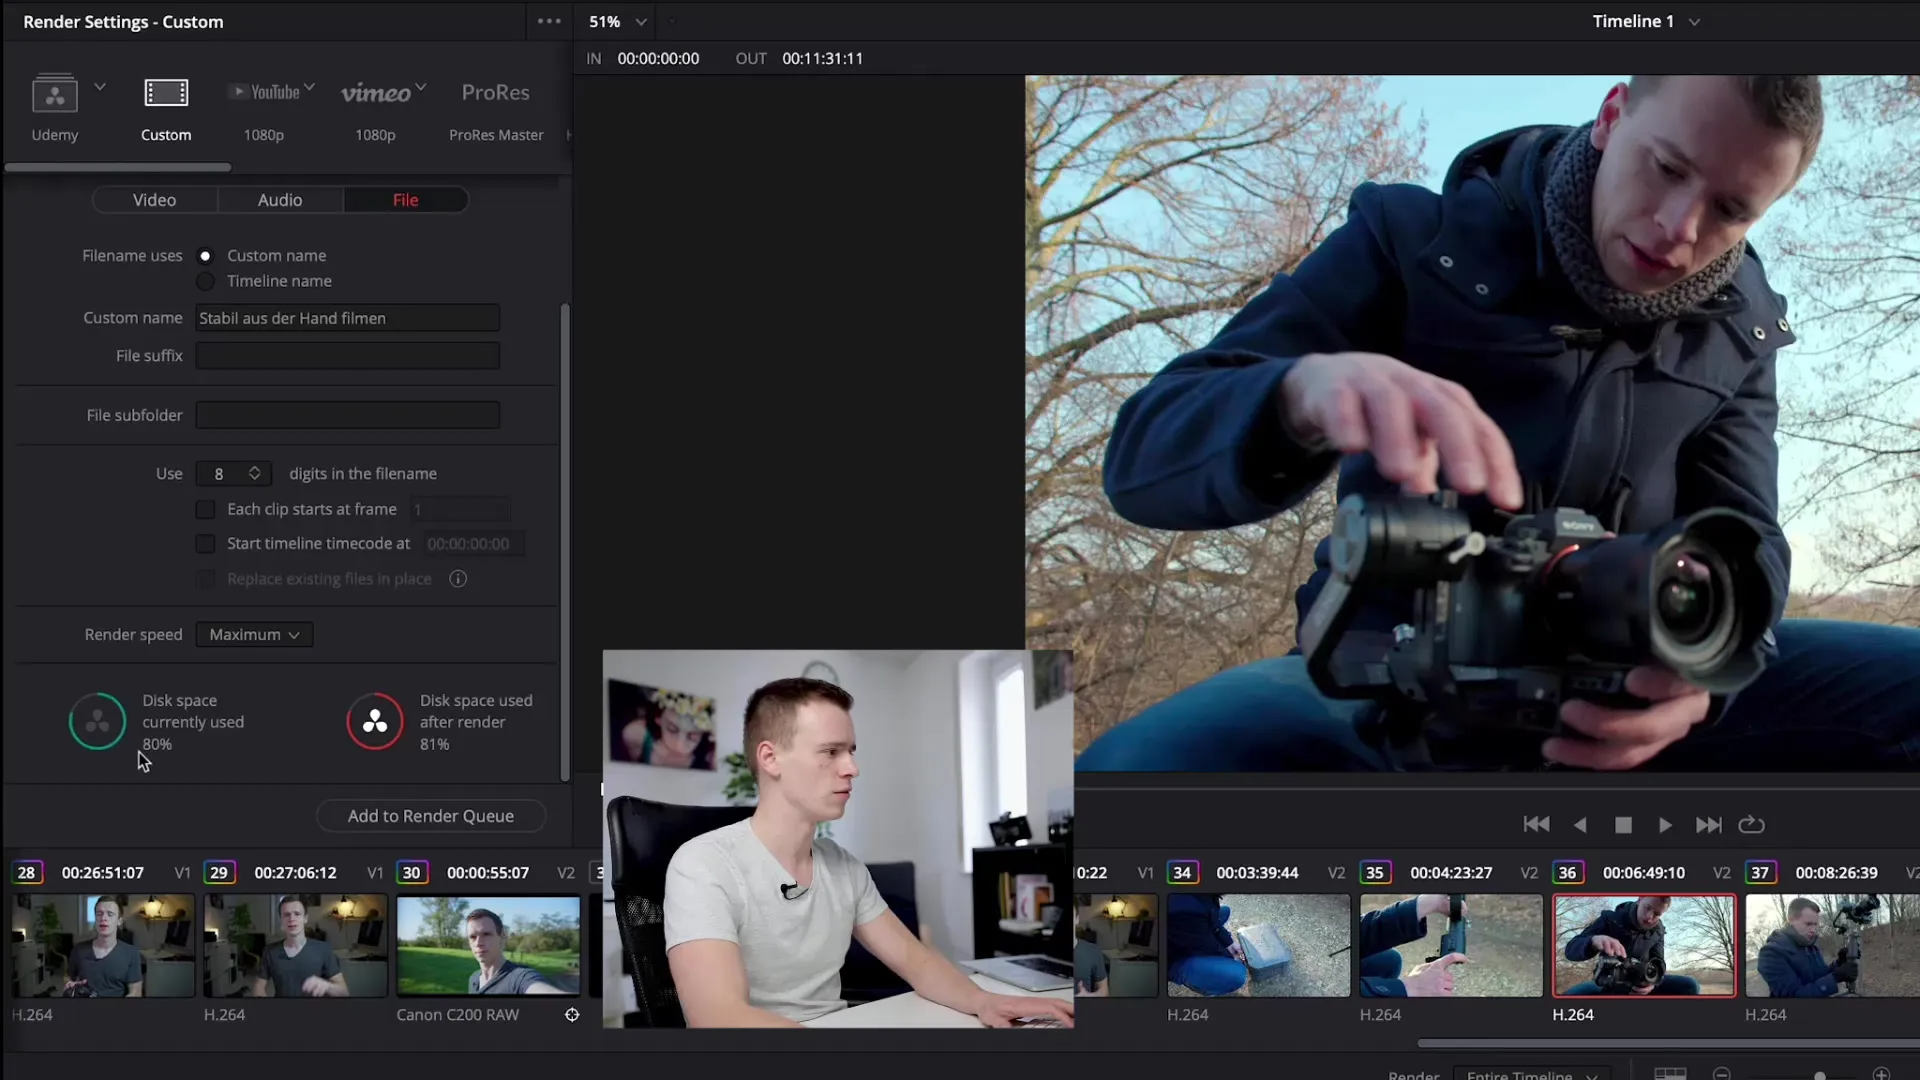
Before you start the export, you should check how much storage space is available on the target hard drive. DaVinci Resolve indicates how much space will be used after rendering the file. If space is tight, it’s essential to check this in advance to avoid interruptions during rendering.
Step 9: Preview and Final Check
You have the option to watch a preview of your video before starting the rendering process. This is especially helpful to ensure that there are no errors and that the video looks as you envisioned it.
Step 10: Start the Render Process
Once you have checked all settings, you can now start rendering. Click on "Start Render" and DaVinci Resolve will export the specified variants. This may take some time, depending on the length and complexity of the project.
Summary - Exporting in DaVinci Resolve: A Comprehensive Tutorial
In this guide, you have learned how to effectively use the export dialog of DaVinci Resolve. You now know the steps to add render variants, check the timeline resolution, and manage disk space. With this knowledge, you will be able to export your videos efficiently and in the best quality.
Frequently Asked Questions
How can I export multiple videos simultaneously in DaVinci Resolve?You can add multiple variants in the queue area of the export dialog and then export them together.
What should I consider when selecting the timeline resolution?Make sure the timeline resolution matches your desired export quality to avoid loss of quality.
How can I check the disk space for rendering?DaVinci Resolve informs you in the export dialog about the available disk space and how much space will be needed after rendering.
Which format should I choose for exporting?It depends on your intended use; common formats are MP4 for web and QuickTime for high-quality projects.
Can I export just the audio or video track?Yes, you can choose in the export dialog whether you want to export only video, only audio, or both.


