Are you curious about video editing and want to learn how to prepare your own clips or films professionally? With DaVinci Resolve, you have a powerful tool at your fingertips. In this guide, you will be guided step by step through the basics of video editing. You will learn not only how to use the software efficiently but also how to make your videos shine.
Key insights
- DaVinci Resolve is an outstanding software for video editing.
- Good preparation and understanding of the program settings are essential.
- Techniques for video editing and color correction are discussed in detail.
- With practical tasks, you can apply what you've learned directly.
Step-by-step Guide
Introduction to DaVinci Resolve
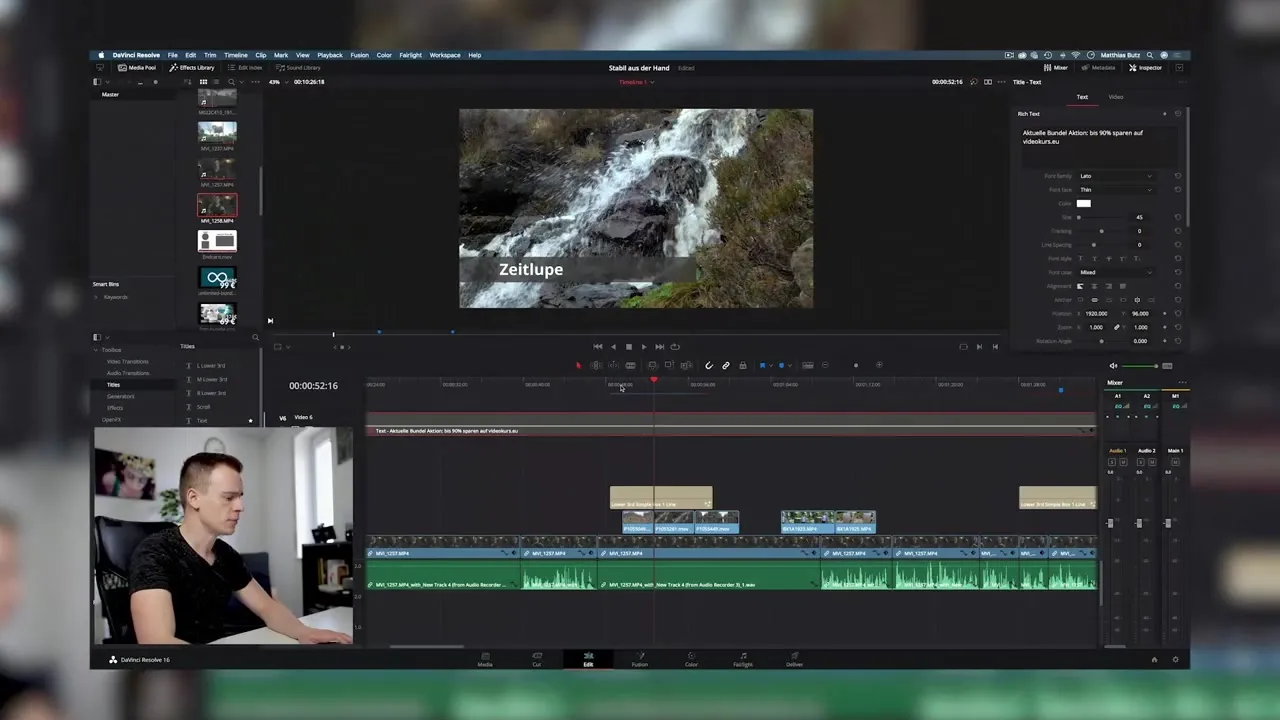
Before you start cutting videos, you should get to know the basic interface of DaVinci Resolve. The user interface is intuitively designed, allowing you to easily switch between different workspaces. Take a moment to explore the various menus and tools.

Important Settings Before Starting
Before diving into video editing, some basic settings are necessary. Check the project settings to ensure they are optimized for the type of your videos. This includes aspects like the format, frame rate, and resolution. The right settings are crucial for achieving a high-quality end product.
Video Editing Techniques
Now it’s time to edit your first clips. Learn about the various cutting techniques that DaVinci Resolve offers. I will show you how to import, cut, and arrange clips to tell an exciting story. It’s important to pay attention to the pace and impact of your cuts in relation to the music and sound.

Color Correction and Grading
The visual impression of a video can be greatly enhanced through color correction. I will show you how to adjust the colors of your clips to create the desired mood and atmosphere. DaVinci Resolve provides you with powerful tools for color grading that allow you to give your materials a professional look.

Practical Lessons
To reinforce what you've learned, you will work with me on a practical example. You will have the opportunity to edit one of my YouTube videos, which I will provide to you as raw material. Here, you can apply the techniques you have learned throughout the course.
Final Tasks and Practical Application
After the practical section, specific tasks will be assigned to you that you can implement on your own videos or the provided raw material. This will give you the opportunity to deepen your new skills and practice independently. You will become more confident in using DaVinci Resolve and can take your videos to a new level.
Summary – DaVinci Resolve Tutorial: Video Editing from Basics to Export
In this guide, you learned how to edit videos professionally with DaVinci Resolve. You got to know the user interface, made important settings, and learned techniques for cutting as well as color grading. By working practically on an example video, you were able to directly apply and deepen what you learned.
Frequently Asked Questions
What is DaVinci Resolve?DaVinci Resolve is a powerful software for video editing and color correction.
How many lessons are included in this course?The course includes several lessons that deal intensively with different aspects of video editing.
Can I use my own clips?Yes, you can use both the provided raw materials and your own clips.

