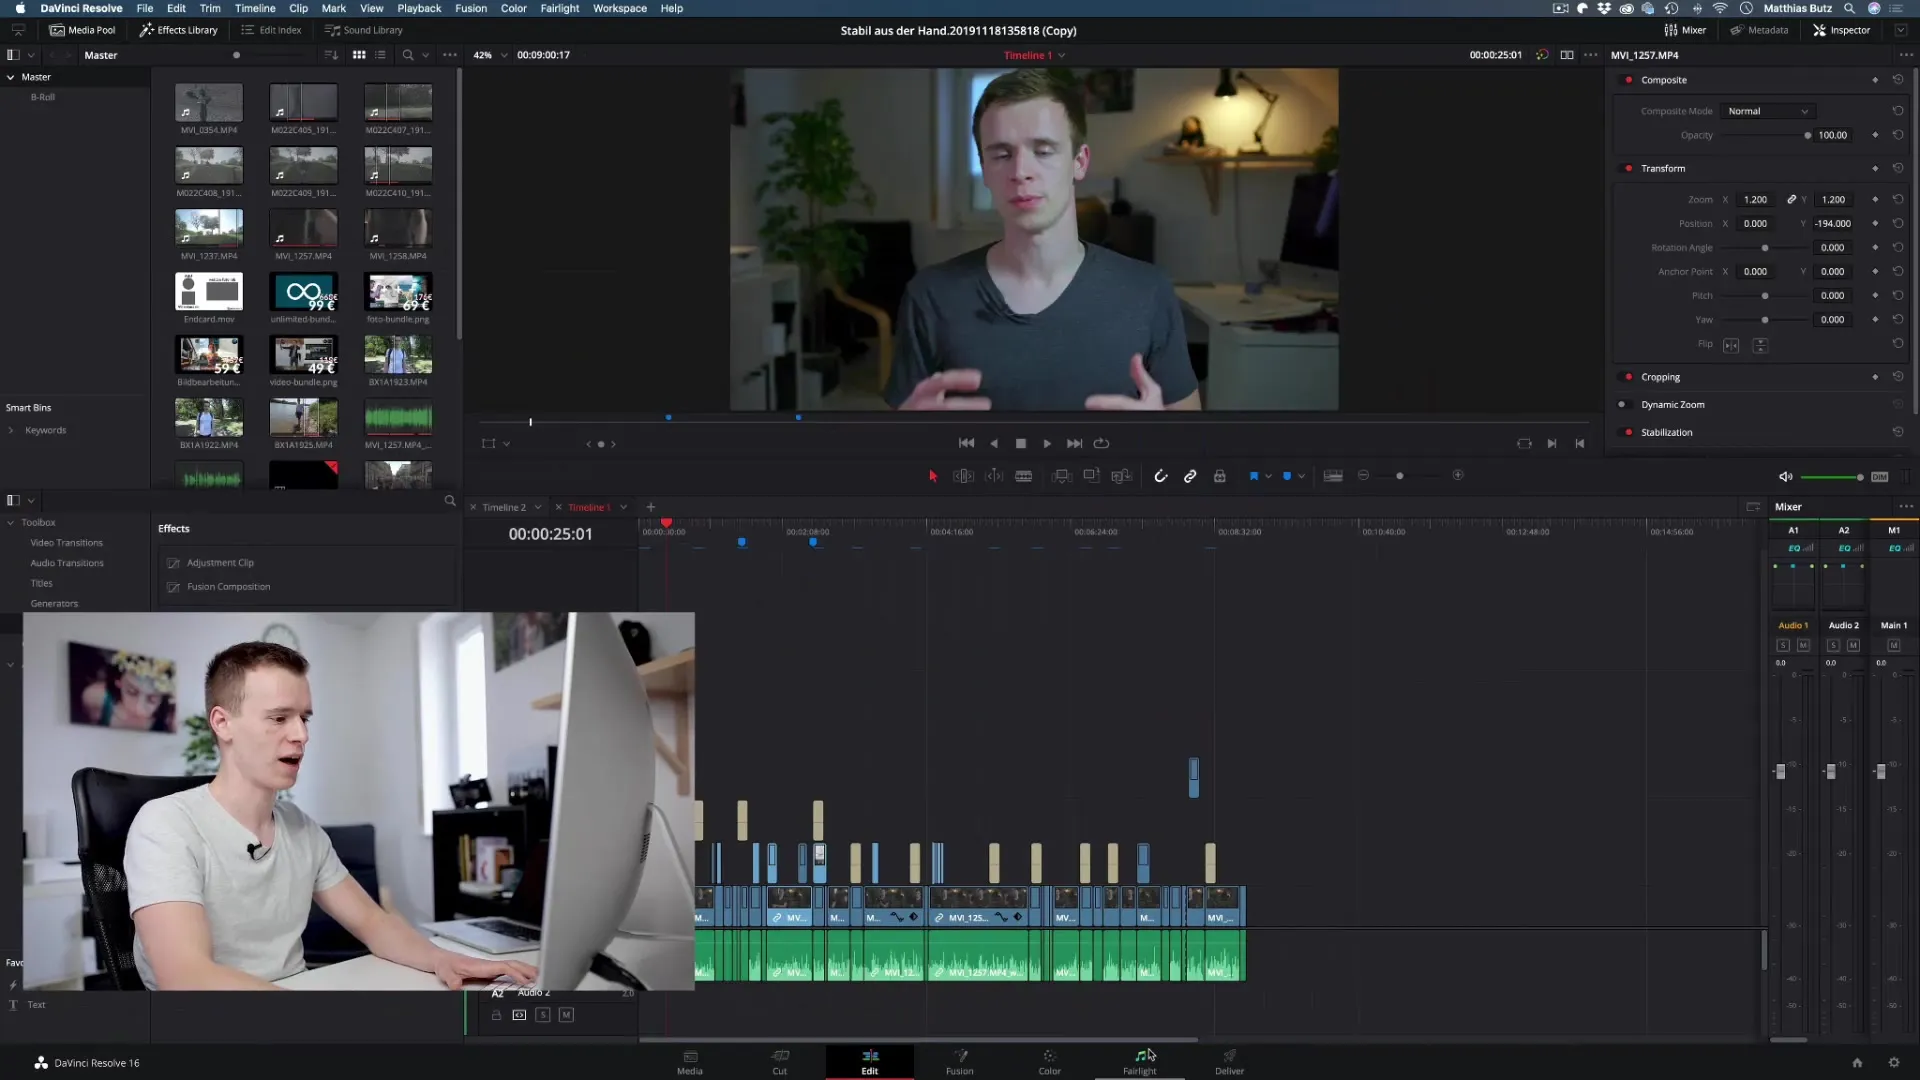
Welcome to your journey into the fascinating world of sound editing with DaVinci Resolve! In this guide, I will show you how to effectively use the features of DaVinci Resolve to edit audio in your projects. Specifically, we will focus on the Fairlight area, which provides you with all the necessary tools to optimize your audio workflow. Get ready to dive into the secrets of sound settings and elevate your projects to a new level of audio quality.
Key Insights
- DaVinci Resolve has a dedicated window for audio processing, known as Fairlight.
- Fairlight was introduced in version 15 and offers a comprehensive range of audio tools.
- In the section on sound, you will learn how to unlock the full potential of Fairlight's features.
Step-by-Step Guide
1. Introduction to Fairlight
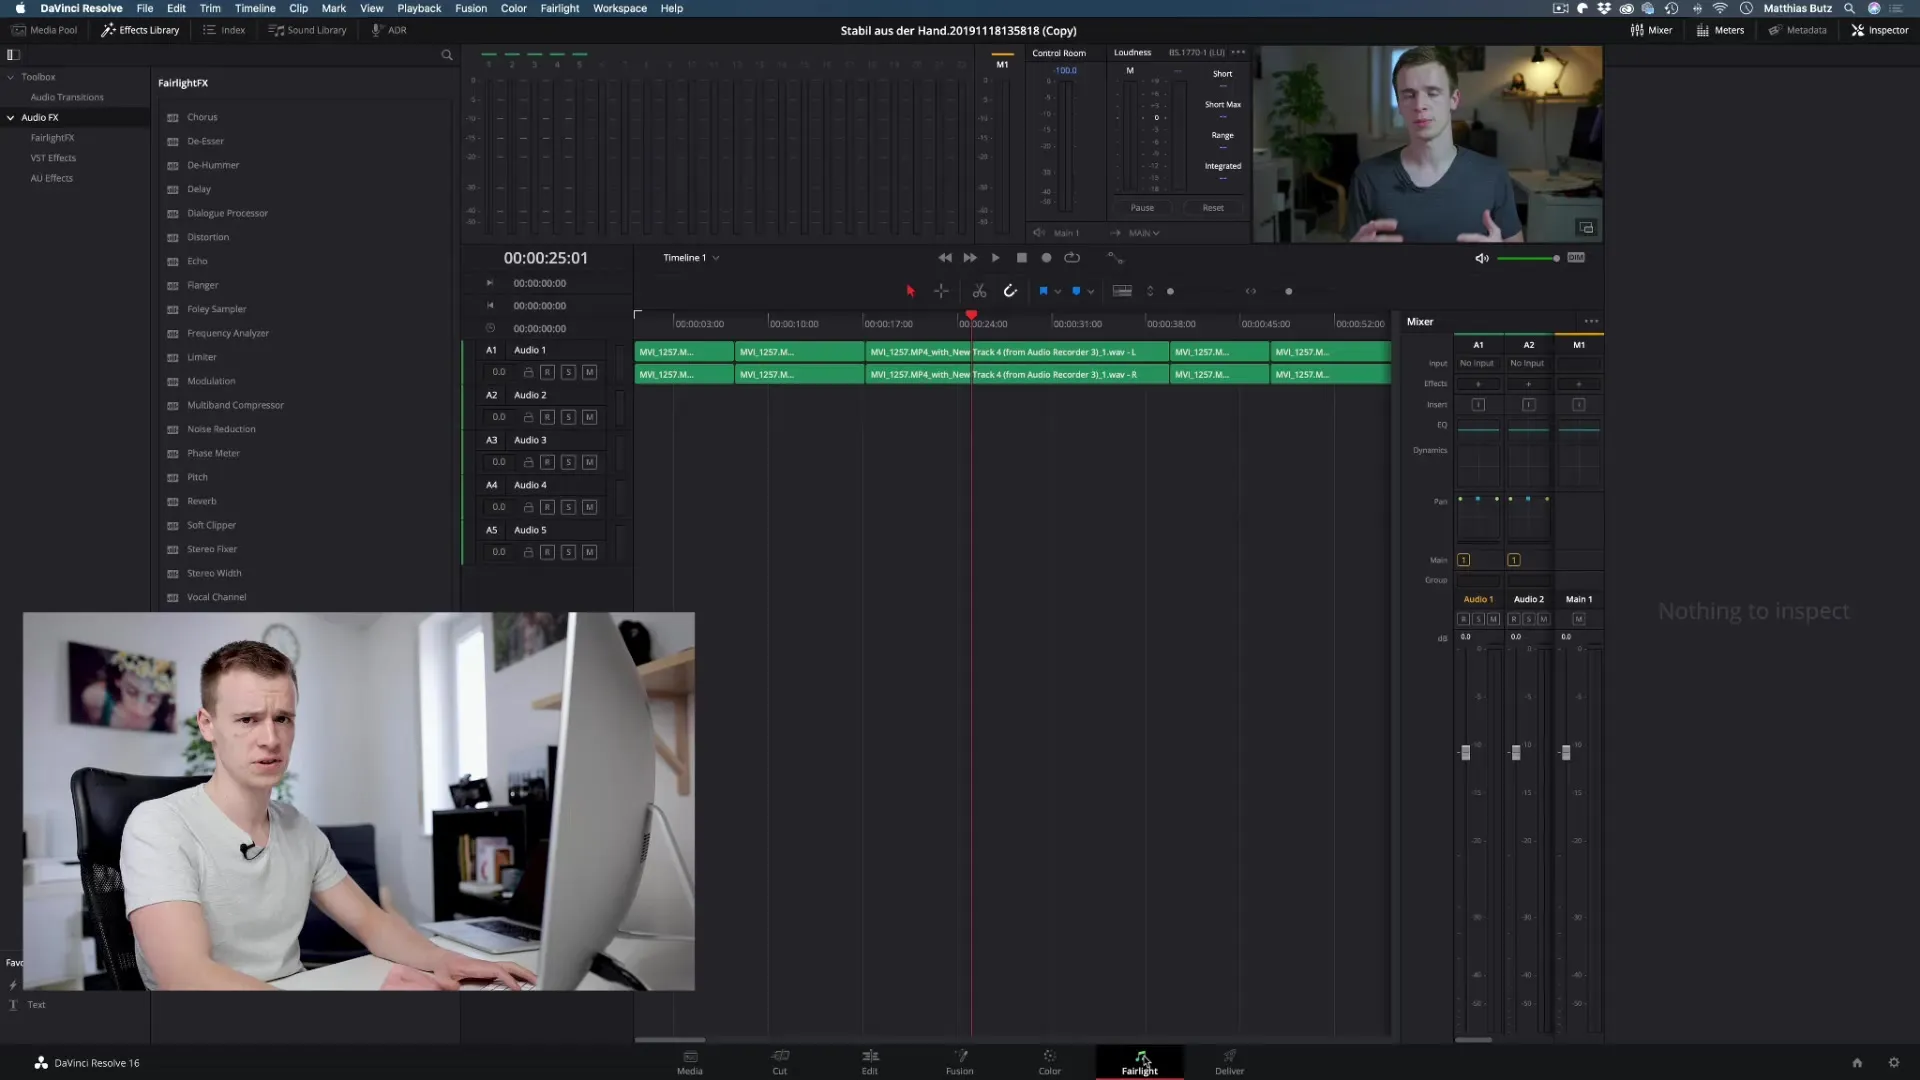
To work effectively with sound, it is important to be familiar with the Fairlight interface. Fairlight is the special window within DaVinci Resolve that provides you with the capabilities for editing and mixing audio. You can think of it as your central hub for all aspects of sound editing.

2. Activating Fairlight
Start by activating the Fairlight area. This is typically done through the “Workspace” menu in DaVinci Resolve. Once you have activated Fairlight, the area will become visible, and you can immediately start editing. Here you will find all the necessary tools to adjust audio tracks, add effects, and optimize the soundscape.

3. Overview of Features
In the Fairlight area, you will encounter a wide range of features. Here you can manage tracks, adjust volume levels, and handle effects. You have the option to integrate various audio effects that add depth to your project. In this section, you will explore the different buttons and sliders and learn how to use them to achieve the desired sound.

4. The Importance of Fairlight
Fairlight is not just another window in DaVinci Resolve; it represents a crucial area that has been significantly improved since its introduction in version 15. The features are tailored to the needs of filmmakers and videographers who want to create high-quality audio content.
5. Preview of Upcoming Videos
Get ready to dive into the upcoming videos, where I will detail various features and techniques that will help you refine your audio editing even further. From simple adjustments to more complex mixing techniques – the next steps will support you on your journey to audio mastery.
Summary – DaVinci Resolve Tutorial: Introduction to the Sound Chapter
Throughout this guide, you have received an initial introduction to the Fairlight area of DaVinci Resolve. You have learned that Fairlight is a dedicated area for sound editing, equipped with special tools to make working with audio easier. You are now well-equipped to take the next steps in audio processing and significantly improve the sound quality of your projects.
Frequently Asked Questions
How do I activate the Fairlight area in DaVinci Resolve?Go to "Workspace" and select "Fairlight" from the menu.
What are the main features of Fairlight?Fairlight offers features for track management, volume control, and effect application.
When was Fairlight introduced in DaVinci Resolve?Fairlight was first introduced with version 15 of DaVinci Resolve.
Where can I find the tools for audio editing?You will find all the necessary audio tools in the Fairlight area.
What is the goal of the Fairlight section in DaVinci Resolve?It aims to improve and optimize audio quality in projects.


