Welcome to the introduction to the basics of DaVinci Resolve! If you're new to the world of video editing, the software may seem overwhelming at first glance. But don't worry, the many features and settings are designed to help you create impressive videos. In this guide, you will learn the essential basics you need to start your first edit.
Key insights
- DaVinci Resolve may seem complicated at first, but it is powerful once you master the basics.
- The interface and various settings are crucial for an effective workflow.
- A solid understanding of the basic functions makes getting started with video editing easier.
Step-by-step guide
1.Explore the interface
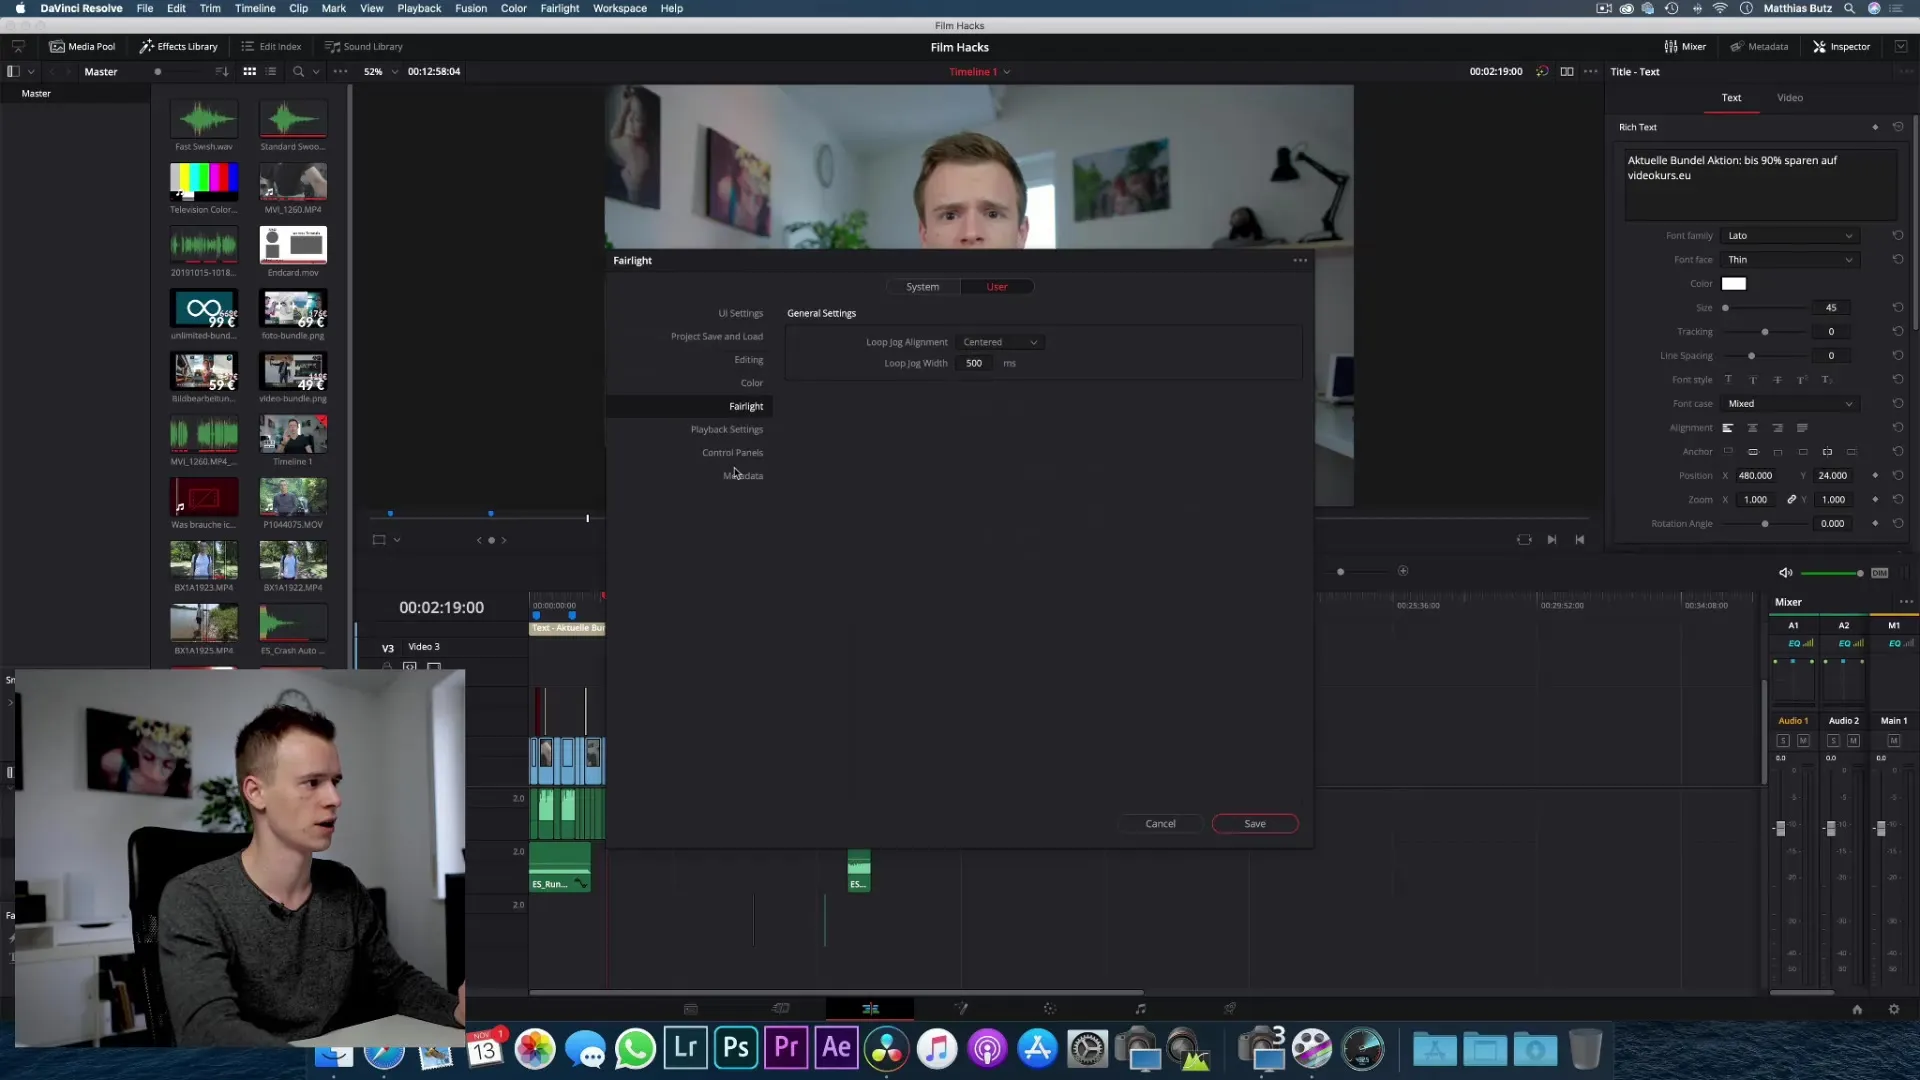
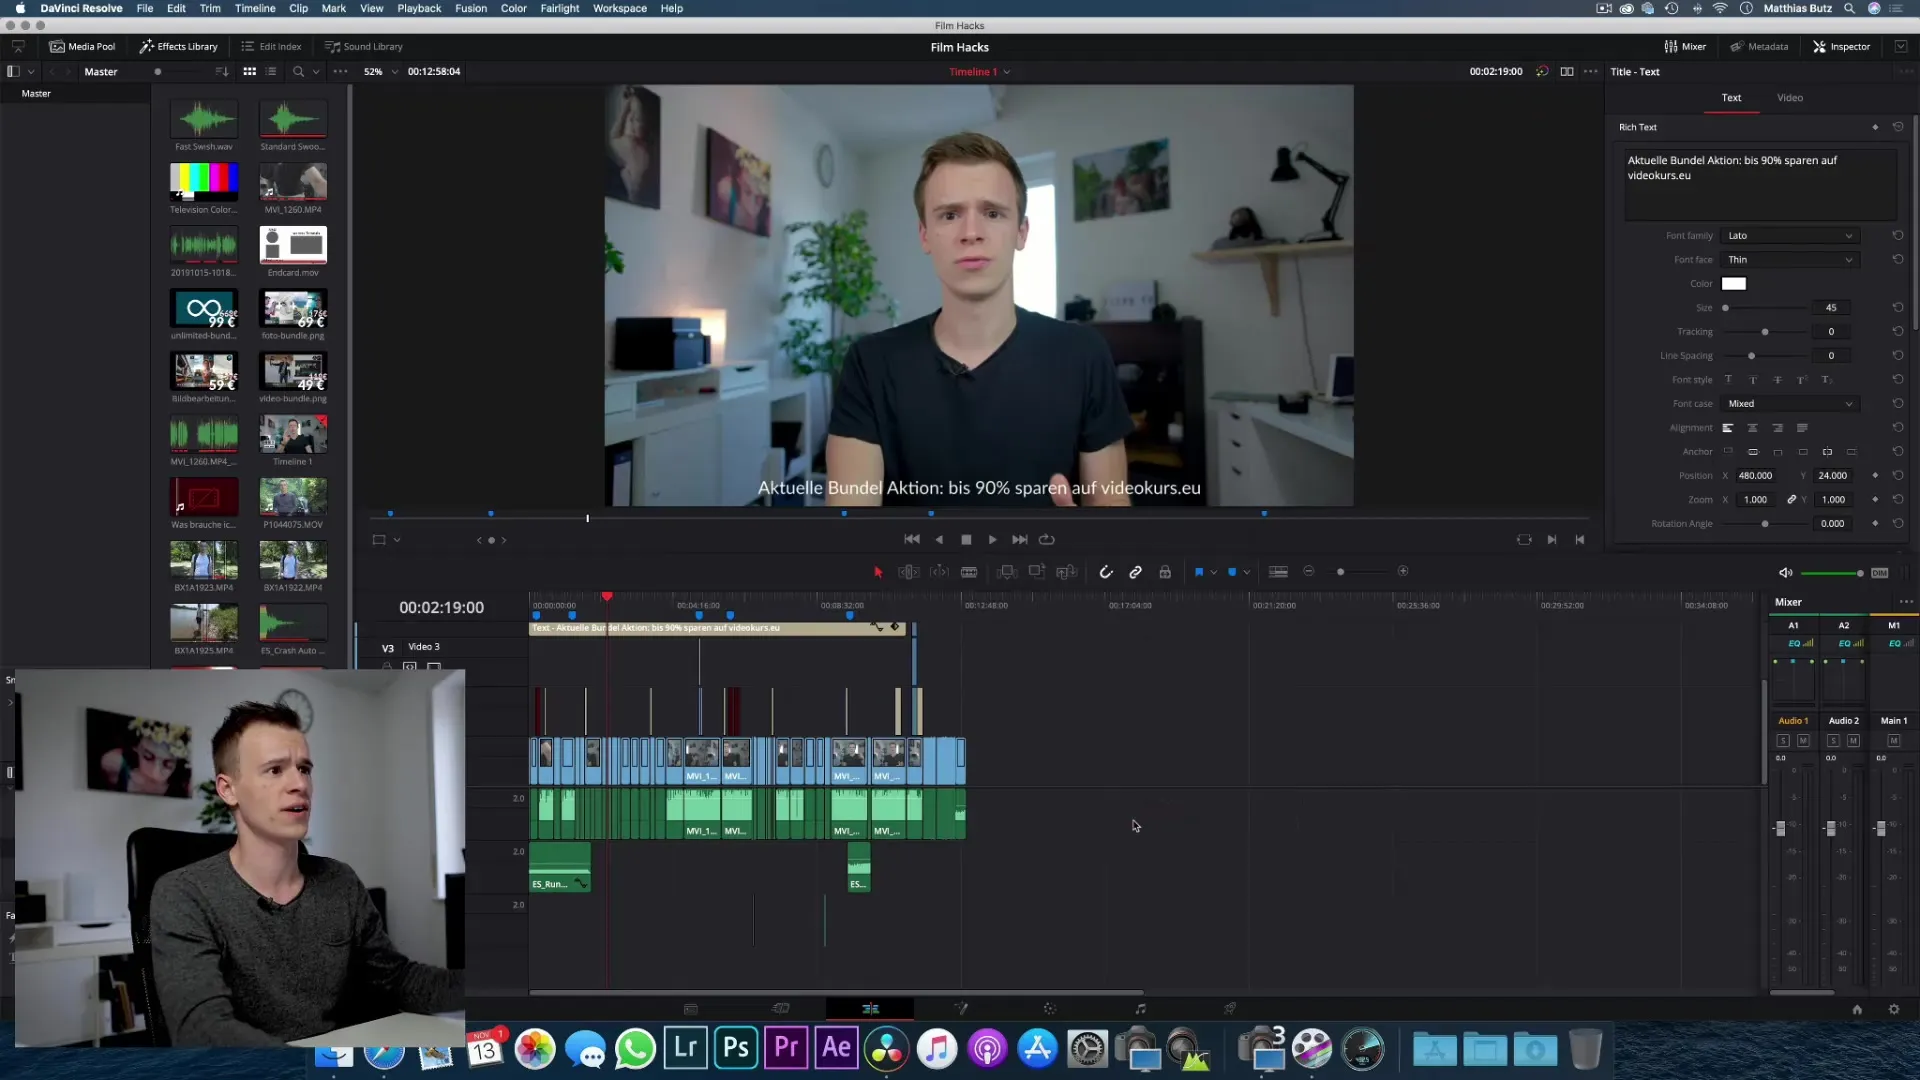
To work effectively in DaVinci Resolve, it is important to understand the interface. At your first glance at the software, it can be hard to keep track. You will see a variety of menus and options. Take a moment to explore the different areas. Pay attention to where the media library, the timeline, and the editing tools are located.
2. Adjust the key settings
After you have explored the interface, it’s time to check some basic settings. These settings influence your entire editing experience. Open the settings menu and make adjustments to the general preferences. Pay particular attention to the project settings, such as the aspect ratio and frame rate.

3. Import media
Now comes the exciting part – importing media! Click the import button in the media library and select the videos and audio files you wish to use. You can easily add files via drag & drop. Properly organizing your material will greatly facilitate later editing.

4. Working with the timeline
After you have imported your media, drag them into the timeline. Here you can cut, move, and adjust clips. Experiment with the cutting and trimming tools. Practice connecting different clips to get a feel for the workflow. Once you master the timeline, the creative process can really begin!
5. Basics of color correction
Another essential element of video editing is color correction. DaVinci Resolve is known for its powerful color correction features. Go to the color tool and start with the basic functions. You can adjust brightness, contrast, and saturation to achieve the desired look for your video.
6. Export your project
The final step in your editing process is export. When you are satisfied with your project, go to the export menu. Select the appropriate format for the final product to ensure your video looks great everywhere. Pay attention to the export settings and save your project in an easily accessible location.
Summary - DaVinci Resolve: Basics for successful video editing
Overall, DaVinci Resolve may seem challenging at first, but with a little time and practice, you will be able to edit your video projects effectively. By understanding the interface, adjusting settings, importing media, working with the timeline, color correction, and final export, you can build the foundation for successful videos.
Frequently Asked Questions
What is DaVinci Resolve?DaVinci Resolve is professional software for video editing and color correction.
How can I import my media?You can import your media through the media library or add them via drag & drop.
What basic settings should I adjust?Important settings include project settings, such as aspect ratio and frame rate.
How do I export my project?Go to the export menu, select the desired format, and save your project.


