The control over time can be one of the most powerful aspects in video editing to make your stories come alive and exciting. With DaVinci Resolve, you have the ability to adjust the speed of your clips, create slow-motion and time-lapse shots, all in a very intuitive way. This guide will help you understand the various techniques for time control in your videos.
Key Takeaways
- Videos can be set to different speeds.
- Slow motion and time-lapse require different technical approaches.
- A higher frame rate should be aimed for when filming to achieve high-quality footage.
- Using different speed features in DaVinci Resolve can significantly enhance visual storytelling.
The Basics of Time Control
Now that you understand the basics of time control in DaVinci Resolve, it's important to learn how to effectively adjust the speed of clips. You will discover various methods to control the playback speed of your videos.
Adjusting Clip Speed
In the first step, we will look at how to adjust the speed of a clip. To do this, select the desired clip and right-click on it:
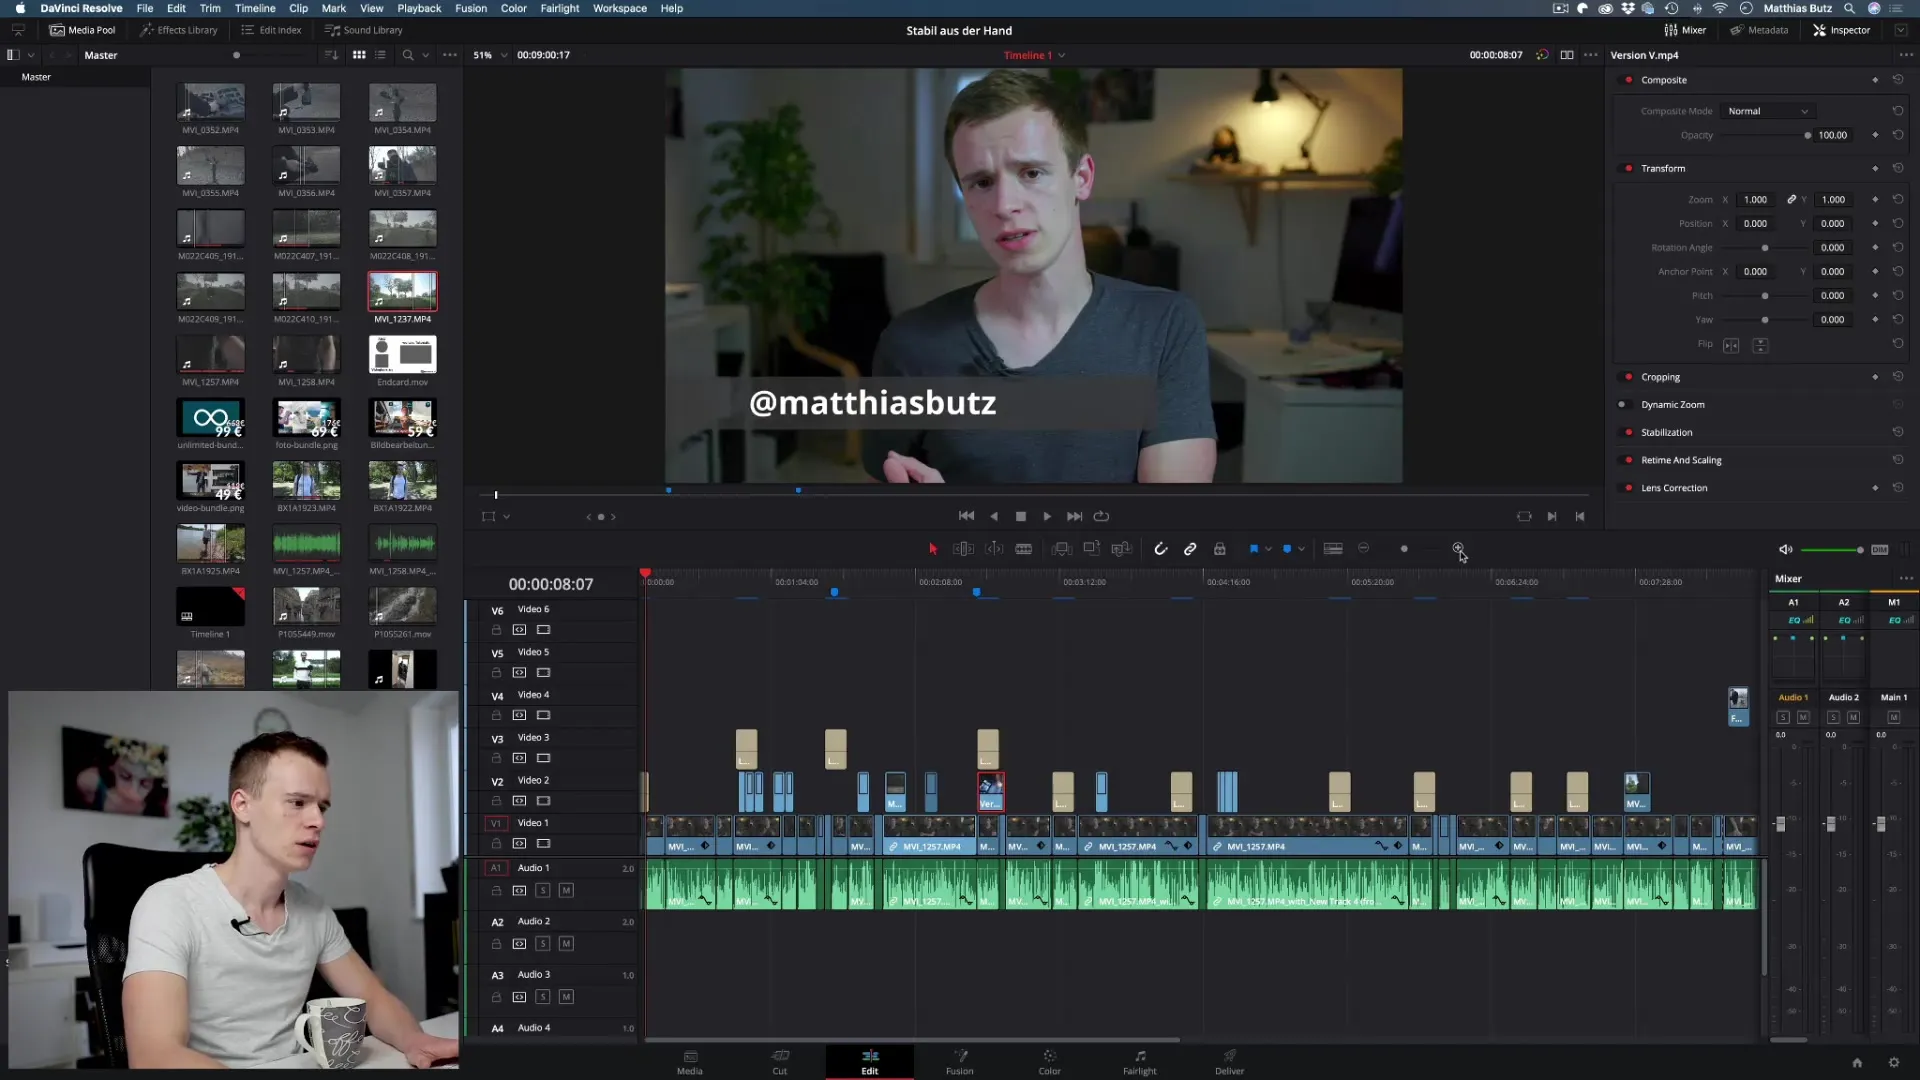
Select "Change Clip Speed" from the context menu. This menu gives you the option to adjust the current frame rate and other parameters.
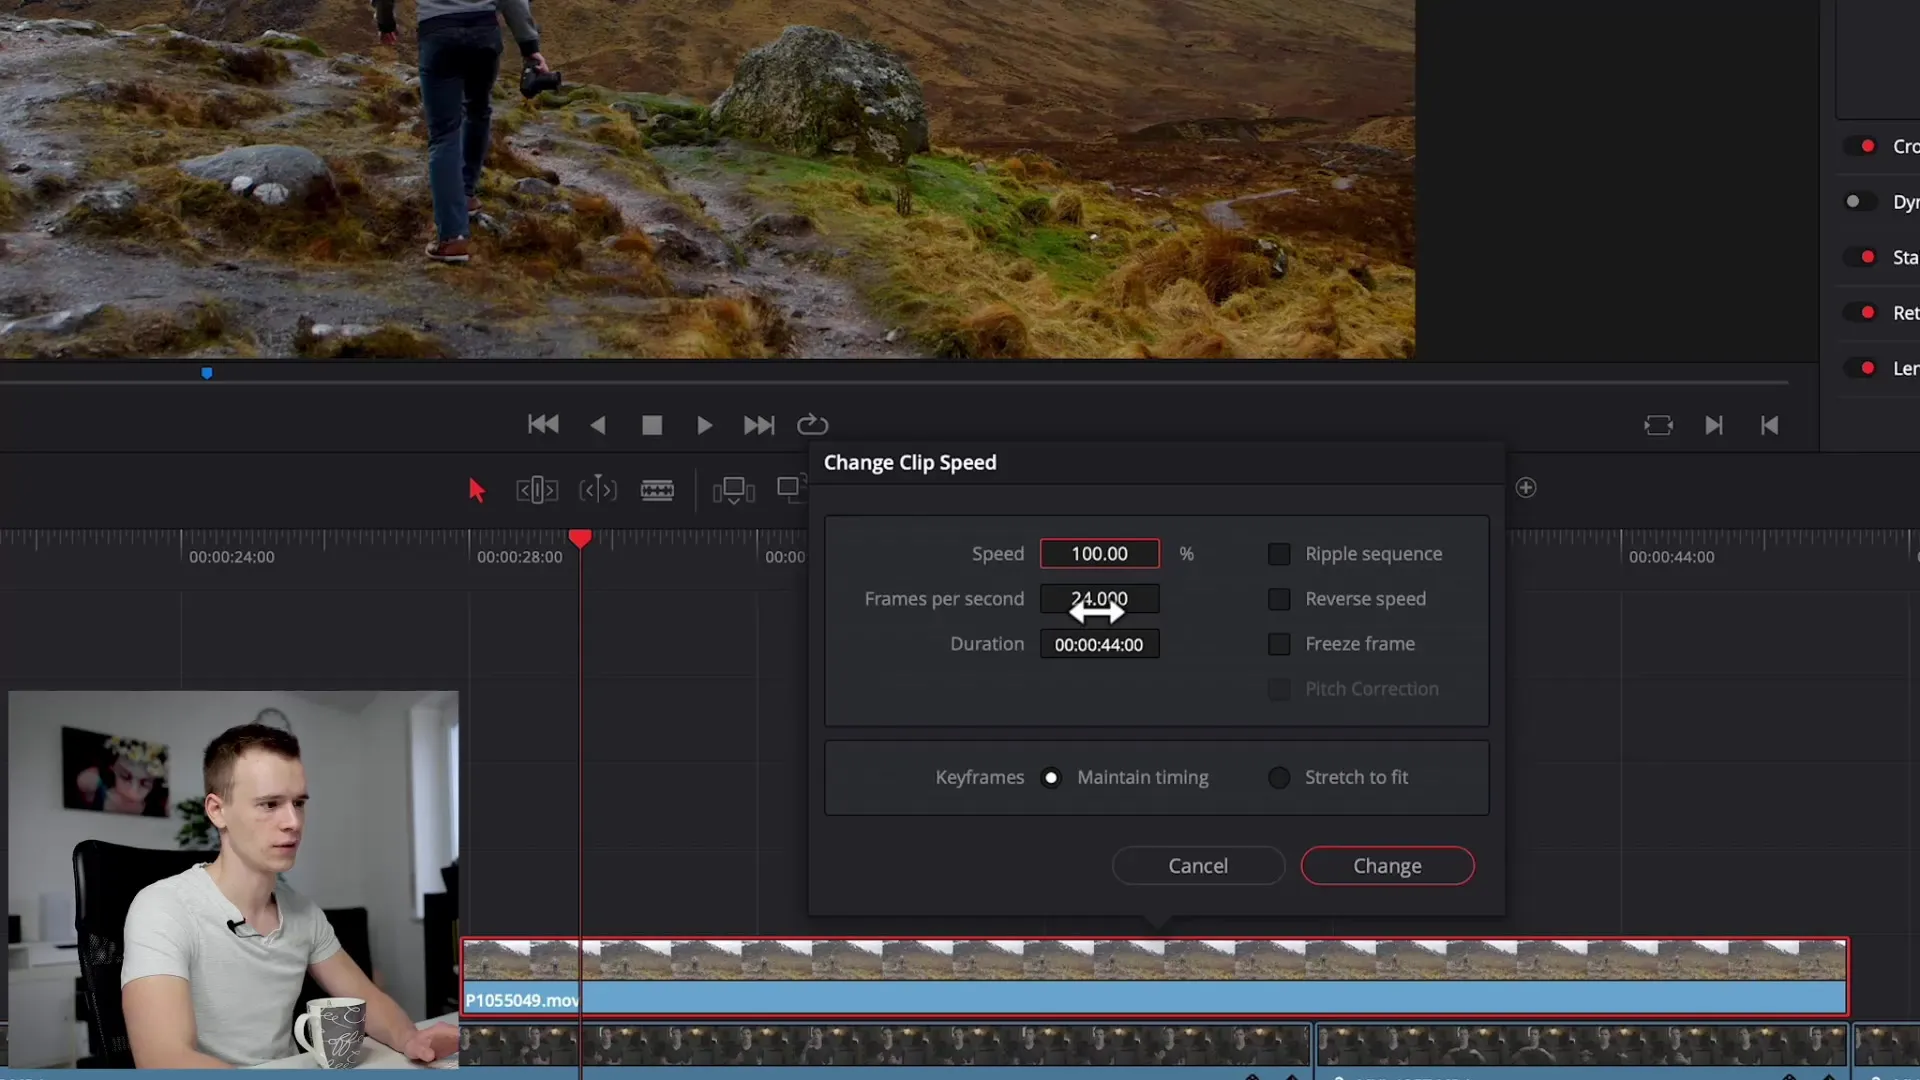
Here you can change the speed in percentage. For example, if you set the speed to 500%, a clip that normally runs at 24 frames per second will play back much faster. This can help you achieve time-lapse video effects.
Working with Slow Motion
To play a clip in slow motion, you need to set the speed to a value below 100%. For example, you can enter 50% to play the clip at half speed. However, you may find that this doesn't always look visually appealing if the frame rate wasn't high enough.
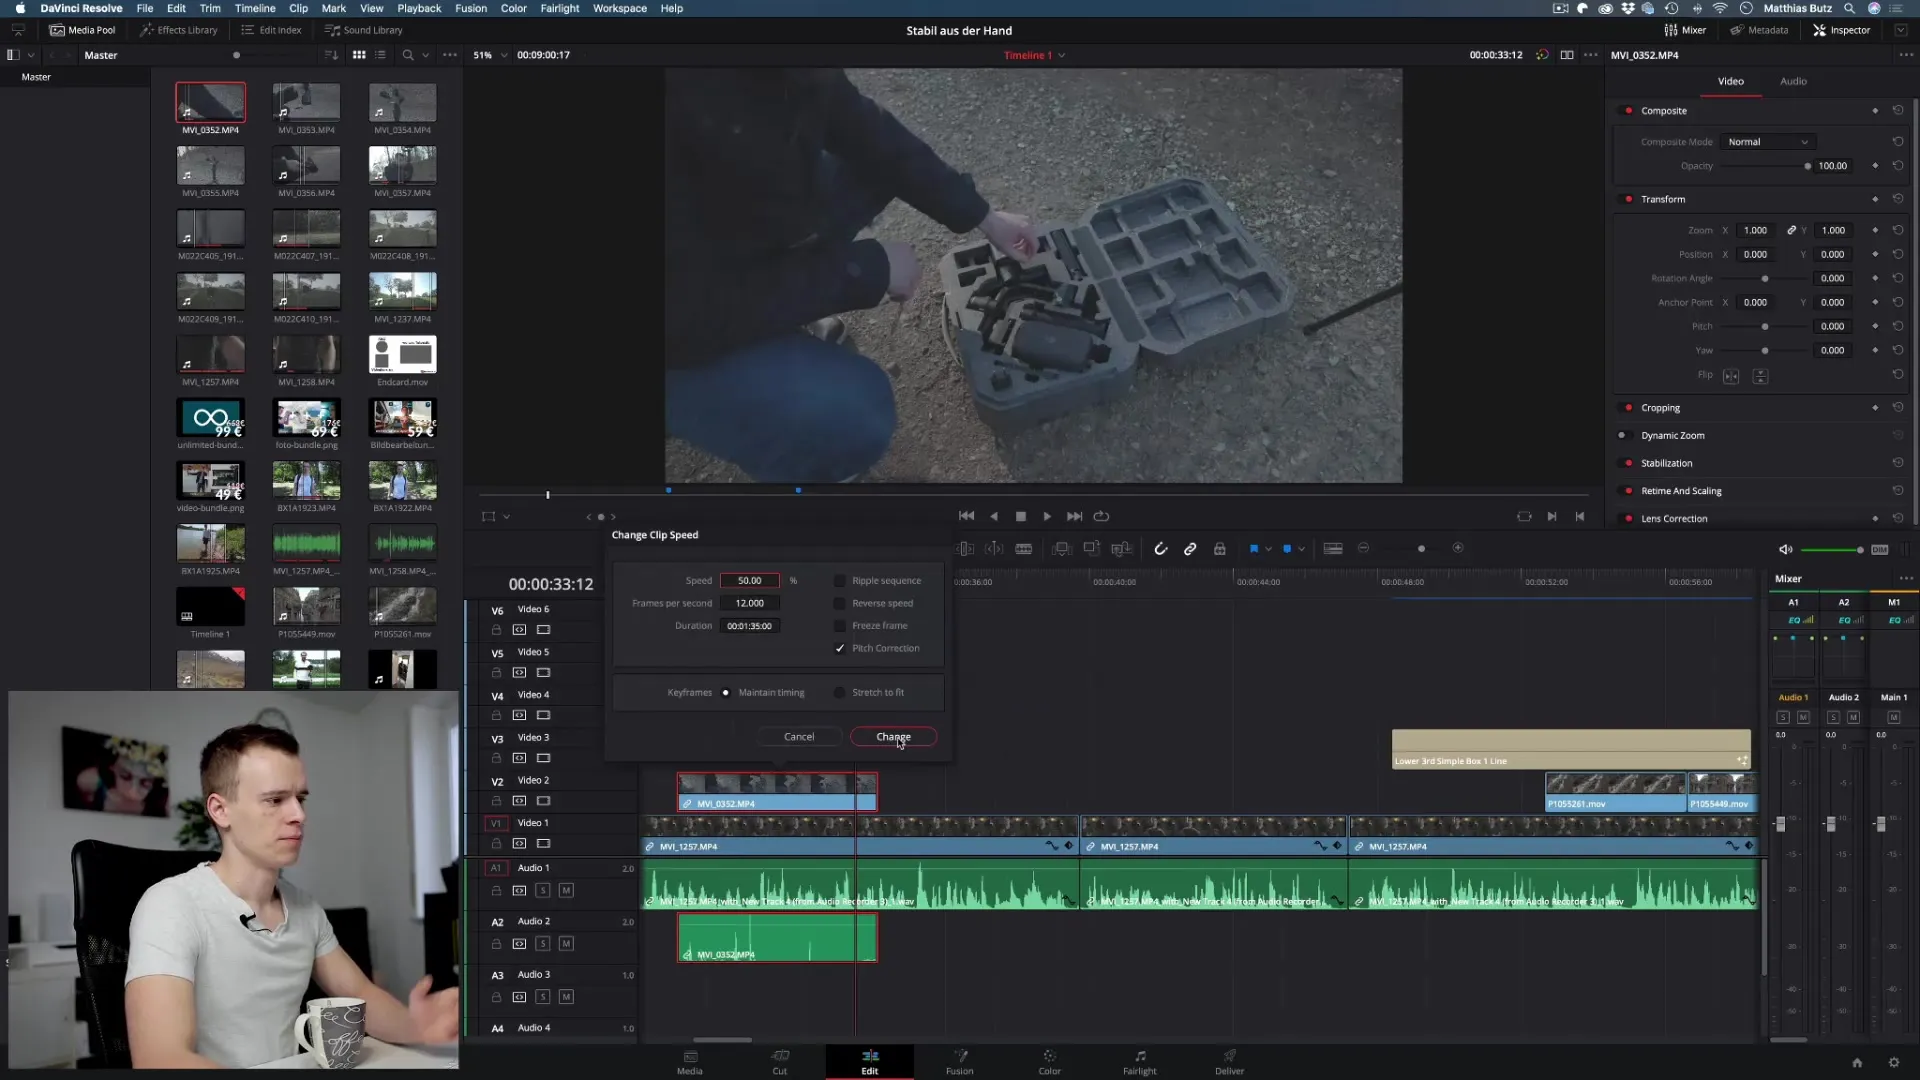
The effective use of slow-motion shots requires that you pay special attention to ensuring your camera filmed at a higher frame rate, ideally 60 or 120 frames per second. Use slow motion sparingly and consider which scenes will benefit the most from it.
Optimizing Slow Motion
When you adjust the playback speed of the clip and stretch the frames apart, you may also need to manually extend the clip. For instance, if you have a clip with 24 frames per second that should now be at 50% speed, you would also extend the clip in the timeline to ensure a smooth playback.
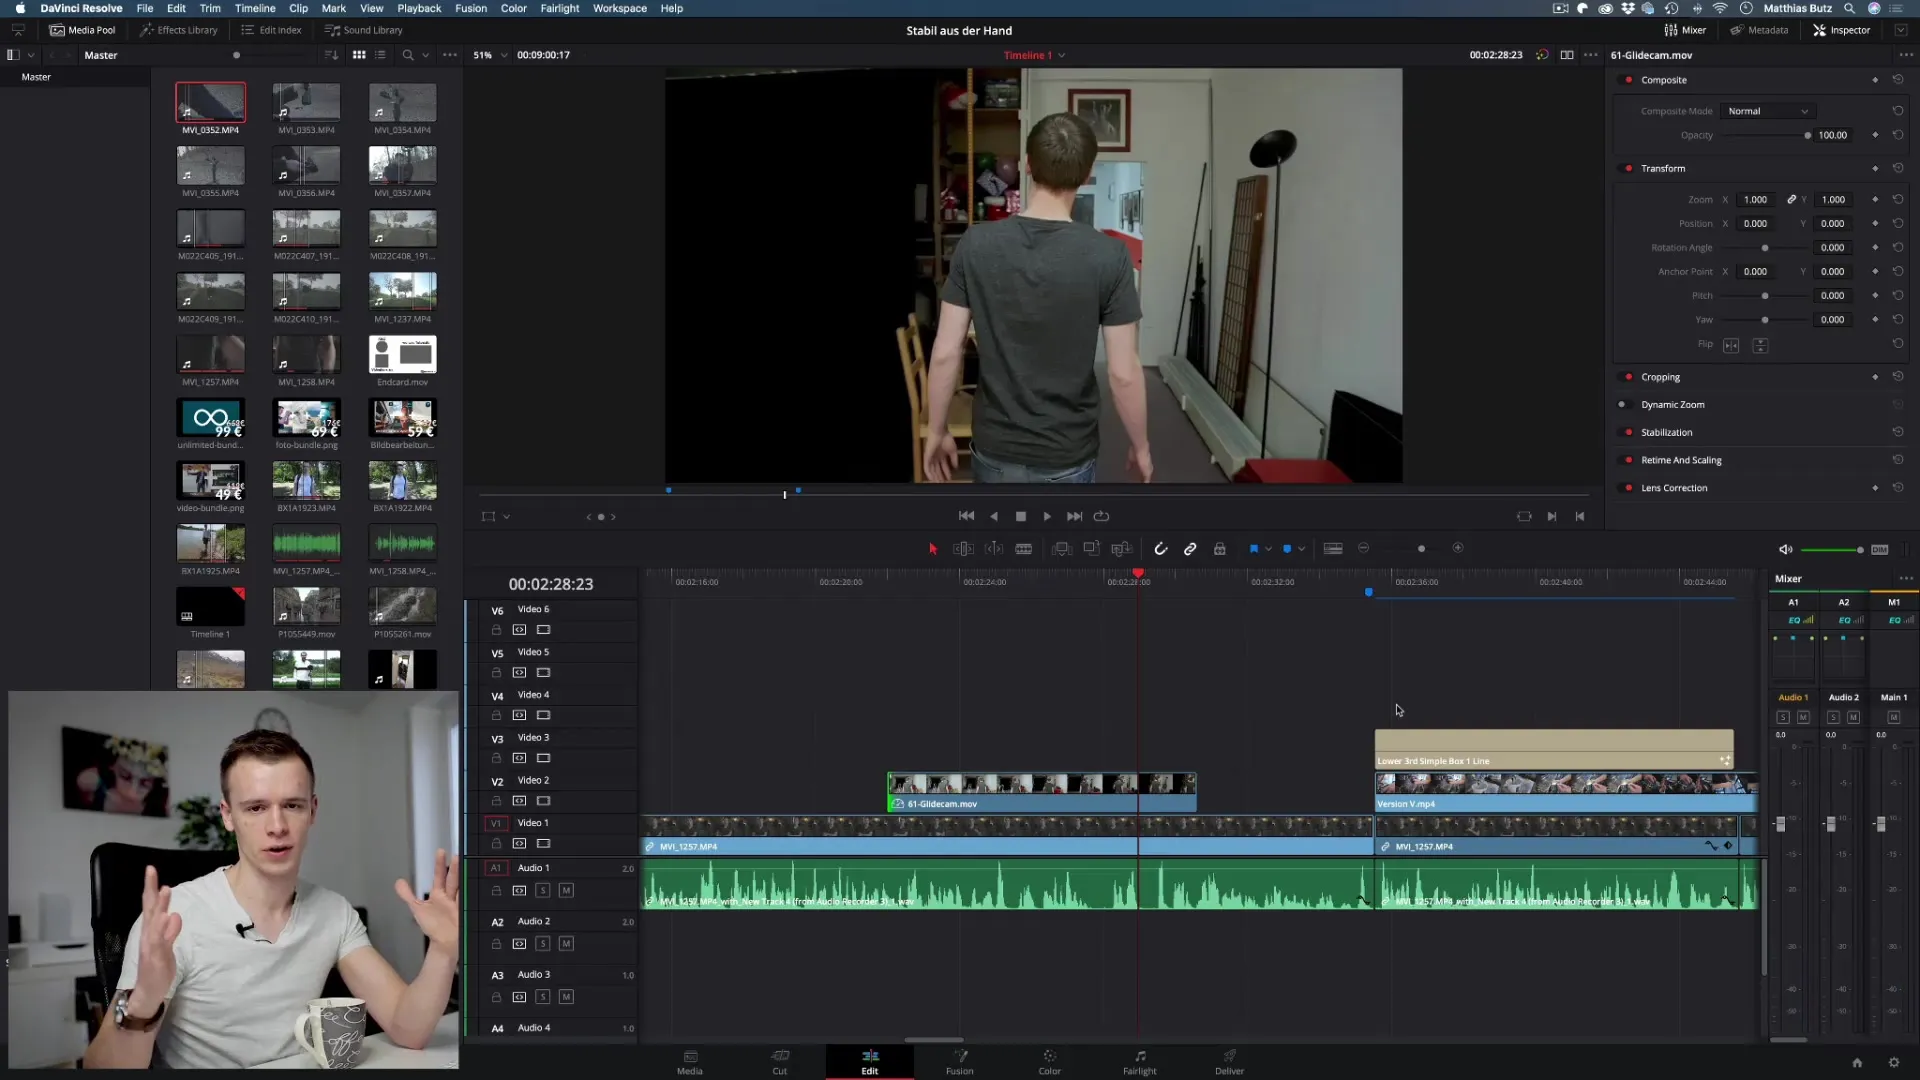
If you notice it stutters, you can use the retiming options in DaVinci Resolve. Here you have the ability to choose between "Nearest," "Frame Blend," and "Optical Flow."
Using Optical Flow for Better Results
"Optical Flow" is one of the best methods to achieve natural slow-motion effects. This feature analyzes the motion in the video material and calculates intermediate frames to achieve a smoother transition and a higher quality visual effect.
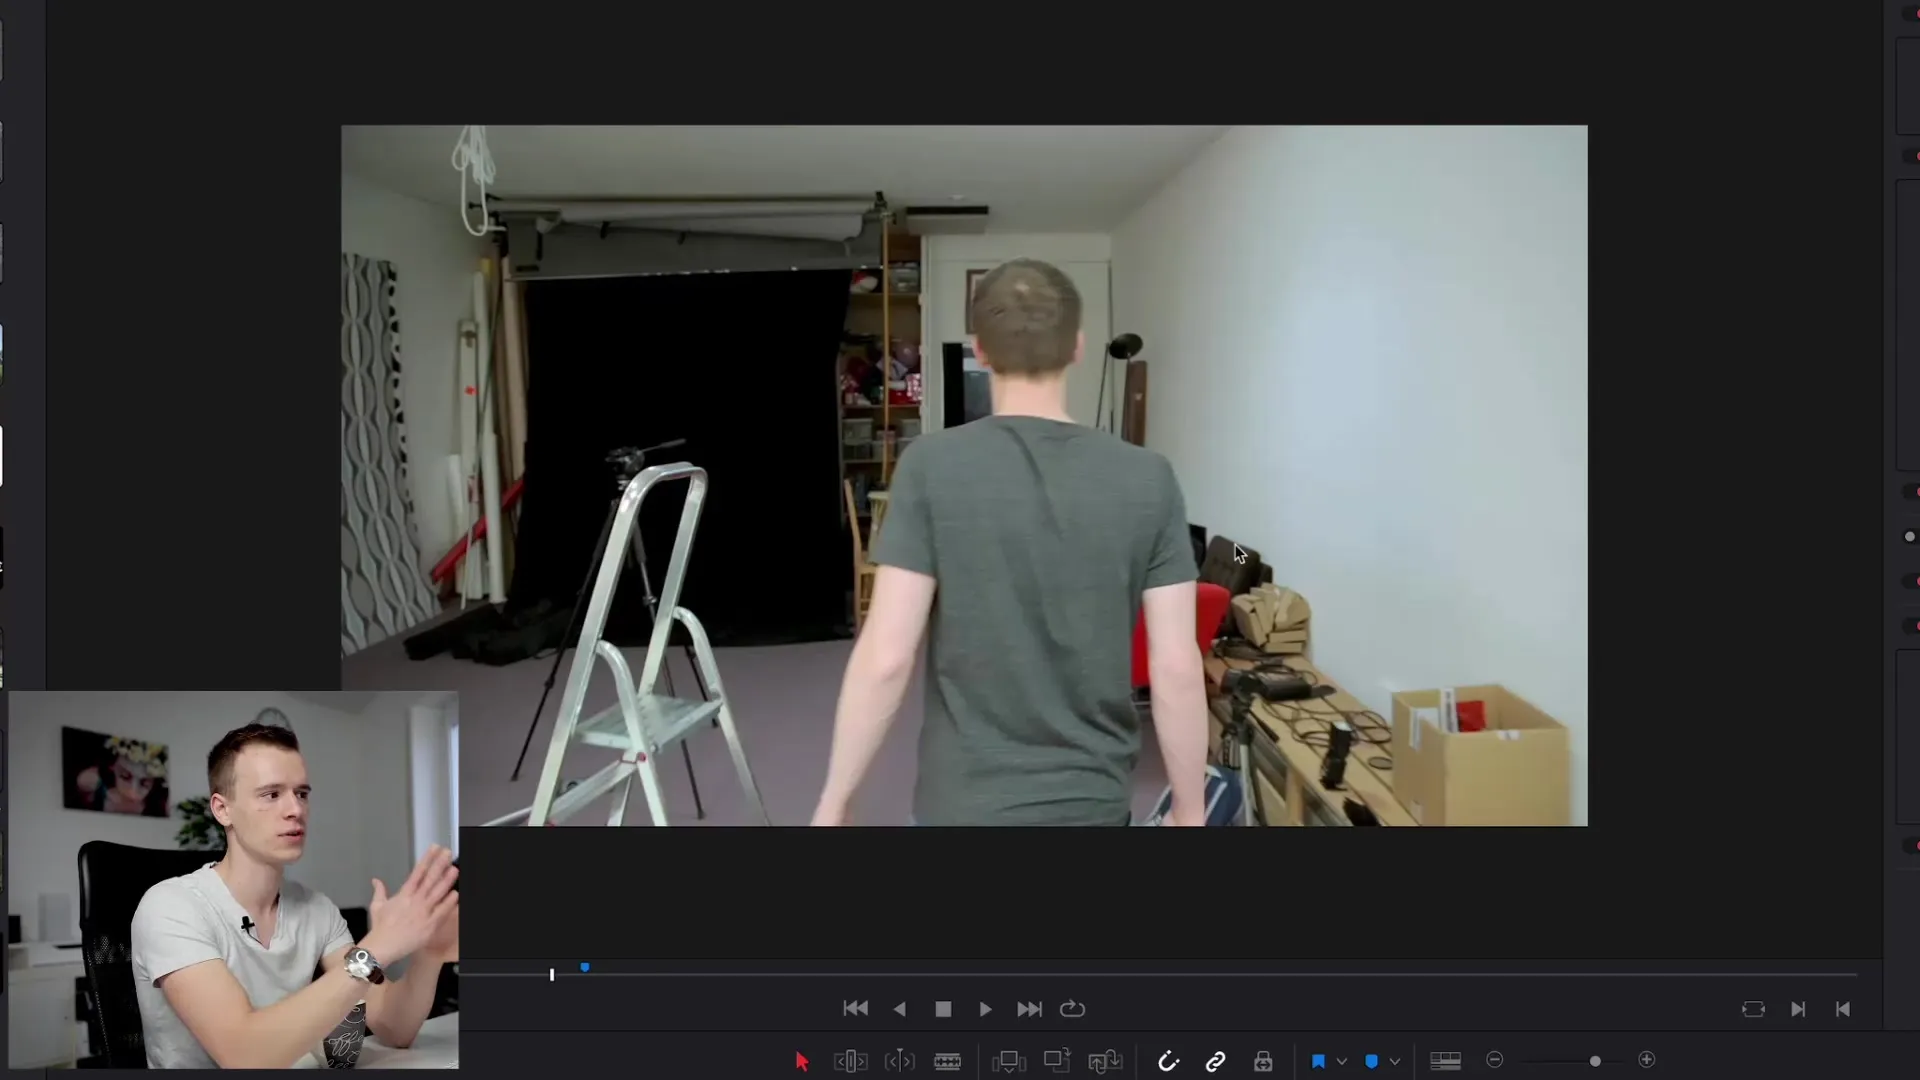
To activate "Optical Flow," go to the retiming options and select it. While the footage is playing, you'll instantly see the difference.
The Retiming Curve
Working with the retiming curve is an advanced area of time control in DaVinci Resolve. You can create specific speed transitions in the clip by using keyframes that are placed in the retiming curve.
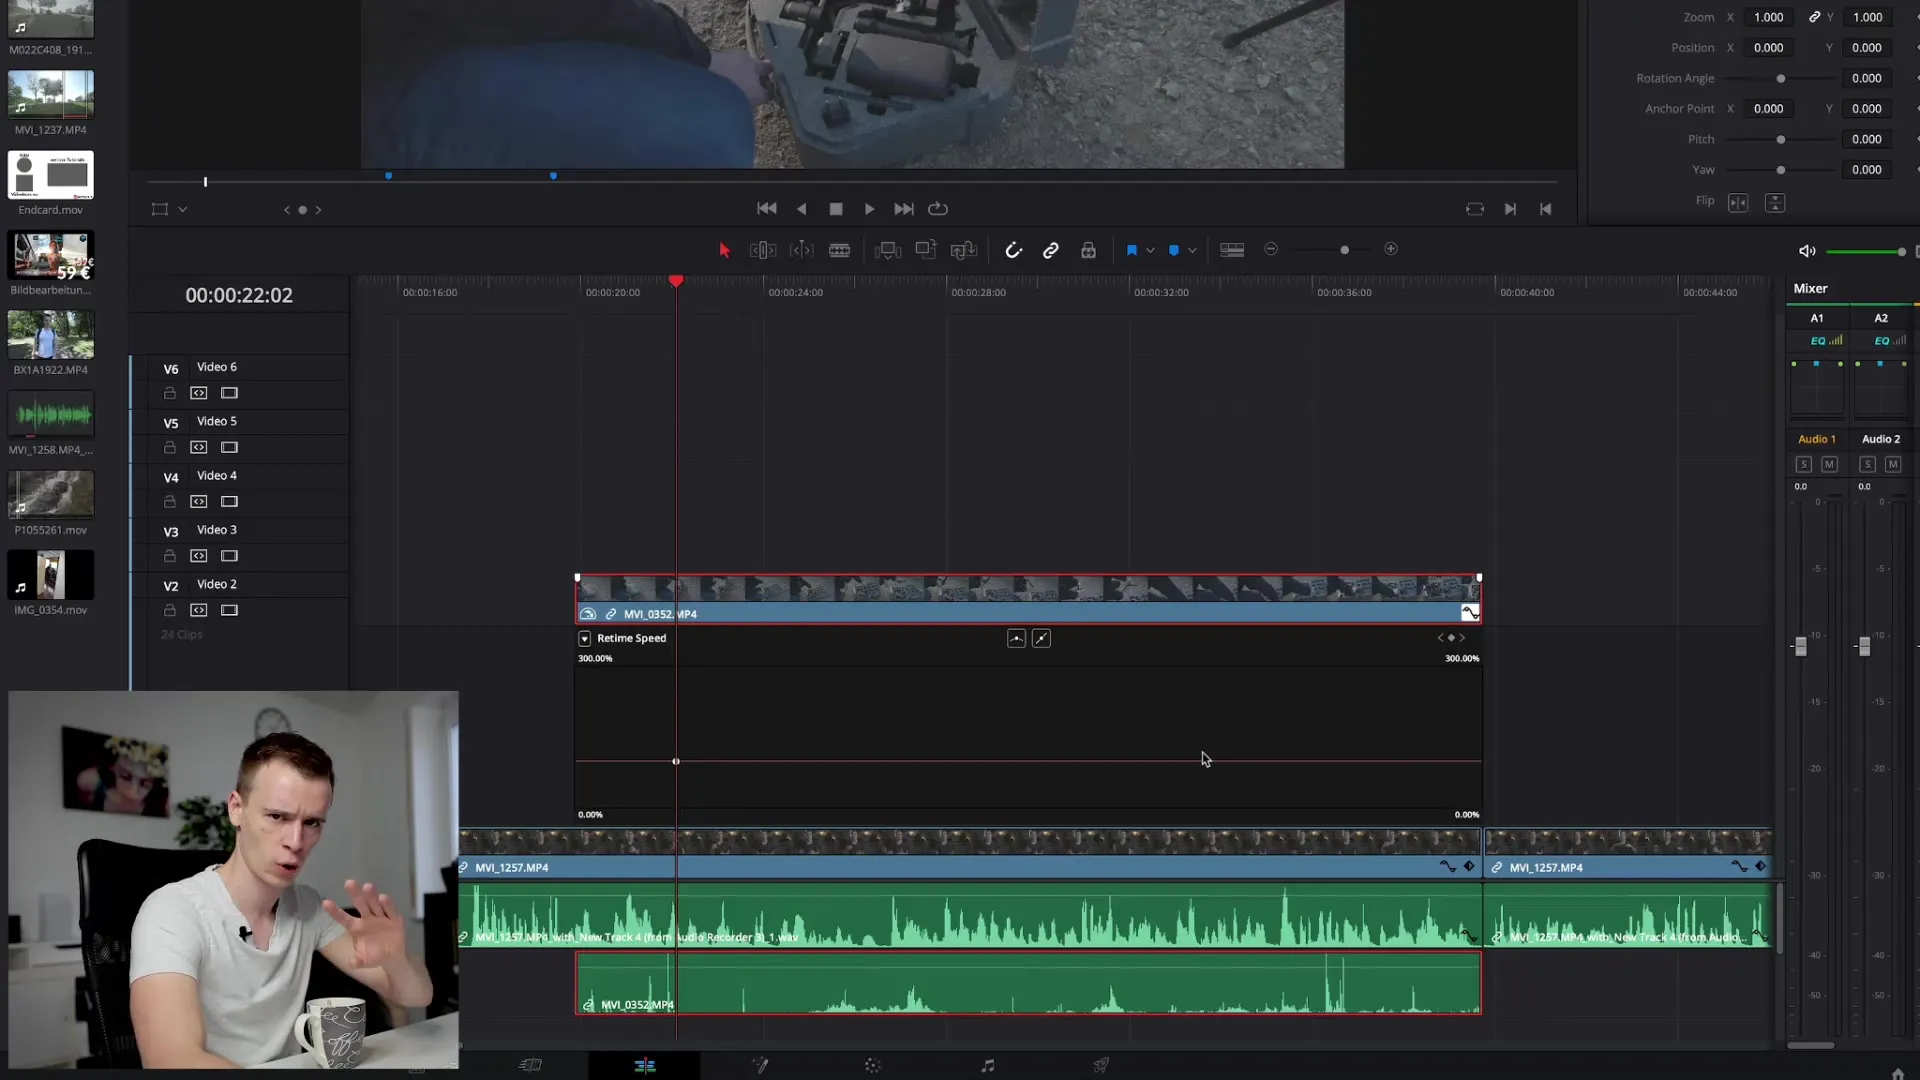
First, activate the retiming curve, and then you can drag the lines with your mouse to create a continuous change in speed, which looks very appealing and dynamic.
Summary - DaVinci Resolve: Time Control in Videos
The control over playback speed in DaVinci Resolve opens up a world of creative possibilities in video editing. Whether time-lapse or slow motion – with the right techniques, you can create impressive visual effects that captivate your audience. Experiment with the different methods and find out which ones work best for your projects.
