When you dive into the world of video editing, it can initially seem overwhelming. But don't worry, with the right approach, you'll quickly learn how to edit your videos professionally. In this tutorial, I will show you the techniques I apply and the important steps you should consider to optimize your videos and bring them to an engaging end product.
Key Insights
- A good video shot is the foundation for effective editing. Make sure to properly light the video images and film in the correct order to facilitate post-production.
- Sound is crucial. Use headphones to better assess audio quality and ensure the wire to the speakers is good.
- Working with music can influence the entire video editing process. Consider the rhythm of the music to create appropriate transitions and cuts.
- Organize your material from the start. A well-structured project significantly eases the editing process.
- Use keyframes for audio to dynamically adjust the volume and create a pleasant listening atmosphere.
Step-by-Step Guide
Step 1: Preparing the Project
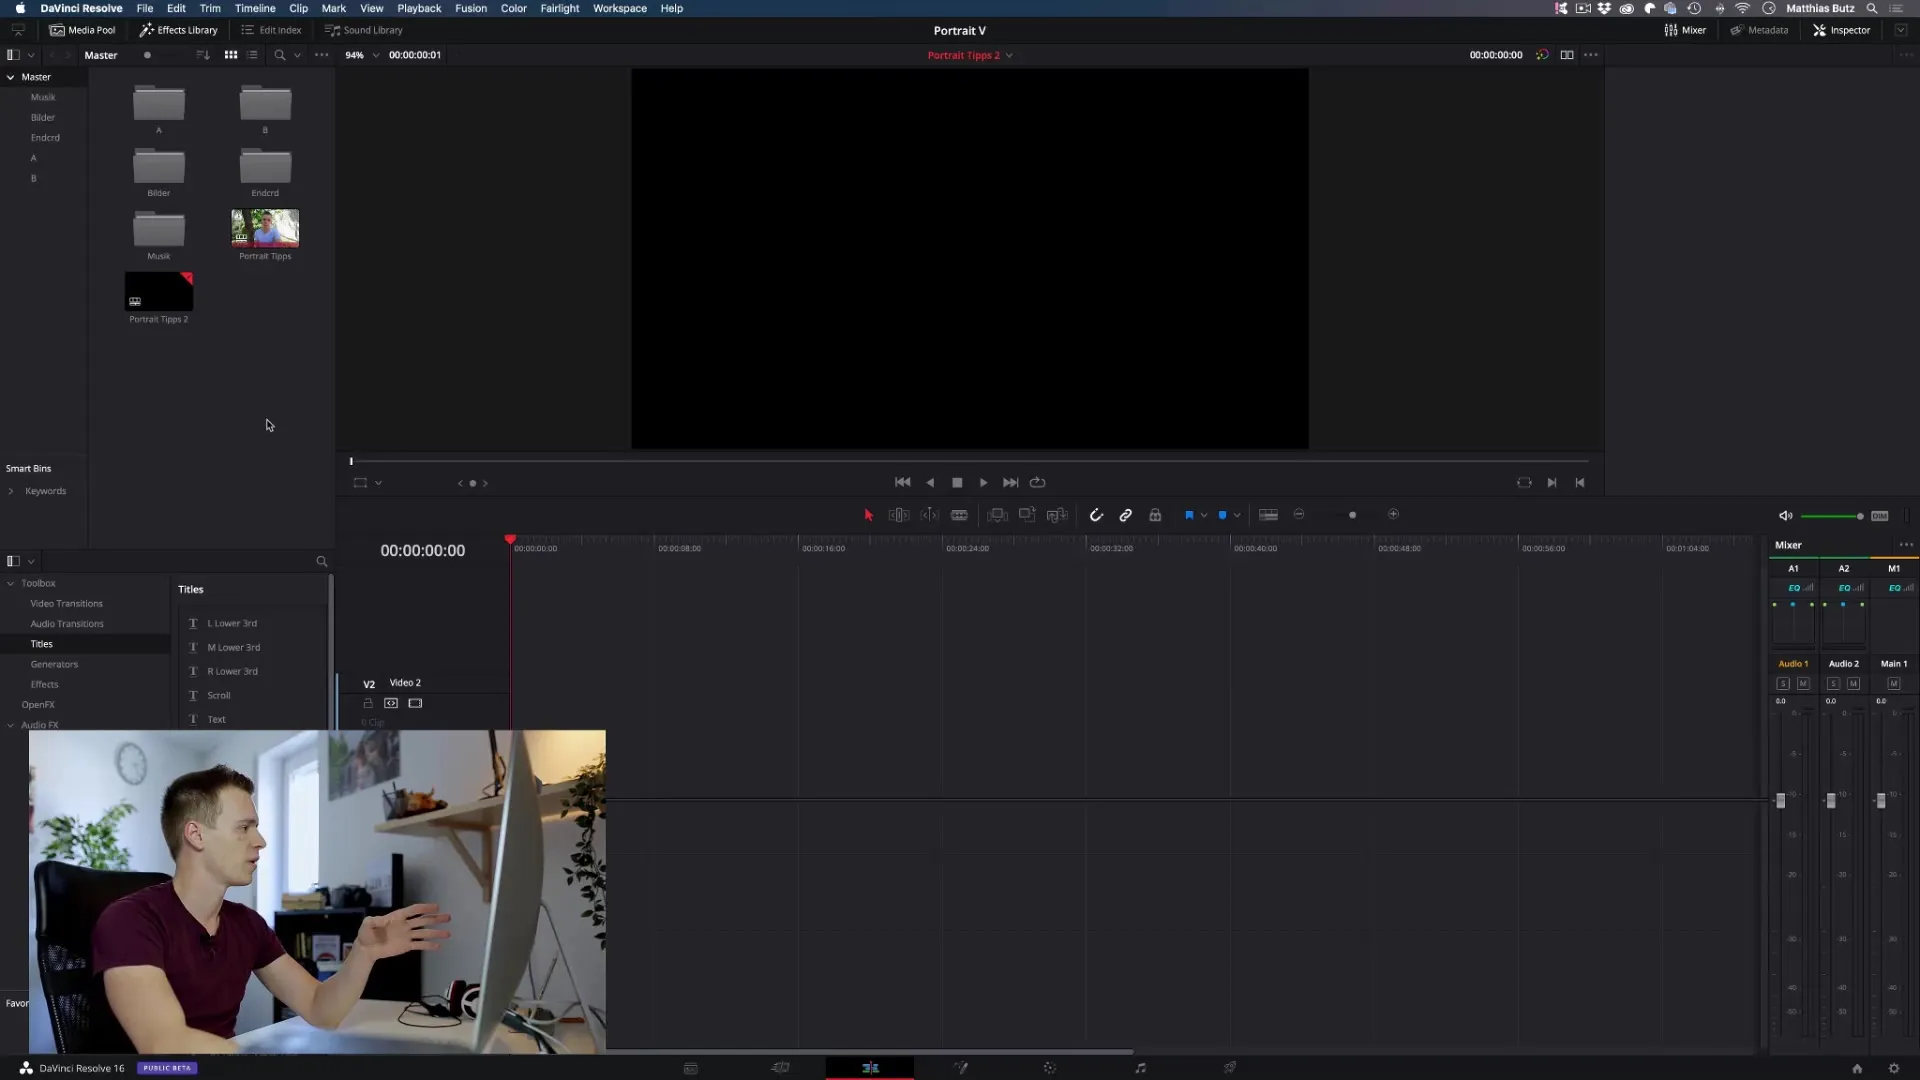
Before you start editing, ensure that all your material is ready. You should have imported all video, audio, and music clips and set up your timeline.
Step 2: Organizing Material
Good organization can save you a lot of time. Place your clips on different tracks: single track for video editing, audio, music, and B-roll material. Arrange your clips so you can find them quickly and easily.
Step 3: Selecting the Right Music
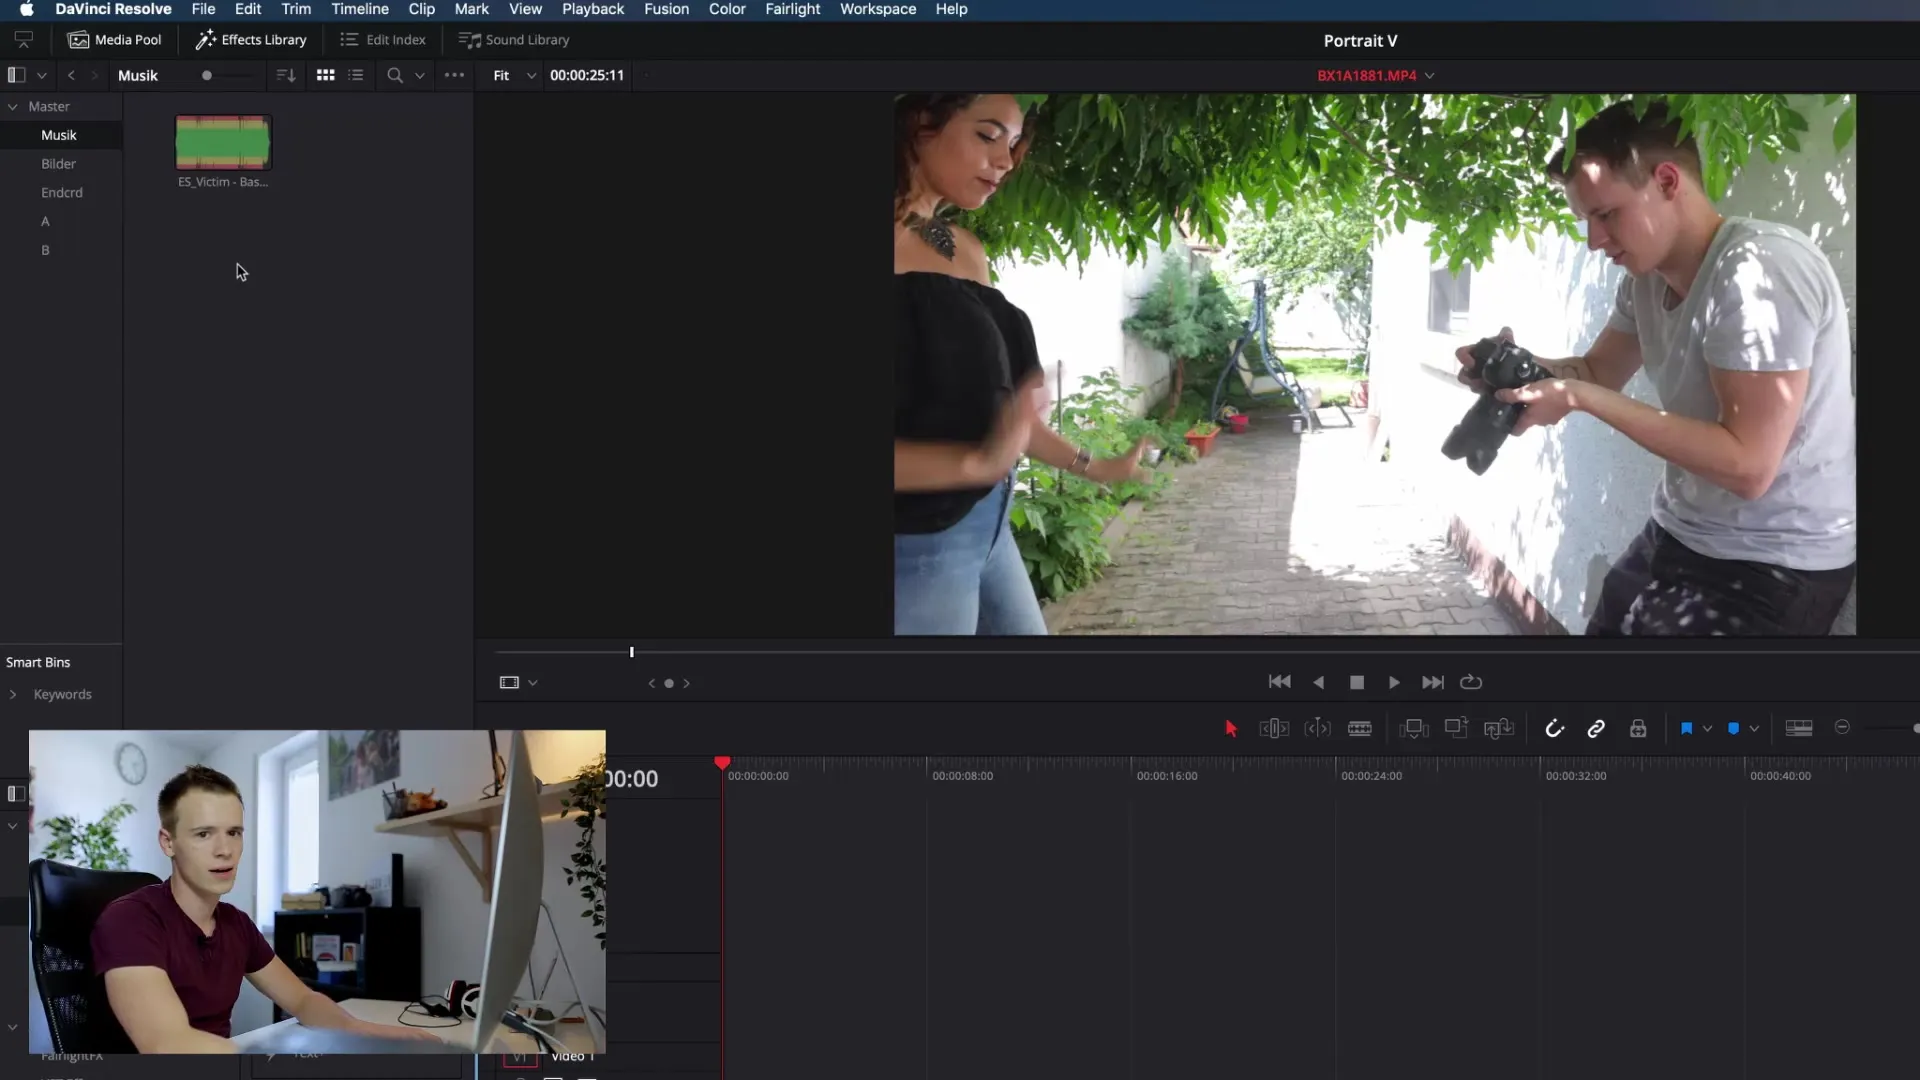
Before adding clips, first select the music. When you edit your clips to the music, they will seem more harmonious, and the transitions will flow more smoothly.
Step 4: Cutting Clips with In and Out Points
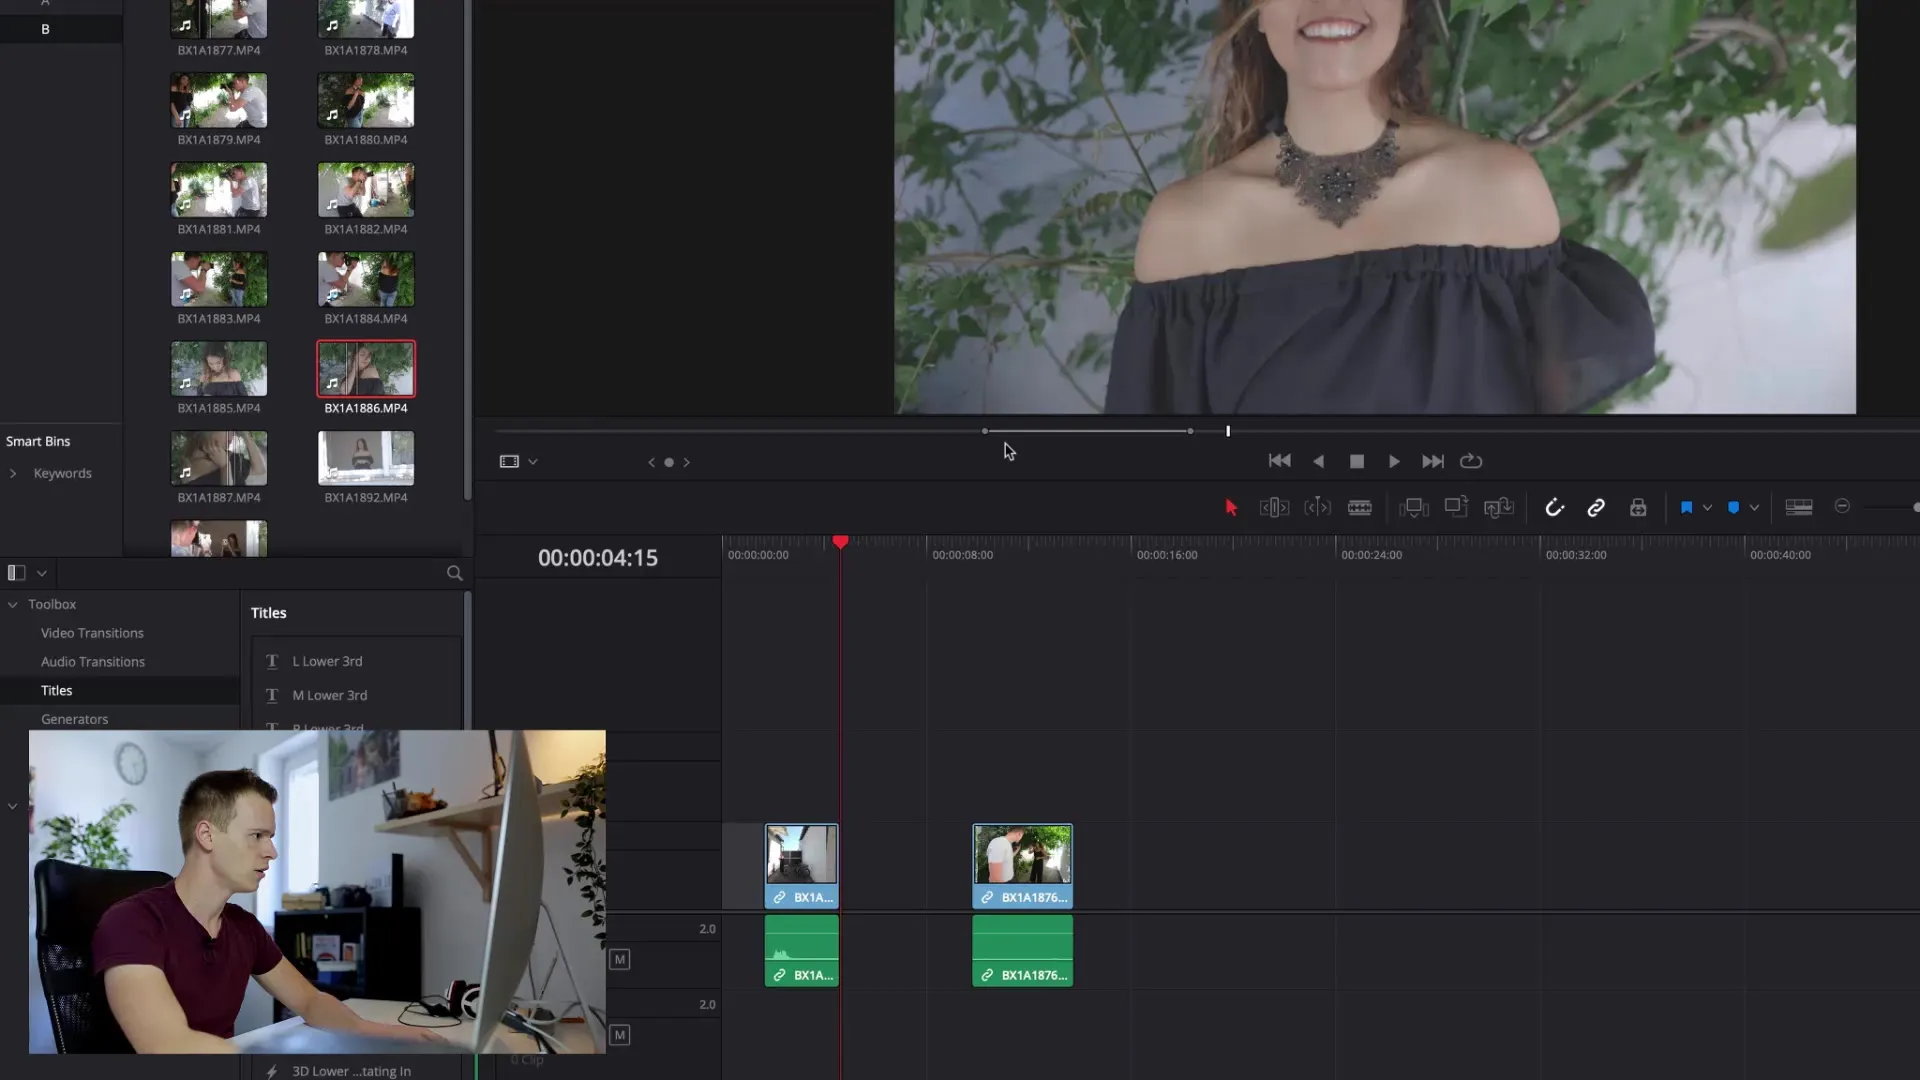
Use the In and Out point feature to select the perfect parts of your clips. This saves you the effort of trimming them later.
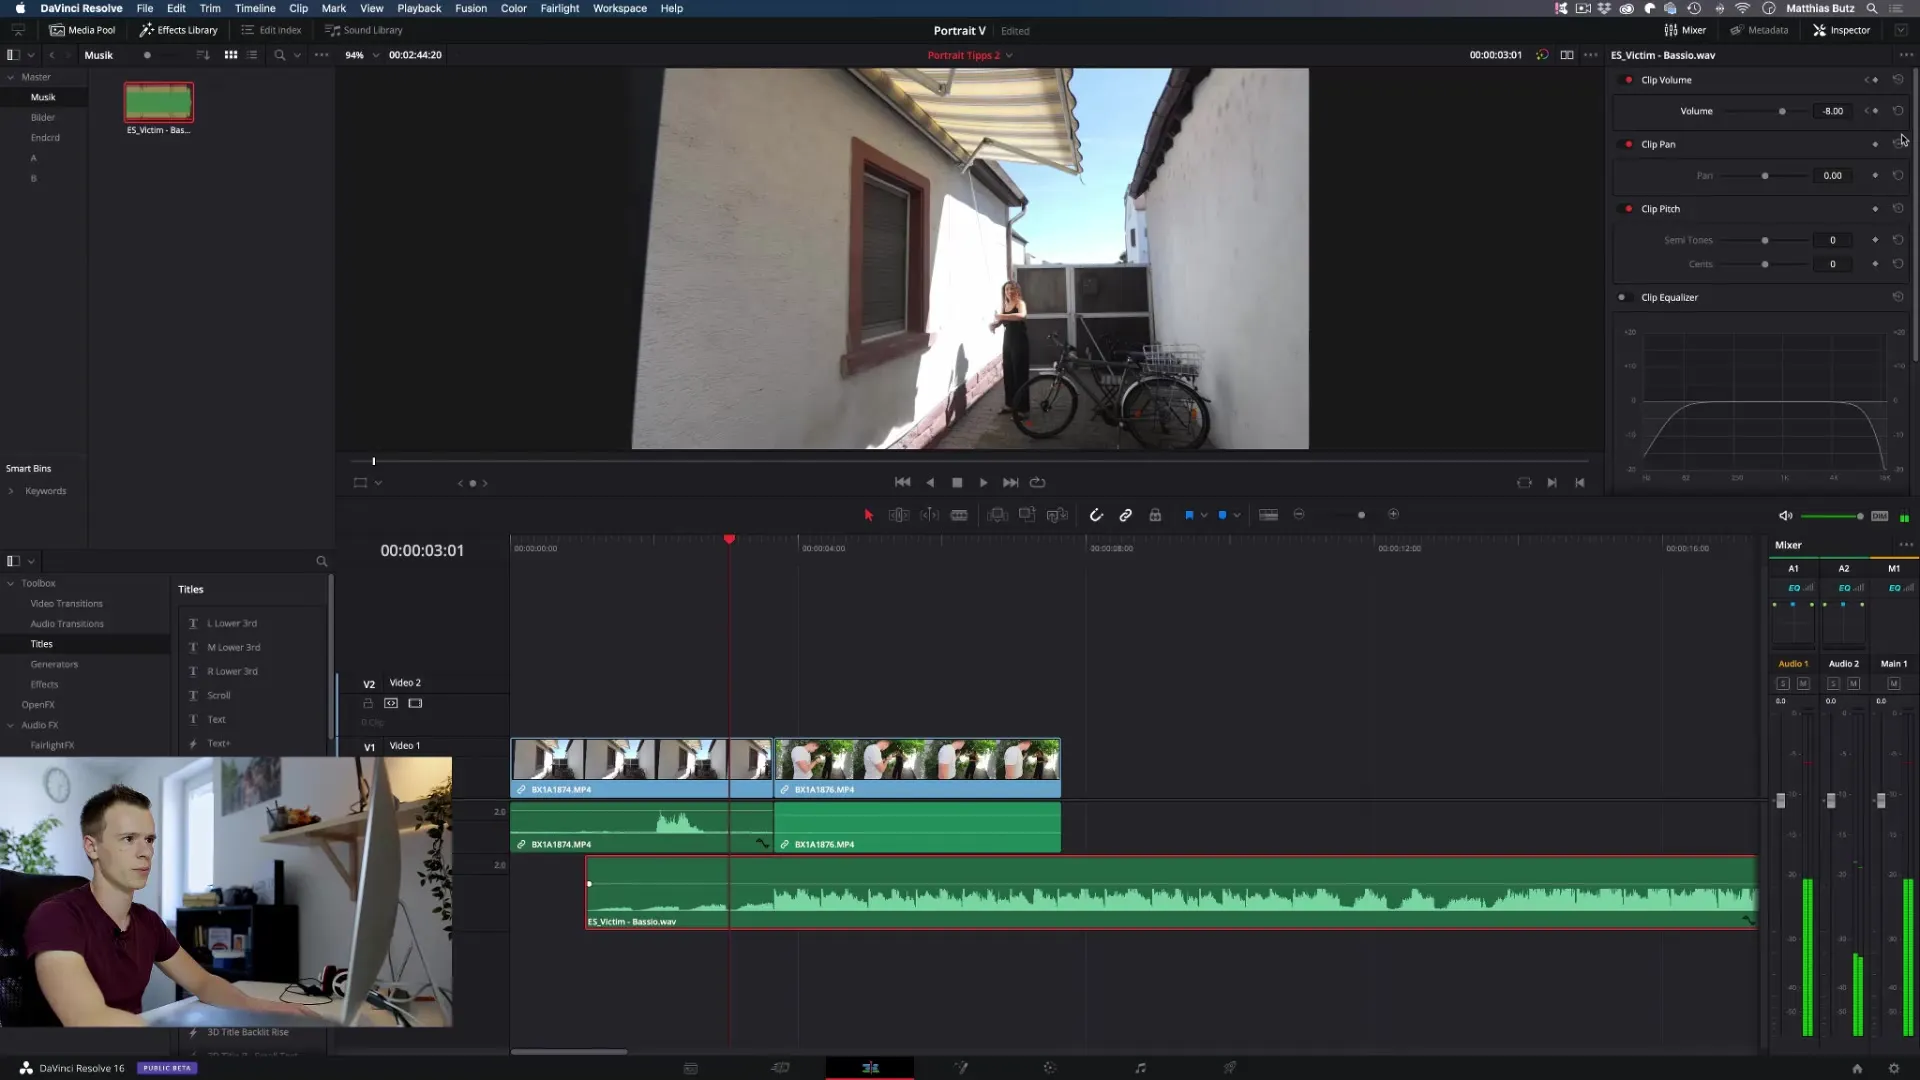
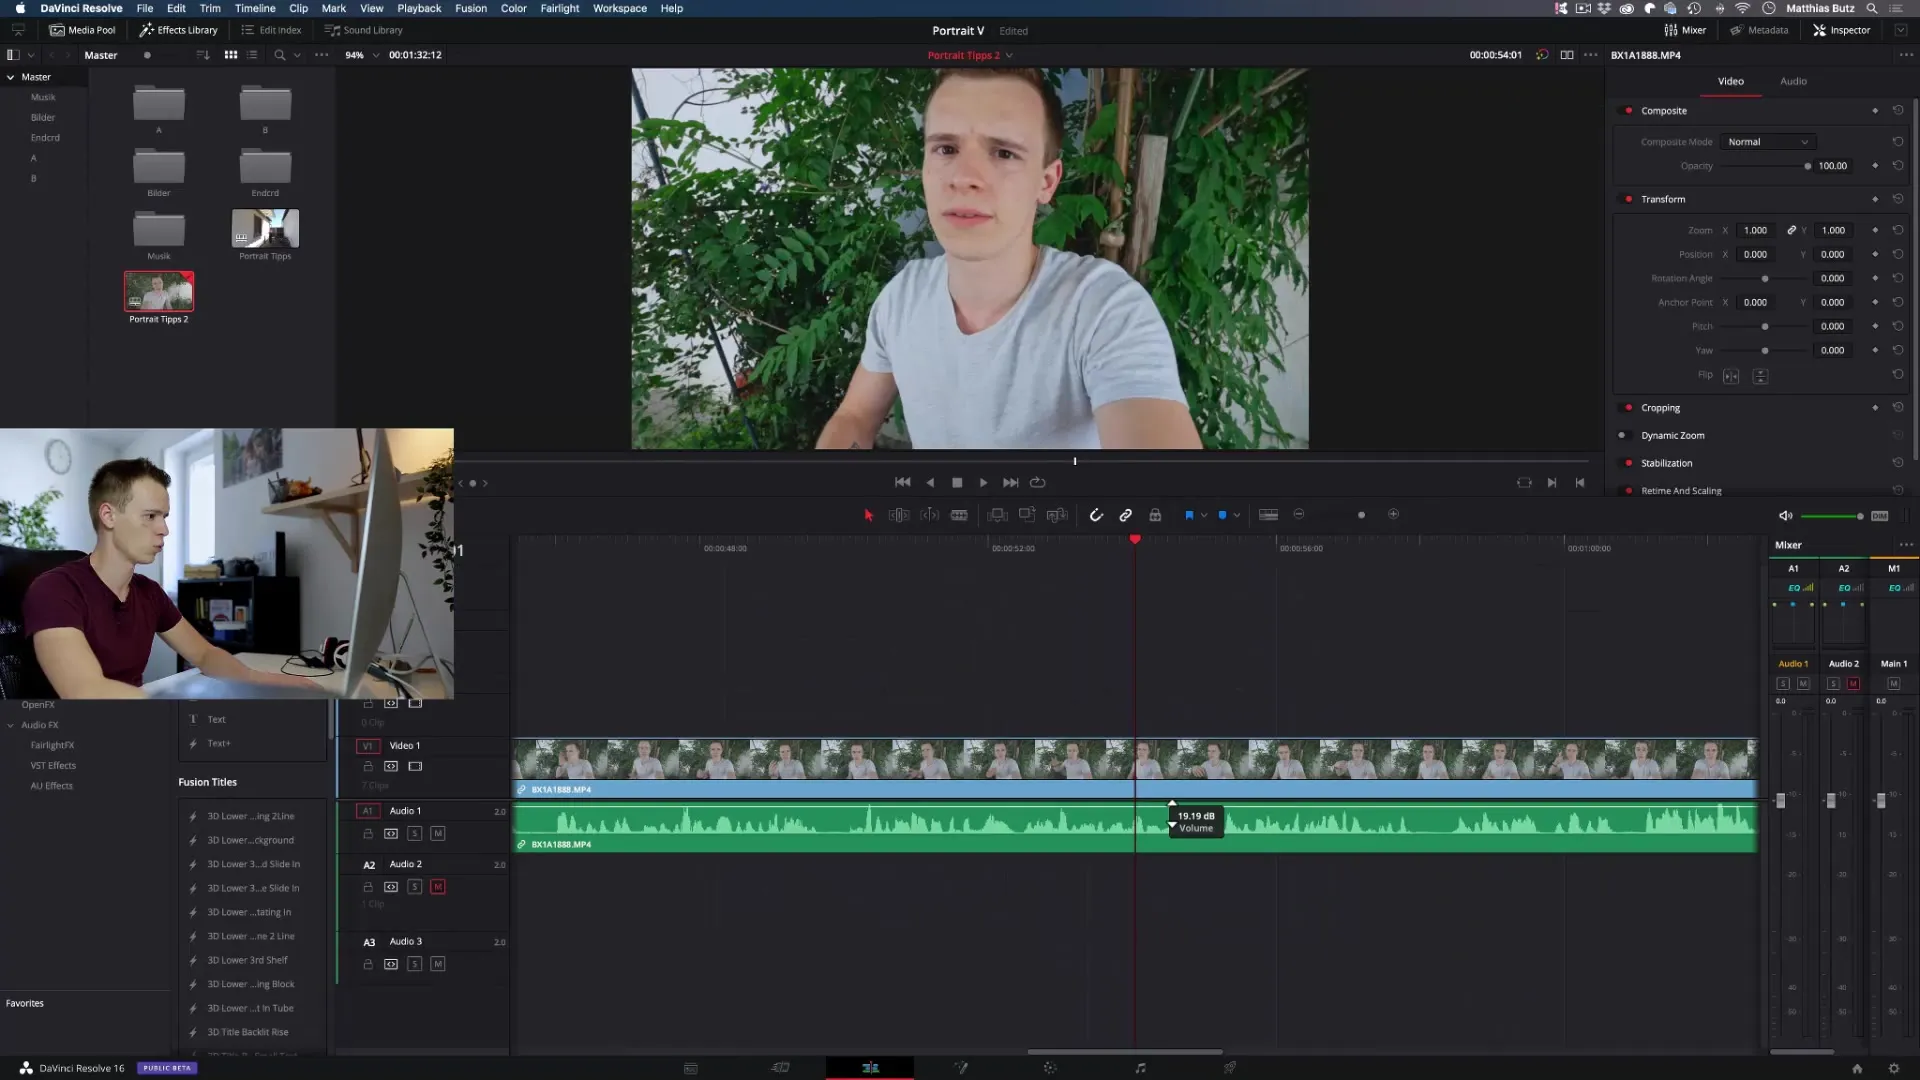
Step 5: Editing Volume with Keyframes
Set keyframes in audio editing to adjust the volume. This ensures that the music in the background does not overpower the spoken text.
Step 6: Merging the Clips
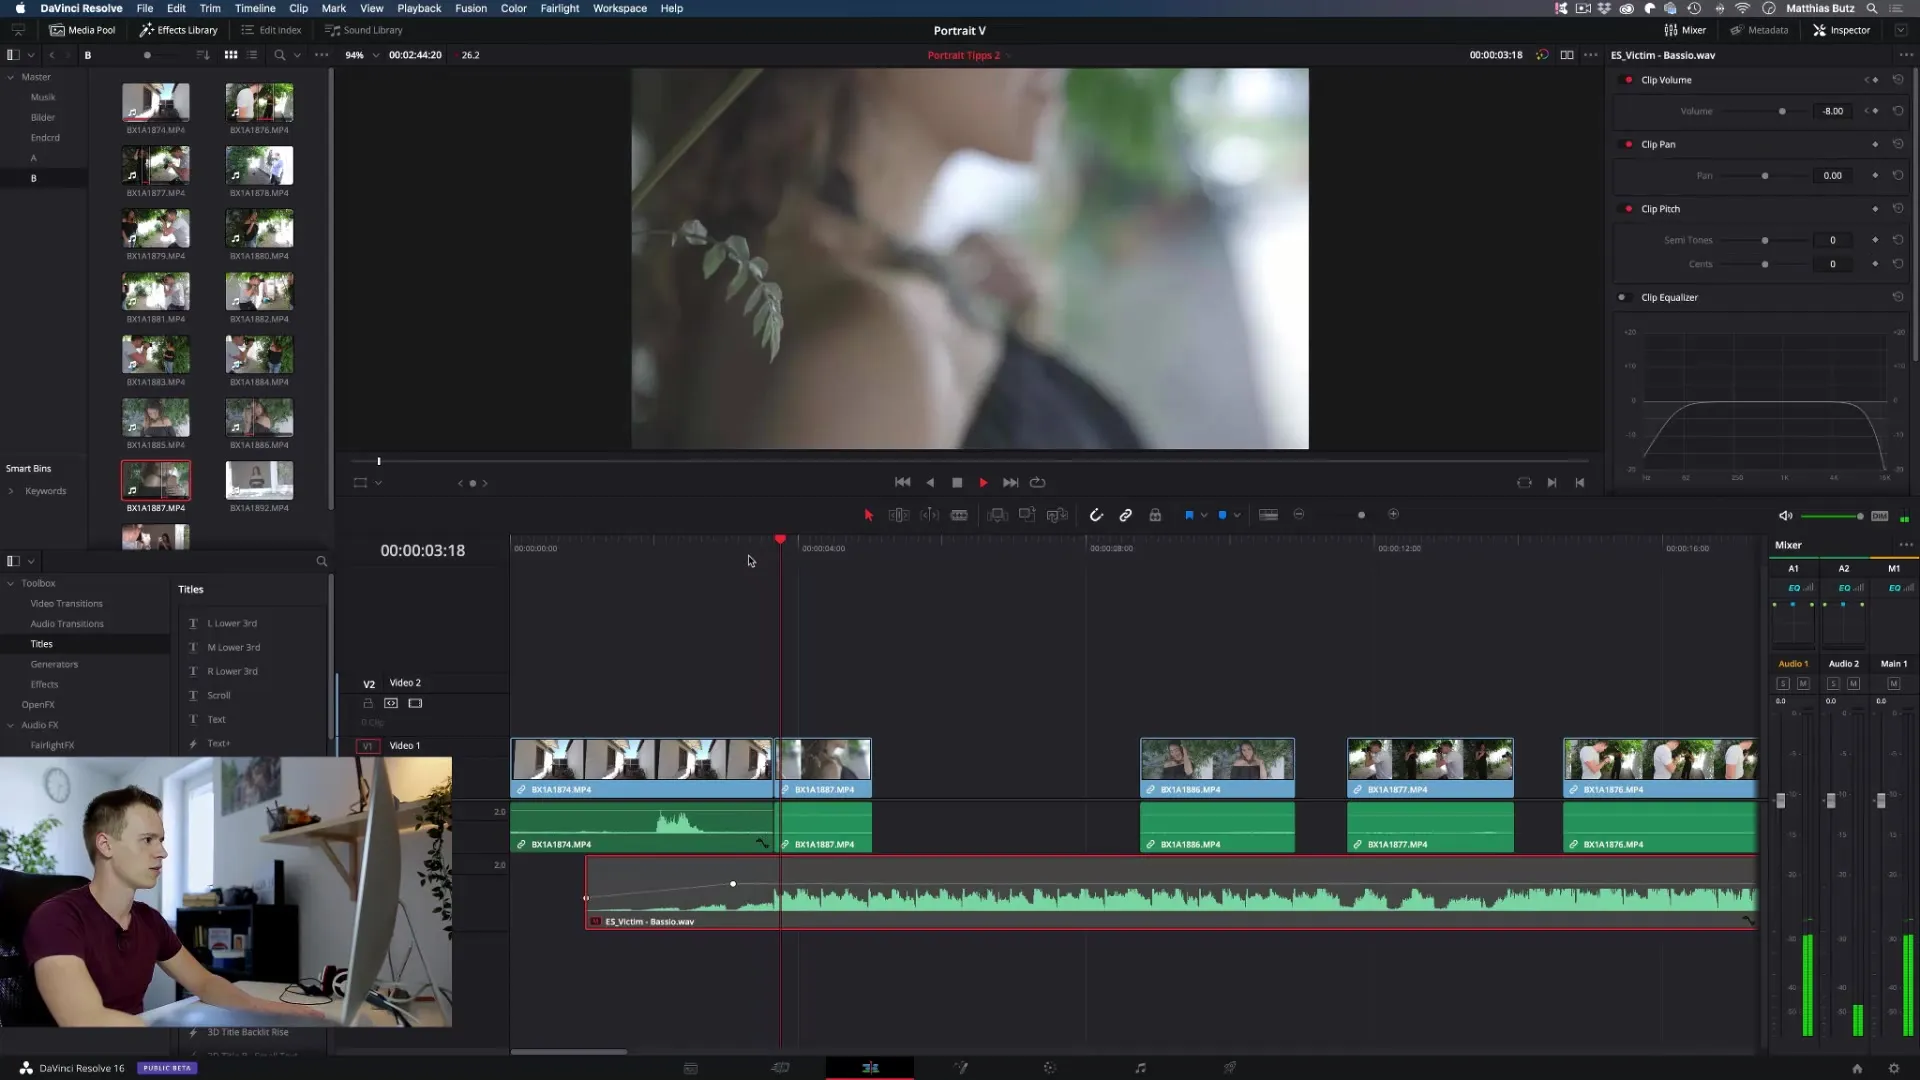
Now it's time to merge all the clips together. Pay attention to a smooth transition between the individual scenes.
Step 7: Using Jump-Cuts
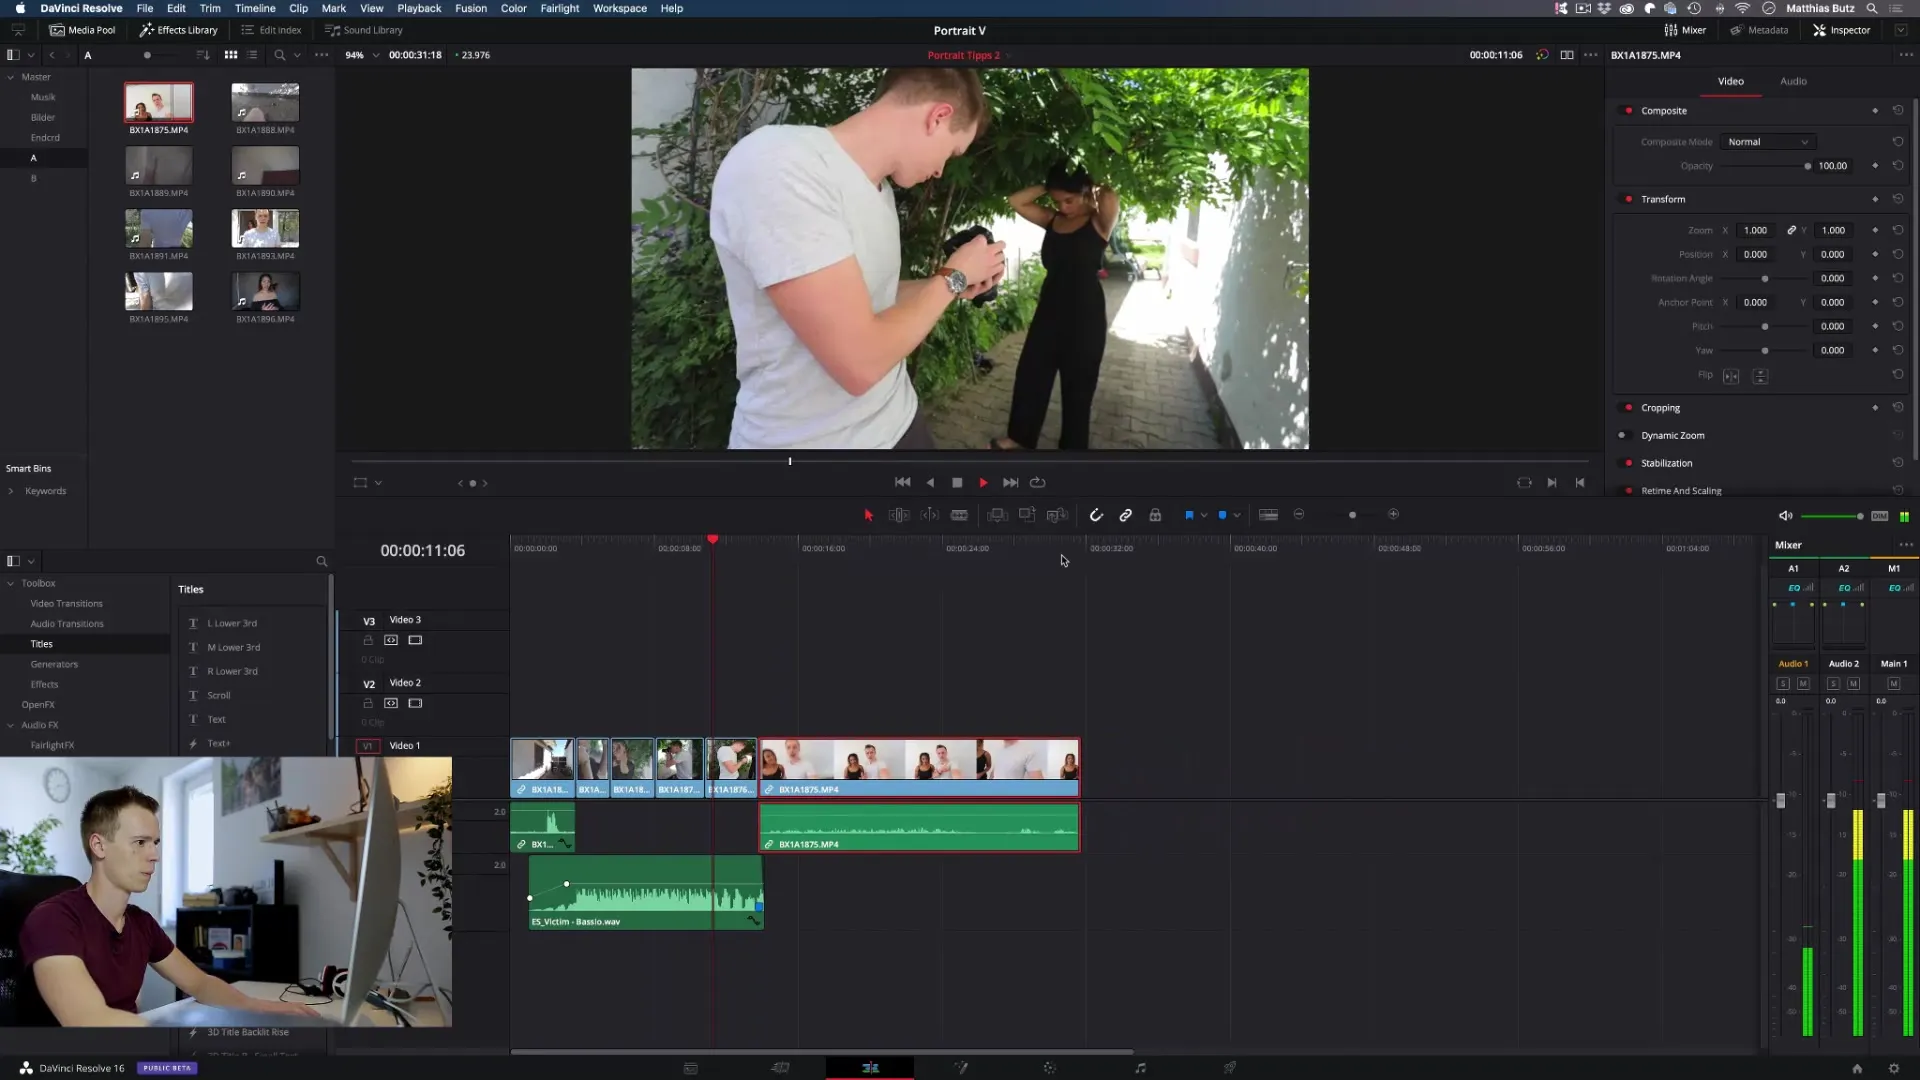
Use jump cuts for a more dynamic storytelling. They help to remove blunders and lead to a smoother overall result.
Step 8: Color Grading
Once the material is merged, it's important to perform color correction. Here you can adjust color intensity and contrast to achieve a professional video.
Step 9: Audio Adjustments
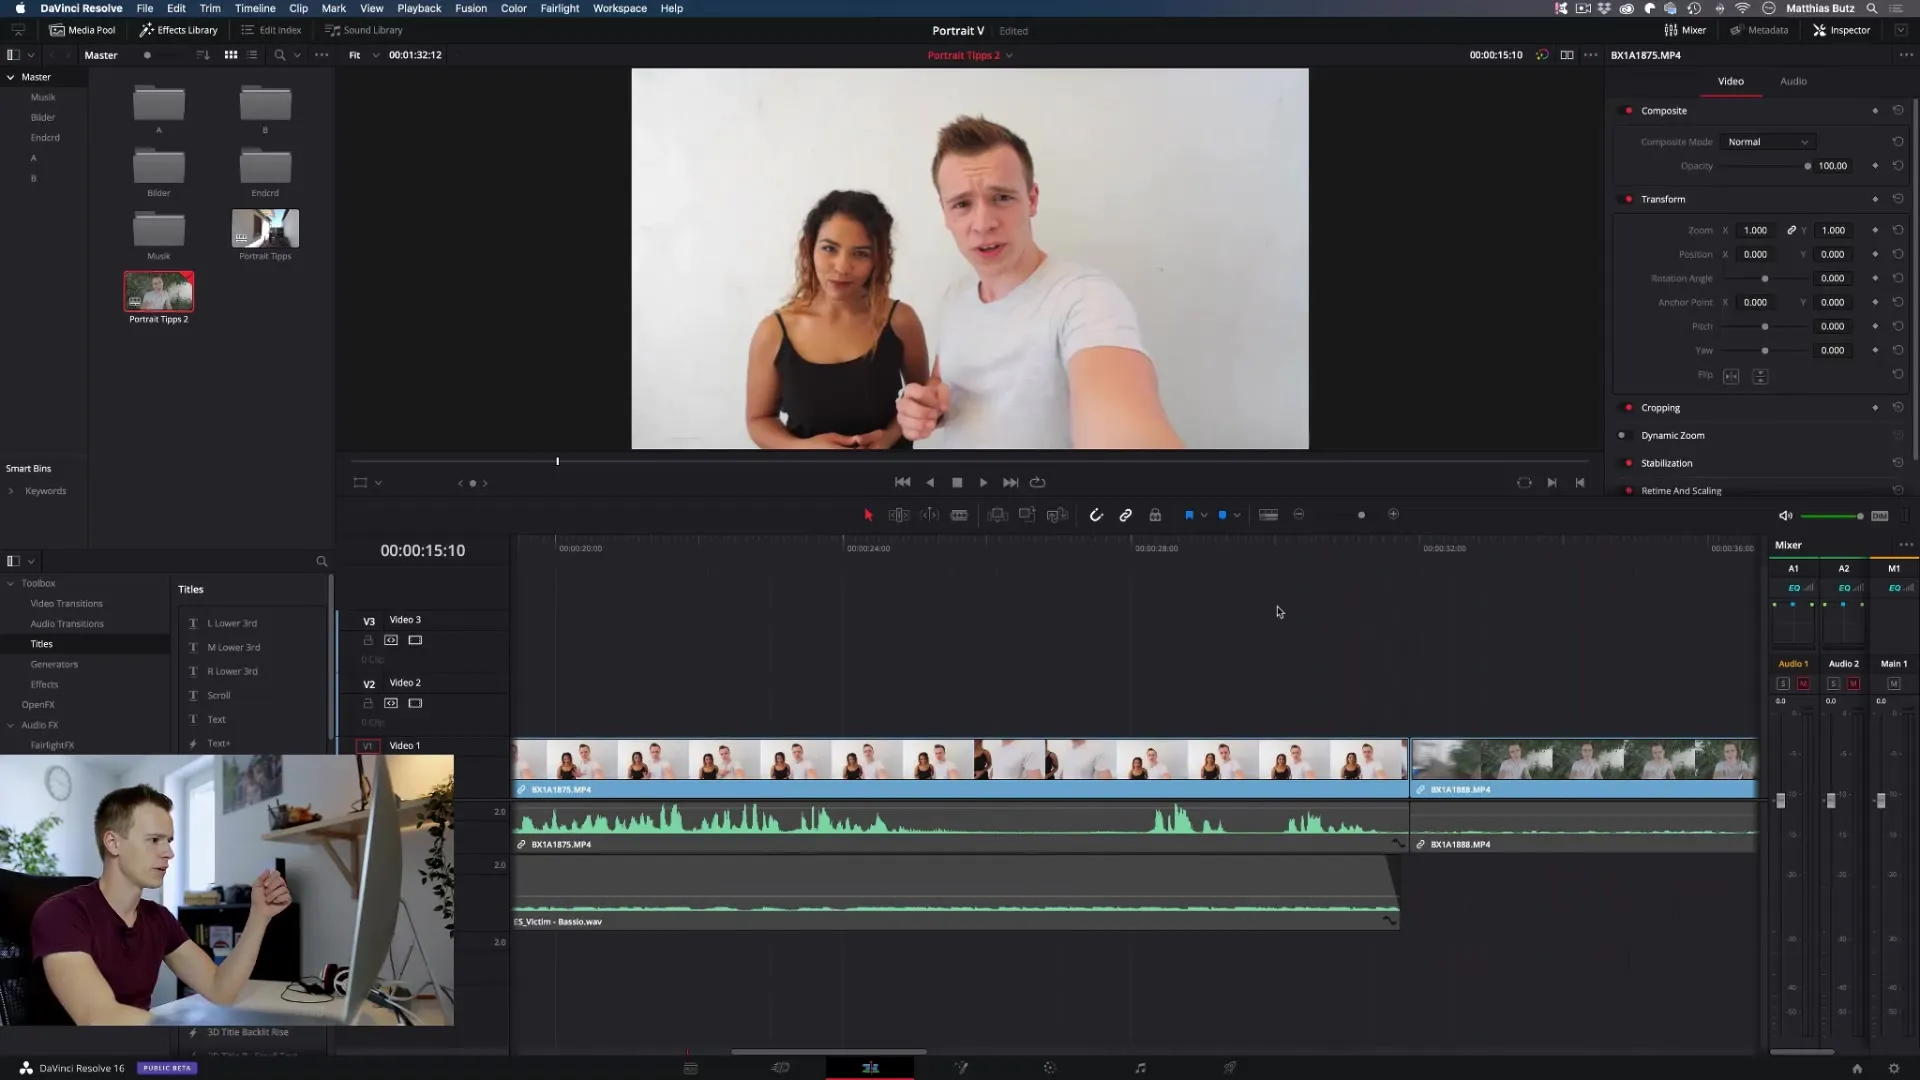
Check the sound using an equalizer. Ensure that all frequencies are balanced and that there are no unpleasant peaks.
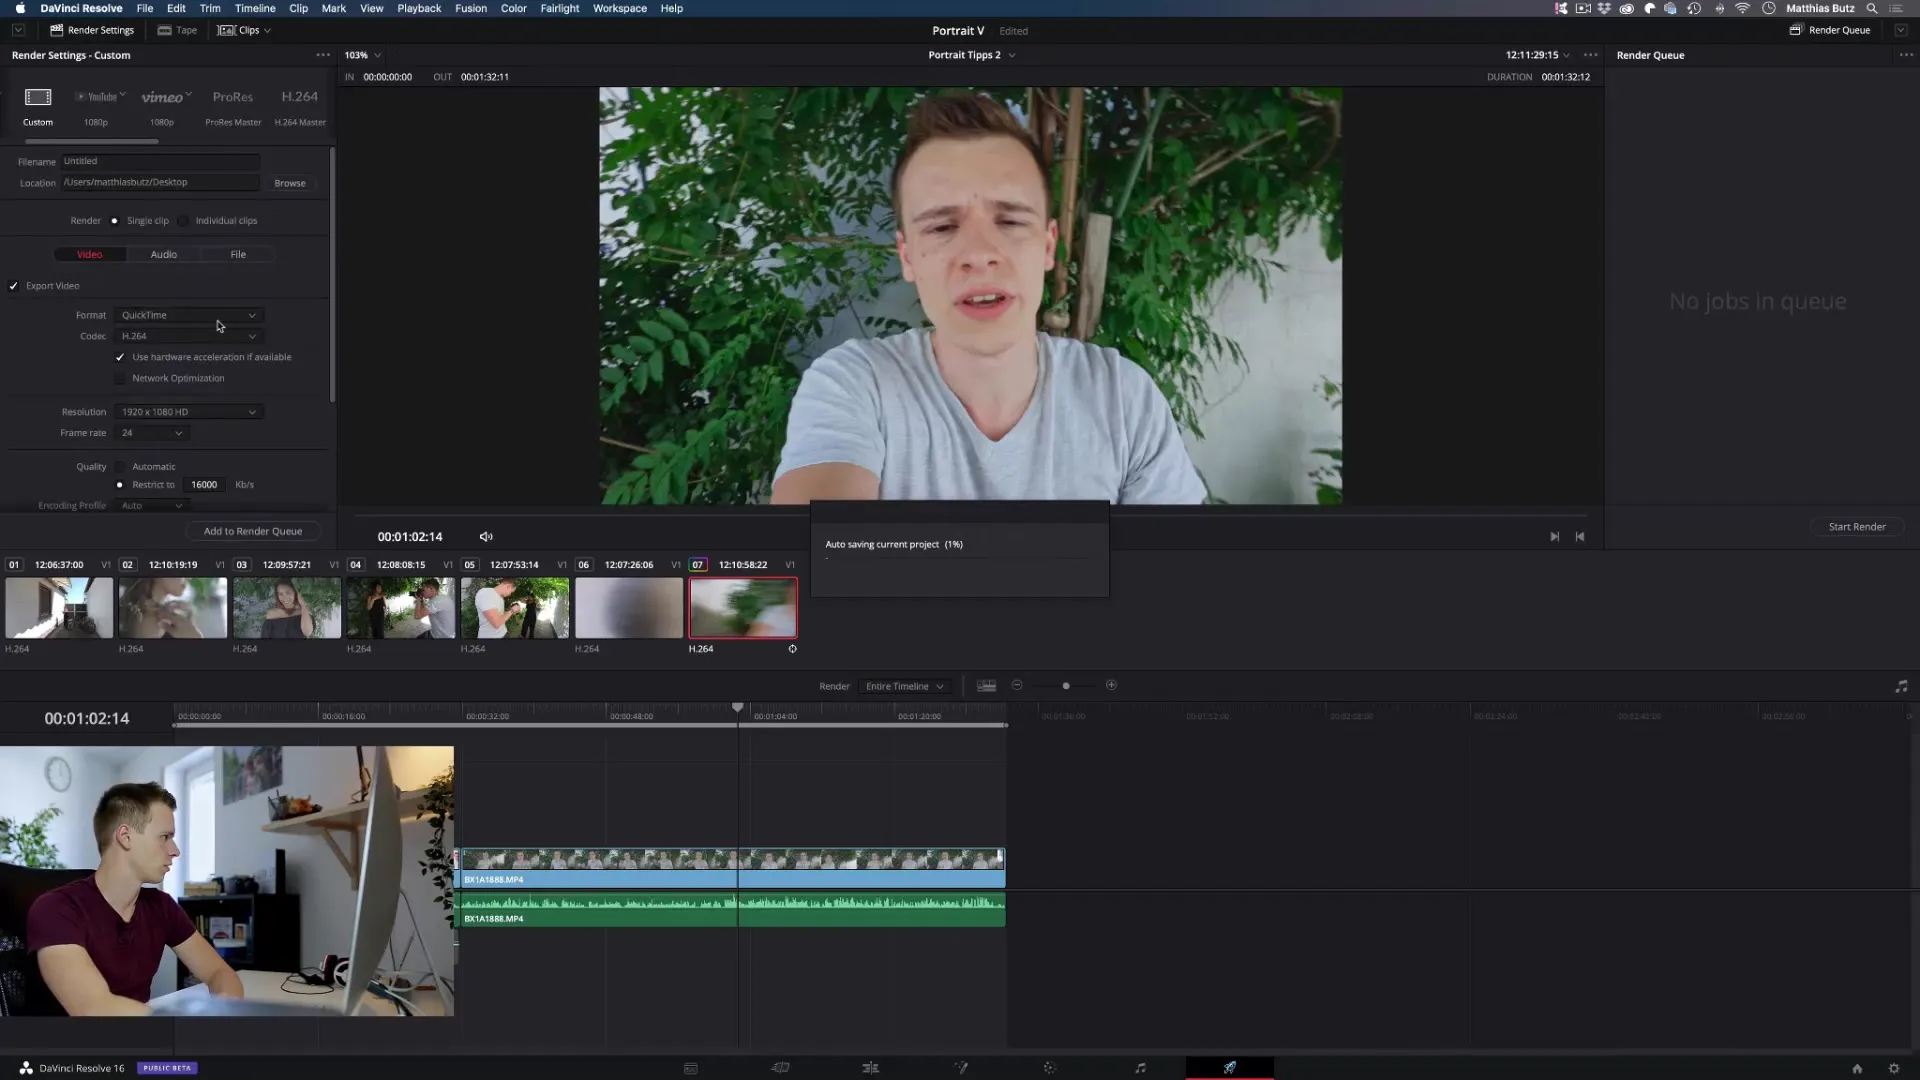
Step 10: Exporting the Final Video
When everything is finished, select the right export settings. DaVinci Resolve offers you various presets, including for YouTube videos. Make sure that the bitrate ensures good quality.
Summary – Effective Techniques for Video Editing in DaVinci Resolve
Throughout this guide, you have learned important steps and techniques to successfully edit your video in DaVinci Resolve. From organizing your material to the final export, you can apply the methods you learned to make your videos professional.
Frequently Asked Questions
How important is lighting when filming?Lighting is crucial as it significantly affects image quality. Well-lit scenes require less post-processing and produce a clearer image.
How can I improve the sound in the video?Use an external microphone and ensure that recordings are made in quiet environments. Editing the audio afterward can also help.
Why is music so important for video editing?Music shapes the mood of your video and can significantly influence the audience's perception. Edit your clips to the rhythm of the music to create more dynamism.
How can I ensure that my video looks professional?Pay attention to high-quality shots, good lighting conditions, and balanced sound. Color grading and appropriate music selection also contribute to professionalism.


