If you work with DaVinci Resolve, you'll quickly realize that keyframes are an essential tool for animation and effects in your projects. They provide a way to change values over time, allowing you to create smooth movements and adjustments in your videos. In this guide, I'll show you how to effectively use keyframes to create impressive animations.
Key Insights
- Keyframes are essential for animation in DaVinci Resolve.
- You can animate virtually any value including size, position, and rotation.
- Setting and adjusting keyframes gives you versatile design options.
- Animated transitions, such as fading in text or zooming into an image, are easily achievable.
Using the Inspector - Getting Started
To work with keyframes, you first need to ensure that the Inspector is open. When you start editing a clip, go to your timeline and select the clip you want to adjust. Then, open the Inspector (available as a tab at the top right).

With the clip selected, you can adjust various settings like transform, position, and size. To add a dynamic element like a zoom, select the transform area in the Inspector.
Transforming and Zooming
To demonstrate zooming, set the zoom to a value of 2. Make sure the image is now displayed enlarged.
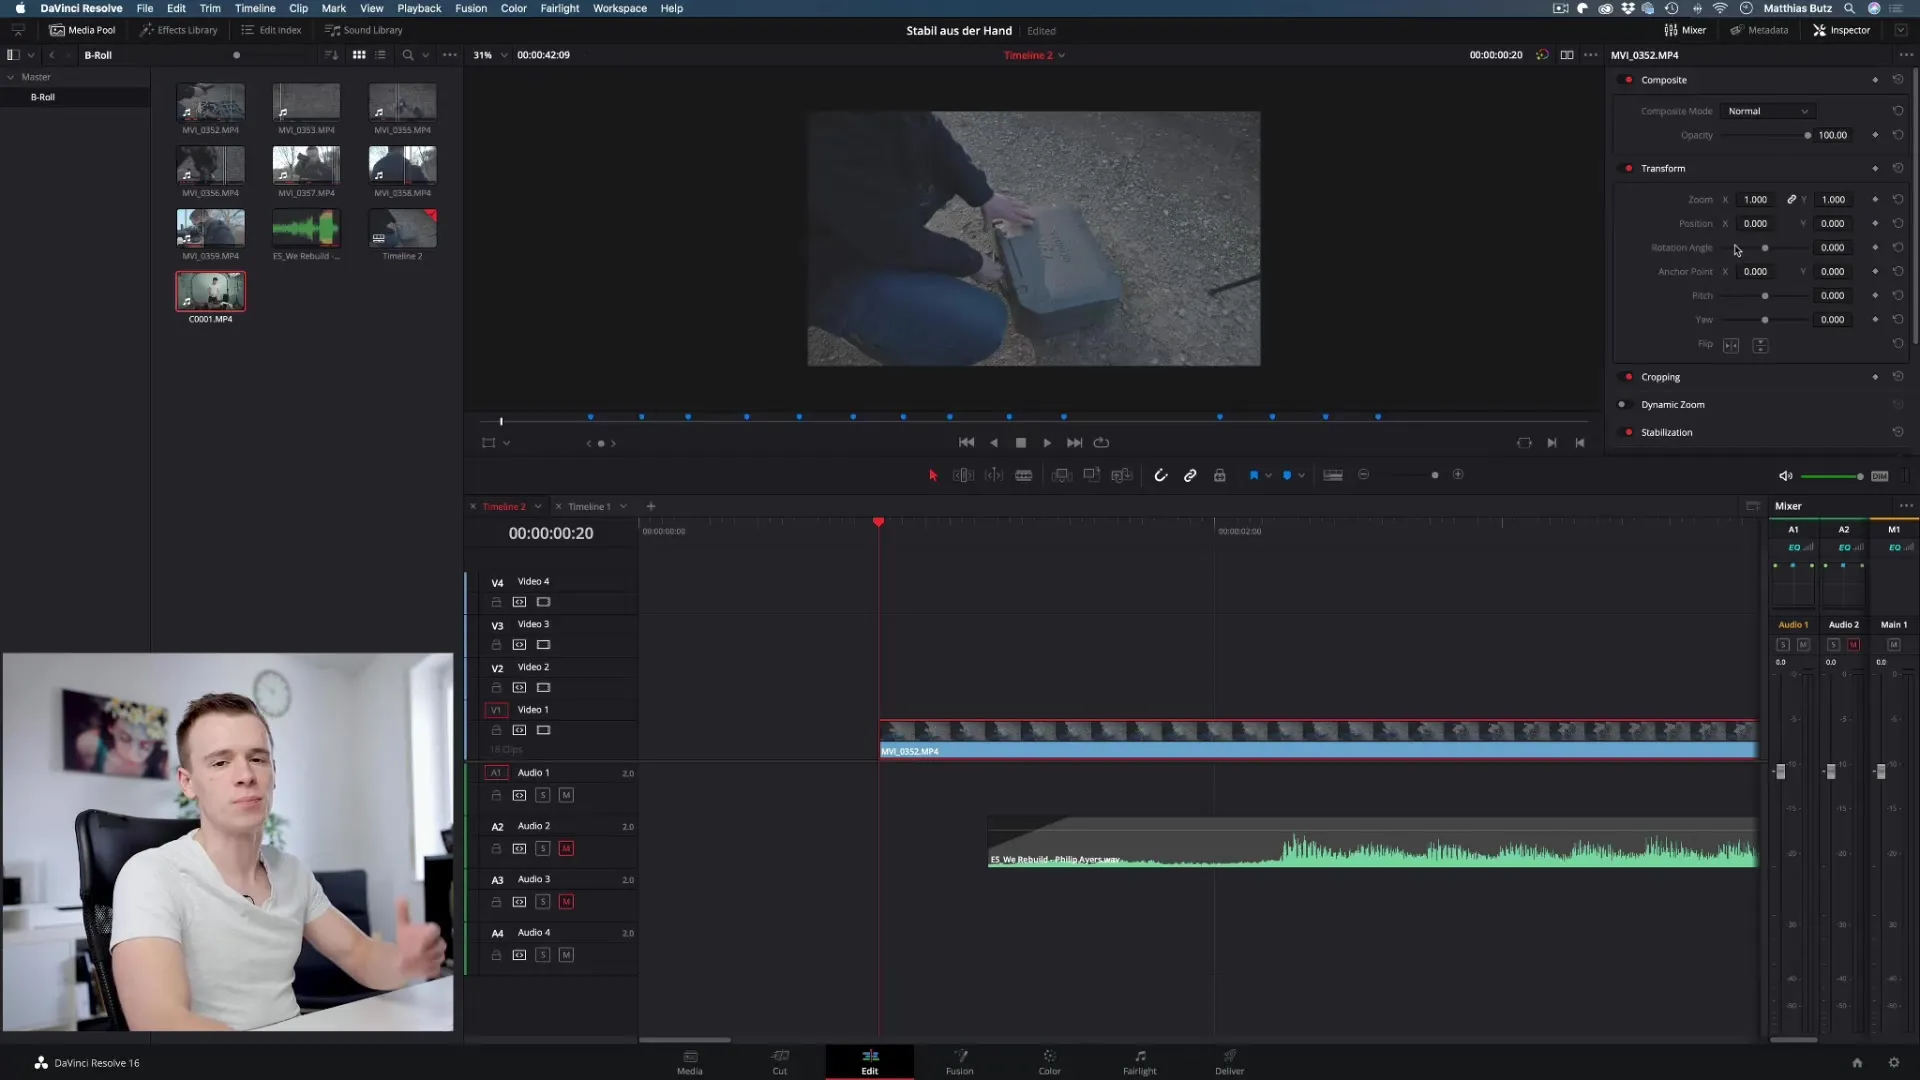
Now we will add keyframes. Set a keyframe at the size by clicking the small diamond icon. Then, you can set the zoom level to 2. A second keyframe will be automatically set.
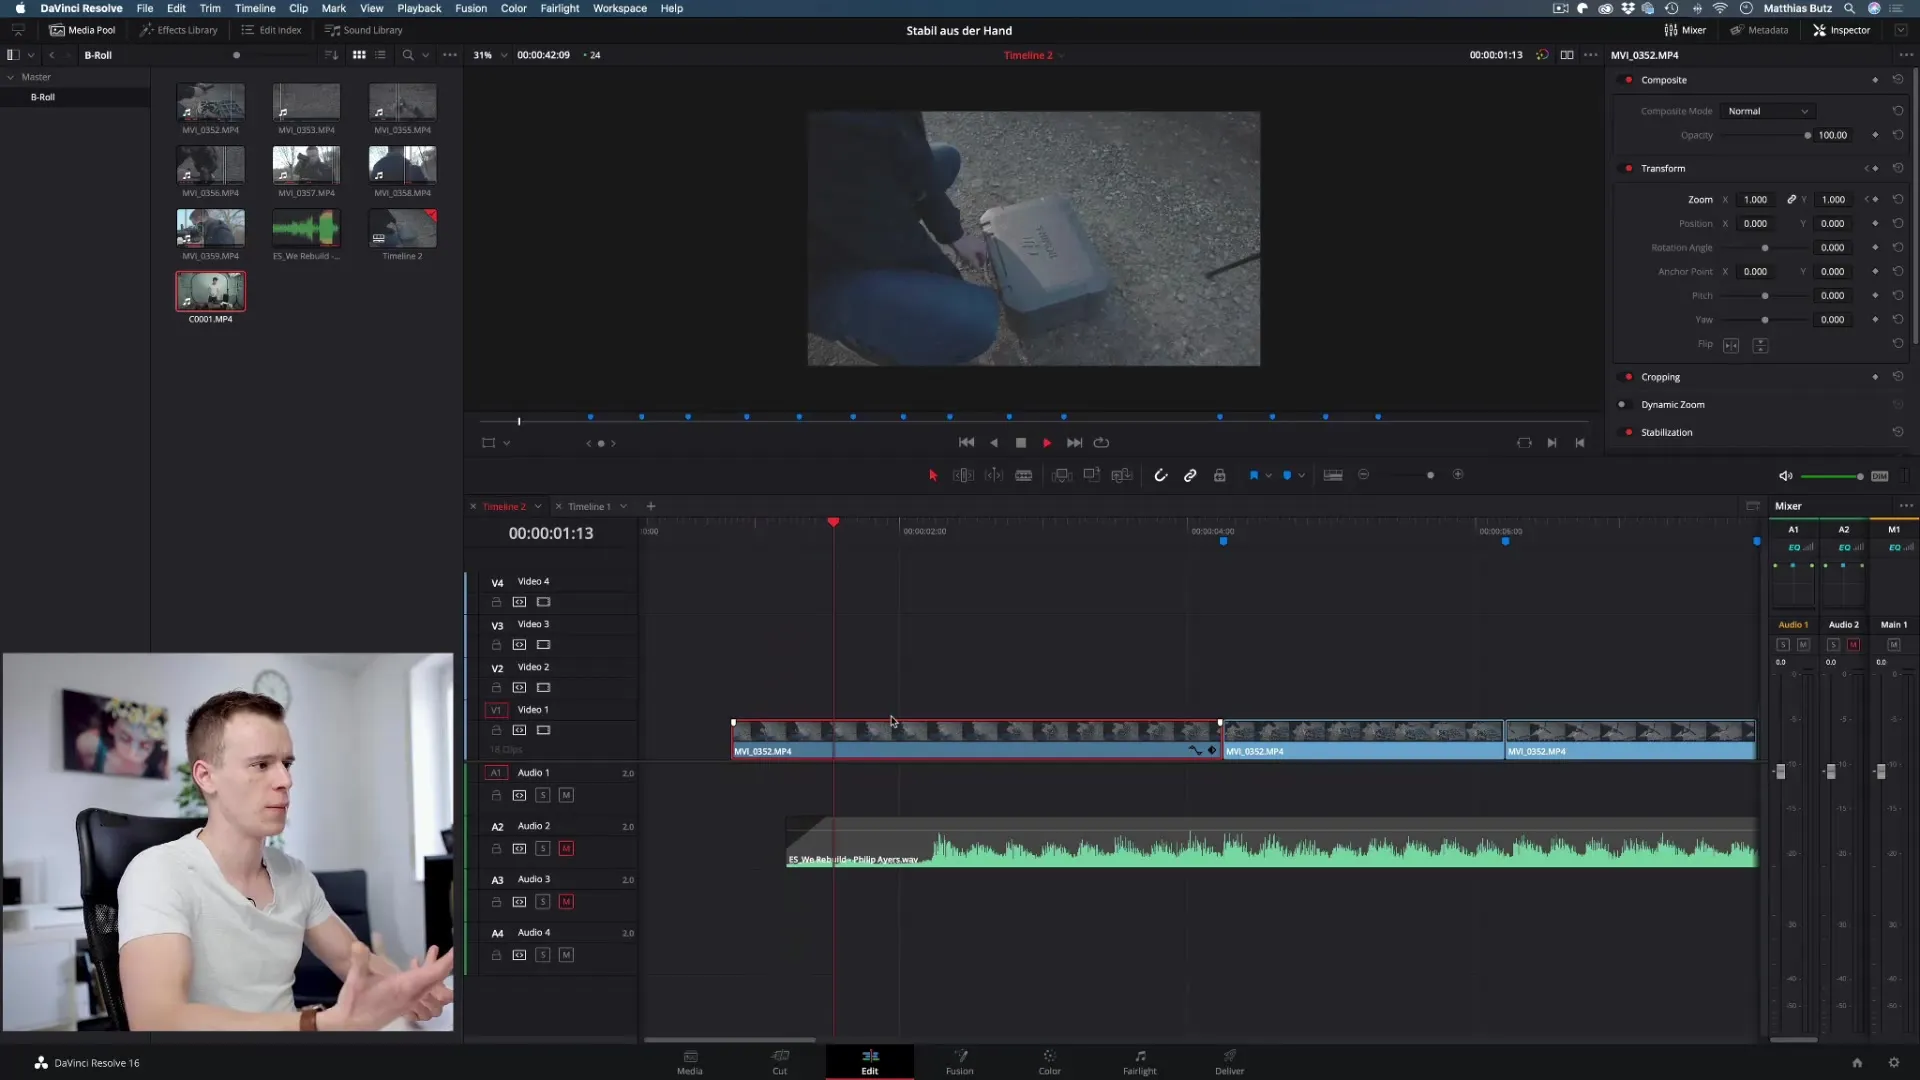
What’s impressive is that DaVinci Resolve calculates the values between these two keyframes for you. As you navigate between these points, you'll see the image slowly getting larger.
Adding Position and Movement
The next step is to not only zoom but also to add movement. Again, set a keyframe, but this time for the position of the clip.
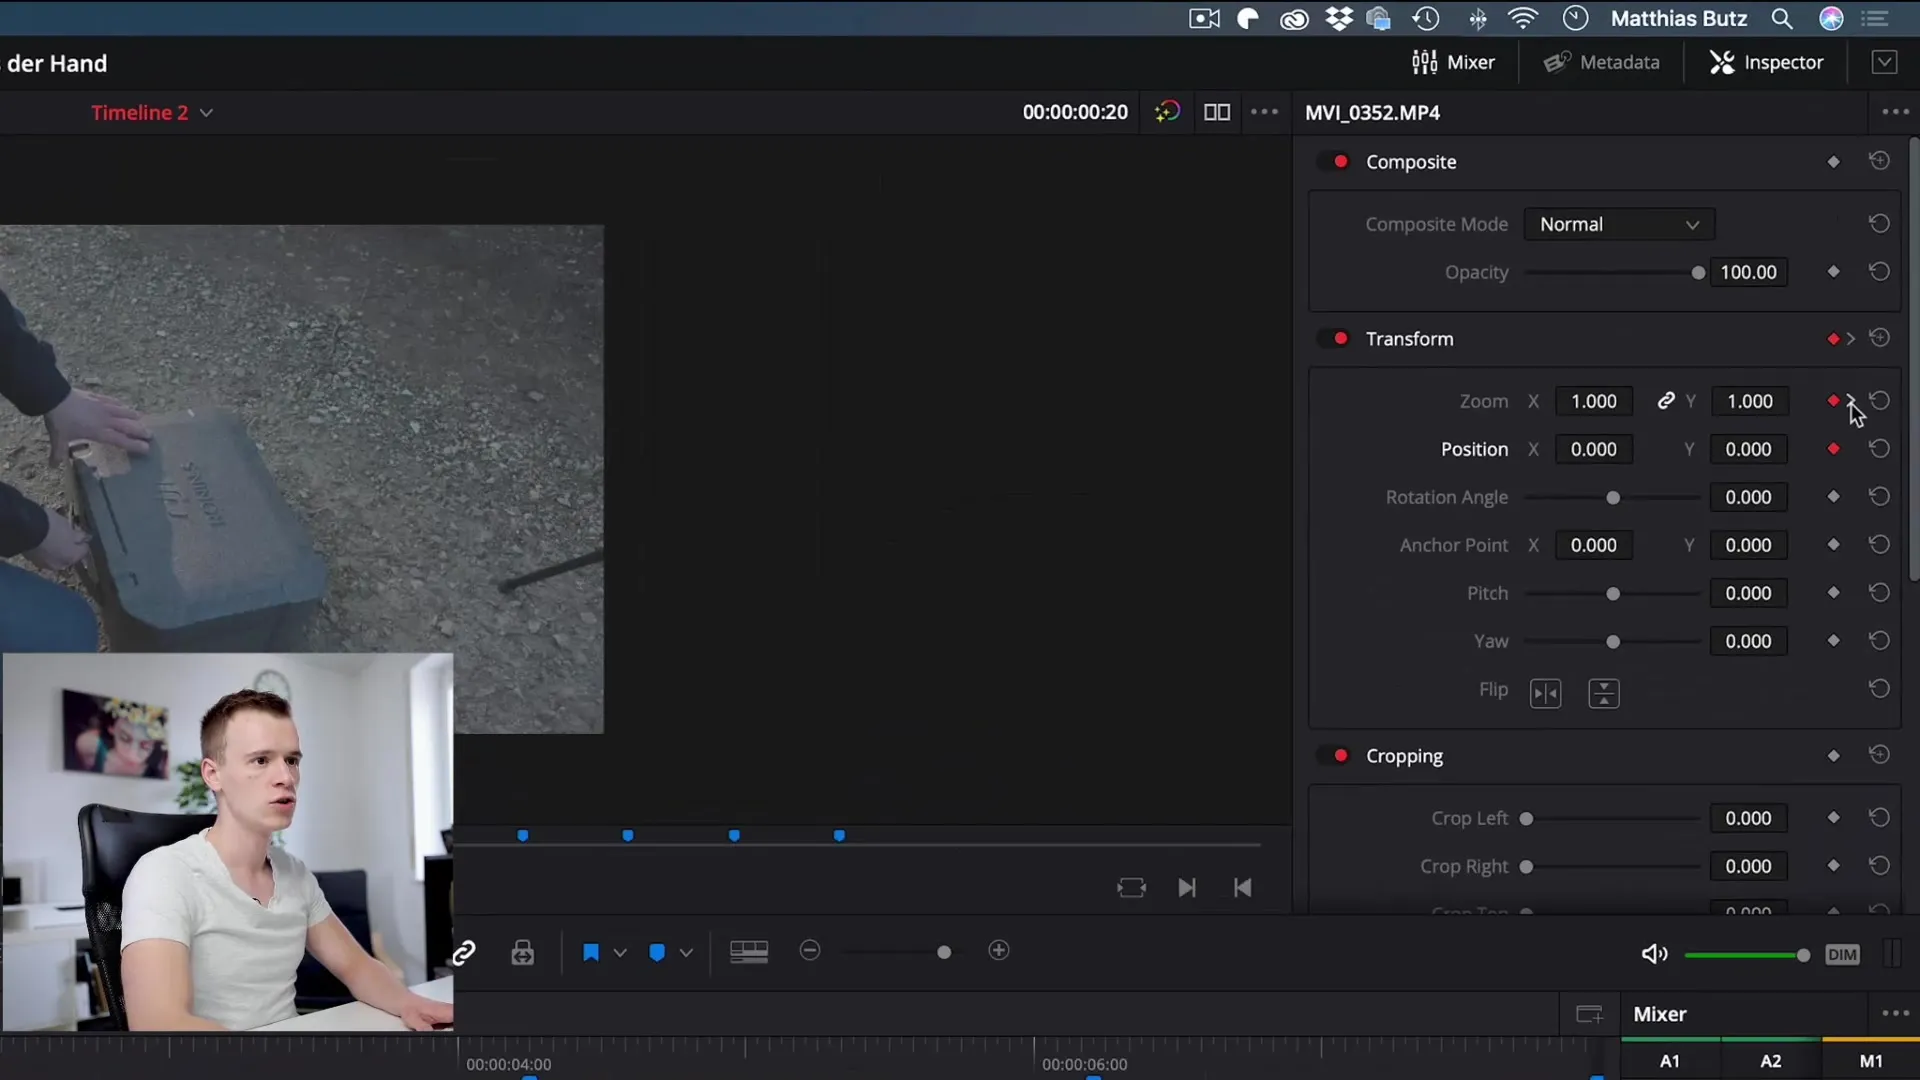
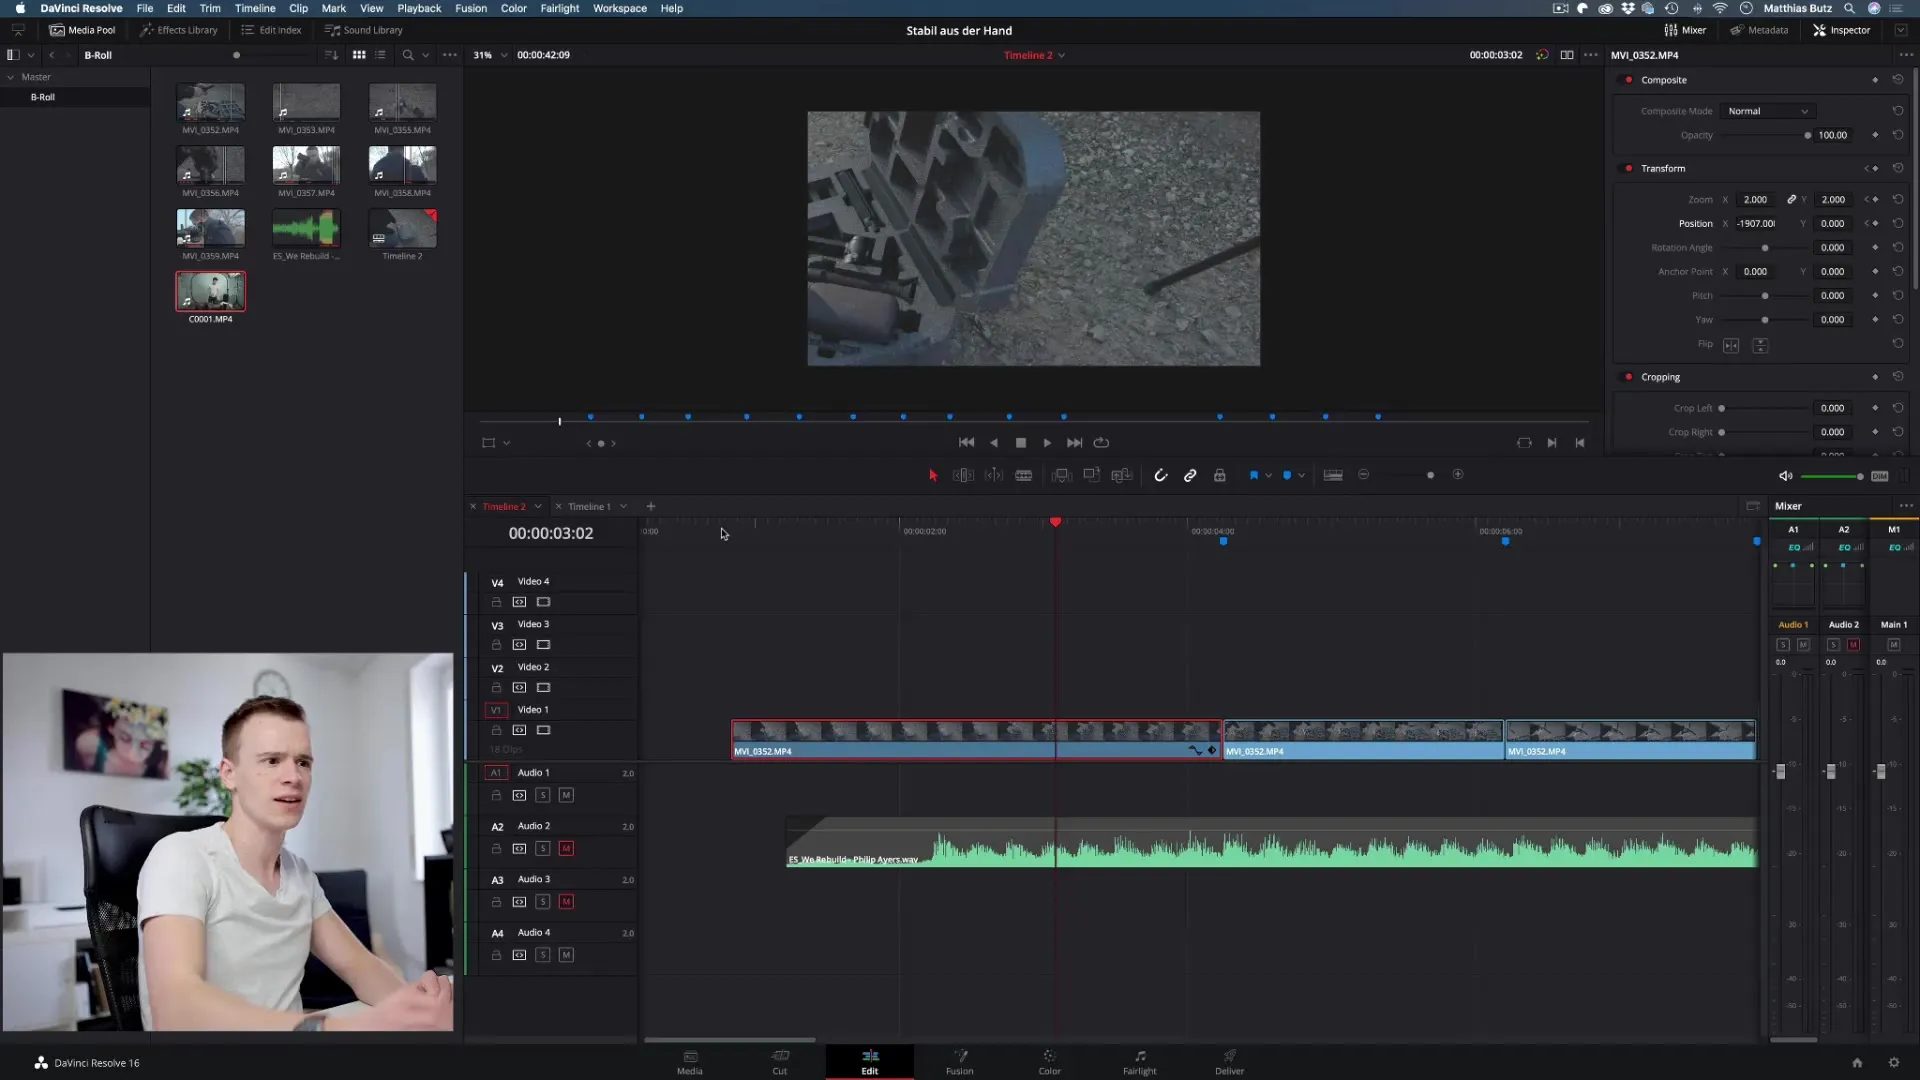
The goal is to move the clip to the right. Set the keyframe so that the clip ultimately reaches the right edge of the image. Now when you start playback, you'll notice that the clip zooms and also moves to the right.
Using Keyframes for Other Parameters
Your options are not exhausted here. You can also use keyframes for other parameters like opacity or cropping. For example, if you want to adjust the crop, you can set another keyframe and adjust the values accordingly.
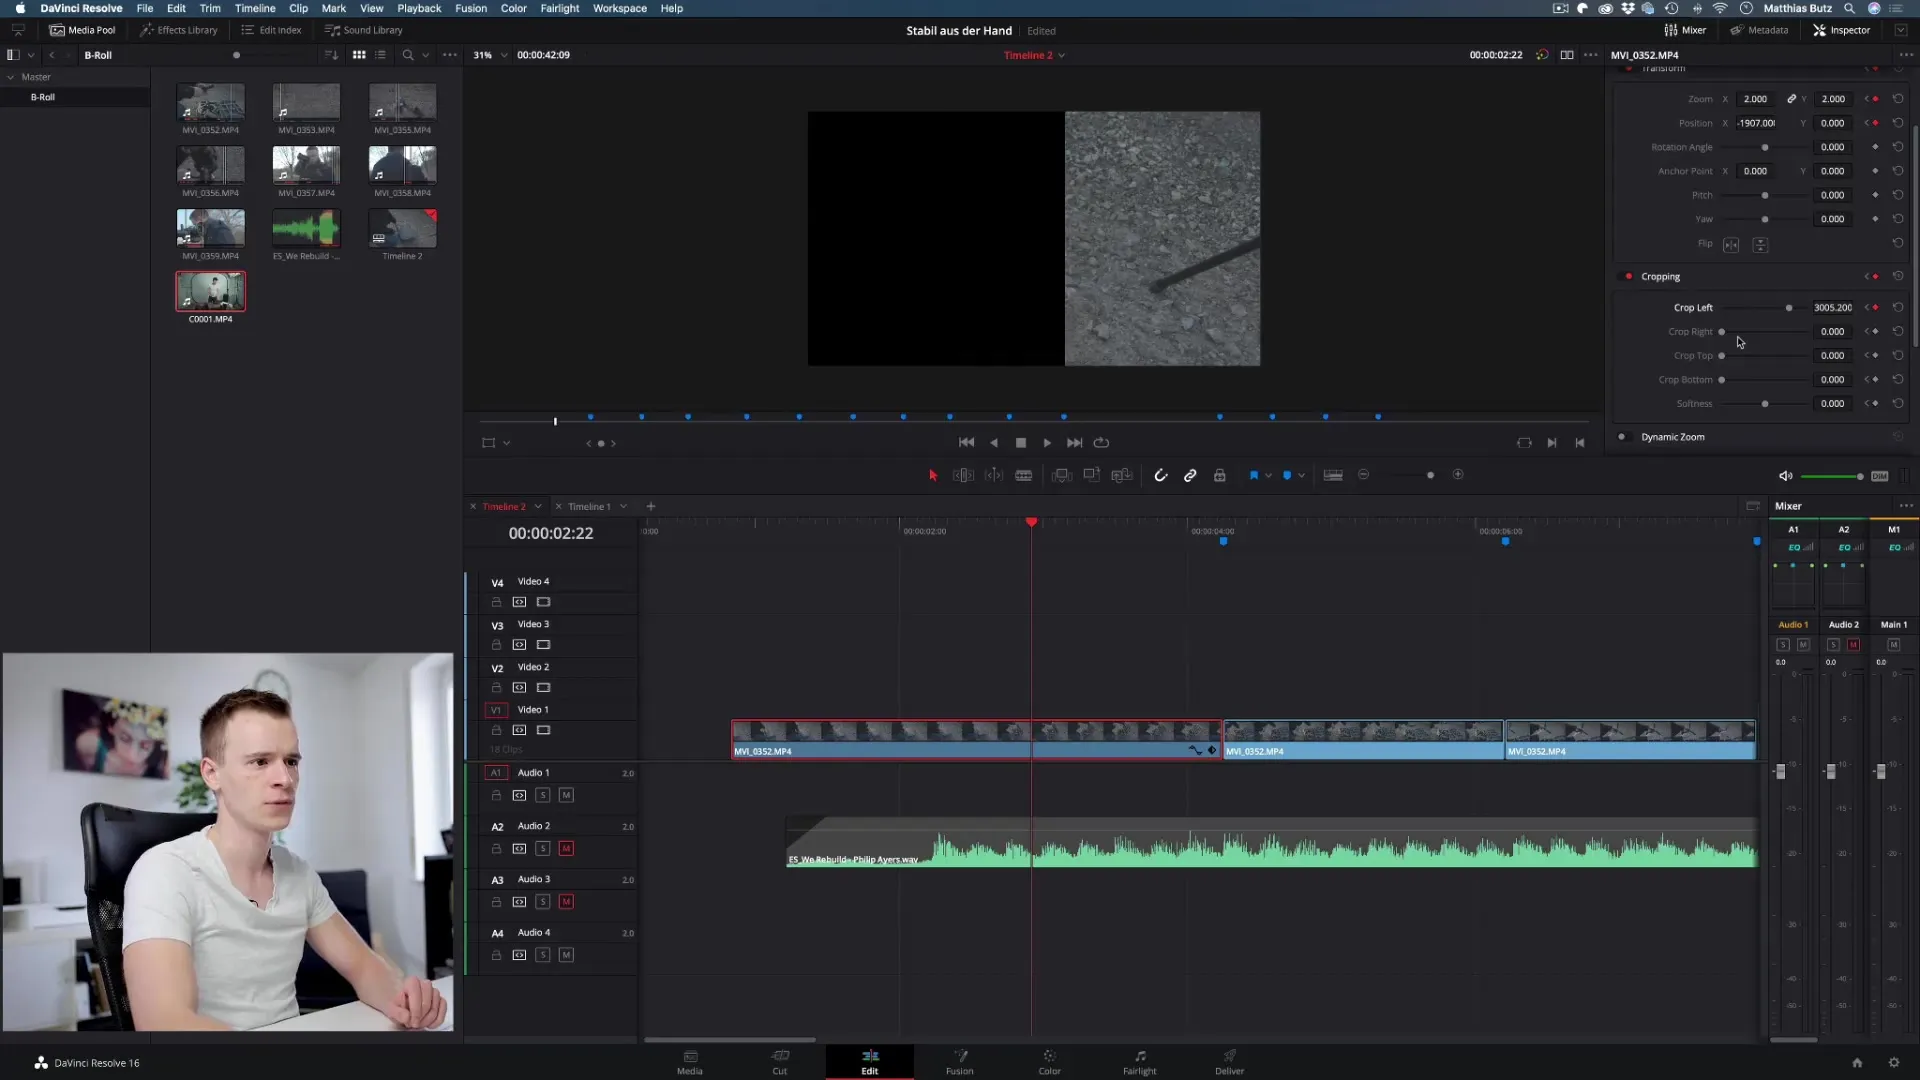
Here you can also easily adjust the speed of the zooms and movements by moving the position of the keyframes.
Editing and Moving Keyframes
There may be times when you want to edit keyframes afterwards. You have the option to reselect the clip and move the corresponding keyframe in the Inspector. This is extremely useful when you want to adjust the speed of an animation.
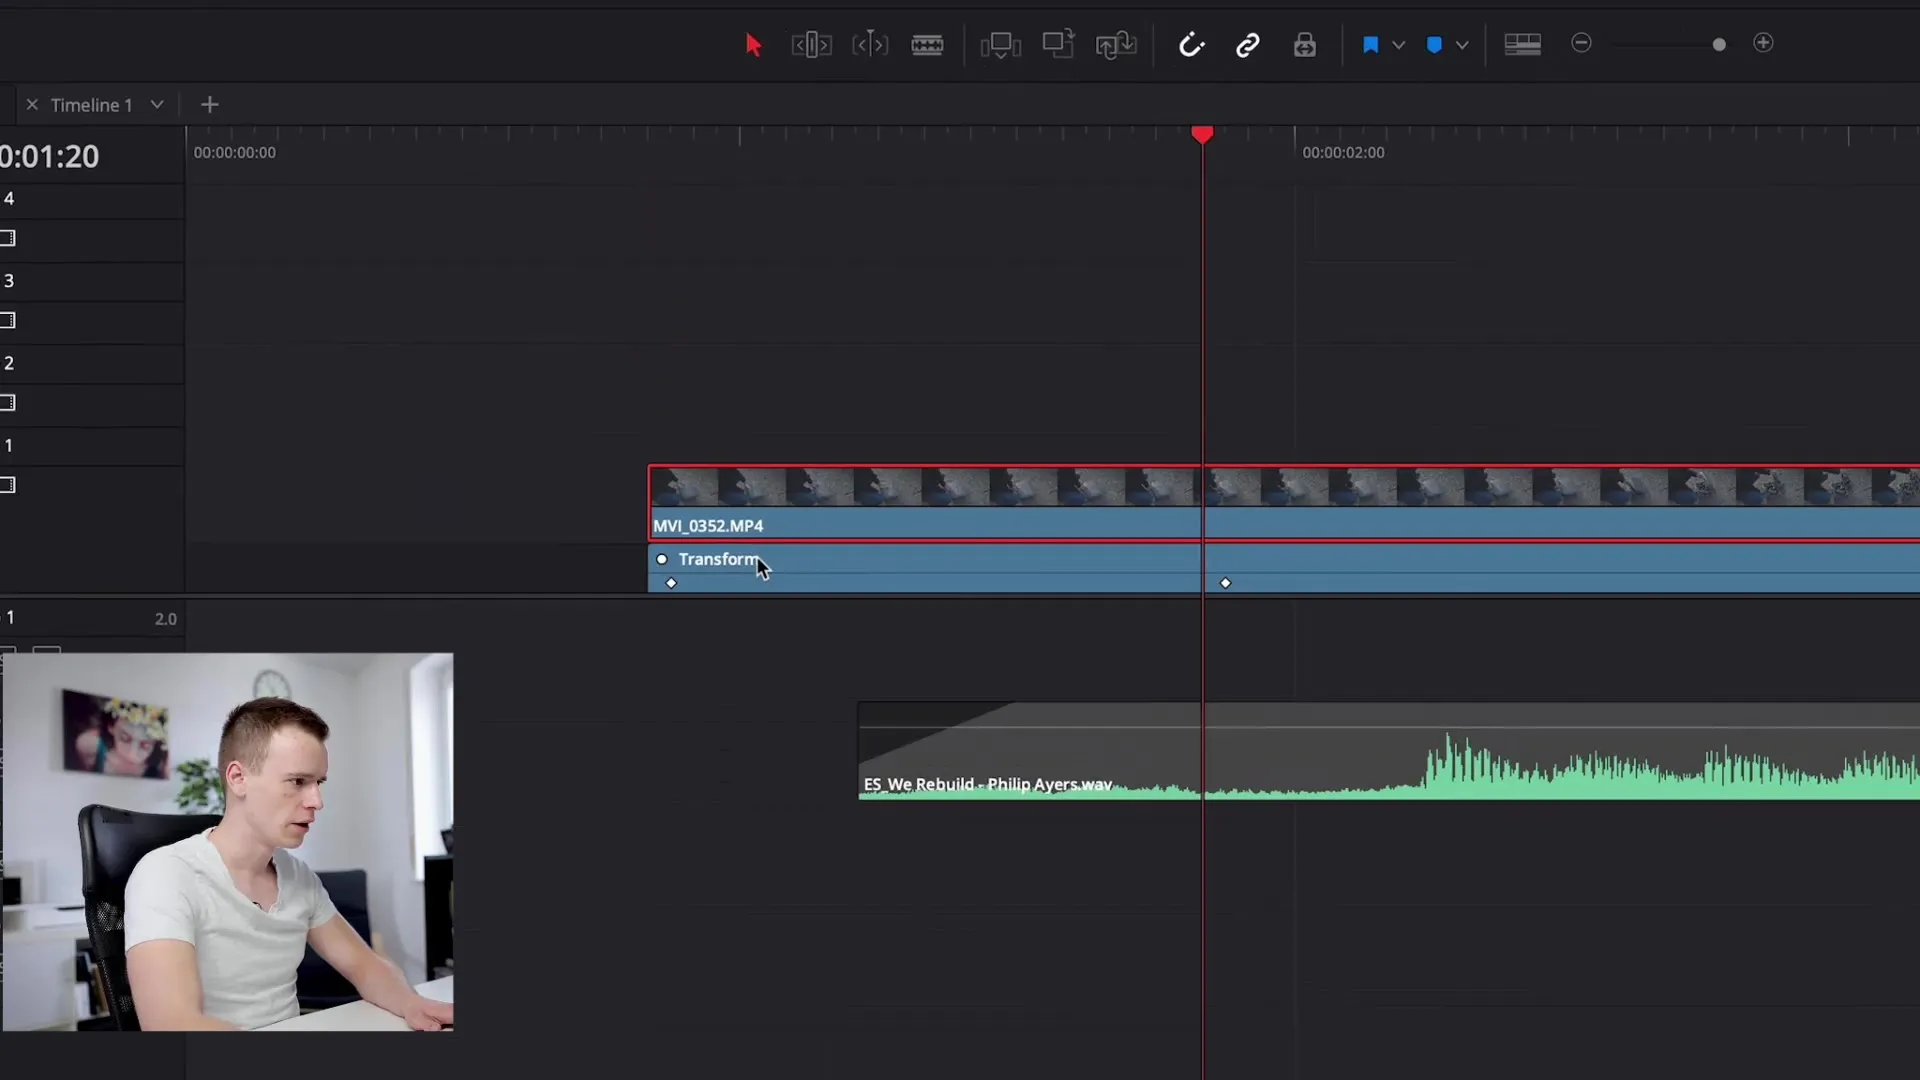
Simply move the keyframe to the desired point. When you play back the clip, you will immediately notice that the transition now occurs much faster.
Using Keyframes for Audio and Text
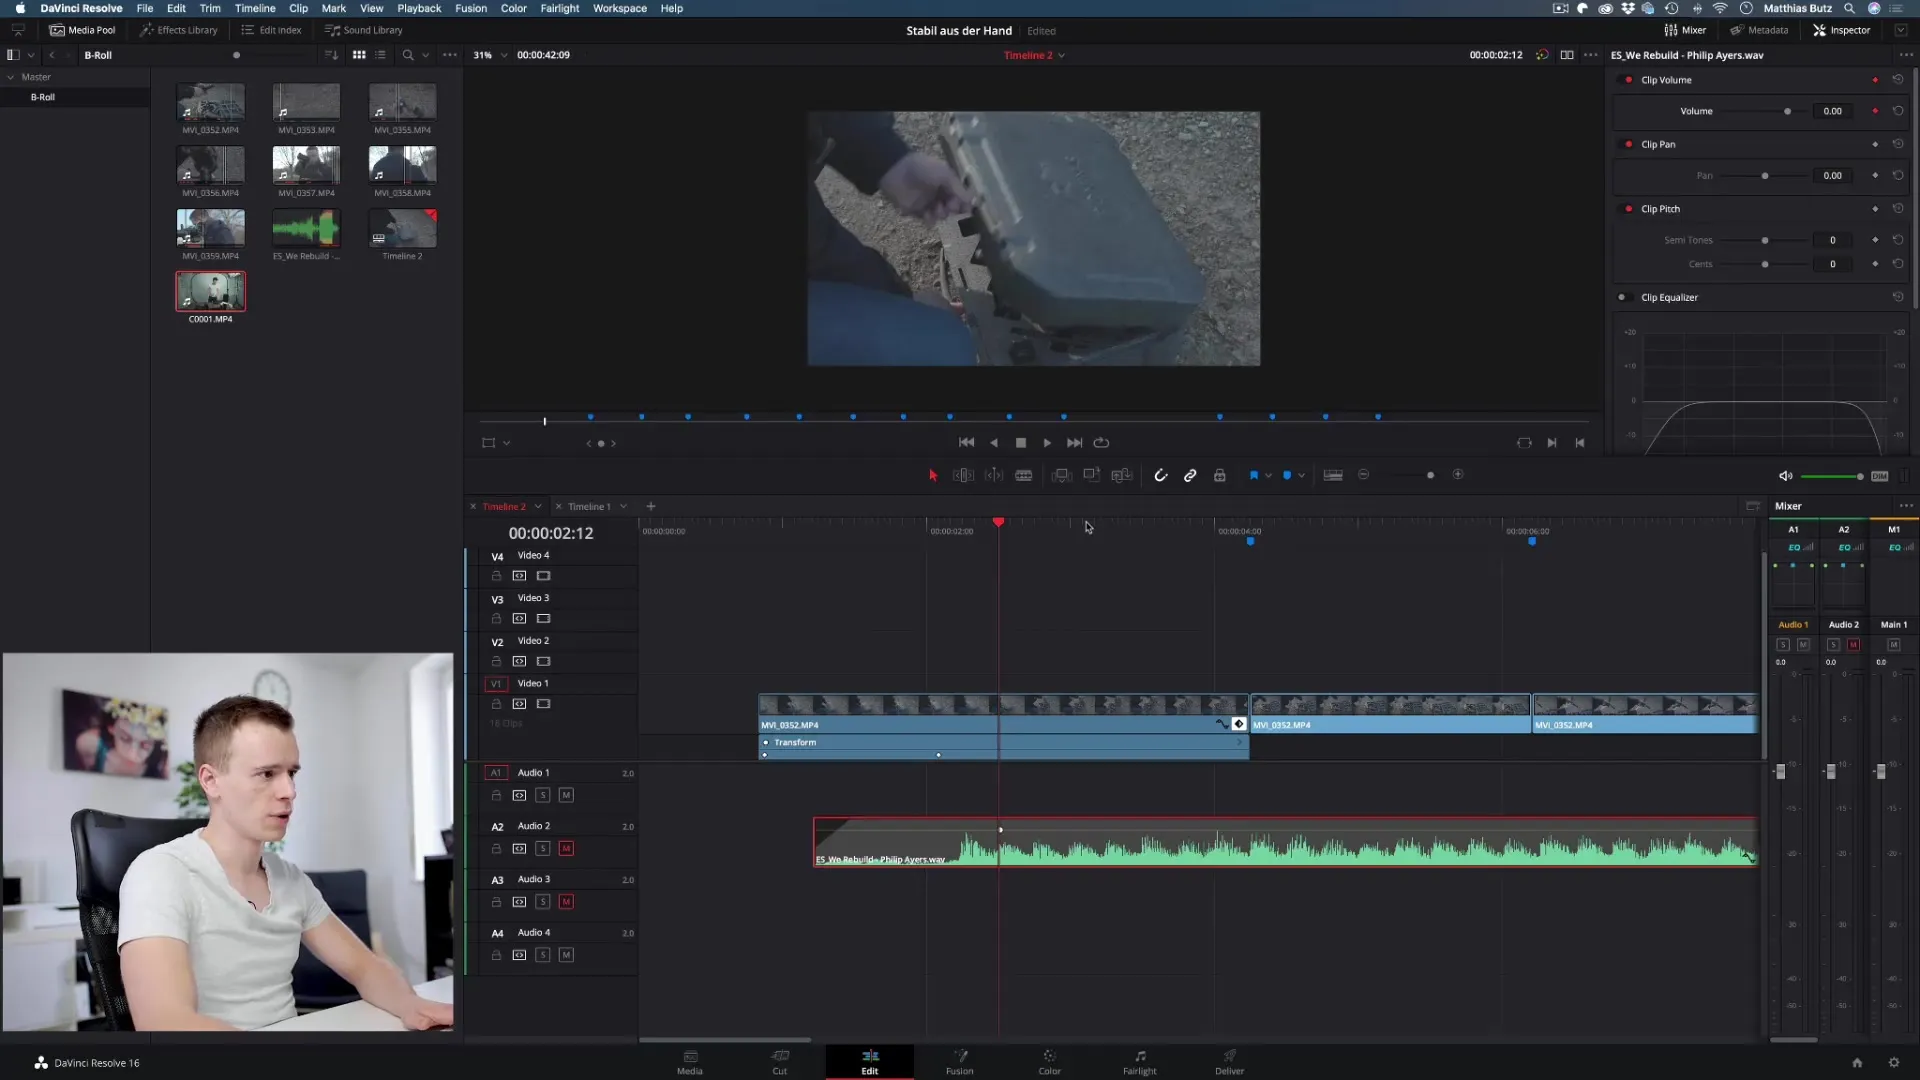
Another exciting application area for keyframes is in audio. If you want to adjust the volume of an audio clip, set keyframes for volume at specific points to create seamless transitions between different volume levels.
Additionally, you can animate text. If you want to create a title, you can change the position or rotation of the text with keyframes. Set a keyframe at the beginning of the text and correspond the endpoint to where the text is to be displayed in the image.
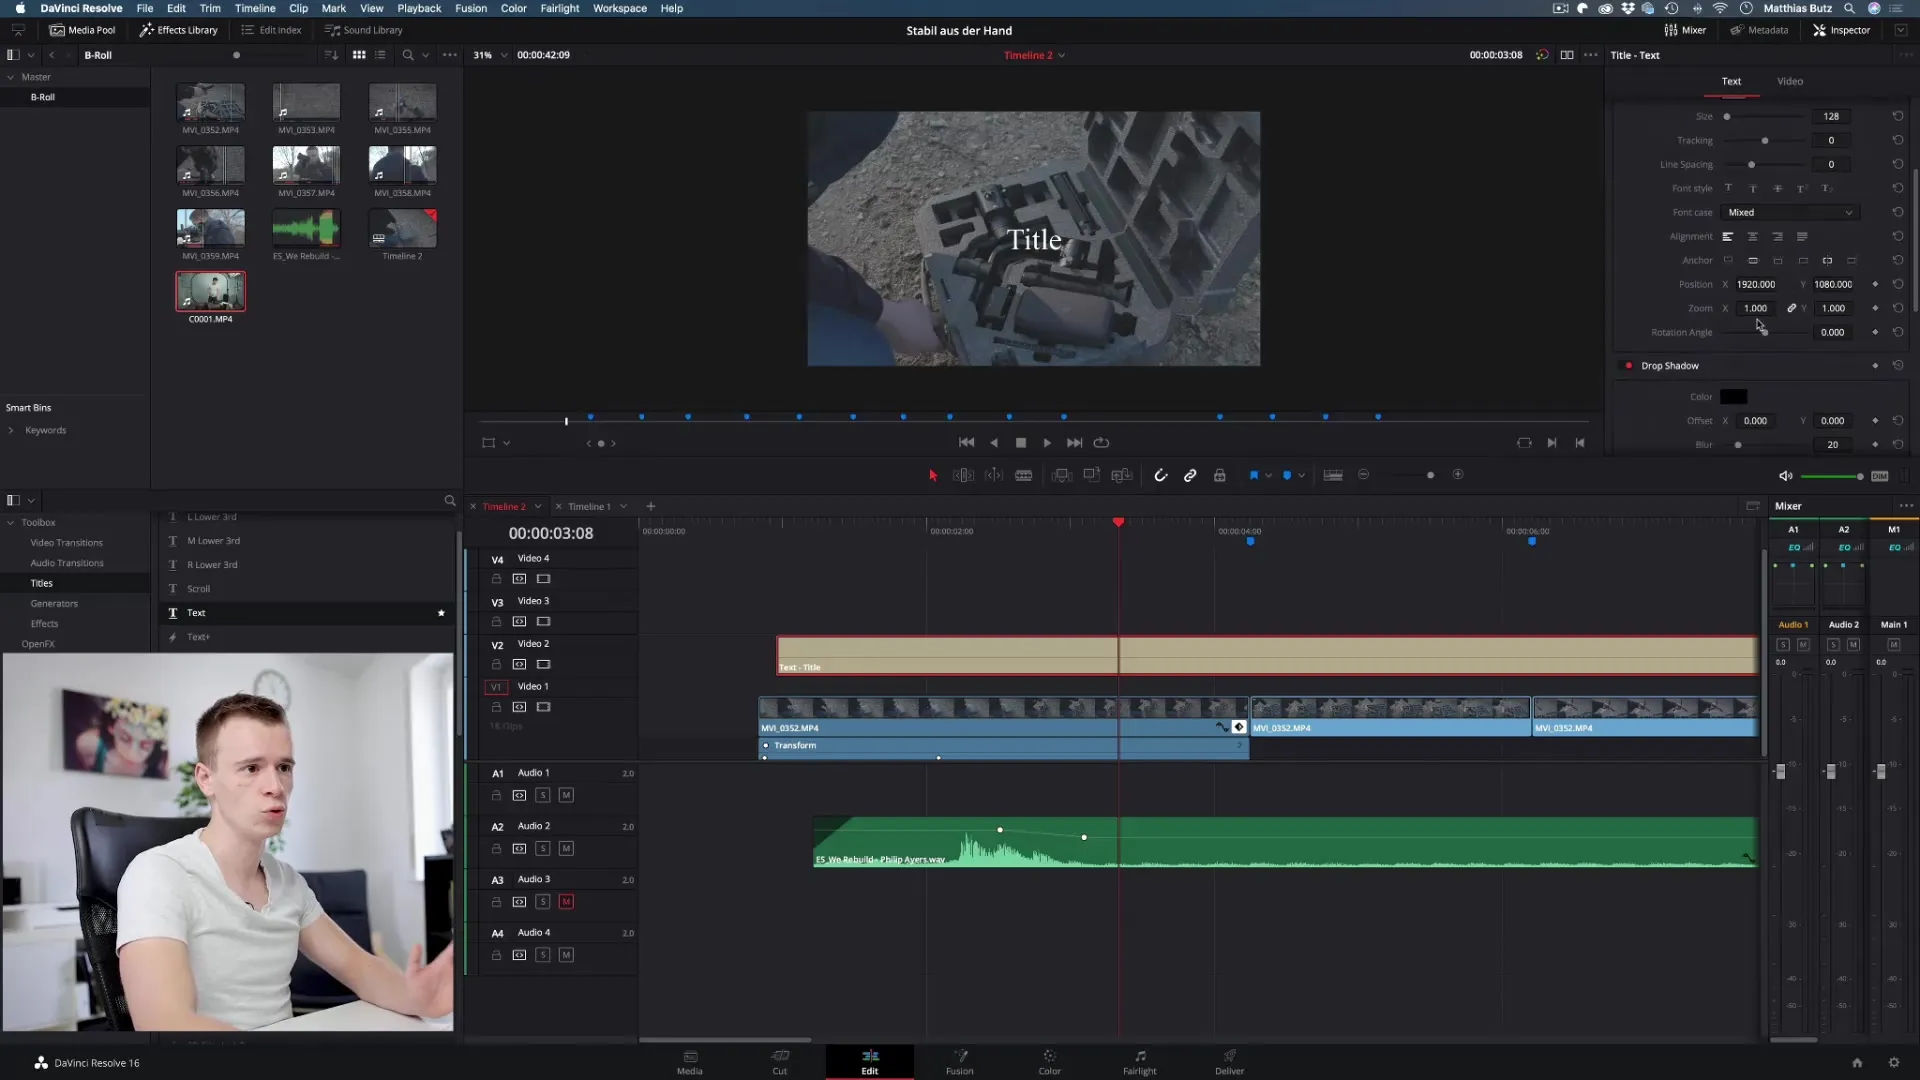
When you start playback, you'll experience the text rolling in from the side and being animated.
Unleashing Creativity with Keyframes
As you get accustomed to these tools, you'll quickly find that your creative possibilities are virtually limitless. You can customize everything from smooth fades to dynamic zooms and creative animations of your text.
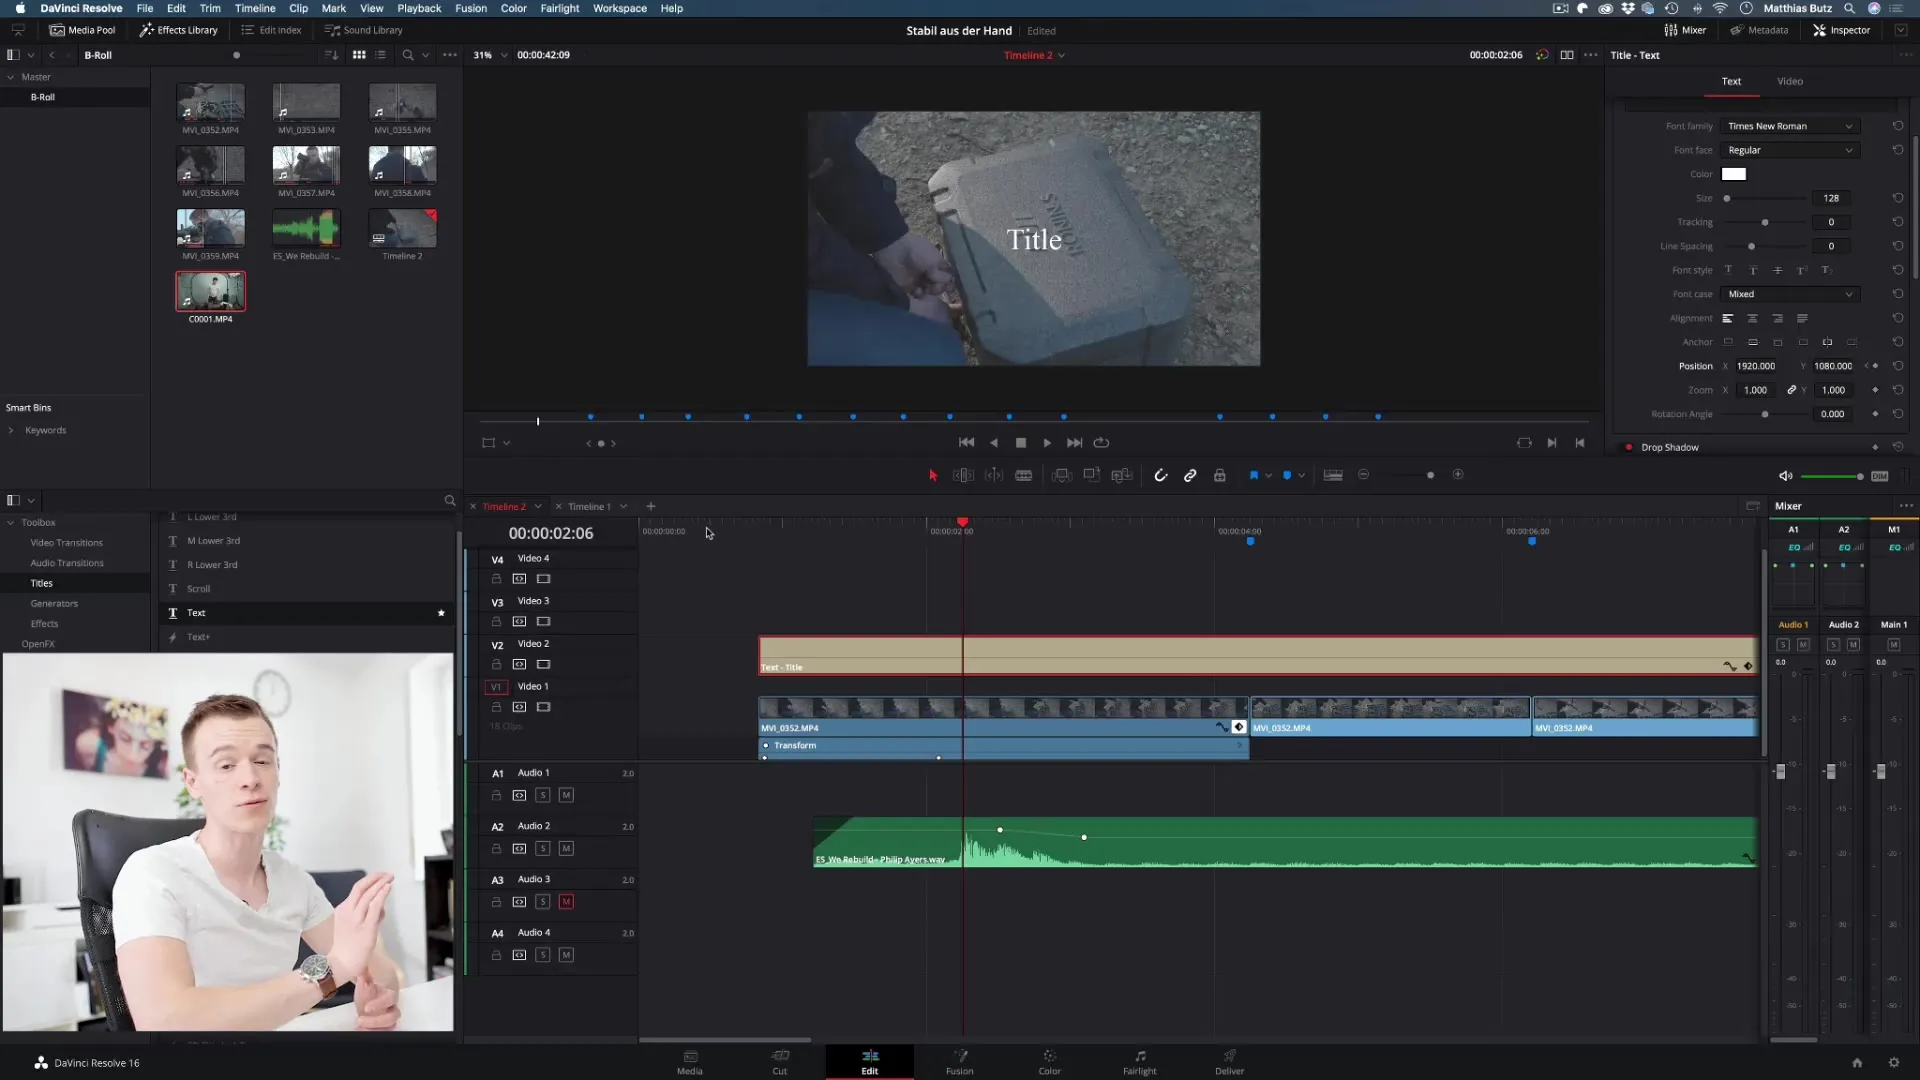
The most important thing when working with keyframes is to let your imagination run wild. Experiment with different animation techniques and find out what works best for your projects.
Summary - Effectively Using Keyframes in DaVinci Resolve
Keyframes in DaVinci Resolve are a powerful tool for animating effects and play a significant role in bringing your projects to life and making them engaging. By setting and editing keyframes, you can adjust nearly any visual component in your videos and creatively showcase them. Take the opportunity to experiment with various animations and elevate your videos to the next level.
Frequently Asked Questions
What are keyframes?Keyframes are markers that allow changes in values over time, creating animations in DaVinci Resolve.
How do I set a keyframe?Select the clip in the Inspector, adjust the desired value, and click on the diamond icon to set a keyframe.
Can I use keyframes for audio as well?Yes, you can use keyframes to create volume changes over time.
What values can I animate with keyframes?You can animate virtually any value such as size, position, opacity, and rotation.
How do I edit existing keyframes?You can select and move keyframes in the Inspector to adjust the animation.


