Welcome to your journey into Color Grading in DaVinci Resolve. Here you will learn the basics and elevate your video projects to the next level. With the right knowledge and tools, you will learn how to not only correct your videos but also enhance them creatively.
Key Insights
- Color Correction ensures that videos achieve a consistent and appealing standard.
- Color Grading allows you to creatively incorporate specific aesthetic effects and color tones.
- Navigating the Color Tab provides you with a variety of options to optimally process your video data.
Step-by-Step Guide
To master grading in DaVinci Resolve, stay attentive and work through this guide step by step.
The first step to the art of grading is understanding the terms you will work with. Color Grading and Color Correction are two terms that are often confused. While Color Correction mainly ensures that your video looks harmonious and normal, Color Grading is about giving your video a unique visual style. We will take a closer look at this below.
To start grading in DaVinci Resolve, switch to the Color Tab. This tab is the heart of your color corrections and adjustments. Here you will find numerous tools that will help you get the best results from your material. Even though the options may seem overwhelming, you will see that not all are equally important, and I will delve into them in detail in the upcoming lessons.
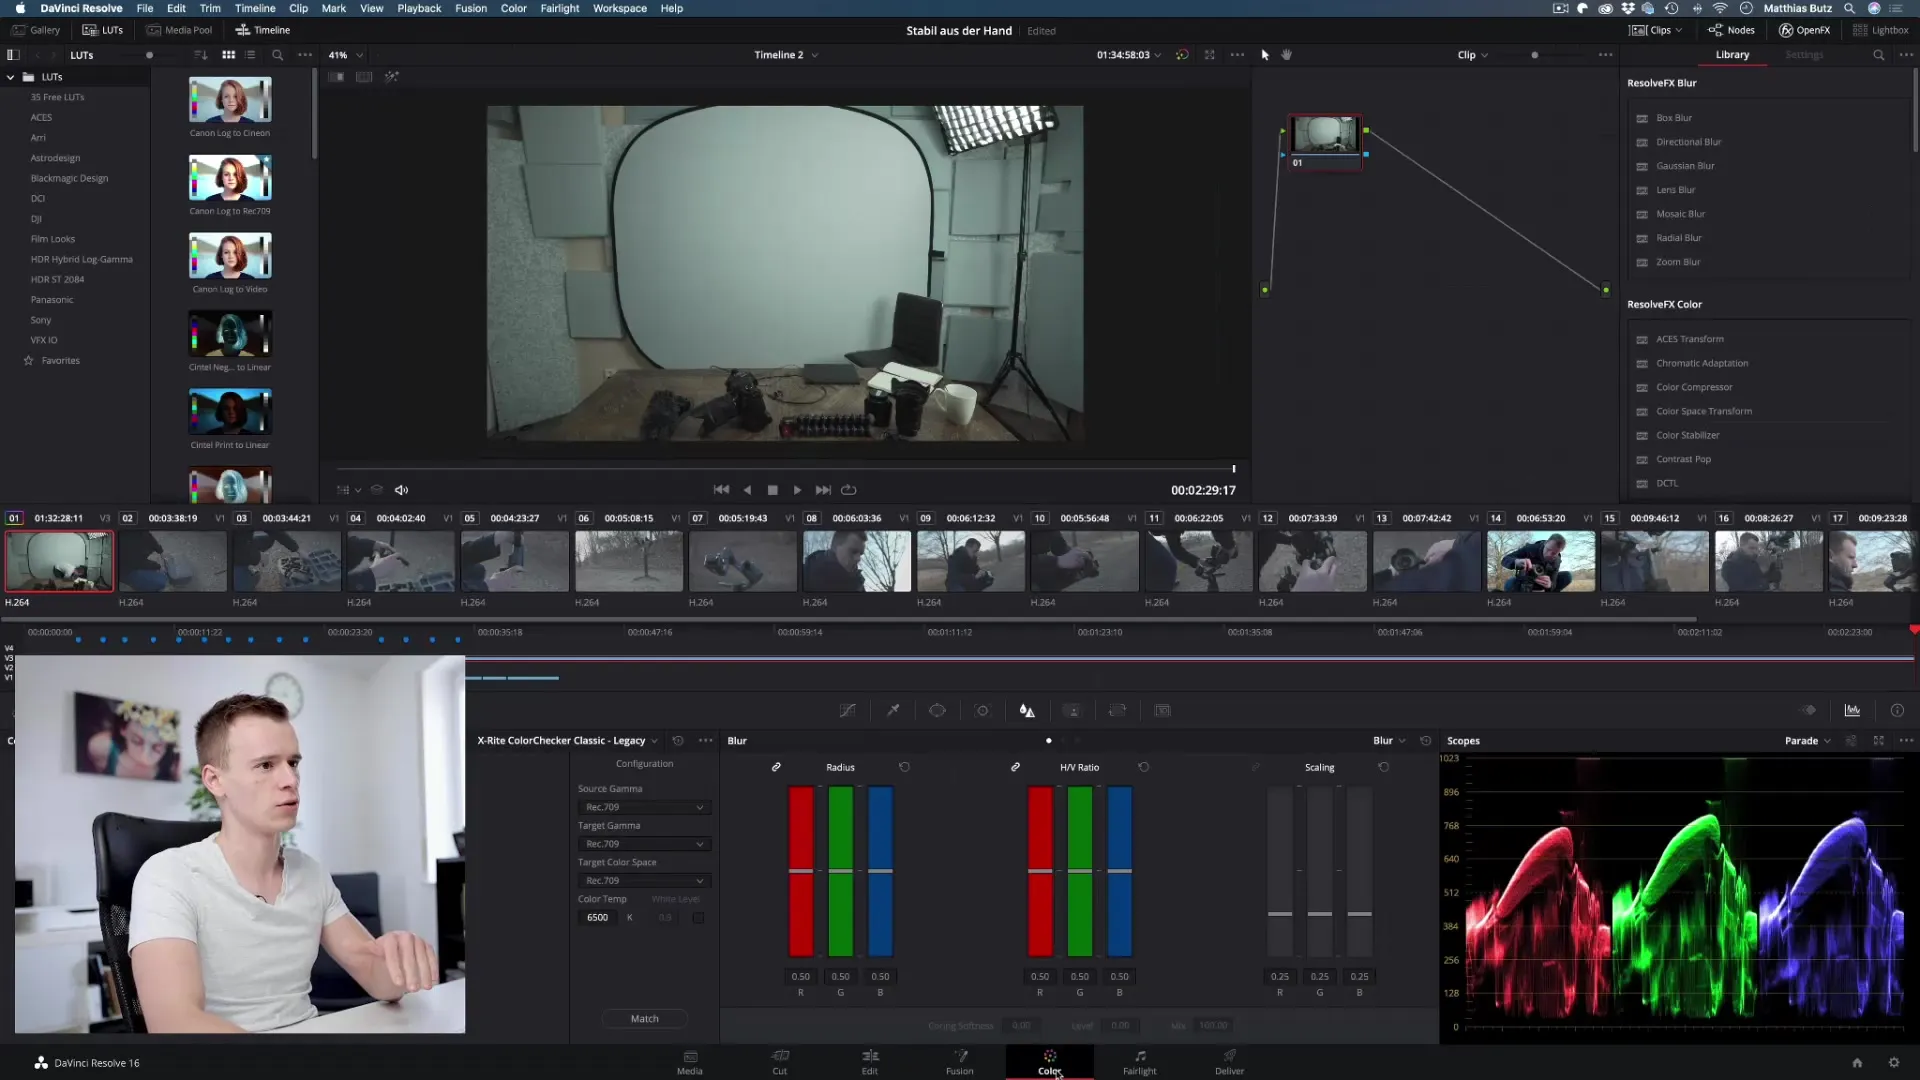
The difference between Color Grading and Color Correction is often not well understood. While Color Correction ensures that your video conforms to a standard and simultaneously improves image quality, Color Grading deals with the creative manipulation of colors to enhance emotions and moods.
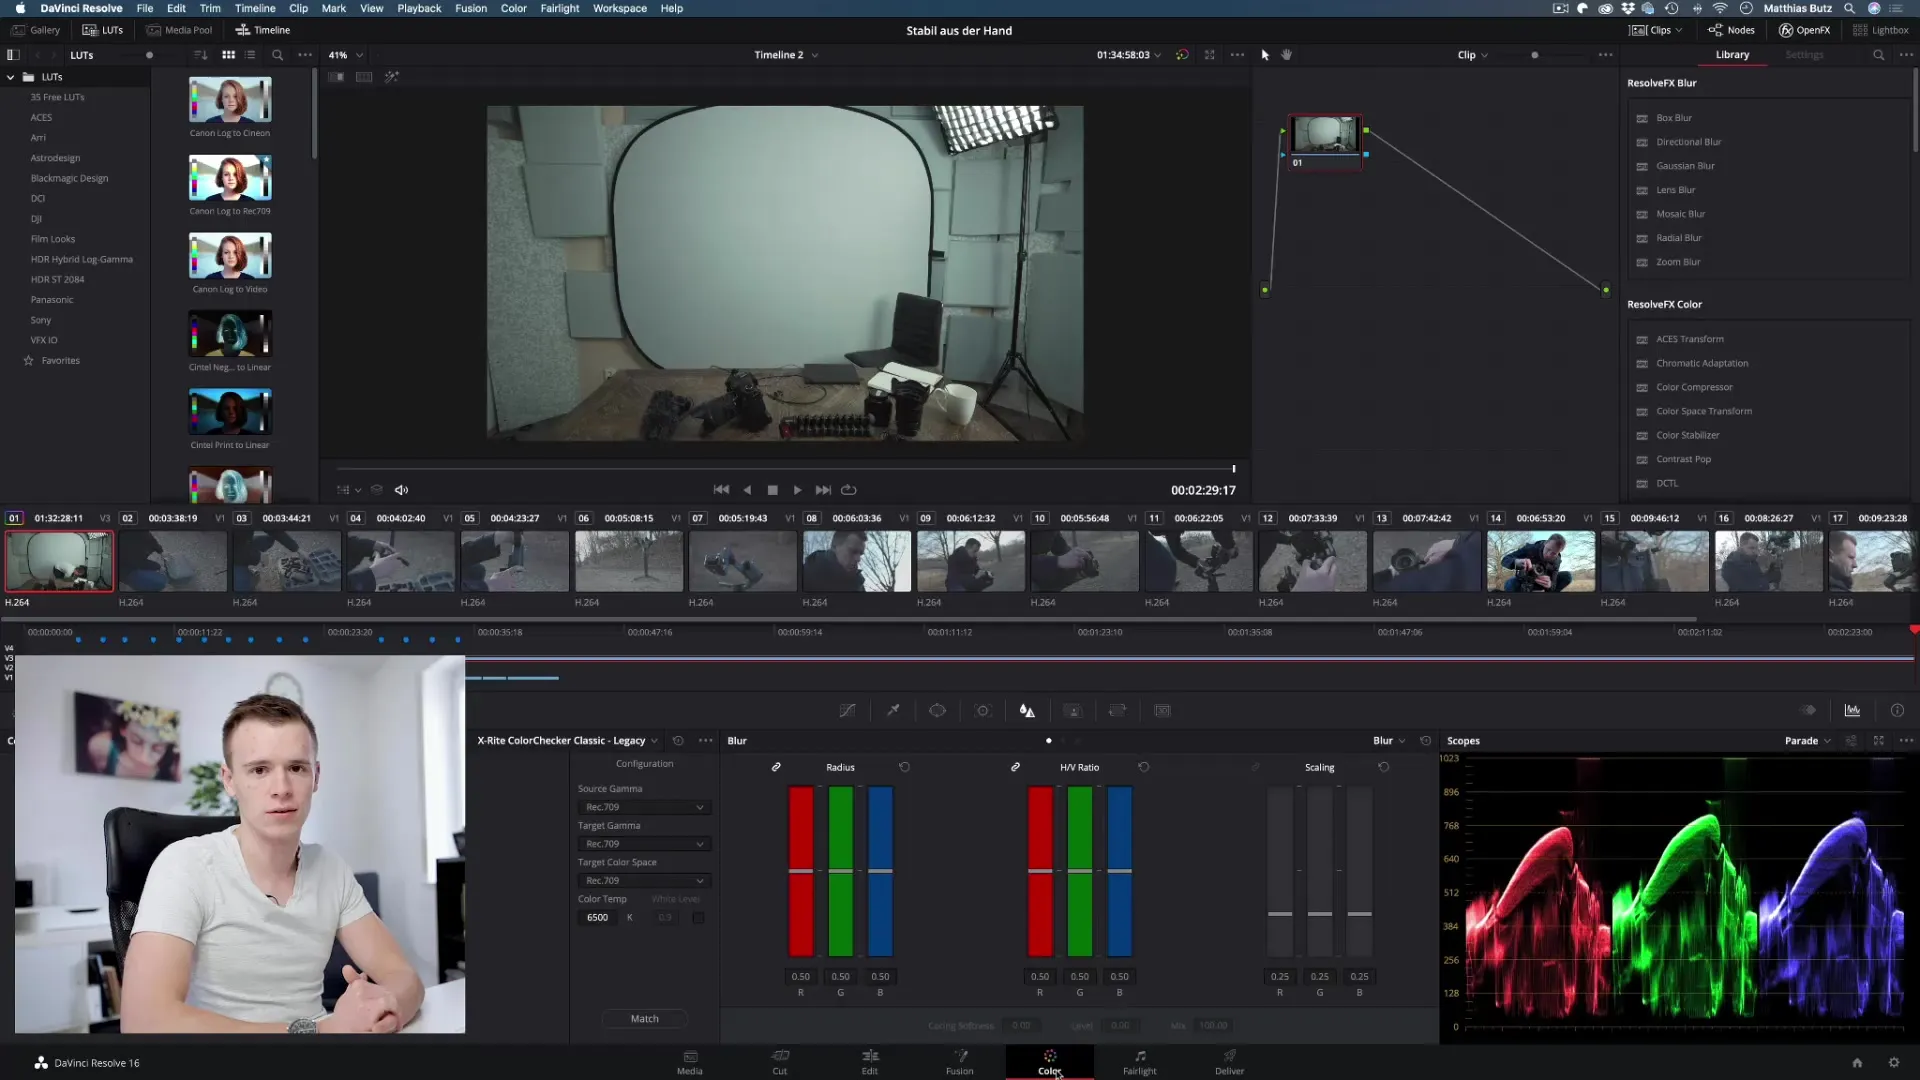
Let's take a closer look at Color Correction first. In Color Correction, you bring your video to a standard that is comfortable and homogeneous for viewers. Suppose you shot your video in Log profile, which means a flat color curve. This means the colors have not yet been fully developed or normalized. The goal of Color Correction is to ensure that your video looks normal and appealing.
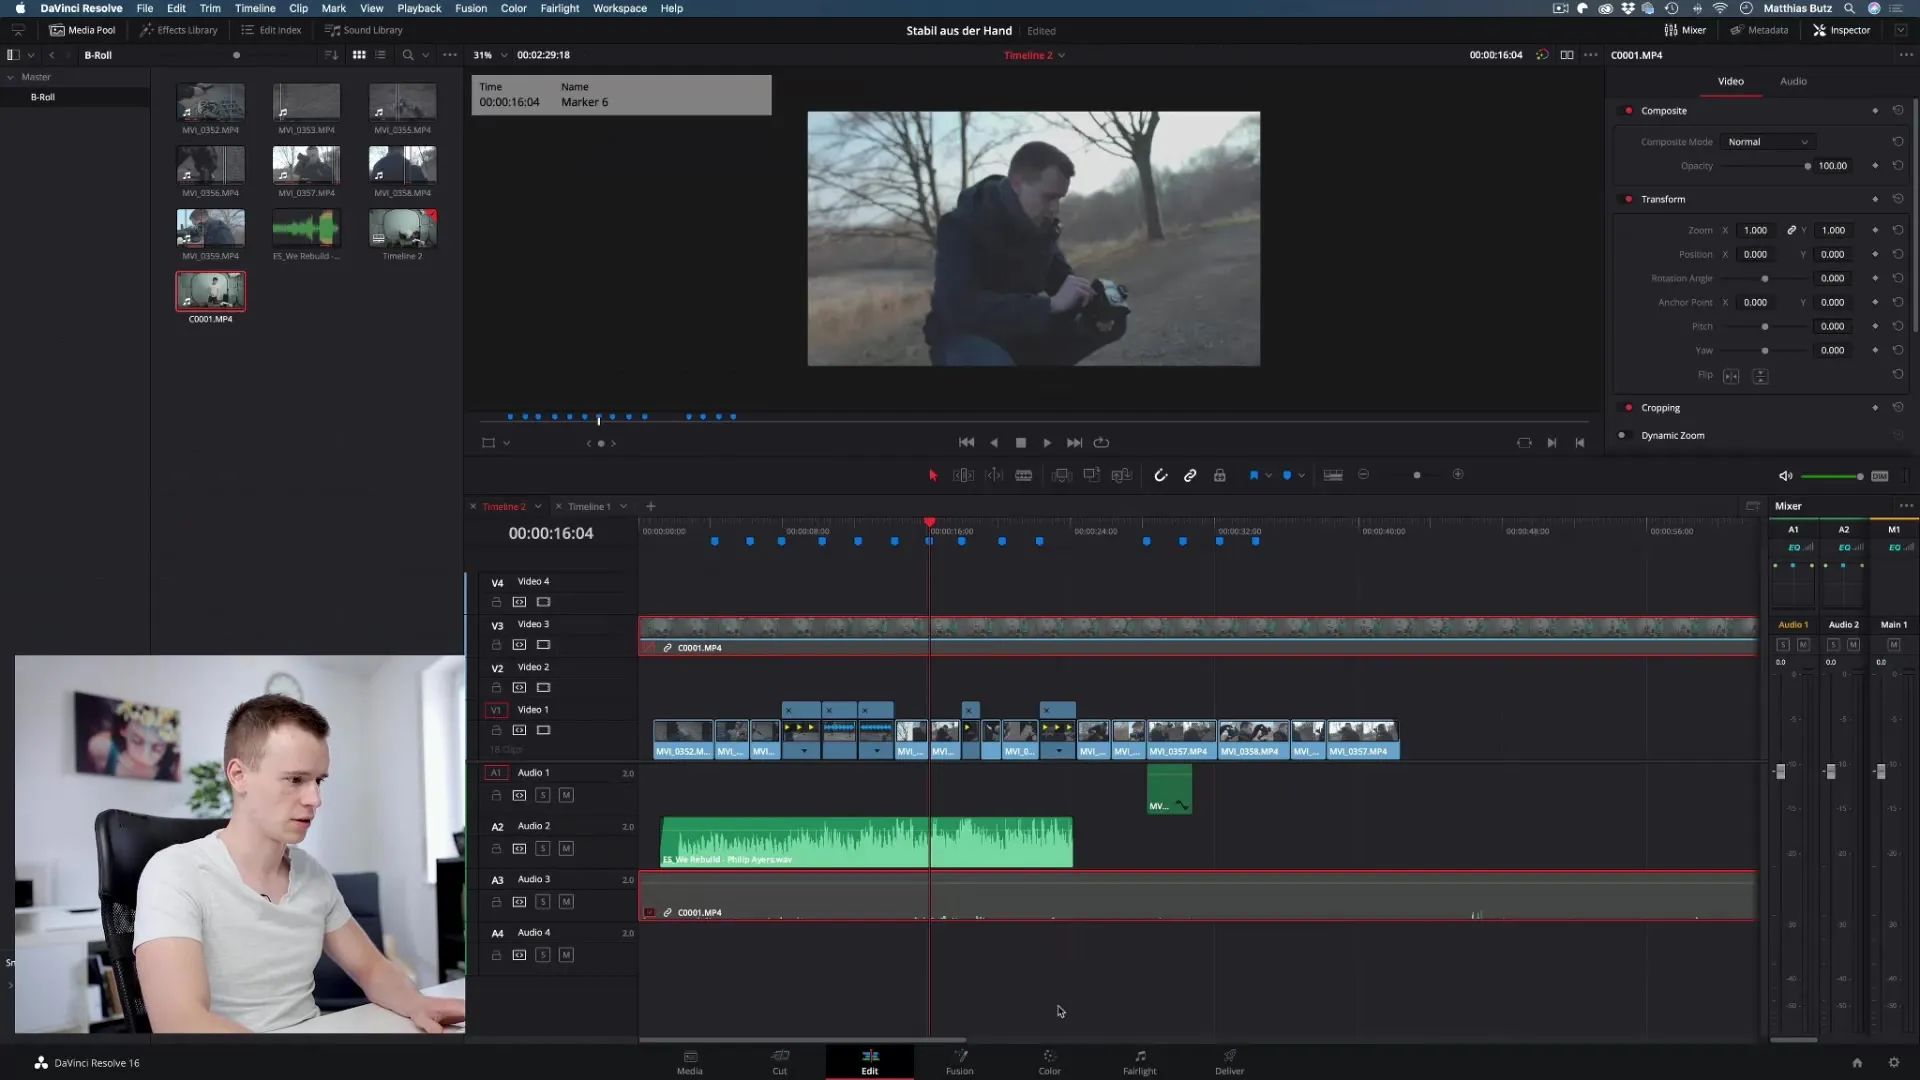
For Color Correction, you can use various tools. You will find that they help you optimize the contrast, brightness, and color balance of your video. An auto function for exposure is often used, which suggests initial adjustments. But be careful – this function does not always work optimally, and it's important that you make your own adjustments to achieve a perfect result.
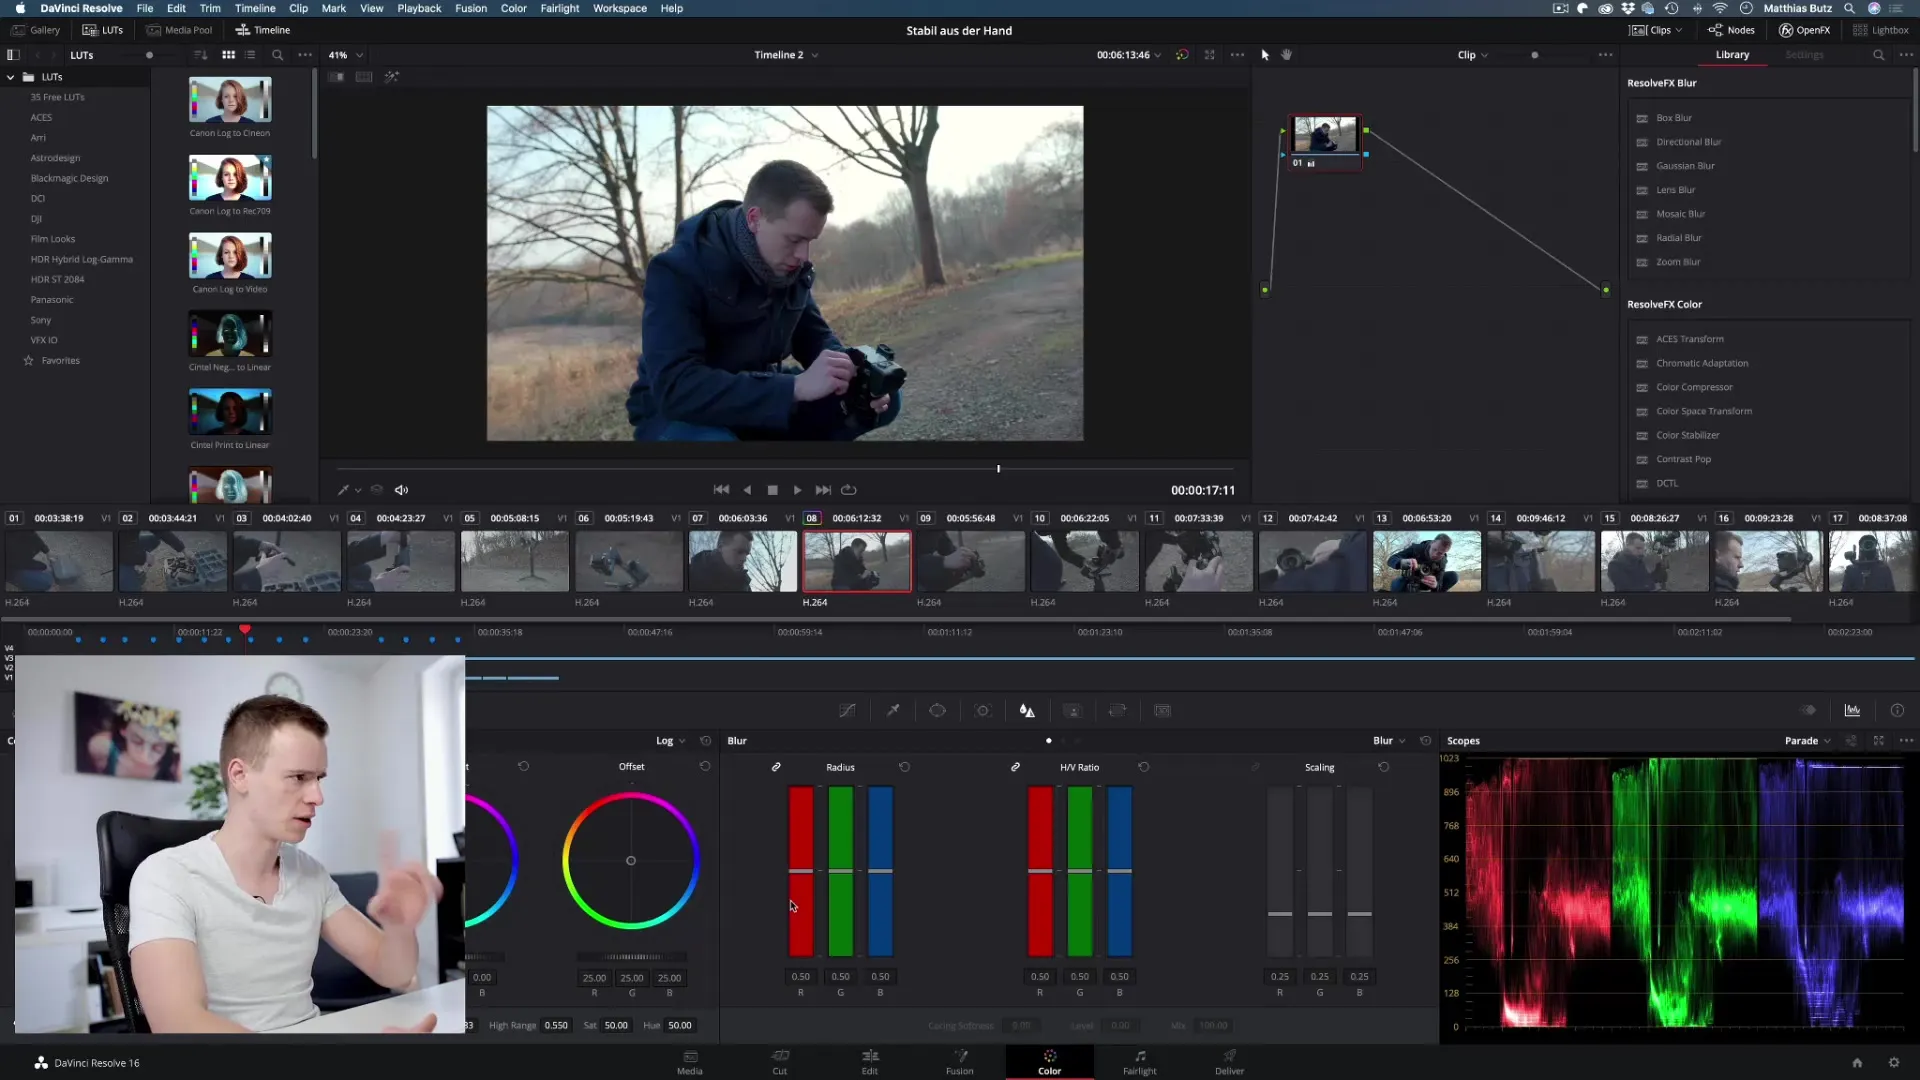
Now that your video is corrected in its basic coloring, it's time for Color Grading. In this step, you have the freedom to experiment with colors and give your video the desired emotional expression. For example, you might want to have the sky shine in a warm orange tone while the shadows are kept in cool blue tones. Here, your creative instinct and style are in demand.
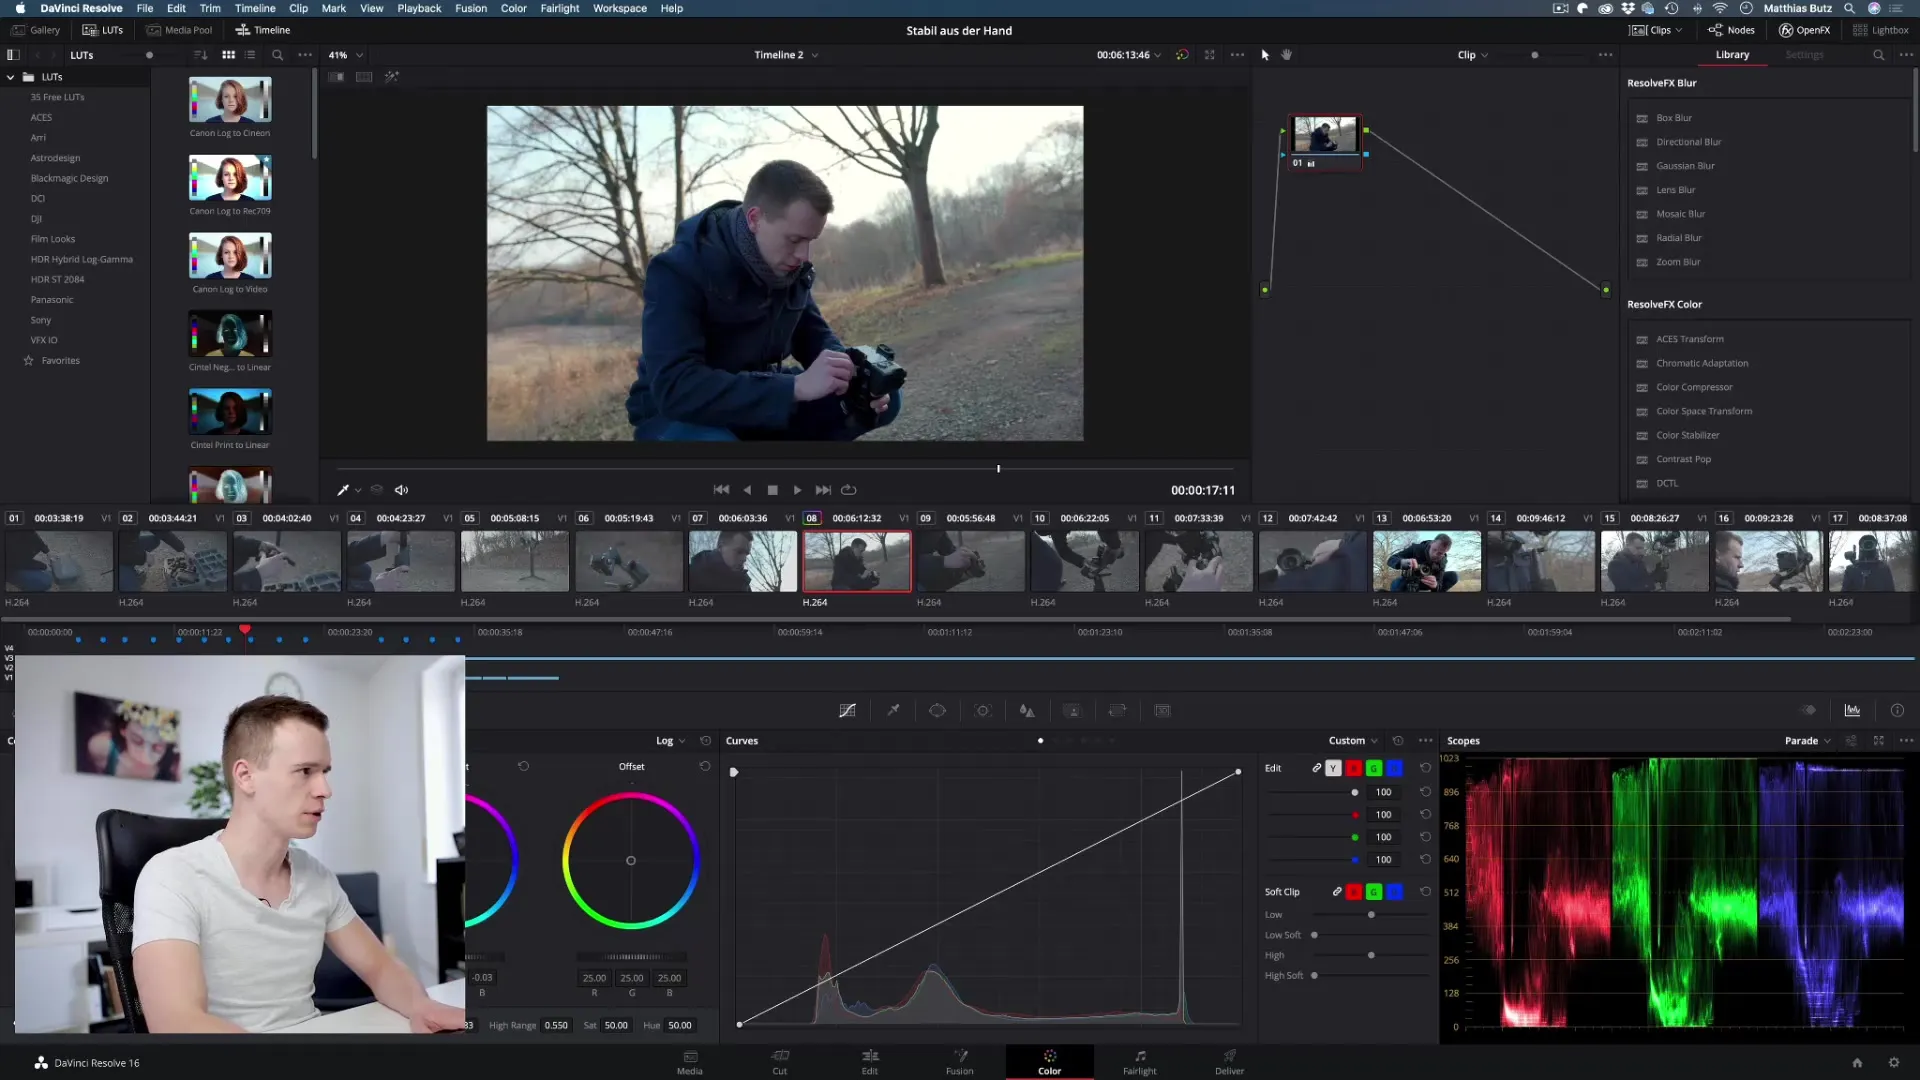
In the next lessons, you will learn about a range of tools that are essential for your grading. I will provide you with detailed explanations and tutorials on each function so you will know exactly how to use them. You don’t have to worry, everything will be addressed clearly and understandably.
Summary - DaVinci Resolve: A Comprehensive Introduction to Grading
In the grading process of DaVinci Resolve, you have the opportunity to standardize your videos through Color Correction and artistically shape them through Color Grading. You will learn about tools that will help you bring your creative vision to life.


