The gradation curve in DaVinci Resolve is one of the most effective tools for editing colors and contrasts in your videos and images. With it, you can adjust brightness and color mood in a precise manner to achieve the desired visual outcome. In this guide, I will go through the functions and how you can effectively utilize such a curve to give your videos more dynamics and expression.
Key Insights
- The gradation curve allows for precise adjustments to brightness and color.
- Dark areas can be edited individually without affecting the bright areas.
- With the curve, you can significantly enhance the contrast and expression of your video.
- Color channels can be edited separately, allowing for fine adjustments to the image style.
Step-by-Step Guide
To effectively use the gradation curve in DaVinci Resolve, follow this step-by-step guide. Each step includes important instructions and refers to visual elements from the tutorial.
Start by opening DaVinci Resolve and loading your project. Select the clip you want to edit. To open the gradation curve, navigate to the color correction tab and select the curve. This tool allows you to adjust brightness and color according to your preferences.
Use the gradation curve to adjust the dark and light areas of your image. The left side of the curve represents the dark areas, while the right side represents the light areas. Pull the curve up to increase brightness or down to decrease it. For example, when you raise the dark area, you will notice that only the dark tones become brighter while the light tones remain untouched. This highlights the details in the dark areas.
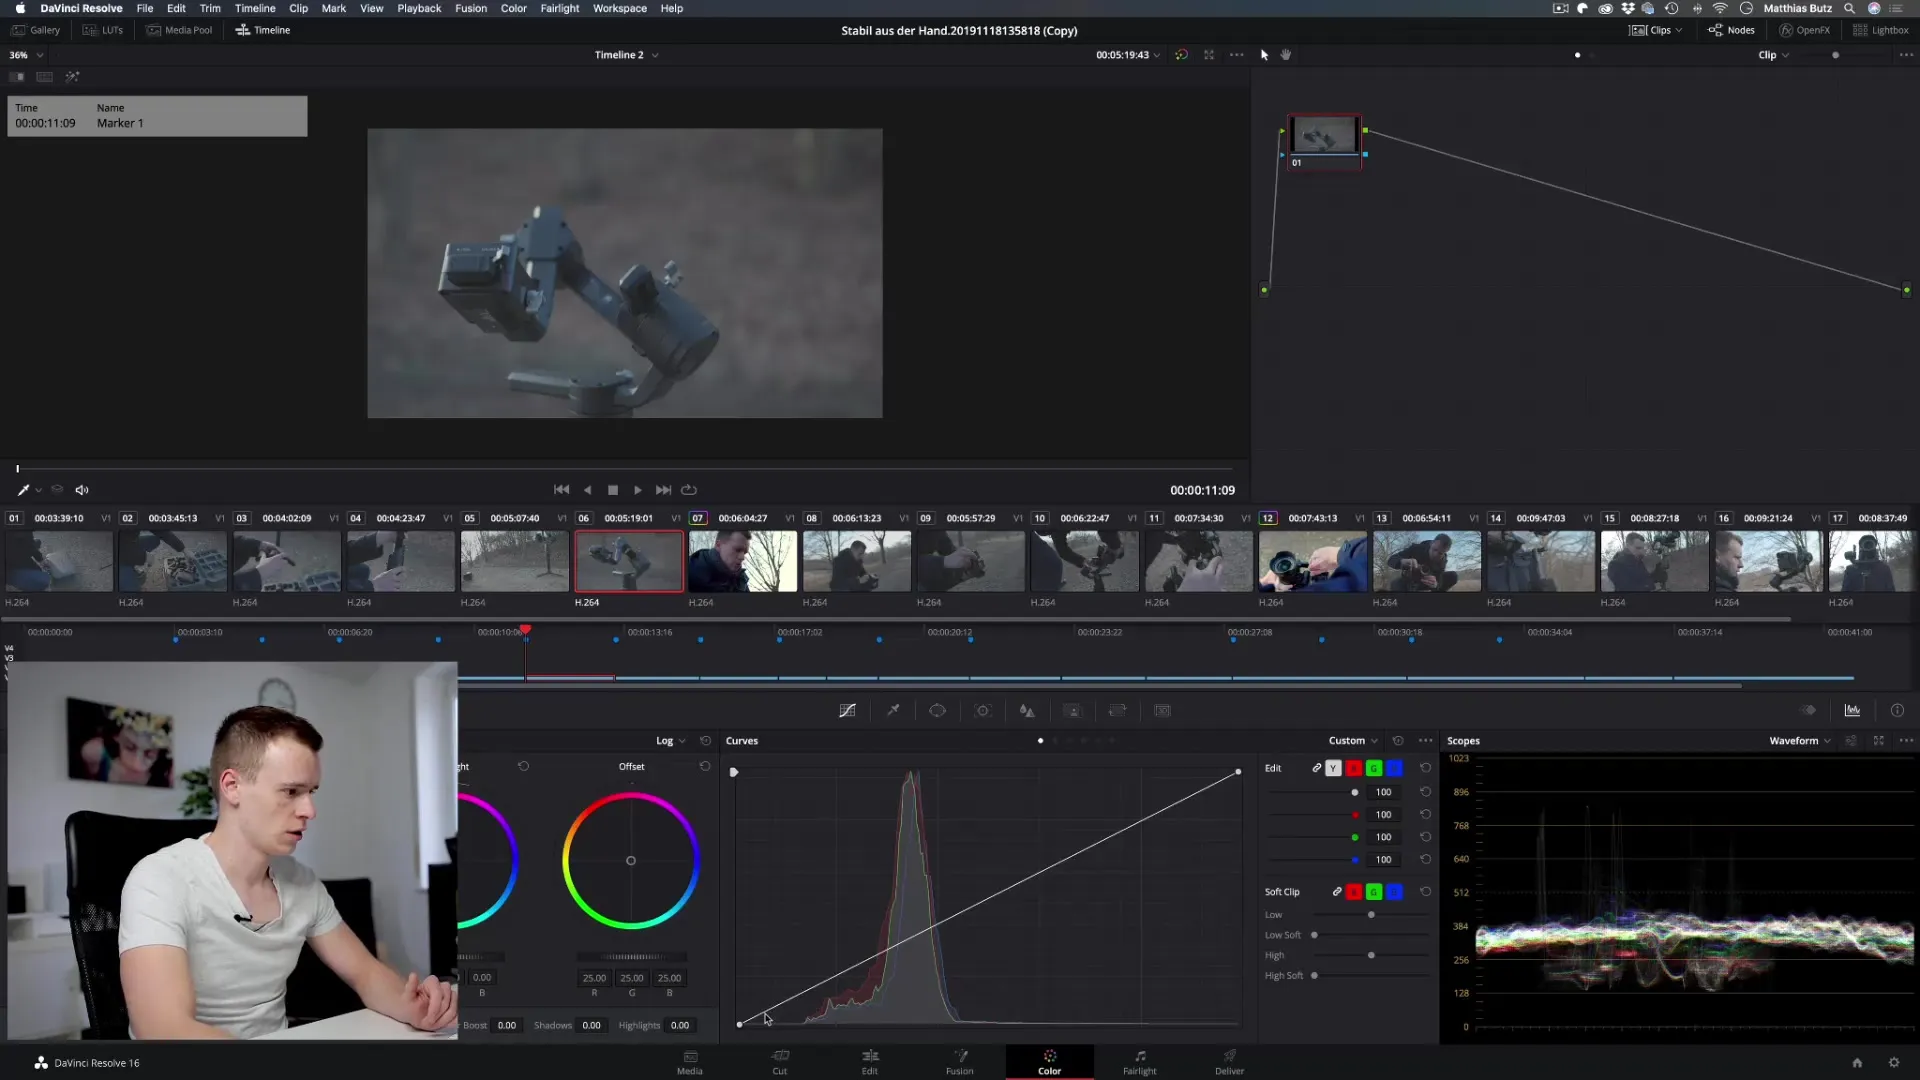
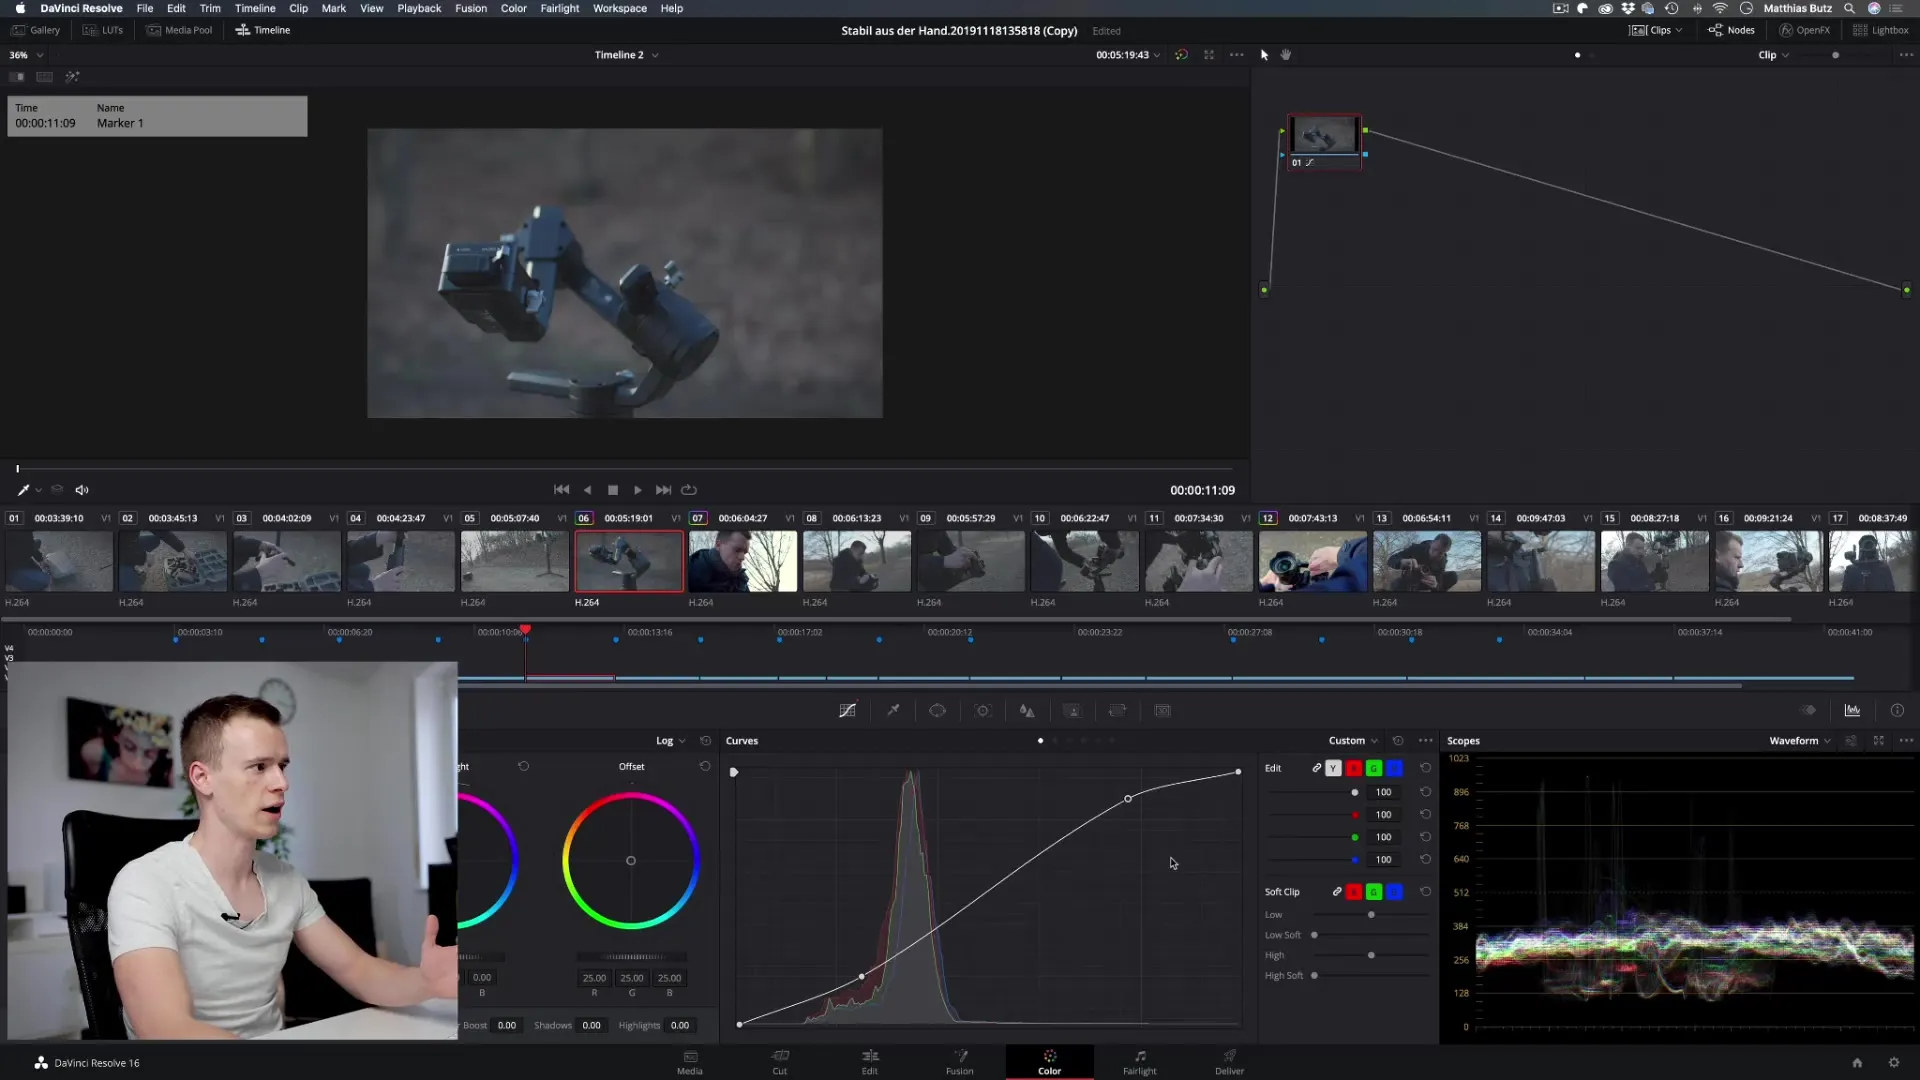
Another useful feature is to bring more contrast to your image. You can pull the dark areas further down while raising the light areas to enhance the contrast. This adds more depth to the image and creates a dynamic look. Experiment with the points on the curve to achieve different results – a small adjustment can often have a big impact.
To make specific color and brightness adjustments, you can also use the individual color channels of your curve. Here you have the option to work in the blue color channel, for example. When you pull up, you add more blue to the image, which becomes visible in the corresponding brightness ranges. This gives your image more dynamics and depth.
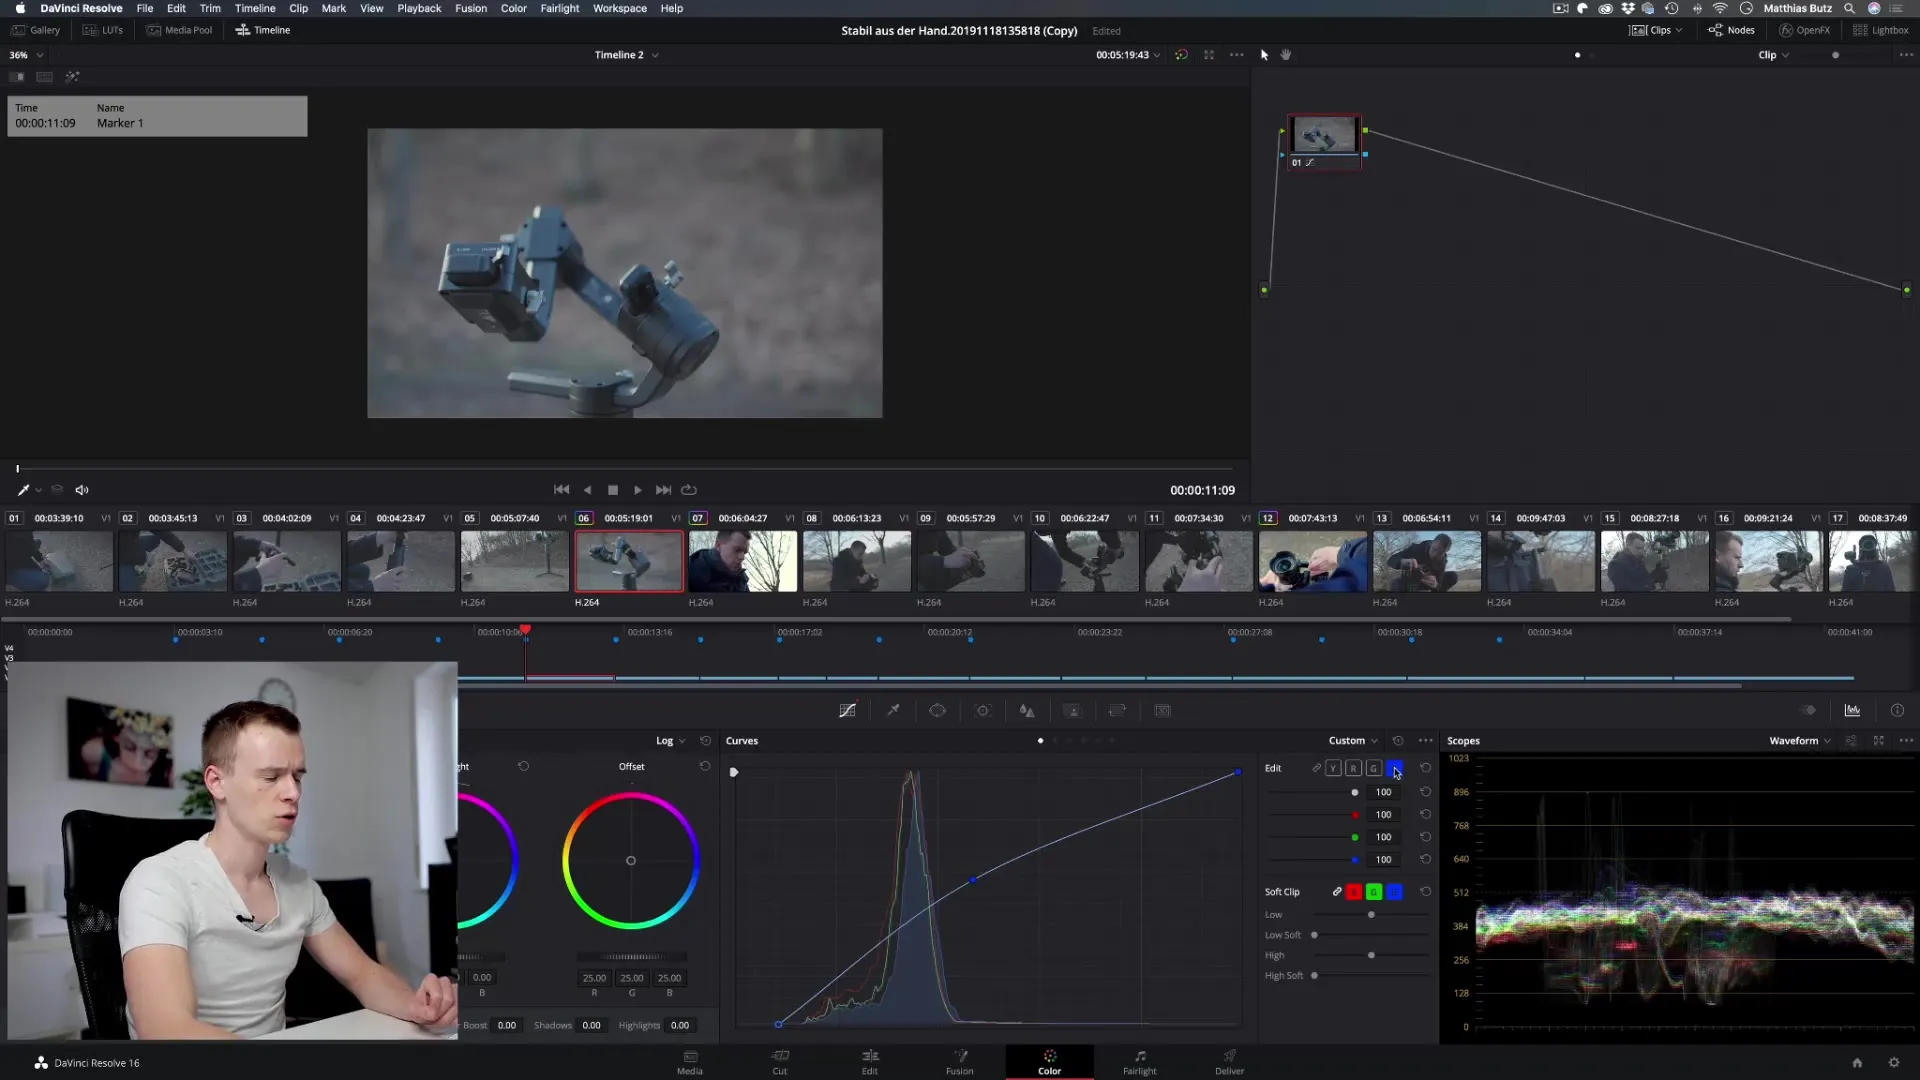
By selecting complementary colors, you can achieve a stylized adjustment. When you remove blue tones from the blue channel, the image turns yellowish, as yellow is the complementary color. This technique gives your image a unique style and can allow for fantastic artistic expression.
The color adjustments are defined by the three main parameters: Hue, Saturation, and Luminance. With these, you can work very organically and selectively bring out the desired colors from an image or reduce unwanted ones.
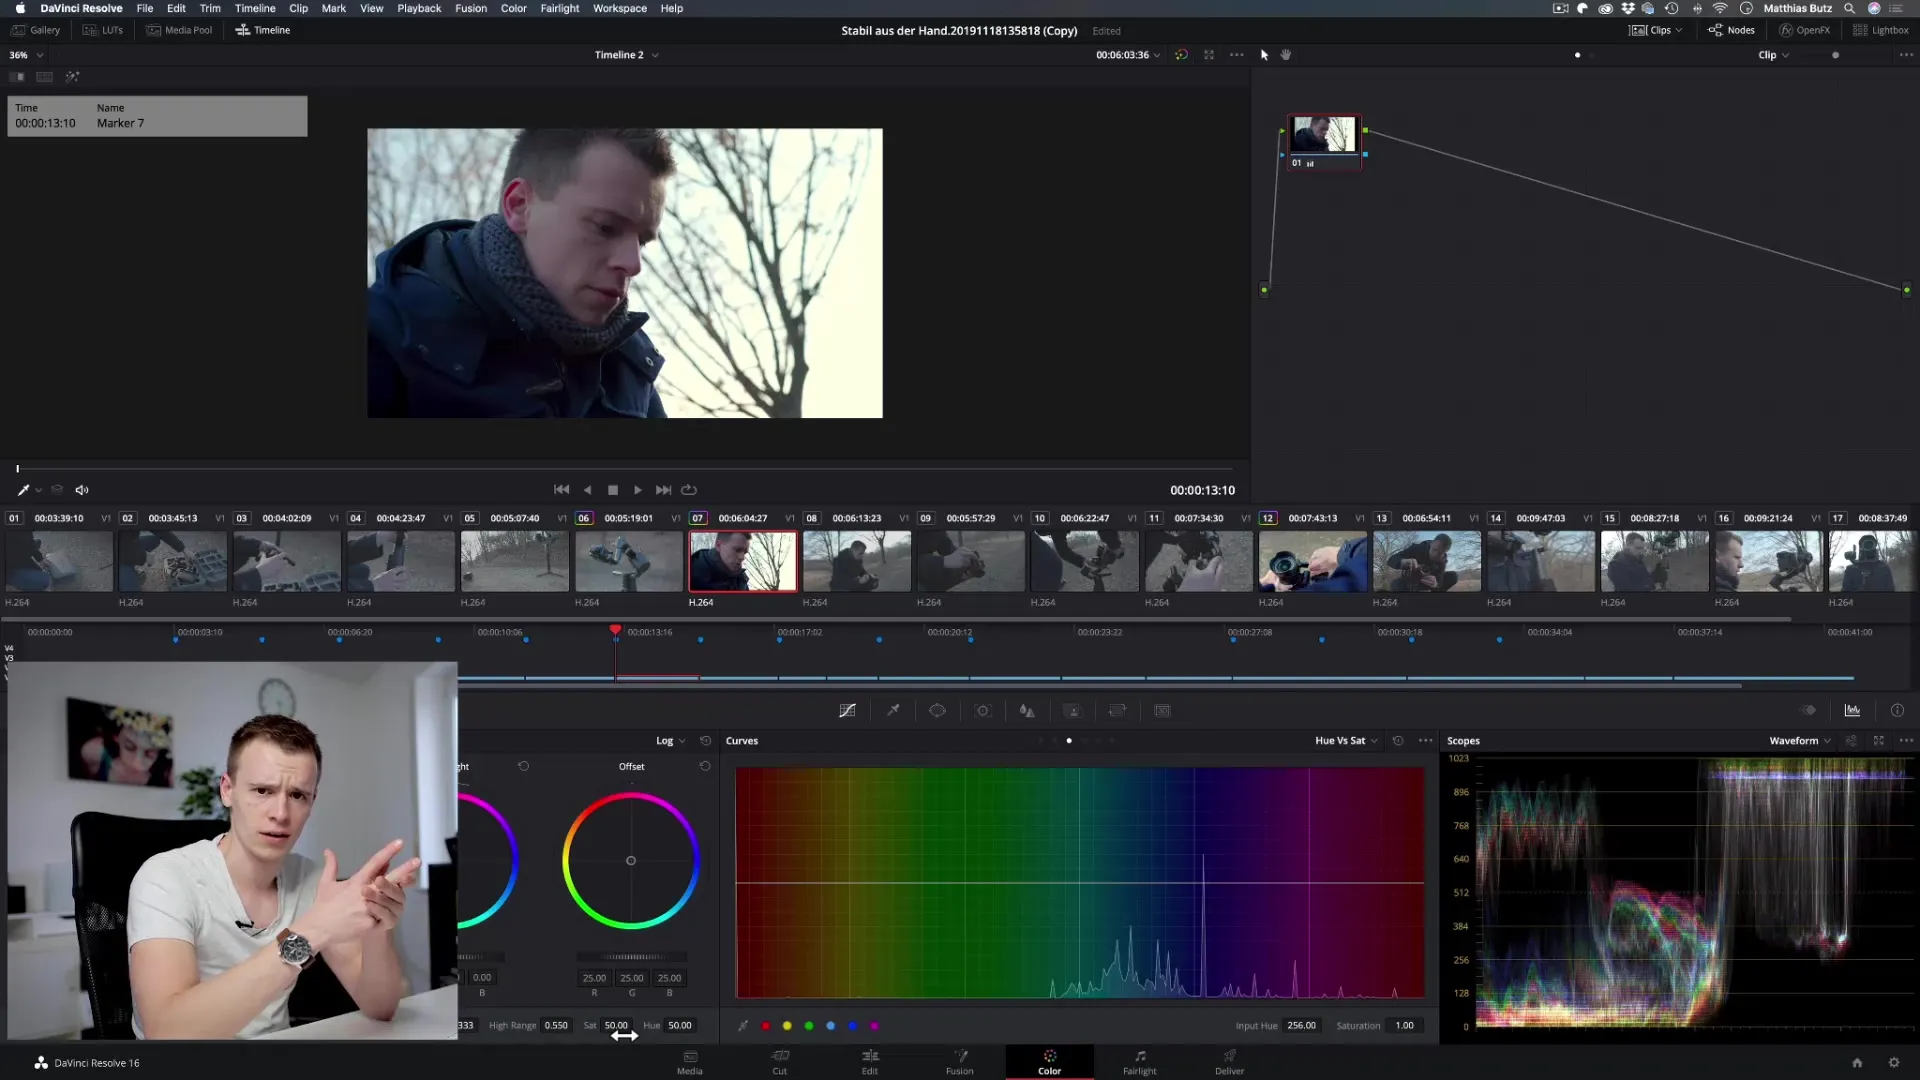
For detailed adjustments, there is the HSL slider. With this slider, you can precisely control which color ranges you want to change and how much. This can be stimulating, as you gain more control over each individual color channel and its properties to achieve a harmonious overall image.
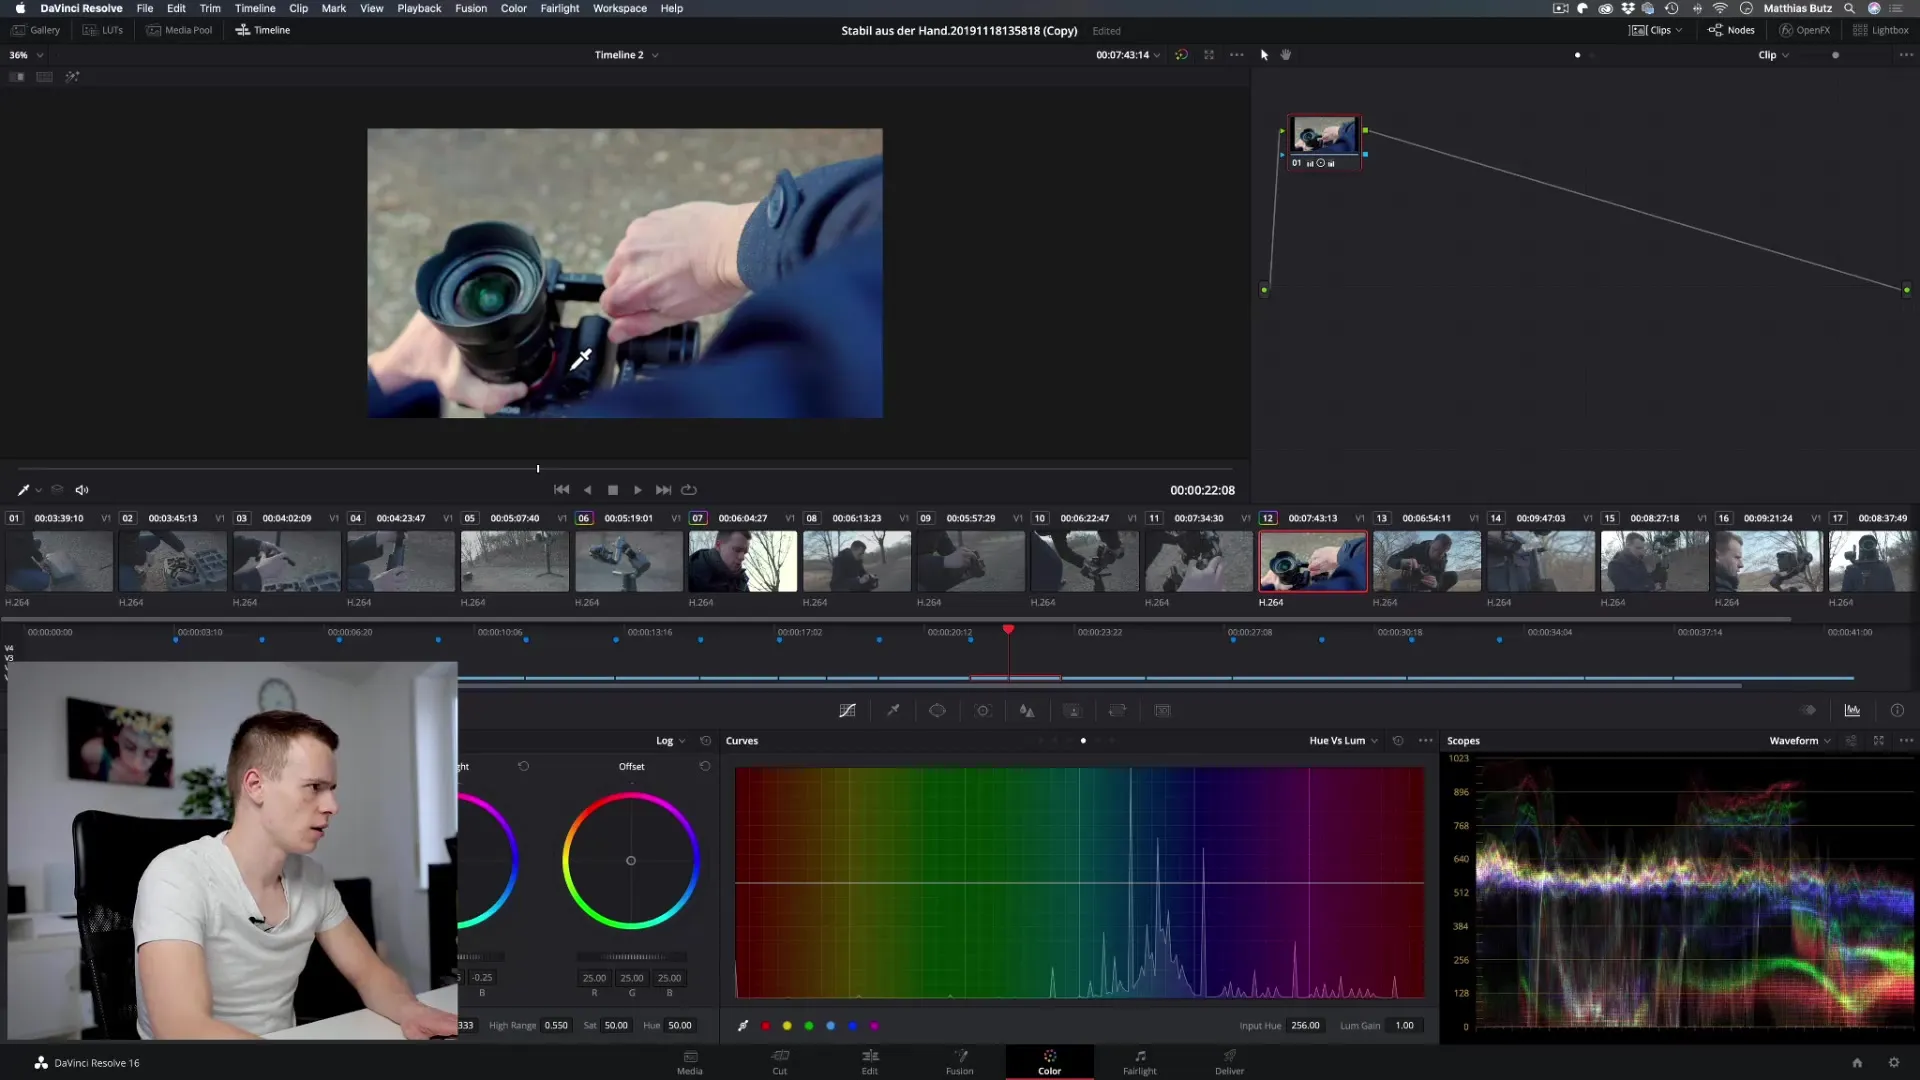
When experimenting with different color channels, remember that you can also adjust saturation or luminance in the respective areas. This way, you remain creative and flexible in color adjustment. Keep an eye on the adjustments to ensure that the end result achieves your desired visual outcome.
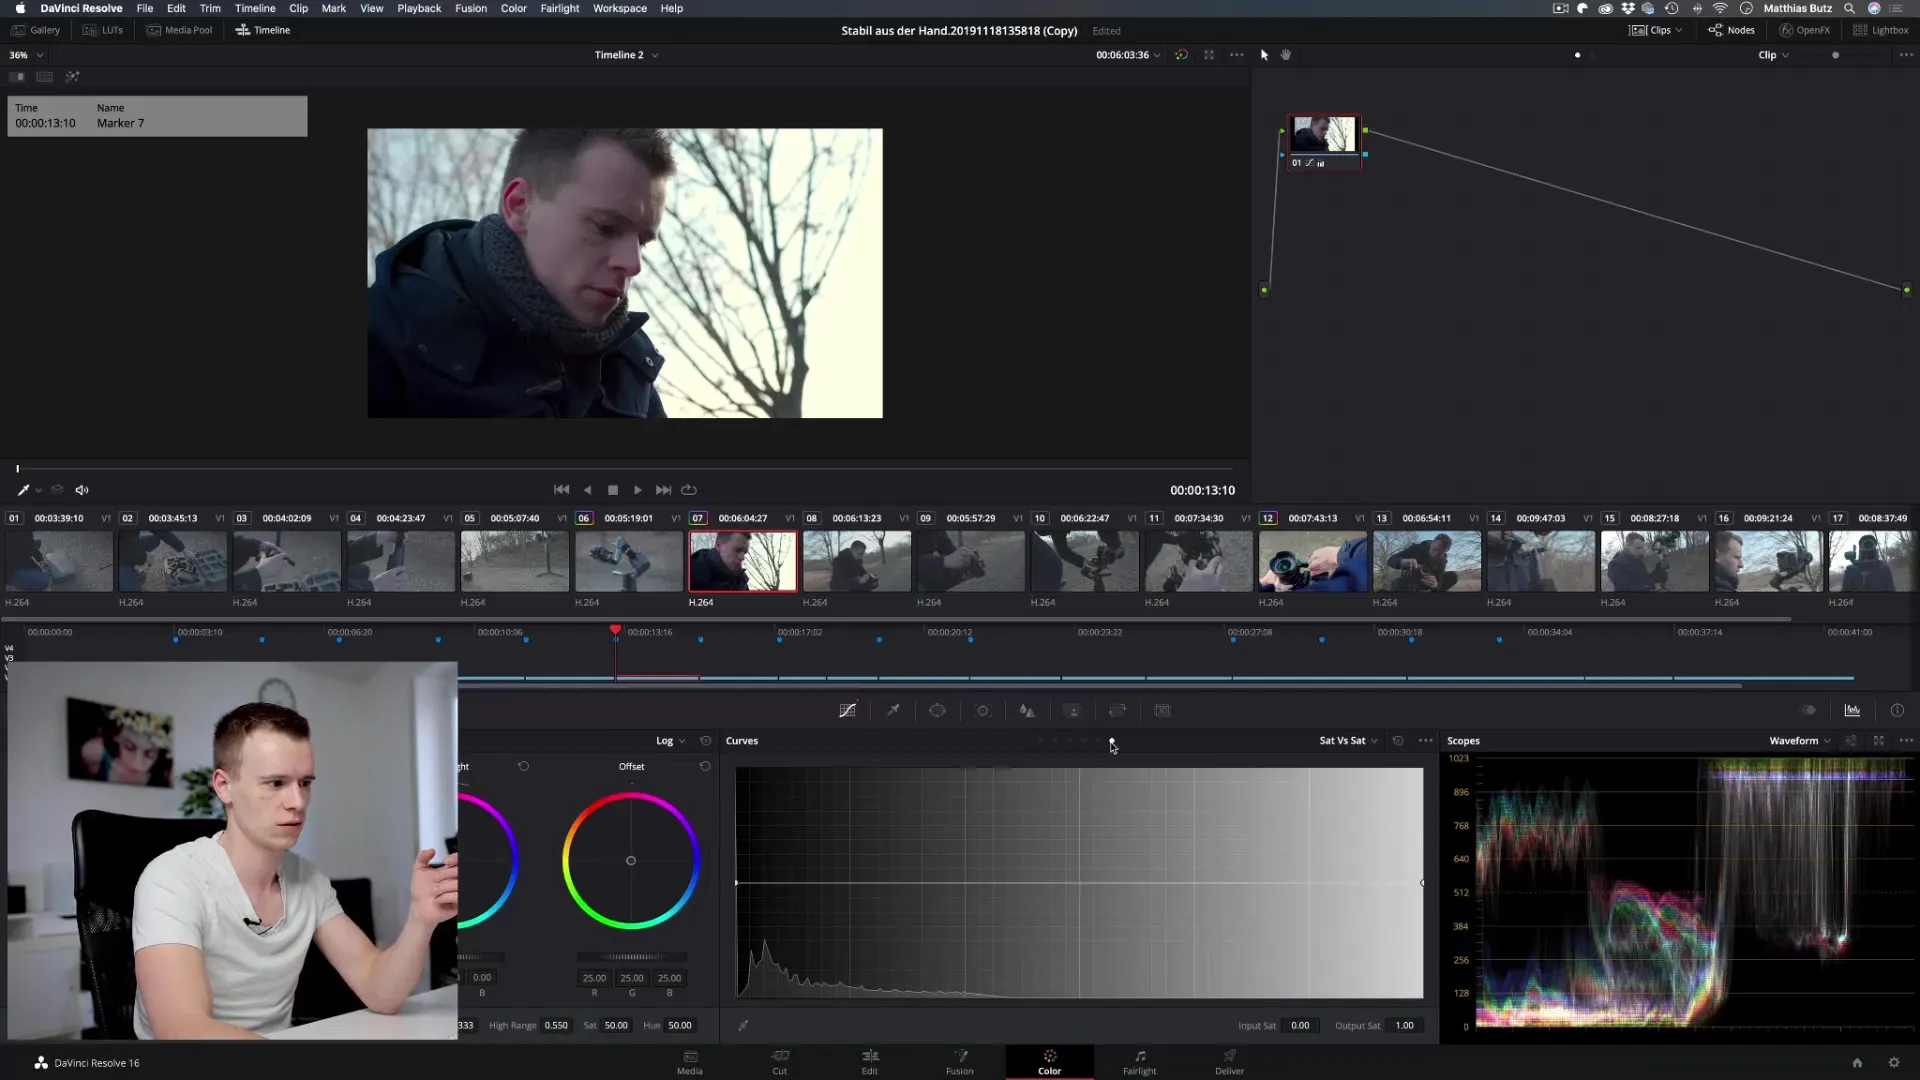
Summary – DaVinci Resolve: Guide to Using the Gradation Curve
The gradation curve in DaVinci Resolve is a versatile tool that gives you significant control over the brightness and colors of your videos. It is advisable to experiment with the different channels and adjust the curve to achieve the best expression for your project. Practice and experimentation will lead to the best results.
Frequently Asked Questions
What is the gradation curve in DaVinci Resolve?The gradation curve is a tool for adjusting brightness and colors in your videos.
How can I use the gradation curve?You can adjust the curve by adding or moving points to change the dark and light areas of your image.
What is the difference between the color channels?The color channels allow you to adjust specific colors in the image separately, such as blue, green, and red.
How can I increase the contrast in the image?By pulling the dark areas down and the light areas up, you can increase the contrast.
Can I also apply the gradation curve to other images?Yes, the principles of the gradation curve work similarly in many image editing programs.


