The correct leveling of audio is crucial to create an engaging video experience. Too loud or too quiet audio tracks can deter viewers or even dilute the message of the video. In this tutorial, you will learn how to optimize the audio level of your videos in DaVinci Resolve to ensure a balanced listening experience.
Key Takeaways
- The audio level should ideally be between -3 dB and -6 dB.
- The volume affects how pleasant the sound is for the listener.
- Background noise can be amplified during quiet recordings if the level is raised.
Step-by-Step Guide
Analyze Listening Example
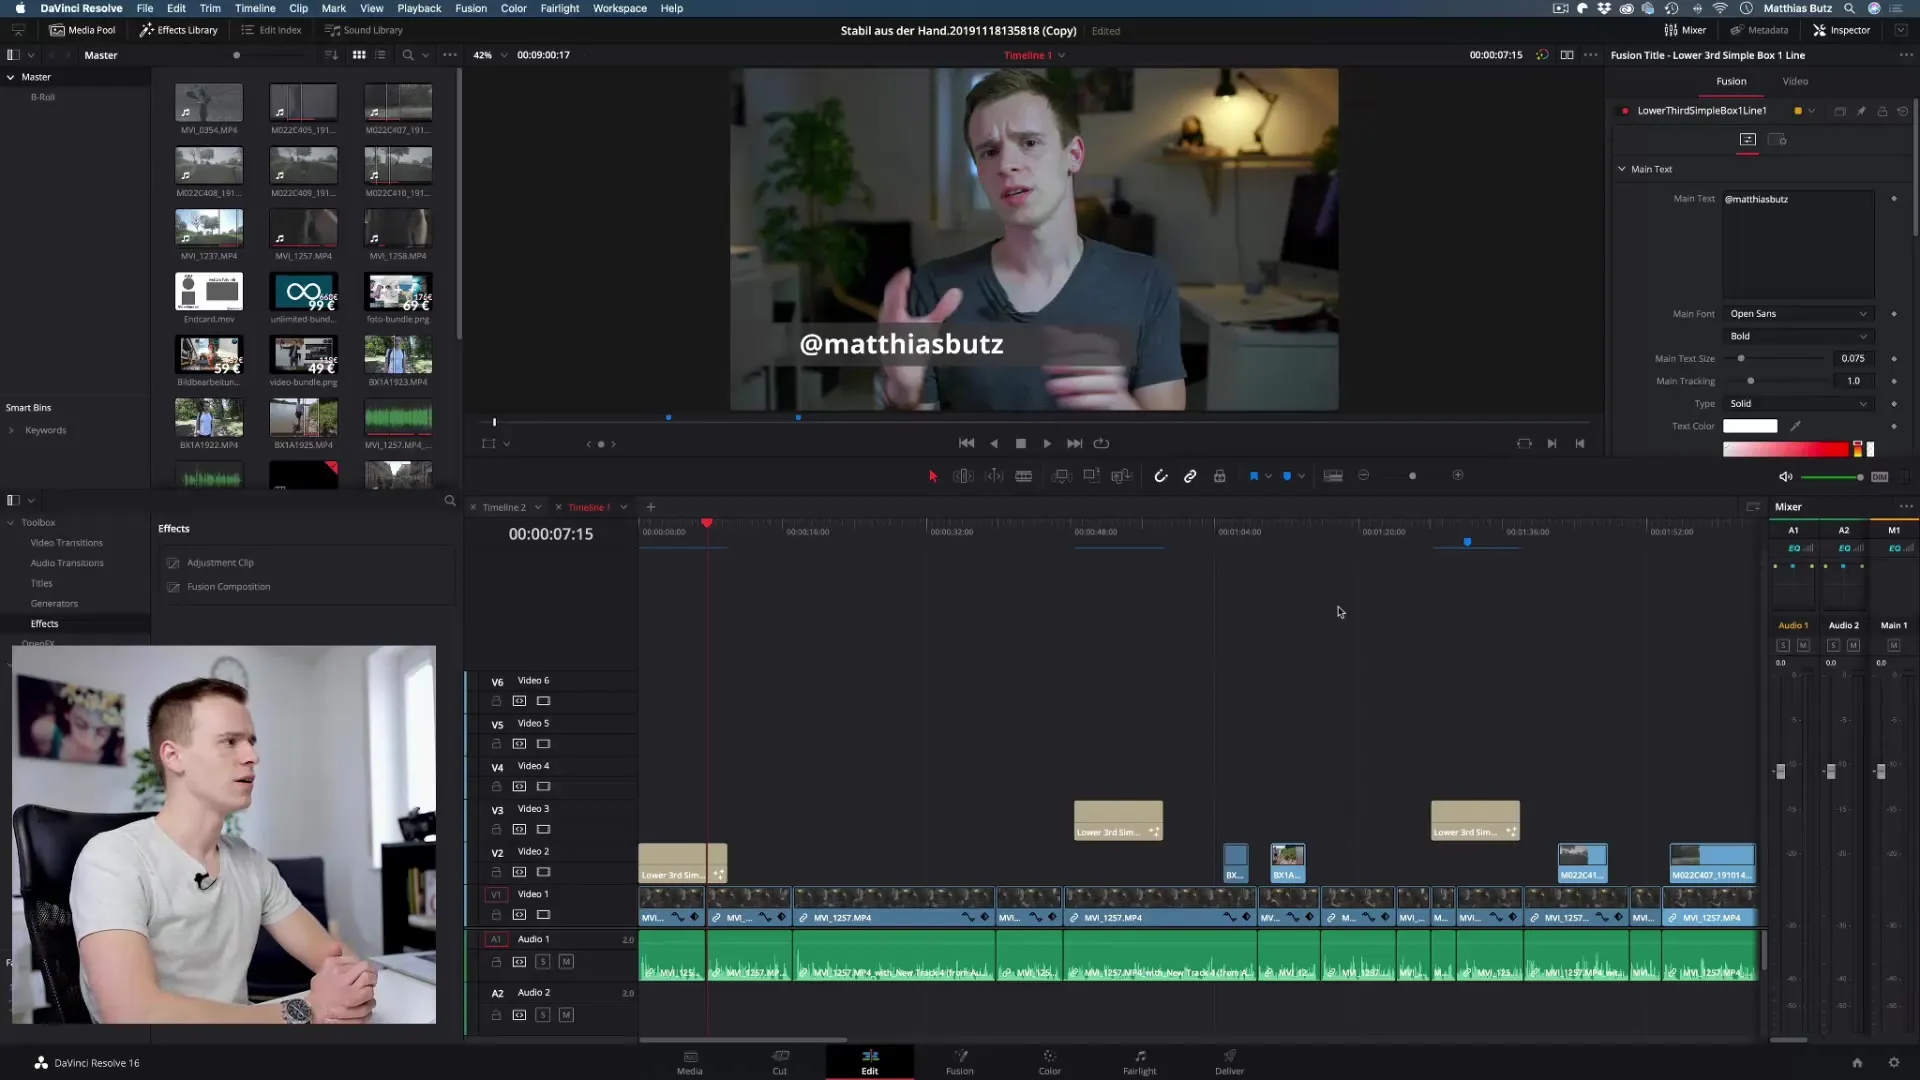
Before you start leveling your audio tracks, test the current level of your audio material. Play the video and pay attention to whether the sound is too quiet or too loud.

Set Optimal Volume Levels
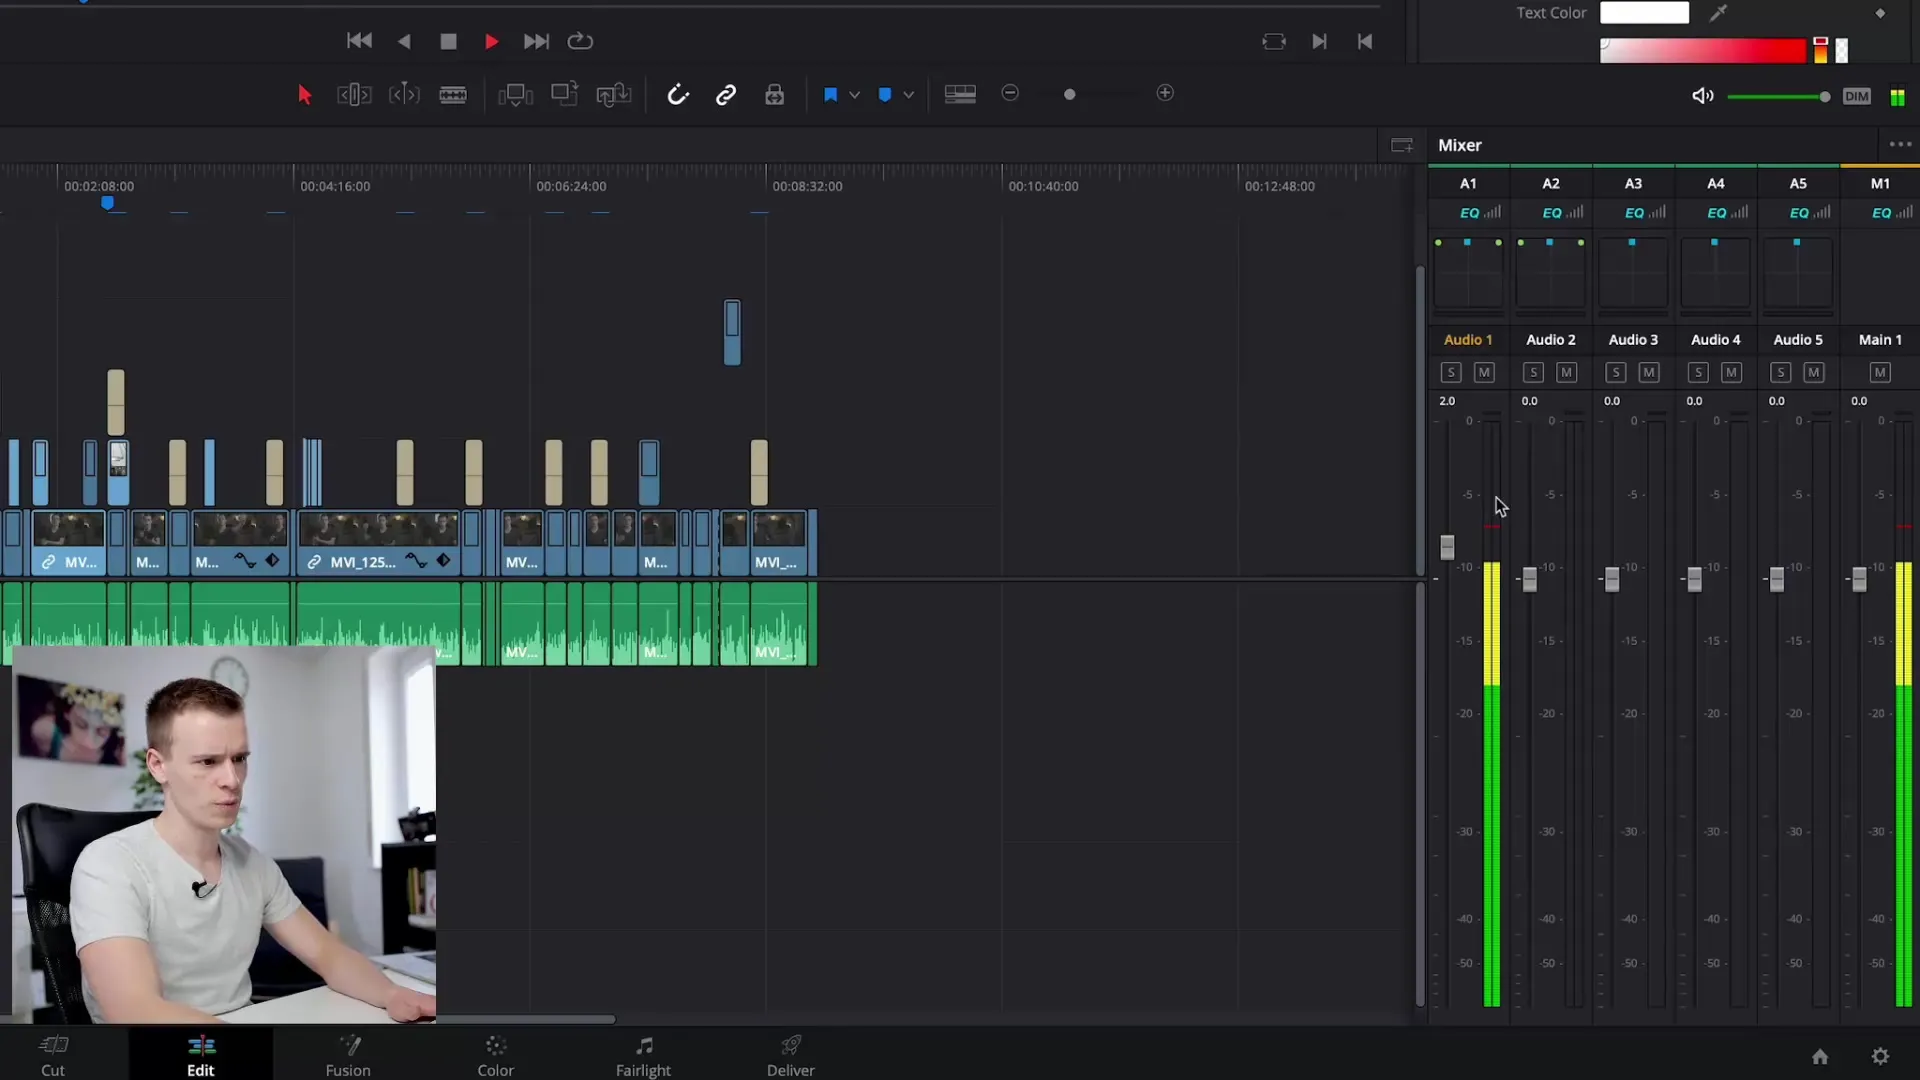
The ideal volume should be between -3 dB and -6 dB. A level at 0 dB is far too loud and causes distortion. Avoid having the audio level reach the red areas, as this leads to unpleasant sounds.
Apply Correct Mixing Technique
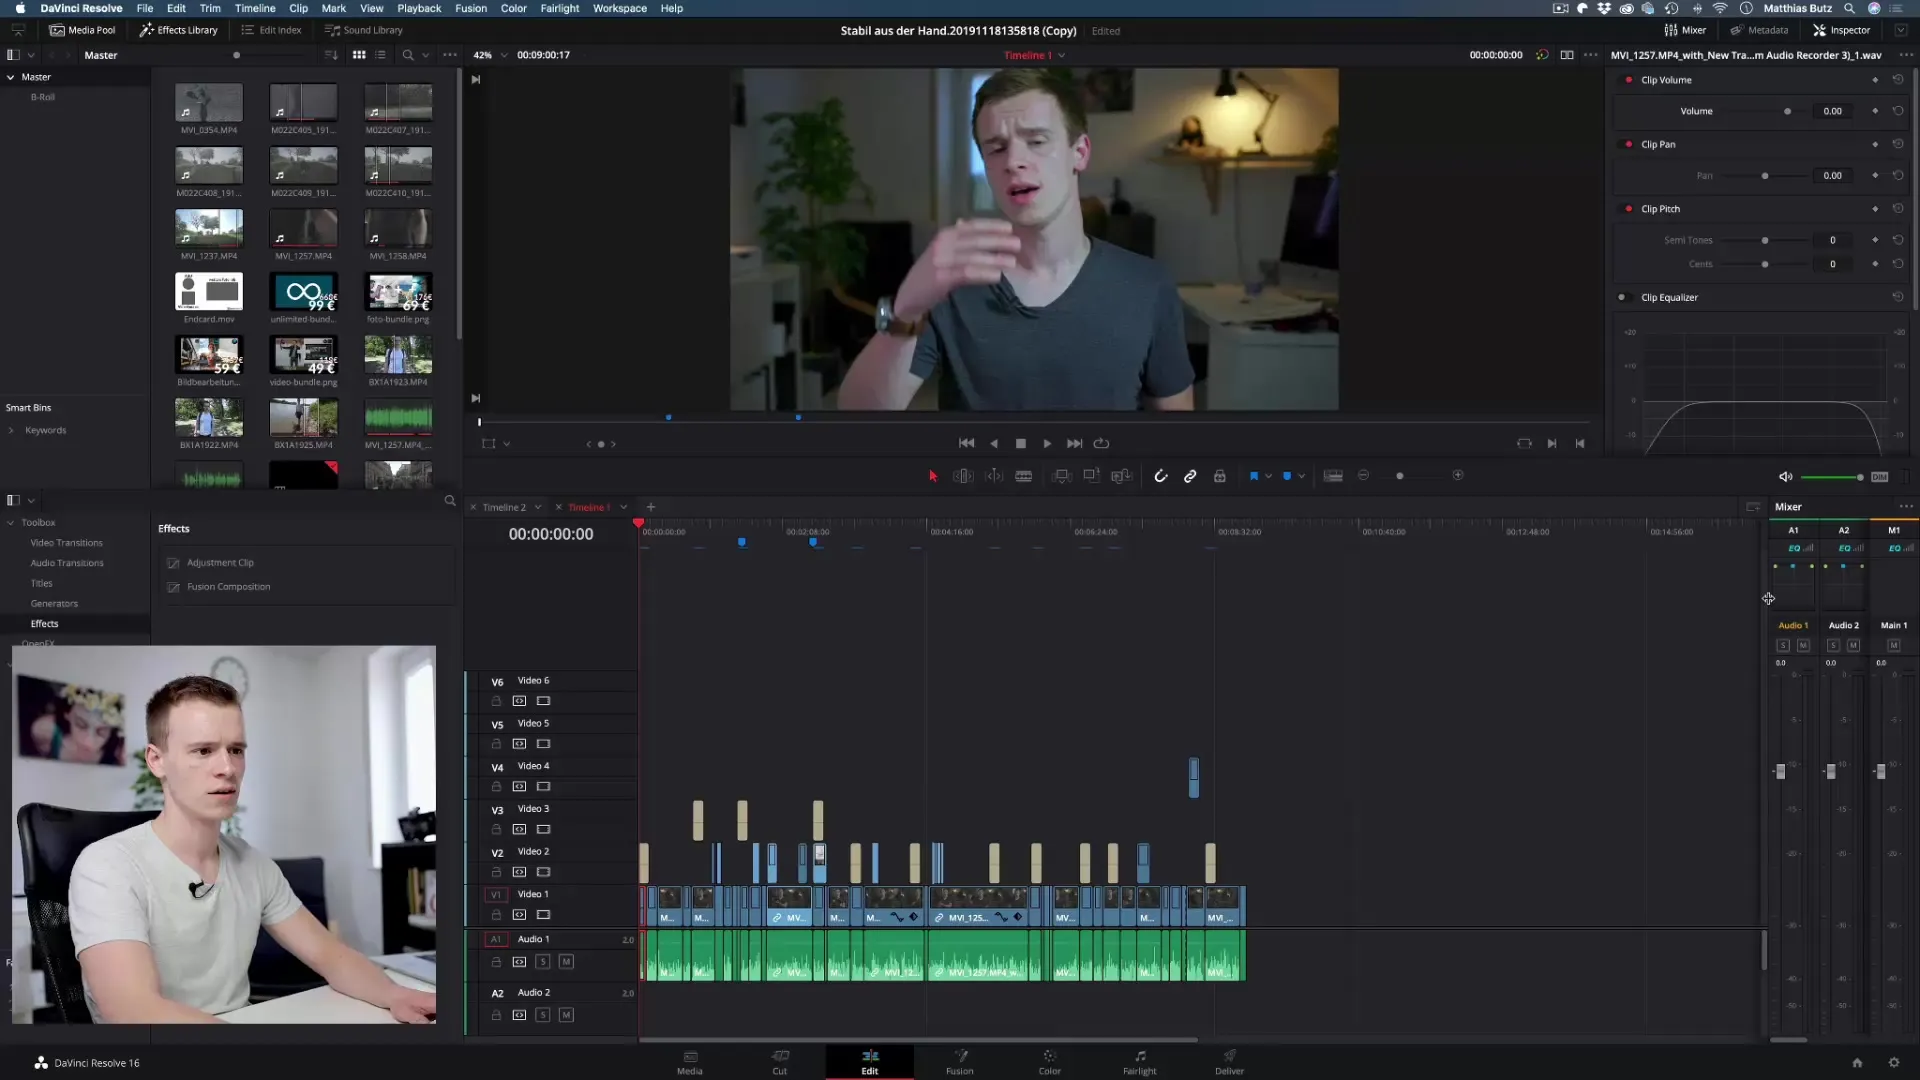
If you have multiple audio tracks, it is more efficient to adjust them all at once rather than editing each track separately. Open the audio mixer to control the volume of the different tracks.
Make Fine Adjustments
Use the volume slider to precisely tune the tracks to your desired level. Ensure that there is no distortion. Benchmarks around -3 dB are optimal for good sound quality.
Pre-listen and Adjust
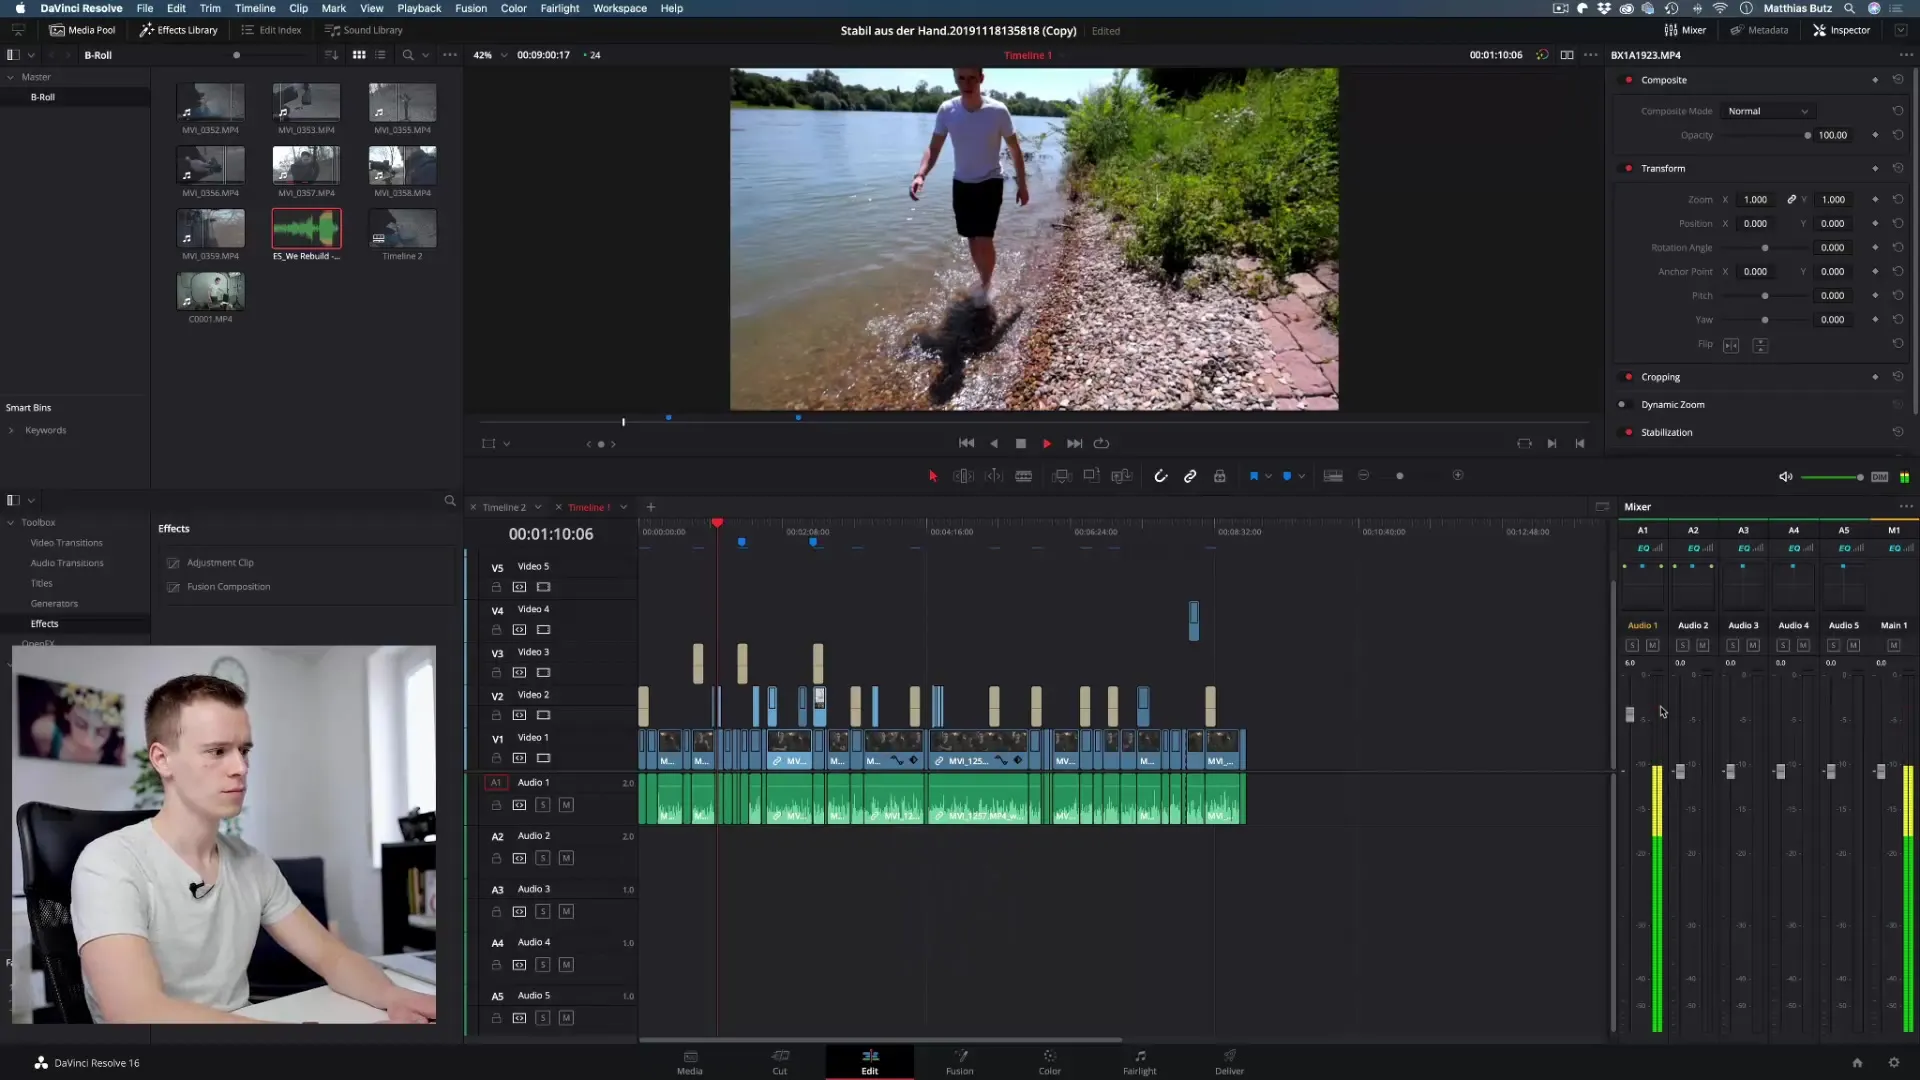
Listen to the results again and test different volume levels. Ensure that both quiet and louder passages are clear and distinctly audible.
Utilize Automatic Normalization
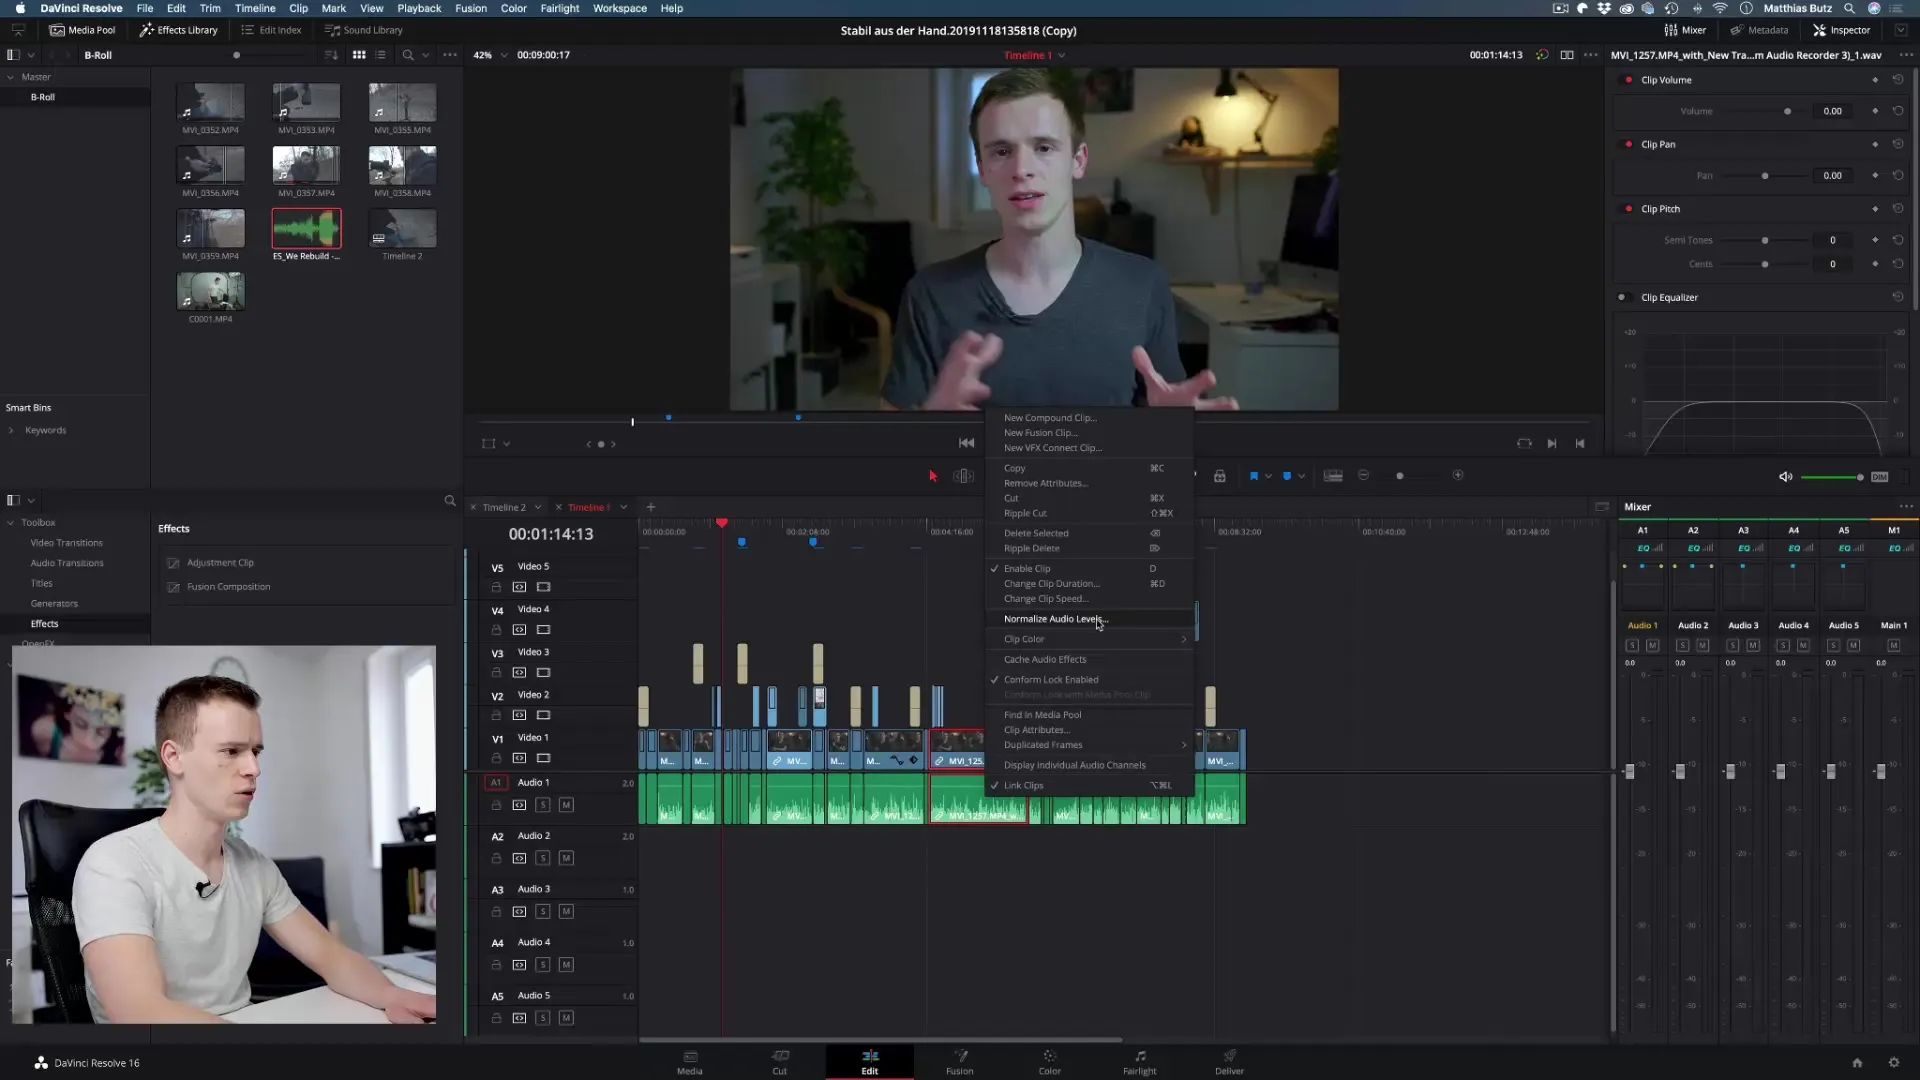
If you don't have time to adjust each track manually, you can use the "Normalize Audio Levels" function. This feature helps you quickly standardize the volume.
Review Adjustments and Get Feedback
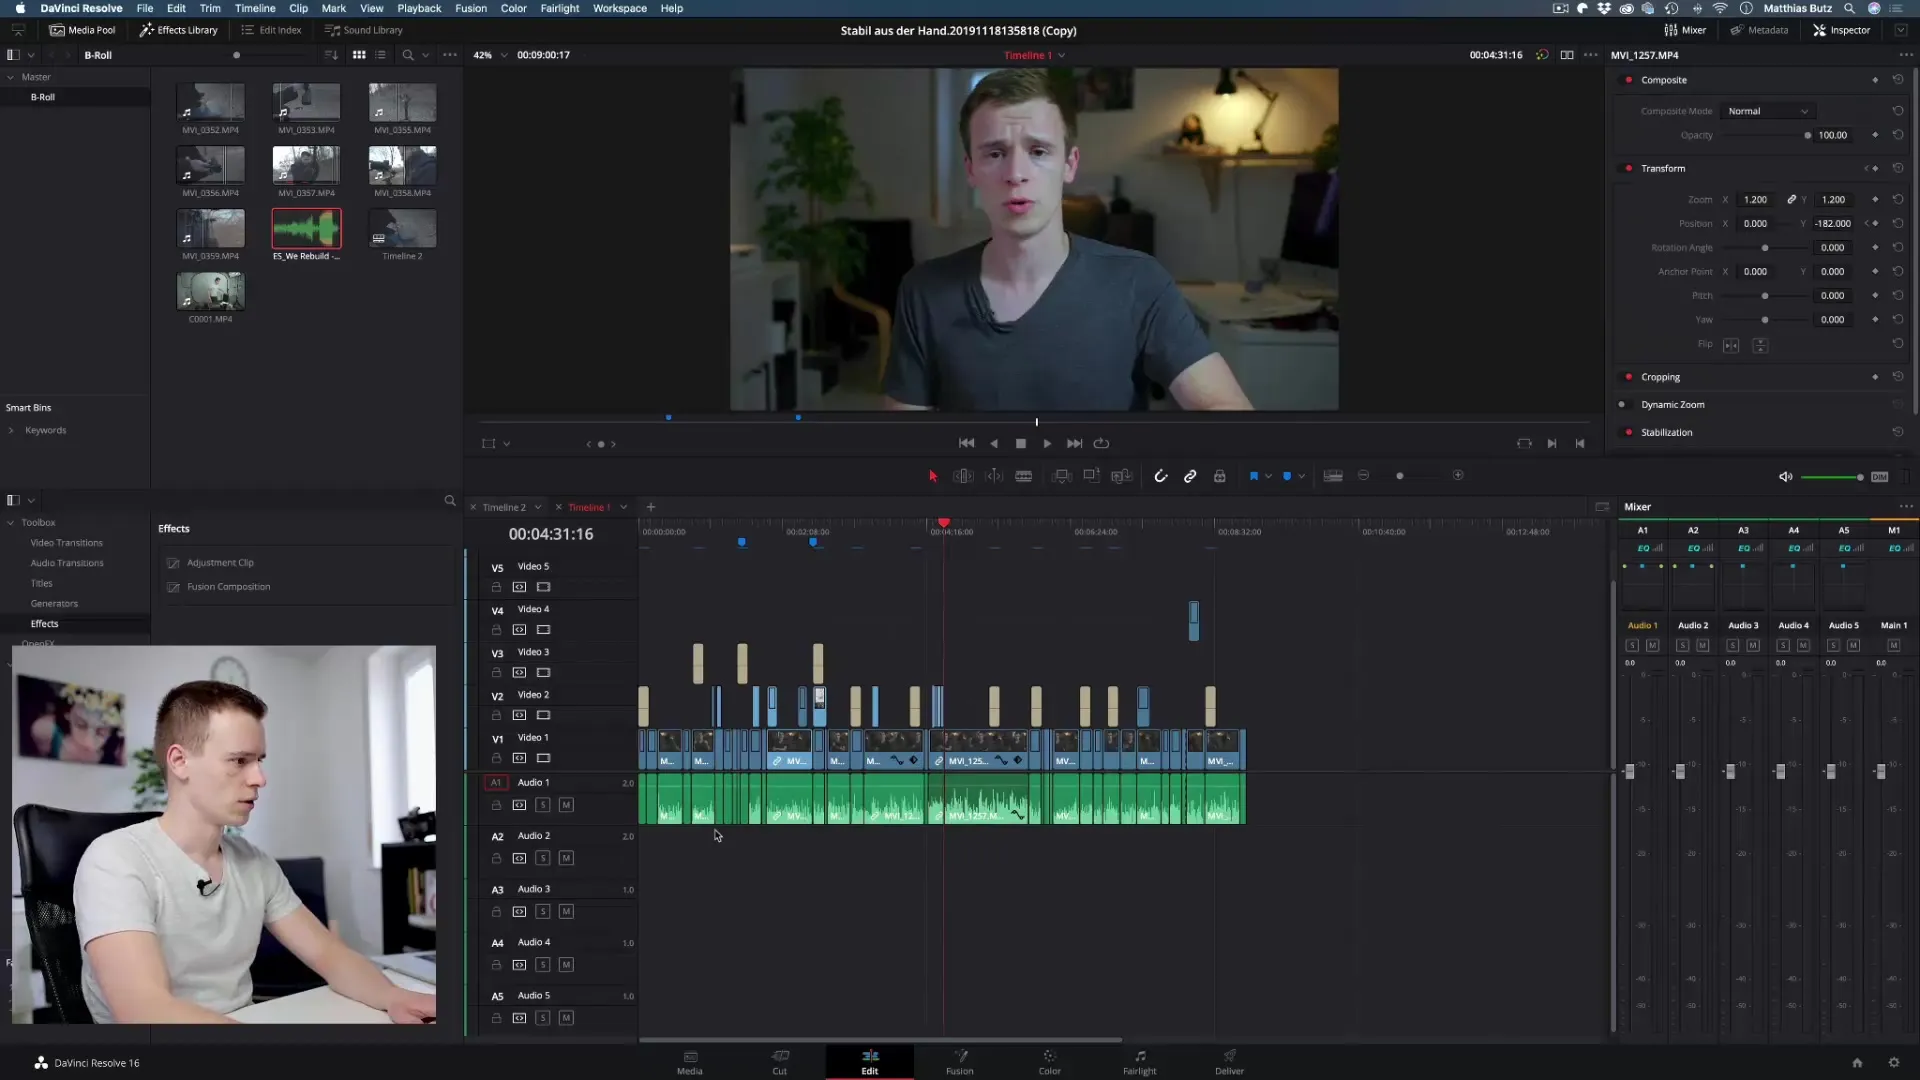
After normalizing, review the results. Check the dB levels of the respective clips and compare them with each other.
Final Adjustments in the Fairlight Area
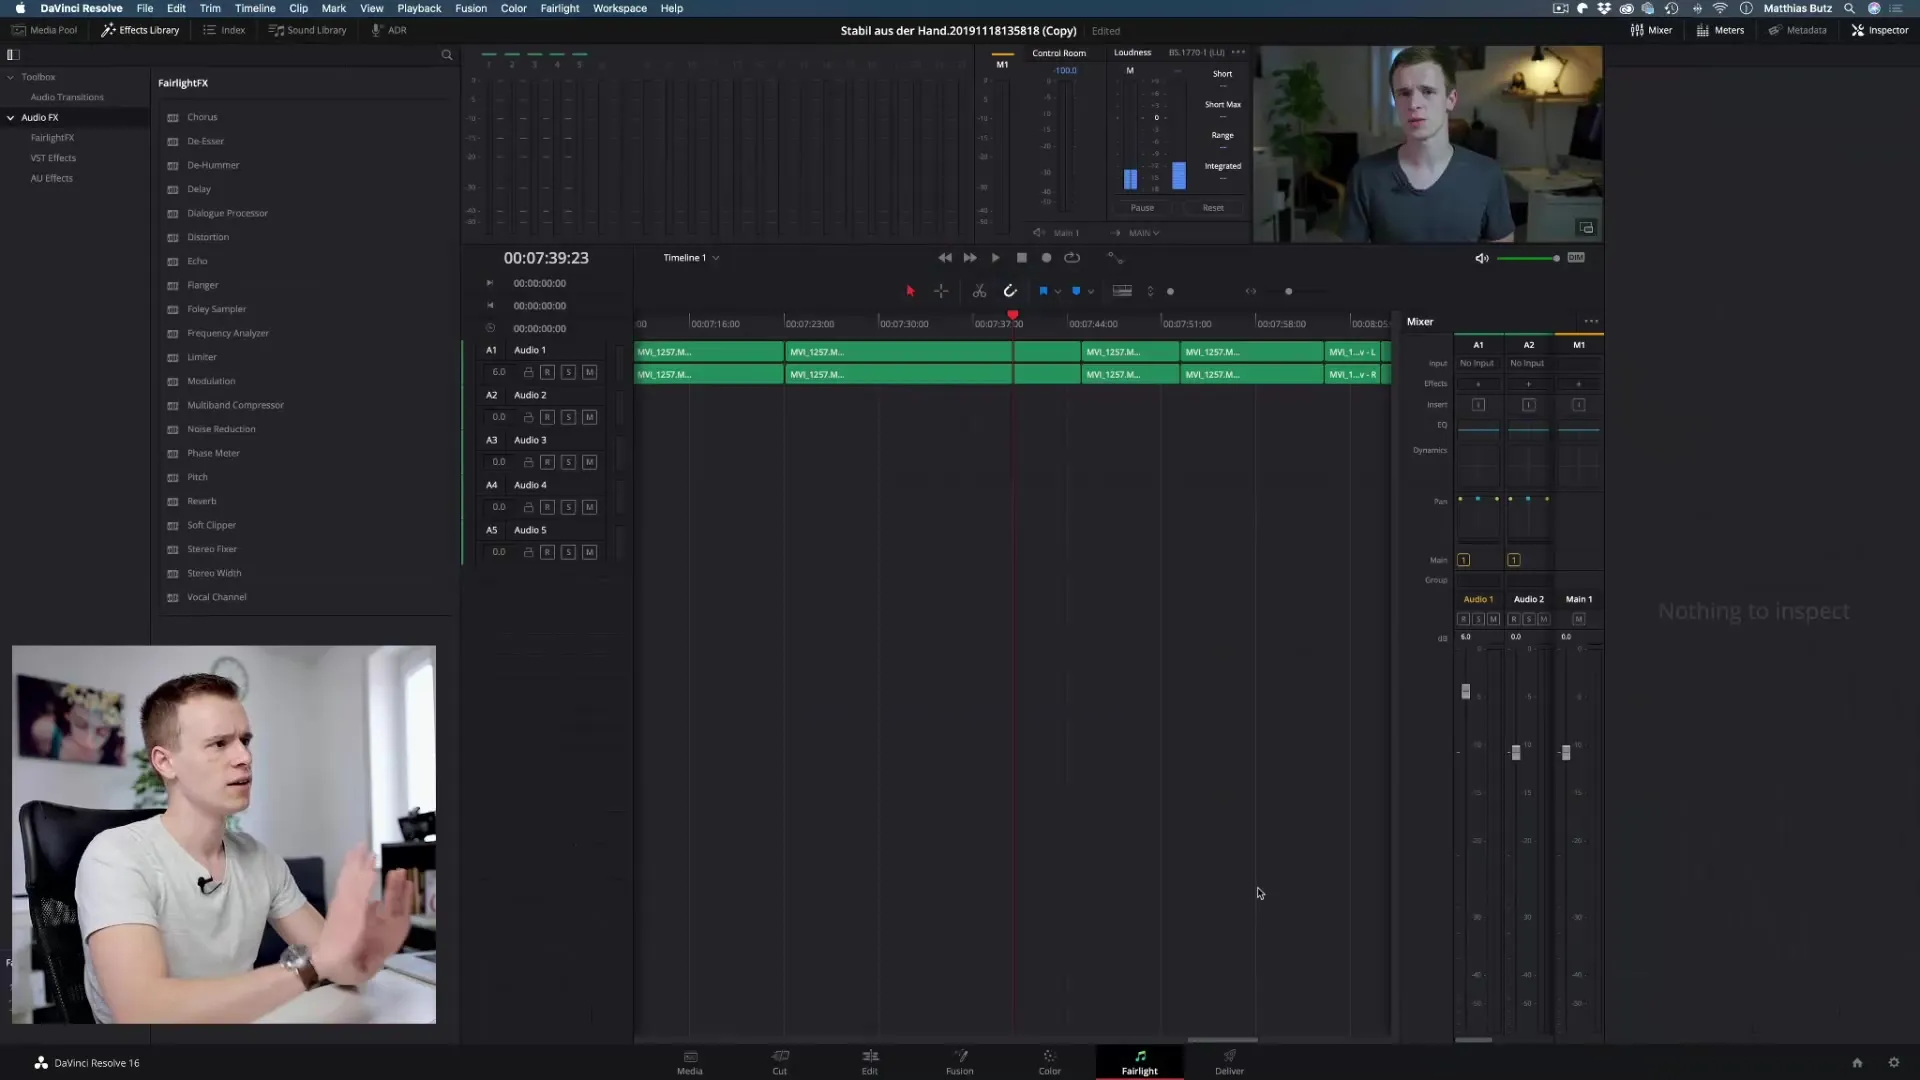
Switch to the Fairlight area of DaVinci Resolve to make even more detailed adjustments. Here you can use various tools to further enhance the audio quality.
Summary – DaVinci Resolve: Setting the Right Level
Properly leveling the audio in DaVinci Resolve ensures that your audience is not distracted by inappropriate volume levels. Make sure your audio levels are between -3 dB and -6 dB and use the provided tools to achieve the best possible sound quality.
Frequently Asked Questions
How can I adjust the audio level in DaVinci Resolve?You can adjust the audio level through the mixer by using volume sliders for each track.
What is the optimal level for audio?The optimal level is between -3 dB and -6 dB.
How does automatic normalization of audio levels work?You can right-click on the track and select “Normalize Audio Levels” to automatically standardize the volume.
Where can I find the Fairlight area in DaVinci Resolve?The Fairlight area can be found in the main interface of DaVinci Resolve and offers advanced audio editing tools.
How do I avoid distortion in my audio tracks?Ensure that the volume level does not enter the red area and ideally keep it around -3 dB.


