The Replay buffer in Streamlabs OBS is a great feature that allows you to capture exciting moments from your stream. With just a few clicks, you can not only save these clips but also play them back in your stream later. In this guide, you'll learn how to effectively set up and use the Replay buffer.
Key insights
- The Replay buffer allows the saving of clips during the stream.
- The settings for bitrate and maximum clip duration can be adjusted.
- The use of hotkeys makes handling the Replay buffer easier.
- Clips can be played back directly in the stream.
Step 1: Activate Replay Buffer
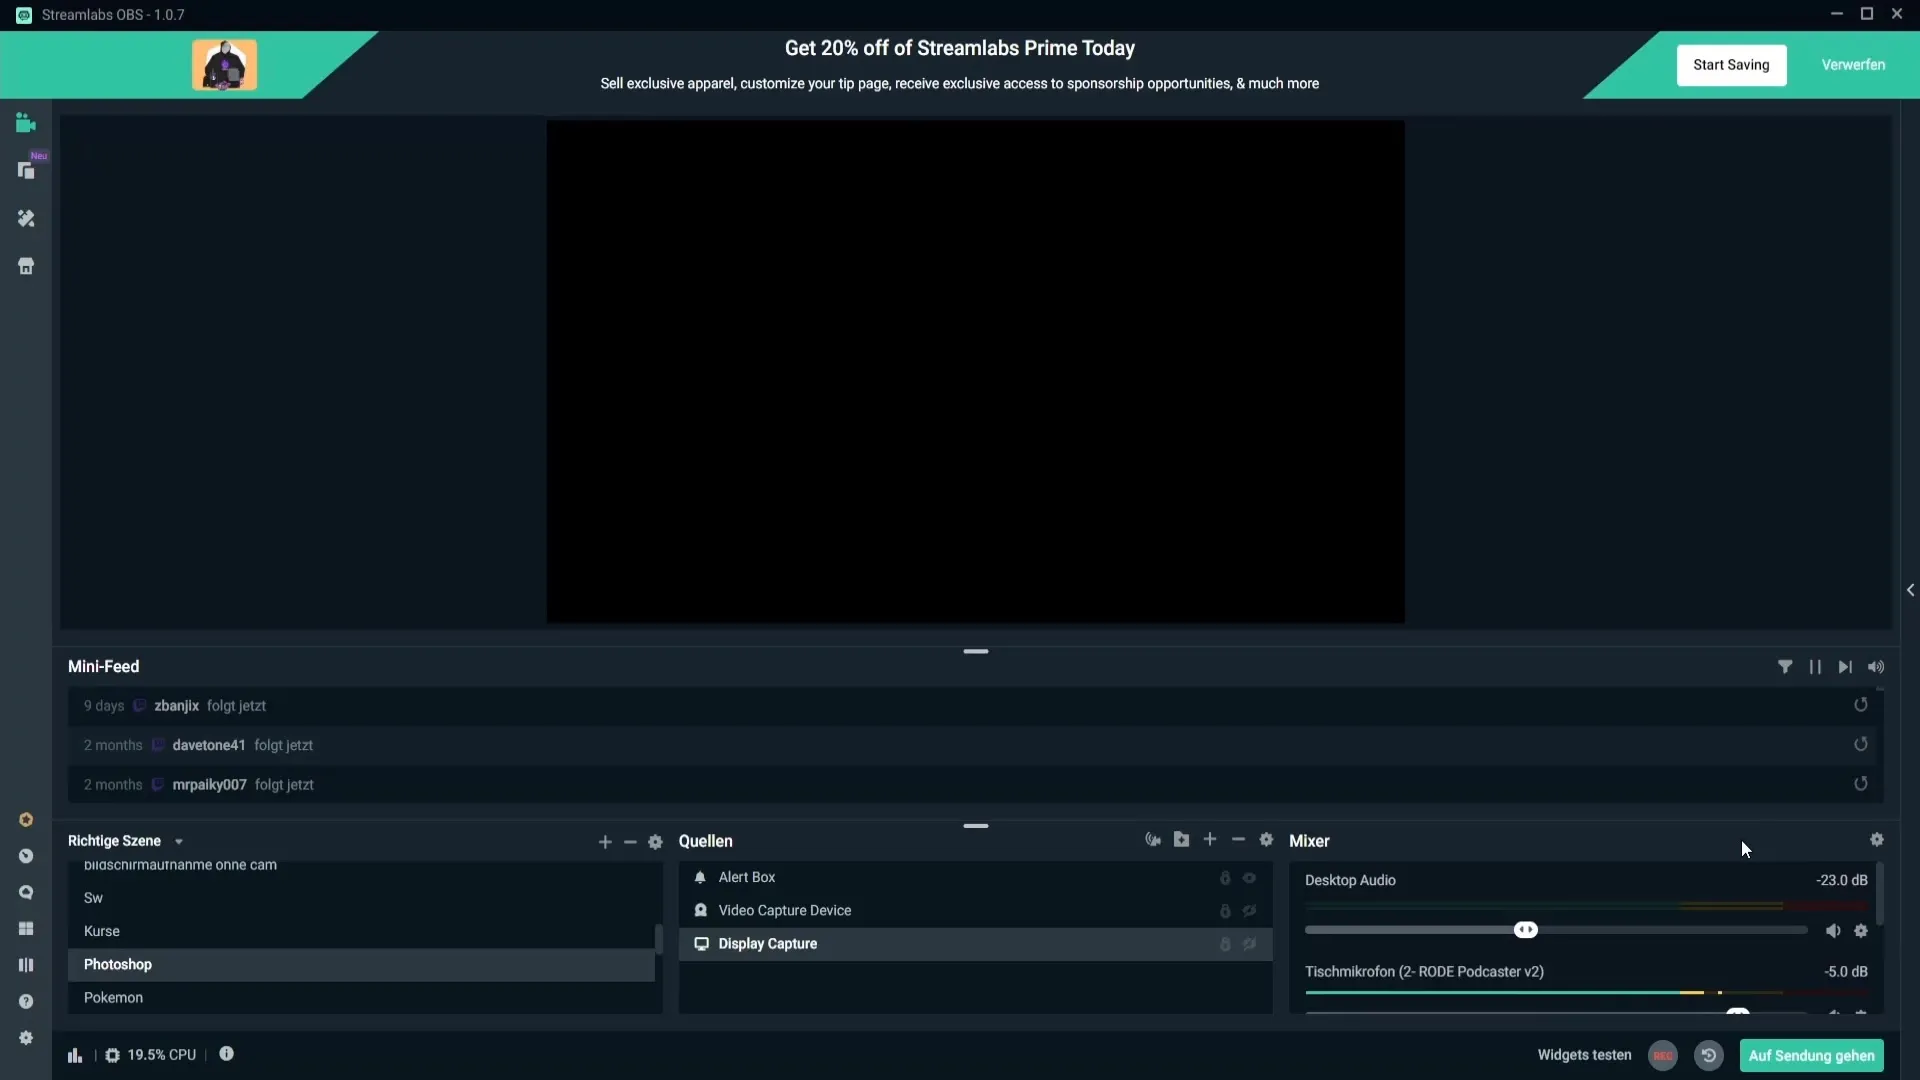
First, you need to activate the Replay buffer in the settings of Streamlabs OBS. To do this, click on the gear icon for settings and select the “General” tab. Here you will find the option to automatically start the Replay buffer when you start your stream. Enable this setting so that the Replay buffer is always ready when you are live.
Step 2: Adjust Output Settings
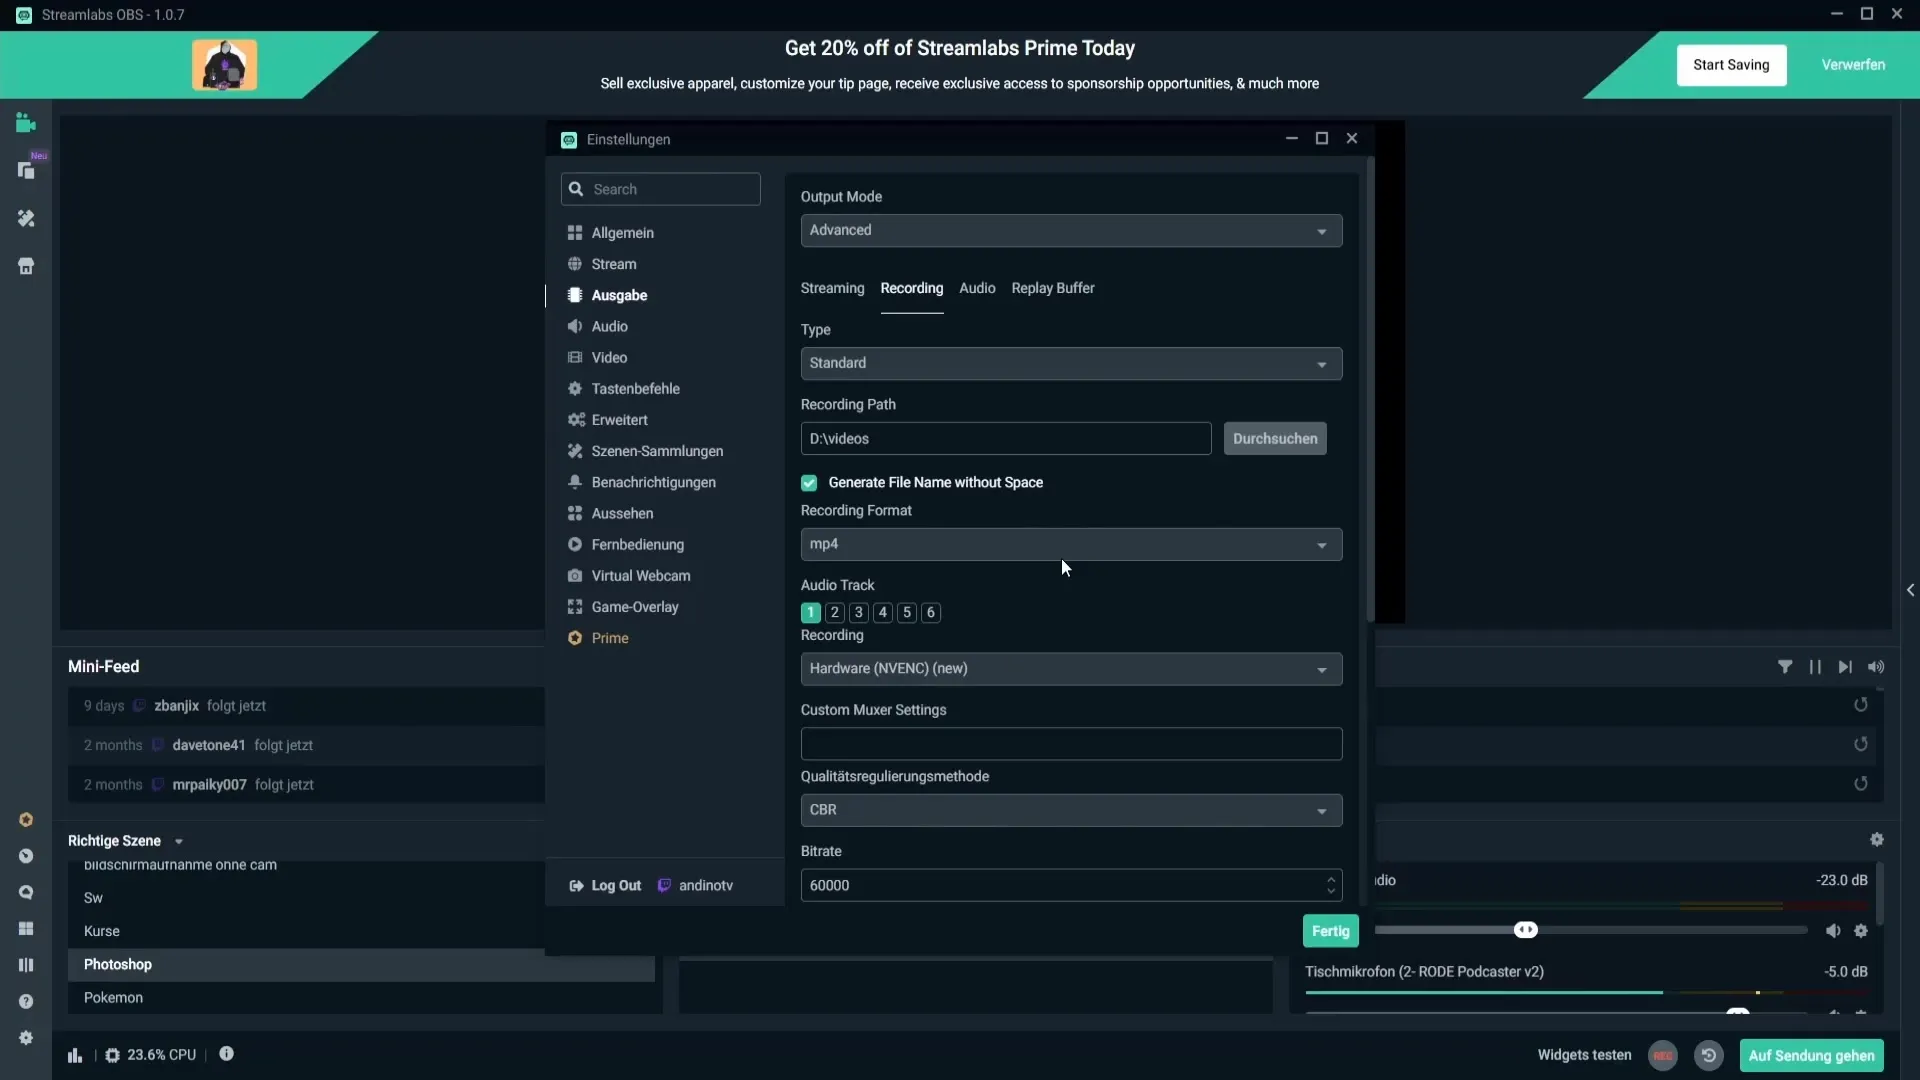
In the next step, you need to set the output settings for your Replay buffer. Under the “Output” tab, you can adjust the recording settings. Be sure to select a storage location for the clips you want to create. It is advisable to adjust the bitrate or maximum frames per second (bfames) depending on your PC's performance. A bitrate of 30,000 is optimal, but it can also be set lower if your PC is less powerful.
Step 3: Configure Replay Buffer
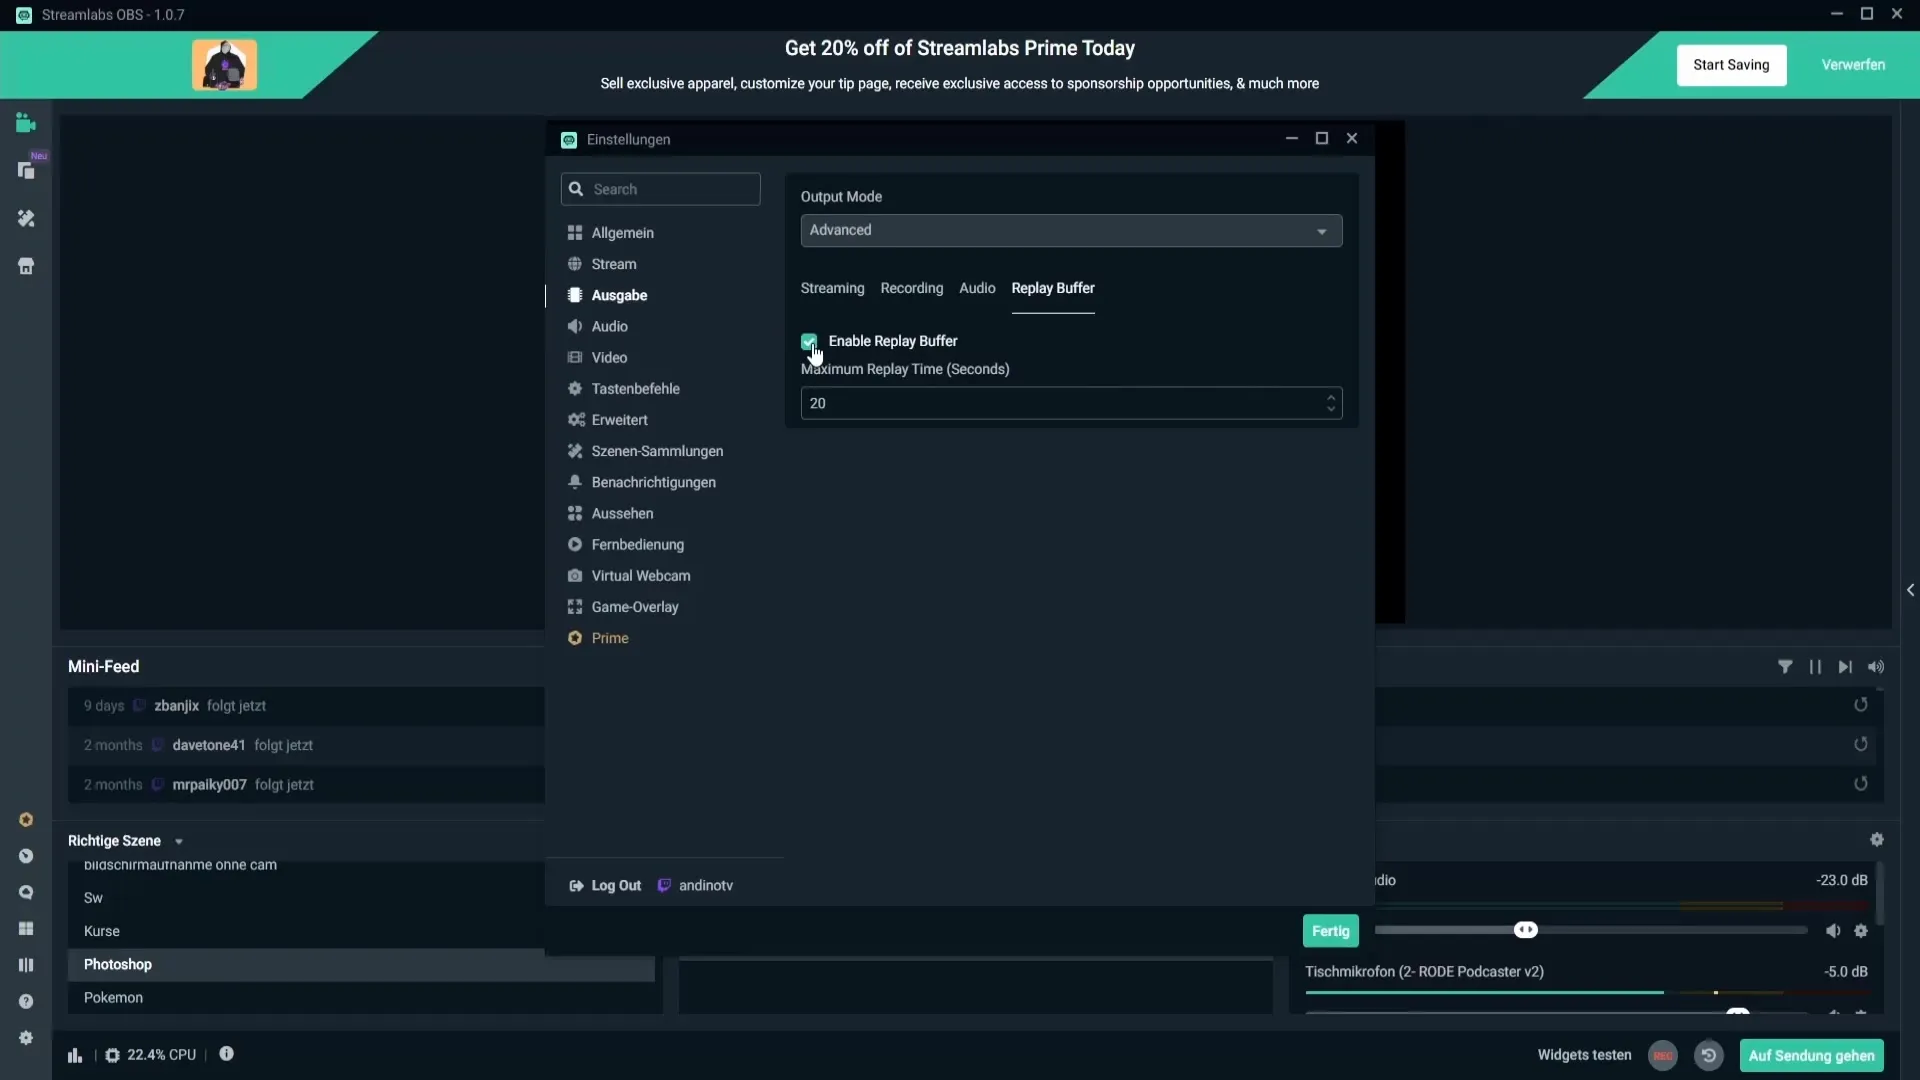
Now it’s time to specifically configure the Replay buffer. Scroll in the settings to the specific section for the Replay buffer and ensure that the activation option is selected. Here you can also set the maximum time for the clips. A value of 40-60 seconds is recommended to have enough material for highlights.
Step 4: Set Hotkeys
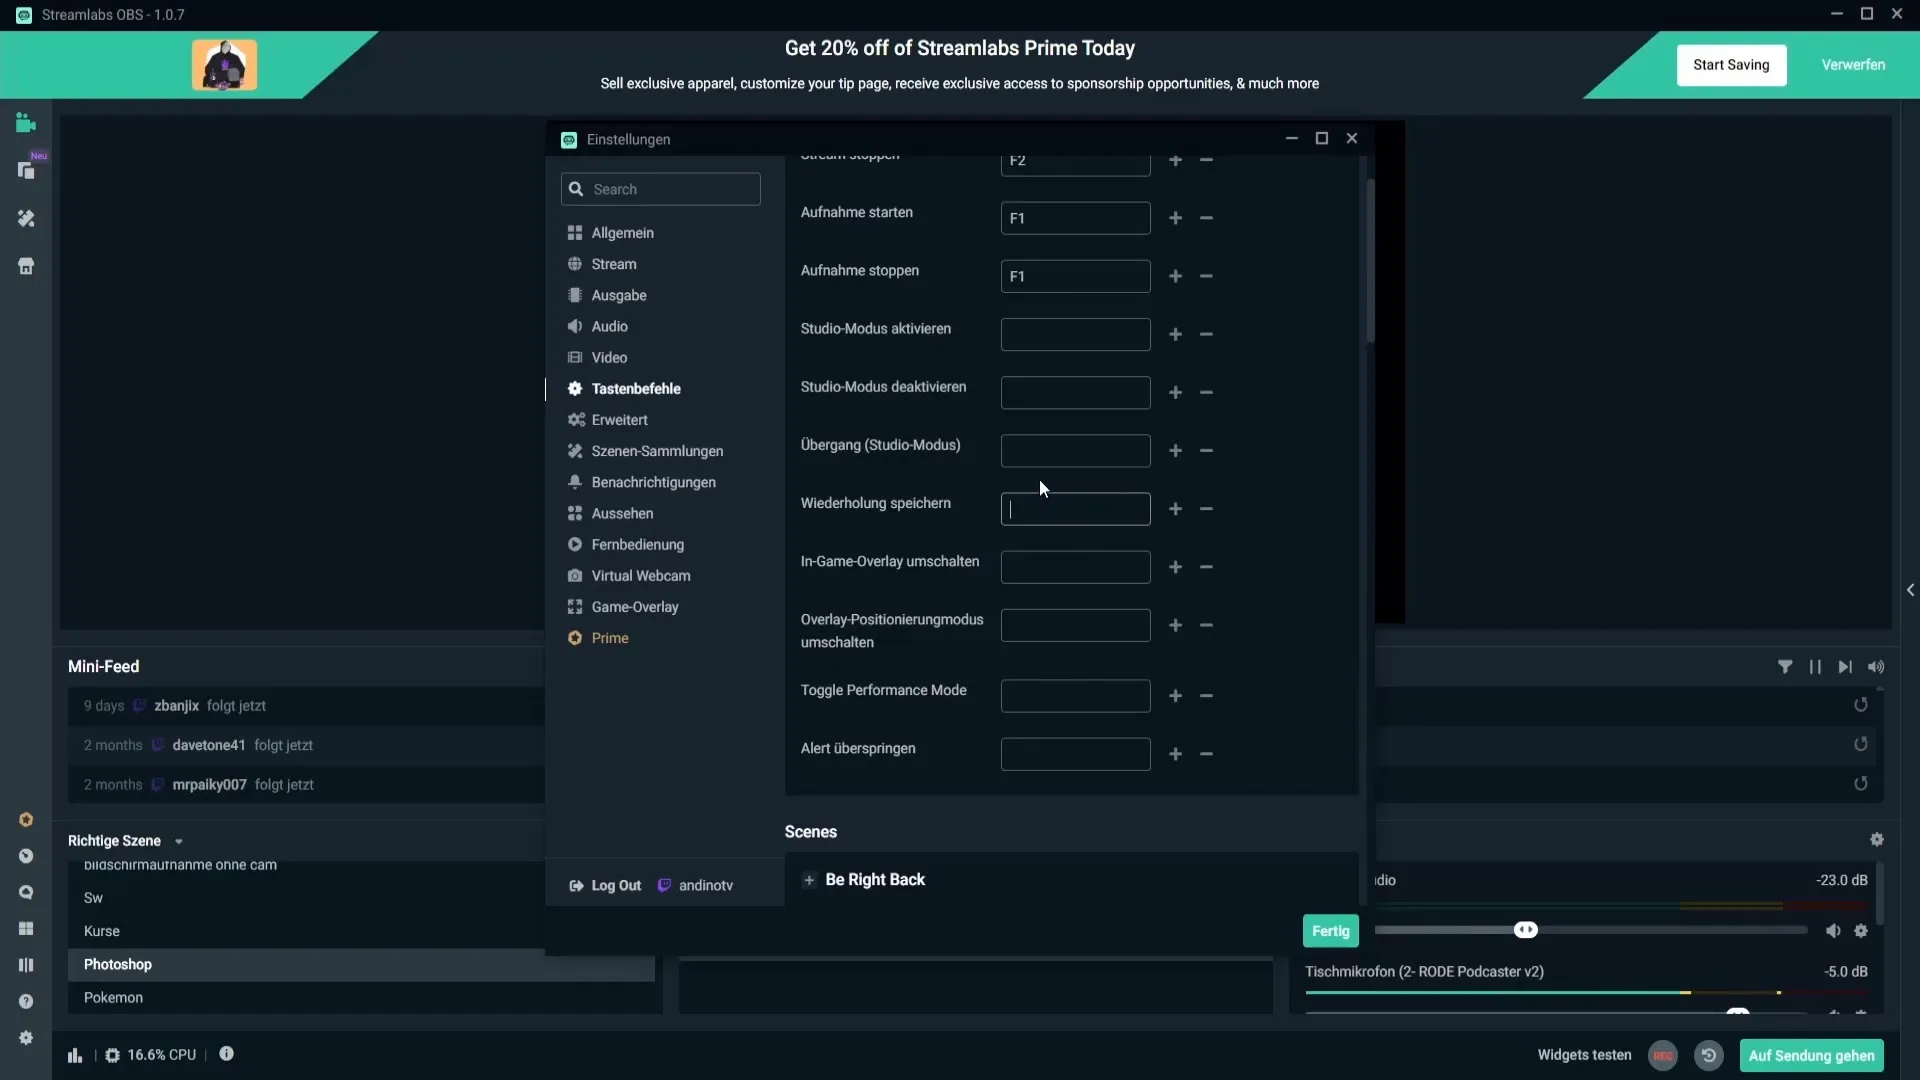
To simplify your saving function for the clips, you can assign hotkeys. Go back to the settings and select the “Hotkeys” area. Look for the “Save Replay” option and set a hotkey. Be careful not to choose commonly used keys - ideal keys are from F1 to F12. In this example, we’ll choose the function key F4.
Step 5: Play Clips in Stream
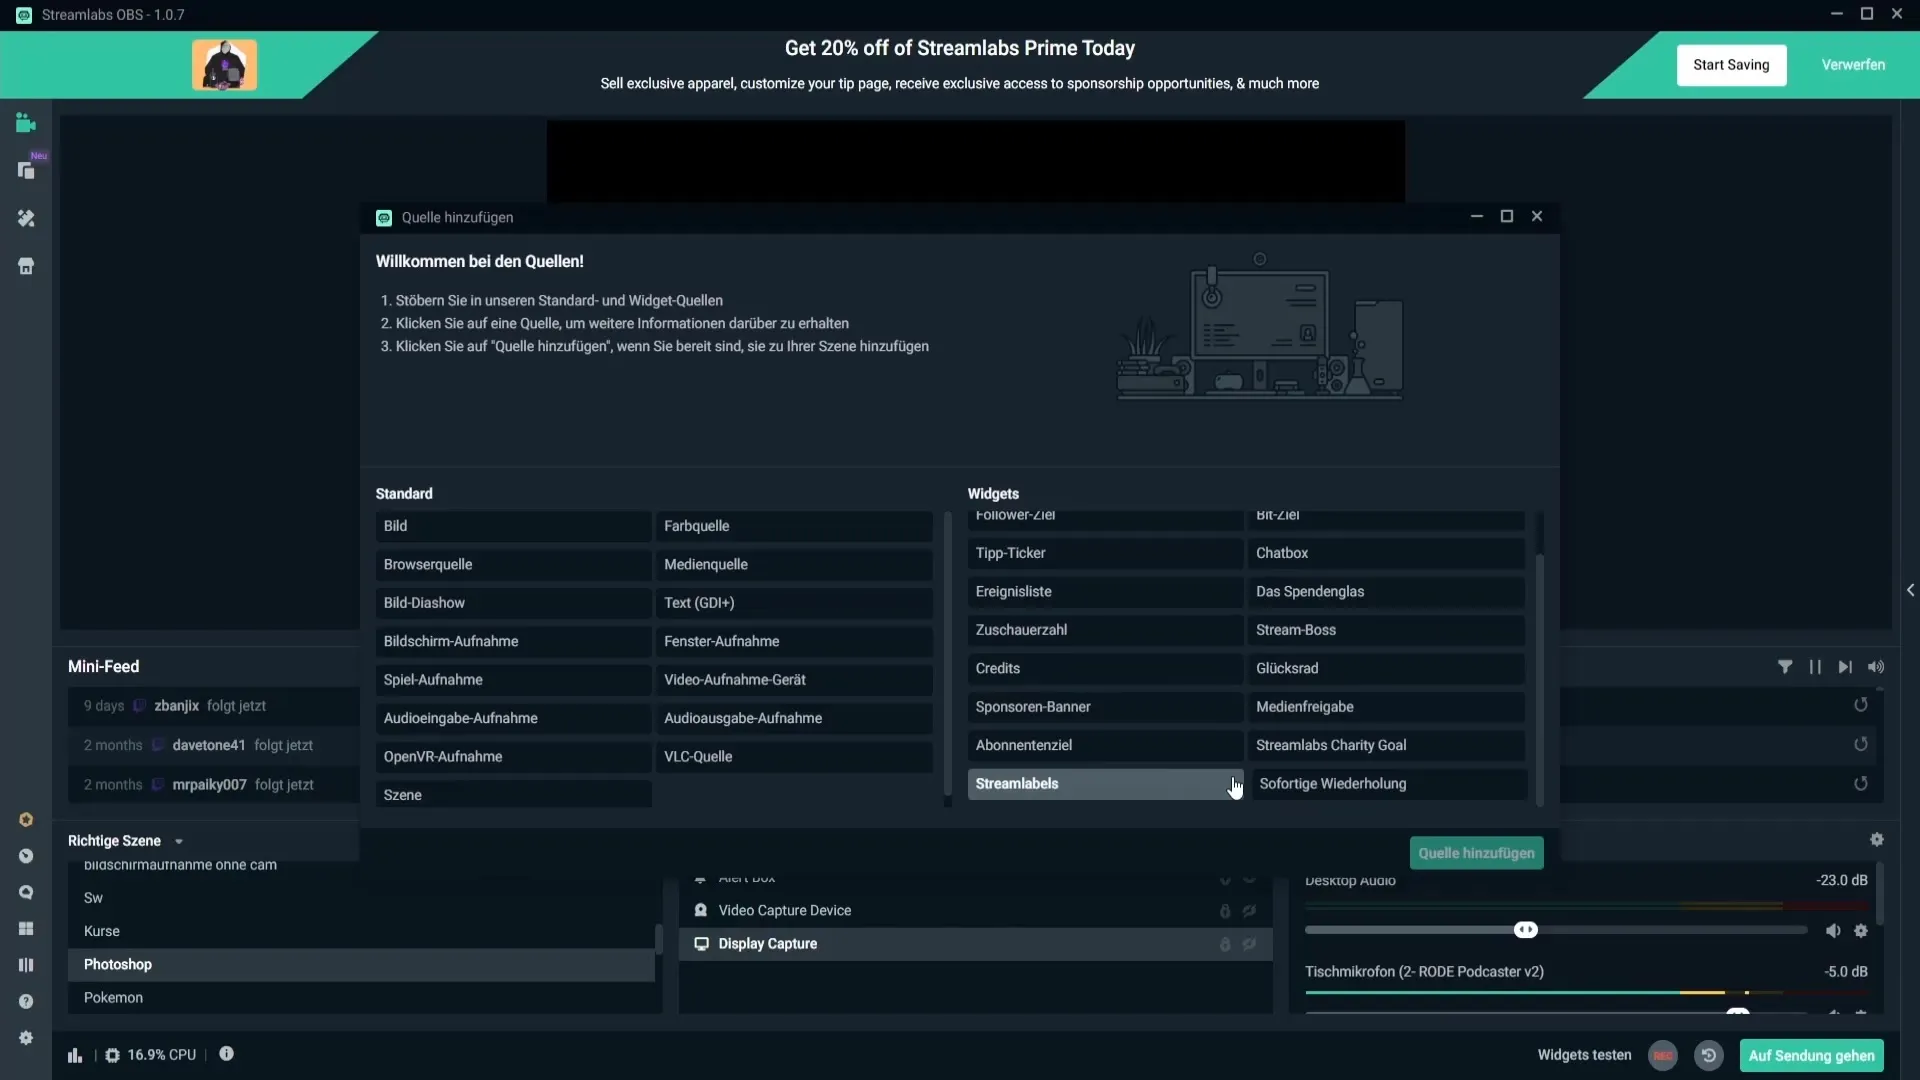
If you want to play the clips in your stream, you need to create a new source. Click on the “+” symbol and select “Instant Replay” under “Widgets”. Enable hardware encoding if available to reduce the load on the CPU. Also, the setting “Close file when inactive” should be activated so that the clip is only played once.
Step 6: Conduct Test Run
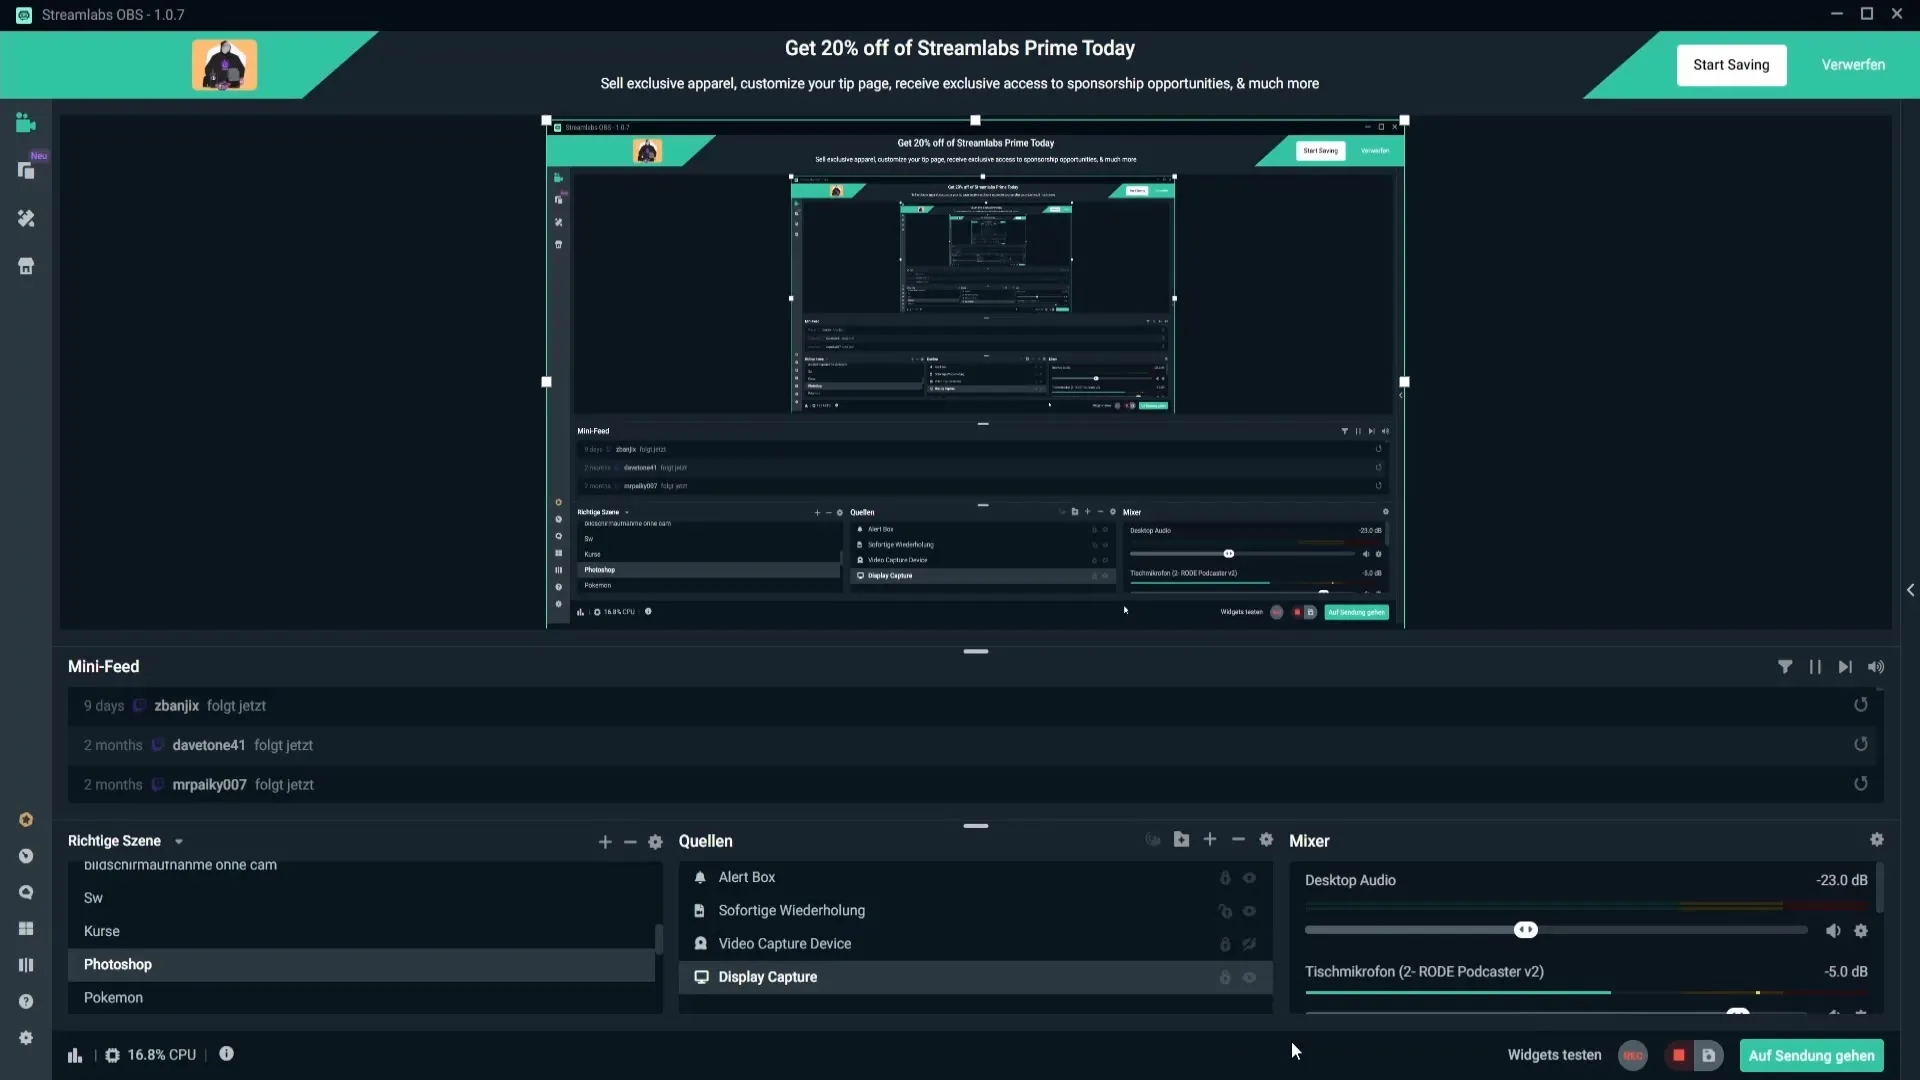
To verify that everything is set up correctly, conduct a test run. Start the screen recording, manually activate the Replay buffer, and perform movements with your mouse. Then press the hotkey (e.g. F4) to record the clip. This way, you can see if the Replay buffer works correctly.
Step 7: Display Replay in Stream
If you want to play the clips during the stream, you need to activate the source for the instant replay in your scene management. Also, set hotkeys for “Show Instant Replay” and “Hide” such as both on F6. You can then use these keys during your stream to display or hide the clips as needed.
Summary – Setting Up Replay Buffer in Streamlabs OBS
Setting up the Replay buffer in Streamlabs OBS allows you to capture exciting moments from your streams and play them back easily later. By setting hotkeys and adjusting important settings, you increase the efficiency of your stream interactions. Use the options to provide your viewers with an exciting experience!
