The use of a timer is very important in many streaming scenarios. It helps you automatically repeat important information or advertisements for your social media account in the chat. In this guide, I'll show you how to set up a timer in Streamlabs so that everything runs smoothly.
Key Insights
- A timer automatically sends messages in your chat.
- You need to activate and moderate the Cloudbot.
- There are options for interval and minimum number of messages that can be adjusted.
Step 1: Access the Dashboard
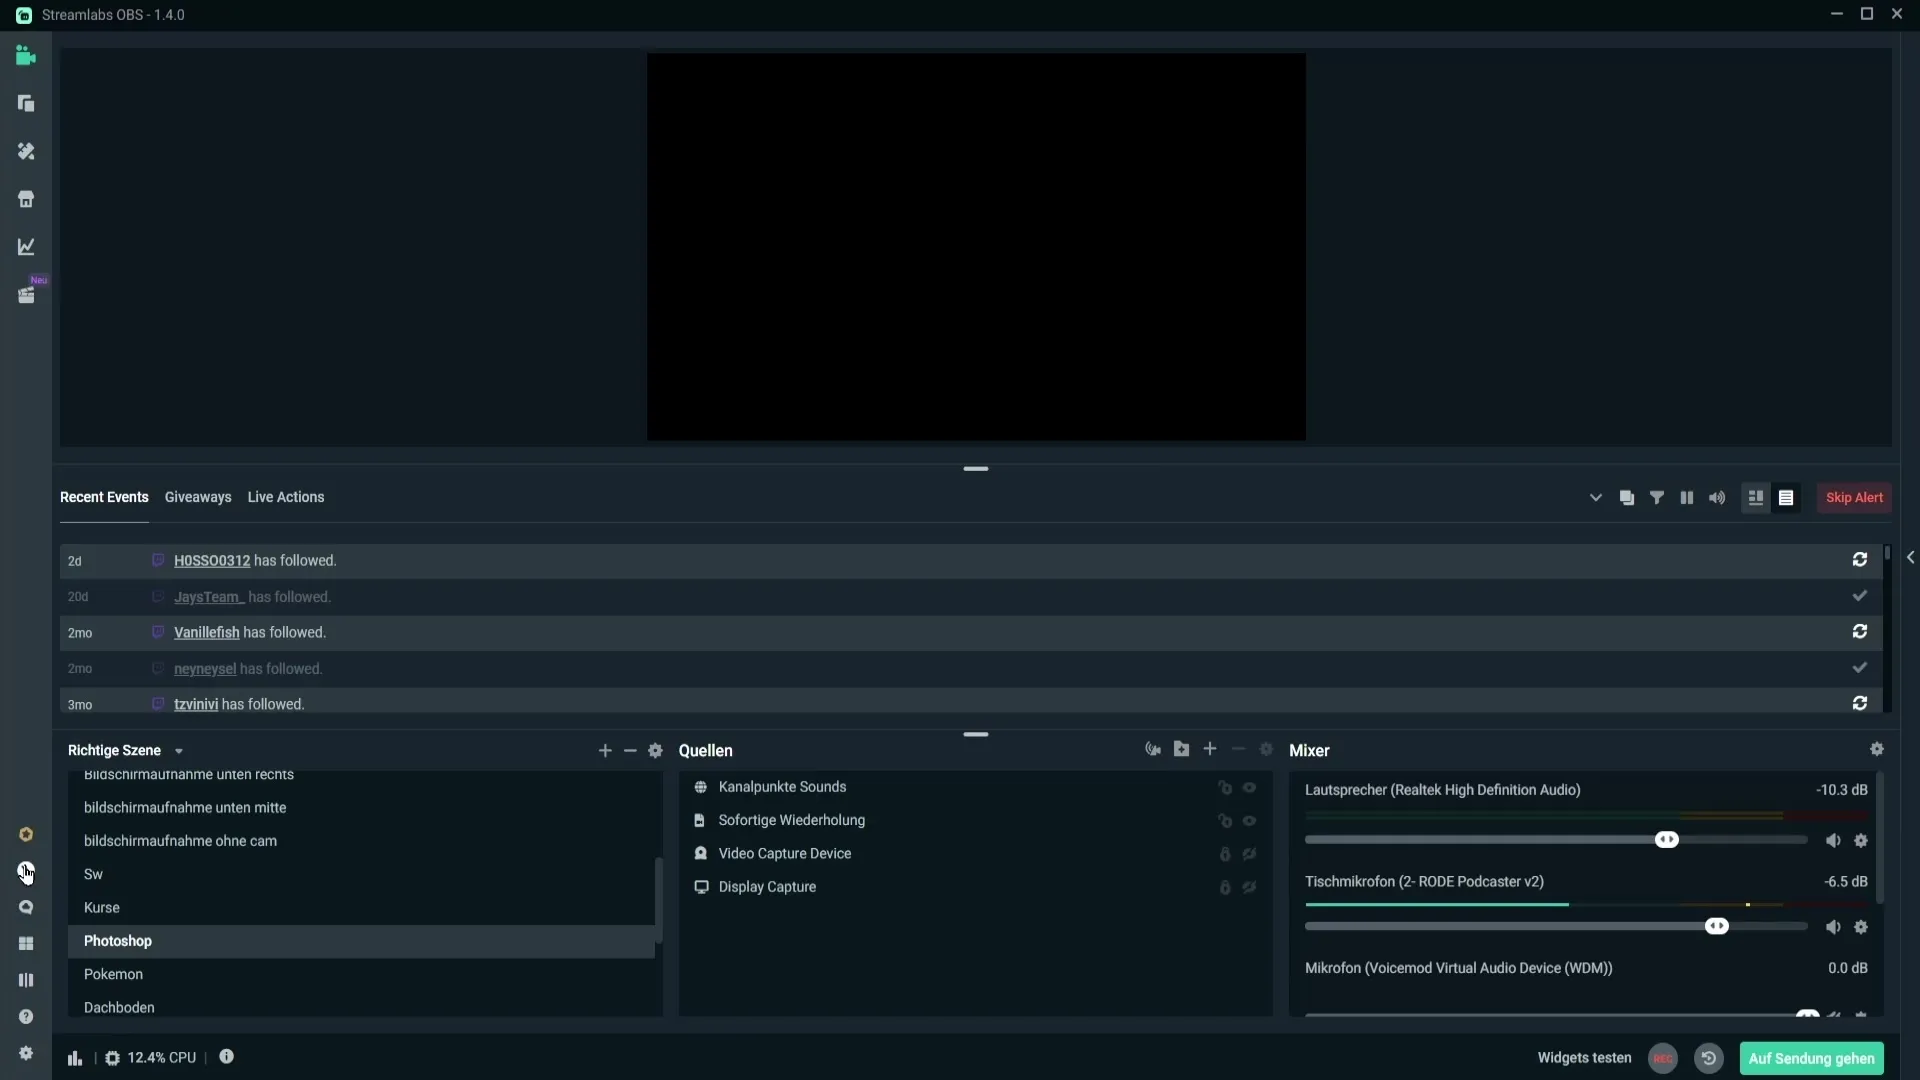
To set up a timer in Streamlabs, you first need to switch to the Streamlabs dashboard. Click on the dashboard icon in the left sidebar.
Step 2: Activate Cloudbot
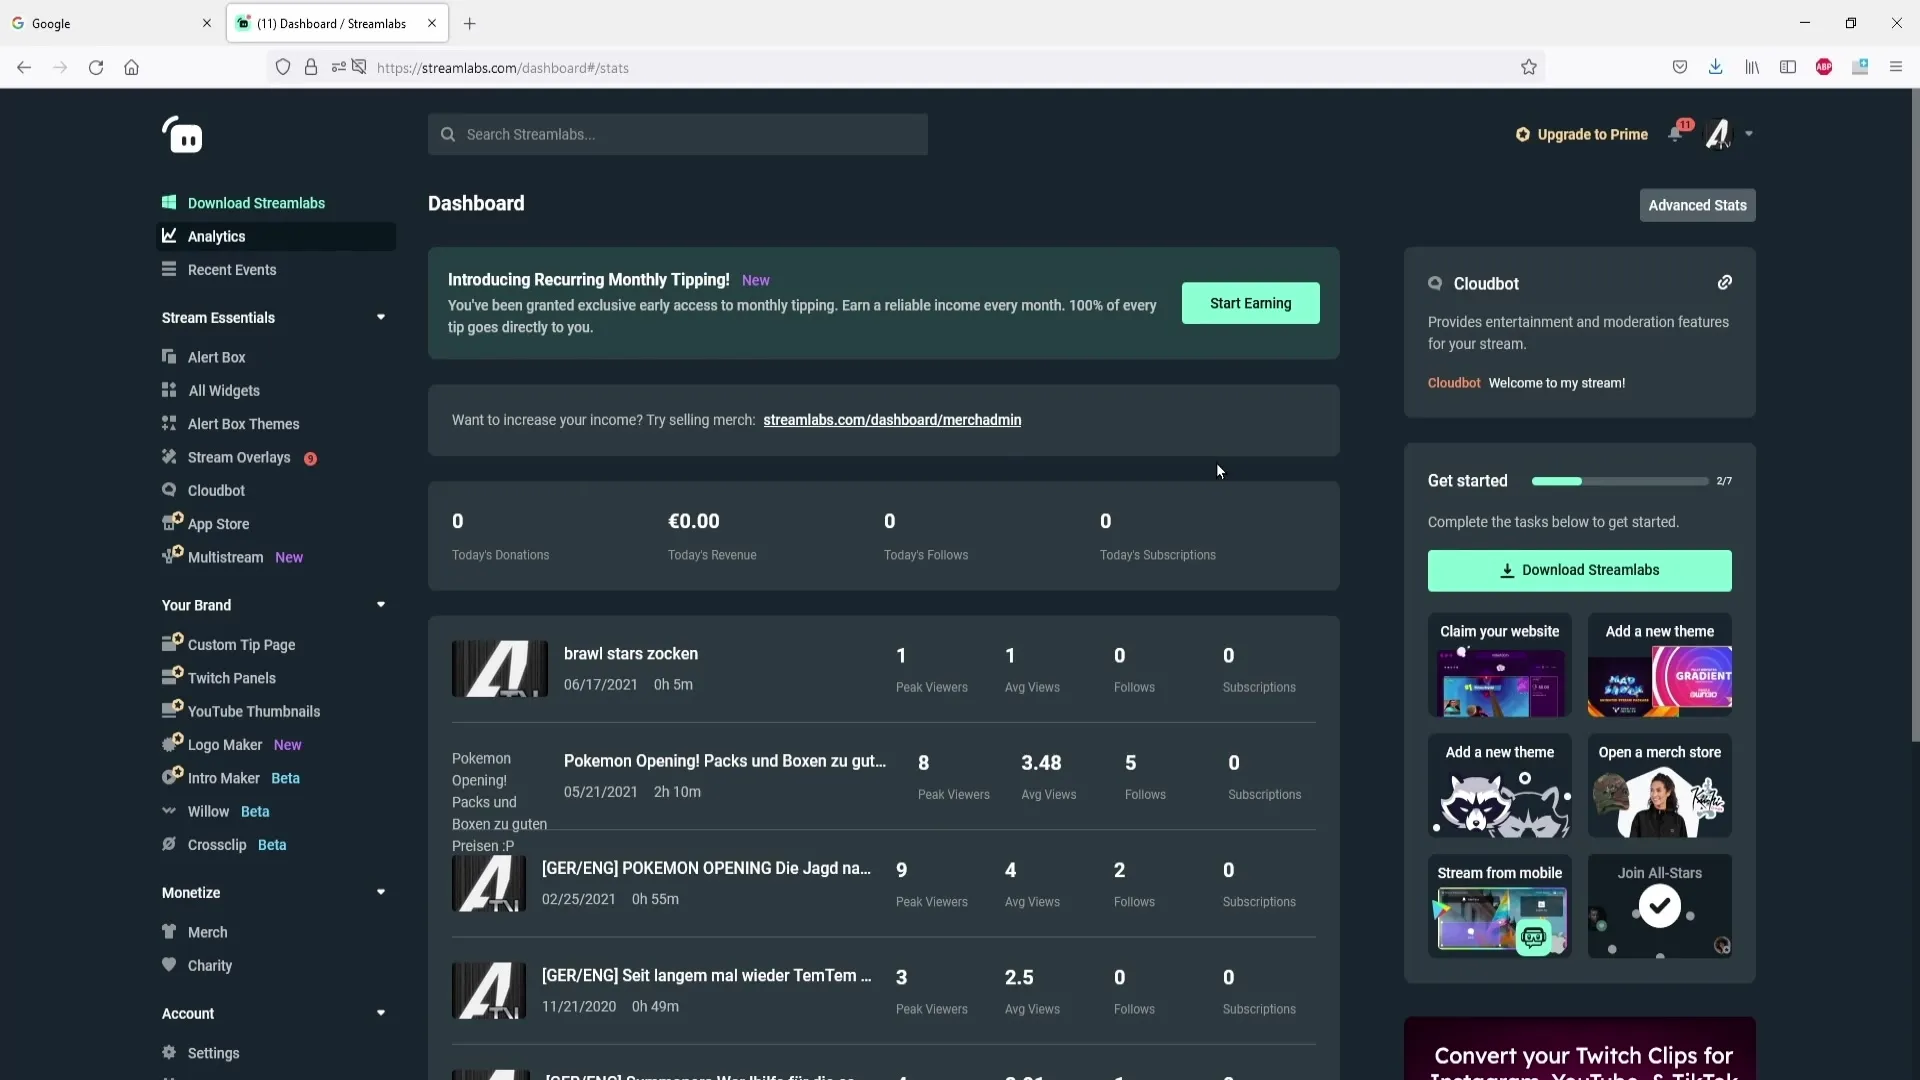
Once you are in the dashboard, you need to activate the Cloudbot. Click on the appropriate settings to ensure that the Cloudbot is active.
Step 3: Grant Moderator Rights to Cloudbot
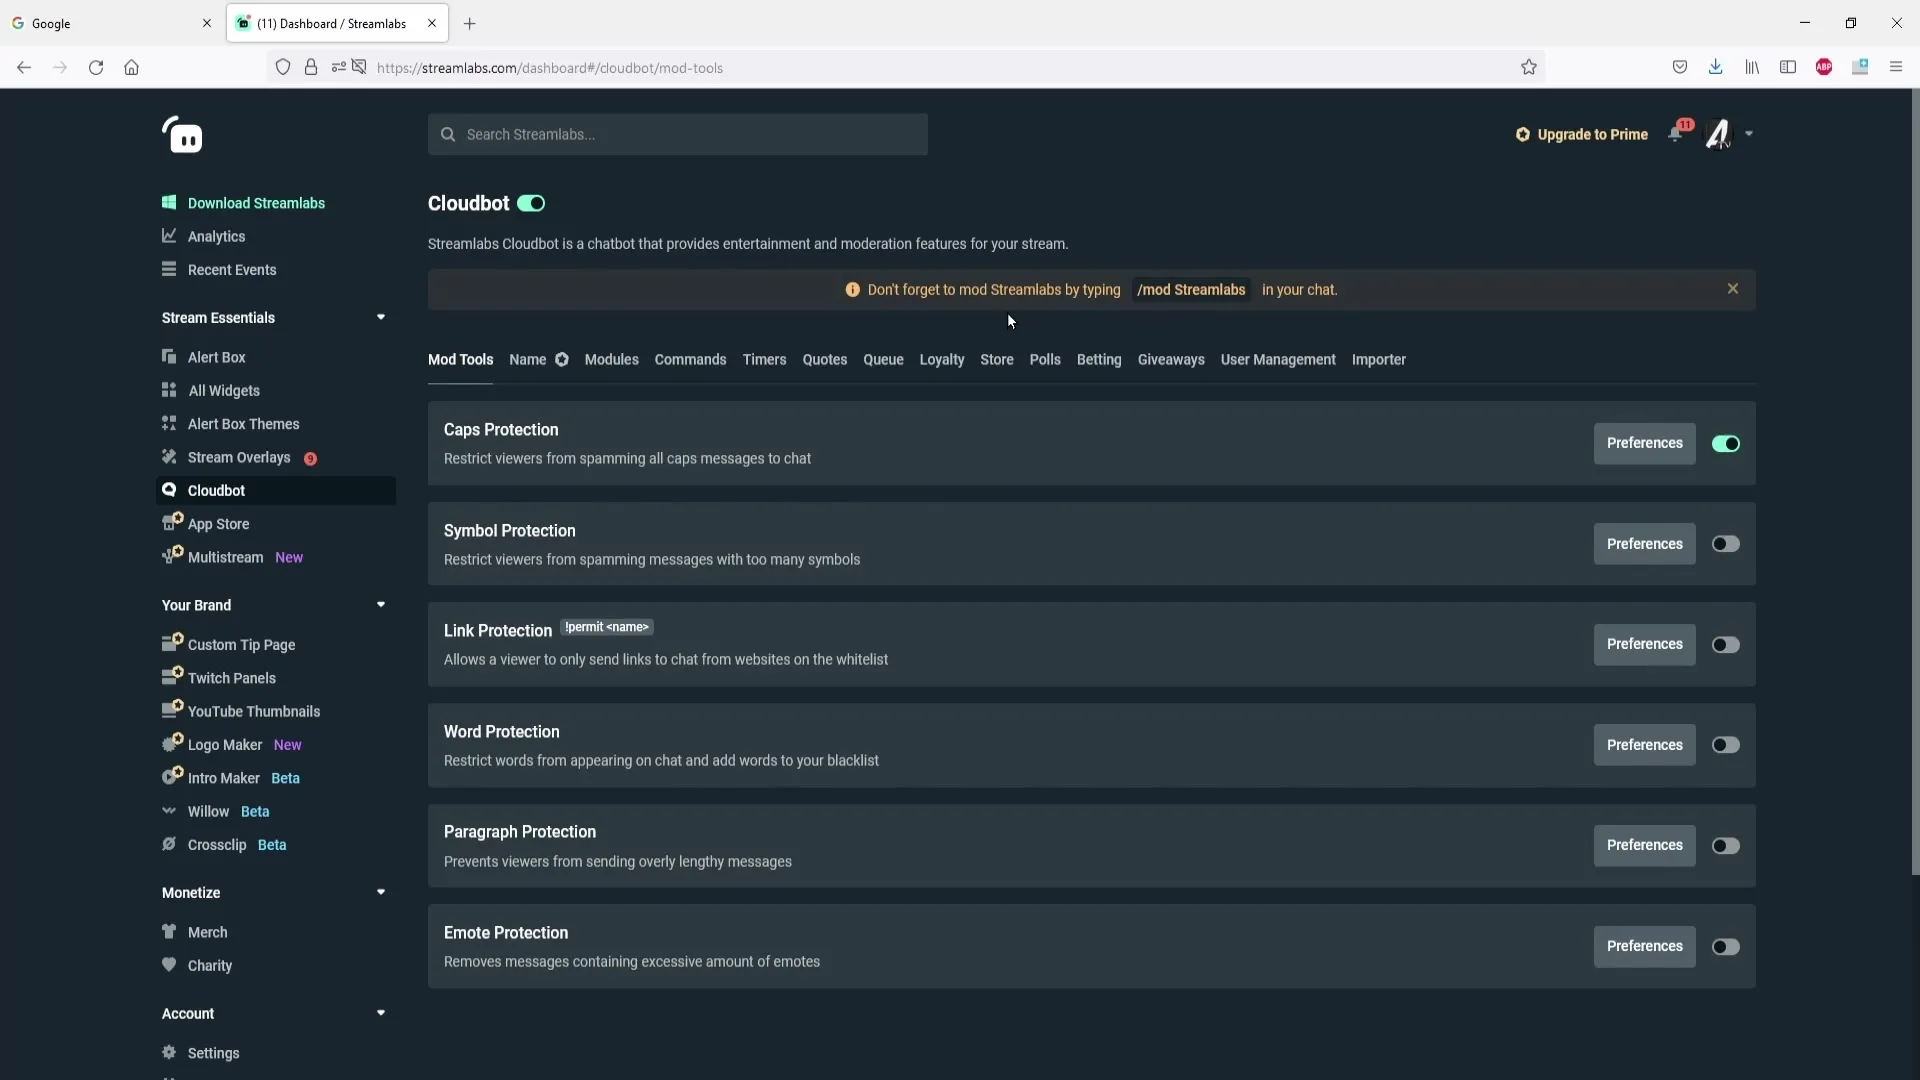
To ensure that the Cloudbot has the necessary permissions, you need to give it moderator rights. You do this by entering the command in your channel's chat:!mod streamlabs. This allows the bot to post messages in the chat.
Step 4: Add Timer
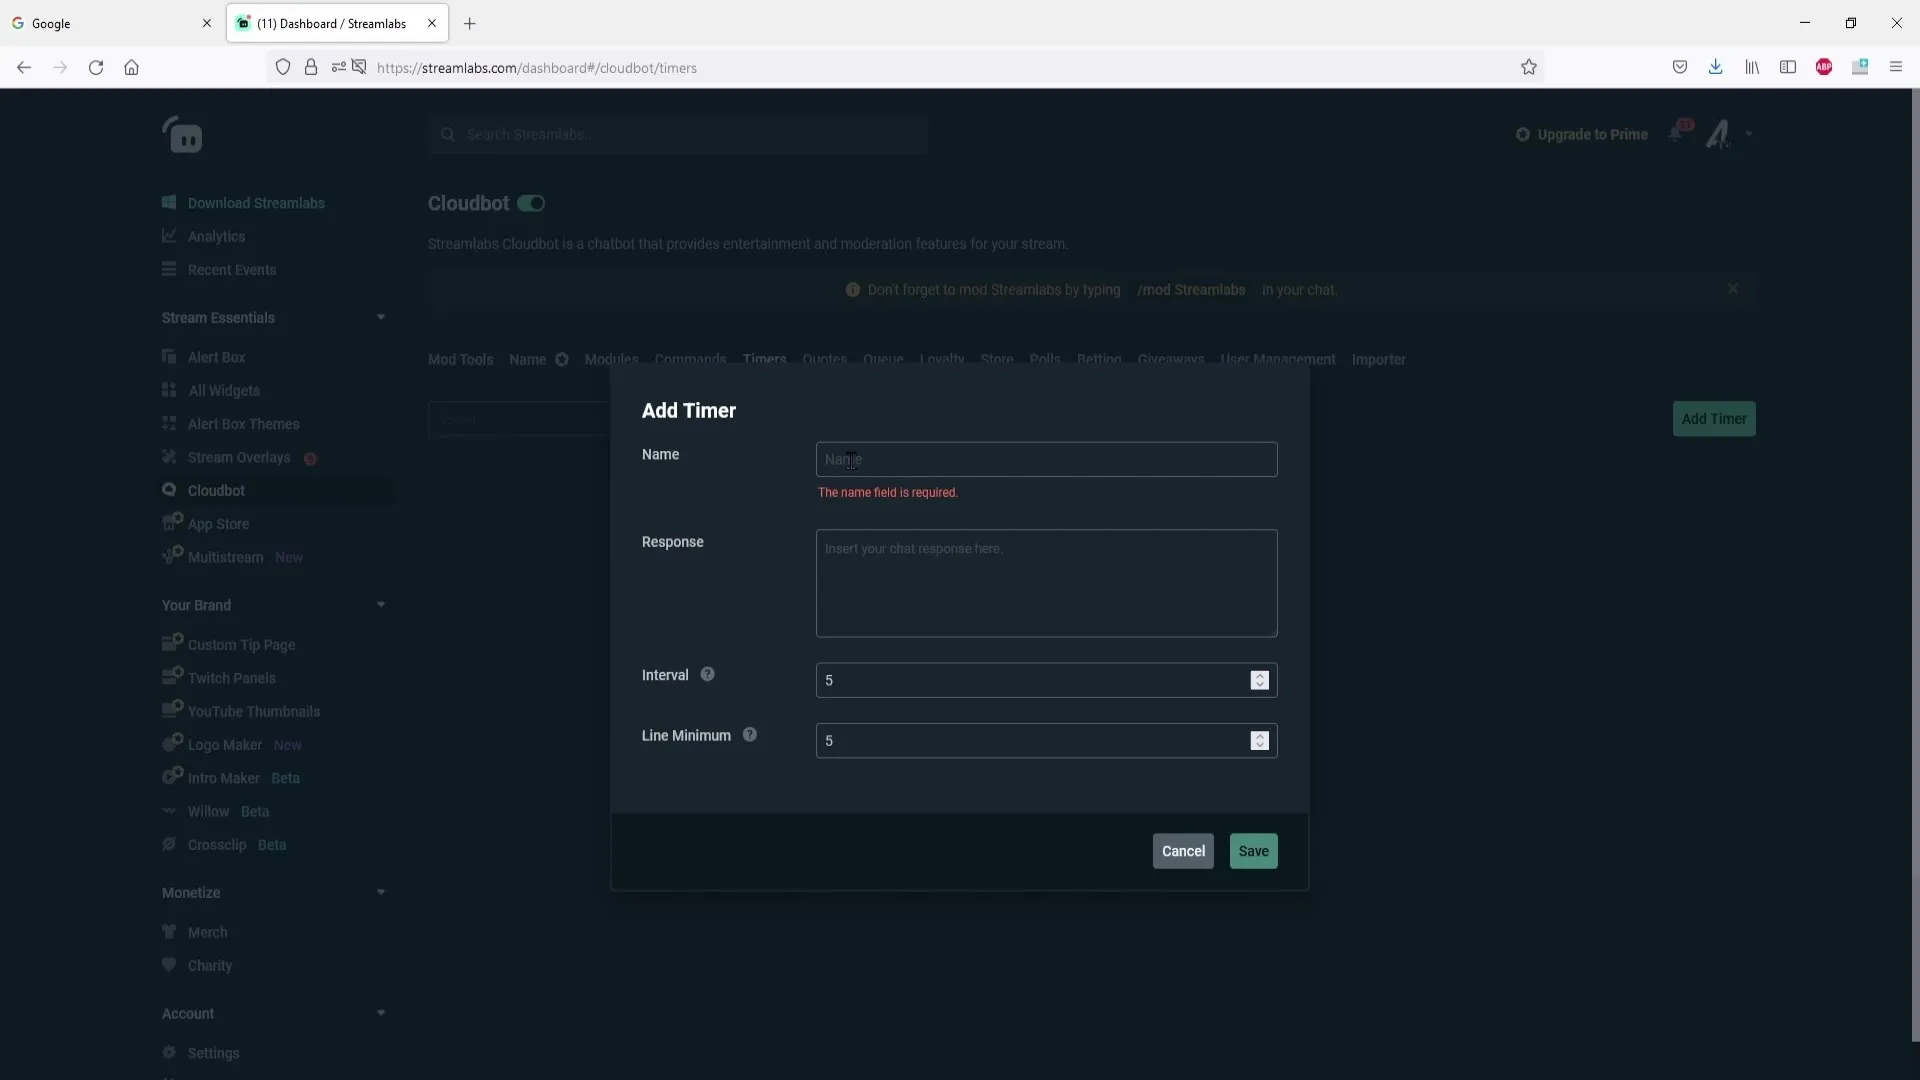
Now it's time to set up the main element. Click on "Add Timer" to add a new timer.
Step 5: Name the Timer
In the first field, enter a name for your timer, such as "Instagram." This name is for your own reference and will not be displayed in the chat.
Step 6: Define Message for the Timer
In the next field, you can enter the text that the bot should send in the chat. An example could be: "Check out my Instagram account: [your link]."
Step 7: Add Link
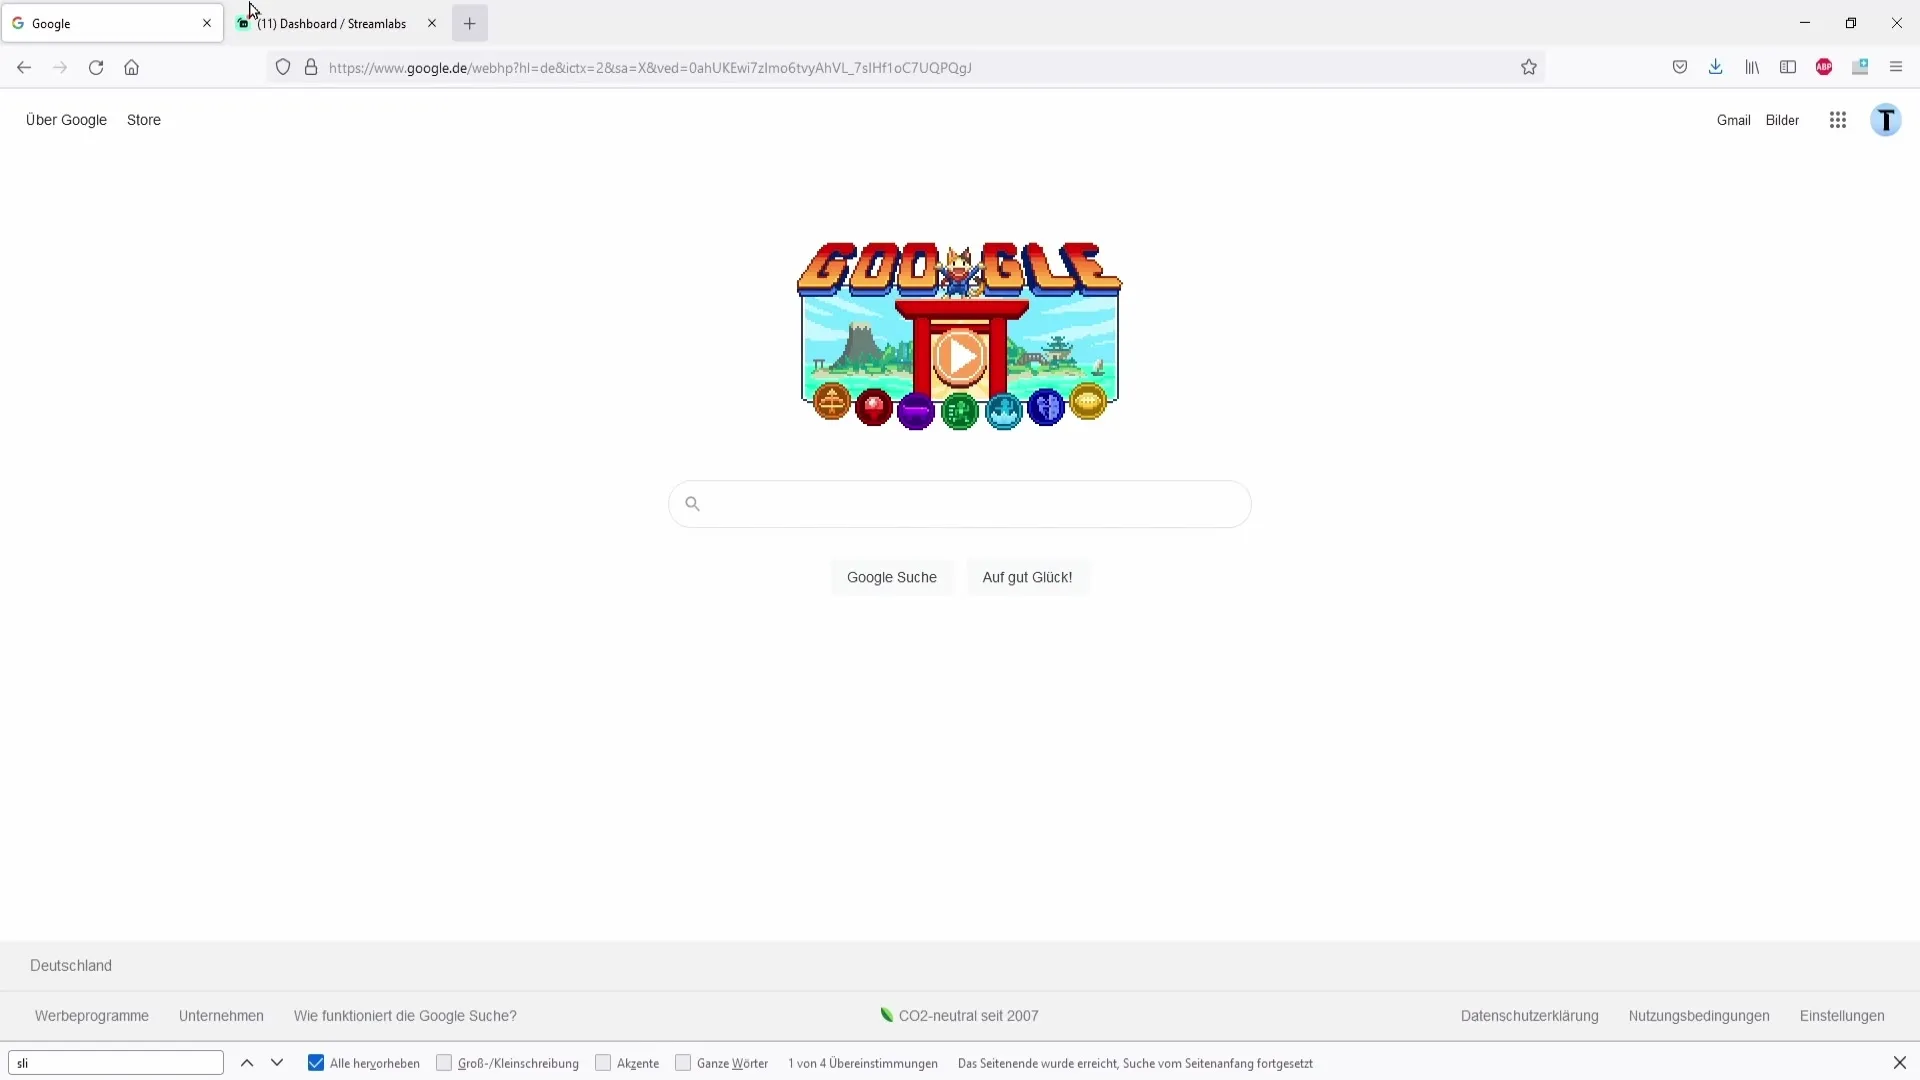
Now comes the next step: Add the link to your Instagram account or the page that should be promoted. Simply click on the address of your Instagram account and copy the link to paste it here.
Step 8: Set Interval
Now it's important to set the interval. For example, if you want the message to be sent every 5 minutes, you need to specify this in the interval field.
Step 9: Set Minimum Number of Messages
The minimum is another important point. Here you specify after how many messages in the chat the timer message should be sent.
Step 10: Save Timer
Once you have entered all the necessary information, click on "Save." You have successfully set up your timer!
Step 11: Activate or Deactivate Timer
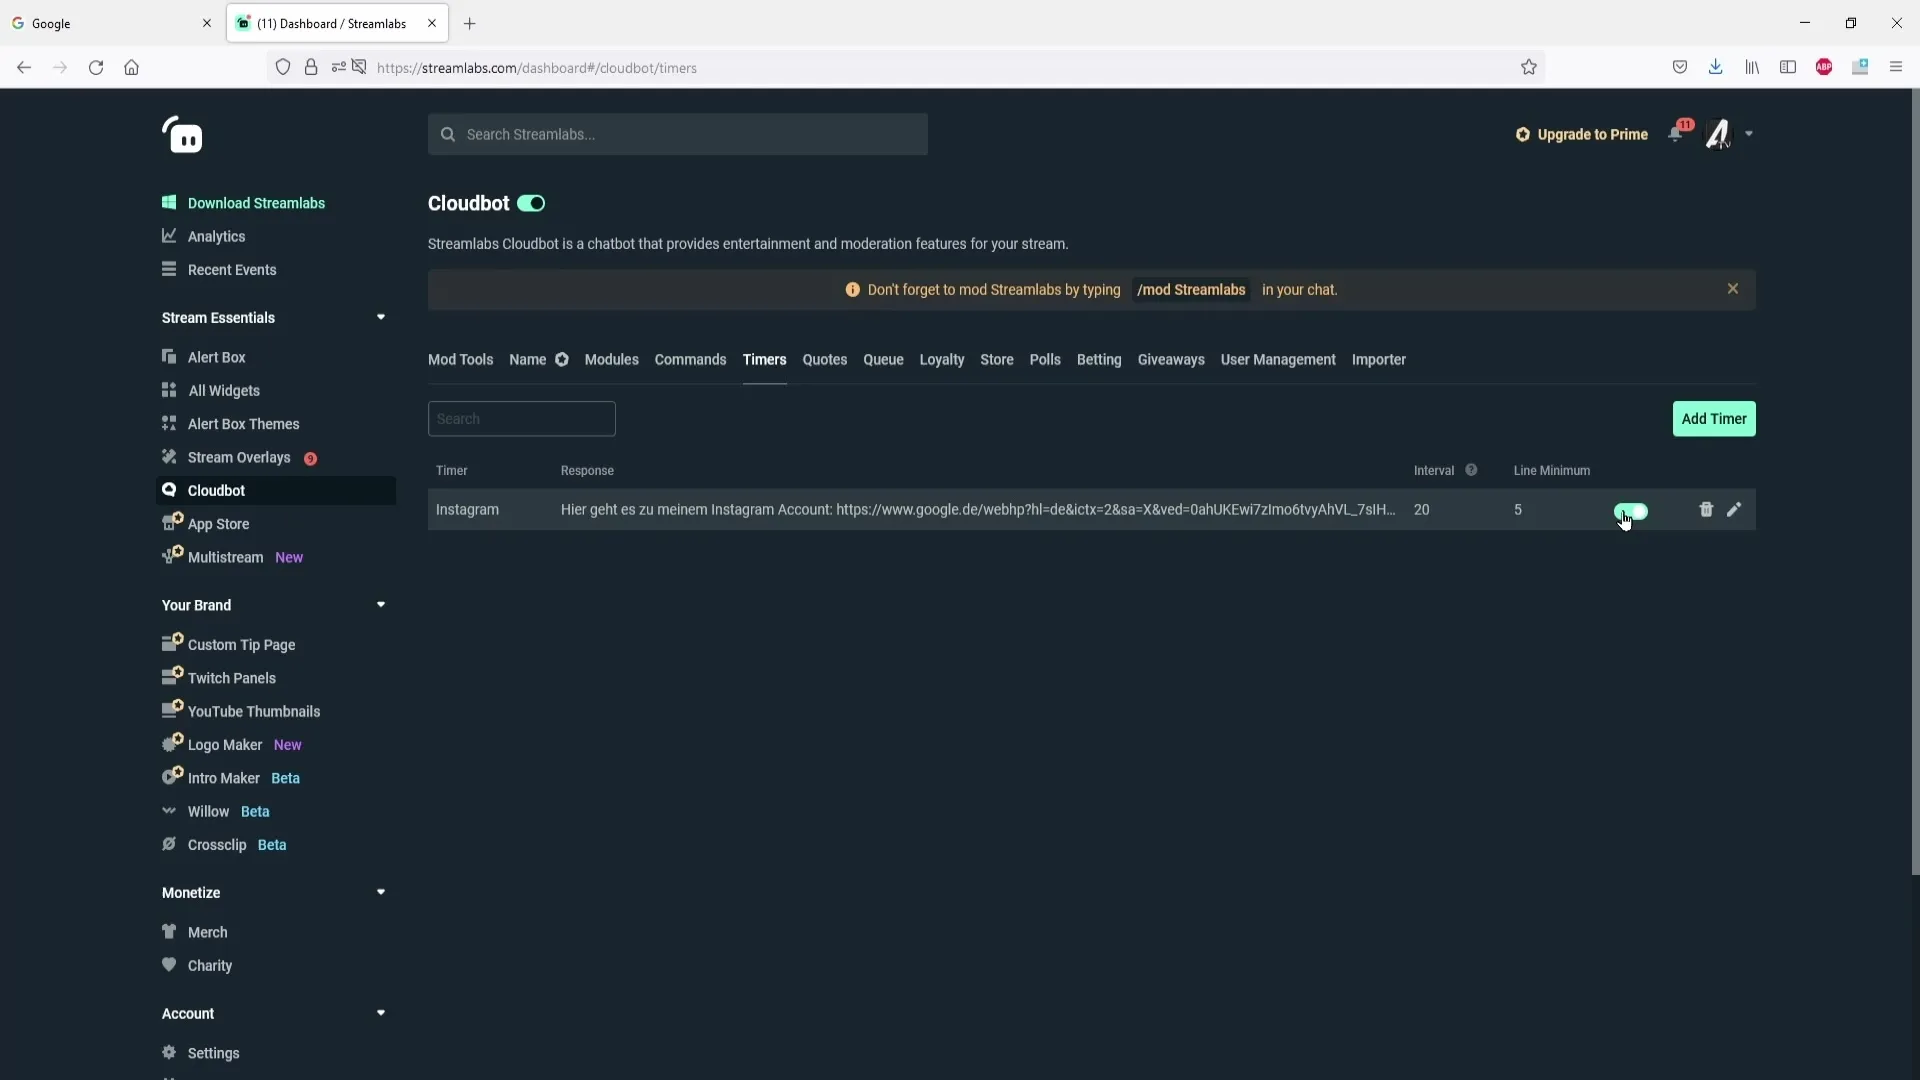
Now you can activate or deactivate the timer at any time. Especially if you have set up multiple timers, it is helpful to use this function.
Step 12: Edit or Delete Timer
You can also quickly edit or delete any timer if needed. Use the pencil icon to edit or the trash can to delete a timer.
Summary – Setting Up Timer in Streamlabs
Setting up a timer in Streamlabs is quick and very efficient. You can automatically set important information or social media links in the chat and reach your viewers better.
Frequently Asked Questions
How do I activate the Cloudbot in Streamlabs?You can activate the Cloudbot by accessing the appropriate settings in the dashboard.
How do I add a timer?Click on "Add Timer" in the dashboard to create a new timer.
How do I set the interval for the timer?Specify in the interval field after how many minutes the message should be sent.
Can multiple timers be active at the same time?Yes, you can have multiple timers set up simultaneously and activate or deactivate them individually.
What do I do if I want to delete a timer?Click on the trash can icon next to the timer you want to delete.
