The media sharingin StreamlabsOBS is a brilliant way to integrate interactive elements into your livestream. Viewers can play their desired YouTube videos in the stream through commands or donations. This not only provides entertainment but can also represent an additional source of income. Here you will learn how to effectively set up and customize media sharing.
Key Takeaways
- Viewers can play videos through donations or commands in the chat.
- There are both free and paid options for media sharing.
- You can make adjustments for the queue and the video duration.
- The control over the videos and moderators can be adjusted.
Step-by-step guide to setting up media sharing
Step 1: Activate Cloudbot
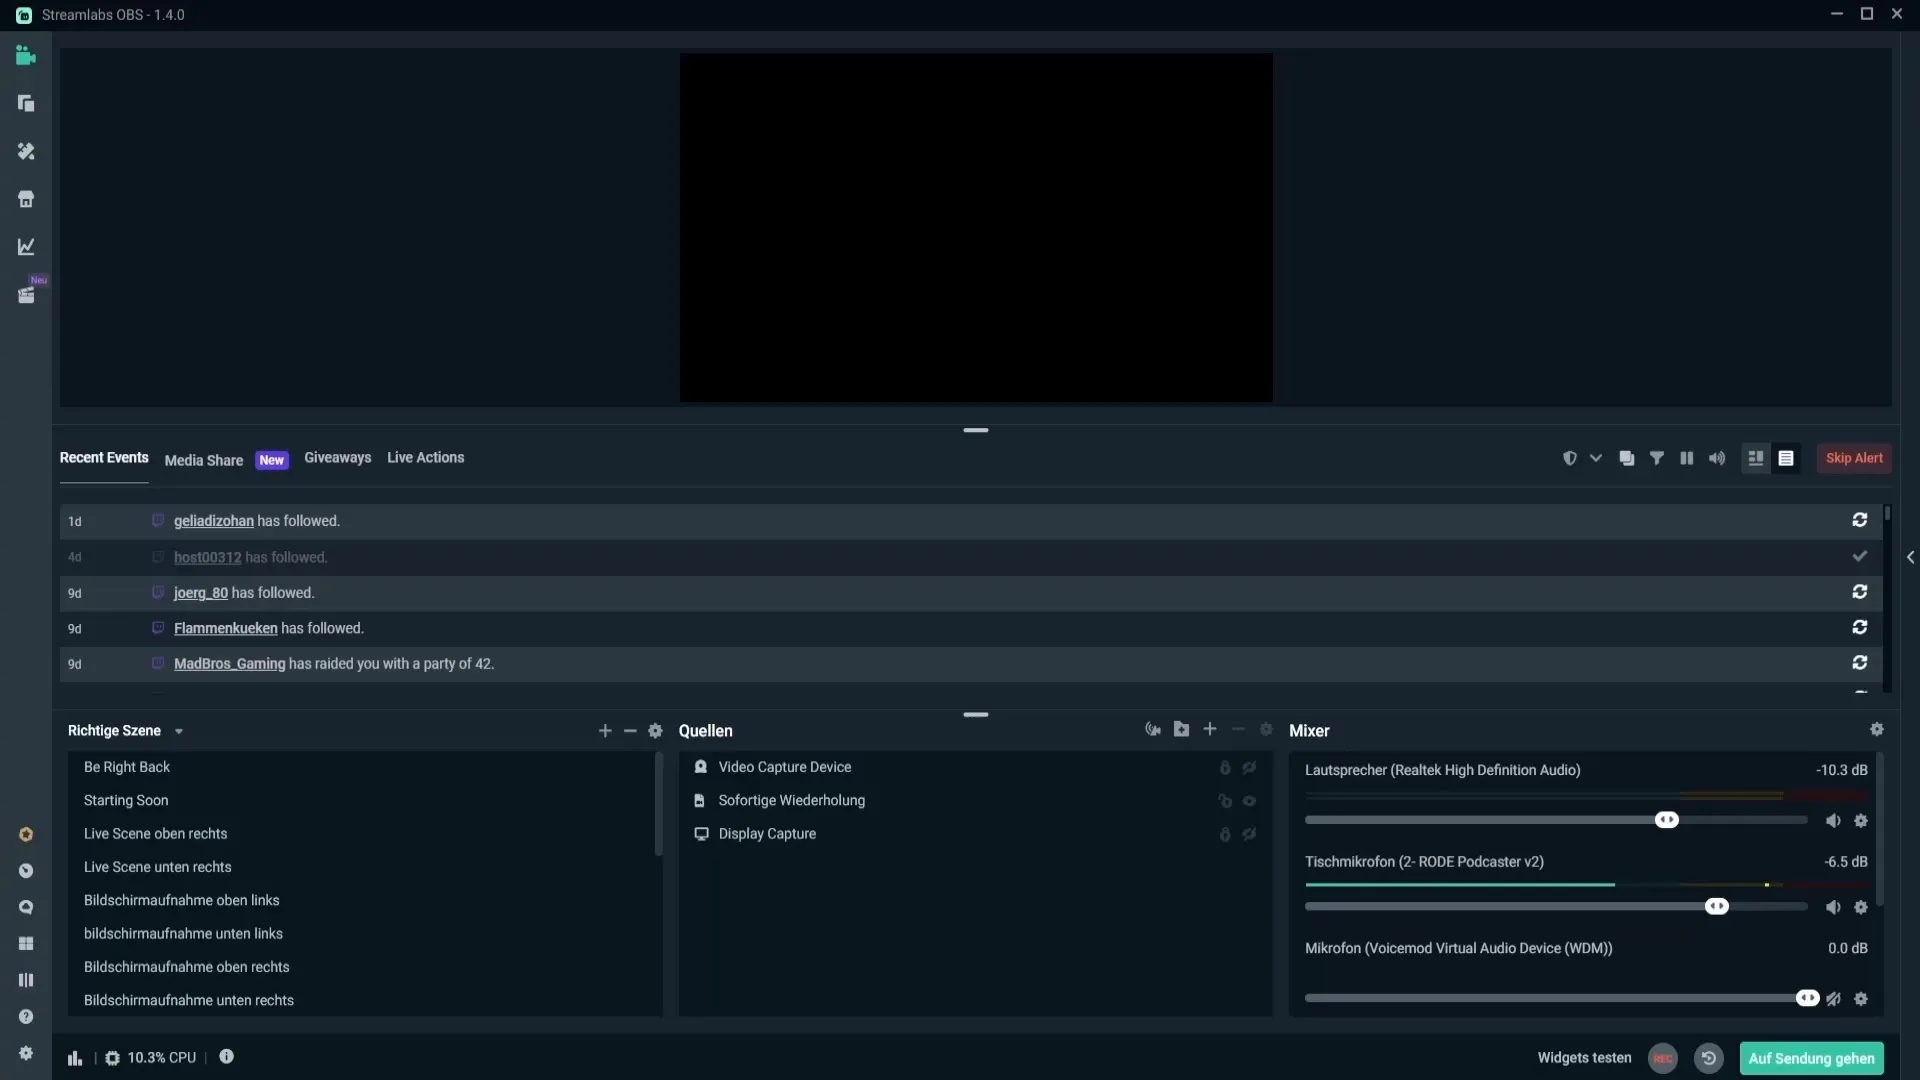
To use media sharing, you first need to ensure that the Cloudbot is active. Go to your Streamlabs dashboard and navigate to the Cloudbot settings. Here you will ensure that the Cloudbot is activated and has the necessary moderator rights to execute the incoming commands.
Step 2: Activate media sharing
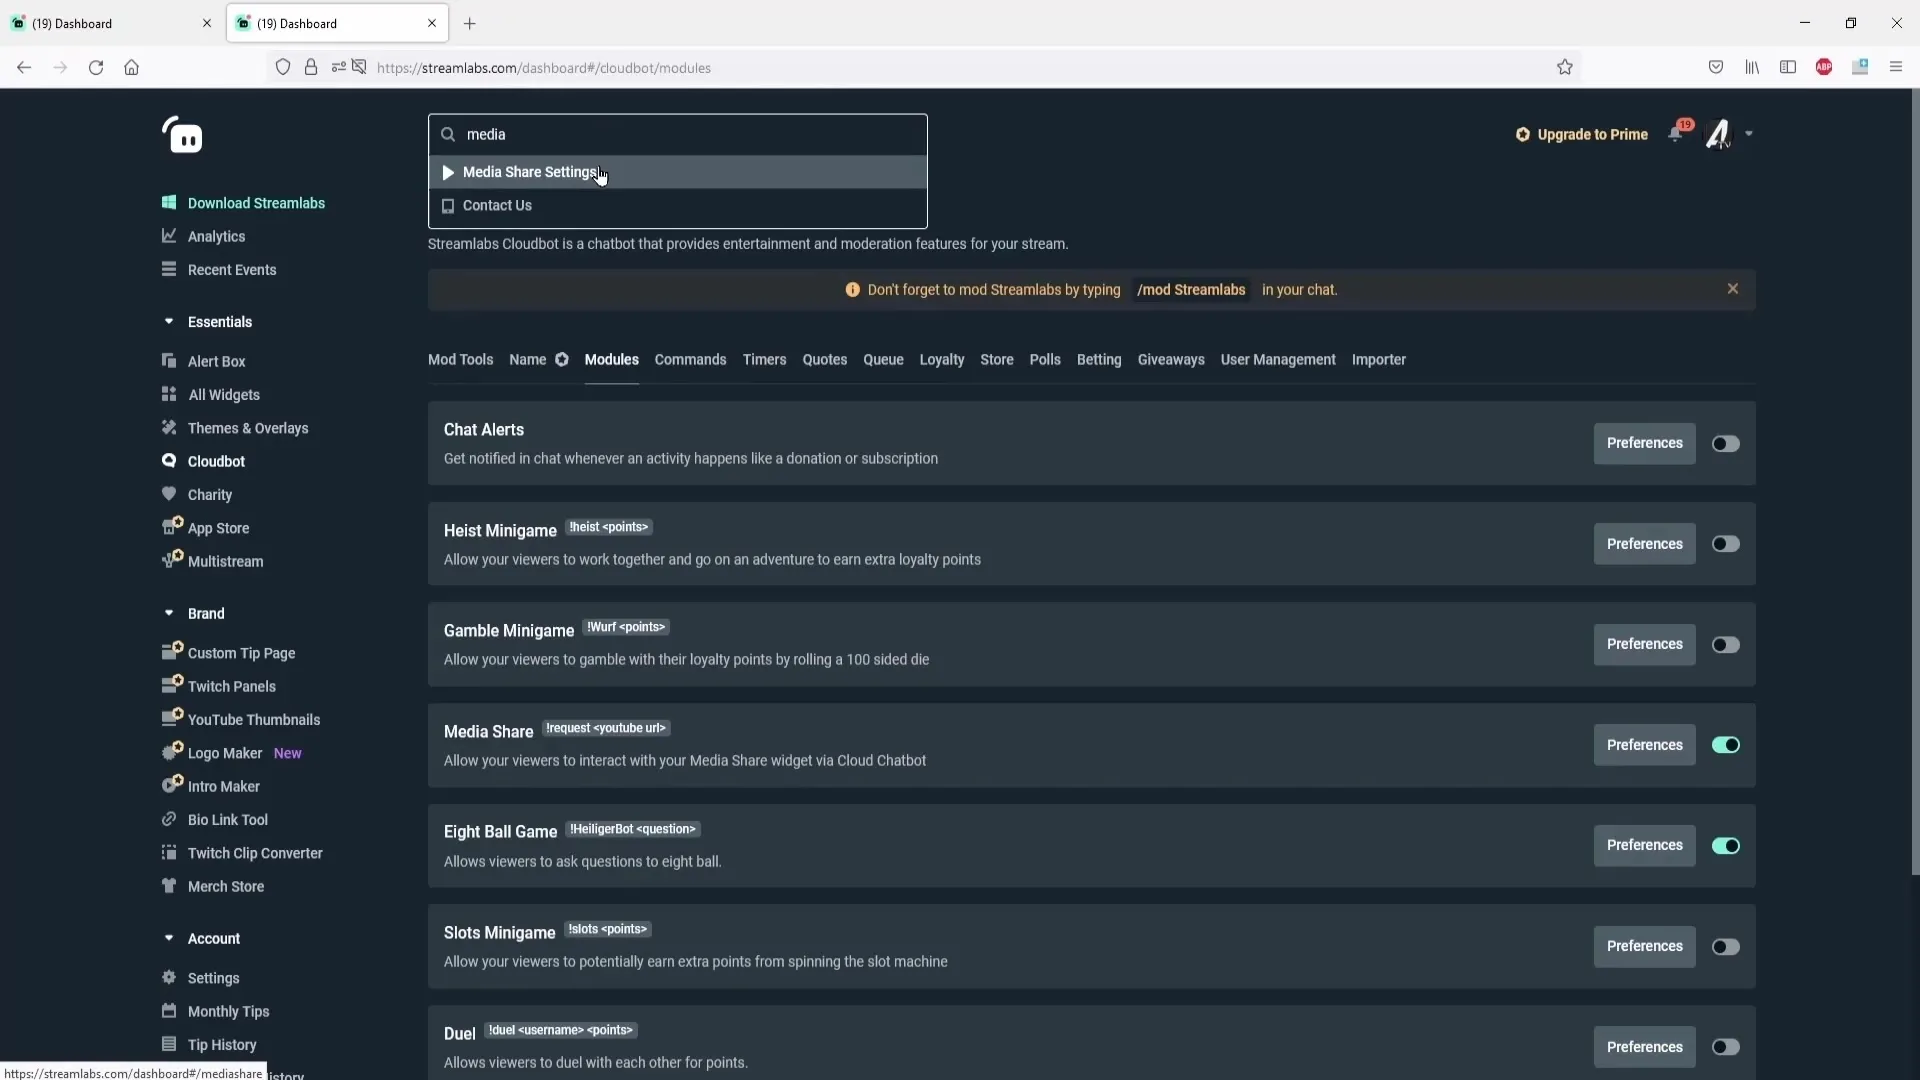
Navigate to the modules in the Cloudbot interface. There you will find the "Mediashare" section. Make sure this module is activated. If this is not done, viewers will have no way to send their commands to request videos.
Step 3: Configure Mediashare settings
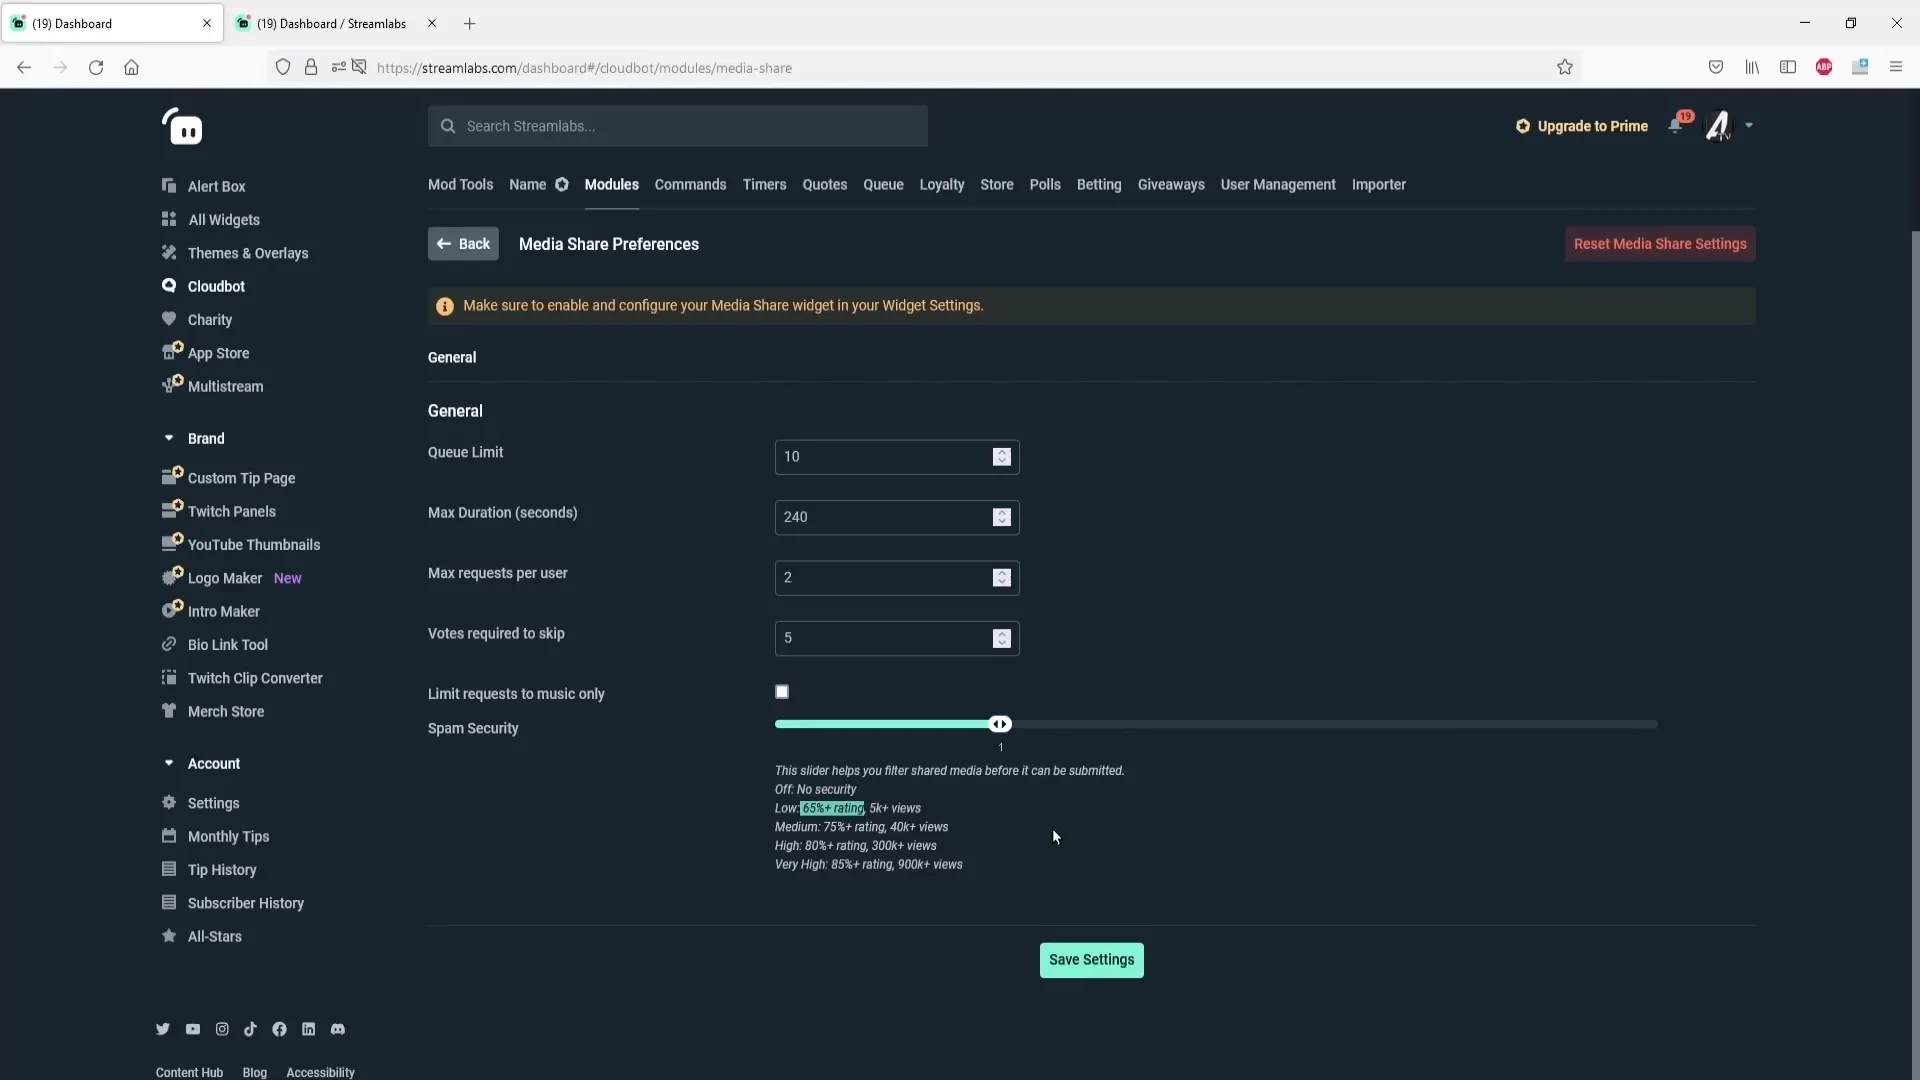
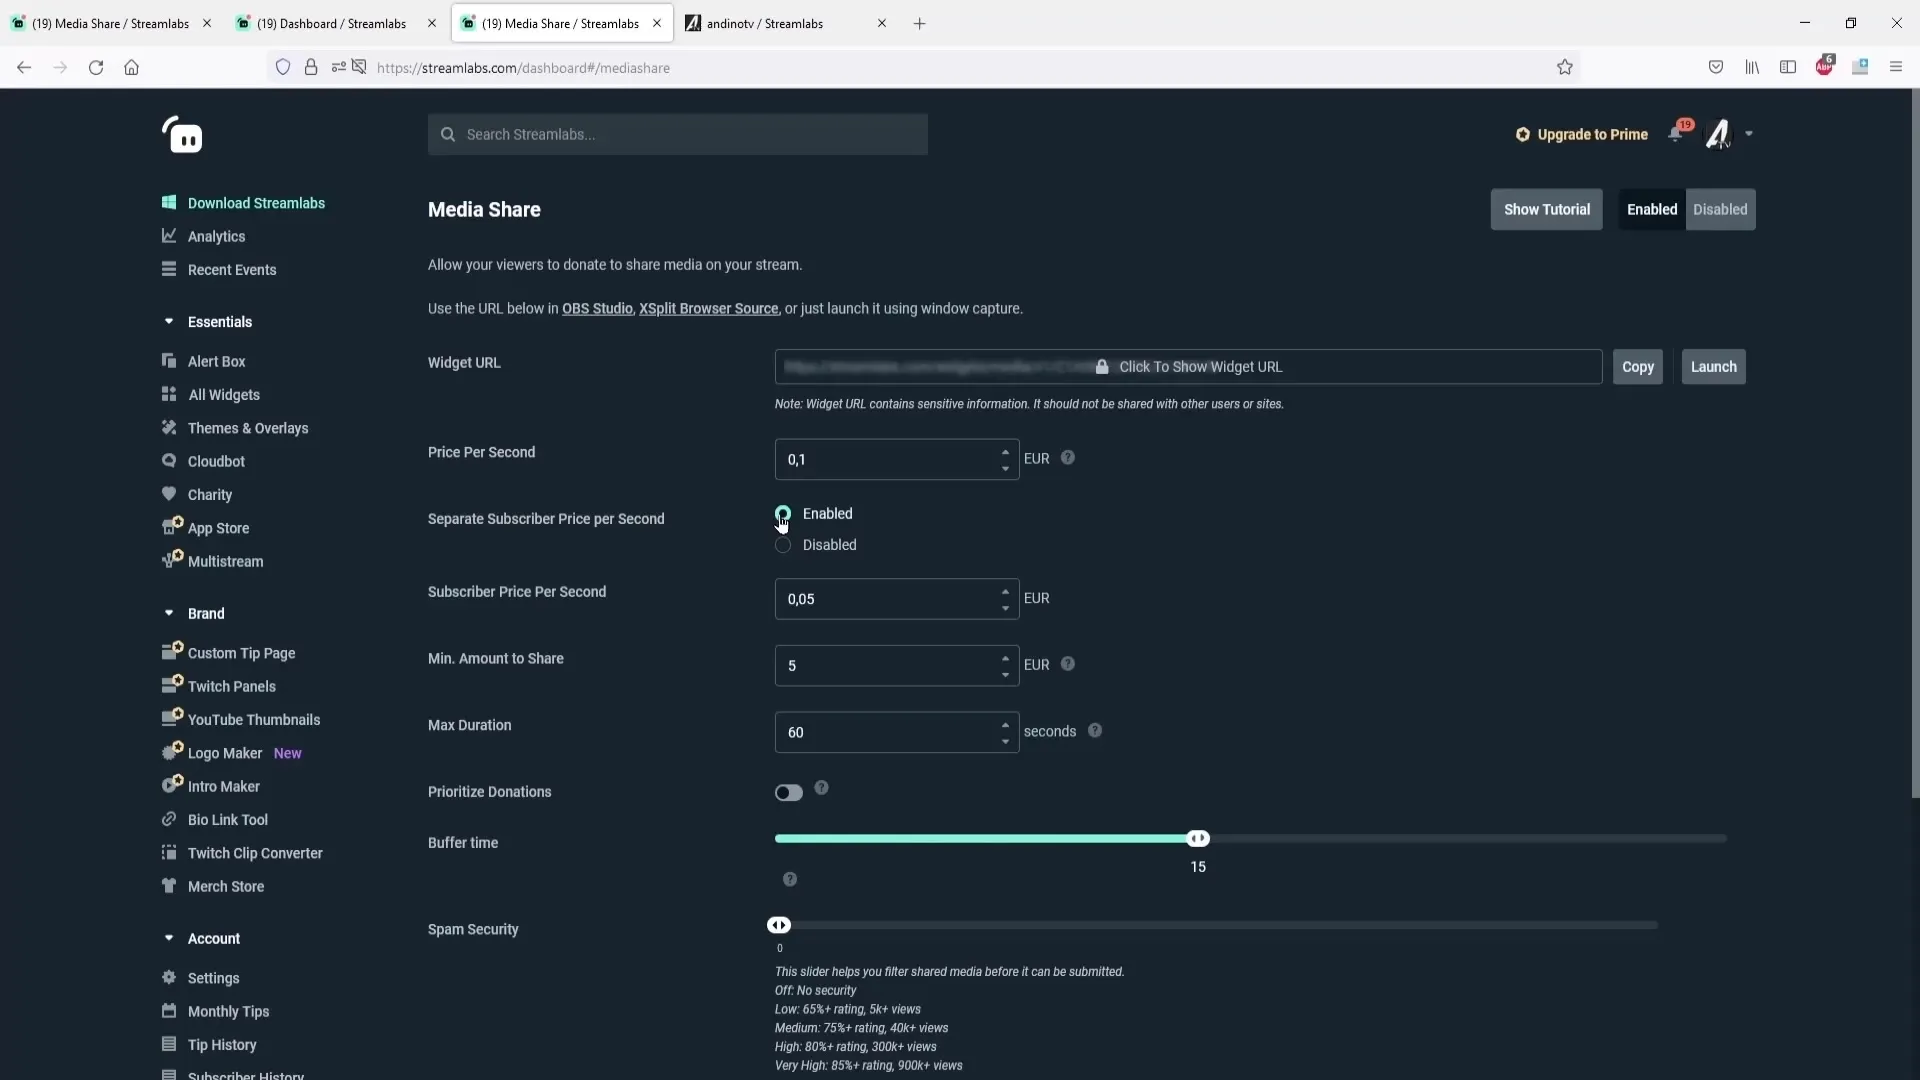
Now you need to adjust the settings for media sharing. Click on "Media share Settings". Here you can set the maximum queues for videos, the max. duration of the videos, and the number of requests per user.
Step 4: Adjust spam security settings
To ensure that requested videos are relevant and appropriate, you should adjust the spam security options. You can set filters that make the number of positive ratings or the view counts of a video conditions.
Step 5: Set up skip commands
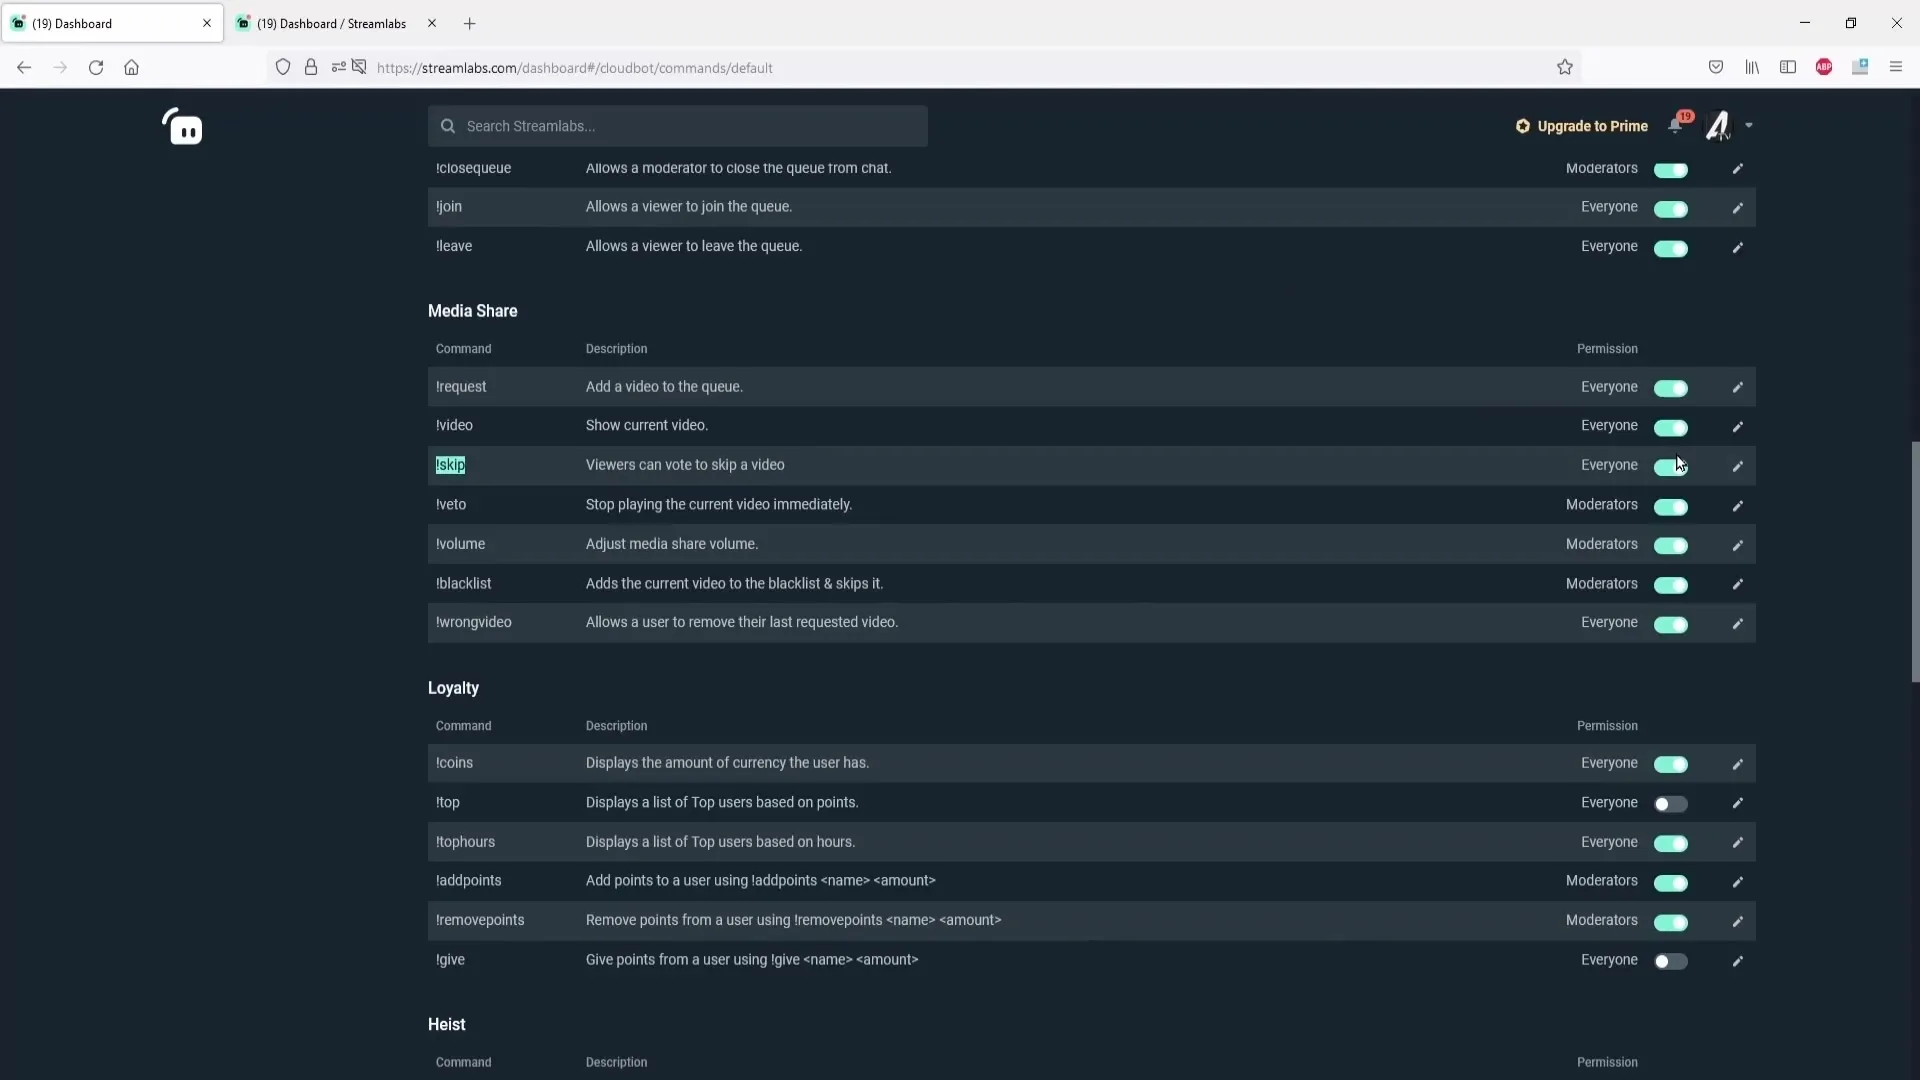
You can also specify how many votes are required to skip the current video. Through the command settings, you can define who has the right to use the skip command. This allows for a democratic decision-making process for your viewers.
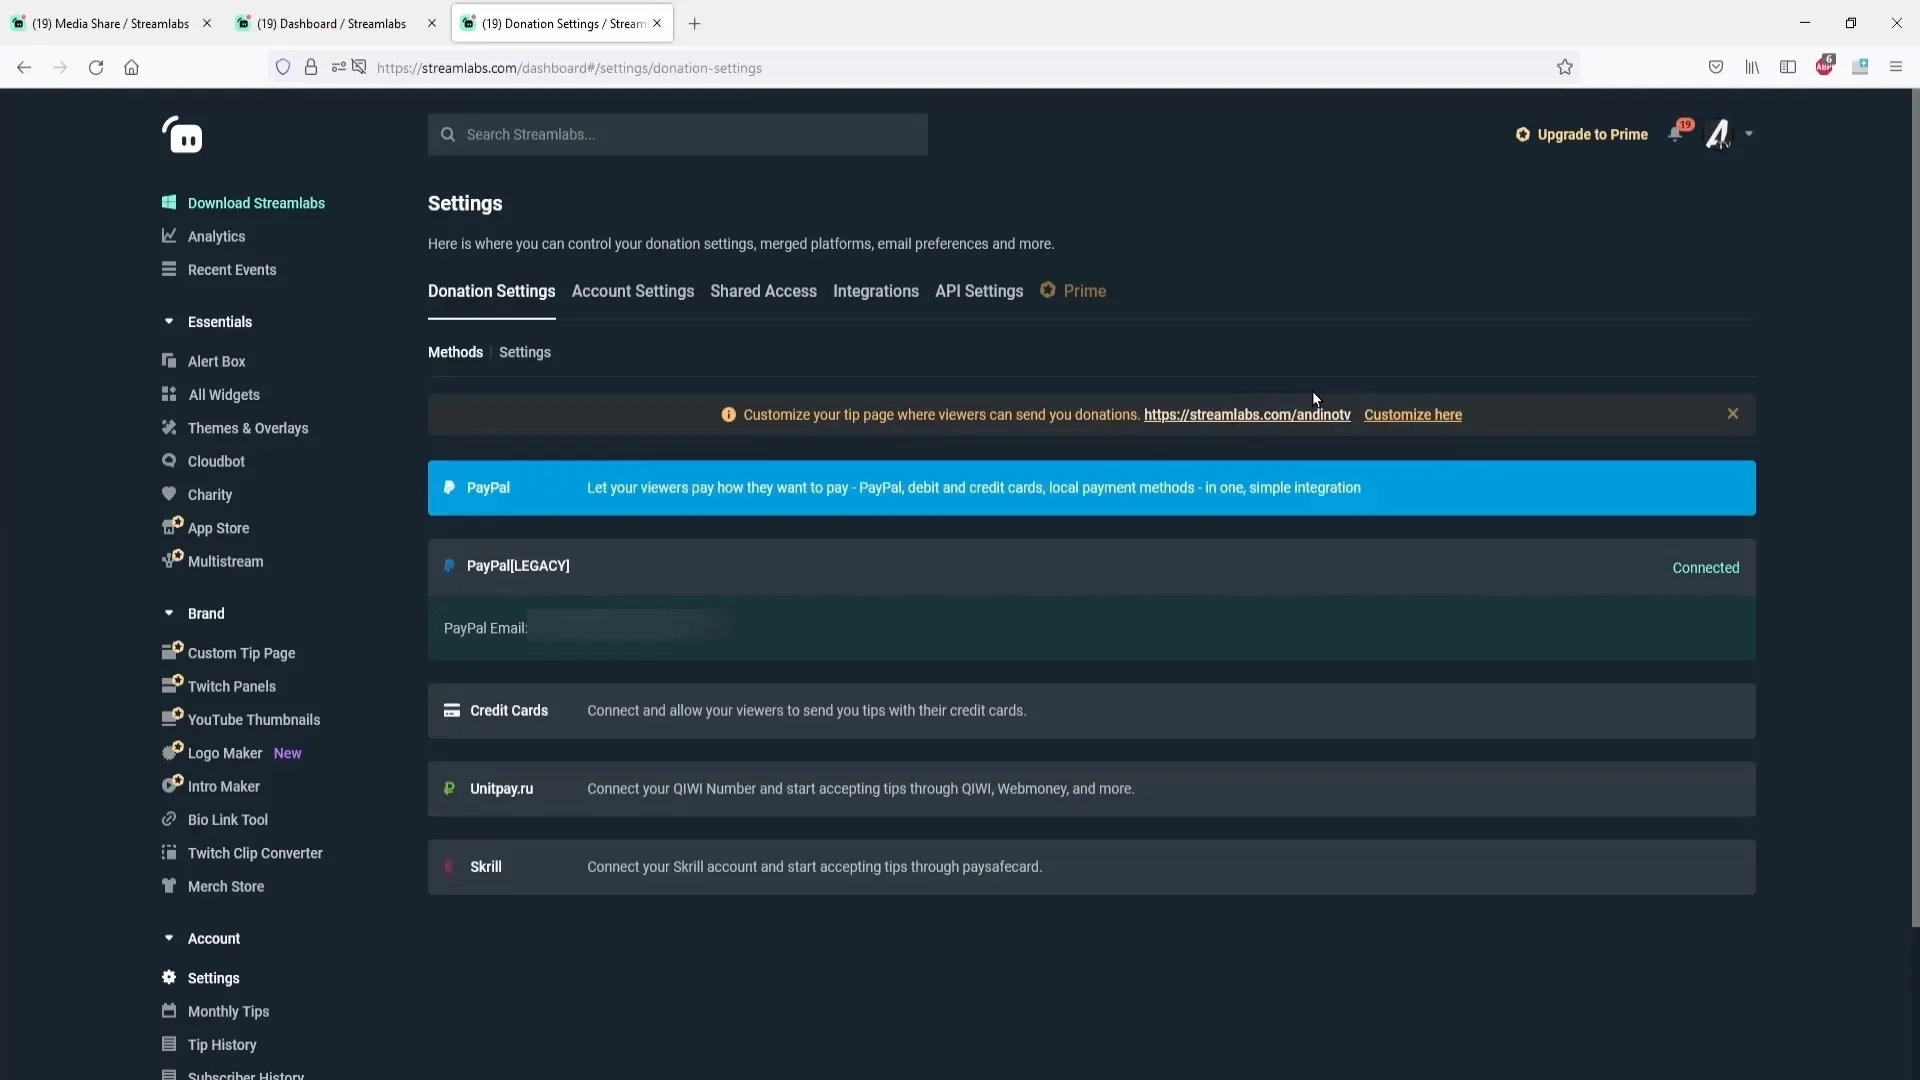
Step 6: Set up payment methods for donations
If you want to set up a donation option for your media sharing to enable, you will need a donation link in Streamlabs. This should be found under the account settings. Make sure that this is configured correctly and that there is a minimum amount that viewers must donate to play a video.
Step 7: Establish a pricing structure for donation videos
Go back to the Mediashare settings and determine the price per second for videos that are to be accessed through donations. Here you can also set different prices for subscribers and non-subscribers.
Step 8: Set up a blacklist for disallowed videos
You should also consider maintaining a blacklist to exclude content that you do not want to show. Here you can add videos that have been problematic in the past to the blacklist, so that they can no longer be requested.
Step 9: Play videos in the stream
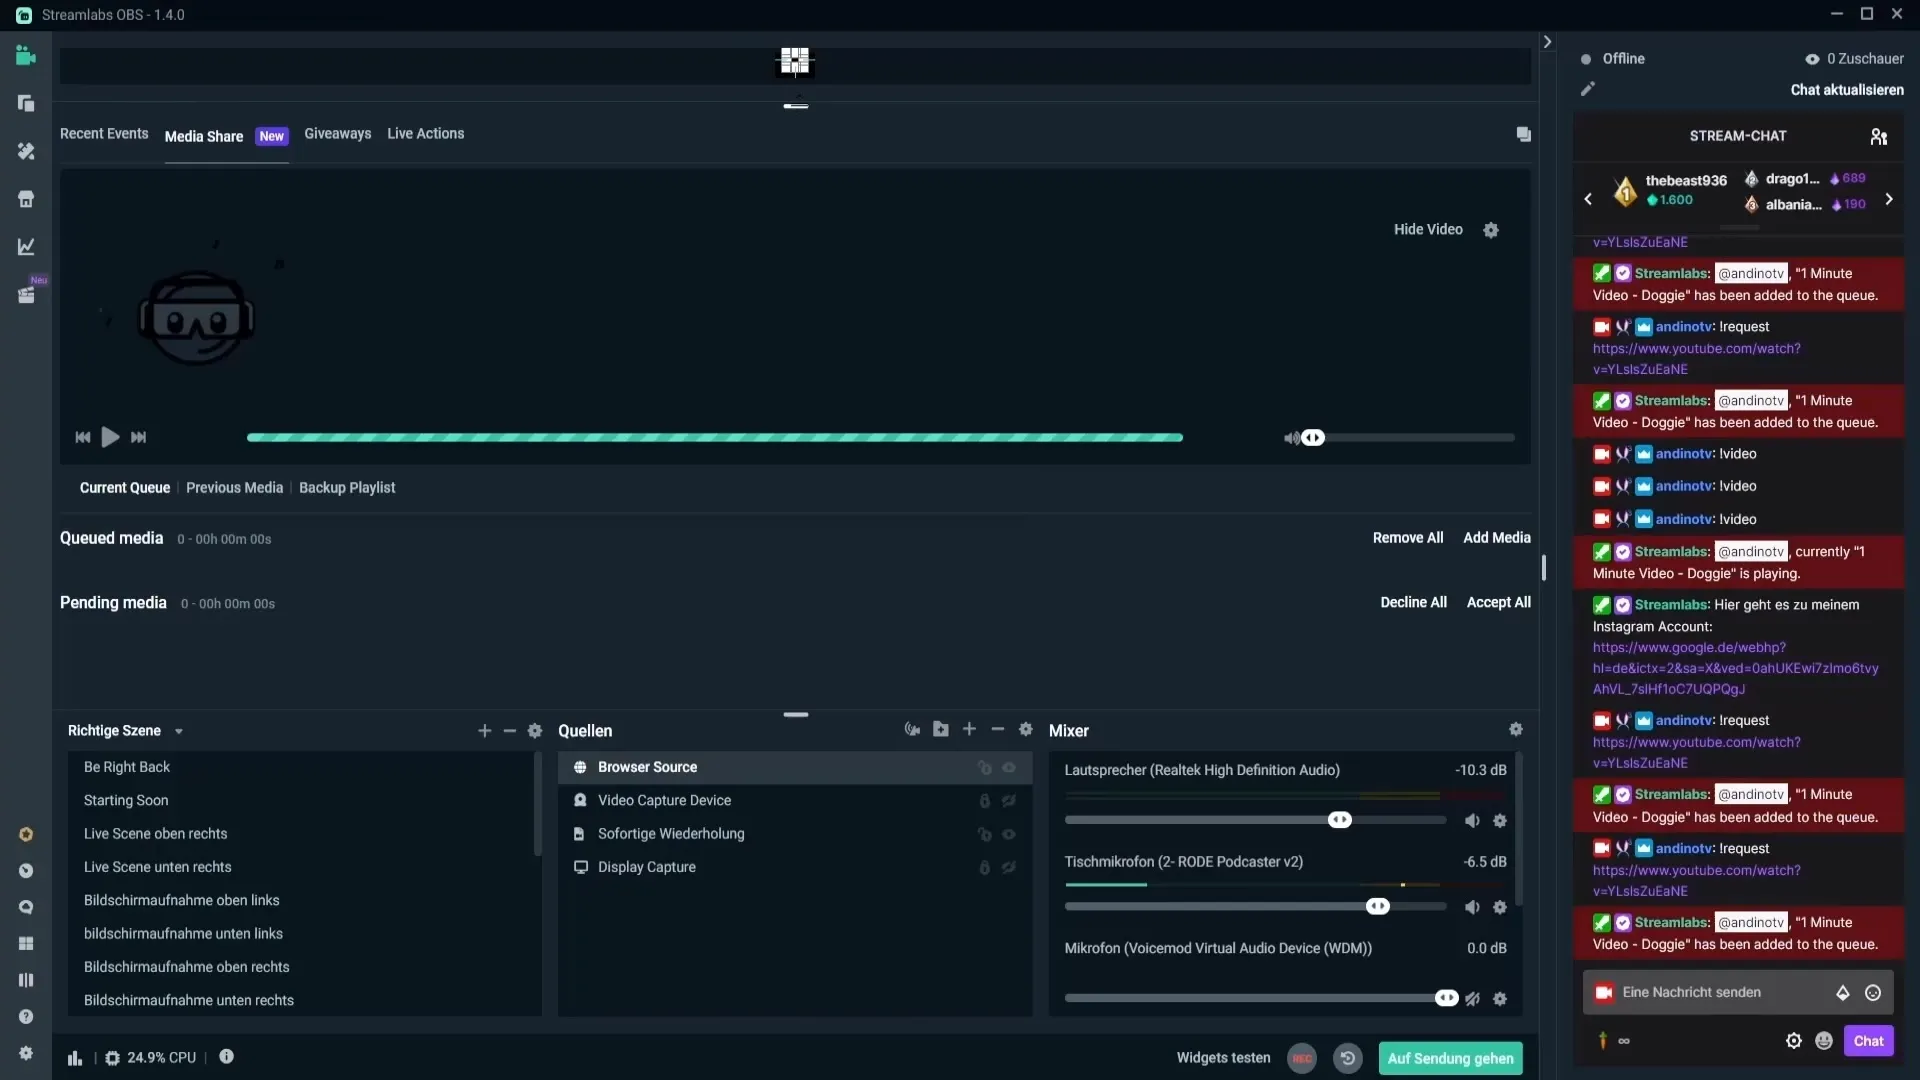
Once all settings have been made, you can activate media sharing in the live stream. Use the appropriate commands in the chat to request videos. Moderators can accept or decline these requests.
Step 10: Manage pending videos
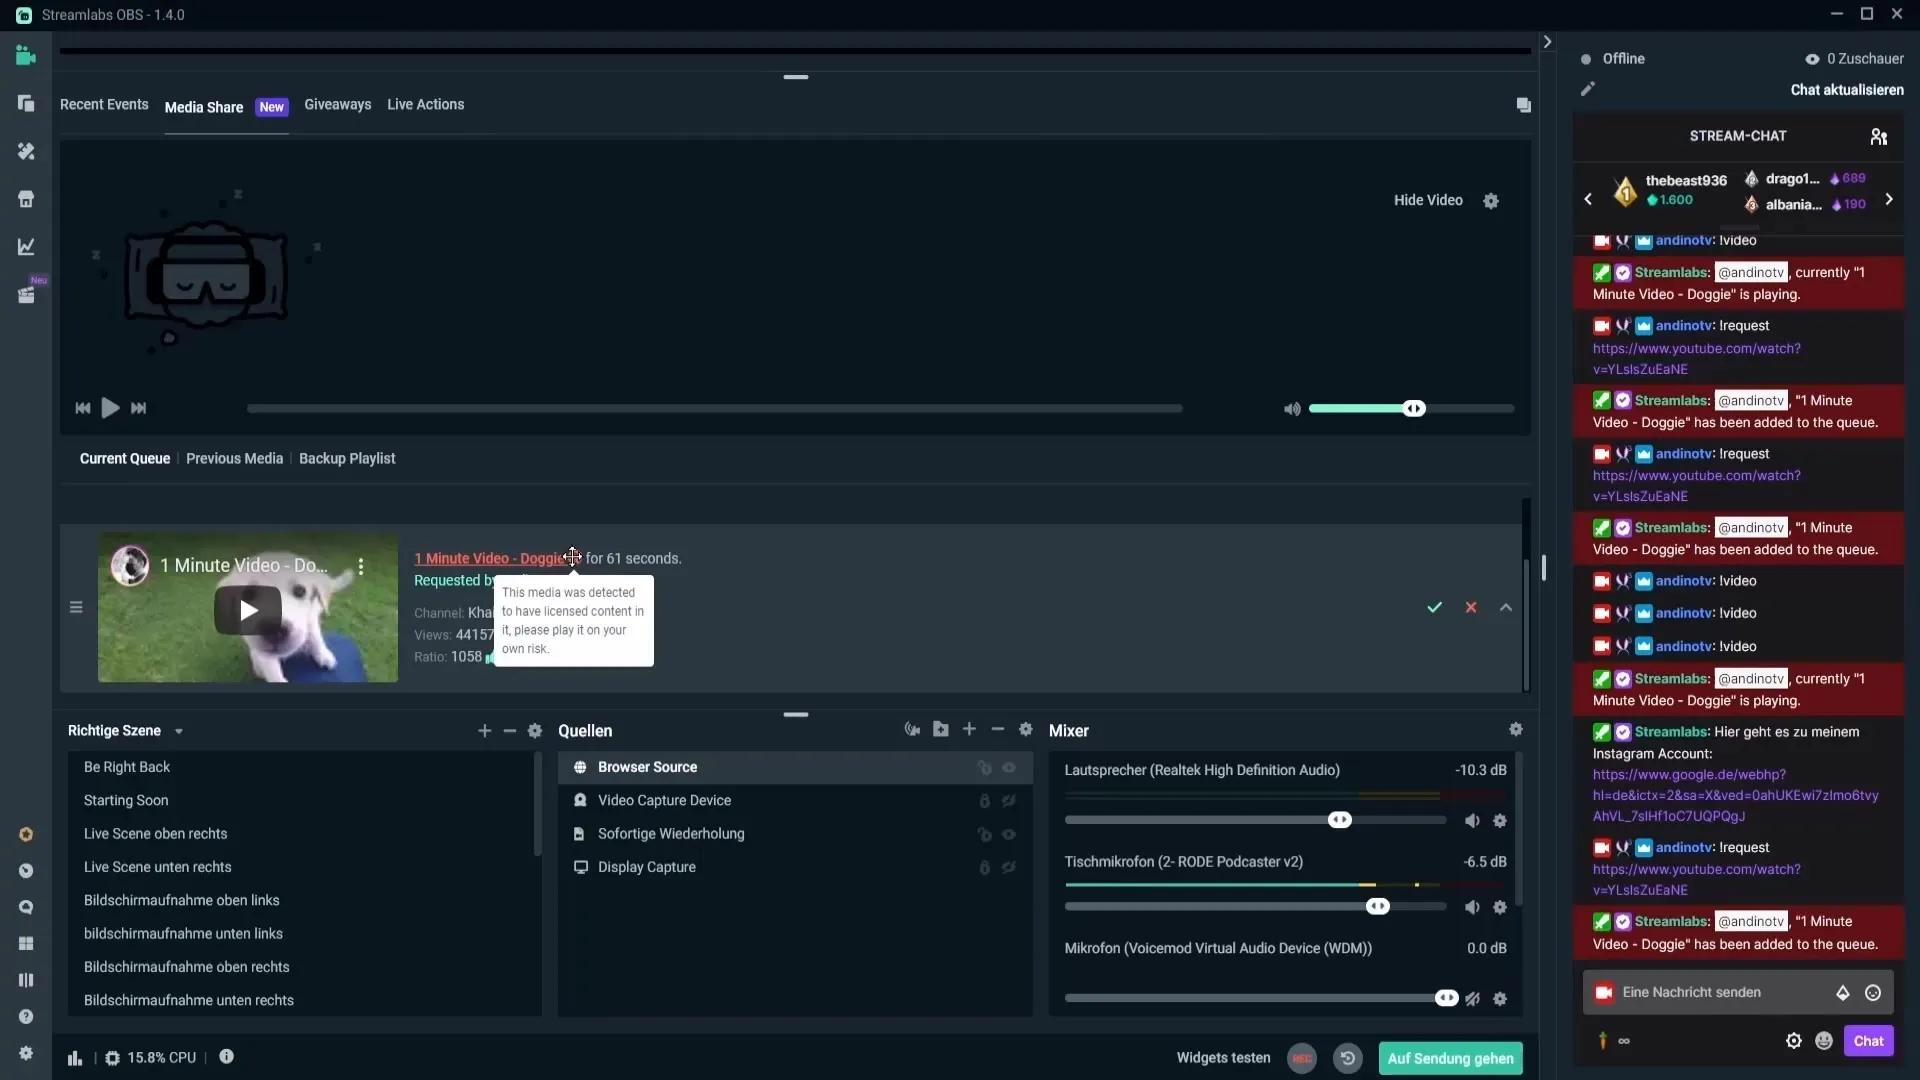
You can manage the queue for video requests both from the Streamlabs dashboard and directly from the chat. Simple moderation rights allow you to keep track and maintain control over the content being offered.
Summary – Successfully set up media sharing in Streamlabs OBS
Setting up media sharing in Streamlabs OBS invites your viewers to interact. With clear steps for activation, customization, and control of video requests, you can enrich your streaming experience while also creating additional sources of income.
FAQ
How do I activate the Cloudbot?Go to the Streamlabs dashboard and activate the Cloudbot under the modules.
Can I only play YouTube videos?Yes, media sharing currently mainly supports YouTube videos.
How can I block videos that should not be shown?Use the blacklist feature in the Mediashare settings.
What happens if a video contains licensed content?Streamlabs warns you that you can play the video at your own risk.
How can I adjust the volume of a video?Use the command “!volume” followed by a number from 0 to 100 to adjust.
